D.I.Y Halloween Decor and Handmade Card with Xyron

Have you ever gone to the Dollar Store and and got disappointed with the quality of the decor?  As crafters, we have a ton of supplies and with just a little patience and imagination, you can create your own cute decorations for Halloween.  It has been awhile since I created some DIY projects so here are a couple that you can make on your own.  If you don’t have the dies that I used for my projects, you can always get stickers and other supplies from the craft store.


For my projects today, I am using my favorite tool, the Xyron Creative Station Lite and my favorite Xyron Mega Tape Runner with products that I already have from my stash.


First up, the Halloween banner.  I started by die-cutting the letters “SPOOKY” using the Large Alphabet Dies by Kat Scrappiness.  I positioned the letters and run it through my Xyron Creative Station Lite to create the sticker.  I die-cut the banner six times with some black card stock using my Lawn Fawn banner die.  I used some spider web” die-cuts that I’ve had for years and adhered them onto the banner.


Since the letters are now very sticky, they were so easy to adhere to the banner.


I used some black seam binding ribbon to create the banner and hung it on my wall.  Here’s what it looks like:


For my second project, I wanted to create some luminaries using a Spellbinder die that I have in my stash for a few months now.   I couldn’t wait to create this project.  To begin, I die-cut some black card stock and some vellum using the dies.  I added some adhesive using my Xyron Mega Tape Runner.


I adhered the vellum using the tape runner and assembled the luminary.   Since this is made entirely out of card stock, I used an LED tea light candle to illuminate this piece.  This luminary has four designs and I really LOVE how it turned out.  Here’s what it looks like:


Lastly, I created a handmade Halloween card to send to my best friend.  I die-cut the main card base using the LDRS Creative Build A Card – Spooky Hat with some black card stock.  I die-cut the second piece with some purple card stock and used an embossing folder to add some dimension.


I adhered the pieces using my Xyron Creative Station Lite and my Xyron Mega Tape Runner.  Here is the card:


I really LOVE how this one turned out.  Using my Xyron Creative Station Lite made it easier for me to adhere the little pieces together.  Here’s a little close-up:


I hope I have given you some great inspiration to create your own DIY decor and handmade cards.  The supplies I used are listed and linked below.  Have an amazing day and happy crafting!


———–SUPPLIES———–

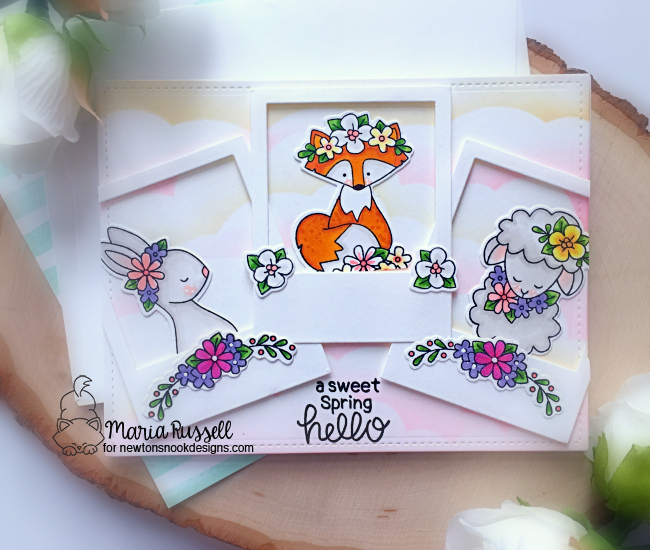
A Sweet Spring Hello with Newton’s Nook Designs

Hello Newton’s Nook Designs fans!  I am back today to share with you a fun spring card, showcasing one of my favorite stamp set from the February release called Woodland Spring.

NNDFEB19_WoodlandSpring
WOODLAND SPRING STAMP SET AND DIES

Here’s how I made my card:

  • stamp images on some smooth white card stock
  • color images with any coloring medium of your choice.  I used Copic markers for mine because I love the vibrant colors.
  • die-cut the colored images with the coordinating dies.
  • use the handmade stencil made from the sky borders die set to create the background, using Antique Linen and Worn Lipstick distress oxide inks.
  • die-cut the small polaroids.
  • adhere the polaroids on the inked background with foam adhesive
  • add the critters (and flowers) inside each polaroid and adhere using liquid adhesive.
  • stamp the sentiment to finish the design.

Here’s my card:

NNDWoodlandSprings2A

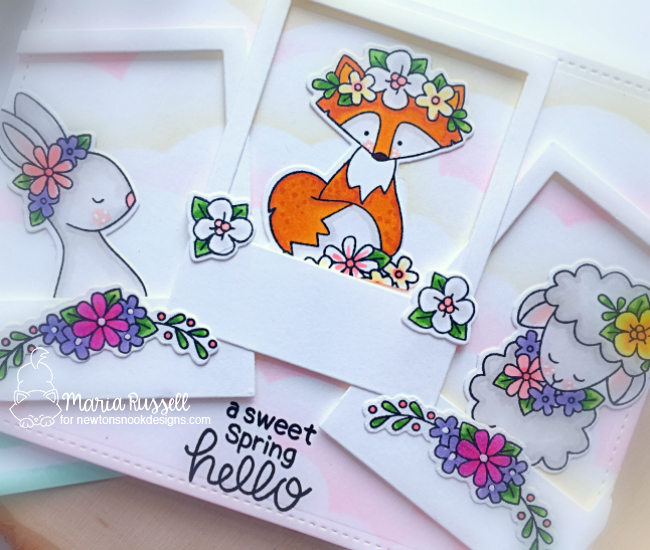
This card is really simple, but I love how it turned out.  The pastel-colored sky is so subtle yet it created this dreamy look for my critters to stand out.  Here’s a little close-up:

NNDWoodlandSprings2C

I hope you like my card today.  Please visit Newton’s Nook Designs to purchase the stamp set and dies that I used today.  I have also listed and linked it below.  Have a nice day and happy crafting!

—————-SUPPLIES————–


Valentine’s Mailbox Treat Holder with Color Washed 12×12 Paper Pad by PHP

Maria Russell CircleAre you looking for some last-minute gift ideas for Valentine’s Day?  Look no further.  Here’s an easy and fun Valentine’s Mailbox Treat Holder idea!   You can find these mailboxes at a craft store, or go to your local Target at the Dollar spot section.  I have altered my mailbox, using the beautiful Color Washed 12 x 12 Paper Pad by Paper House Productions.  You guys are all going to love this paper pad.  The pad comes with a sticker sheet that contains alphabet stickers, and other ephemeras.

I love making 3D projects for Valentine’s Day, especially making treat holders for my family and friends.  Valentine’s Day is always a special day at my house.  When my kids were a lot younger, I would surprise them by decorating the table with hearts, candles, confetti, and flowers!  I would also leave the little treat bags on top of their plates so that before they eat breakfast and go to school, they already have their treats with them.  It made their day.  It doesn’t matter how big or small the presents were but they were always happy to get a few treats to celebrate the day.  We also made treats for their friends!

Here are the photos of my finished project:

PHPColorWashed1

PHPColorWashed2

PHPColorWashed3

PHPColorWashed4

PHPColorWashed6

I have a process video for you today to show you how I altered this inexpensive mailbox that I found from Target.  It is super fast and easy, and it doesn’t require decoupaging.  I hope you like it.  The supplies I used are listed and linked below.  Have a wonderful day!

SUPPLIES:  Color Washed 12 x 12 Paper Pad, Xyron Creative Station Lite, Mailbox


My Favorite Xyron Product

Hello my crafty peeps!  It is time for the Xyron Design Team to close our year sharing our favorite Xyron products.  It is really hard to choose considering the fact that I love Xyron adhesives and I have been using the Xyron Mega Runner for a long, long time.  But lately, I have been really loving my Xyron Creative Station Lite and I must admit, this is my all-time favorite Xyron product.  It is small enough to fit in a suitcase when I travel on the go (which of course happens a lot).  It adds adhesive not only on paper but also felt, foam, fabric and so, so much more.


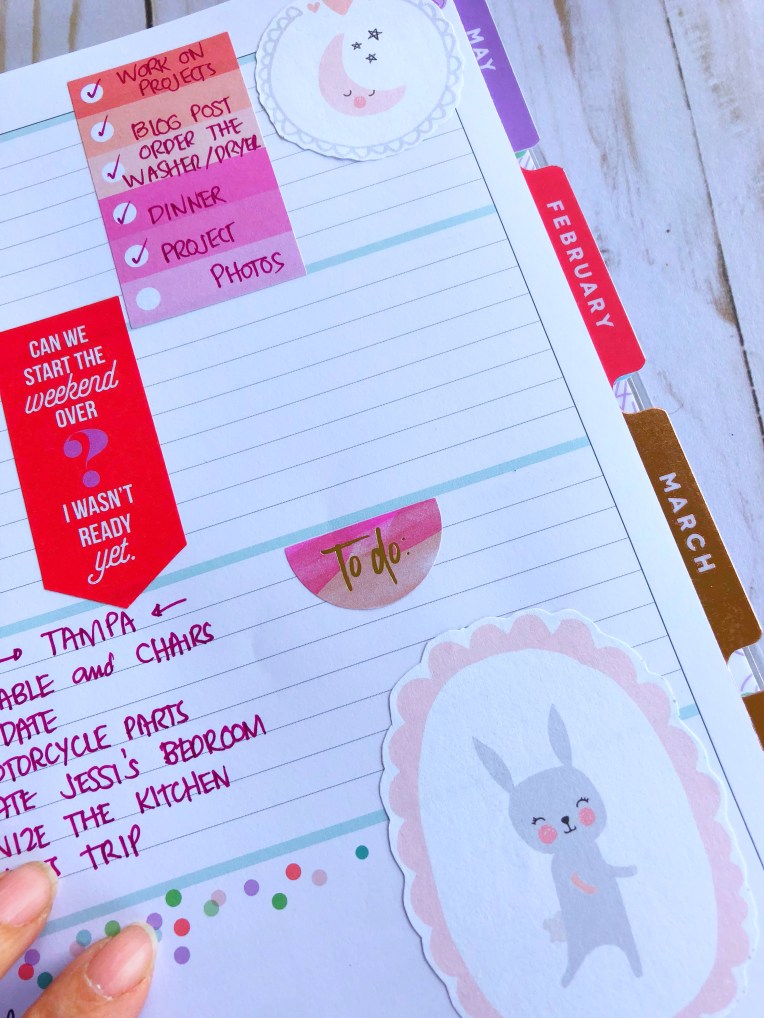
For my project today, I used my Xyron Creative Station Lite to create stickers for my planner.  I love planner decorating and when I see a really cute patterned paper, I cut the little pieces and create stickers to add to my planner.


IMG_1177


The Xyron Creative Station Lite makes it easier for tiny embellishments to have edge-to-edge adhesive.  This tool is a must-have for any paper crafter.


IMG_1176


Here’s how I decorated my planner.


IMG_1174


Here’s the whole lay-out:


IMG_1173


I really love how this turned out!  The Xyron Creative Station Lite makes things easier to adhere tiny embellishments to cards, planners, scrapbook layouts and other 3D projects!


Thank you for stopping by today.  Have an amazing week!

Maria Russell Signature Logo


LED Tea Light Holder/Treat Box and Halloween Card with Xyron

Hello my crafty friends!  This week, the Xyron Design Team is sharing our Halloween projects.  I am back today to share mine, showcasing some Lawn Fawn products and my favorite adhesives by Xyron i.e., the 1.5 Inch Sticker Maker and the Mega Tape Runner.

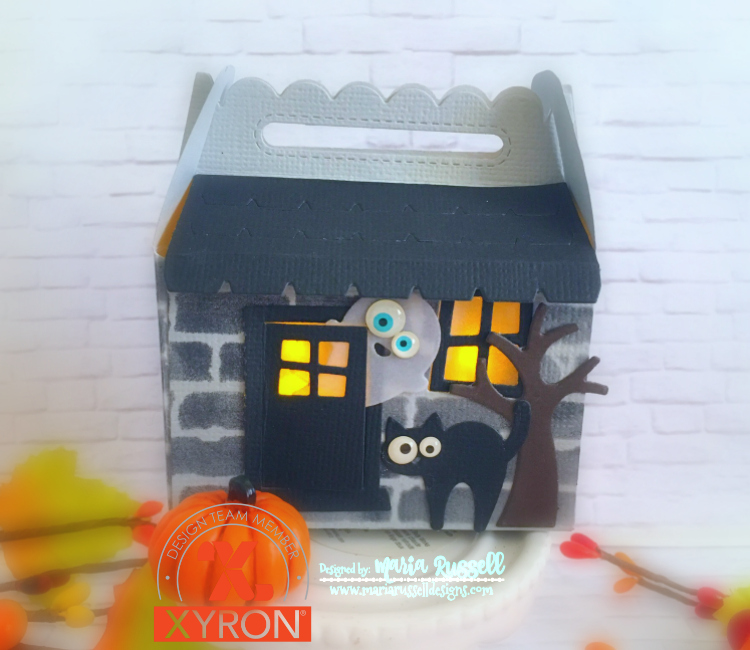
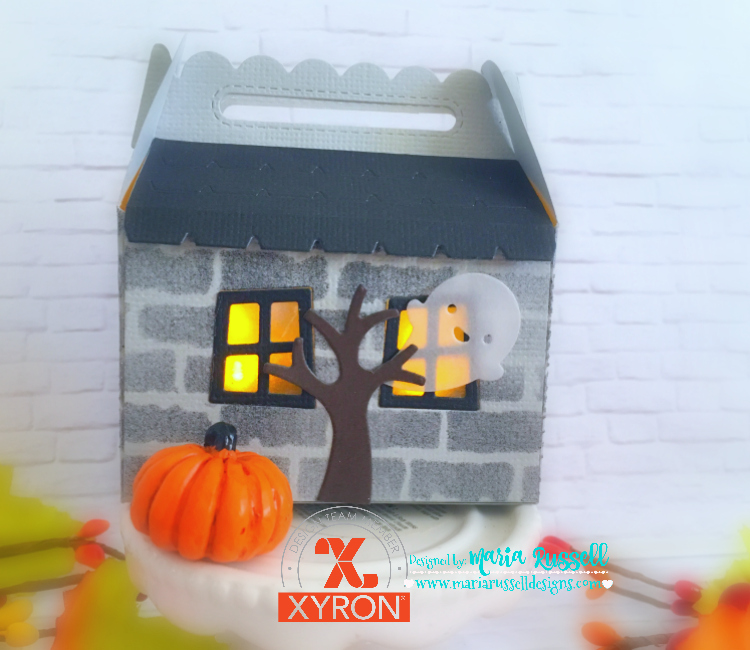
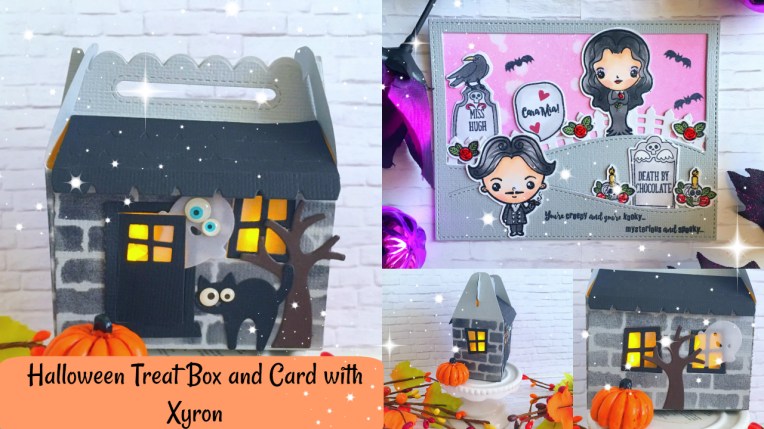
This little treat box can also be used as a cute Halloween decor if you put an LED Tea Light inside and it will illuminate the box.   Here are the photos:

XyronHalloween1

XyronHalloween2

XyronHalloween3

I also have a process video below for you today to show you how I assembled the box.

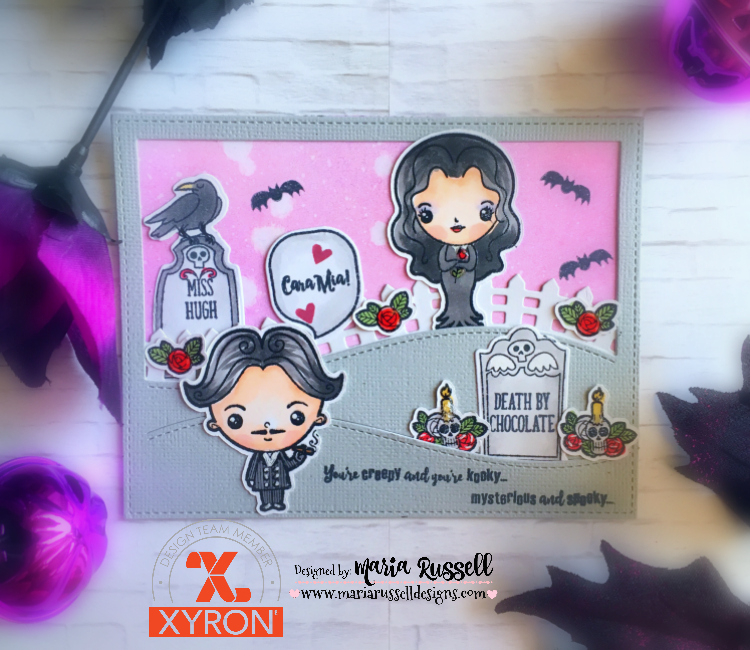
And here’s an additional Halloween card for you.  Who else loves the Addams Family?  I do.  I used to watch it all the time when I was a kid.  When I saw this stamp set by The Sassy Club, I just knew I had to order them all to create some cute cards, or decorate my planner.   Here’s my card:

XyronHalloween4

I hope you like my projects today with the process video.   Have an amazing day!

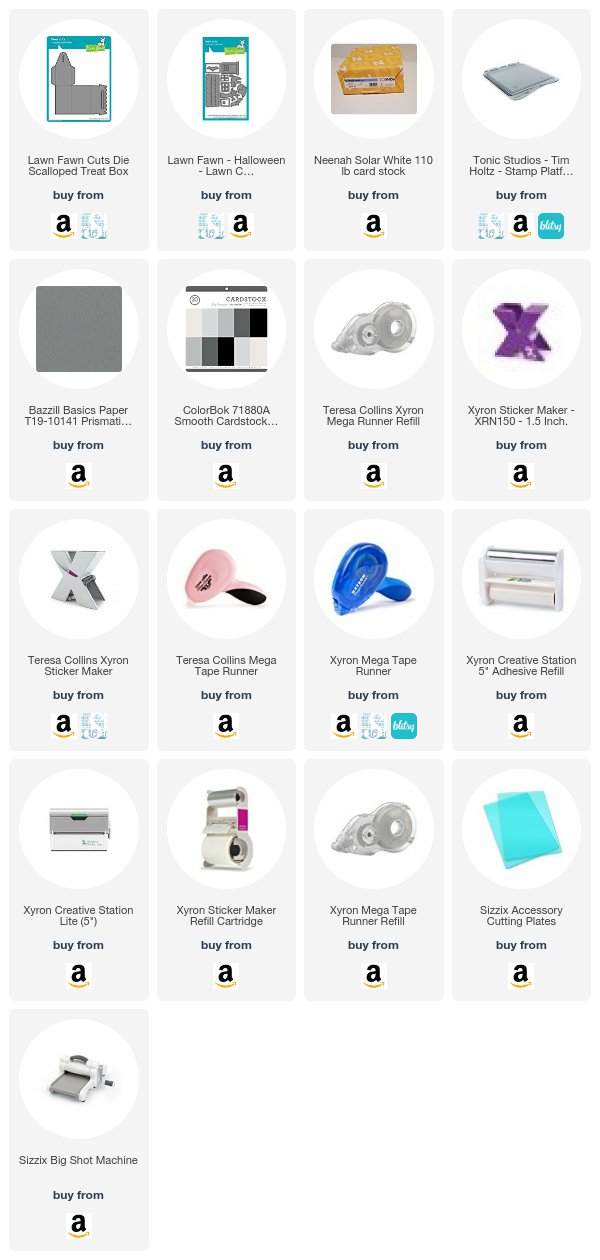
—————-SUPPLIES—————

XyronHalloweenTBandCard 

World Cardmaking Day Blog Hop with Kat Scrappiness

KatScrap Worldcardmaking Day Sale Image

Thank you so much for joining in on the World Cardmaking Day fun with KatScrappiness.com!  Today all of the designers are participating in a fun blog hop with their inspiration and take on the first Kat Scrappiness Mood Board Challenge!  There will be lots of prizes to be won and several chances to win. Make sure you comment on all the designers blog posts today for several chances to win and then make a card (or any project) inspired from our mood board and link up to the Kat Scrappiness blog before Monday October 9th for a chance at winning one of several prizes! All winners will be announced at the Kat Scrappiness blog on Tuesday October 10th, by Noon PST. Don’t forget you can get 15% off in the KatScrappiness.com shop today only! Use Code “IMAKECARDS” at checkout!

Here is the Mood Board that is a part of the challenge and what has inspired my projects today!

katScrap Worldcrdmking moodboard

For my card, I am showcasing products available at the shop.  The card that I created below is very simple and anyone can re-create it.  I know that some of you are just beginners, and don’t really have a lot of supplies.  I wanted to show you that you could create a beautiful card even with just using a patterned paper, and some die-cuts.

I started out by die-cutting my cute little witch using the Witch with Cat Die by Gina Marie Designs.   I also die-cut the Stitched Heart Tag Die and the Cross-Stitched Rectangle Dies for my card front.  I fuzzy-cut the tombstones and the Happy Halloween sentiment strip from the BOOtiful Night 6×6 Paper Pad by American Crafts.
I wanted a small shaker element on my card, without making it look too busy.  I used black fun-foam (instead of a foam adhesive) and run it through my Xyron Creative Station Lite with a Double Permanent Adhesive to create a sticker.  This will ensure that both sides of the fun foam will have edge-to-edge adhesive and your shaker elements will be completely secure!  I used some of my favorite Halloween sequin mixes, i.e. the Spooky Sparkles Sequin Mix and the Autumn Harvest sequin mix.   I adhered the tag on my card base.

To finish the design, I die-cut a stitched hill die from my stash, then adhered it onto the card front, with my cute little witch and the tombstones.  I stamped the spider web and the little spider using a stamp from Newton’s Nook Designs, and added some white dots with my Uni-ball Impact Bold Point White Gel Pen.

Here is the finished card and I hope you like it.

KatScrapWCMD17

I hope you have been inspired by my projects today! Below is the list of all the designers participating in the blog hop.

Kat Scrappiness Designers (Blog Hop Links)
Taniesa
Maria
Hannah
Heidi
Jess
Angeline

To go to the Kat Scrappiness Shop Click HERE and save 15% off your total purchase today (10/7/17) only!  To go to the Mood Board Challenge blog post click HERE and enter your card for a chance to win fabulous prizes!

————SUPPLIES————

Xyron and Paper Smooches Collaboration

Hello my crafty friends!  I am super excited because today, the Xyron Design Team is collaborating with Paper Smooches.  Thank you Paper Smooches for the goodies that you have sent us.


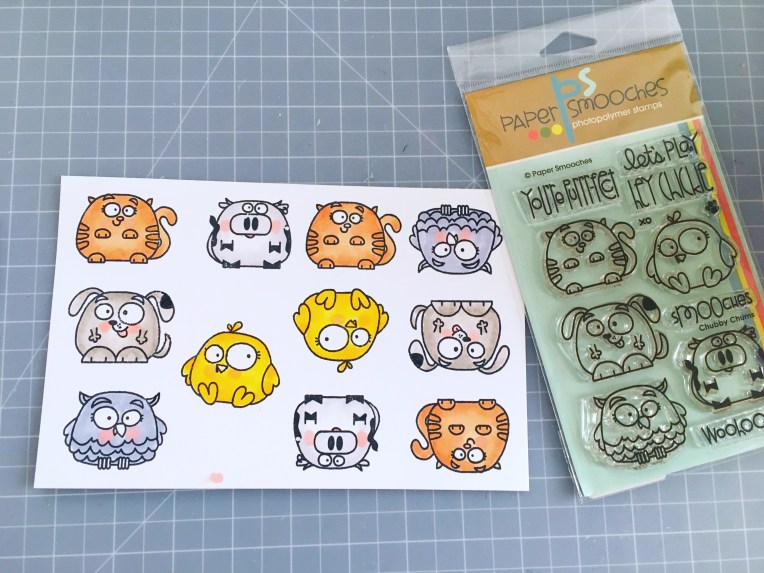
For my cards today, I am showcasing the Chubby Chums stamp set and the Bunny Card Die .  This set is so adorable!  Please visit www.papersmooches.com to purchase cute stamps and dies.


I started out by stamping my images on Neenah solar white card stock and colored the images in with my Copic markers.   I fuzzy-cut the images with my precision scissors.


IMG_5669


Halloween is fast-approaching and I wanted to show you that you can use any stamp set for pretty much any occasion.  I used a frame die from my stash for my little “chubbies” and used my favorite Xyron Mega Tape Runner to adhere it onto my card front.  I also used the tape runner to adhere the critters.


IMG_5671


Here’s the card:


XyronPaperSmooch1


Aren’t they adorable?  I added a cute witch’s hat to my Owl and a trick-or-treat bag to my cat.


Since I colored so many of the images I wanted to create a birthday card.  I used dies from my stash and to adhere the intricate bow on my card front, I used my Xyron 1.5 Inch Sticker Maker.  When I adhere intricate dies, I always use either my sticker maker or my Xyron Creative Station Lite.


IMG_5677


Here’s the birthday card:


XyronPaperSmooch2


Paper Smooches was very generous and also sent us the Bunny Card Die.  Here’s a little foldable treat bag that I made:


XyronPaperSmooch3


I hope you like my projects today.  Have a wonderful day!


Laminated Planner Insert with Xyron Creative Station Lite

Hello my crafty friends! I hope you are having a fabulous week so far. I’m back today for Xyron and I have a cute project to show you, using the Creative Station Lite, with a double-sided laminate cartridge.

I have always loved to decorate my planner. If my planner looks organized and beautiful, I get inspired to use it more. Write my thoughts down and update my schedule.

As soon as I open my planner, I would like to see something inspiring, something beautiful. Most of the times the cover that you get when you purchase your planner is plain and boring ~ so I decided to create my own planner insert.

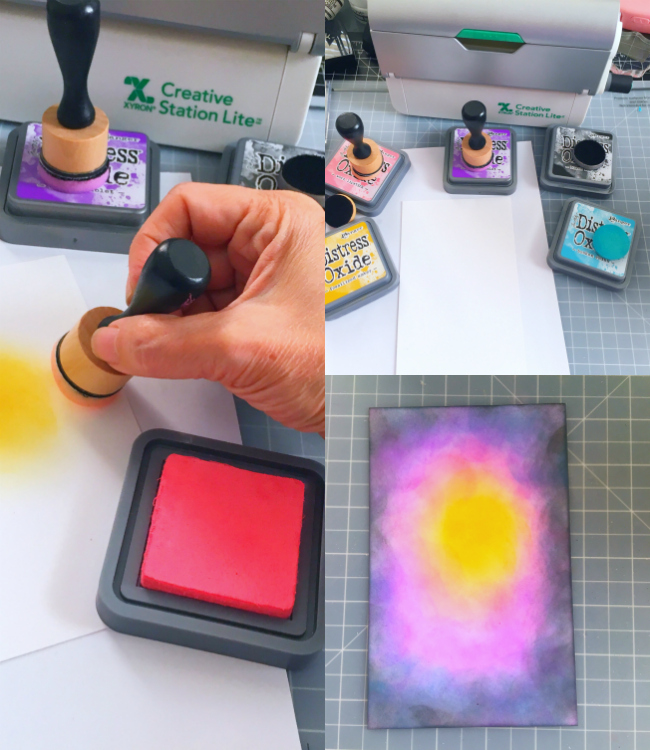
I started out by cutting a Bristol Smooth white card stock measuring 4 ¼ by 6 ¾. I am using my favorite combination of distress oxide inks for galaxy backgrounds (i.e., fossilized amber, picked raspberry, wilted violet, broken china and black soot). Using my mini-ink blending tools, I started to sponge the fossilized amber in the middle, then blended the rest of the distress oxide colors onto my card stock.

XyronLaminate1

I used my distress sprayer to spray some water on my colored background to achieve the distress look, dabbing the excess water droplets with a paper towel. They look like stars in the sky!

XyronLaminate2

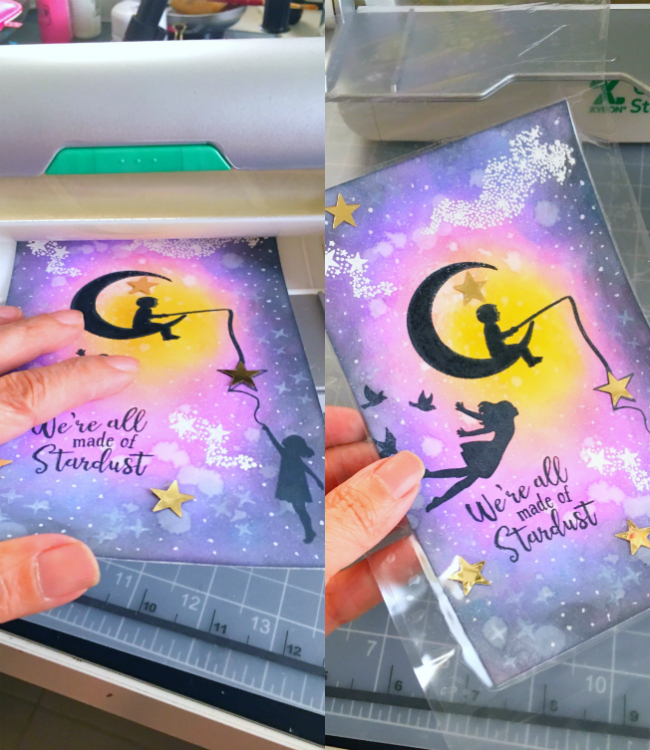
I stamped by images using a stamp set by Hero Arts onto my colored card stock with memento tuxedo black ink. To add the stars, I stamped them with versa mark ink and heat set it with white embossing powder. I also added the sentiment “We’re All Made of Stardust”. To finish the design, I added some gold star confetti.

Using my Creative Station Lite with a double-sided laminate cartridge, I inserted my decorated planner insert through the machine, cranked the handle, and cut it through using the trimmer on the other side. Here’s what it looks like once it’s fully laminated. I really love that you can use laminate projects using this machine without having to use heat or electricity.  I trimmed the excess with my scissors.

XyronLaminate3

I used my We R Memory Keepers Crop-A-Dile to punch the holes on my planner insert. Here’s what it looks like inside my travel planner.

XyronLaminate5

XyronLaminate4

Isn’t it beautiful? I absolutely love creating my own planner inserts to decorate my planner. What do you guys think? I hope you like my project today.  For more project inspiration using Xyron products, please visit the Xyron Facebook Group here (https://www.facebook.com/xyroninc/) or the website at www.xyron.com.   I have also listed and linked the supplies I used below.  Have an amazing day!

————-SUPPLIES————

Click on the link to go directly to the product. Where available, I used compensated affiliate links which means if you make a purchase I receive a small commission at no extra cost to you. Thanks for your support.


Back to School with Xyron – Reusable (Laminated) Lunch Box Notes

Good morning my crafty peeps!  I am back today to share a (very easy) Back-To-School project, using my all-time favorite Mega Tape Adhesive Tape Runner and my Creative Station Lite with a Double-Side Laminate by Xyron.

When my kids were younger, I used to include lunch box “love notes” in my children’s lunch boxes, with some treats. I wanted them to feel that they are loved and special.  They also told me that it always cheered them up when they were having a bad day at school and they always look forward to opening their lunch boxes.  Just a warning though, this made some other kids in their class super jealous and started asking their mommies why they didn’t have cute notes and special treats in their lunch boxes! Haha! Needless to say, I was requested by the “non-crafty” mommies to make some lunchbox notes for their child!

I started out by stamping my images using my new favorite stamping platform by Tim Holtz. Since these images will go in lunch boxes, there is no need to take so much time with shading and such to color them in. I die-cut my images with the coordinating dies.

XyronLunchbox1

I already have some business-card size card stock in my stash so all I had to do was adhere my images to the card stock using my Xyron Mega Adhesive Tape Runner.

XyronBacktoSchool4

I stamped my sentiments with some stamps that I already have from my stash. You don’t have to use stamps for your sentiments. You can also write your own messages. I think it will actually be more special if you did!   I used my Creative Station Lite with the Double-sided Laminate to laminate my notes. This will protect your lunch box notes from the moisture inside the lunch box; plus you can totally reuse them over and over again!

XyronBacktoSchool2

XyronBacktoSchool3

Here’s what they all look like when laminated:

XyronLunchBox

This project will also be perfect for your little kids if they want to make their own notes to give to their classmates.   Aren’t they adorable?  I hope you like my back-to-school project today. Have an amazing day!

————-SUPPLIES———-