Hello my Newton’s Nook fans. It is the second day of the October reveals at Newton’s Nook Designs. Were you able to check out yesterday’s blog posts? YOU ARE ALL GOING TO LOVE THE OCTOBER RELEASE! You also have a chance to win each stamp set during release week so check out the details I have indicated at the end of this blog post. [Just a little important note: I know some of you had difficulties finding the comments section. If you would like to leave a comment to participate in the giveaway, the “comments section” will only be ever visible when a single post on Word Press is being viewed. Please click on this particular blog post and you will be able to leave a comment below. Thank you for understanding and I apologize for the confusion.]
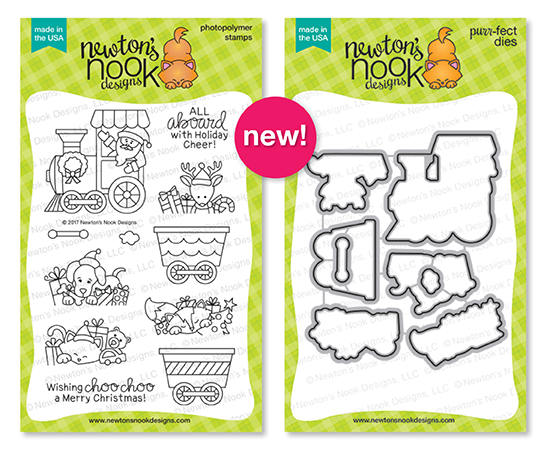
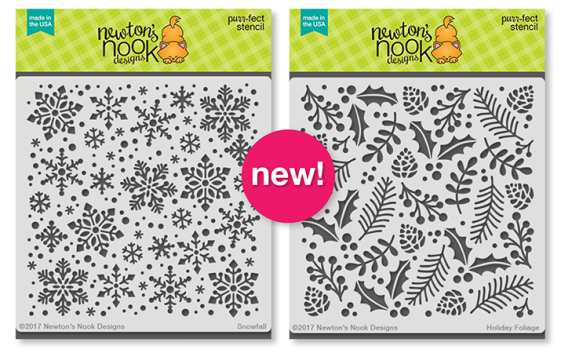
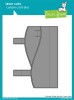
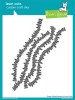
For my cards below, I am showcasing the Snow Globe Scenes Stamp set and Dies with the Snow Globe Shaker Die, plus the new Double-sided adhesive foam and Acetate sheets (they’re awesome and a must-have for shaker cards). They are all going to be available for purchase at the shop on October 20th. Here’s what the stamps and dies look like:

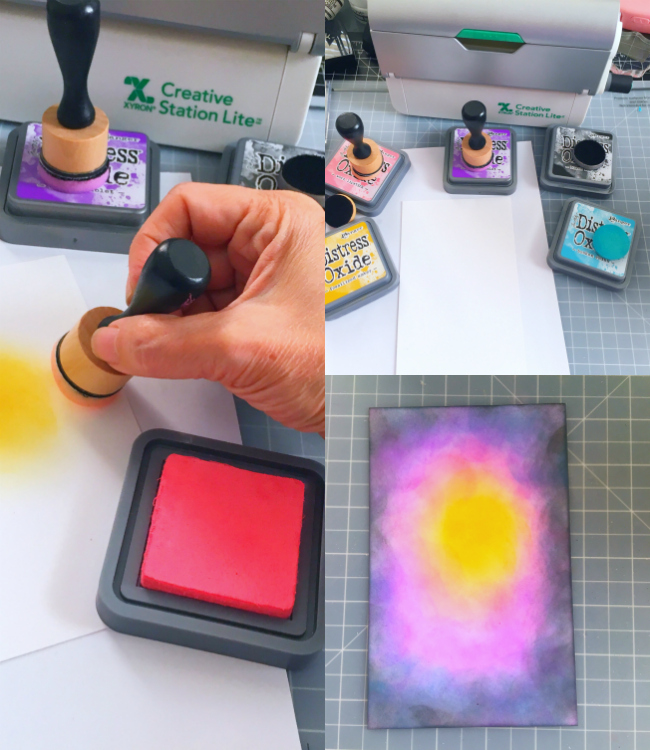
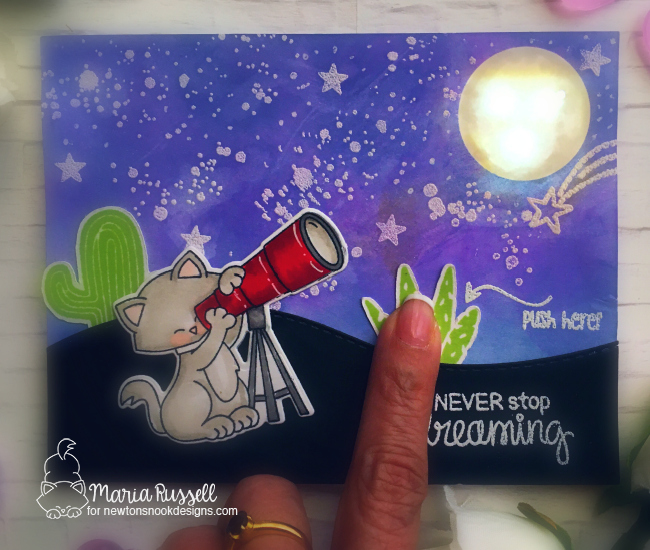
For the first card, I cut an A2 size (4 1/4 by 5 1/2) Neenah Solar White card stock and used the Snow Globe shaker die to die-cut the window for my card front. I stamped the snow image with my versa mark ink and heat-embossed it with my white embossing powder. I inked up the background with my broken china distress ink with my blending tool to make the snow pop. I used an embossing folder to dry-embossed the birch trees on my card front.
I stamped my images in with my stamping platform tool (this is also a must-have for stampers) and colored the images in with my Copic markers. I die cut the images with the coordinating dies, and adhered it to my colored background.
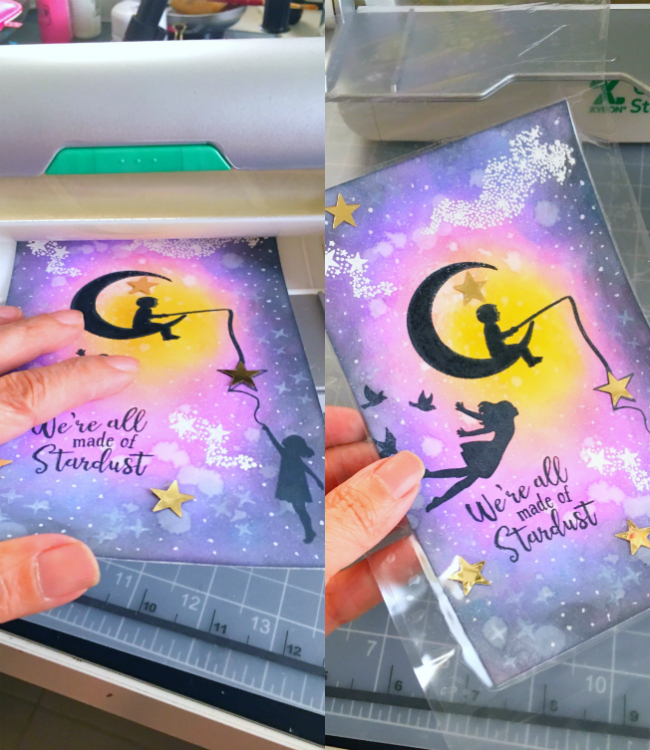
I die-cut the Double-sided foam adhesive and the acetate sheets with the Snow Globe shaker die. I adhered the acetate sheet and the card stock to my small window. I used some iridescent glitter as my shaker elements to create the look of snow. I finished the design of the card with my peppermint baker’s twine and added the little star label with the sentiment. I wanted the focal point to be all about my skater snow globe. Here’s the card:

For my second card, I used the rest of the images that I colored and adhered them to my tag to create my scene. To finish my design, I added the Red Berry Nuvo Crystal drops to one of the small reindeers.
I love, love, love this stamp set. You can create so many different scenes using this stamp set for your cards, scrapbook layouts or Christmas gift tags. The possibilities are endless! Here’s my second card:

I hope you like my cards today and got inspired. Would you like to win the “Snow Globe Scenes” Stamp Set? This stamp set will be given away to ONE lucky winner!
Here’s how to win:
Comment on the NND blog and Design Team blogs (see list below)! The winner will be chosen at random from the collective reveal posts. Make sure to check out each of their blogs and comment for your chance to win. You will not know which blog has been chosen so the more you comment on the better your chances are of winning! You have until Thursday October 19th at 9pm CST to comment — winners will be announced on the blog post on Friday, October 20th.
Check out all the awesome Design Team Blogs below to enter:
Newton’s Nook Designs
Amanda Bodine
Holly Endress
Ellen Haxelmans
Larissa Heskett
Samantha Mann
Juliana Michaels
Naki Rager
Maria Russell (you are here)
Jennifer Timko
Tatiana Trafimovich
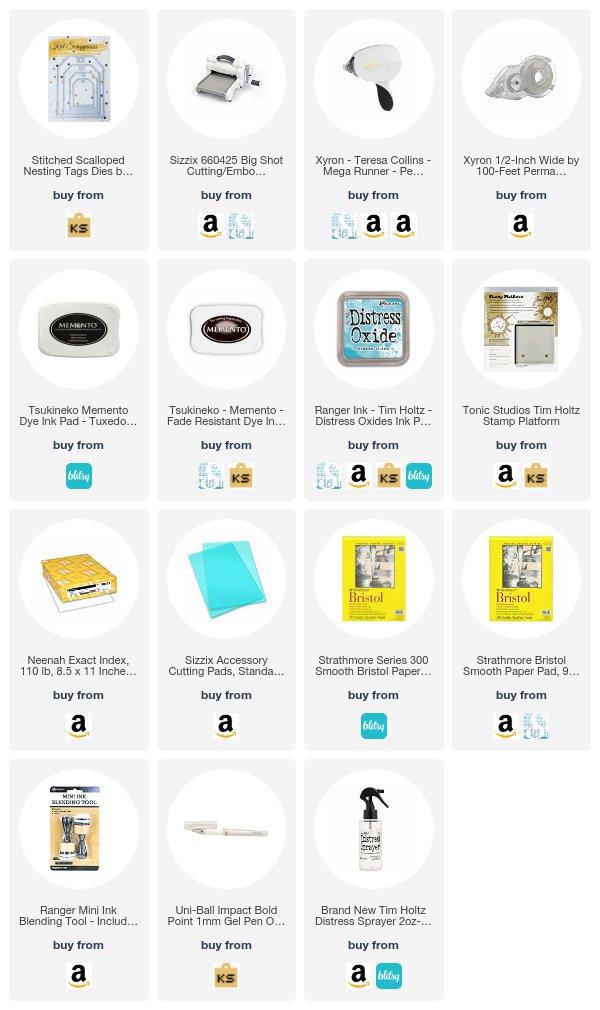
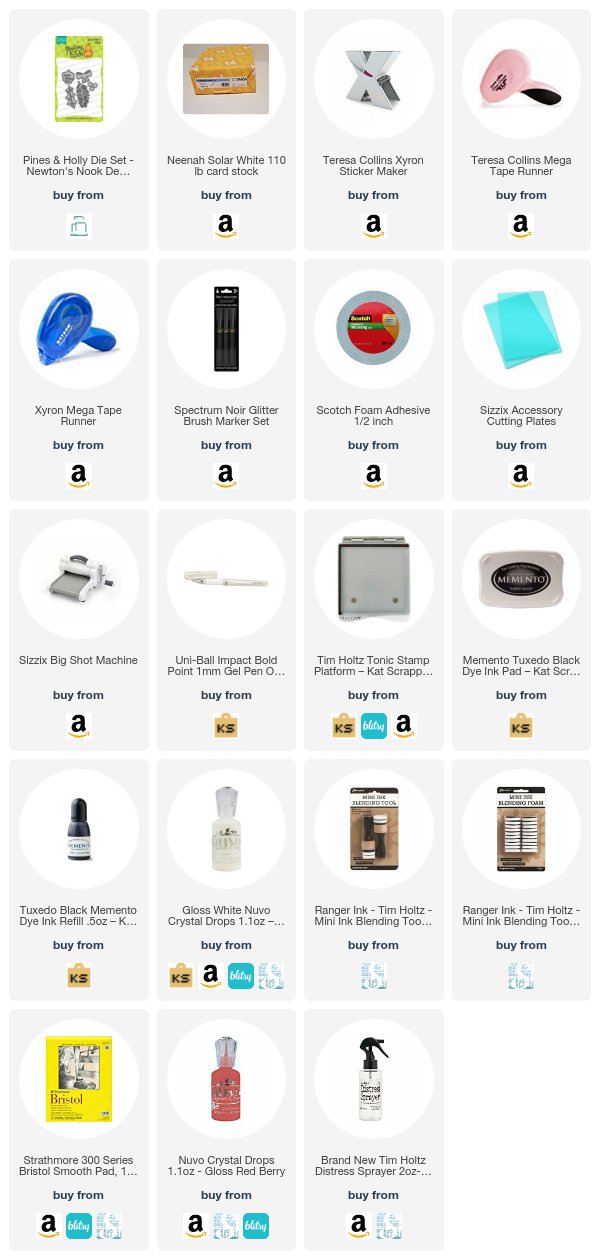
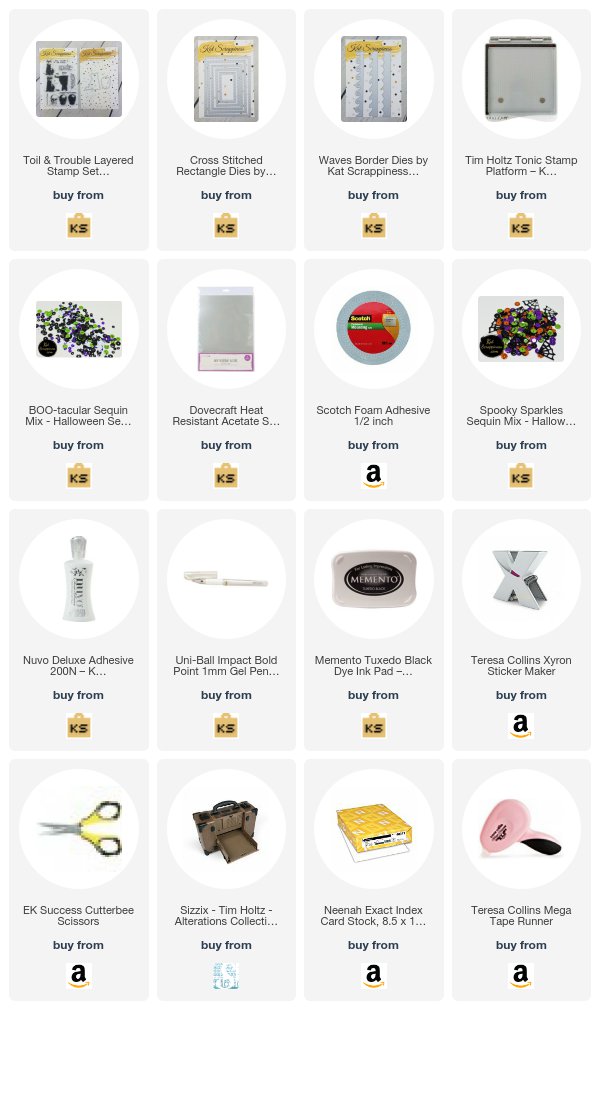
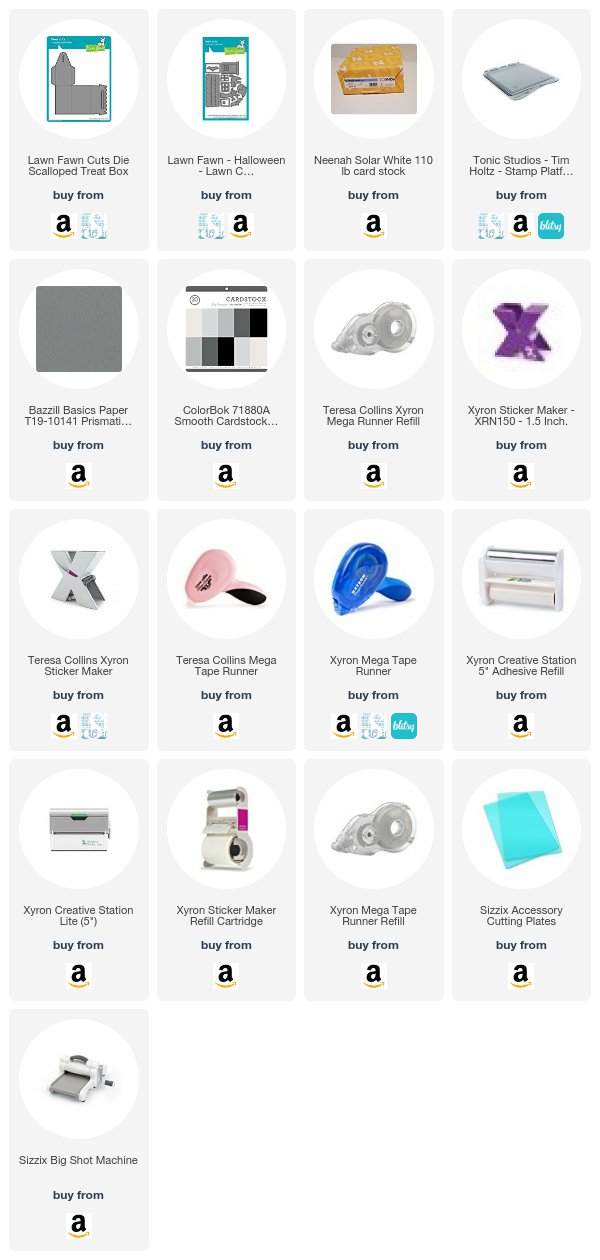
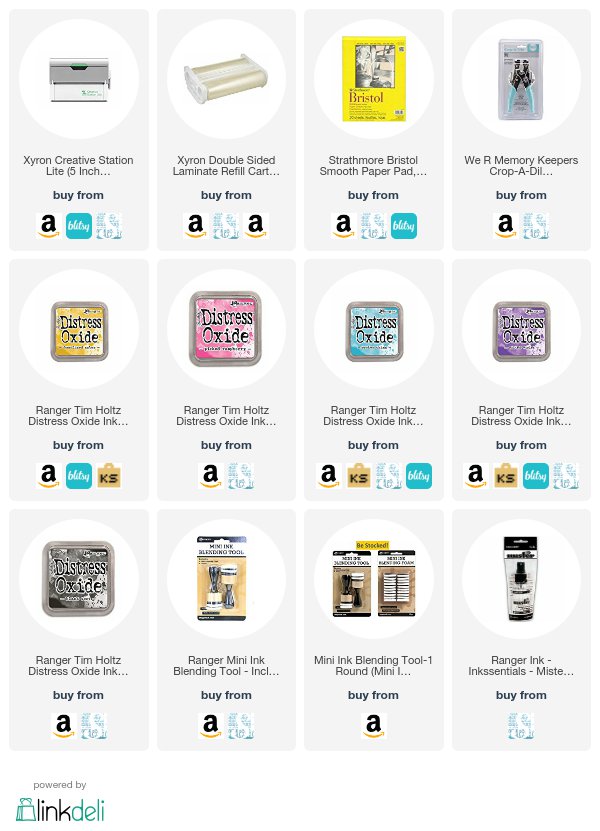
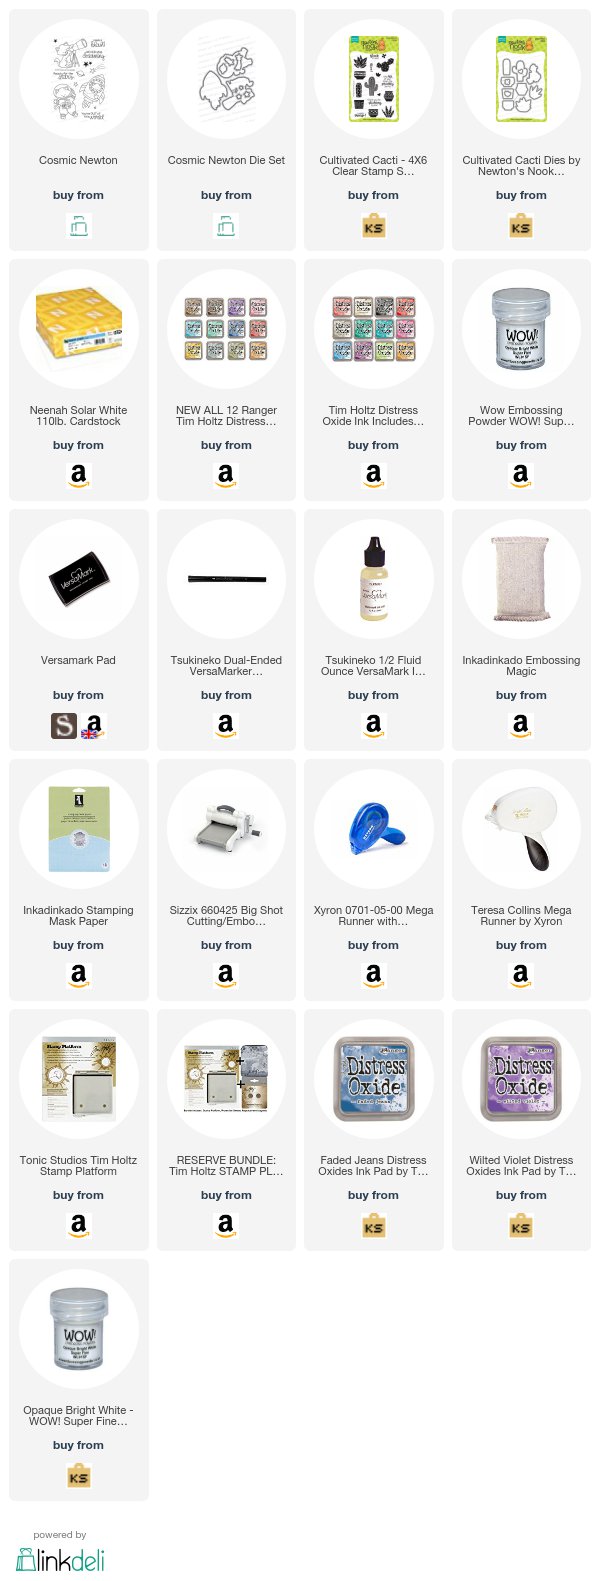
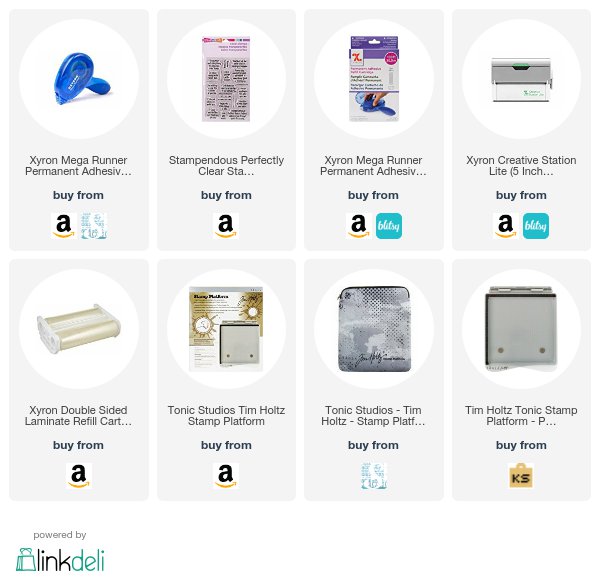
———-SUPPLIES———–