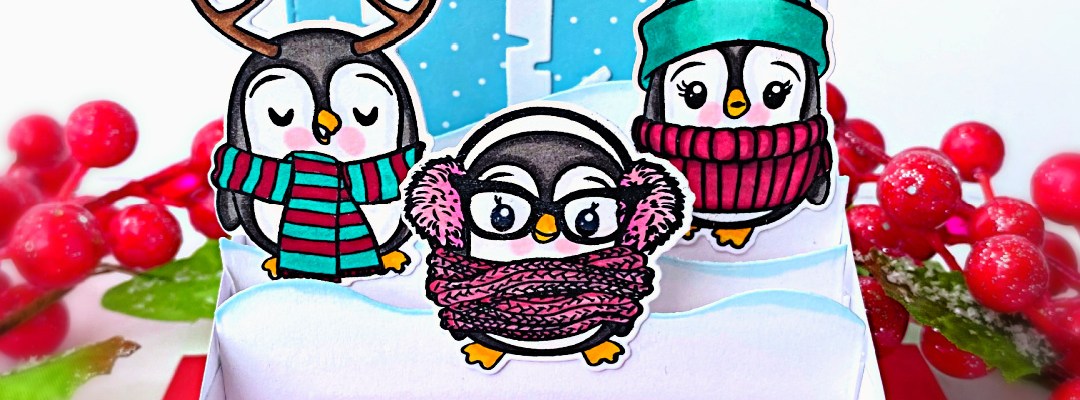
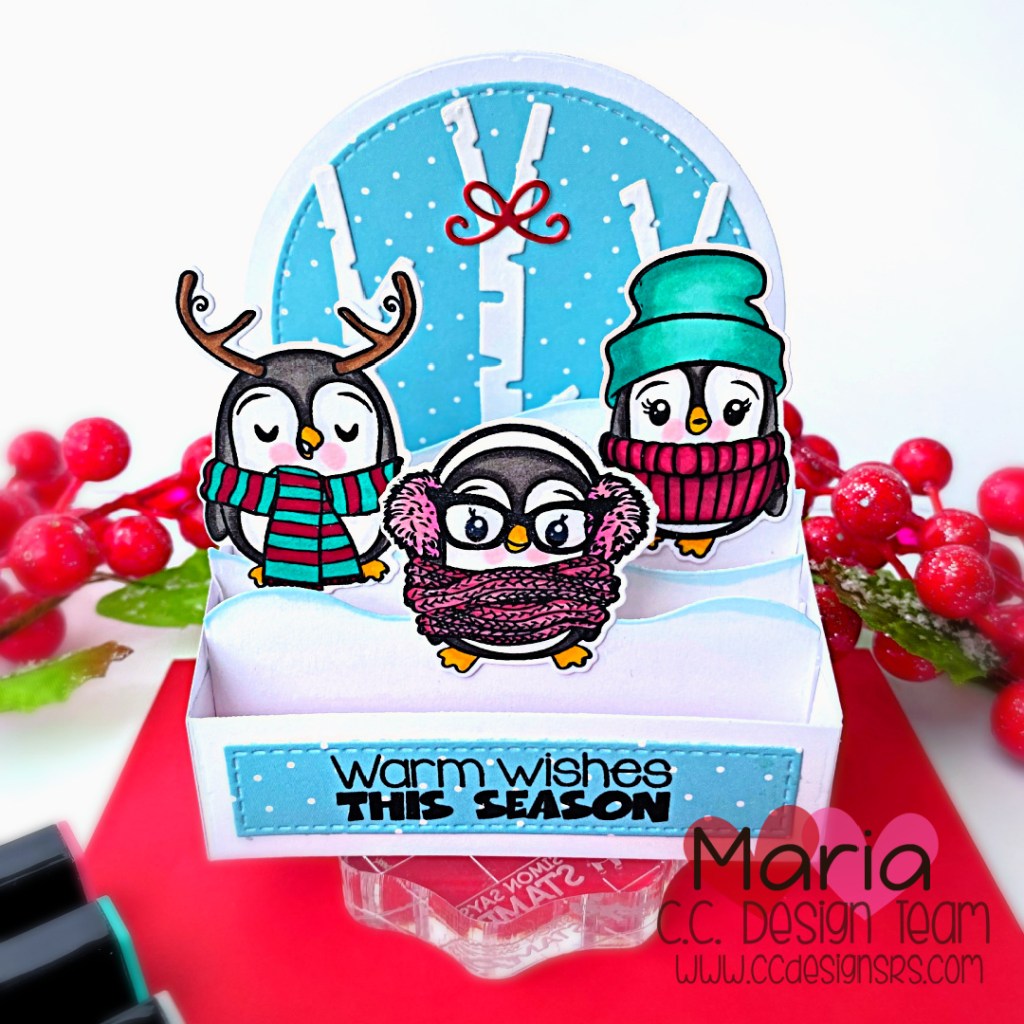
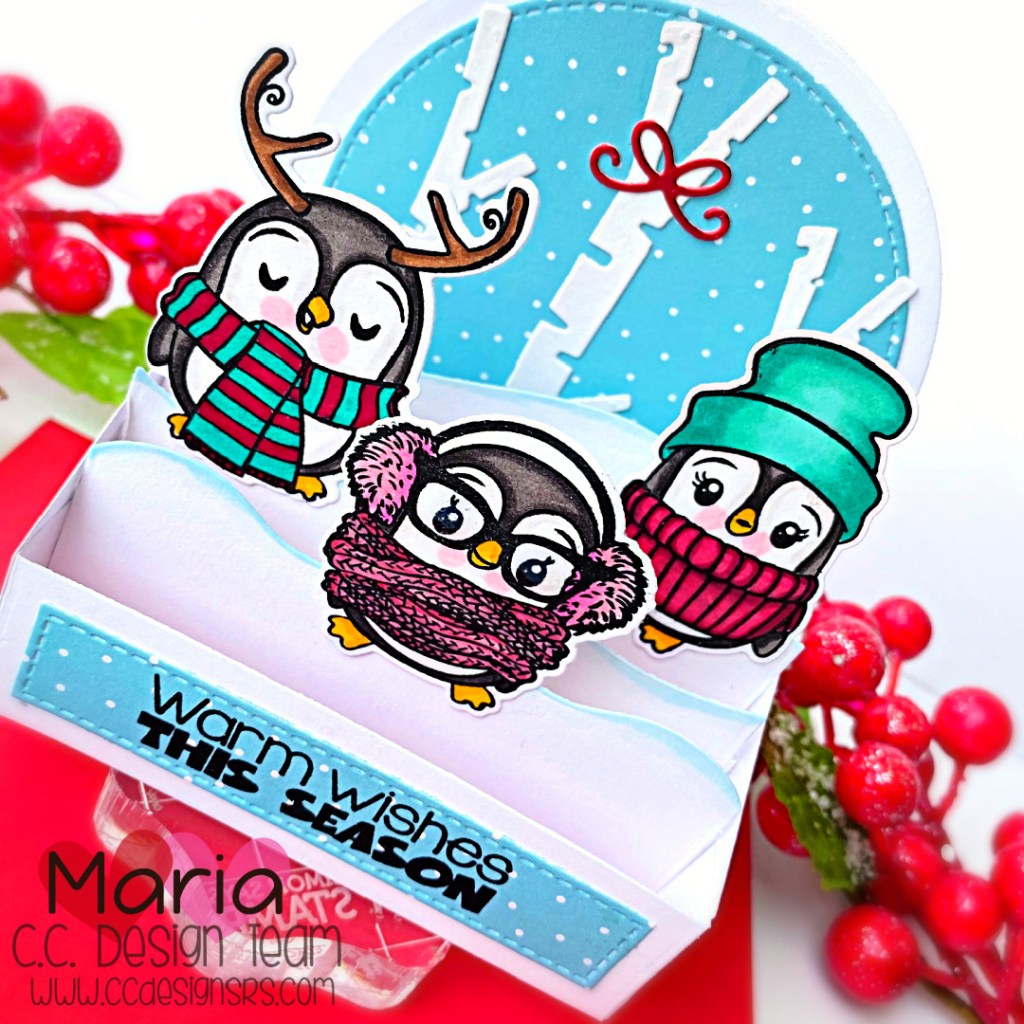
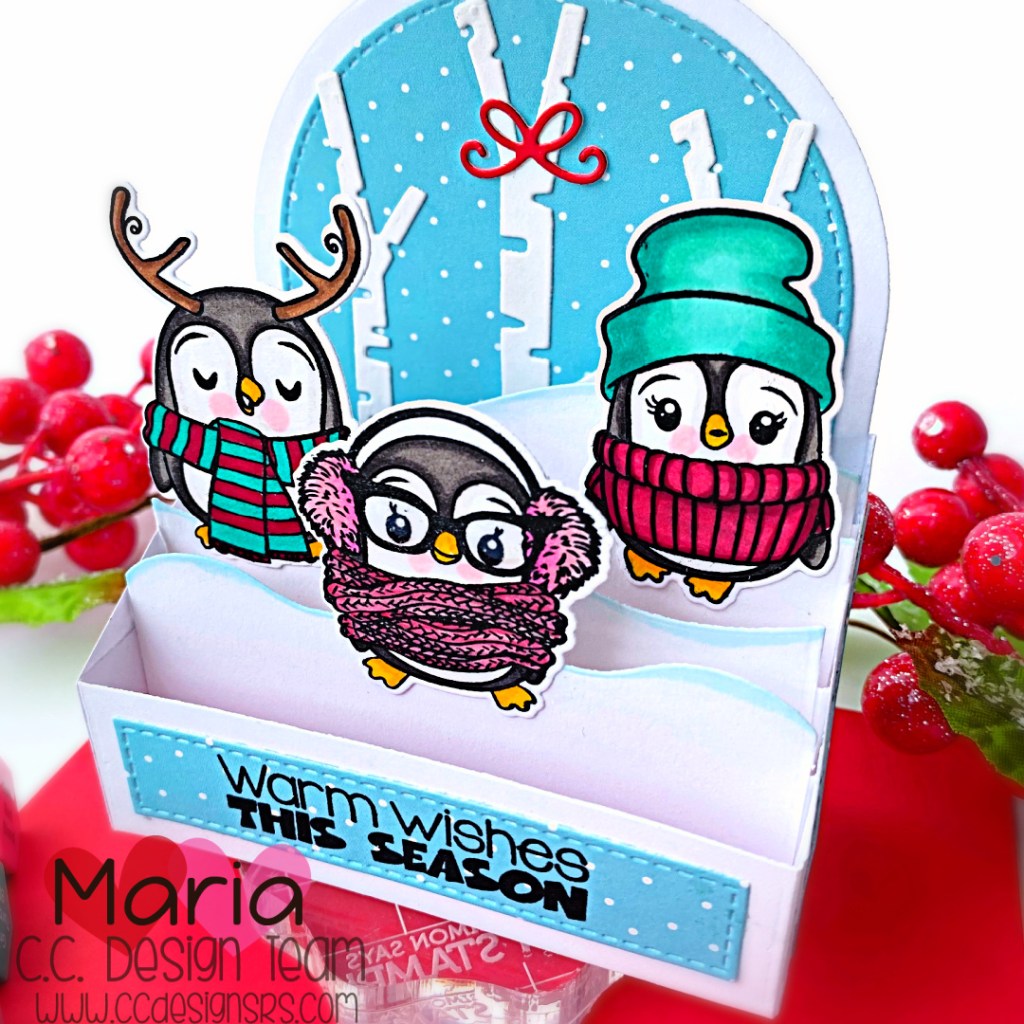
I started by stamping the images from the Cute Penguins stamp set on some Neenah solar white card stock with Memento Tuxedo black ink. I colored the images in with my Spectrum Noir alcohol markers and used the coordinating dies to die-cut them all out.
Next, I used a die from my collection to create a box card and also die-cut the birch trees to create my winter scene. I assembled them quickly with liquid glue.
I finished my design by stamping the sentiment on the pattern paper strip and adhered on the card using my tape runner. I added the red bow to the middle of the birch tree for that extra cuteness.
The CC Designs Creative Team has some amazing inspiration for you, using the products featured here today. Please don’t forget to visit CC Designs’ Instagram account to see more inspiration from the team.
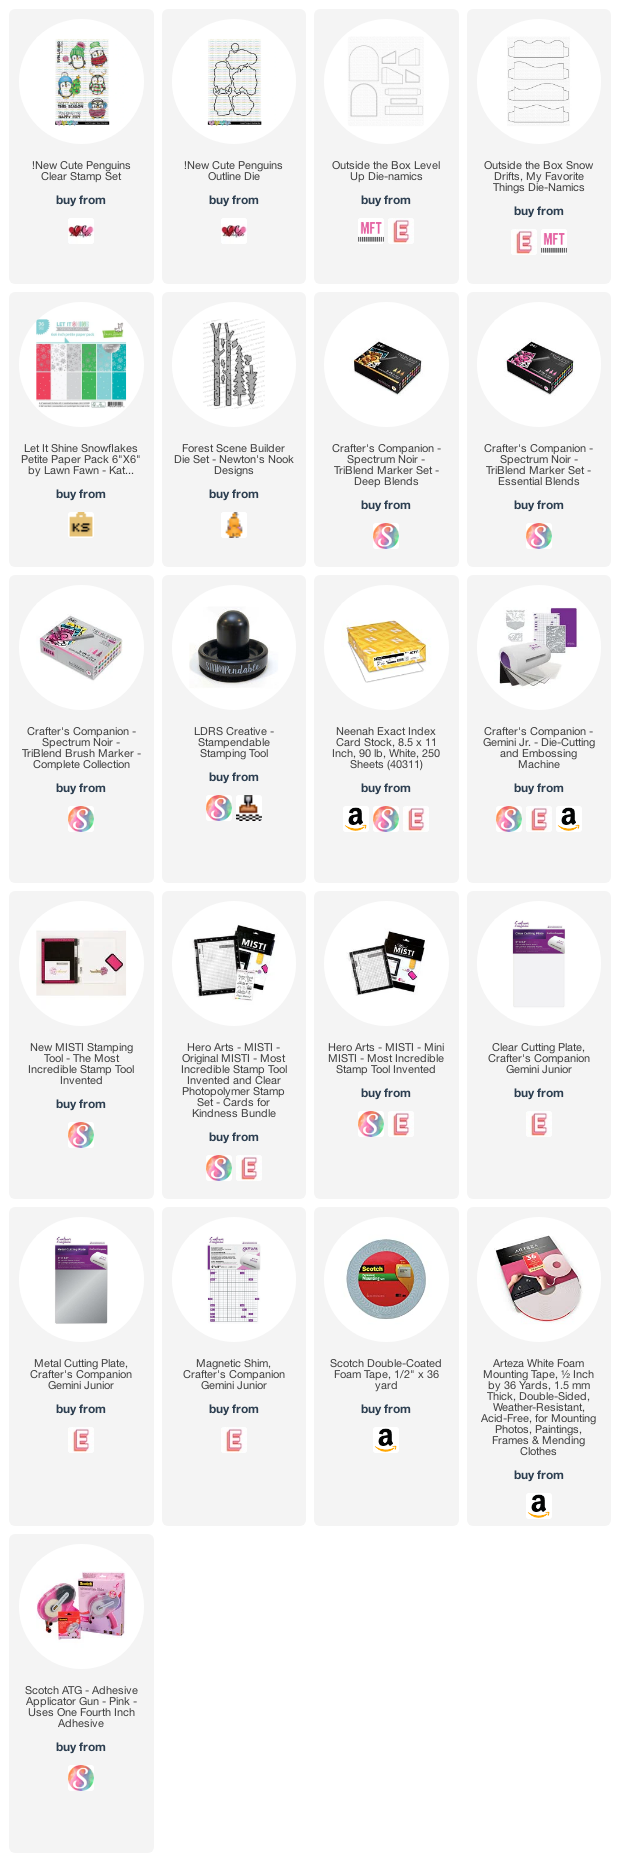
The supplies I used are listed and linked below. Thanks for stopping by and happy stamping!
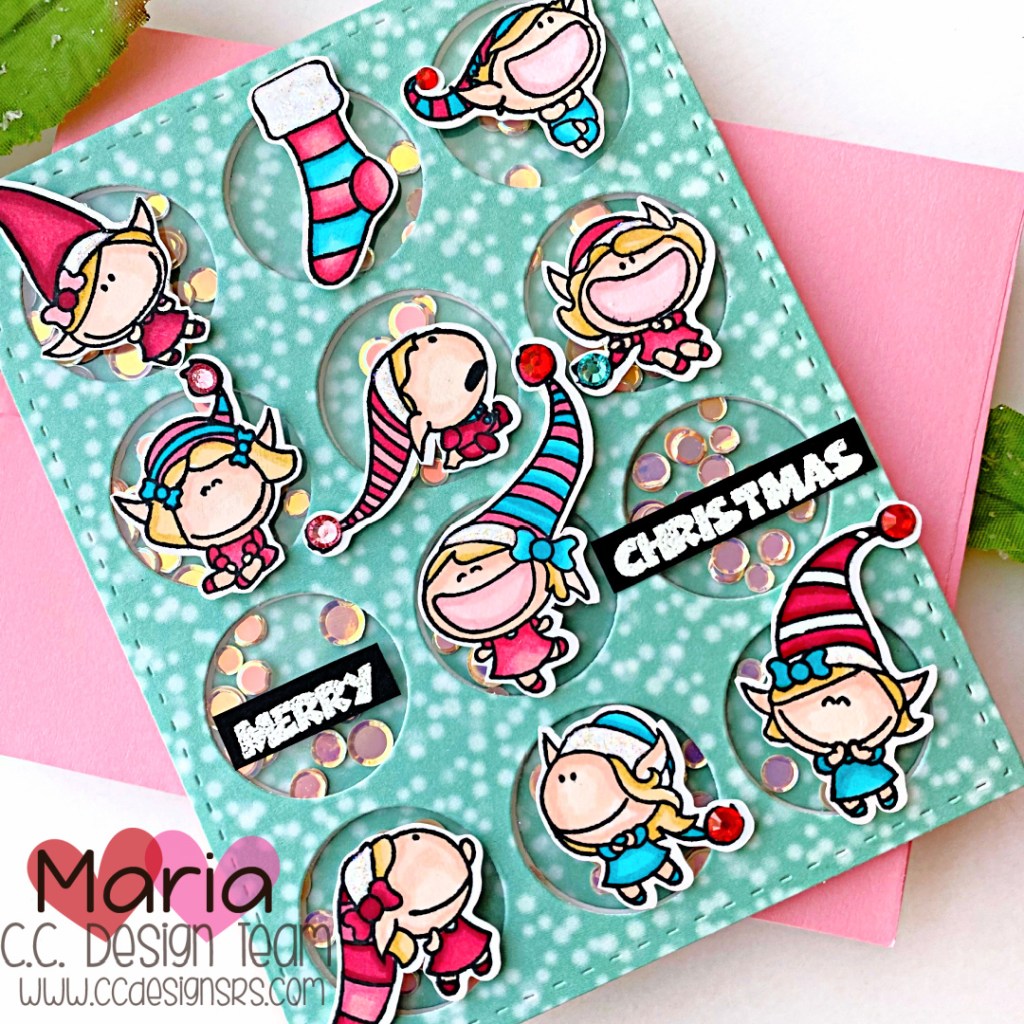
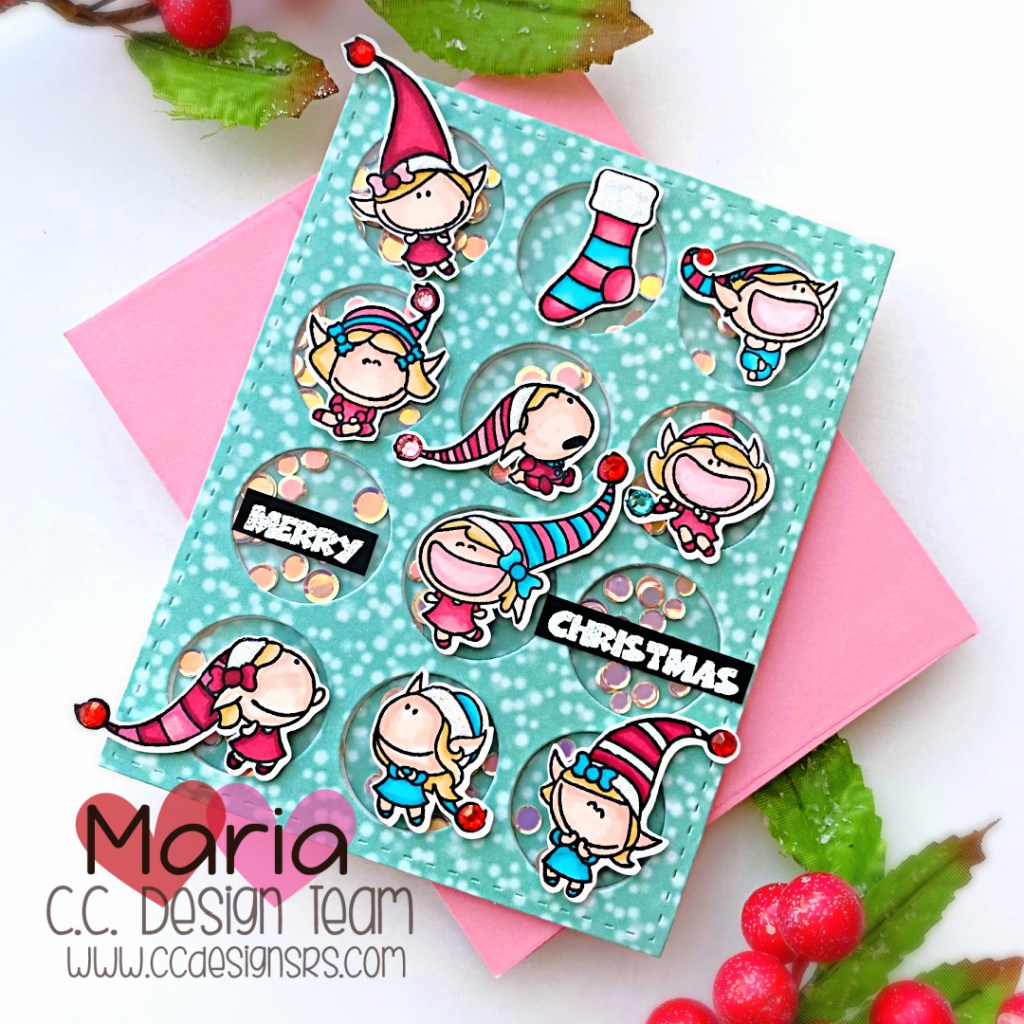
HELLO and welcome to the October Reveal Day by CC Designs. The Design Team is so excited to share with you a few projects that we created showcasing the ADORABLE Elf Inchies stamp set and dies that perfectly coordinates with the Inchies Circle Metal Die.
I started by stamping the images on some Neenah solar white card stock with Memento Tuxedo black ink. I colored the images in with my Spectrum Noir alcohol markers and used the coordinating dies to die-cut them all out.
I used the Inchies Circle Metal Die to die-cut some pattern paper and adhered the positive die-cuts on an A2 size panel. I kept the negative die-cut and adhered some acetate to this piece and added some foam tape to create my shaker well. I used some pink iridescent sequins as my shaker element and closed the shaker.
Next, I added the images on each little window with liquid glue. I adhered the sentiment that I stamped and heat-embossed with some white embossing powder. I finished my design by adding some red and pink jewels to their caps.
The CC Designs Creative Team has some amazing inspiration for you using the products featured here today. Please don’t forget to visit CC Designs’ Instagram account to see more inspiration from the team. Thanks for stopping by and happy stamping!
I started by stamping the images from the Witch Way Is The Candy stamp set with Memento Tuxedo black ink on some Neenah solar white card stock. I colored the images in with my alcohol markers. Even though I have the “older” coordinating dies for this stamp set, I fussy-cut the images with my precision snips. I didn’t want the white border around the images because of the black background.
Next, I die-cut some black card stock, as well as some Bristol smooth white card stock using the Outside The Box Level Up Die-namics. Using the Bristol smooth die-cuts, I ink-blended them all with Seedless Preserves, Carved Pumpkin and Wilted Violet distress oxide inks. I sprayed the pieces with water using distress sprayer and picked up the excess with paper towel. I then assembled the main box card with liquid glue then added the colored panel using my tape runner.
Next was to create my Halloween scene. I die-cut the grass panels using the Outside The Box Grassy Hills Die-namics with some black licorice card stock. I cut the flaps and adhered on the box card with liquid glue.
Now that I have everything colored and assembled, I am ready to put my scene together. I adhered my focal image (being the star of the show) to the foreground. I added the frog and pumpkins with liquid glue.
Next, I have to decorate the background to finish my scene. I die-cut the tree using a retired Trio of Trees Die-namics from MFT with the Sweet Celebration 6×6 Patterned Paper (also retired). I adhered it on the background with liquid glue.
The moon was die-cut using the older Witch Way Is the Candy Die-namics on some Bristol smooth white card stock and inked up with Mustard Seed and Carved Pumpkin distress oxide inks.
To finish my spooky scene, I die-cut the black clouds using the Cloud Cover Die-namics on some black card stock. The first piece was adhered with liquid glue on top of the moon. The other cloud was adhered on acetate sheet and added on the card behind the witch for added dimension. Take a quick look here:
I hope you like my spooky scene. Some of the retired items are of course no longer available. Therefore, I have linked the current supplies that are similar to the retired products I used for my card. Thanks for stopping by today and happy stamping!
It’s time for some fall inspiration on my blog today. Sometimes when the stamp set is so pretty, you don’t really need to add anything else, don’t you agree?
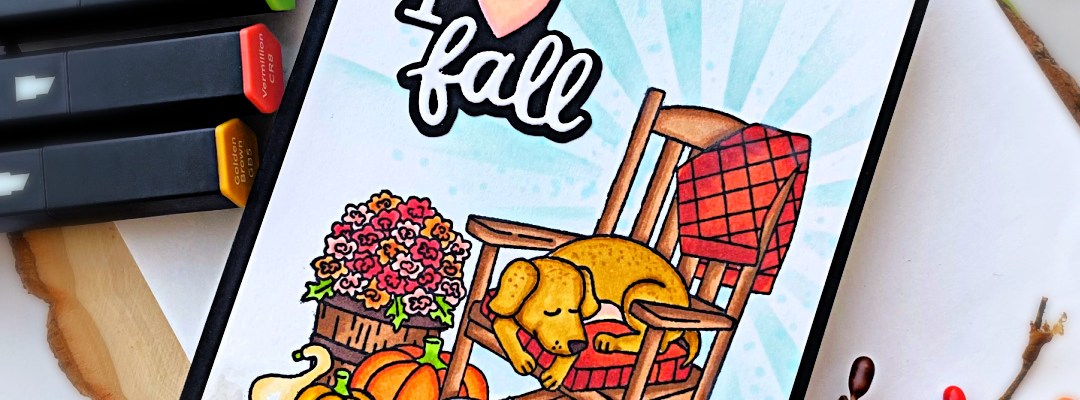
I started by stamping the images on some Neenah solar white card stock with Memento Rich Cocoa ink. I colored the images in with alcohol markers. I also stamped the image on some masking paper and fussy-cut with my precision snips. I covered the colored image with the masking paper.
Next, I used the Sunscape Stencil with some Light Blue Quick Dry Dye ink to add some texture to the background. I removed the stencil and adhered the foreground to an A2-size black notecard.
I finished my design by die-cutting the “I love fall” on some white card stock. I adhered the letters on black card stock and fussy cut to create a black shadow for added dimension. I adhered the sentiment on the card with liquid glue. I also added some glossy accents to the heart to make it stand out. Here’s another look:
This card makes me want to snuggle up with my little kitty and drink some hot cocoa! I hope you love this card as much as I do! The supplies I used are listed and linked below. Thanks for joining me today!
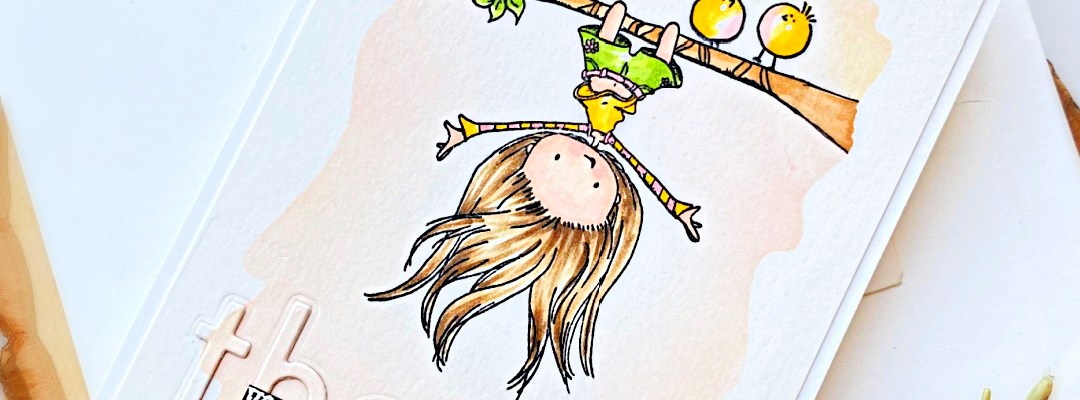
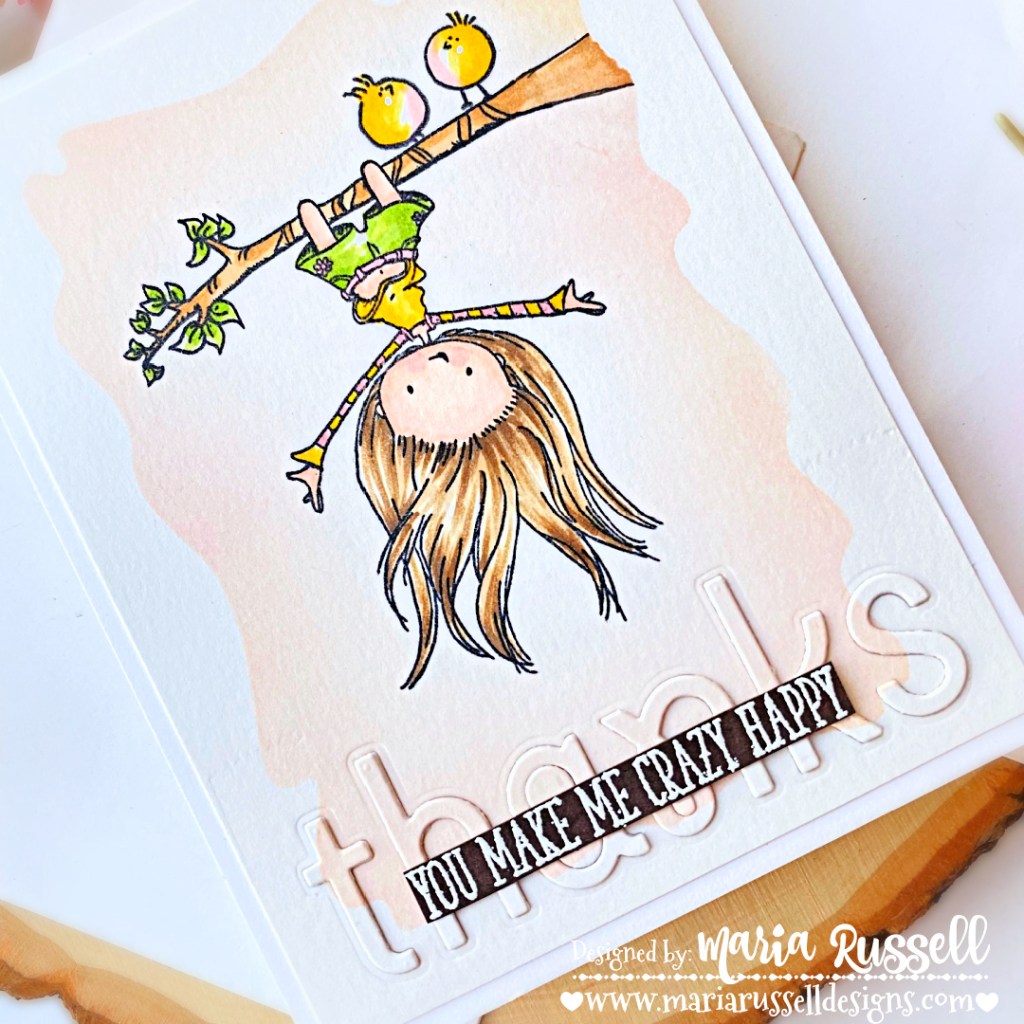
I started by stamping the image from the Let Your Hair Down stamp set with Memento Tuxedo black ink on some Bristol smooth white card stock. Without removing the stamp set from my stamping tool, I also stamped the image on some masking paper.
Next, I colored the images in with my Copic markers. I fussy-cut the mask and covered the images so that I can work on my simple background.
I sprayed my Watercolor Wash Rectangle 6×6 Stencil with some Pixie Spray, and placed it on my colored image. I used some Pink and Yellow Quick Dry Dye inks with my blending brushes to add the soft color to the background. Once I was happy with the color intensity, I removed the stencil.
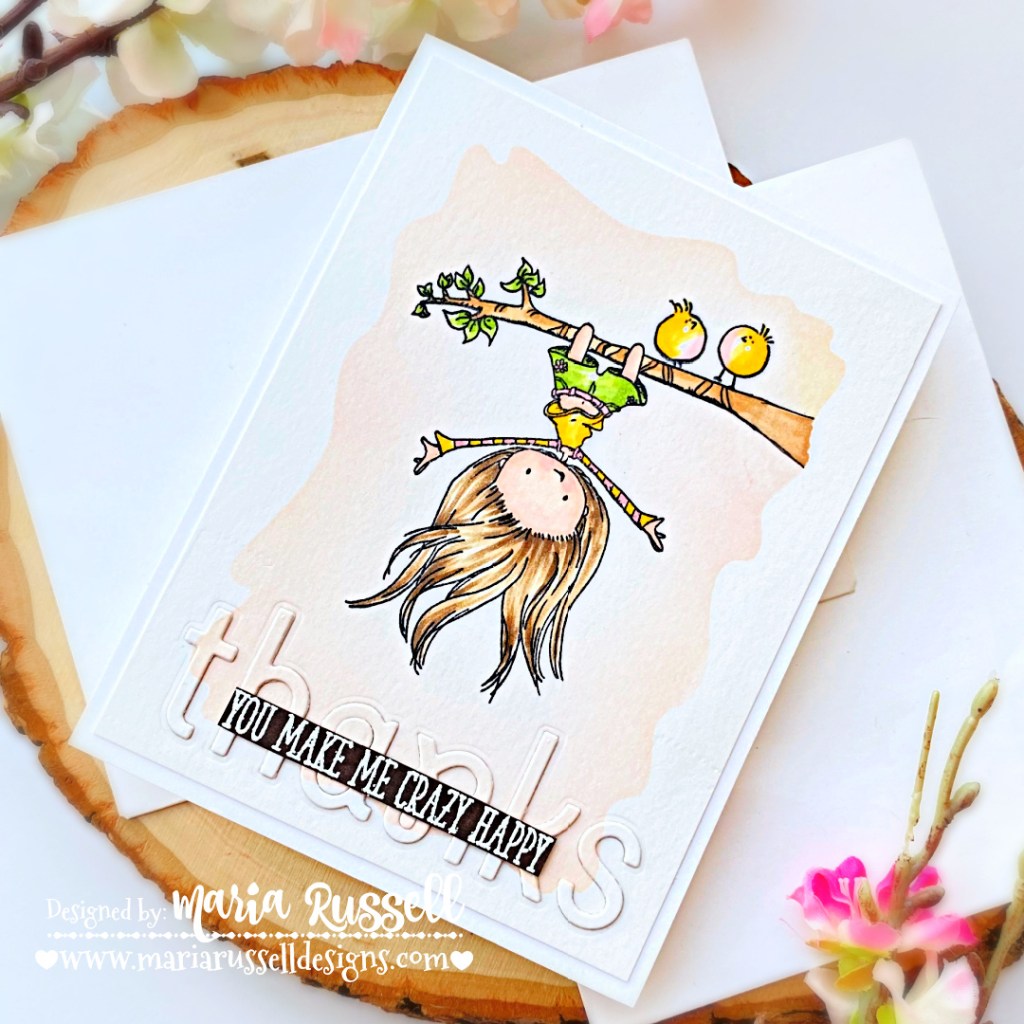
I used the Thanks Die-namics (retired) to die-cut the word on the foreground. I die-cut the word two more times and adhered them together with liquid glue for added dimension. I added the foreground with the “thanks” die-cut letters on some A2-size notecard.
To finish my design, I stamped the sentiment on some Milk Chocolate card stock with Versamark ink and sprinkled some white embossing powder. I heat-set the sentiment with my heating tool and used my precision snips to cut it out, then adhered on my card with liquid glue. Here’s another look at the card:
Clean and simple, don’t you agree? I love how this card turned out! I hope I win this year so please wish me luck!
The supplies I used are listed and linked below. Thanks for stopping by today and happy stamping!
Hello and welcome back! I hope everyone’s doing well today! As we bid summer farewell, what could be more fitting than to start your week and get excited for Halloween!
This week, Newton’s Nook Designs is getting ready for Halloween with a fun Inspiration week! All week long, the NND Design Team will be sharing inspiration using some of our favorite Halloween products to get you in the mood for tricks and treats! Check out what I created today and don’t forget to check the NND Blog each day this week for more fun inspiration!
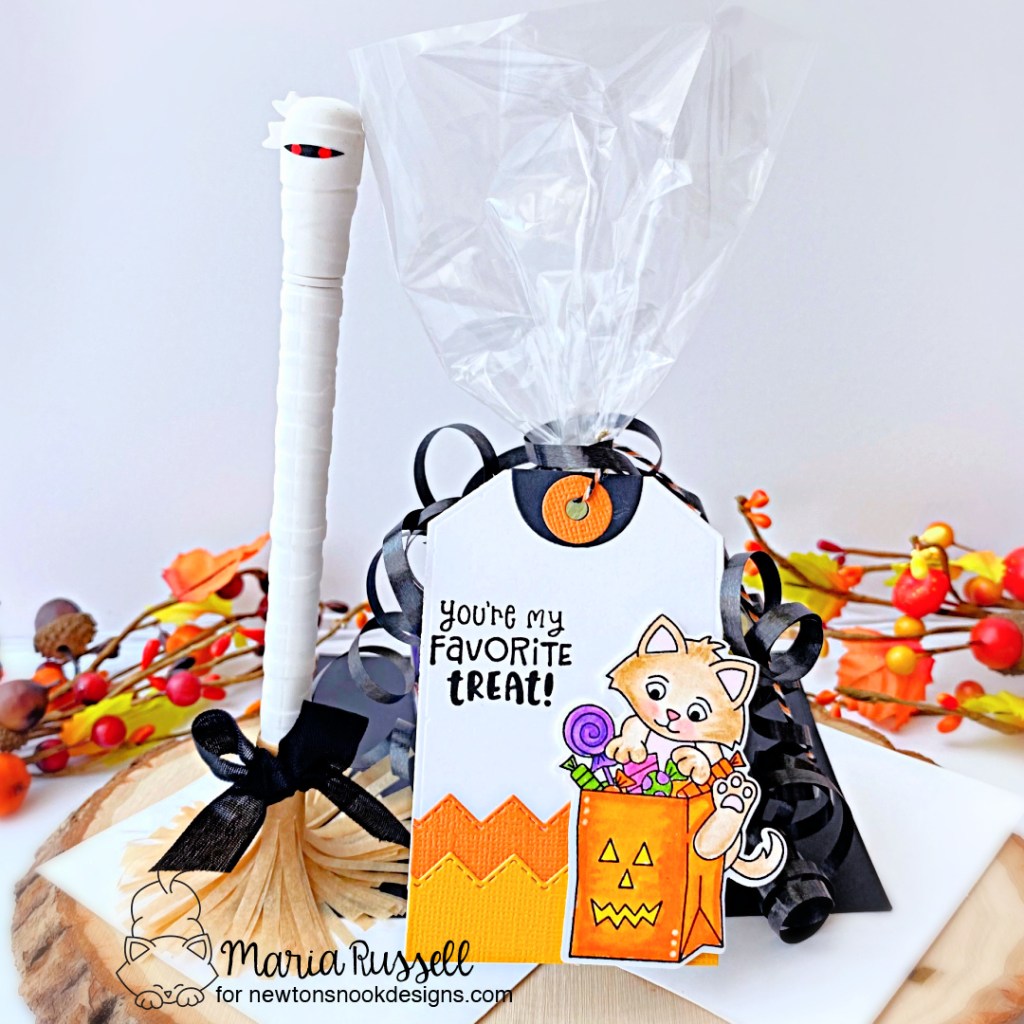
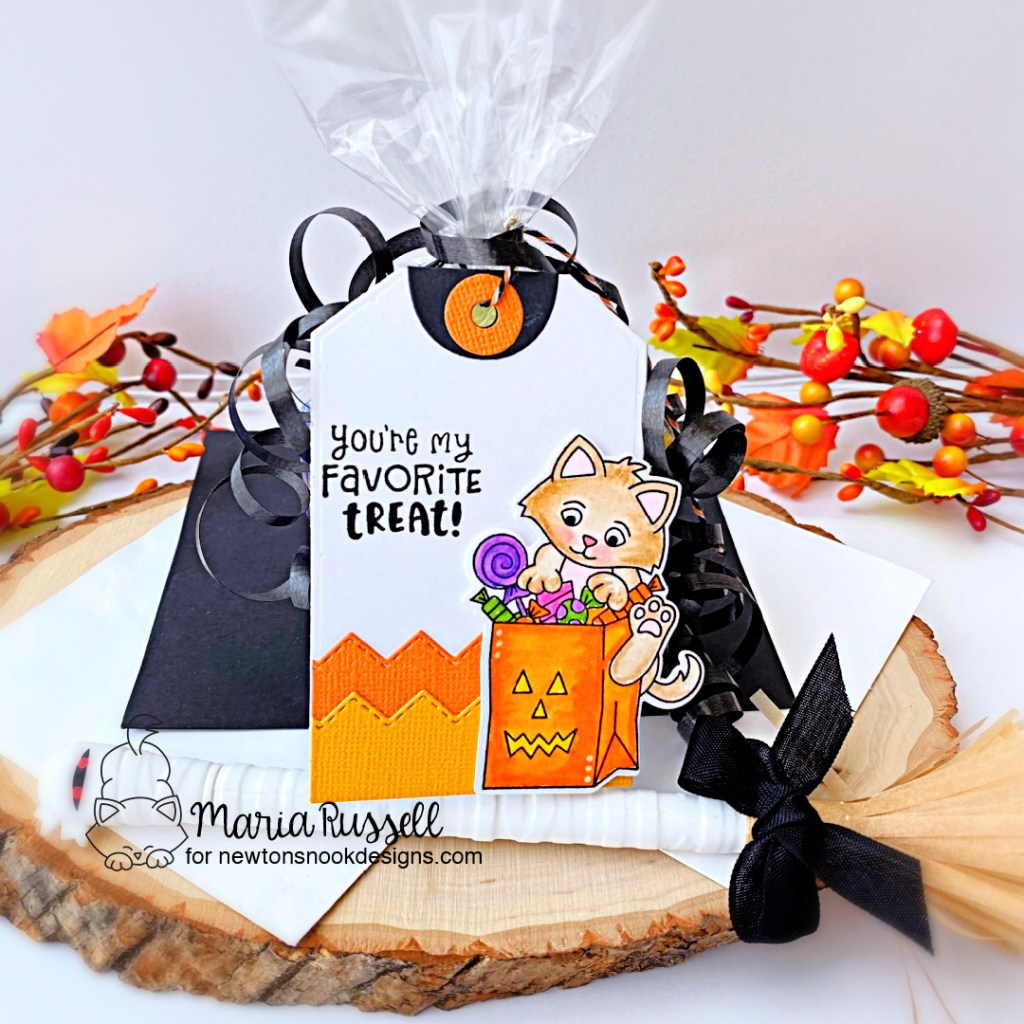
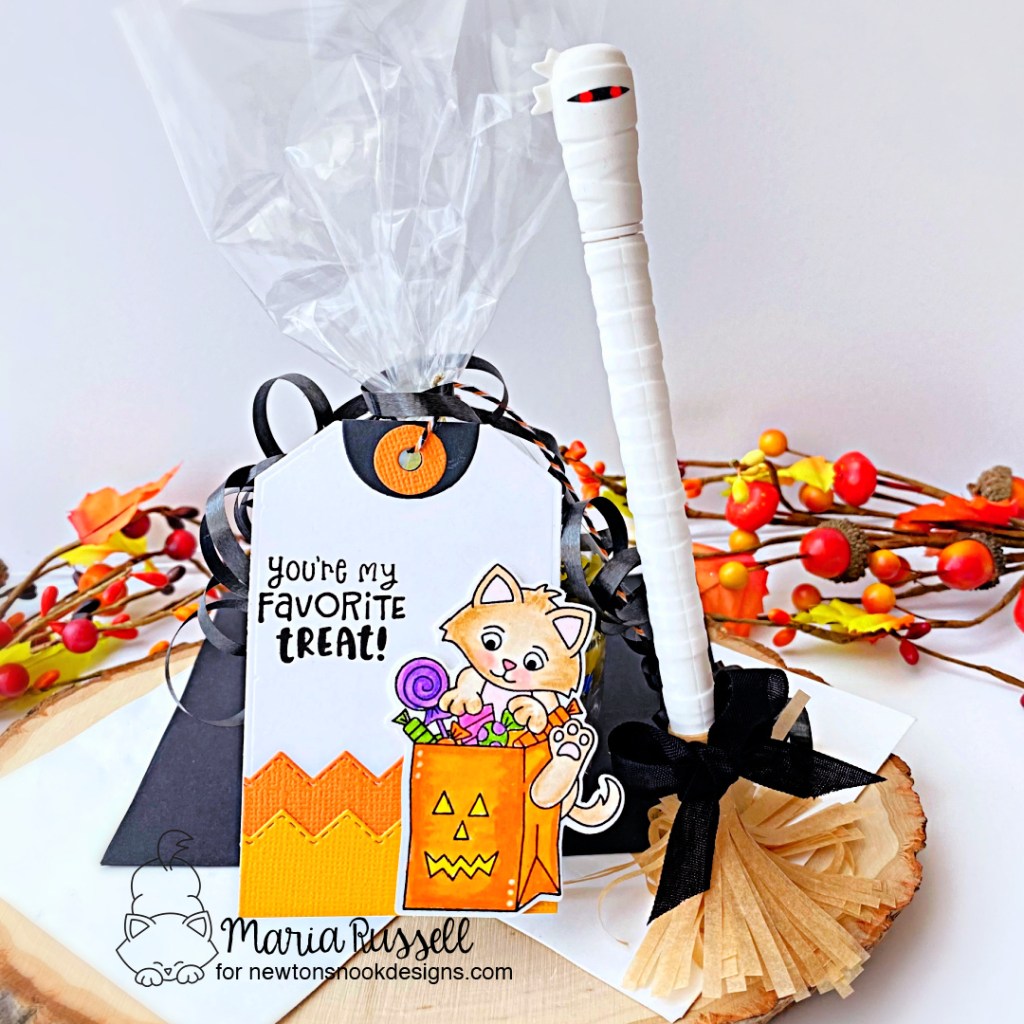
Before I start with the tag, I wanted to create this cute Witch’s Broom Pen to go with the treat! If you look closer, you will see the red glowing eyes that gives it a spooky effect! I thought this is really cute and will be a nice addition to the treat.
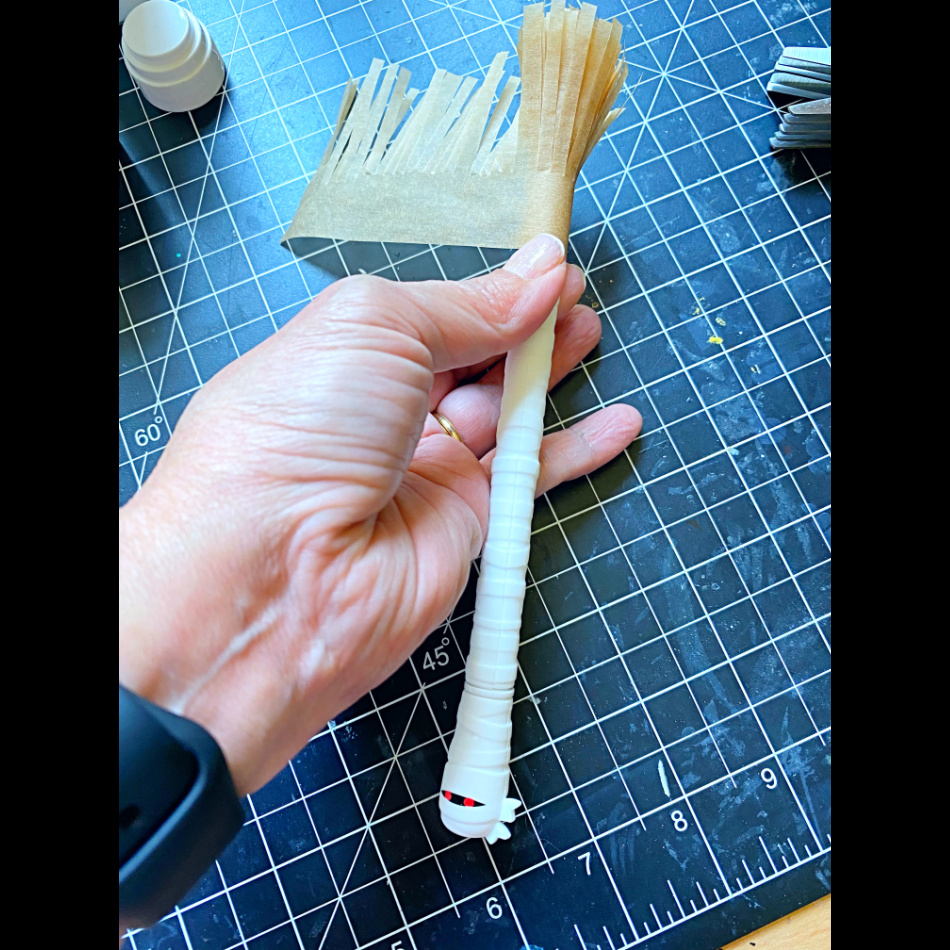
I cut a strip of baking paper. I used my specialty scissors to create the fringe and wrapped it around the bottom of the pen. I adhered the fringe with hot glue so it wouldn’t come off. I added a black bow at the bottom to finish the look. This pen can actually stand up on it’s own!
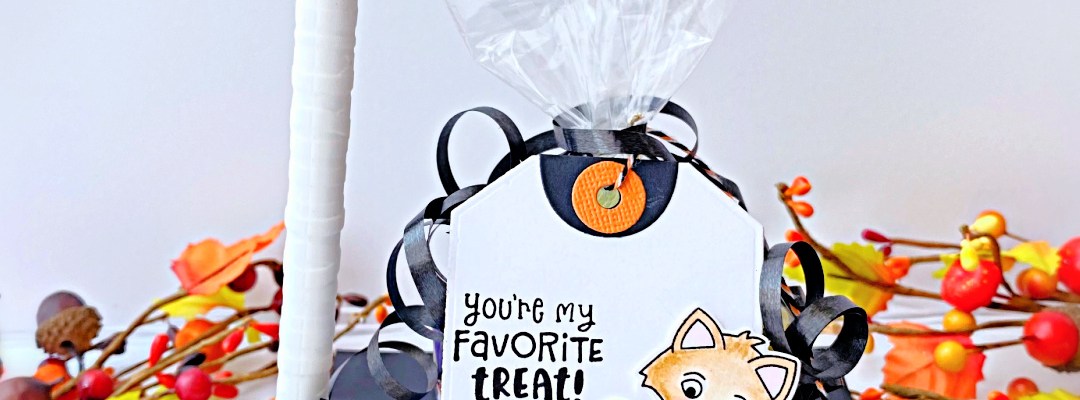
Next, I filled a small bag with some of my friend’s favorite candy bars and closed the top with some black curling ribbons. Last thing to do is to add a tag!
Step-by-Step Instructions for the Tag:
Stamp the image using the Trick or Treat Kitten Stamp set on Bristol smooth white card stock and color the images in with Zig Clean Color real Brush Markers.
Create the Candy Corn Tag by die-cutting white, orange, yellow and black card stock using the Fancy Edges Tag Die Set. Adhere all pieces together with liquid glue.
Stamp the sentiment on the tag with Black Onyx ink.
Adhere the image on the tag with foam adhesive for added dimension.
Attach the tag to the treat bag with some baker’s twine.
My friend and I love Halloween so much! Not only will she love the treats inside this treat bag but I’m sure she is also going to love the Witch’s Broom Pen. It can stand up and the eyes glow in the dark! Check out the photo below!
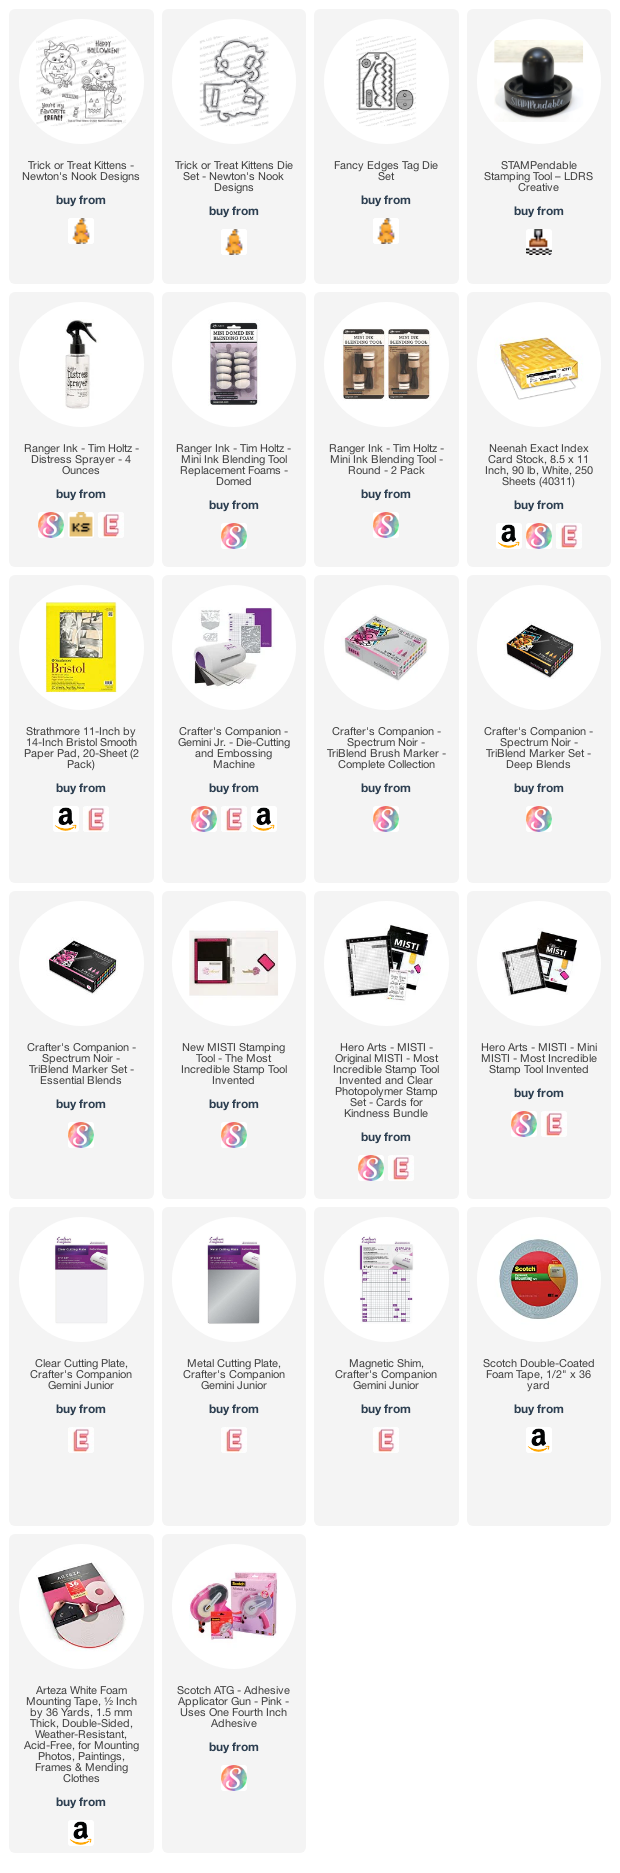
I hope you like my project today and got inspired! The supplies I used are listed and linked below. Don’t forget to visit the Halloween Products Category at Newton’s Nook Designs and get your favorites for creating some cute and spooky Halloween crafts!
Hello and welcome back! I am so glad you joined me today!
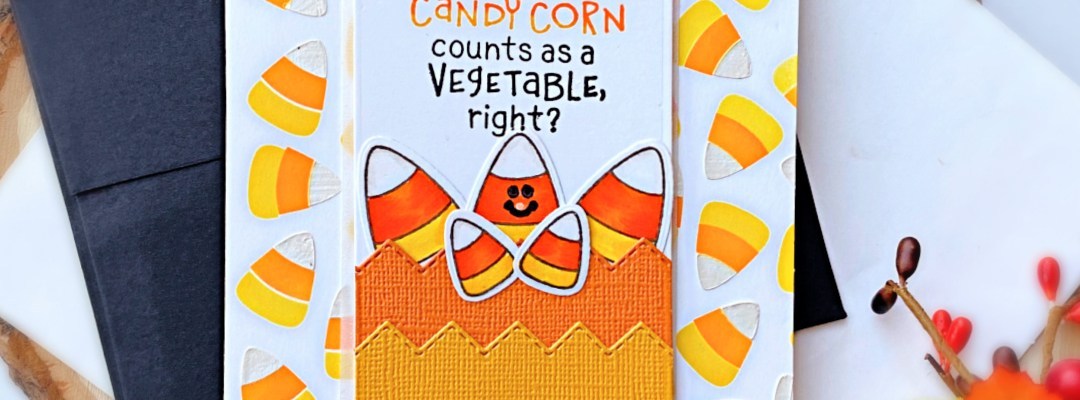
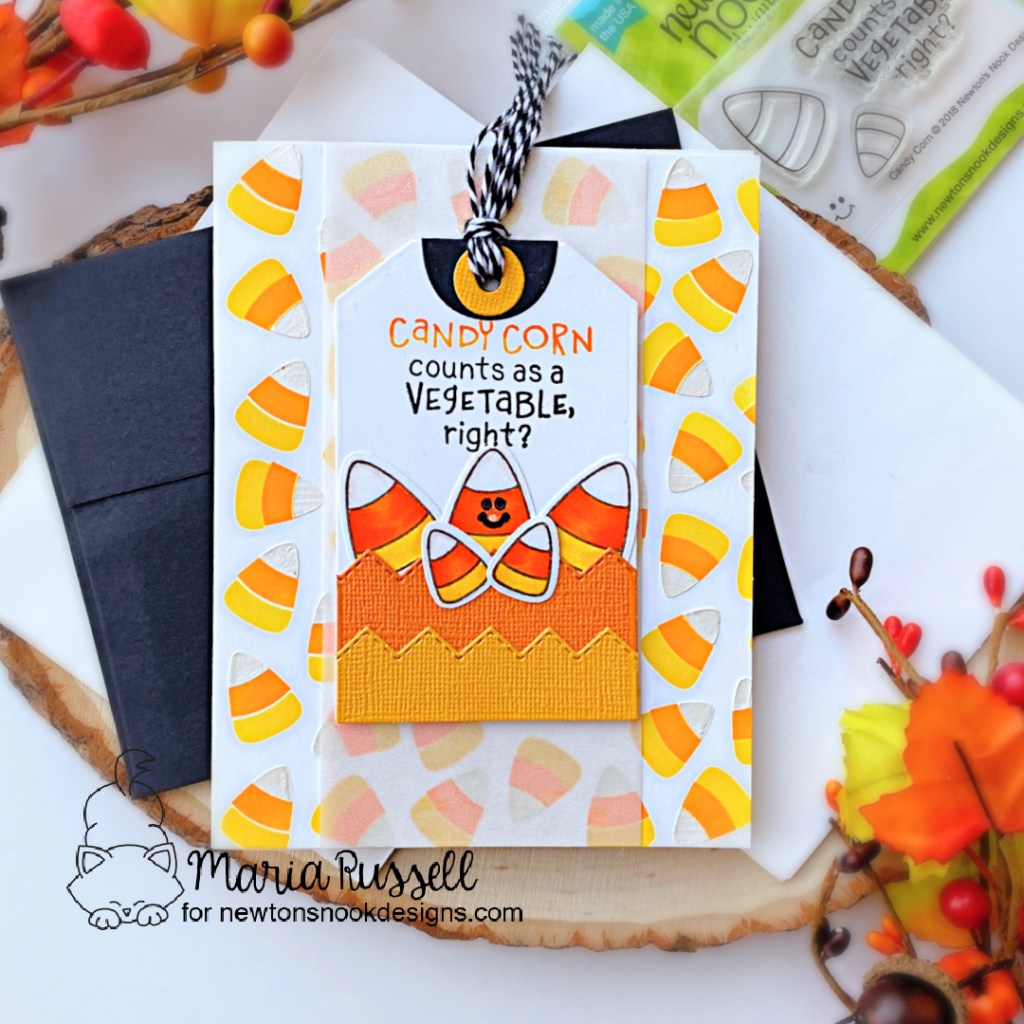
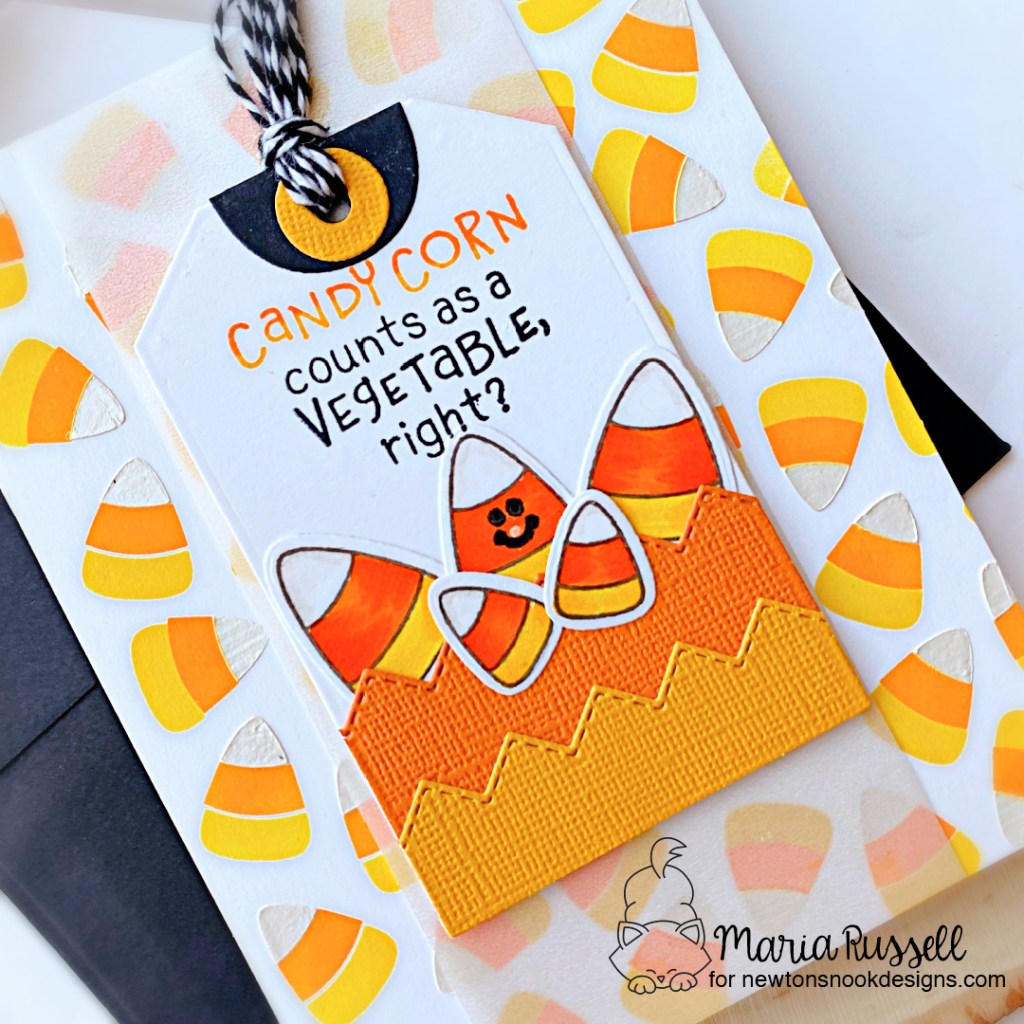
Today is all about Candy Corns! As soon as I saw this stencil set from the August release, this card idea already popped in my head. Isn’t is strange that you sometimes get ideas right away?! Most of the times, I have to look at my previous card designs to get some inspiration (or if I’m feeling more adventurous, I’d look at Pinterest).
Use Pixie Spray to temporarily adhere Candy Corn Stencil # 1 on some Neenah Solar White card stock.
Use some detailed blending brushes with Mustard Seed Distress Oxide Ink and blend until you get a nice vibrant color. Let this dry for a few minutes.
Repeat process and use Candy Corn Stencil #2 using Carved Pumpkin Distress Oxide Ink.
Repeat the process above but this time, use Deco Foil Transfer Gel Blanco to make it stand out. Smooth the gel out by using the Stencil Pal. Let this dry for about half an hour.
Stamp images on some Neenah solar white card stock and color the images in with alcohol markers.
Cut some vellum measuring 2 1/2 by 5 1/2 and adhere to the card background with tape runner. Designer note: make sure you hide the adhesive so that it doesn’t show up.
Adhere this background on an A2-size notecard.
Die-cut some white, yellow, orange and black card stock using the Fancy Edges Tag Die Set (a must-have for any paper crafter since there are so many possibilities using this set). Adhere with liquid glue.
Use some black and white Baker’s Twine and add to the tag.
Add some foam-tape to the back of the tag and adhere on the card.
Adhere the Candy Corn images with liquid glue.
Finish the design by stamping the sentiment using yellow, orange and black ink.
It always puts me in a great mood when I see bags of candy corn at the grocery store. It just reminds me of all the great holidays coming up, especially HALLOWEEN (my favorite holiday)!
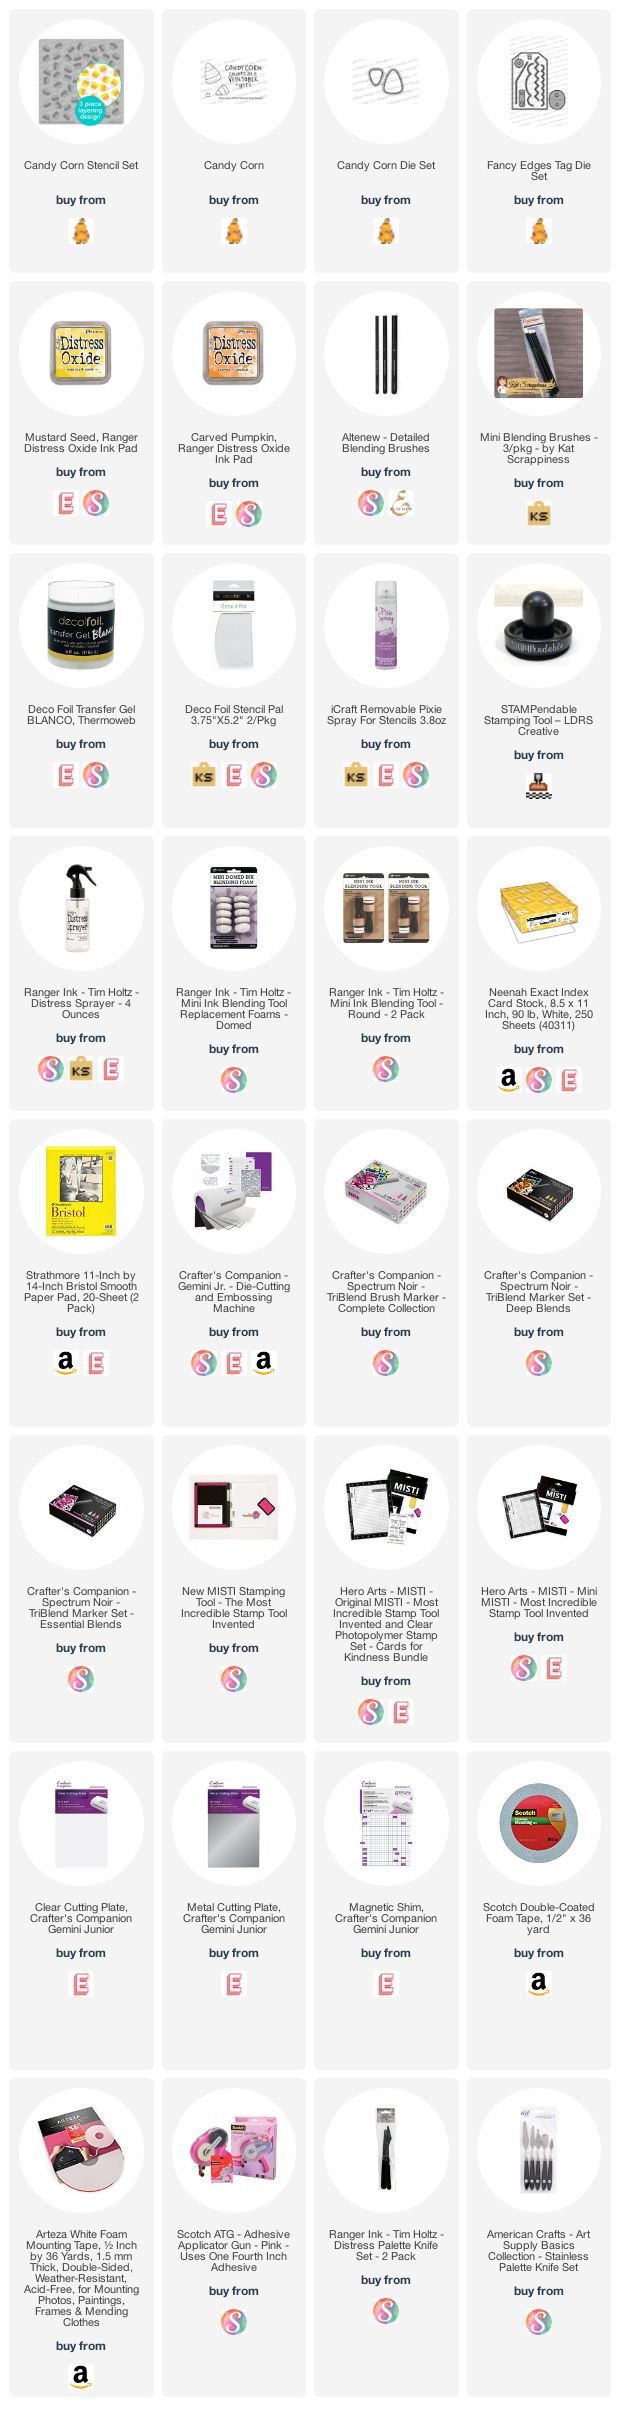
I hope you enjoyed this inspiration today. The supplies I used are listed and linked below. Thank you again for joining me, and happy crafting!
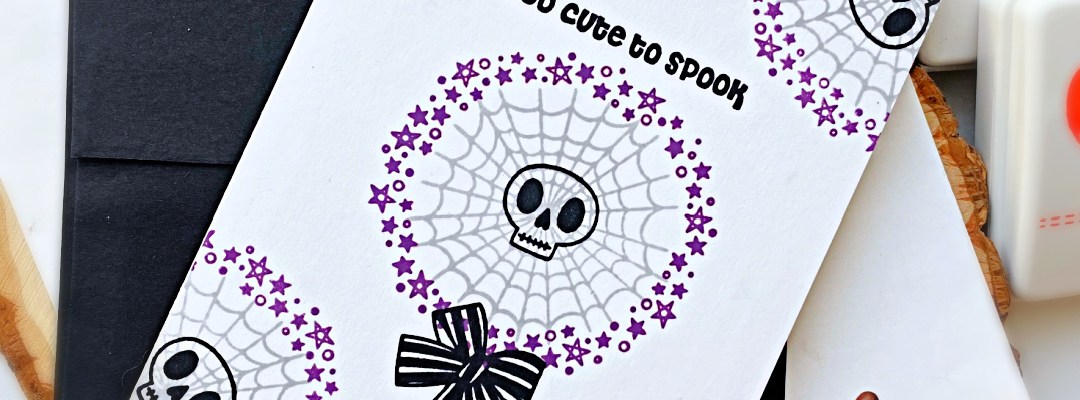
This first card reminds me of one of my all-time favorite animated movie for Halloween. Can you guess what movie that is? Of course that was my inspiration creating this card.
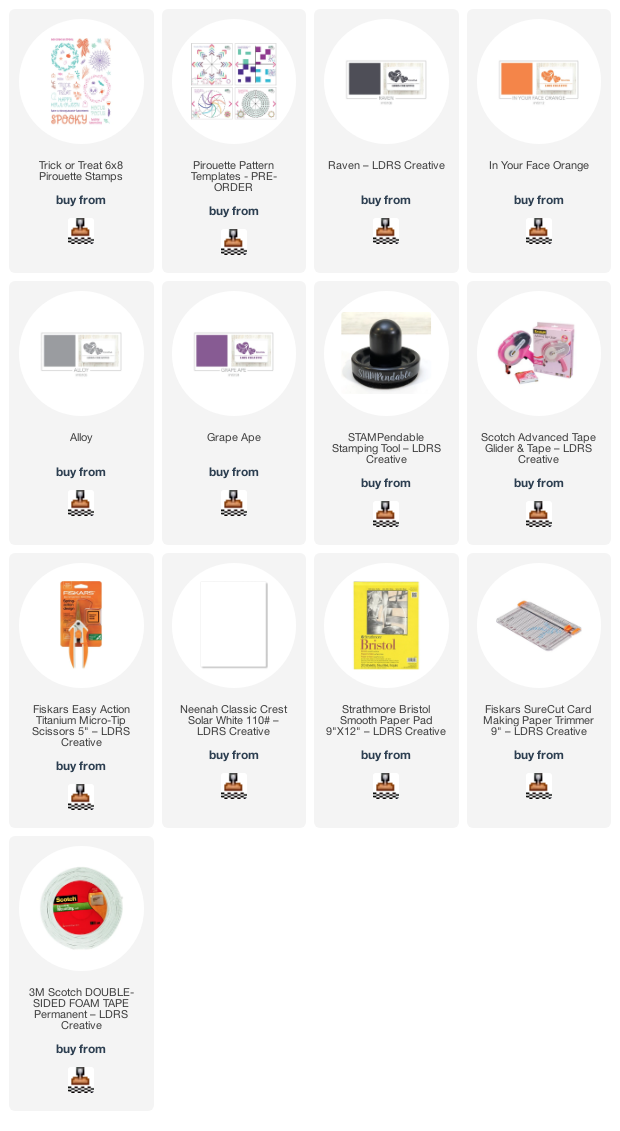
I started by positioning the Pirouette Pattern Master Template inside my stamping tool and taped it down with washi tape. I position the spider web from the Trick or Treat 6×8 Pirouette Stamp Set in the center and closed the lid. I opened the lid again to place my card stock inside the stamping tool and stamped the spider web in the middle using Alloy Hybrid Ink. I went on and positioned the stars and dots wreath and used Grape Ape Hybrid Ink.
I repeated the process by stamping the images randomly on my card stock. Next, I used some Raven Hybrid Ink to stamp the skull in the middle of the spider web. I adhered this card panel on an A2 size notecard. and finished the card design by stamping the black ribbon and the sentiment with Raven Hybrid ink. I just LOVE the intensity of this black ink, don’t you?!
For my next project below, I used the Pirouette Patterns Template again to stamp the images on a 4×4 card stock. This template makes it super easy to perfectly center your images on the card. The lines really helped me position the images to create a seamless pattern. I am warning you, it gets really addicting! Haha!
I started with a 4×4 card stock and stamped the spiderweb first with Alloy Hybrid Ink. Next, I stamped the stars and dots wreath image using Grape Ape Hybrid Ink. I positioned the ghost and stamped it with Raven Hybrid ink. I colored the ghost with some alcohol markers for added dimension. Then, I moved on by stamping the rest of the images with Raven and In Your Face Orange Hybrid inks.
Next thing to do is to mat the card on some orange and black card stock, then adhering it on some purple card stock measuring 4 3/4 by 9 1/2 folded in half, which makes it a 4 3/4 x 4 3/4 notecard. I finished my card design by stamping the words “Happy Hunting” with some Raven Hybrid Ink. Here’s another look:
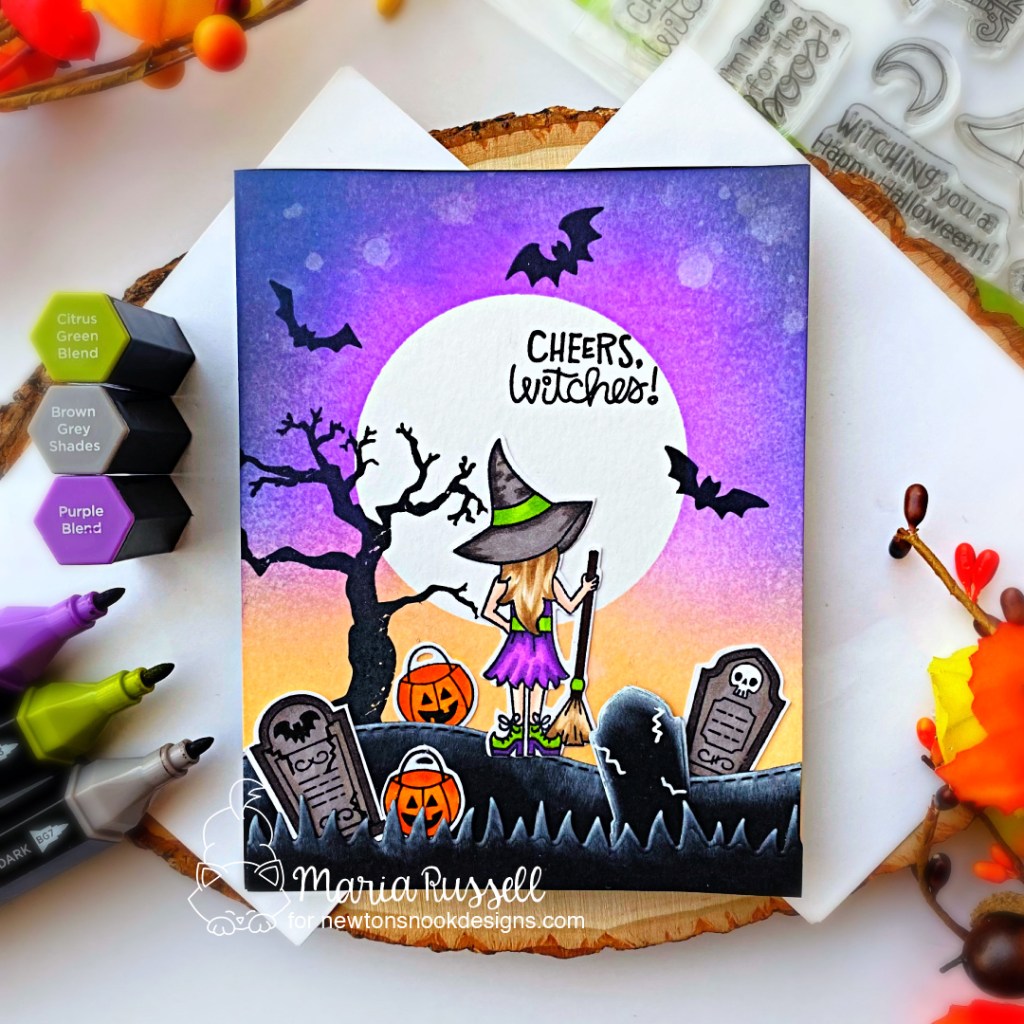
Hello Newton’s Nook fans! I am so glad you joined me today and I am also up on the Newton’s Nook blog, sharing this cute Halloween card from the new August product release. I didn’t get to join in the fun because I was traveling but rest assured that you will be seeing a lot more throughout the month.
Apply some Unicorn ink on the edges of the tombstone, land and grass borders for added texture.
Use a circle die to die-cut some masking paper and adhere to an A2-size panel of Bristol smooth white card stock.
Ink-blend this panel with distress oxide ink.
Use distress sprayer to add water droplets to the ink-blended panel for added texture and interest.
Pick up excess water with some paper towel and remove the mask.
Stamp the spooky tree, bats and sentiment using black ink.
Adhere the hill and grass border on the card using tape runner.
Use white gel pen to add some detail to the black tombstone.
Adhere the rest of the elements to finish the scene.
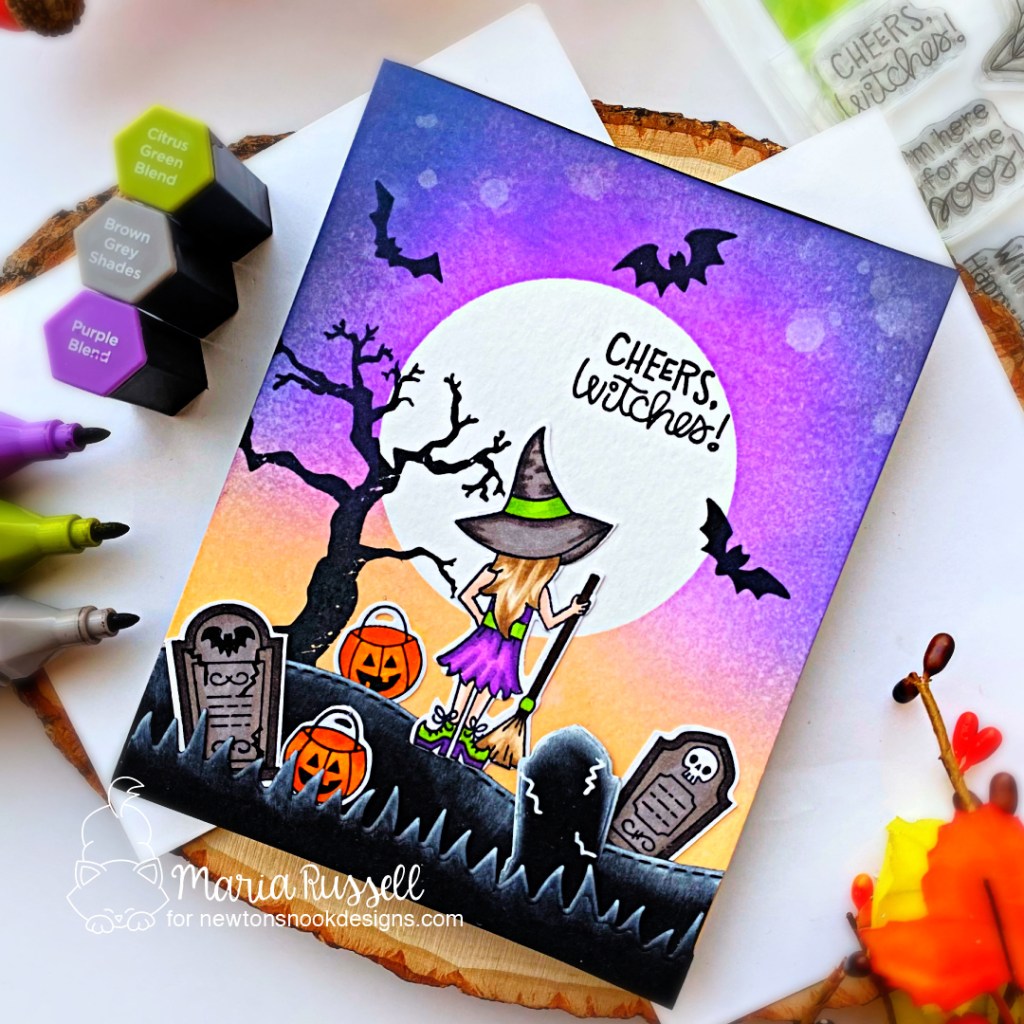
I really LOVE creating halloween cards and this will be the first of many halloween cards I’ll be posting on this blog. Here’s a closer look:
The white pigment ink on the tombstone, hill and grass border added more texture and interest to this spooky scene, don’t you think?
That is all for today! I hope this spooky card will entice you to start thinking about Halloween! The supplies are listed and linked below for your reference*. Thanks so much for stopping by today, and happy crafting!
Love,
——–supplies——
DISCLOSURE. *I belong to a few design teams with affiliate programs and link these supplies at the end of each blog post. If you click on my affiliate link, I will receive a small commission at no additional cost to you. I use these funds to pay for the cost of running this blog. If you like what I do, please consider supporting me by clicking on these links. Thank you so much!













 Maria Russell Designs