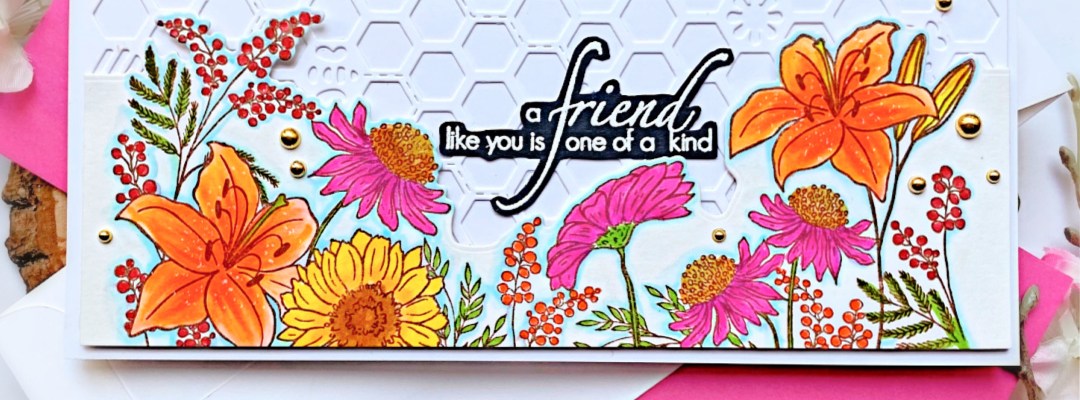
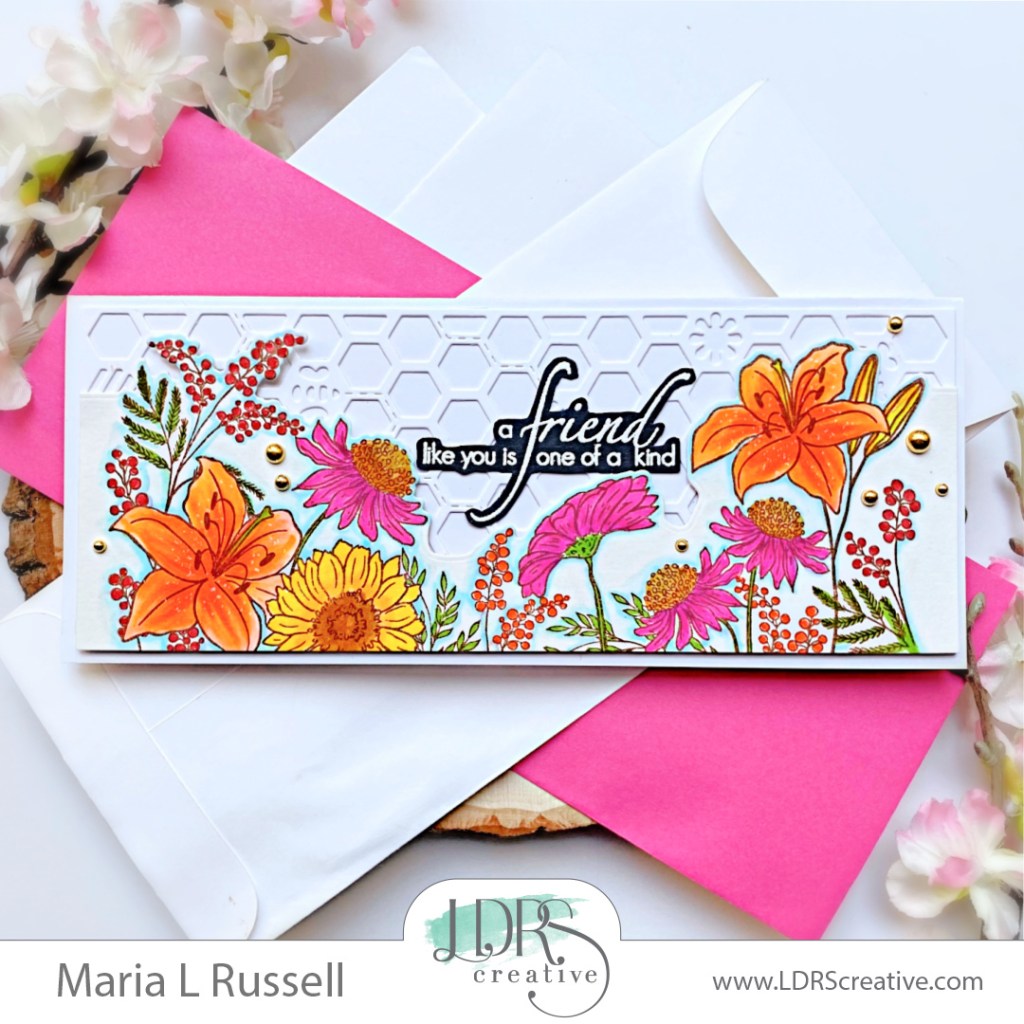
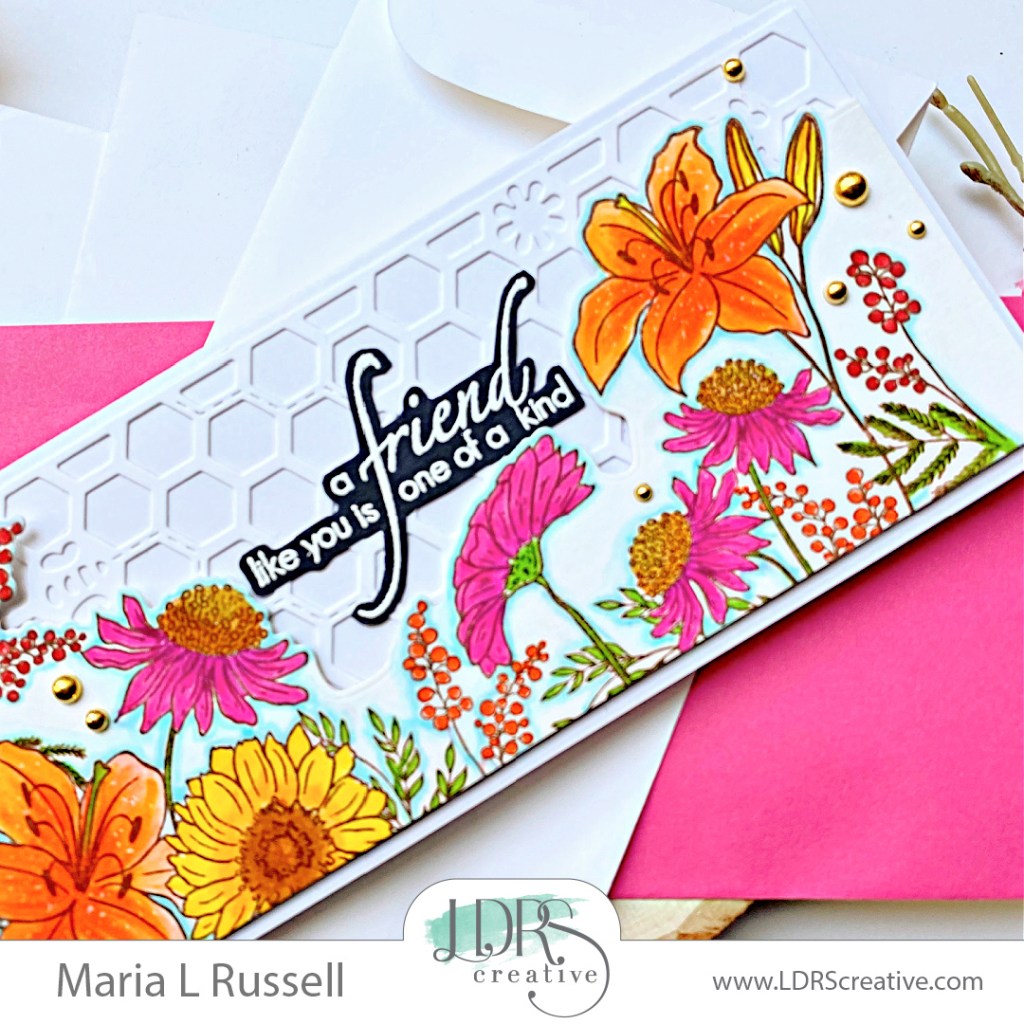
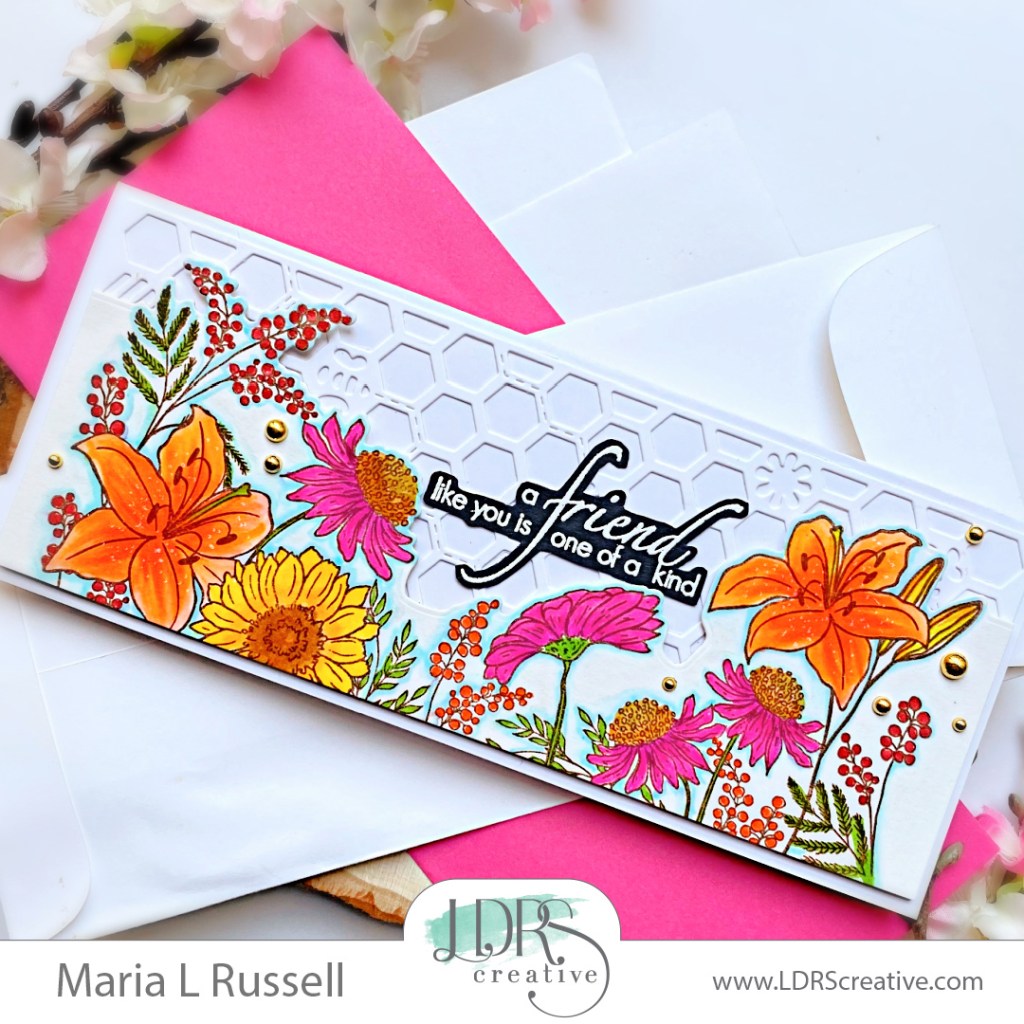
I love sending some “just-because” cards to my friends and this beautiful floral stamp set is exactly what I needed. I started by stamping the images on some Bristol smooth white card stock using Coffee Bean Hybrid ink. What I love about the LDRS hybrid inks is the fact that you can use either alcohol or water-based markers and it will not smudge. I colored the images in with some water-based markers. I die-cut the colored image with the coordinating die.
The Honeycomb Cover Plate slimline die was used to die-cut some Neenah solar white card stock and adhered with liquid glue on a slimline card base. The focal image was popped up with foam adhesive for added dimension. I stamped the sentiment on some black card stock using Watermark ink. I sprinkled some white embossing powder to this and heat-set with my heating tool. I fussy-cut the sentiment with my precision snips and adhered the same with liquid glue on the card.
I finished my card design by adding some gold baubles for added interest. Here’s another look:
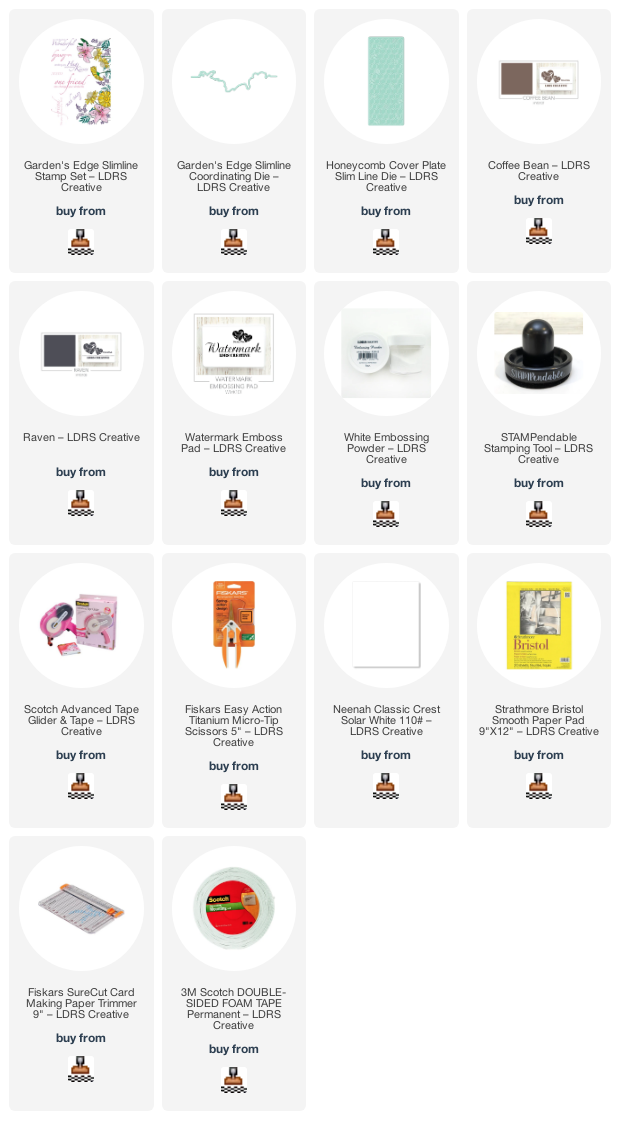
I hope I have given you some inspiration to create something beautiful today from the latest release. The supplies I used are listed and linked below. Thanks for stopping by!
Hello Newton’s Nook fans! It’s a double-whammy kind of day today since I am also up on the Designer Nook’s newsletter series with a special project. If you are not aware, the Designer Nook newsletter is a free email subscription directly delivered to your inbox every Tuesday. Each design team member will have step-by-step instructions on how we created our project. If you haven’t subscribed to that yet, head on over to the Newton’s Nook website and click on the E-Newsletter sign up.
To begin, I inked up an A-2 size panel of Neenah solar white card stock with the Floral Lace Stencil and some distress oxide inks in Picked Raspberry, Mustard Seed, Peacock Feathers and Seedless Preserves. Blending these four colors together will give you the complete rainbow!
Next, I stamped the images with Memento Rich Cocoa ink and colored the image in with Spectrum Noir alcohol markers. I used the coordinating die to die-cut the image. I die-cut the word “HELLO” using the Essential Alphabet Die Set with some black card stock, and also used the Sea Borders Die Set to cut two border panels.
Now that I have everything prepared, I am ready to assemble the card. First, I adhered the ink-blended panel on some A-2 size notecard. I foam-mounted the wavy borders for added dimension. I adhered the word “HELLO” on the card with liquid glue.
I finished my design by foam-mounting the image onto the card for added dimension. Here’s another look:
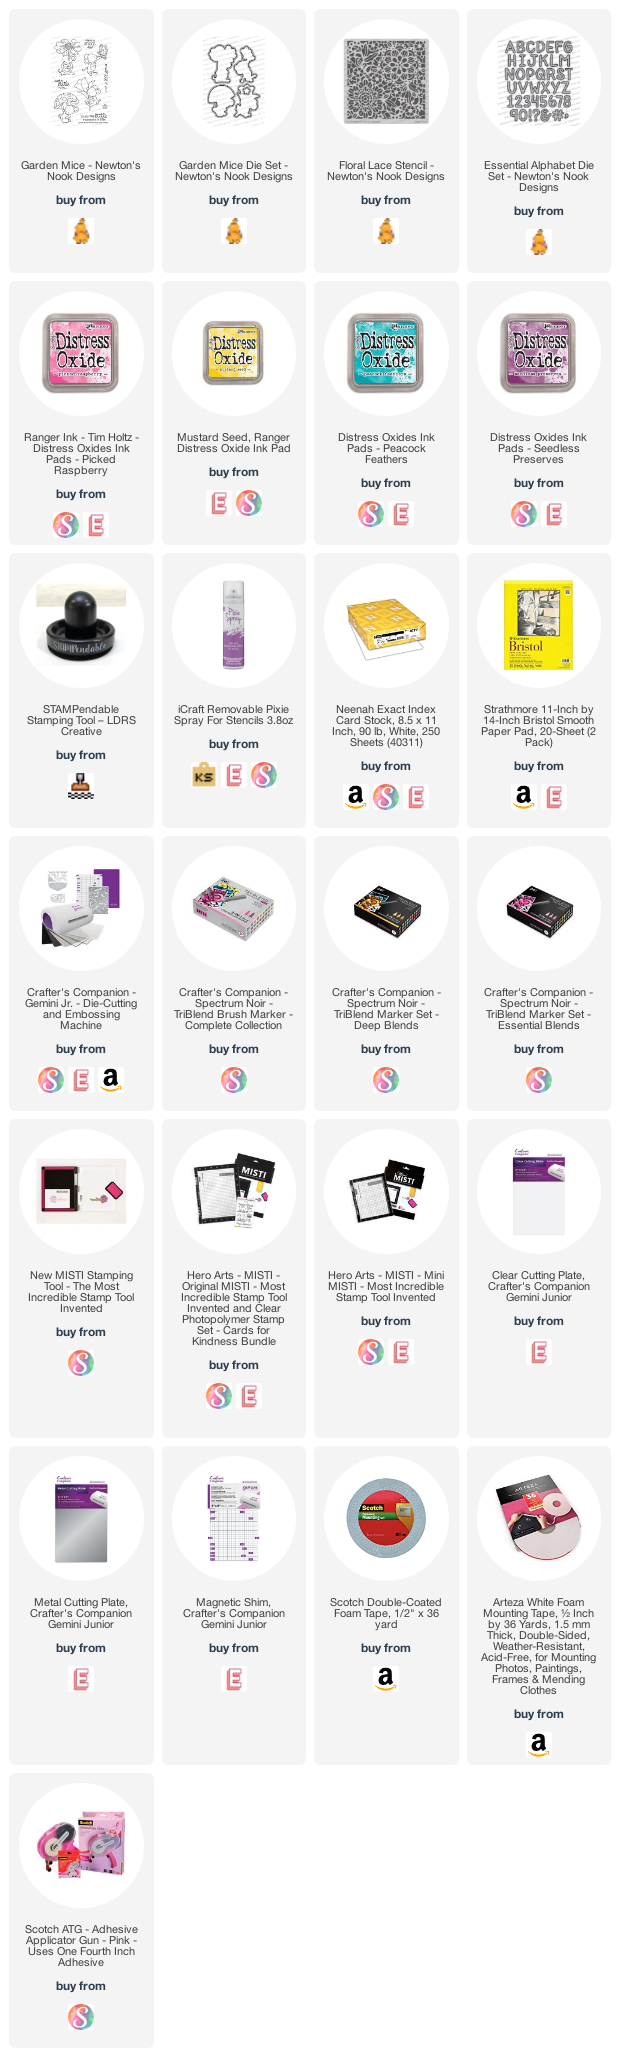
I love creating some just-because cards to mail to friends, don’t you?! I really love how this card turned out and I hope you like it too. The supplies are listed and linked below. Thanks for stopping by and happy crafting!
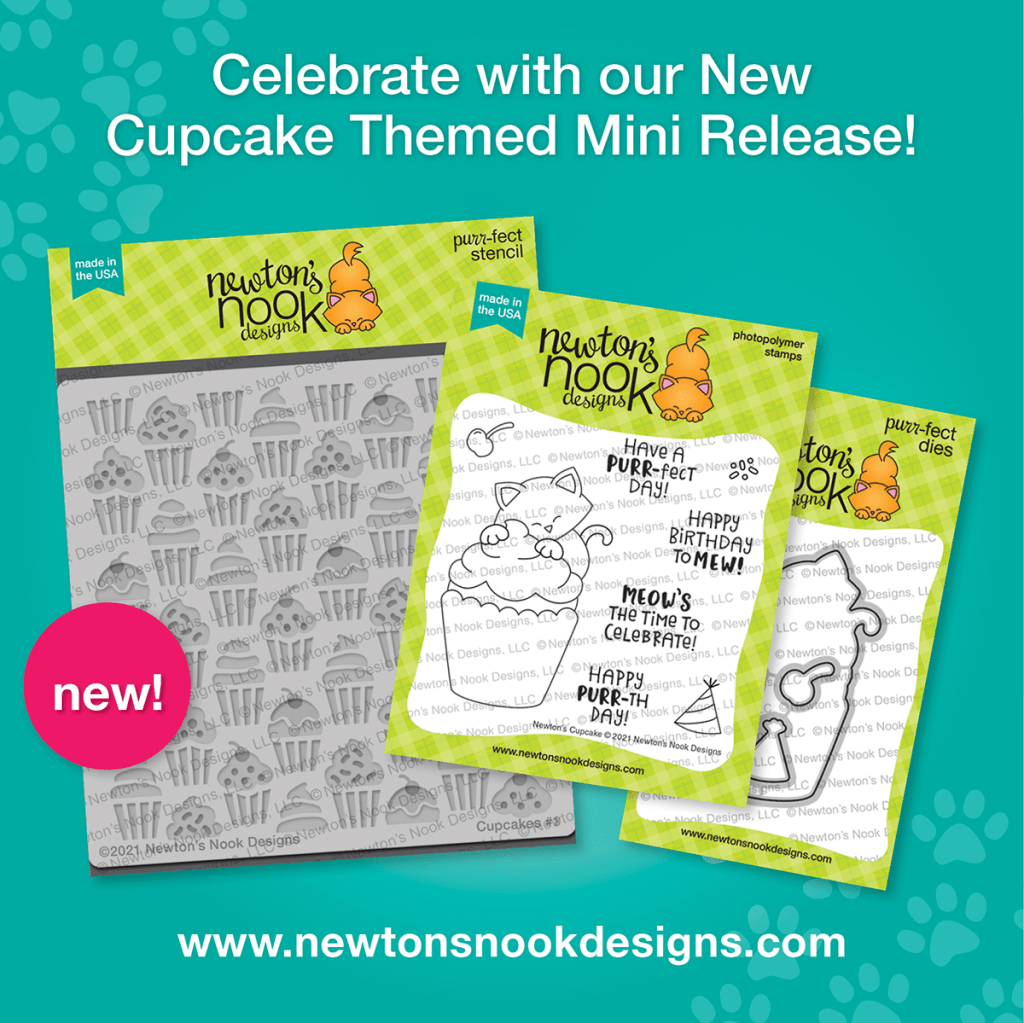
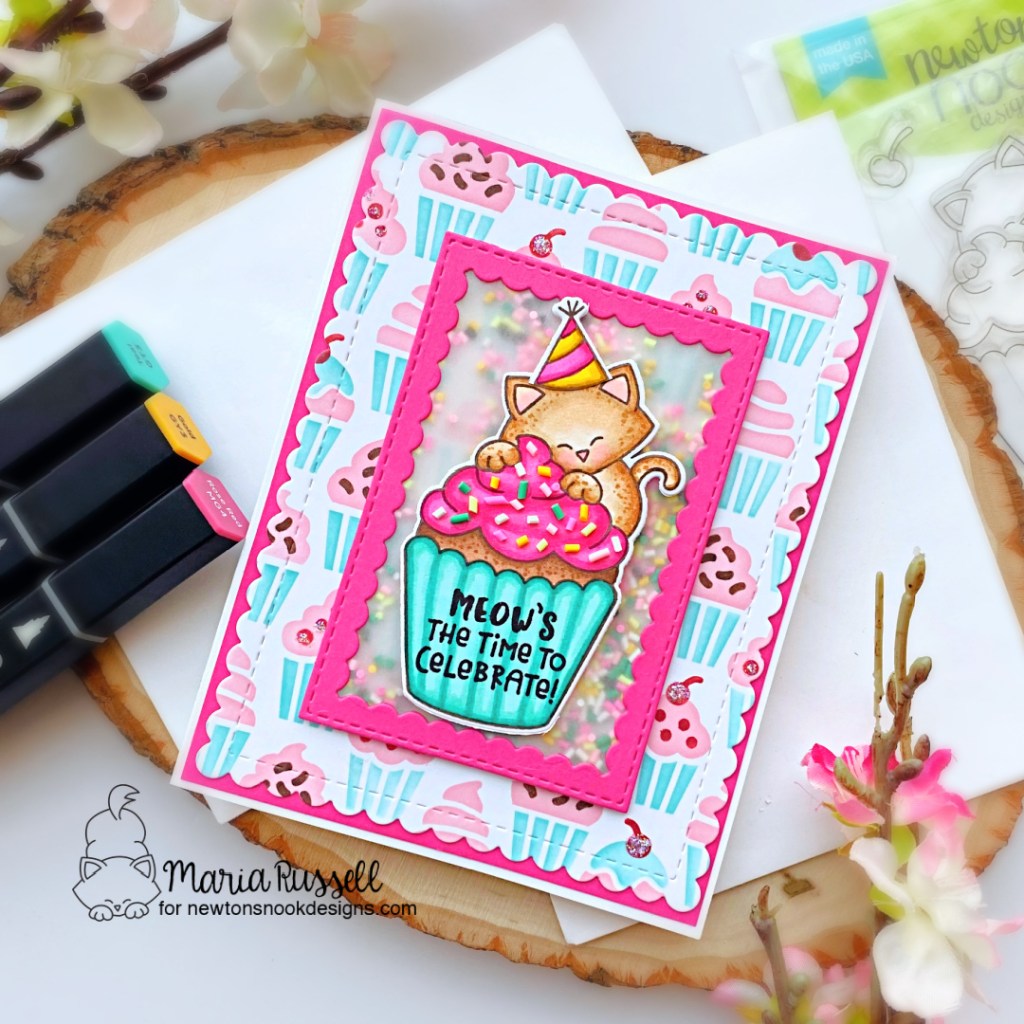
Today I am excited to be part of the 8-year anniversary celebration with Newton’s Nook Designs! To celebrate this awesome milestone, Newton’s Nook Designs has released adorable new cupcake themed products, which I will be sharing on my projects today. THERE ARE PRIZES TOO! Read all the way to the end of this post to find out how you can win! YAY!
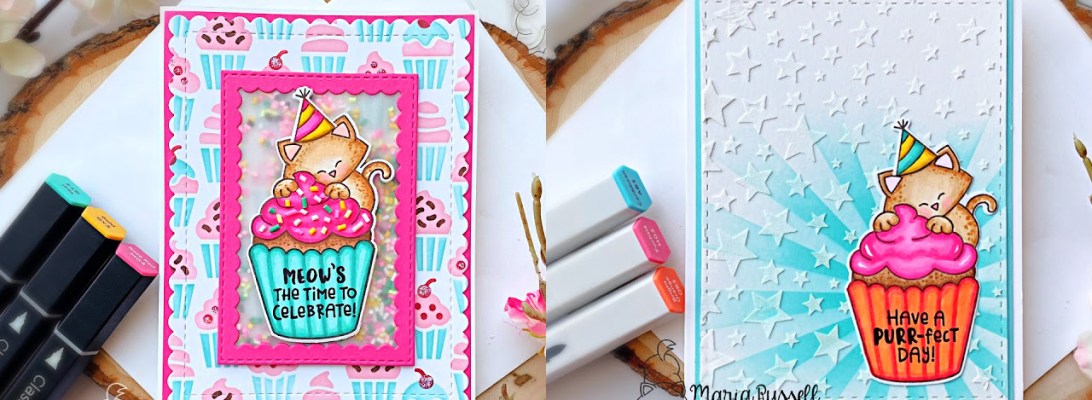
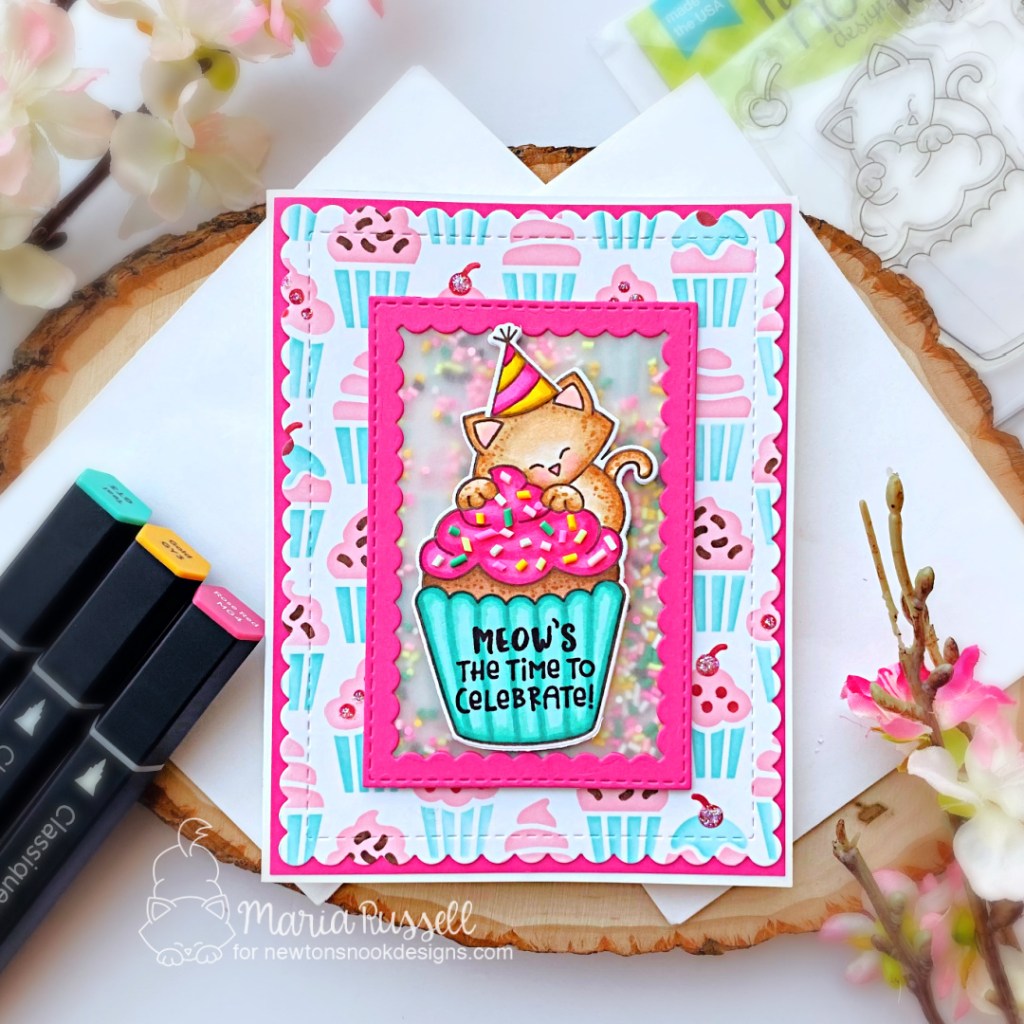
I stamped the images twice on some Neenah solar white card stock with some Memento Rich Cocoa ink. I colored the images in with Spectrum Noir alcohol markers and used the coordinating die to die-cut both images.
Next, the scallop die from the Frames & Flags die set was die-cut with some Bristol smooth white card stock. I ink-blended this panel using the Cupcakes Layering stencils with different colors of dye inks. I set this panel aside to let it dry while I work on my focal point.
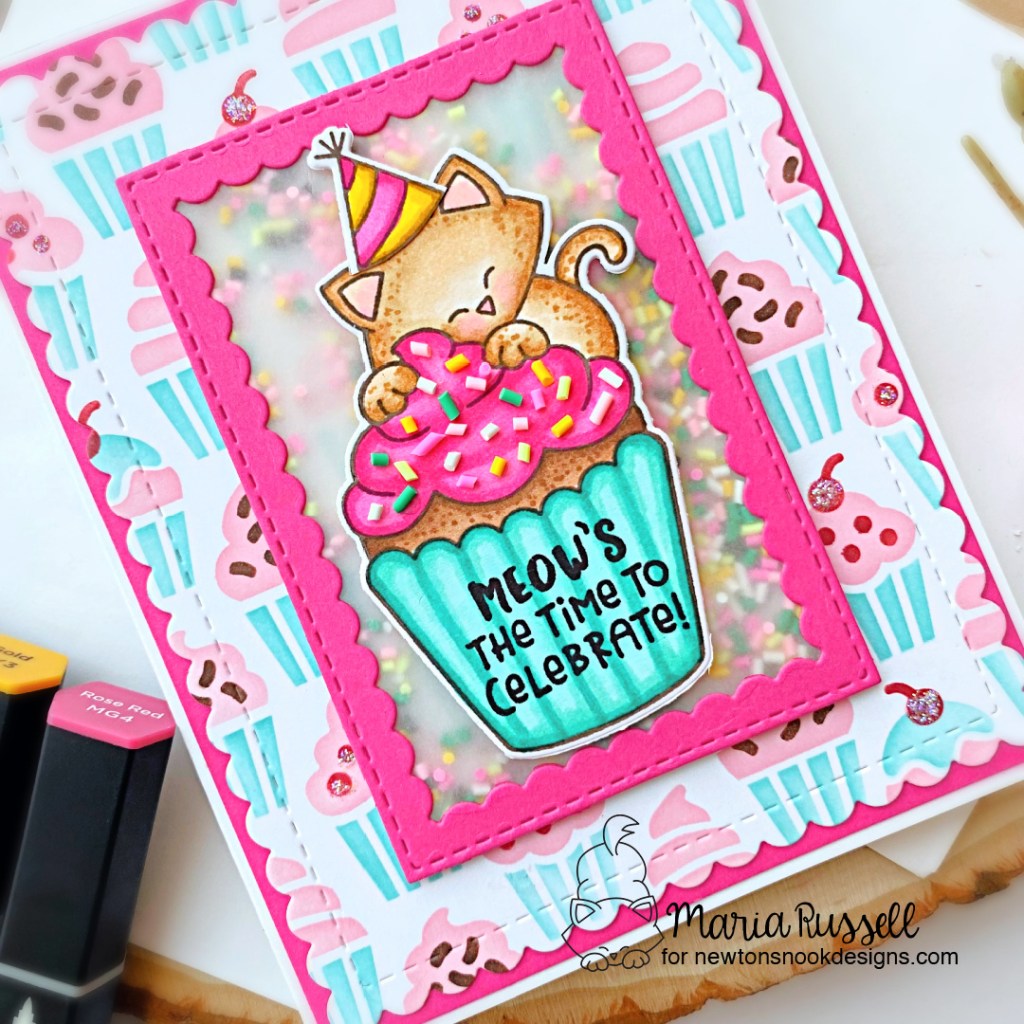
I used the reverse scallop die from the Framework Die Set to die-cut some hot-pink card stock. Since this is a birthday card, I wanted to add some fun elements to this to add the shaker components. I adhered some vellum on the reverse scallop die-cut and added some foam adhesive to create the well. I added some sprinkles as my shaker element and adhered this on the ink-blended panel.
I matted the focal background panel on another pink card stock before adhering to an A2 size white notecard. I finished my design by adhering the colored image on the card. For added dimension, I adhered the sprinkles on the frosting with some liquid glue. Here’s another look:
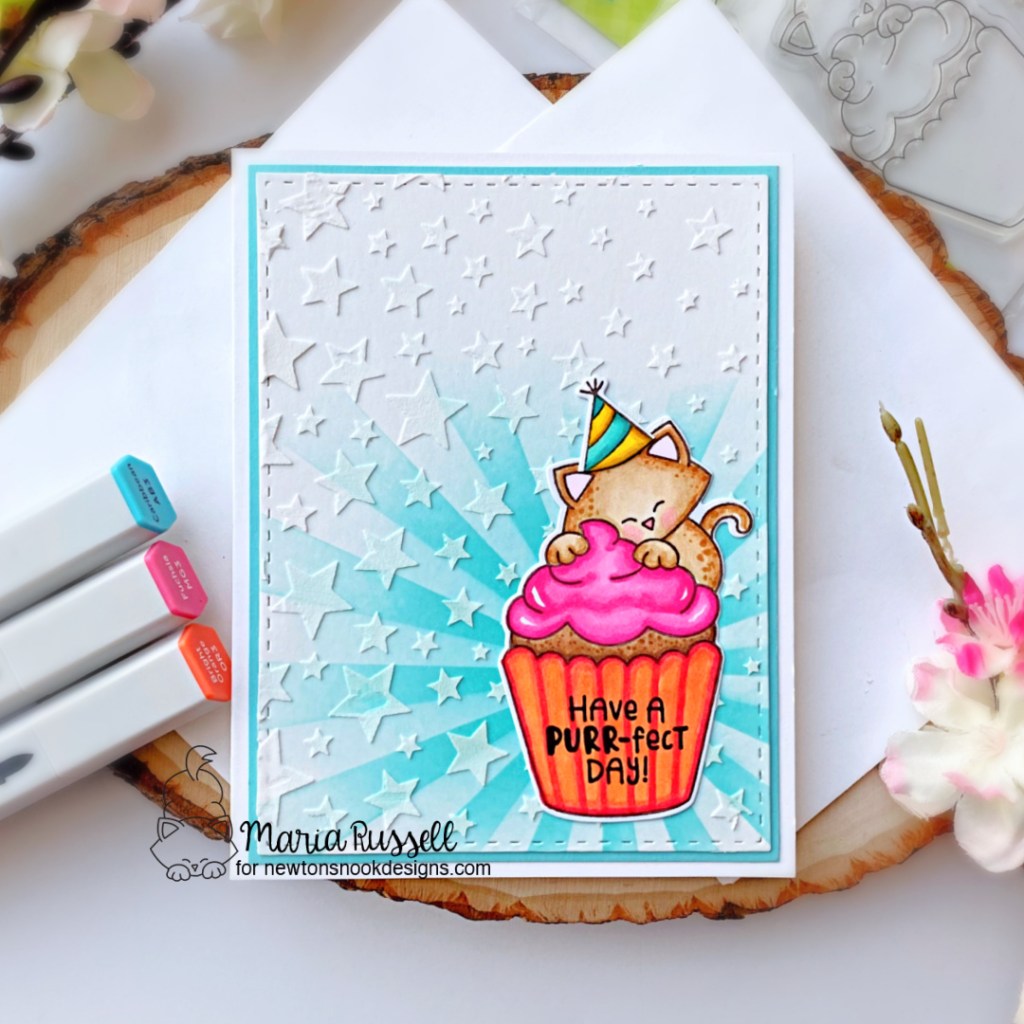
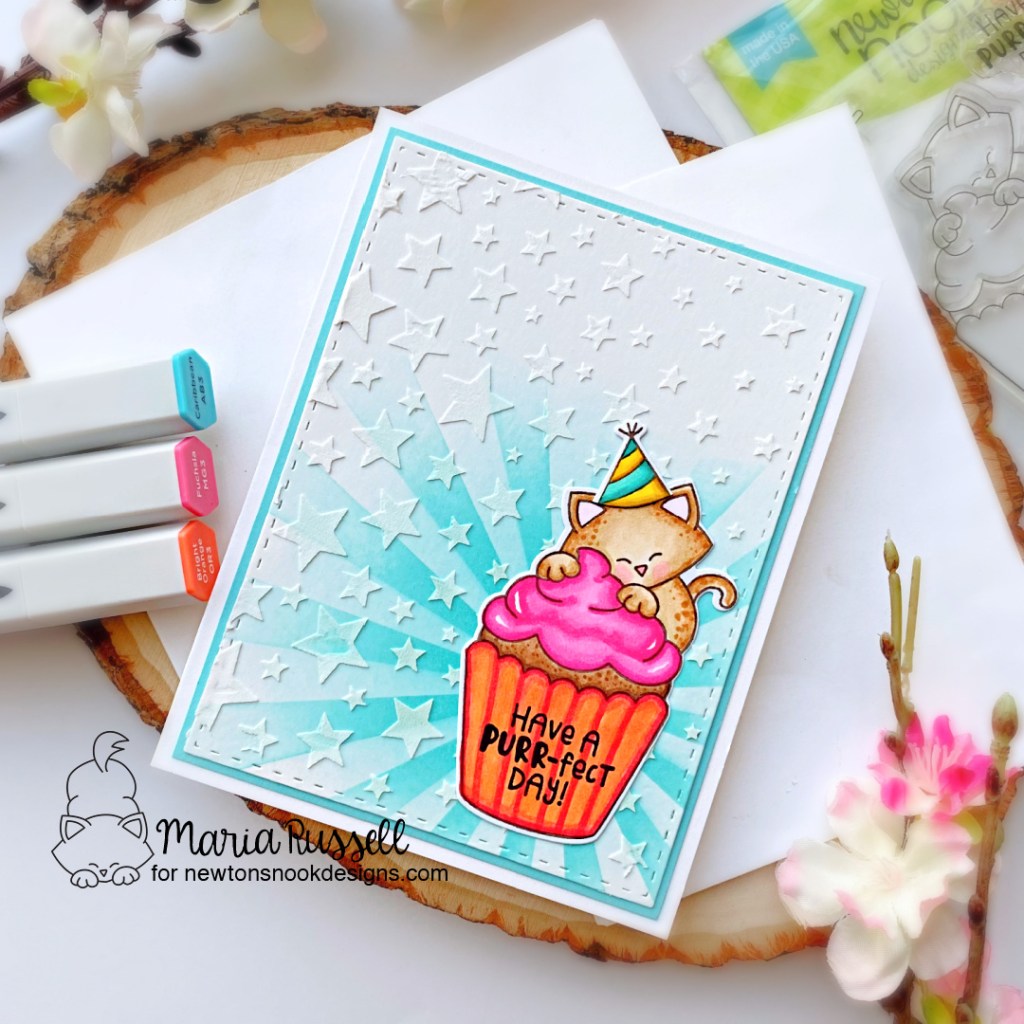
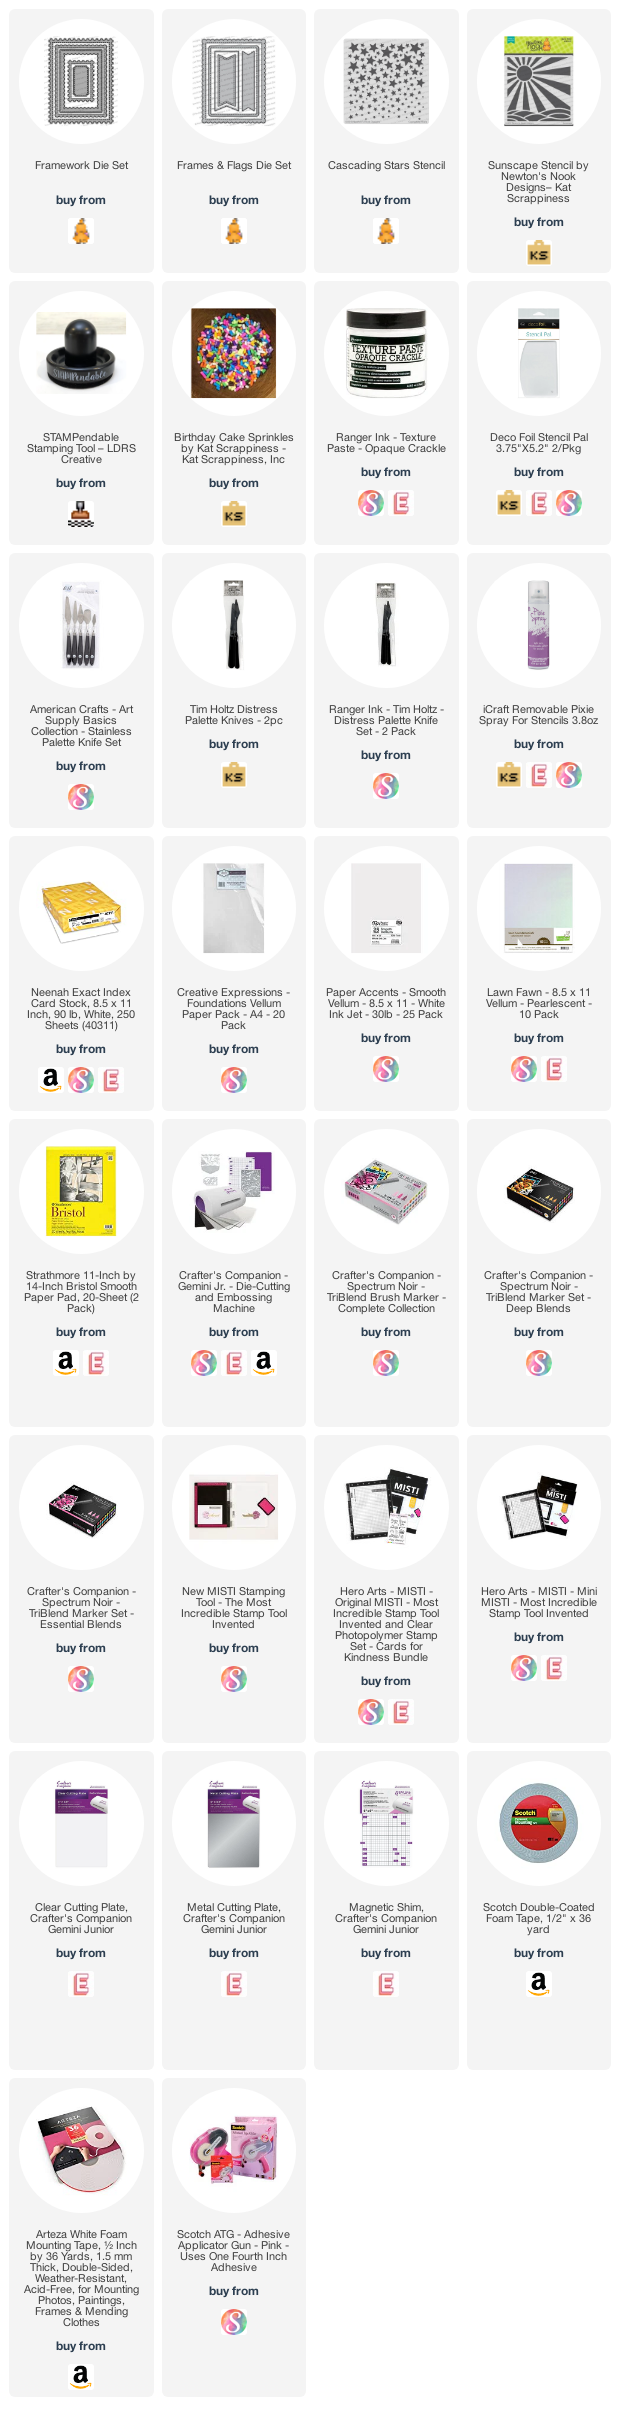
The second card is a lot easier since I already had another colored image to use. The focal panel was made by using the Sunscape Stencil with some dye ink. I used the Cascading Stars Stencil with some texture paste to add texture and dimension to this panel. I set this aside to let it dry for about half an hour.
Once the panel was dry, I matted this onto some blue card stock before adhering to an A-2 size note card.
I finished the card design by using my white gel pen to add some details to the frosting and adhered the image with liquid glue.
I hope you like the cards I made today. The supplies I used are listed and linked below. Don’t forget to use the coupon code “8YEARS” to get 15% off your order.
Would you like to win a $50 store credit to the Newton’s Nook Designs Online Shop?We will chooseTWO lucky winners!Here’s how to win:
Comment on the NND blog and Design Team blogs! (see list below) Thewinner will be chosen at random from the collective posts. Make sure to check out each of their blogs and comment for your chance to win. You will not know which blog has been chosen so the more you comment on the better your chances are of winning! You have until Monday, July 19th at 9pm ET to comment –> winners will be announced on the blog post on Tuesday, July 20th.
Check out all the awesome Design Team Blogs below to enter:
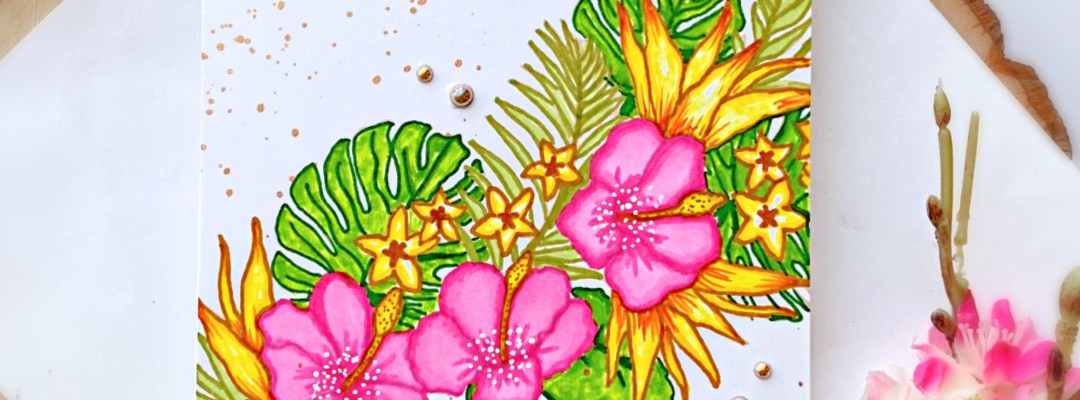
For my first card, I decided to go easy, peasy! After all, the Tropical Floral Slimline stamp set pretty much speaks for itself! I don’t normally do a lot of “no-line coloring” but I made an exception for this one. I really want the organic look of it. I used my darkest marker to draw the lines and then blended it with my medium marker, and then light to color the images in.
One of the things I LOVE about LDRS Creative is that they take their time to not only provide us with some great quality products, but they also make sure to include a coloring sample at the back of each packaging! This really made it easier for me to follow the lines, making sure I wasn’t messing up the whole stamp design. No-line coloring is very challenging for me but with the help of looking at the sample from the packaging, things went pretty smoothly.
I added texture to this design by adding some bronzy, splatters using some metallic watercolor from my collection. To do this technique, I wet the brush with some water and picked up the color from my watercolor palette and flicked the brush onto my card. I waited for a few minutes to let it dry then adhered the focal panel on some A2-size notecard.
I stamped the sentiment using some Raven Hybrid ink and added some dots on the flower with my white gel pen for added interest. I finished my design by adhering some bronze pearls to the card. Here’s another look:
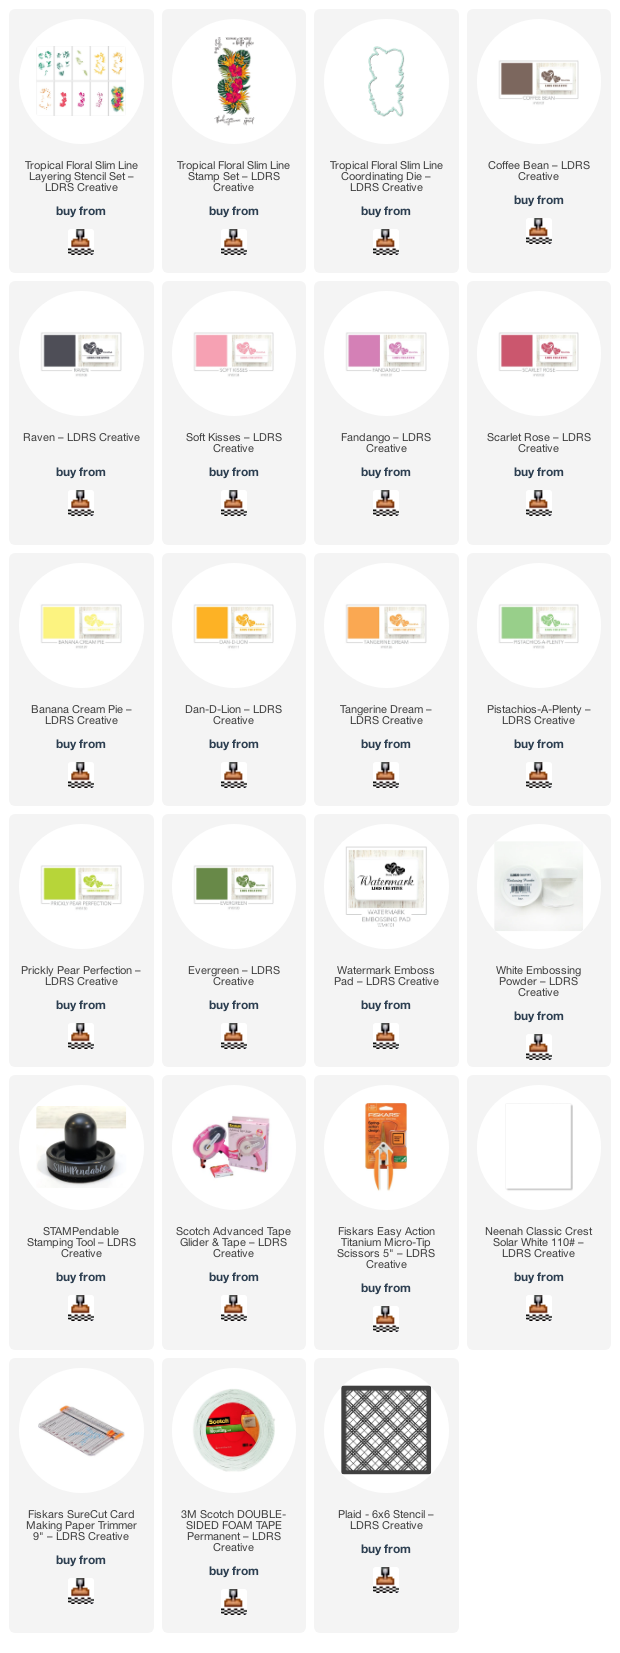
The next card looks complicated but trust me, it’s really easy! I started by stamping the image using the Tropical Floral Slimline stamp set with some Coffee Bean Hybrid Ink. Coloring the image was very easy because I used the Tropical Floral Slimline Layering Stencil Set with some Hybrid inks (colors mentioned below). Let me tell you, this was a huge GAME CHANGER! I love, love, love the layering stencils!
I used the Tropical Floral Slimline coordinating die to die-cut the image. I cut some Neenah solar white card stock measuring 5 1/2 X 4 1/4. I added texture to this card stock by applying some metallix gel using the Plaid Stencil and palette knife. I set this aside to let it dry for about half an hour and adhered the focal image with liquid glue.
I added the foreground to an A2-size notecard. The sentiment was stamped on some black card stock using watermark ink and white embossing powder, and adhered onto the card with liquid glue. The last thing I added to this card was the gold pearls to finish the design.
Which card is your favorite? I simply cannot pick one. They are two different techniques but I love how both cards turned out! I hope you like them too. The supplies I use are listed and linked below. Thank you so much for stopping by today and happy stamping!
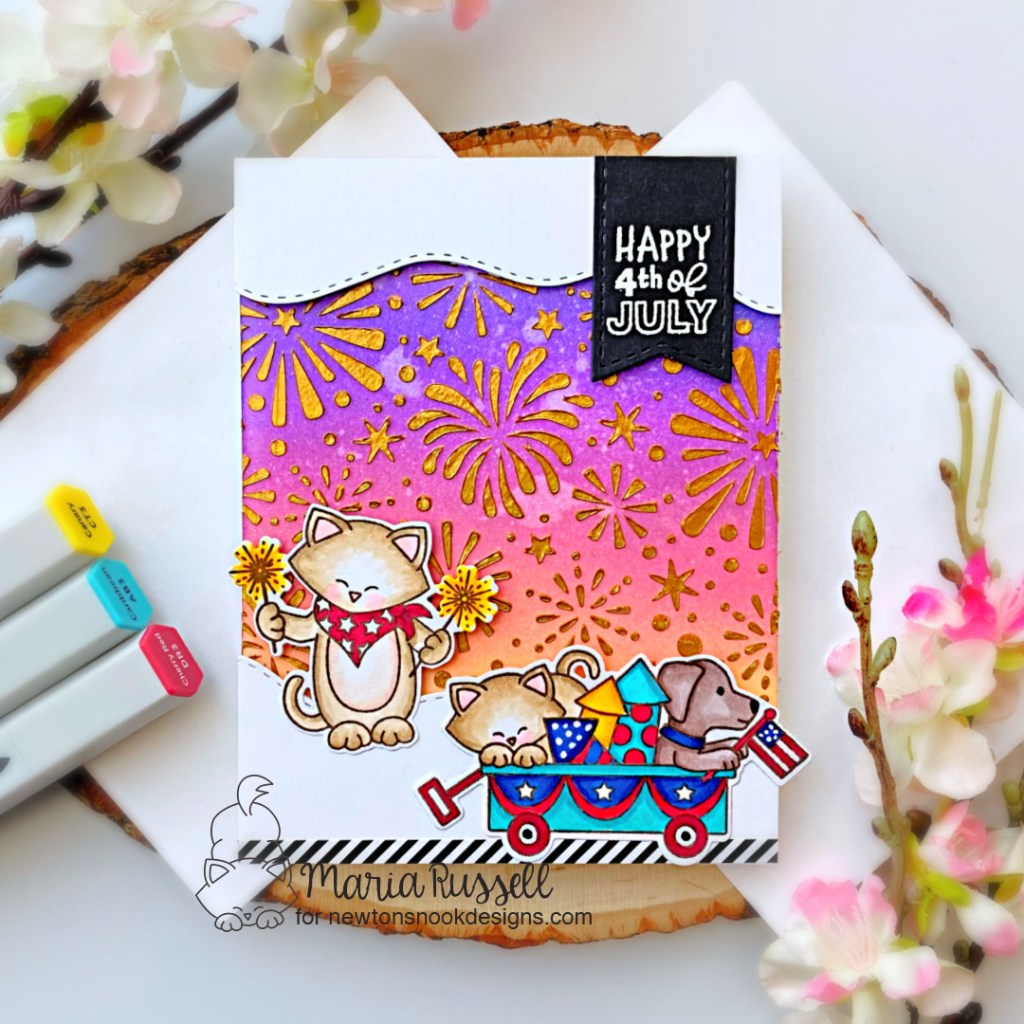
Hello Newton’s Nook Designs fans! I hope you’re having a wonderful week so far! Who is excited for the 4th of July weekend? That is my inspiration for today’s post.
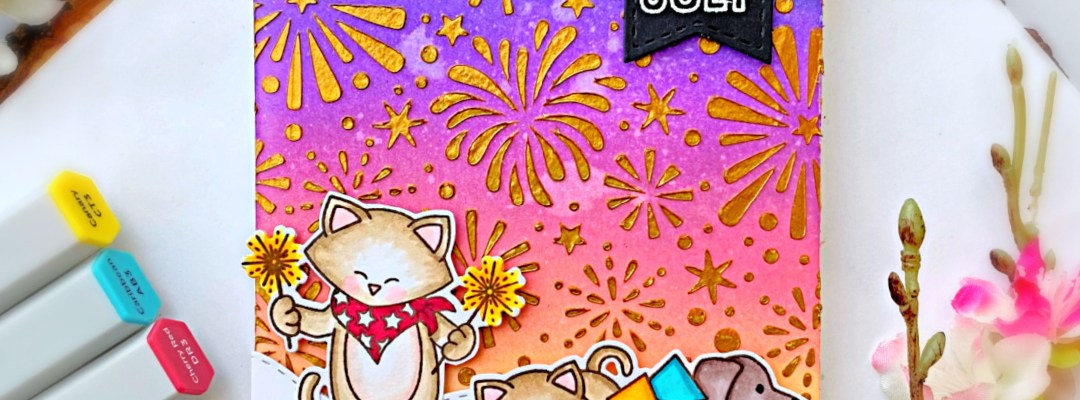
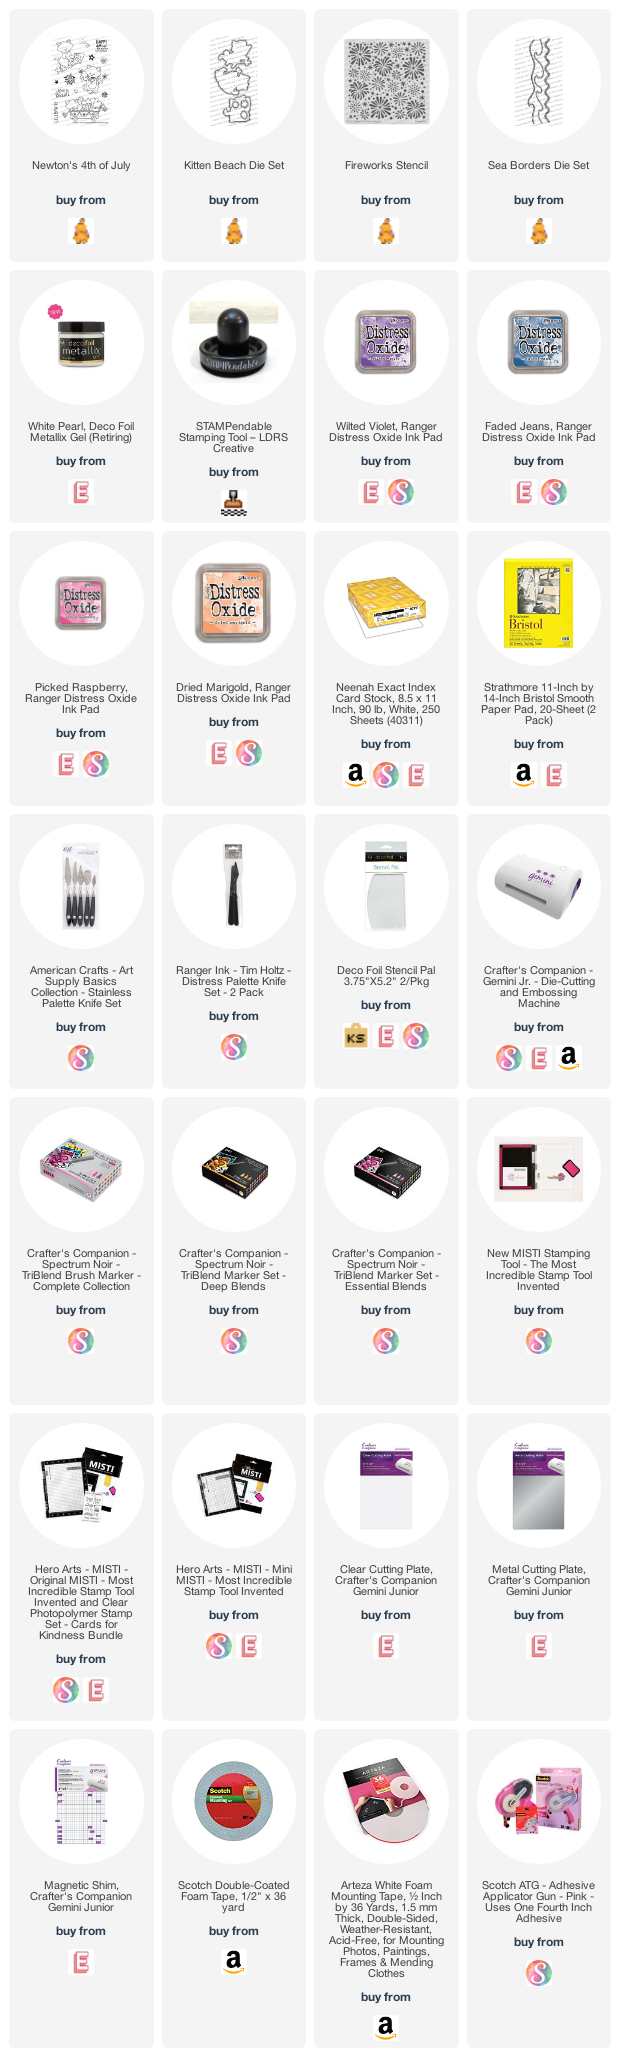
I am back today to share with you this 4th of July card, showcasing products from the June release called Newton’s 4th of July stamp set & dies, along with the Fireworks stencil.
To make the card, I started by stamping my images on some Neenah solar white card stock and colored the images in with Spectrum Noir Illustrator markers and Copic markers. I used the coordinating dies to cut them all out.
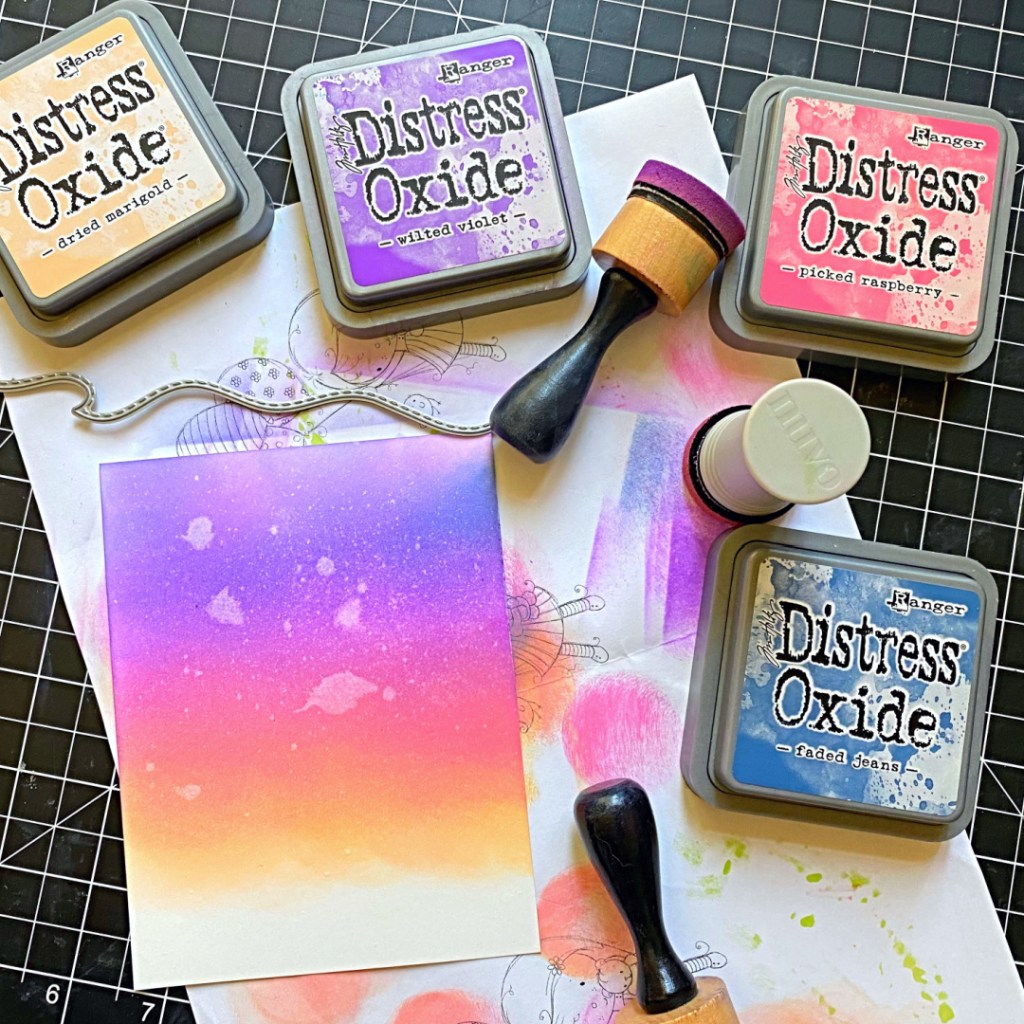
The colorful background was made by ink-blending some Bristol smooth white card stock with my favorite Distress oxide blends –> Faded Jeans, Wilted Violet, Picked Raspberry and Dried Marigold. I didn’t bother to color the bottom of the card stock since I knew they will be covered anyway. I sprayed this with water and picked up the excess with paper towel.
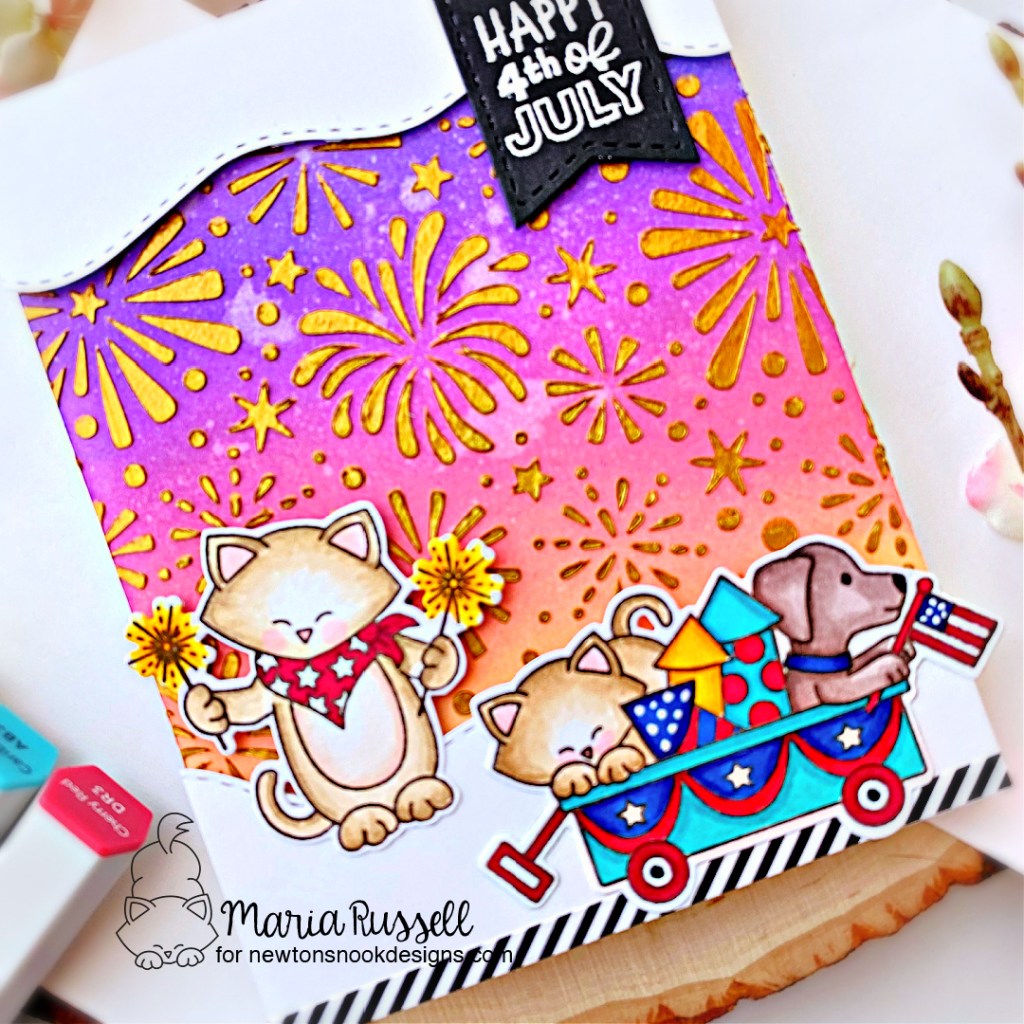
Next, I used the Fireworks stencil and Therm O Web Metallix Gel in Gold to add texture to my ink-blended background. The gel was evenly spread on teh card stock with the help of TOW Stencil Pal. I set this panel aside to let it dry for about half an hour, before adhering to an A2 size notecard.
I used the Sea Border Die Set to die-cut two strips of white card stock and foam mounted both pieces onto my card.
I cut a strip of black & white pattern paper and adhered at the bottom with liquid glue. I also adhered both images on the card using both liquid & foam adhesive for added dimension.
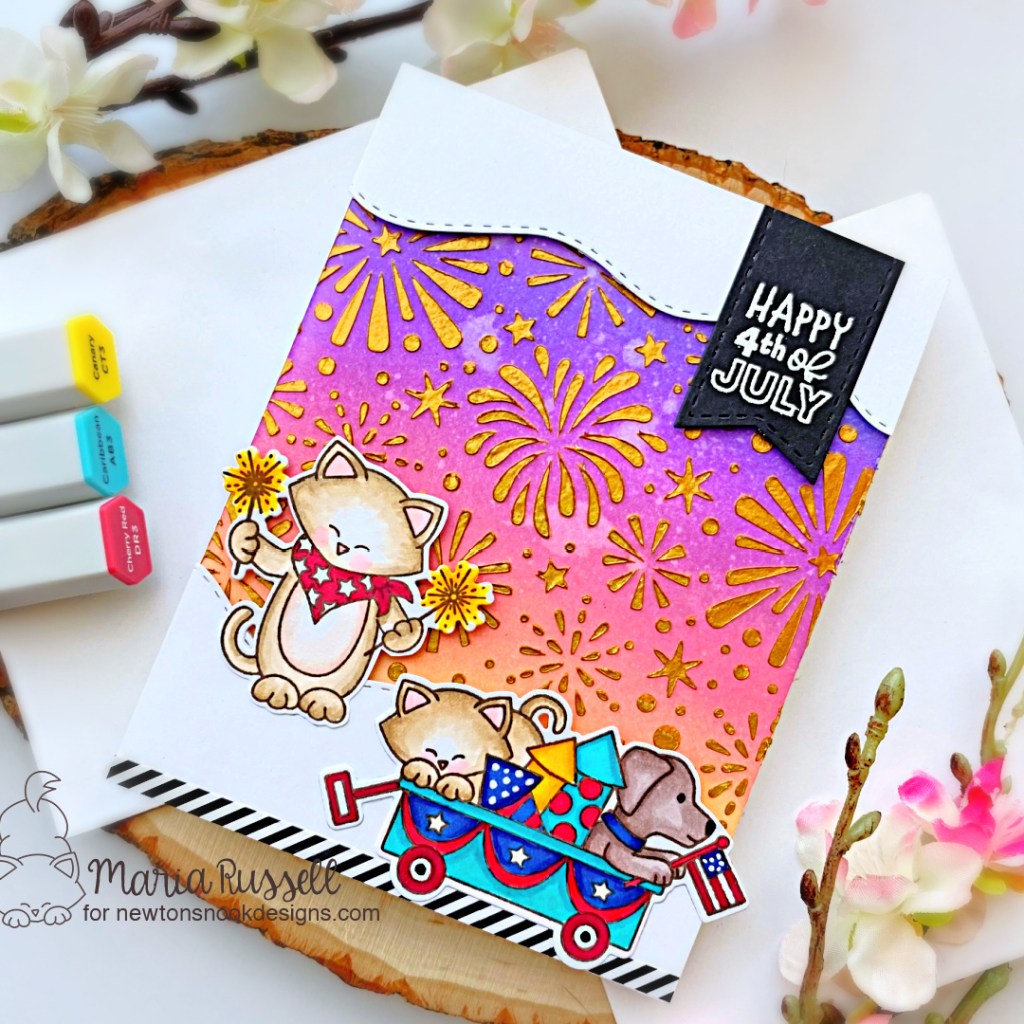
Lastly, I stamped the sentiment on some black card stock that was die-cut using one of the dies from the Frames & Flags Die set. I foam mounted this onto my card to give it stability. Here’s another look:
I hope you like card today. The supplies I use are listed and linked below. Thanks for stopping by and have an amazing day!
I am a bit sad that this is the last day of the reveals by Newton’s Nook Designs. If you haven’t hopped along with us yet, now is a great time to catch up. You have a chance to win the stamp set being revealed each day so please read through ’til the end of the blog post to find out more info. [Just a little important note: I know some of you had difficulties finding the comments section. If you would like to leave a comment to participate in the giveaway, the “comments section” will only be ever visible when a single post on WordPress is being viewed. Please click on this particular blog post and you will be able to leave a comment below. Thank you!]
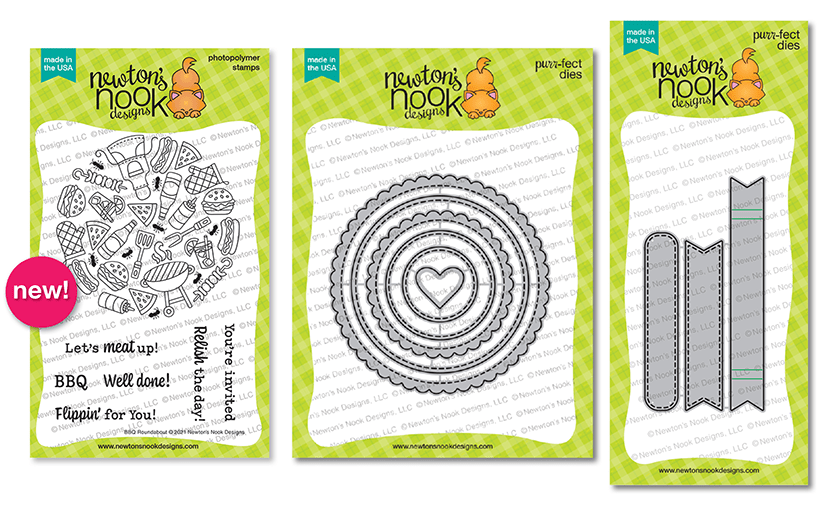
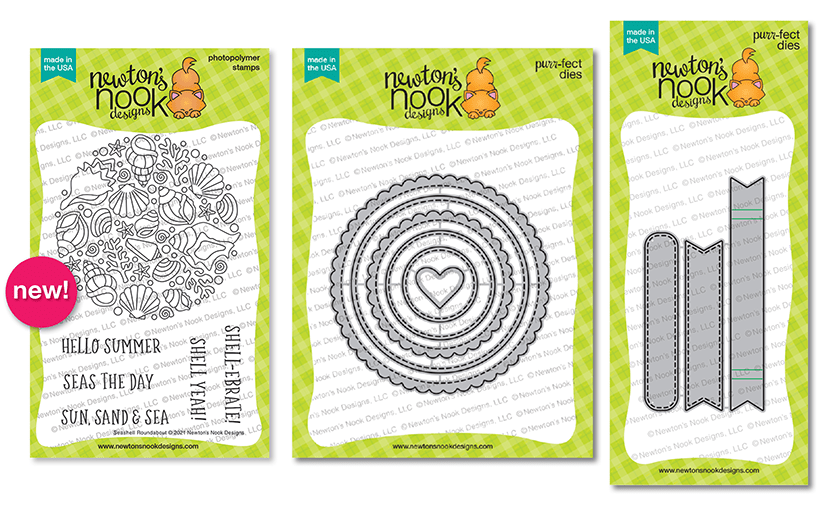
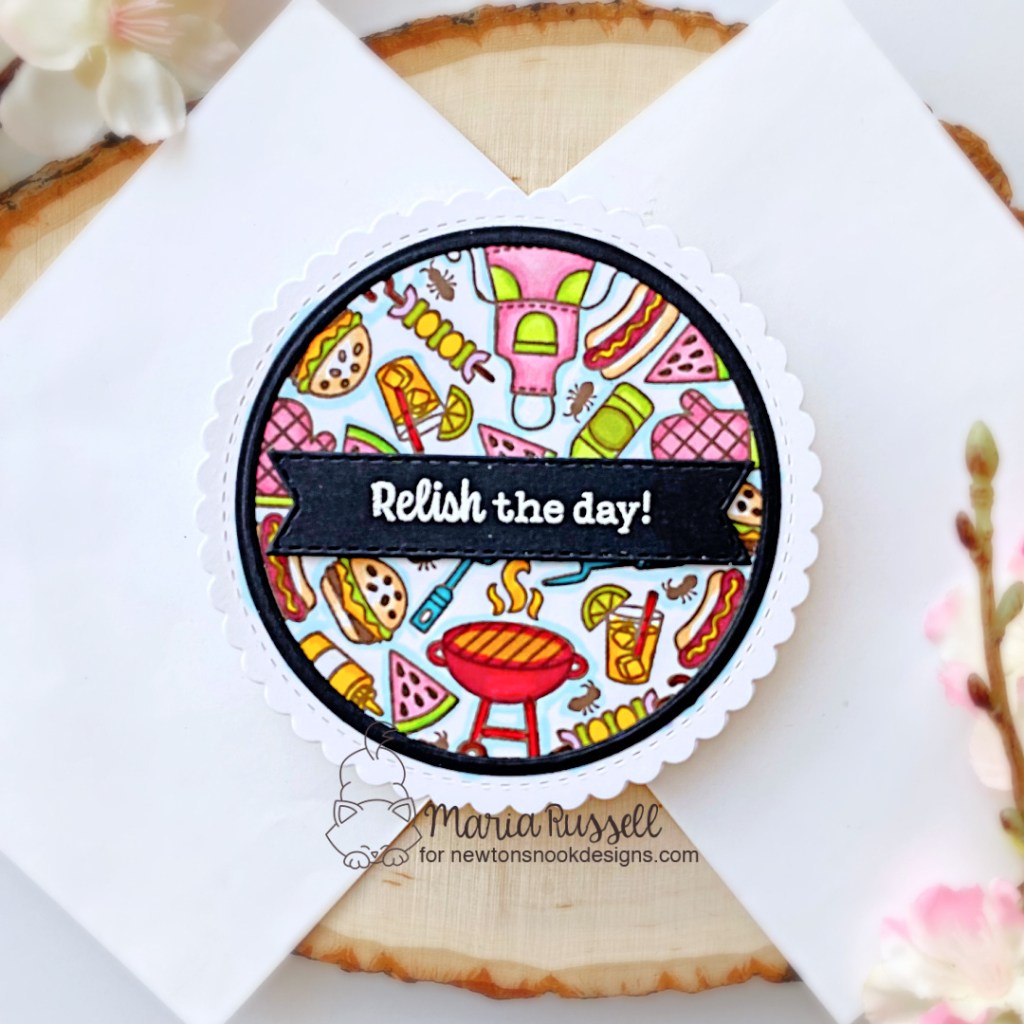
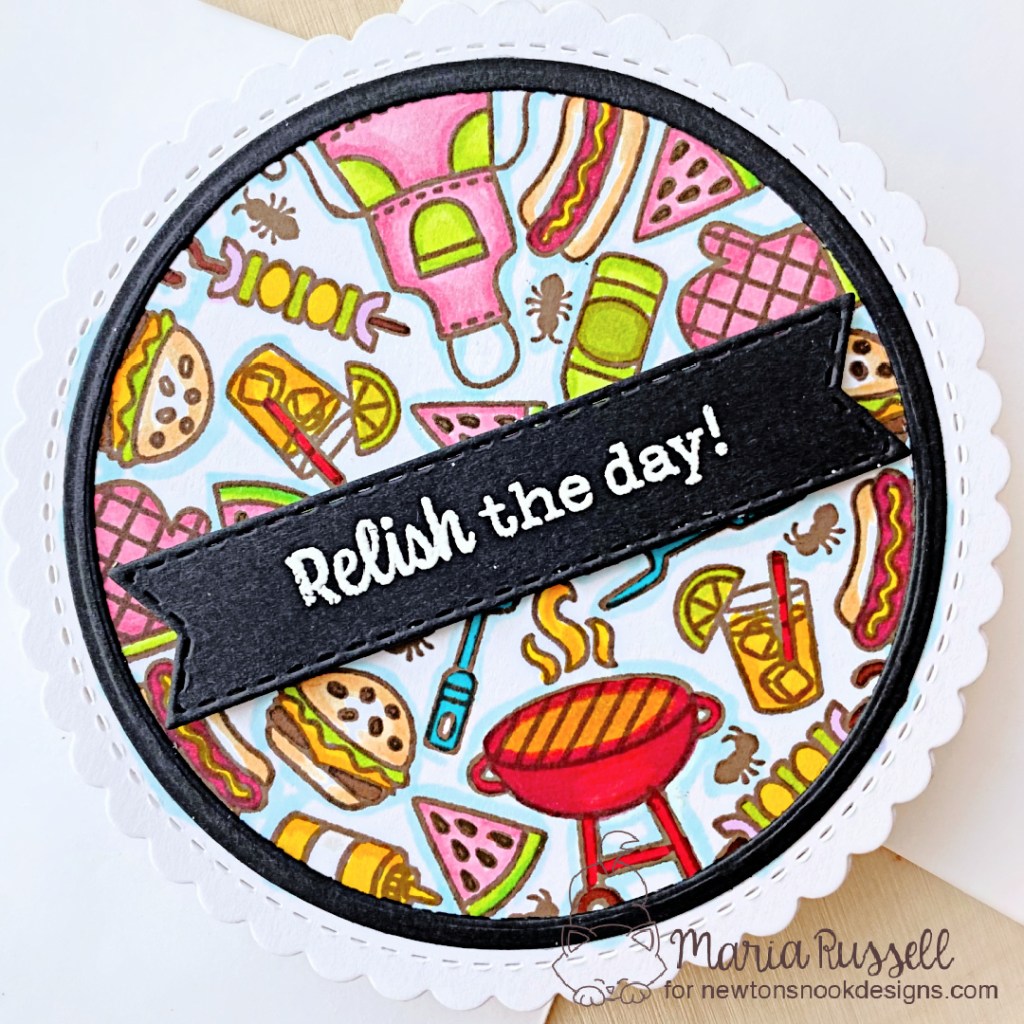
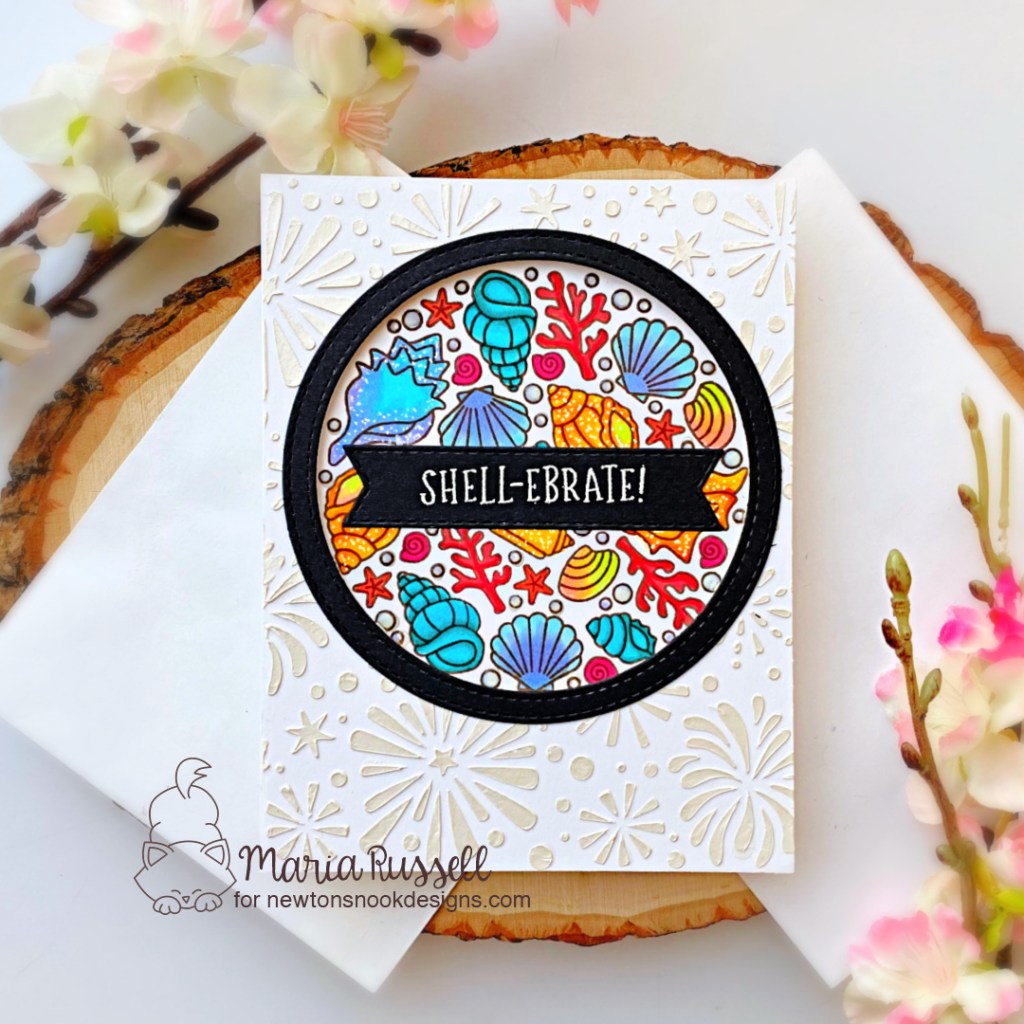
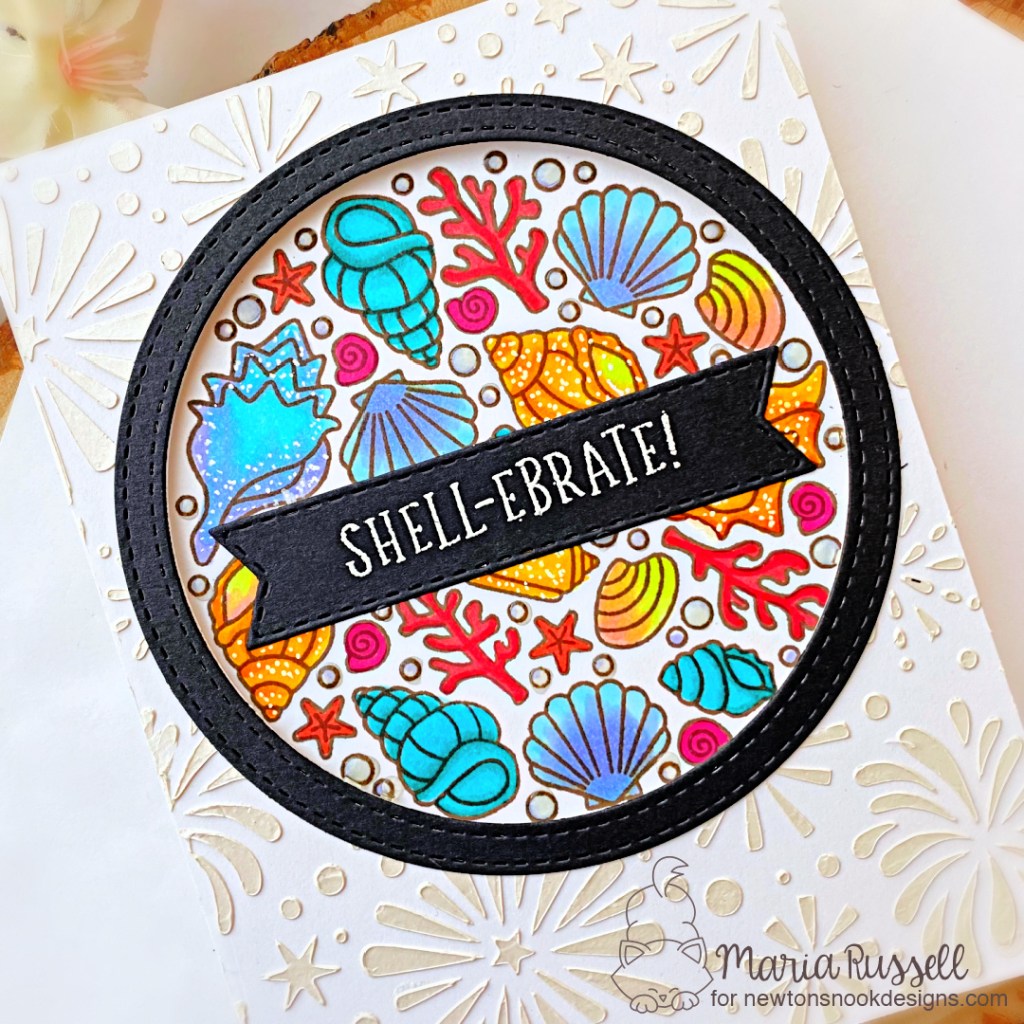
For Day 4, we are showcasing the Barbecue Roundabout and Seashell Roundabout stamp sets that coordinates with the Circle Frame Die set and Banner Trio die set.
Both cards are fairly simple. I started by die-cutting the circle scallop using the biggest die from the Circle Frames die set. I positioned this inside my stamping tool and stamped the images with Memento Rich Cocoa ink. I colored the images in with alcohol markers.
To ground the image, I die-cut a circle frame and adhered this piece on my colored panel. I used the same scallop die to die-cut my card base and adhered the colored images to this piece.
Last thing I did was to stamp the sentiment on the banner that was die-cut using one of the dies from the Banner Trio die set and adhered this on the card with liquid glue.
For my next card, I stamped the images on some A2-size Neenah solar white card stock. I colored the images in with alcohol markers.
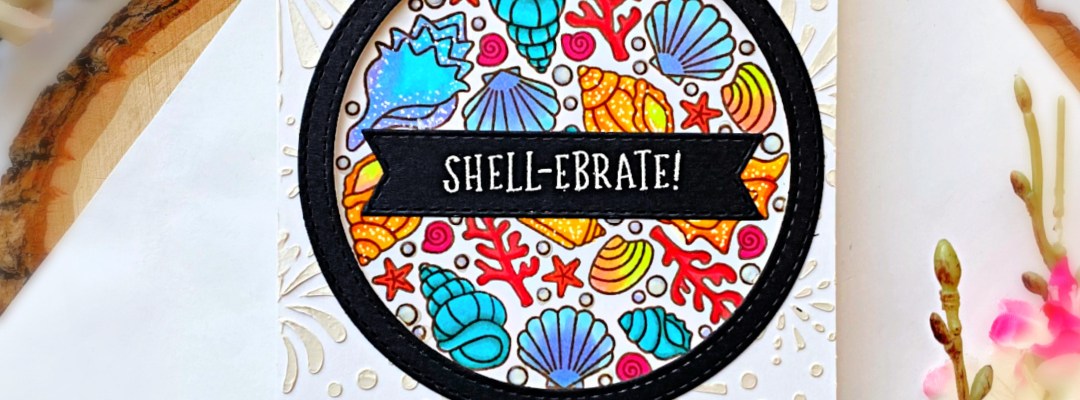
On another A2-size Neenah solar white, I created the window by using one of the circle dies from the Circle Frames Die Set. I wanted to add texture and interest to this panel so I used the Seashell Stencil with some White Pearl Metallix Gel using Stencil Pal. I set this aside to let it dry for about half an hour.
I die-cut another circle frame with some black card stock and adhered on the panel with liquid glue. I foam-mounted this piece on the colored images for added dimension. I finished the design by adding the sentiment that was again stamped on the banner using one of the dies from the Banner Trio die set.
Would you like to win the “Barbecue Roundabout” or the “Seashell Roundabout” stamp set? We will choose ONE lucky winner to win each stamp set set!
Here’s how to win: Comment on the NND blog and Design Team blogs (see list below)! Thewinner will be chosen at random from the collective reveal posts. Make sure to check out each of their blogs and comment for your chance to win. You will not know which blog has been chosen so the more you comment on the better your chances are of winning! You have until Thursday, June 17th at 9pm ET to comment — winners will be announced on the blog post on Friday, June 18th.
Check out all the awesome Design Team Blogs below to enter:
It is the third day of the reveals by Newton’s Nook Designs. Were you able to hop along with us on Monday and Tuesday? You have a chance to win the stamp set being revealed each day so please read through ’til the end of the blog post to find out more info. [Just a little important note: I know some of you had difficulties finding the comments section. If you would like to leave a comment to participate in the giveaway, the “comments section” will only be ever visible when a single post on WordPress is being viewed. Please click on this particular blog post and you will be able to leave a comment below. Thank you!]
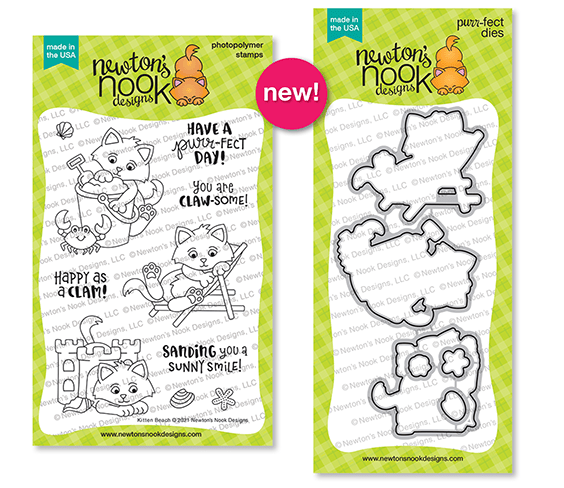
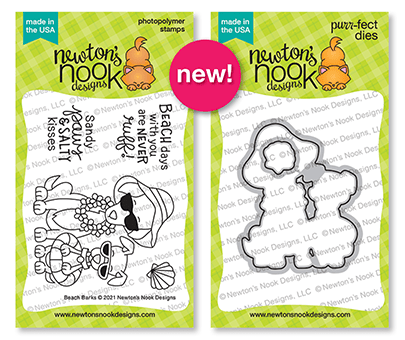
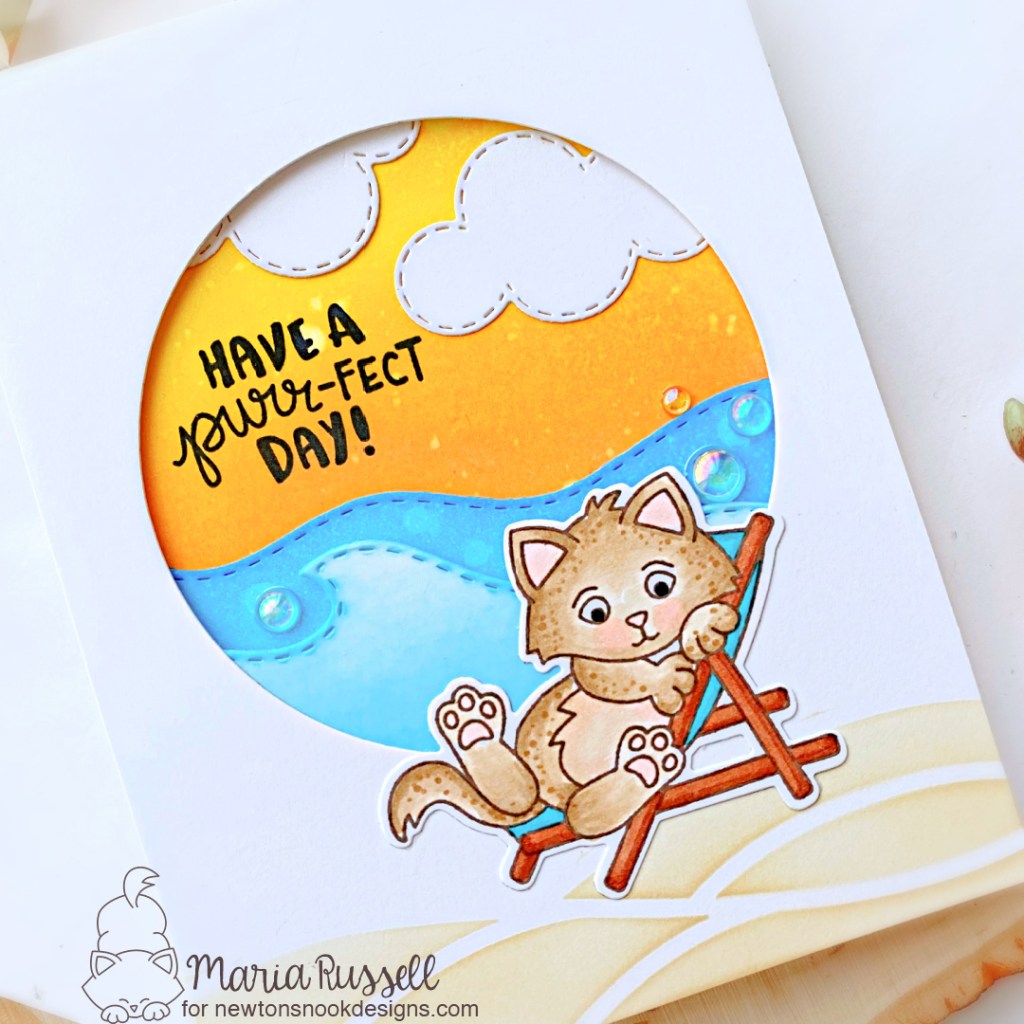
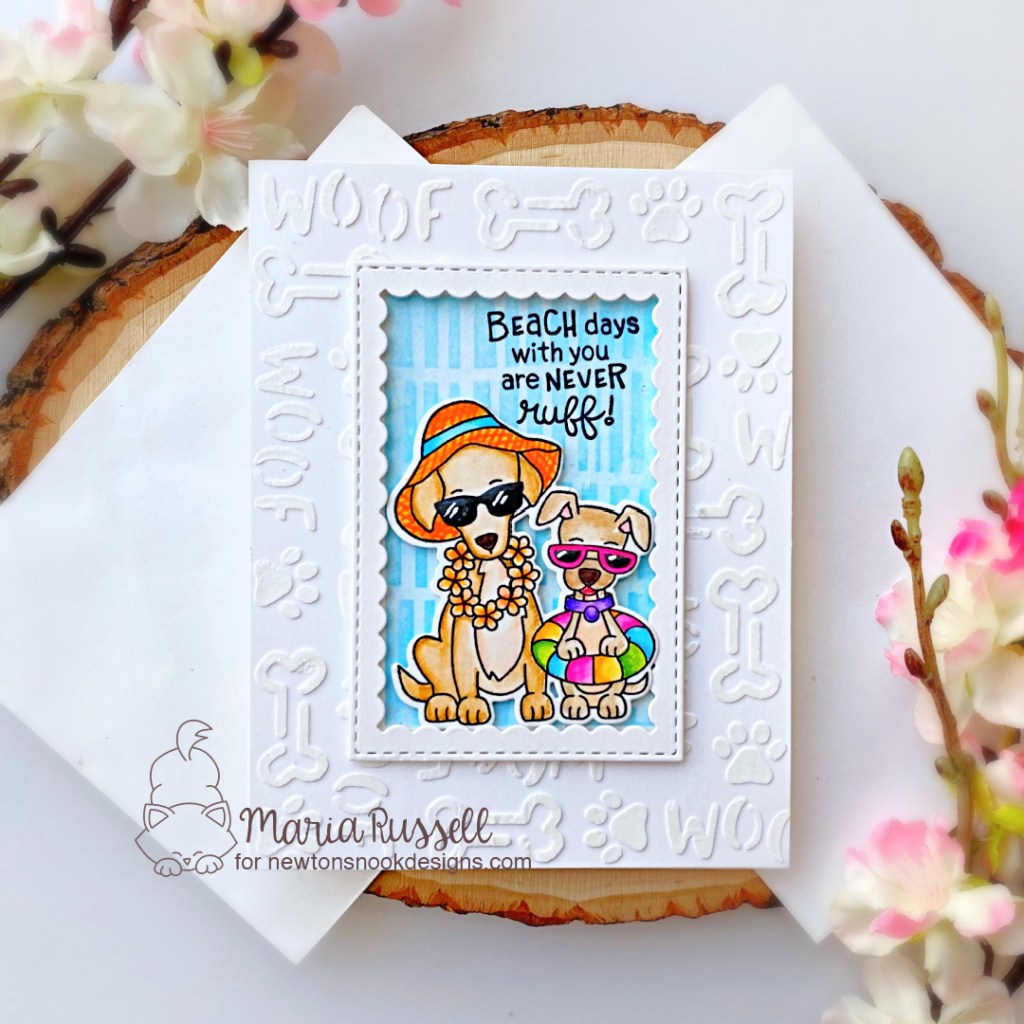
For Day 3, we are showcasing the Kitten Beach and Beach Barks stamp sets and their coordinating dies.
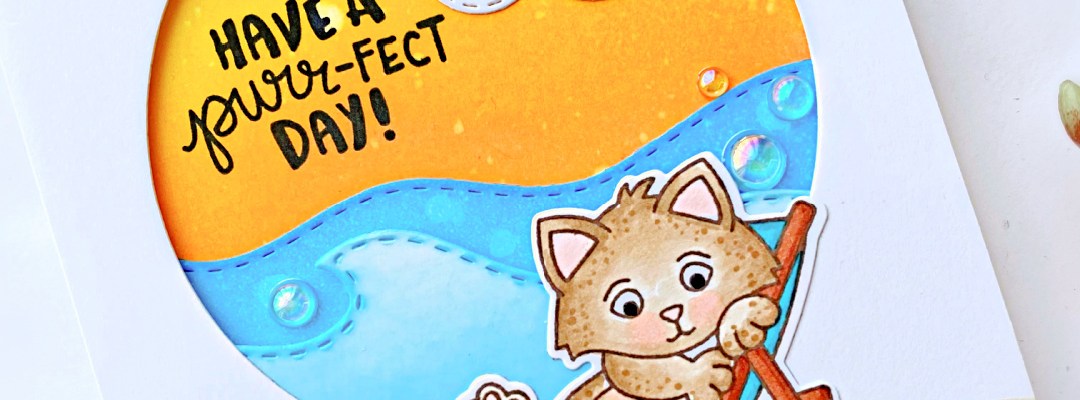
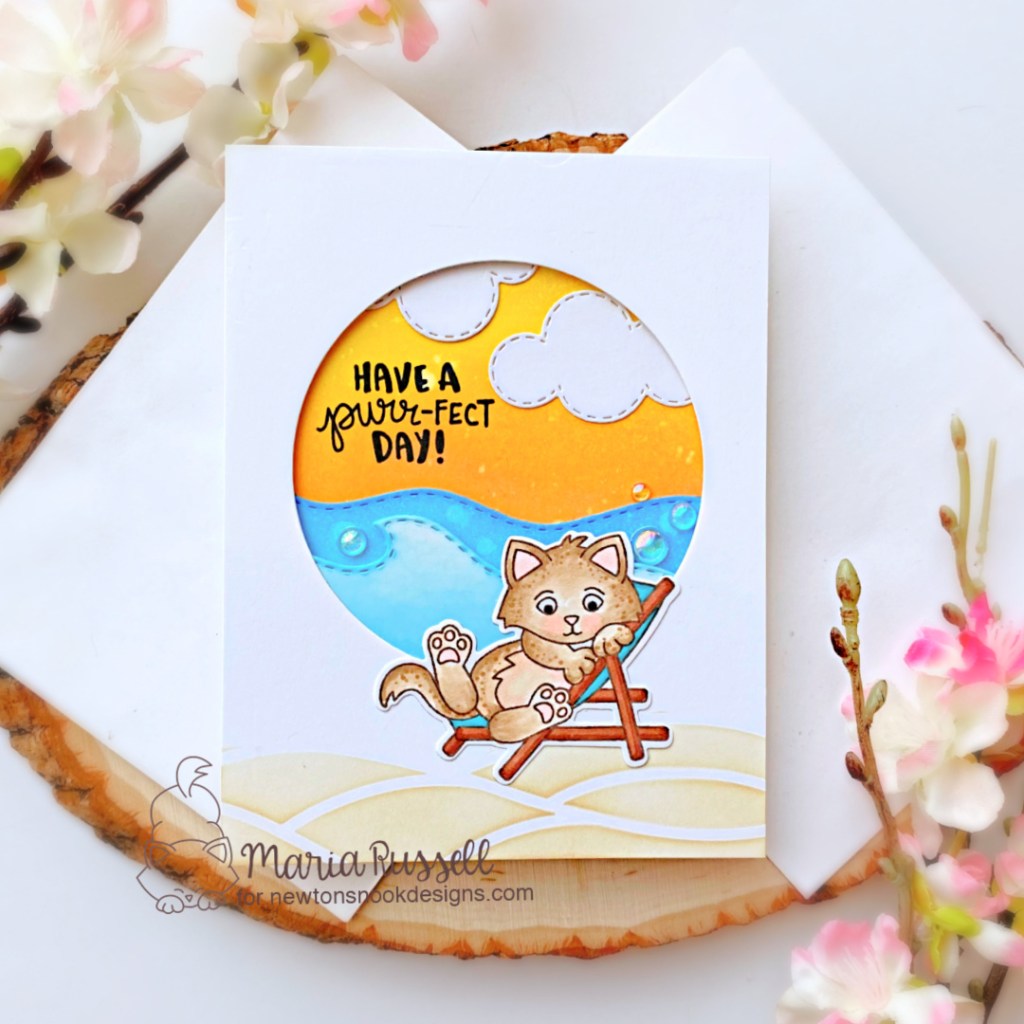
I started by creating the background panel. Using Mustard Seed and Carved Pumpkin with the mini ink blending tools, I blended both colors together on Bristol smooth white card stock. Once I was satisfied with the intensity of the colors, I used my distress sprayer to spray some water on the colored background, and picked up the excess water with some paper towel.
I stamped the images on some Neenah solar white card stock and colored them in with my alcohol markers. I used the coordinating dies to cut the images out.
The “waves” were created by using the Sea Borders Die Set to die-cut more Bristol smooth card stock. I ink-blended the panel with Salty Ocean and Broken China distress oxide inks.
Next, I used one of the circle dies from the Circle Frames die set to die-cut the window on some Neenah solar white card stock. I then used the Sunscape stencil to add the sand dunes with Antique Linen distress oxide ink. I adhered my cute little kitty on my foreground and started to work on assembling my card.
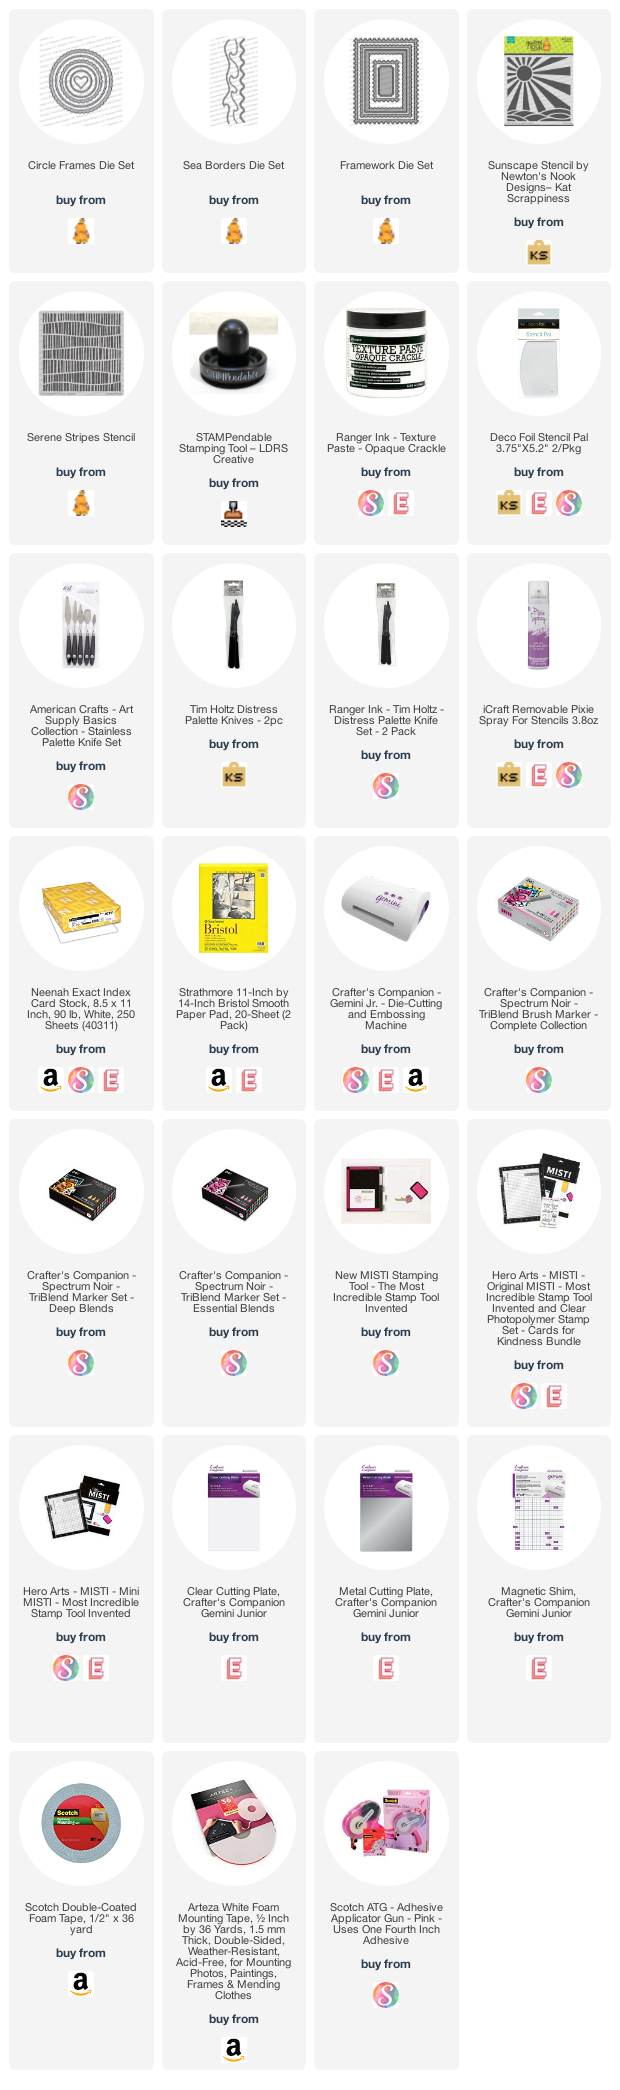
I adhered the background first on some A2 size note card. I added the clouds from the Sky Scene Builder Die Set and “waves” that I inked up previously with foam and liquid adhesives for added dimension. I finished the design by adding the Iridescent Clear Droplet Sampler Pack for added texture. Here’s a little close-up:
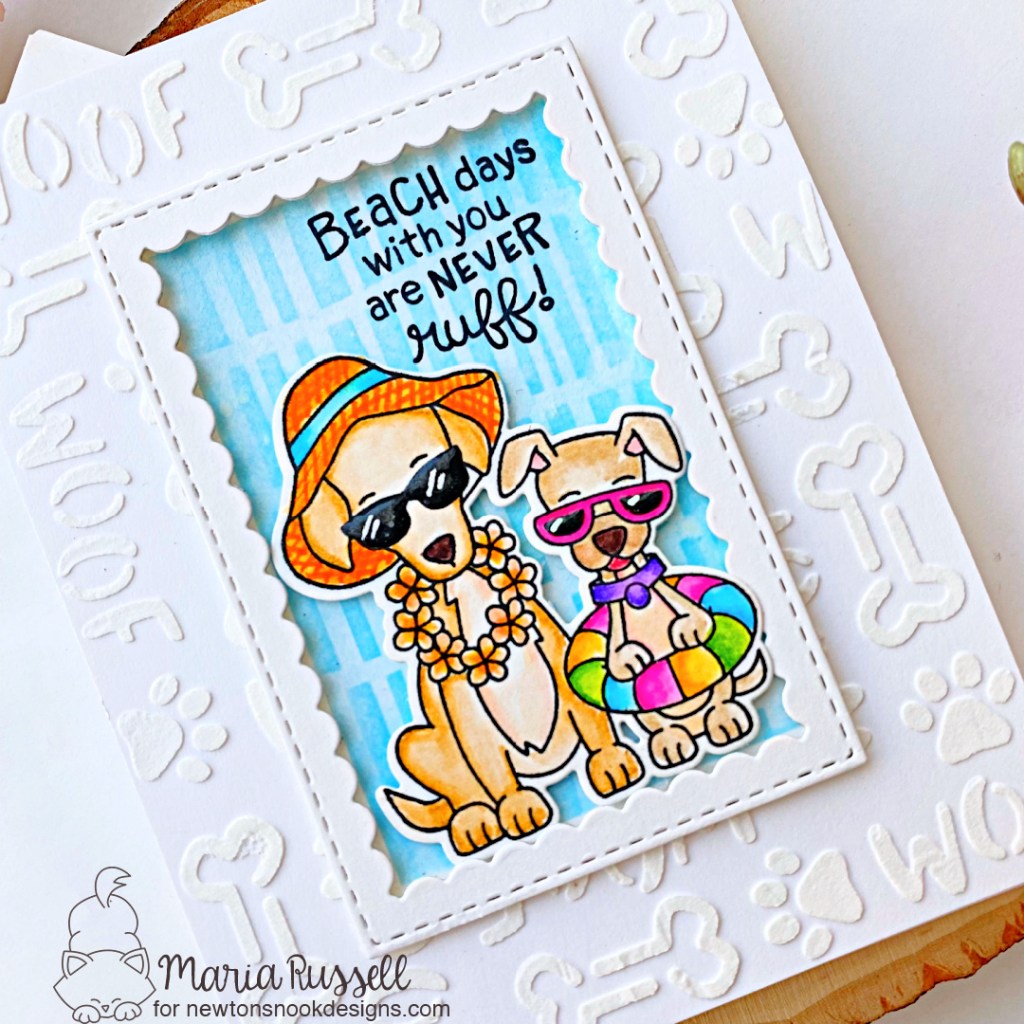
My next card was a bit more time-consuming since I used two different stencils (Serene Stripes and Woof Stencil) to create the background. I used texture paste to add dimension without overwhelming the card design. The window panel was die-cut using the scallop die from the Framework Die Set.
The image was stamped on some Bristol smooth white card stock. I colored it in with my Zig Clean Color real Brush Pens and used the coordinating die to cut it out. I foam-mounted my image for added dimension.
Last thing to do is to stamp the sentiment with Versafine Clair Nocturne ink. I finished the design by adding glossy accents to their sunglasses and using white gel pen for added interest.
Would you like to win the “Kitten Beach” or the “Beach Barks stamp set”? We will choose ONE lucky winner to win each stamp set set!
Here’s how to win: Comment on the NND blog and Design Team blogs (see list below)! Thewinner will be chosen at random from the collective reveal posts. Make sure to check out each of their blogs and comment for your chance to win. You will not know which blog has been chosen so the more you comment on the better your chances are of winning! You have until Thursday, June 17th at 9pm ET to comment — winners will be announced on the blog post on Friday, June 18th.
Check out all the awesome Design Team Blogs below to enter:
It is the second day of the reveals by Newton’s Nook Designs. I hope you were able to check out yesterday’s reveal. You also have a chance to win the stamp set being revealed each day so please read through ’til the end of the blog post to find out more info. [Just a little important note: I know some of you had difficulties finding the comments section. If you would like to leave a comment to participate in the giveaway, the “comments section” will only be ever visible when a single post on Word Press is being viewed. Please click on this particular blog post and you will be able to leave a comment below. Thank you!]
For Day 2, we are showcasing the Summer Moments and Newton’s Seashell stamp sets and their coordinating dies with the Retro Sun Stencil.
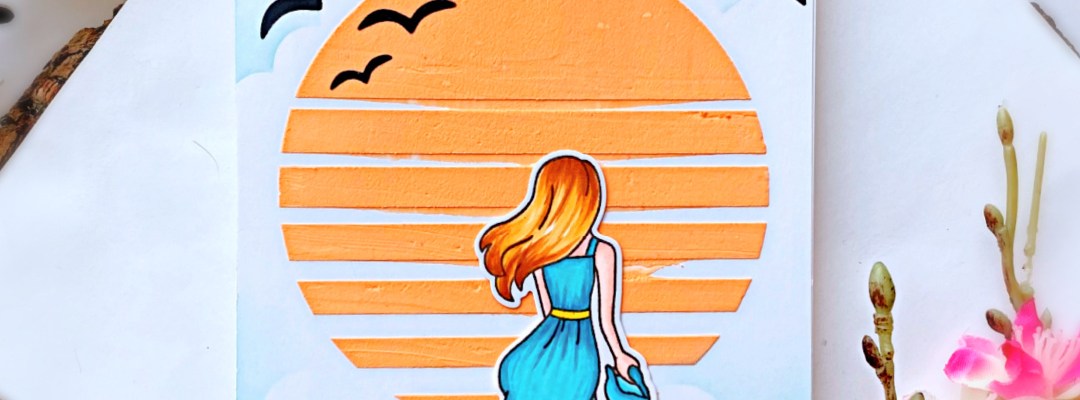
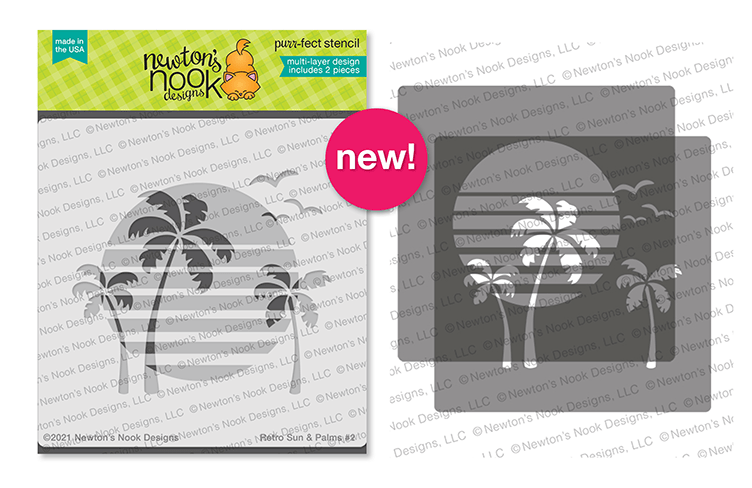
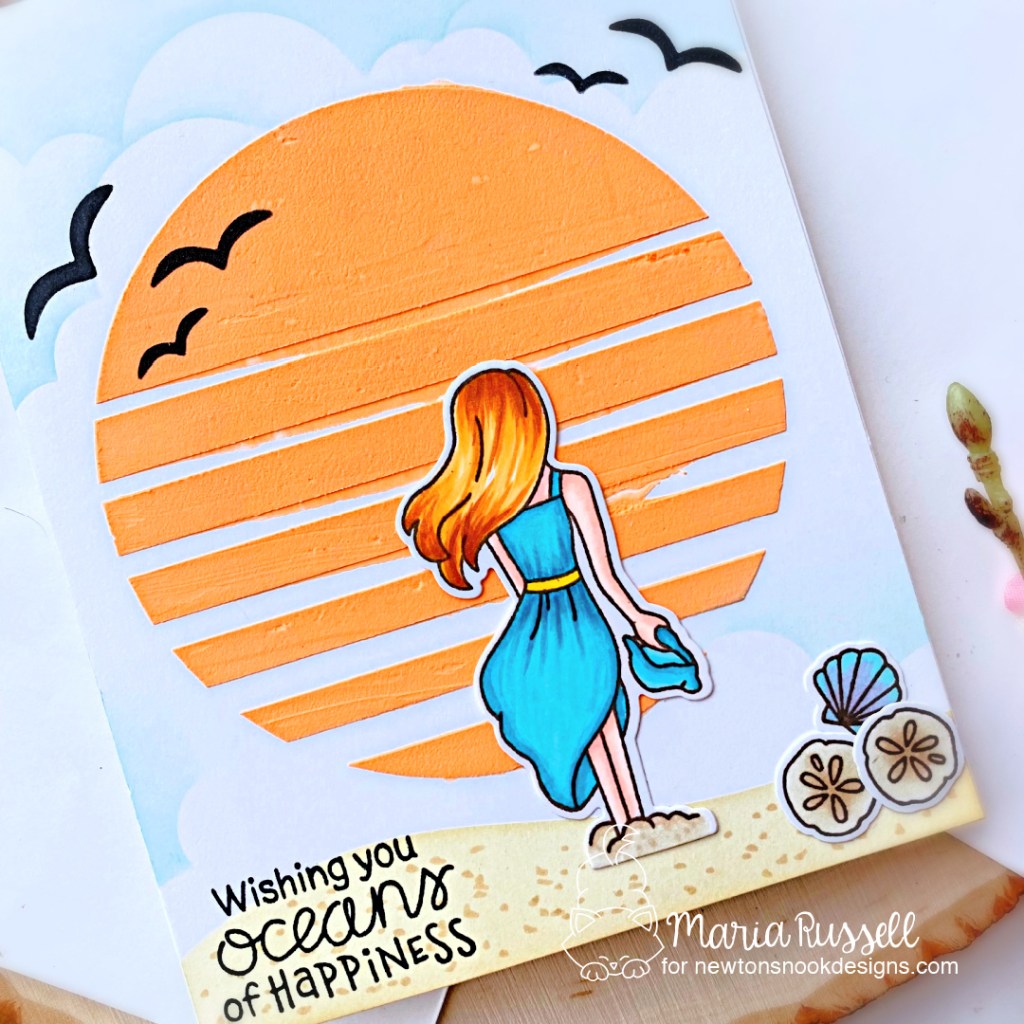
I started by creating the background panel by spraying some Pixie spray on the Retro Sun stencil number 1 and placed it on top of my Neenah solar white card stock. It just gave enough tack to adhere on my card stock.
Next, I used my palette knife to gather enough textured paste and spread it onto my craft mat. I dropped a few colors of my Carved Pumpkin distress oxide re-inker and mixed it together. Using the Stencil Pal from Therm-O-Web, I applied the textured paste onto the card panel. I removed the stencil and set this card panel aside to let it dry for about half an hour. Some of the paste kind of bled outside the lines but I didn’t really mind it. After all, this is “handmade” not hallmark (as per Jennifer Maguire).
Once the card panel was dry, I used the Clouds stencil to add the sky.
I stamped the images on some Neenah solar white card stock and colored the images in with Spectrum Noir TriBlend markers. I used the coordinating die to cut them all out.
To create the sandbank, I used the Hills & Grass stencil with some light brown ink and blending brush to add color to my focal panel. I also used my alcohol marker to draw some dots randomly for added texture.
The last thing to do was to adhere my focal image and stamped the sentiment with some black ink. I used the Retro stencil again to add the birds. Here’s a closer look:
I cut about half an inch off my A2-size card stock and adhered on some patterned paper that I added on white notecard. Adhering the tag on the card with liquid glue for added stability. Here’s a closer look:
Would you like to win the “Summer Moments stamp set”? We will choose ONE lucky winner to win this set!
Here’s how to win: Comment on the NND blog and Design Team blogs (see list below)! Thewinner will be chosen at random from the collective reveal posts. Make sure to check out each of their blogs and comment for your chance to win. You will not know which blog has been chosen so the more you comment on the better your chances are of winning! You have until Thursday, June 17th at 9pm ET to comment — winners will be announced on the blog post on Friday, June 18th.
Check out all the awesome Design Team Blogs below to enter:
It is that time of the month when the entire design team get so excited to show off the new stamps, dies and/or stencils by Newton’s Nook Designs. You also have a chance to win the stamp set being revealed each day so please read through til the end of the blog post to find out more info. [Just a little important note: I know some of you had difficulties finding the comments section. If you would like to leave a comment to participate in the giveaway, the “comments section” will only be ever visible when a single post on Word Press is being viewed. Please click on this particular blog post and you will be able to leave a comment below. Thank you!]
For the first day of the reveals, we are showcasing the Newton’s 4th of July and Buns Out Stamp Sets with their coordinating dies, along with the Fireworks stencil.
To make my first card, I stamped the images with Memento Rich Cocoa ink on some Neenah solar white card stock. I colored the images in with alcohol markers and cut them out using the coordinating dies.
The background was very simple to create. I started with some patterned paper and stamped this panel with Versamark ink. I used some white and gold embossing powder and used my heating tool to heat-set the images make them stand out!
Newton was adhered with some foam adhesive for added dimension. I added the sentiment that was also stamped with Versamark with white embossing powder and heat-set with the heating tool. Here’s a closer look:
The next card I have for you today is also fairly simple. I started by masking off some Neenah solar white card stock with masking tape. I used the Sunscape stencil with some distress oxide ink to create the sun-rays, building up the color intensity towards the sun for added depth.
The image was stamped with VersaFine Clair in Pinecone. Since this is a waterproof ink, I colored the image with my Zig Clean Color Real Brush Markers. I used the coordinating die to die-cut the image and adhered on my focal panel with liquid glue.
I finished my design by adding glossy accents to the sunglasses for added texture and stamped the sentiment with VersaFine Ink in Nocturne. I also used my white gel pen to add some dots and lines to the sunglasses.
Easy, peasy, right?!
Would you like to win the “Newton’s 4th of July stamp set”? We will choose ONE lucky winner for each stamp set!
Here’s how to win: Comment on the NND blog and Design Team blogs (see list below)! Thewinner will be chosen at random from the collective reveal posts. Make sure to check out each of their blogs and comment for your chance to win. You will not know which blog has been chosen so the more you comment on the better your chances are of winning! You have until Thursday, June 17th at 9pm ET to comment — winners will be announced on the blog post on Friday, June 18th.
Check out all the awesome Design Team Blogs below to enter: