Create A Cute D.I.Y. Make-up bag using Artesprix Sublimation Markers and Ink Pad with the Poly Canvas Zip Case
Hello Artesprix fans! I am back with another fun project, using Artesprix’s sublimation markers and ink pads along with the Poly Canvas Zip Case.
Here’s what you’ll need to create the project.

Materials:
- Iron-On-Ink Sublimation Markers (Black, Original, Gnomie Botanical and Pastel markers)
- Poly Canvas Zip Case
- Sublimation Stamp Pad – Black
- Stamp set to use for your design
- Stamping Acrylic Block – or your MISTI stamping tool
- Plain Copy Paper
- LED Light Box
- Pencil
- Heat Tape
- Protective Paper
- Project Mat
- Lint remover
Tools:
- Heat Source: Artesprix Heat Press, Dry Iron or Home Iron (without steam)

Step-by-Step Tutorial:
Step 1.
Place the Poly Canvas Zip Case on a piece of plain copy paper and trace the outline using a pencil to determine the area that you have to work on.

Step 2.
I free-handed my rainbow using Artepsrix Pastel Sublimation Markers.

Step 3.
I traced the Unicorn’s ears using a pencil and the coordinating die that came from the stamp set.

Step 4.
I used my Artesprix Fine Point Black Sublimation Marker to draw the Unicorn’s ears.

Step 5.
I placed my design inside my stamping tool to stamp the rest of the images, using the Artesprix Sublimation Stamp Pad.


Step 6.
I Placed my design on the light box to trace the sentiment using my Sublimation Marker.

Step 7.
Before you attach the design on your blank, make sure that you use a lint remover to remove any hair or unwanted particles.
Using Artesprix Heat Tape, tape your blank down to your design. [Designer tip: I used my LED light box to make sure that my images are perfectly centered. ] If you are using the Artesprix Heat Press, you only need one on each side to hold it down. If you are using an iron, you will need more. Sometimes the iron will cause the image to slip and you will get a ghost image. [Only use Artesprix Heat Tape on the outer edge of the design (not over it).]

Step 8.
Turn your heat press on and set the temperature to 400 degrees Fahrenheit and the timer for 45 seconds. Once you reach your desired temperature, you are ready to heat press.
Step 9.
Create your sublimation sandwich. Cut two pieces of Protective Paper to cover your project on the top and bottom. [Designer tip: Make sure that your design is facing the heat source and the zipper is out of the way before you heat press.] Place it inside the Heat Press and close the machine. The Heat Press will beep indicating that your project is finished!

Step 10.
While wearing protective gloves, lift the handle, and take your design and place them on the Protective Project Mat. Wait for a few minutes until it is cool enough to reveal your design. Gently remove the paper to reveal the design!

Step 11.
I wanted to add some “bling” so I decided to add some rhinestone jewels to the flowers. I used my super-strong mixed media glue to adhere them onto the zip case. I also added the gold bow to finish my design.
Here’s the full reveal! It turned out so CUTE!

I love how the Sublimation Markers just blended so well to create the pastel rainbow! Here’s a closer look:

Now that I have made this project, I cannot wait to create some T-shirts and Pet Bandanas! I really love how this one turned out!

Join in the Iron-on-Ink Fun!
Love this project? Join the Iron on Ink community on Facebook for more project ideas and to share your own creative iron-on ink projects.
If you like this project, you need to check out Gina Knuppenberg’s Mixed Media Bag Tags!
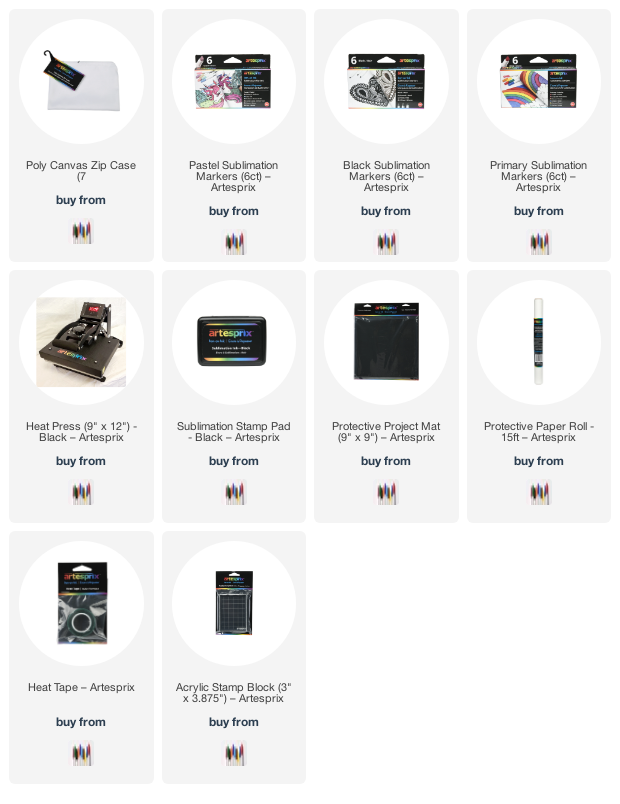
You will find all the blanks and other supplies available for purchase on the Artespix website. I have also listed and linked them below.** Thank you for stopping by and happy crafting!
**The links below are affiliate links. If you decide to make a purchase, you are supporting today’s post writer at no extra cost to you, thank you! These products are endorsed by the author and we hope you’ll love them, too.
———SUPPLIES———-