
This month’s contribution is very special for me. I’ve always love birthdays and since my daughter just turned 18, I wanted to make something very unique for this month’s issue.
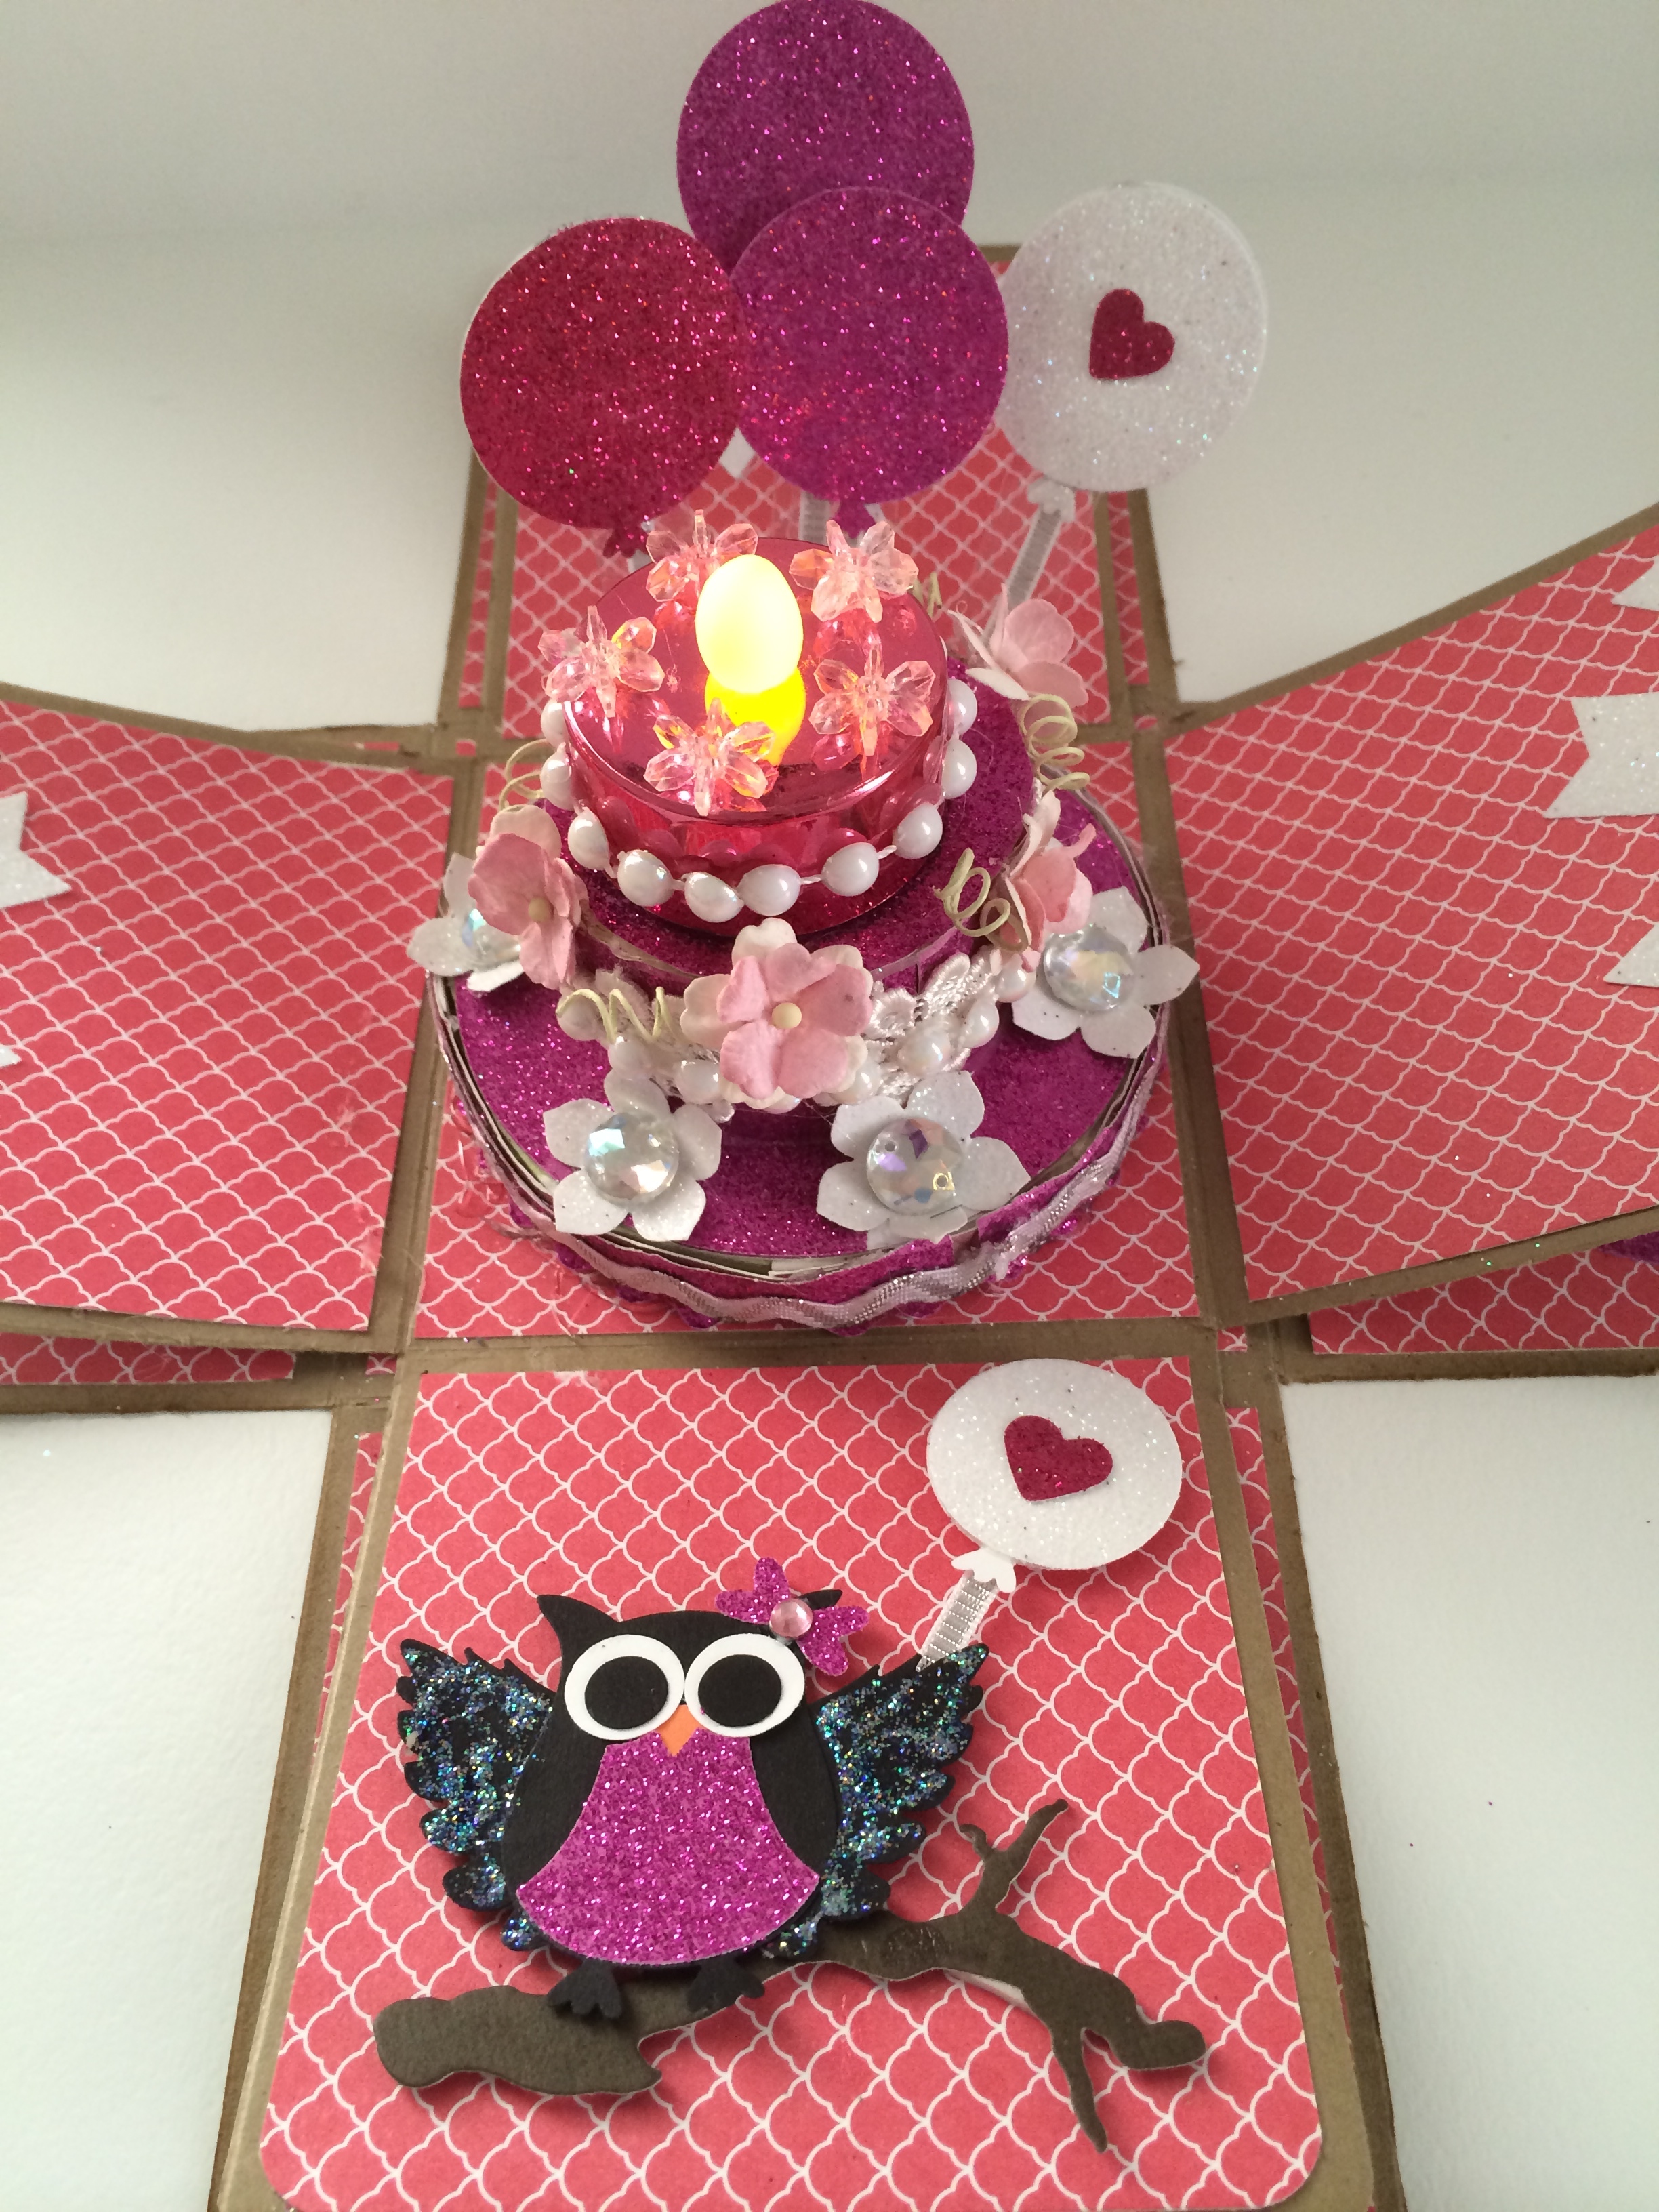
It took me a few days to finish this project. It wasn’t because it was difficult to put together; it was just very time-consuming. I had to use a lot of my dies, framelits and punches to make the faux “cake”, as well as decorate the box with “floating” balloons, and use the right sentiment for the occasion. For some of you, this box might be over-the-top. For me, this is just my way of saying “I Love You” and “You’re Very Special”.
Supplies and Tools I used and how I put it together:
THE BASE OF THE BOX:
1 piece of 12 x 12 card stock
1 piece of 11 ½ x 11 ½ card stock
Score both pieces above at 4 inches on all four sides. I made it this way so it is easier for anyone to follow this project. Once you score all four sides, you will notice that you have 9 squares in total.
Cut the “outer” 4 squares of both card stocks using your trimmer or scissors. Once cut, your card stock should look like a cross. You can use your corner rounder if you’d like to round the corners.
You can then use designer series paper to decorate your box.
Designer Series paper for the 12 x 12 piece:
4 pieces cut at 3 ¾ x 3 ¾
Designer Series paper for the 11 ½ x 11 ½ piece:
4 pieces cut at 3 ½ x 3 ½
Adhere the designer series paper to the card stock using Xyron mega-runner adhesive or any adhesive of your choice.
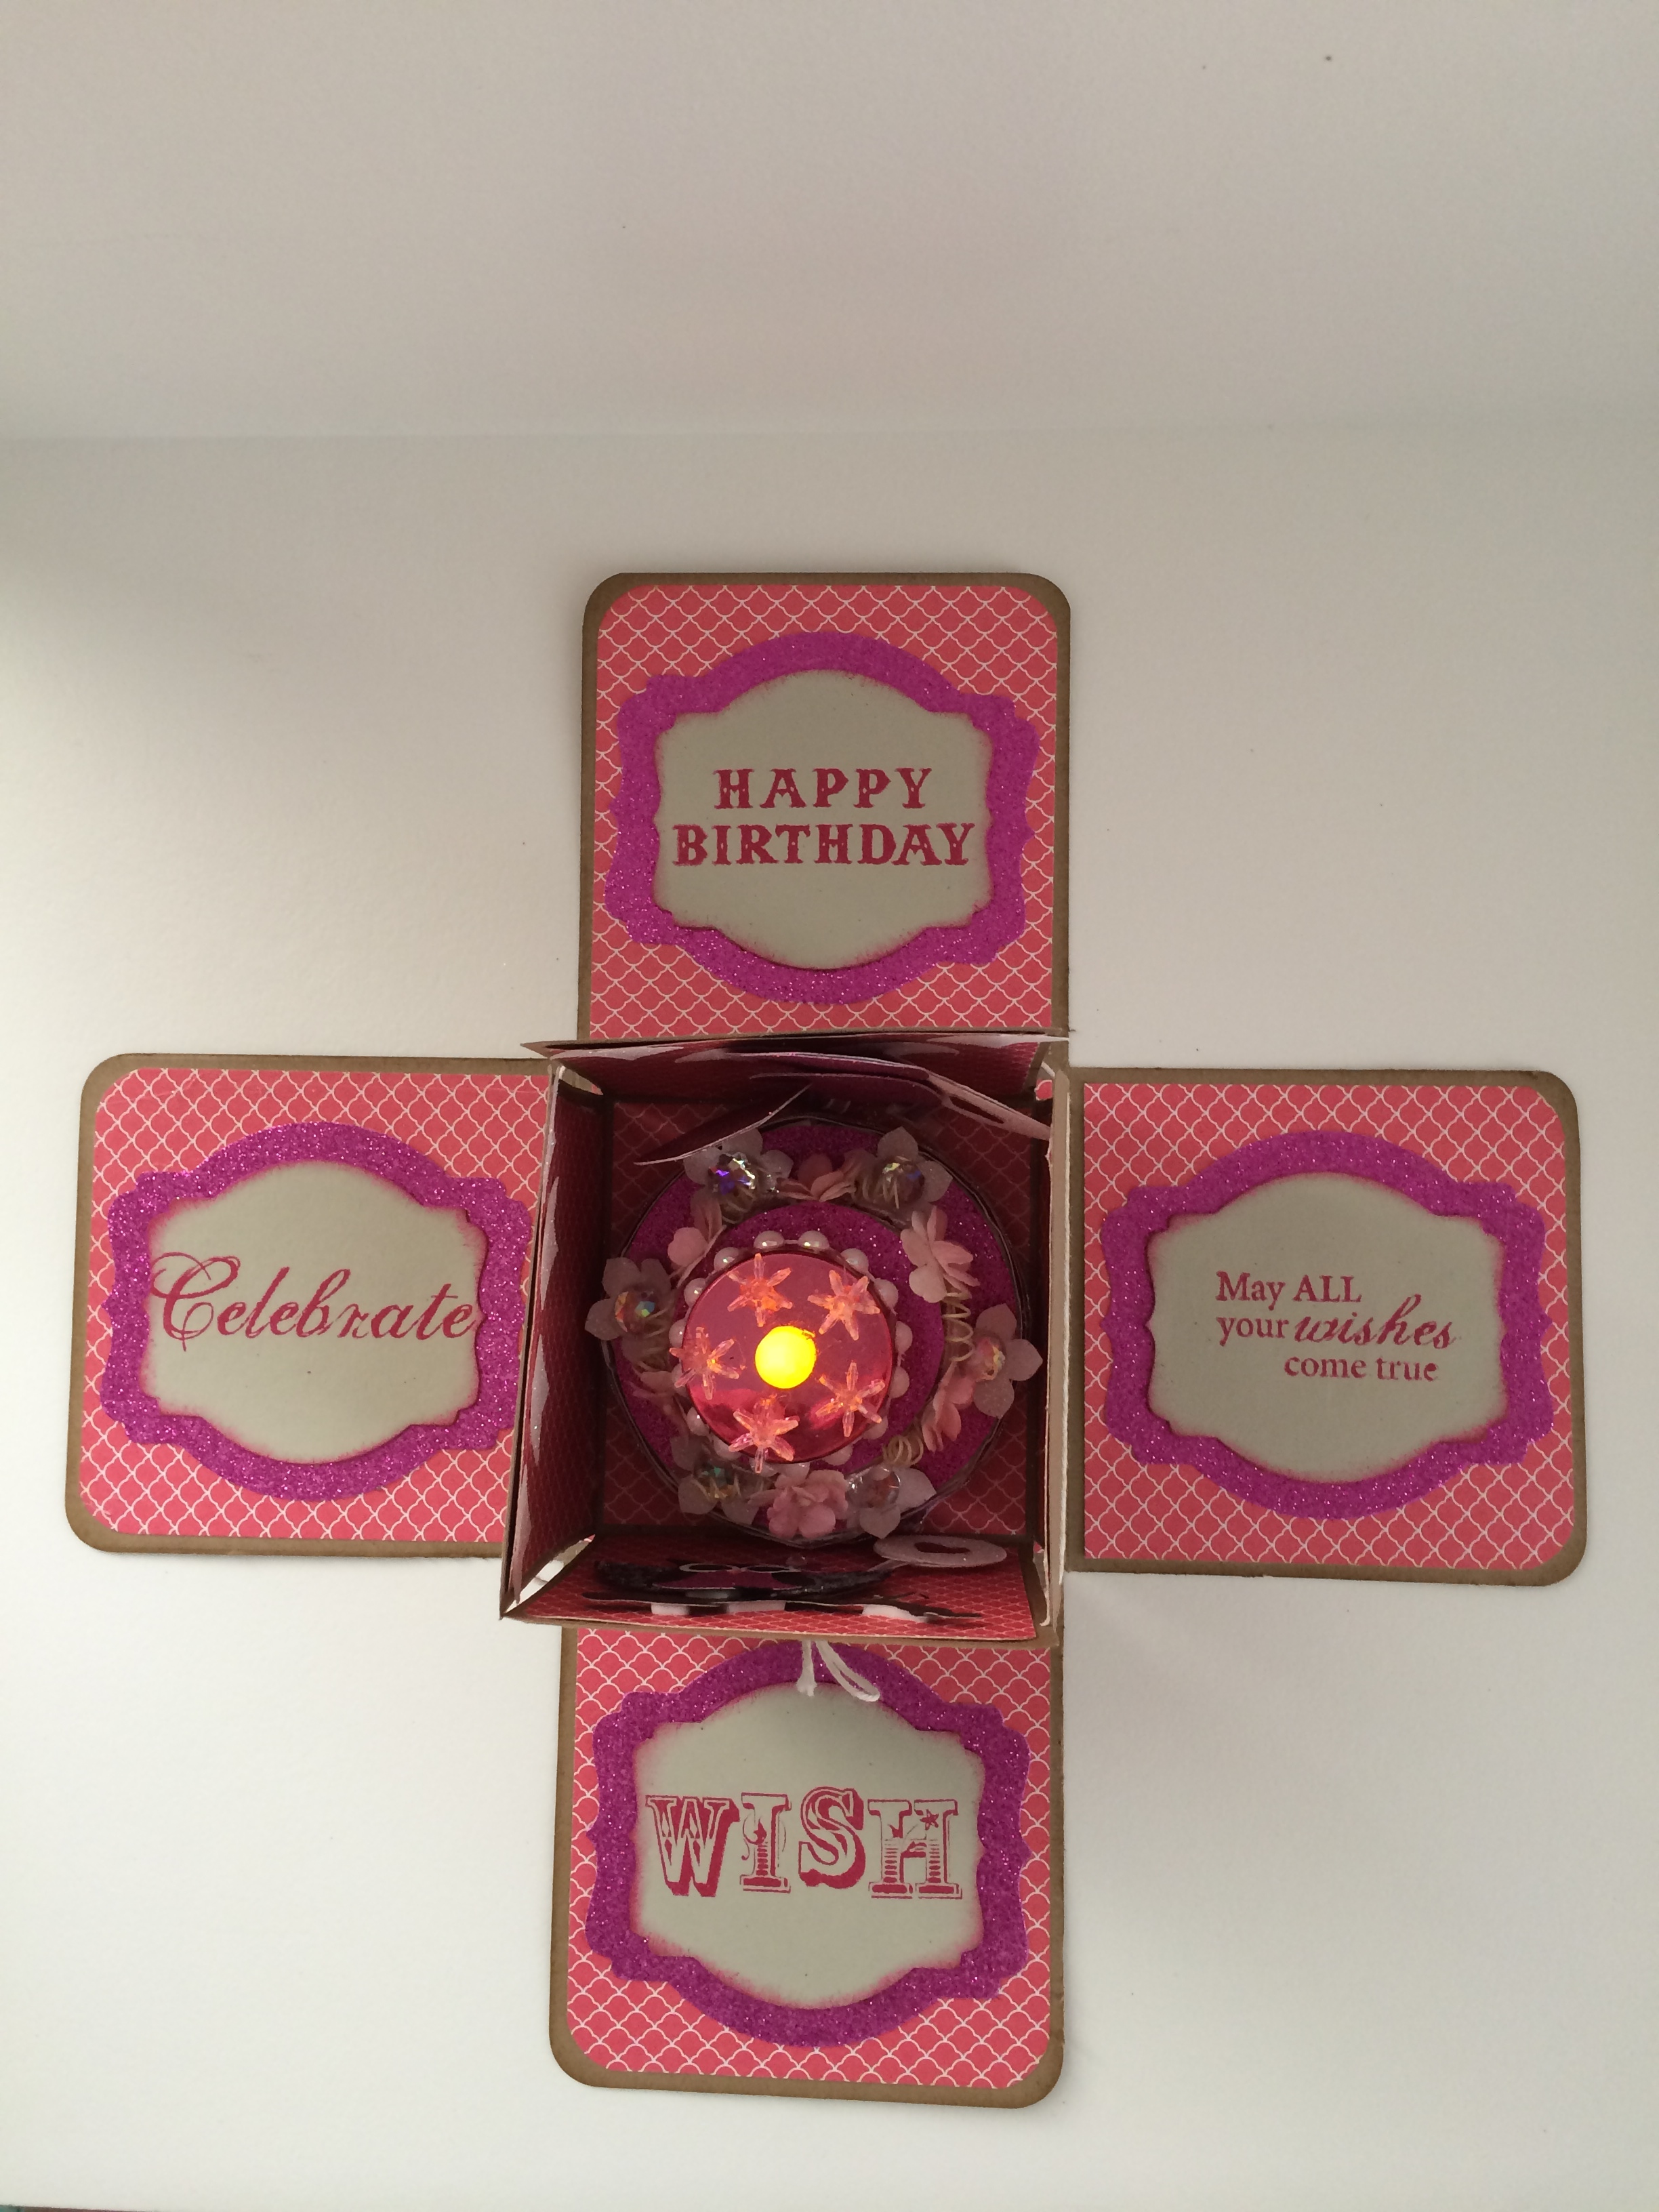
I used my glitter card stock, sahara sand card stock and Decorative Framelits from Stampin Up to cut the pieces for the sentiment.
Sentiment Used: Birthday Greetings from Fiskars
THE LID OF THE BOX:
Designer Series Paper cut at 7 1/8 x 7 1/8. Score at 1 ½ inches on all four sides.
Cut a slit up to the first score-mark on all four sides.
Adhere the slits (or you can say, build your wall) to create the lid for the box, using Tombow glue.
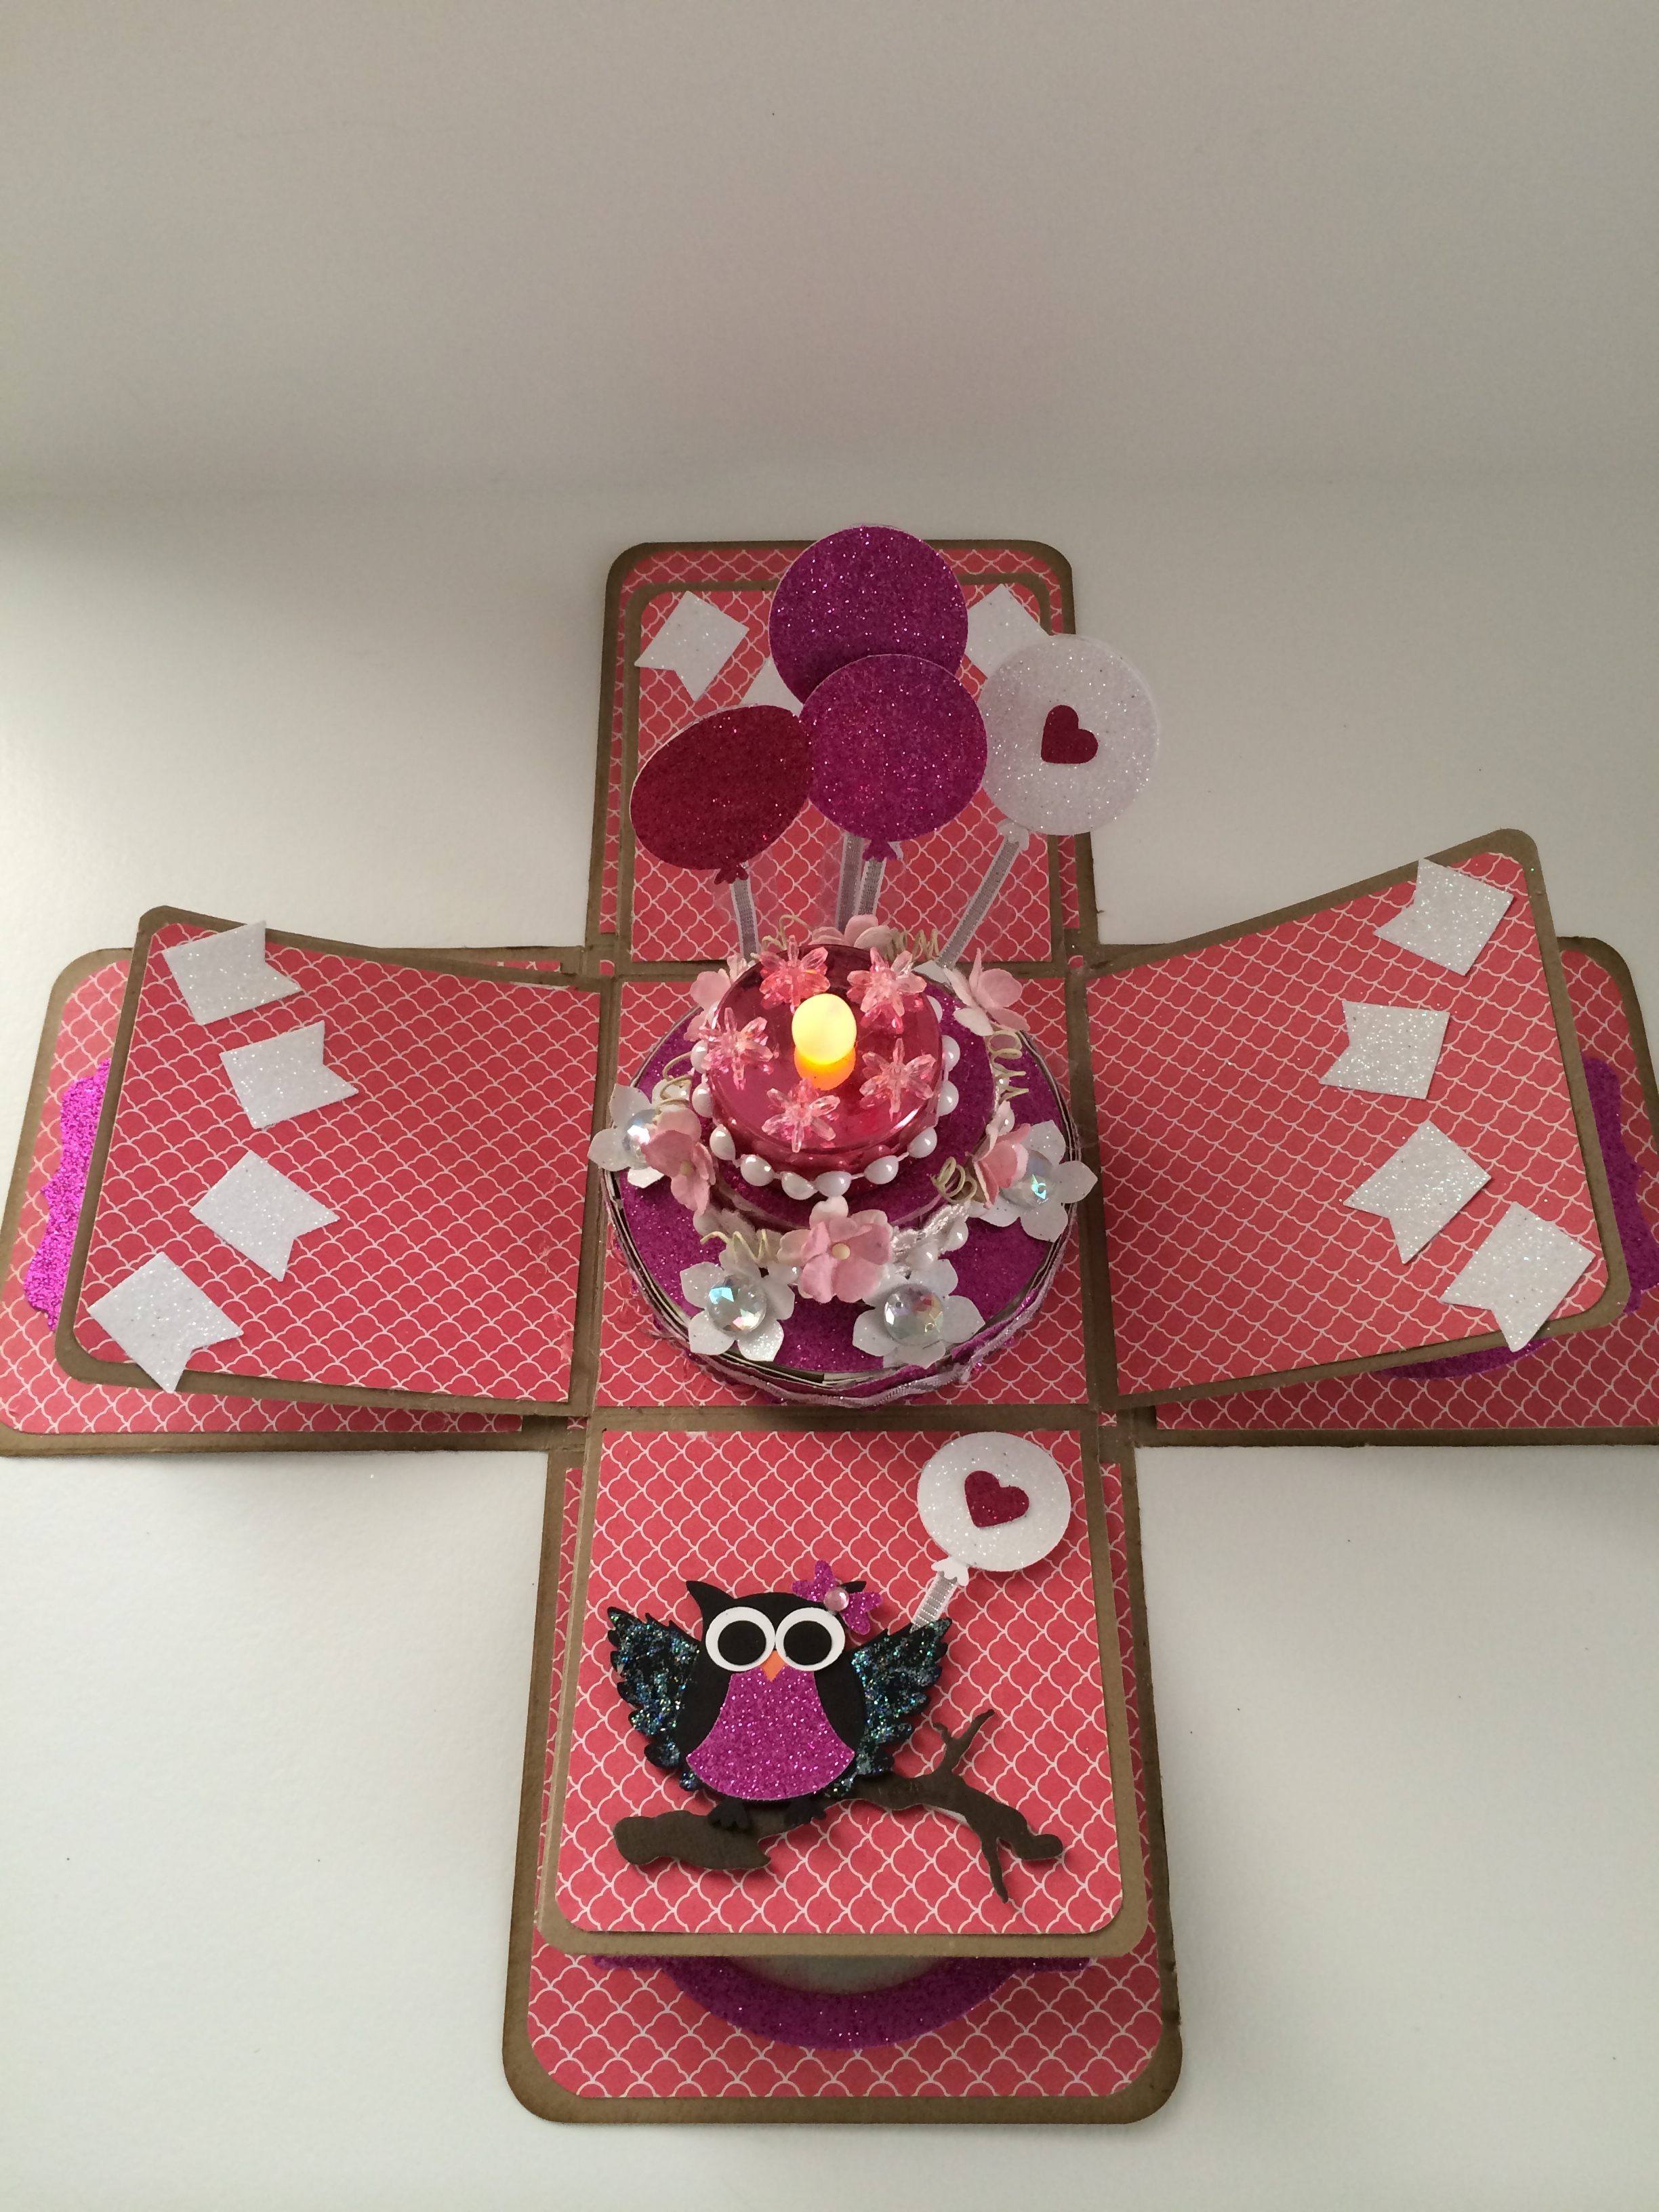
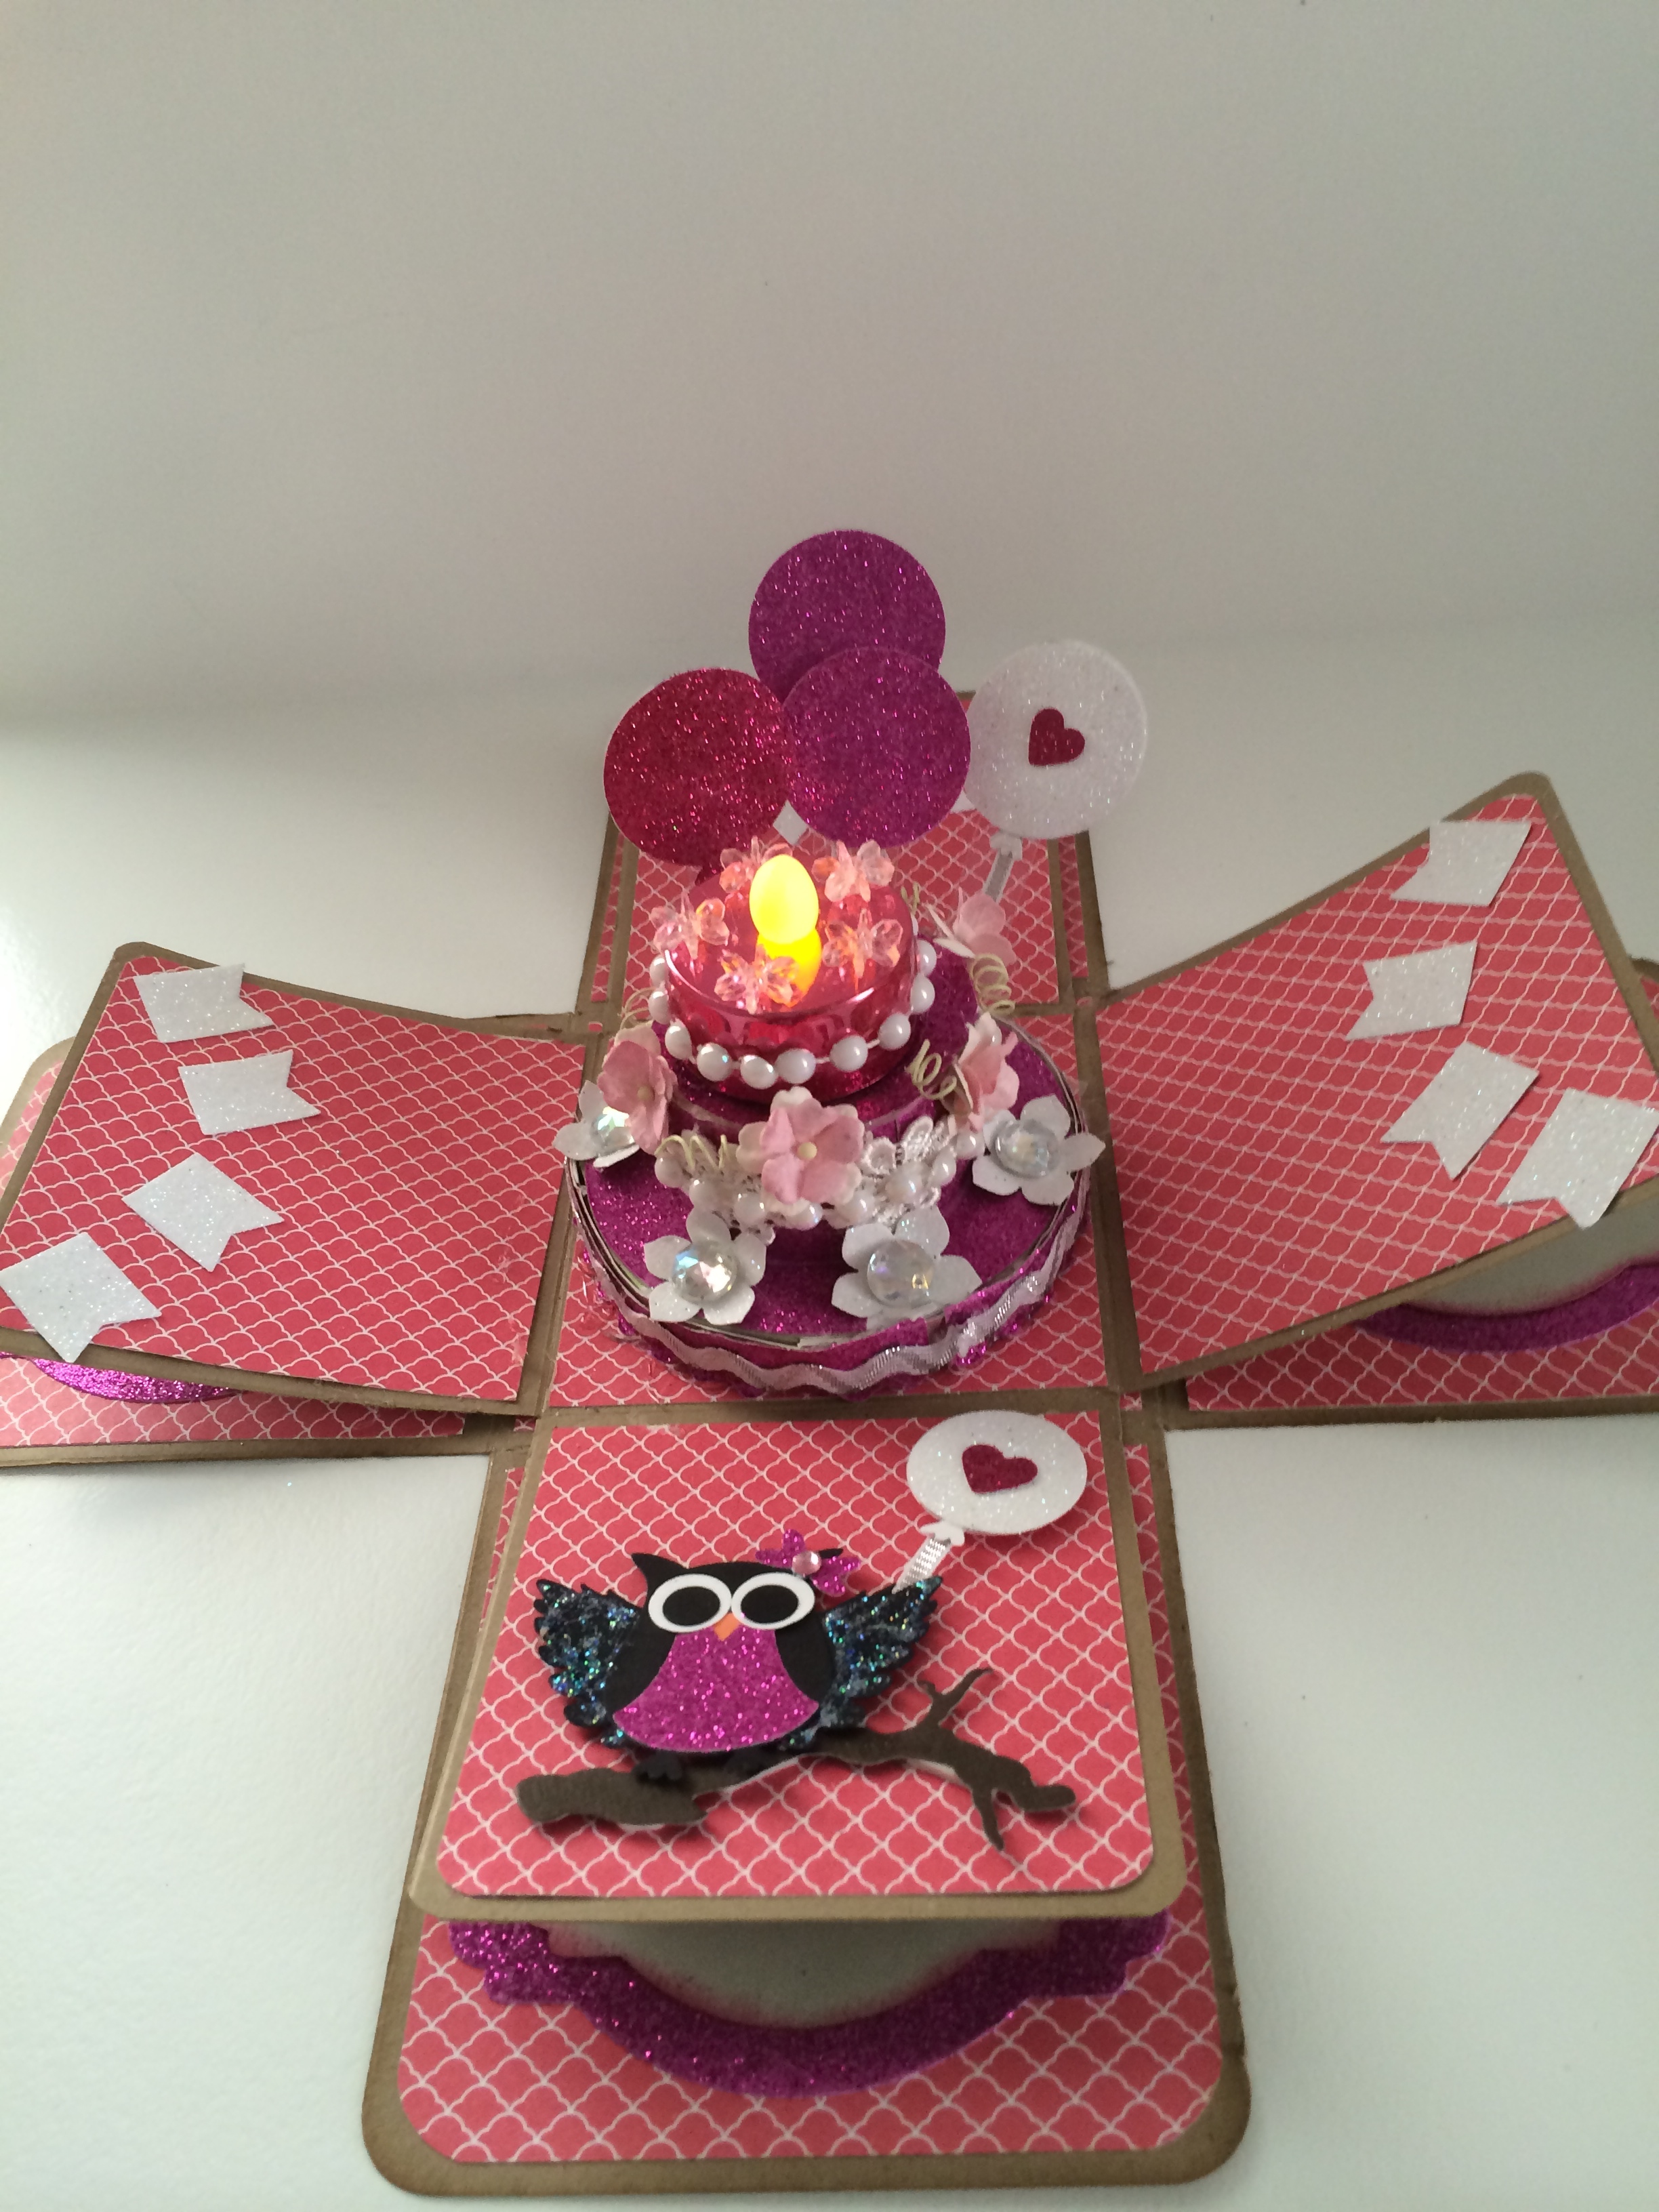
THE FAUX CAKE:
Base of the Cake: I used my Brenda Walton Cupcake Stand Die to create the base with my glitter card stock. I added the silver ric-rac and adhered it using my hot-glue to make it look like the “icing”.
I cut 6 flowers using my Petite Petals Punch from Stampin Up, and used clear rhinestones for the middle of the flower.
Middle Piece of the Cake: I used an empty toilet paper roll and eyeballed the height using my scissors. I used the same glitter card stock on this piece and adhered it to cover the toilet paper roll. I then used my 2 1/8 circle framelit to cut the top, then adhered this piece using hot-glue.
I cut some lace and flat-back pearls to adhere it on the side of the second layer. I also used some paper flowers from Wild Orchid crafts to decorate it. Note: make sure you adhere the paper flowers on the side of the second layer so you still have enough space to put the tea light on the top of your cake.
I used my hot-glue to adhere this piece on top of the base.
Top Piece of the Cake: I used an LED tea light from the Dollar Store for the top piece of my cake. I decorated it with flat-back pearls and some beads.
Obviously, I did not adhere the tea light on the cake so I can still turn it on and off.
Note: I didn’t adhere the cake just yet at this point because I wanted to create the balloons and attach it to the base of the box, before I hot-glue the cake on top of it.
THE FLOATING BALLOONS:
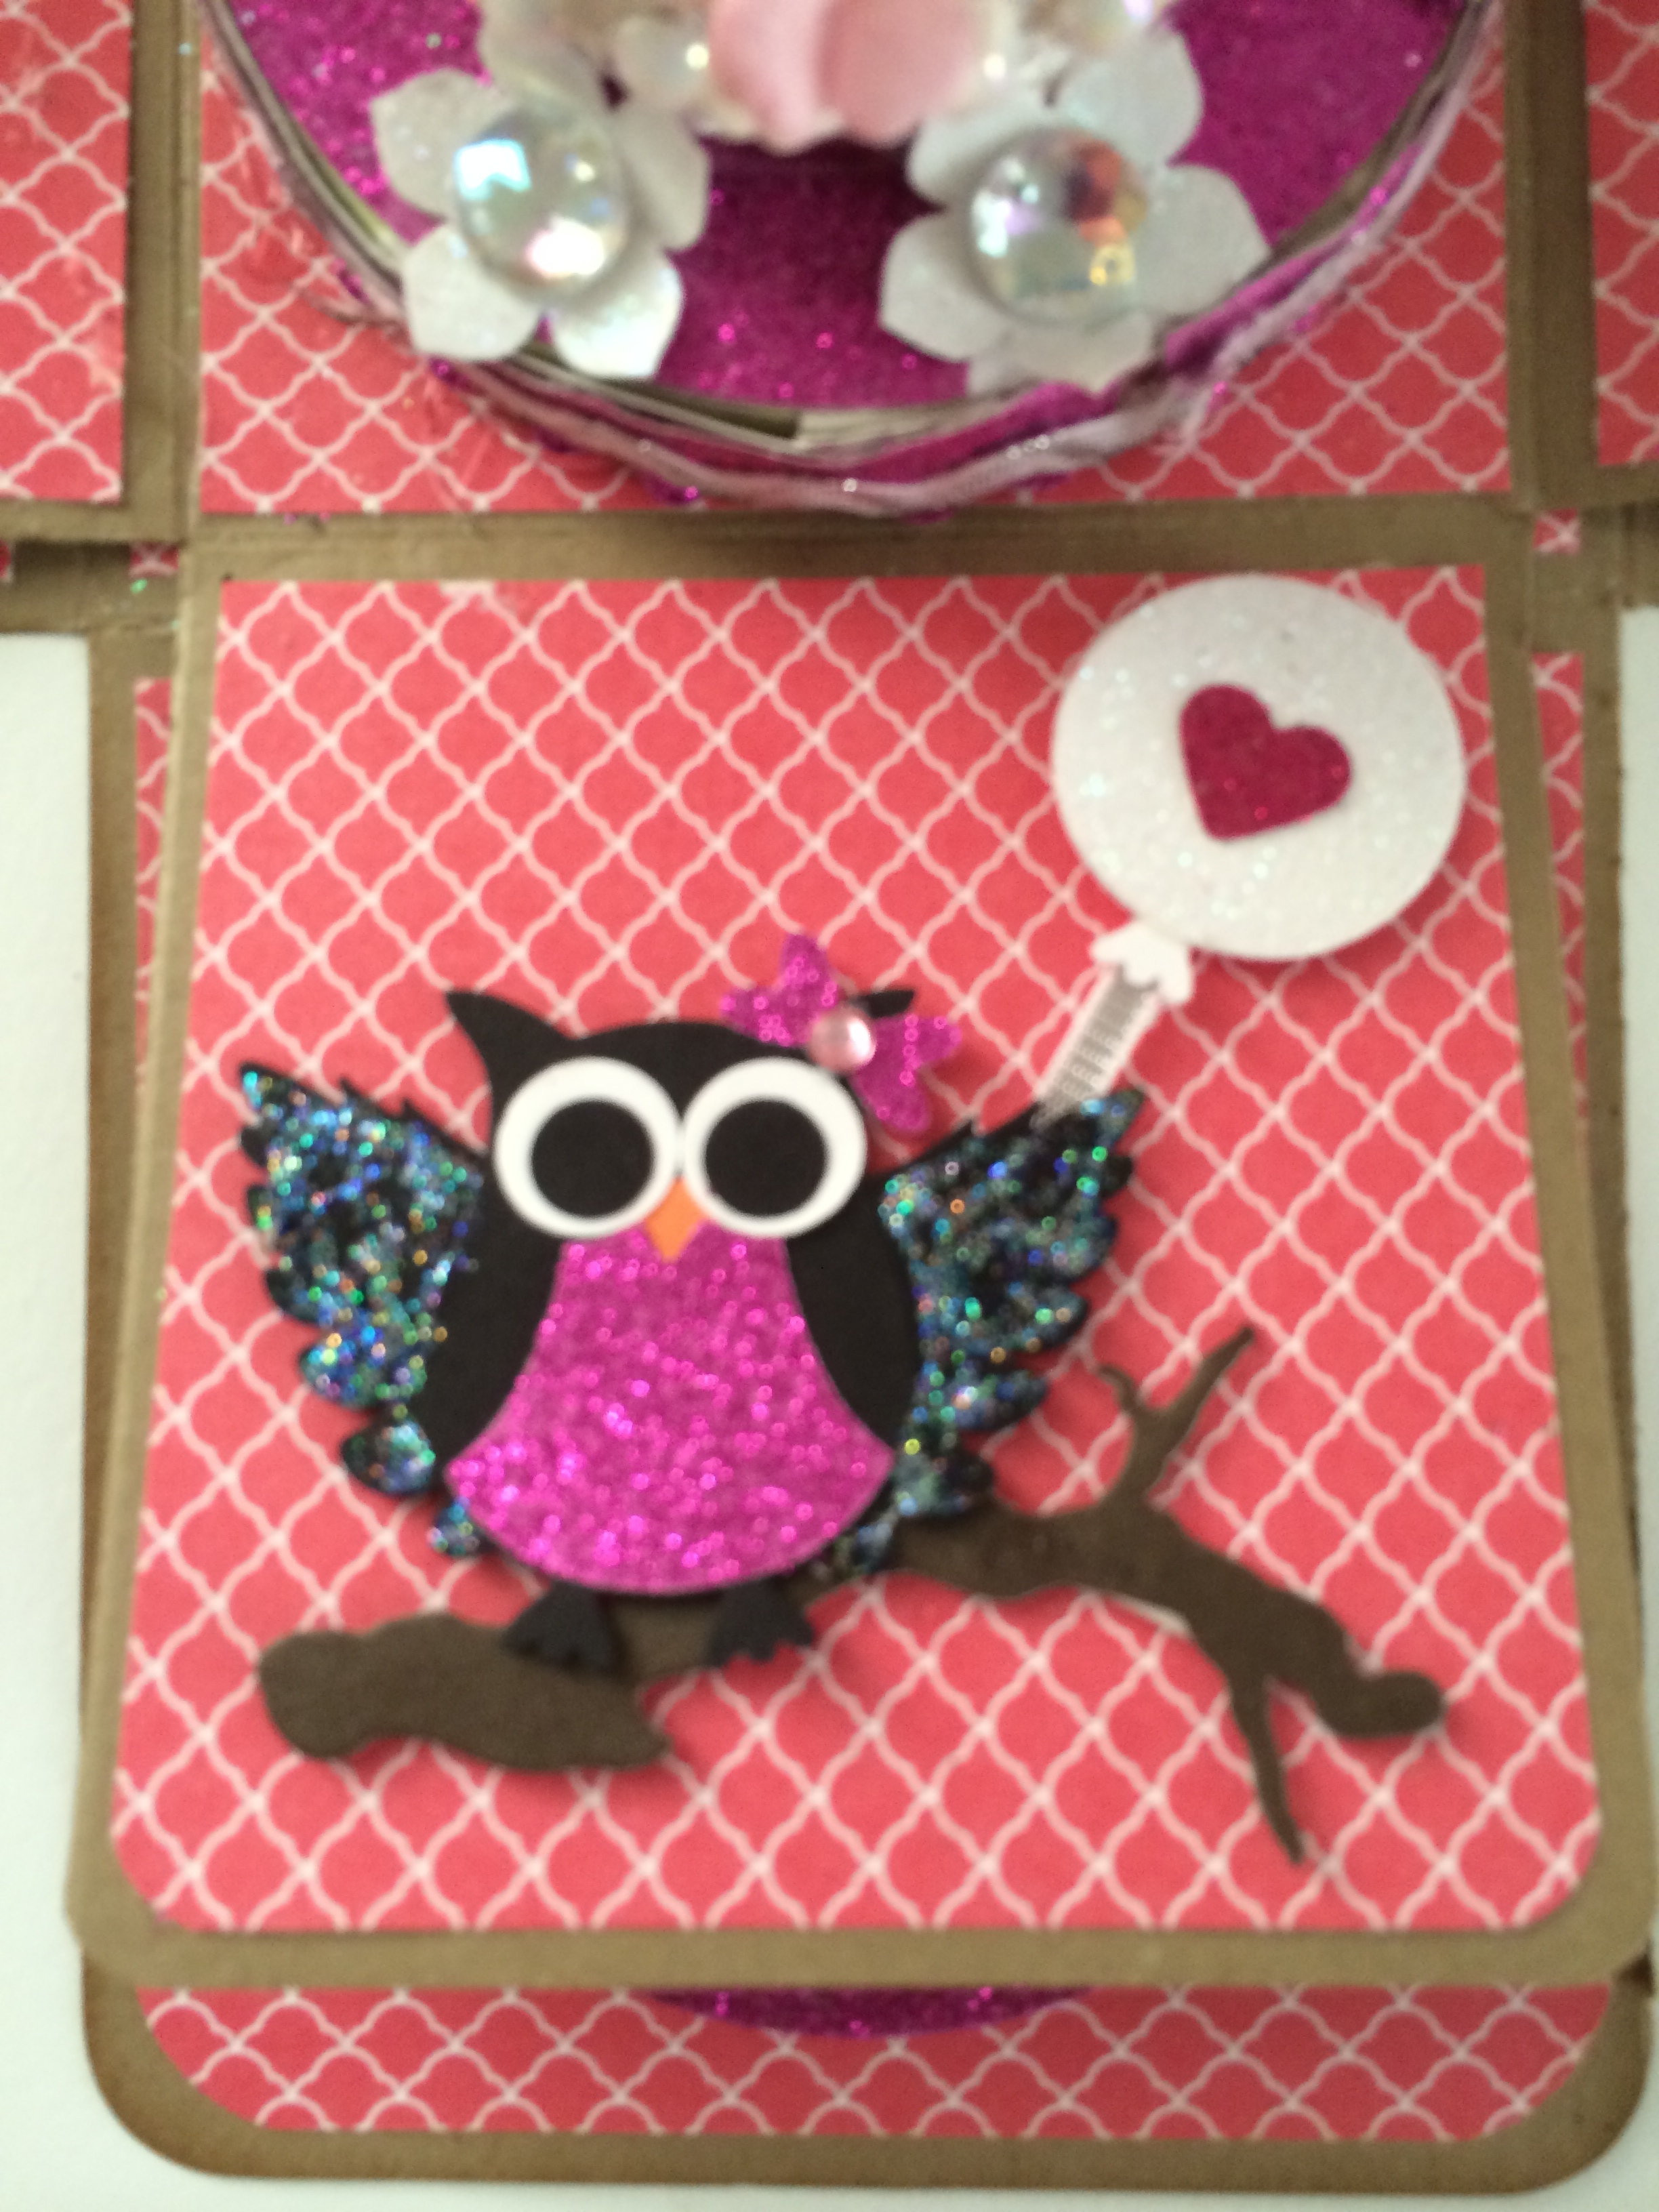
I created the balloons using my 1 3/8 circle punch and my Owl builder punch from Stampin Up. I also used the 1/8 silver ribbon from Stampin Up to create the string for the balloons.
I used strips of window sheets and attached it to the balloons to make it look like they are just floating in the box.
I then folded the bottom piece of the window sheet, enough to make a lip (or an L-shape) so I can tape it at the bottom of the box.
Adhere the cake using hot glue.
Banner: I used my Banner punch from Stampin Up to create the banner.
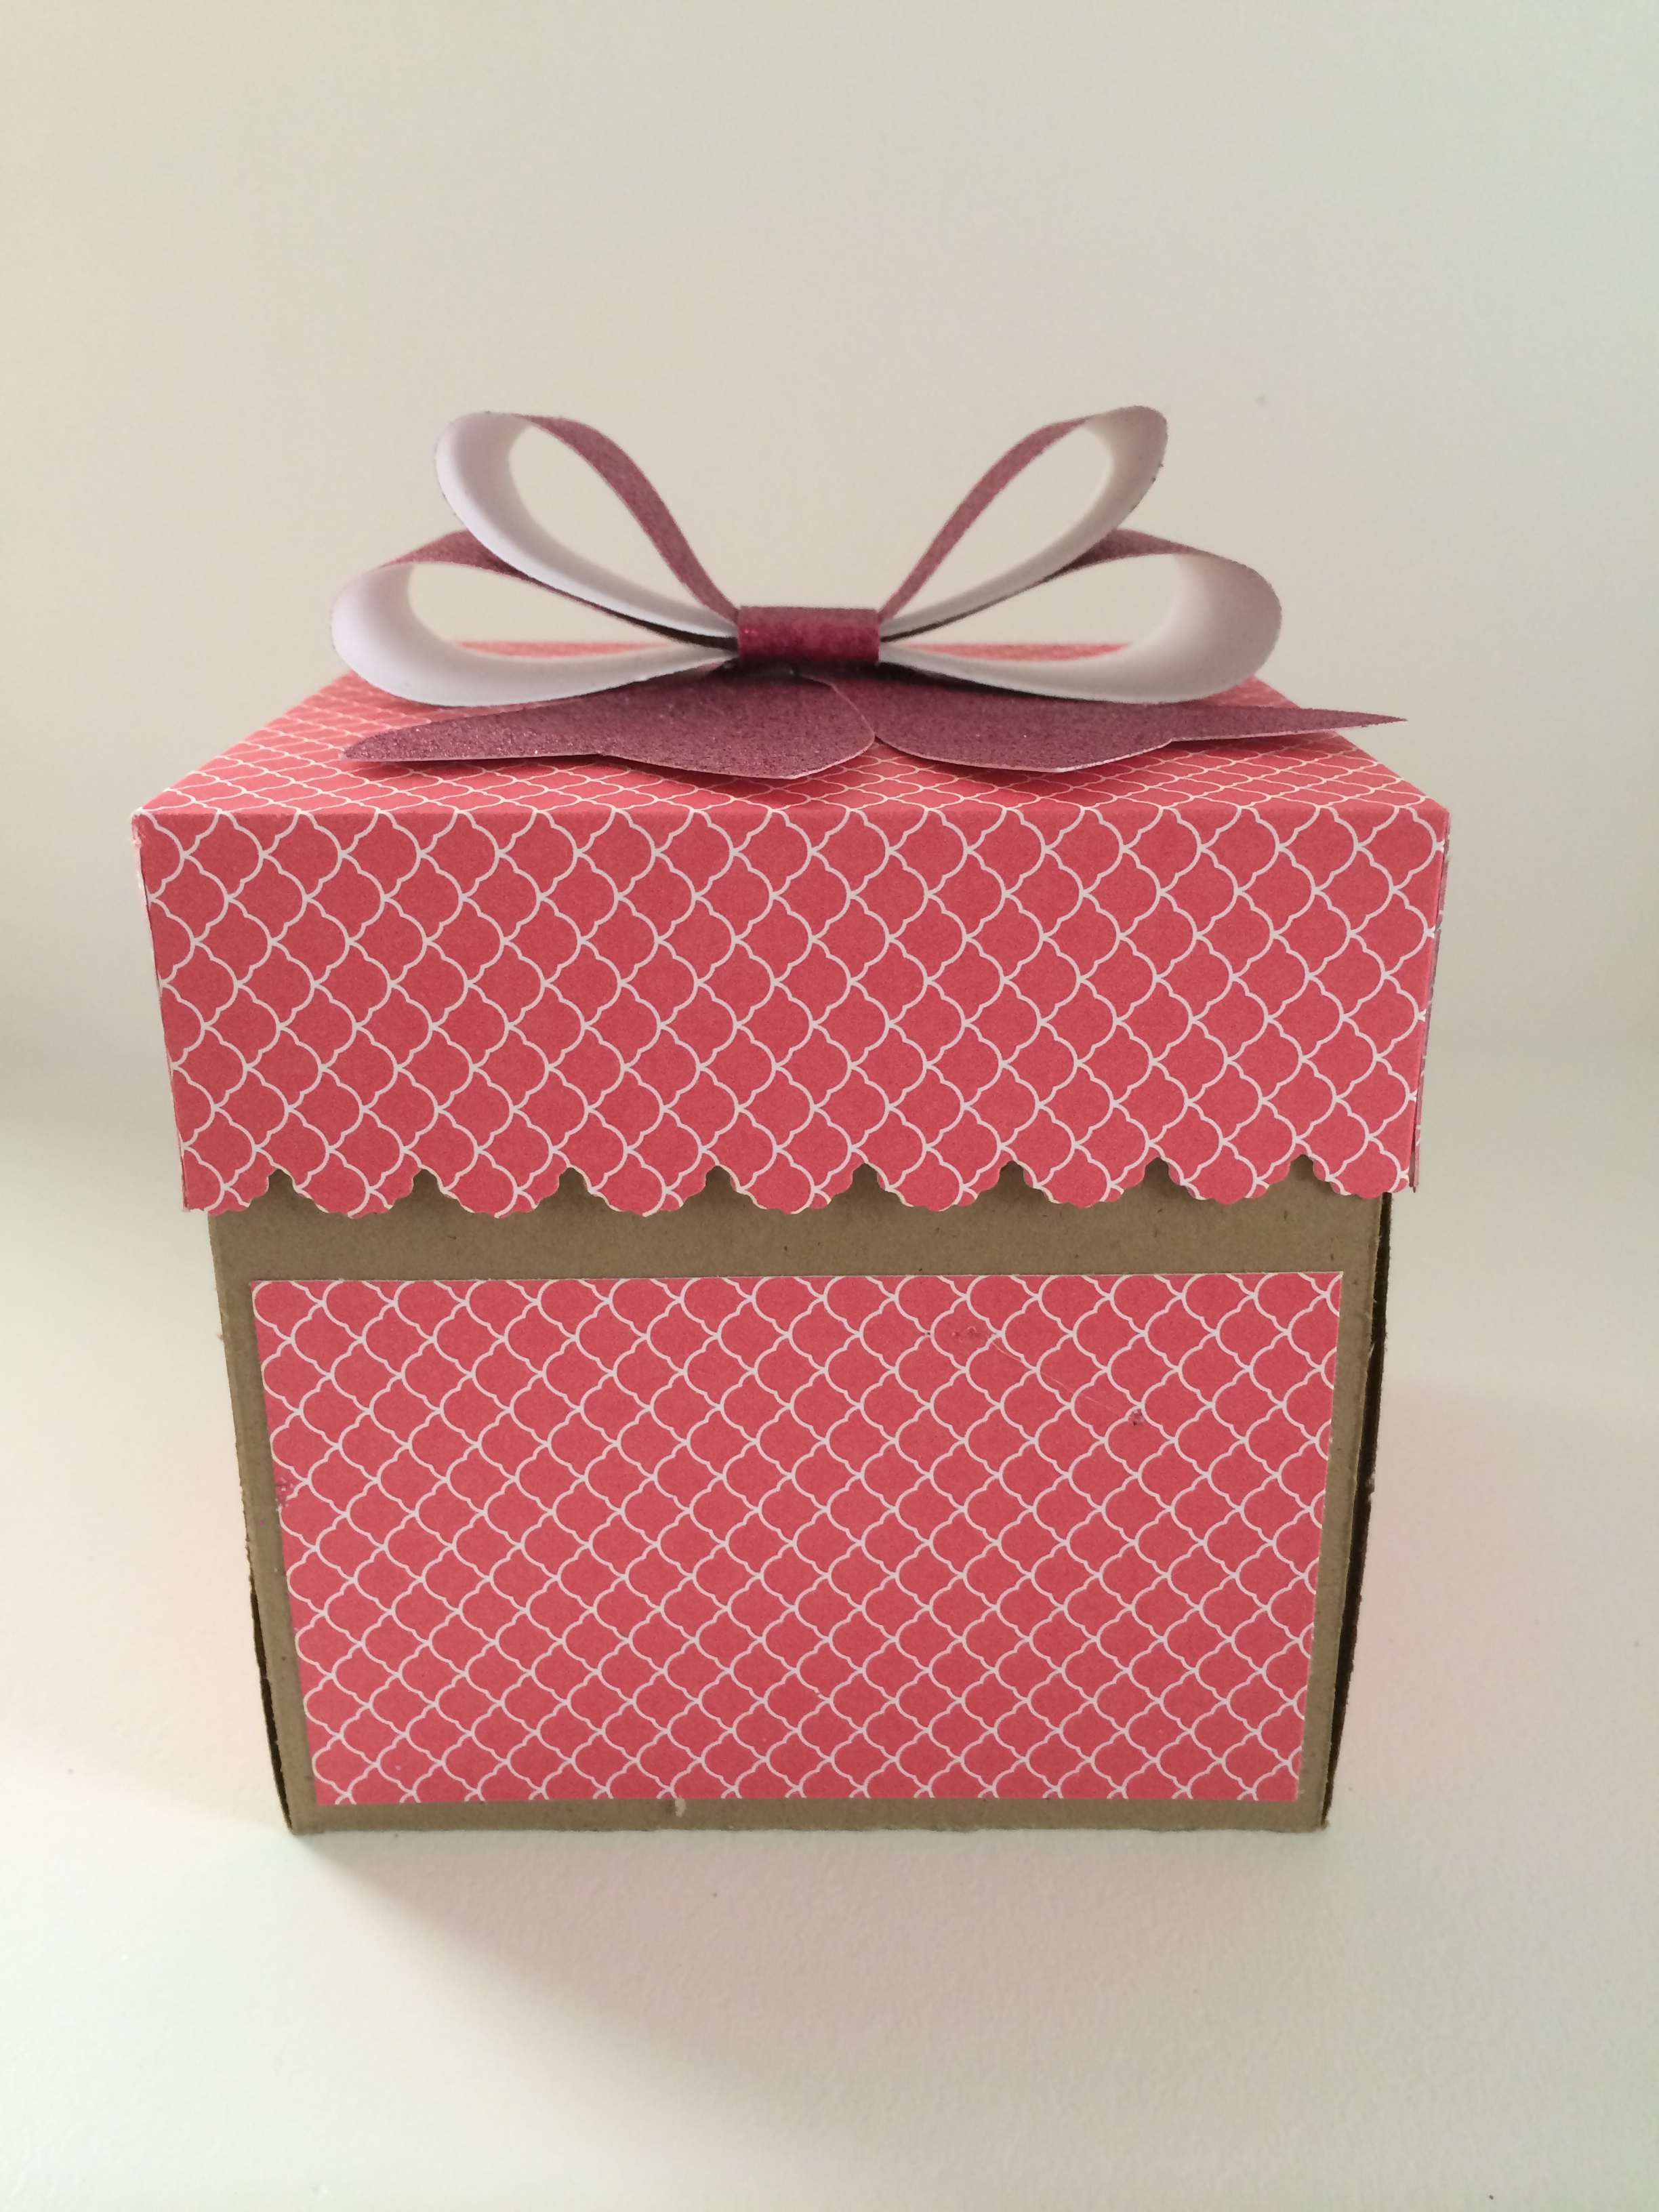
BOW ON TOP OF THE BOX:
I made the bow using my Bigz L Bow Die from Stampin Up, adhering it on the lid of the box using hot glue.
I hope you like this project. Happy crafting!
Facebook: http://www.facebook.com/mariarusselldesigns
YouTube Channel: http://www.youtube.com/rprmlr772
Pinterest: http://www.pinterest.com/rprmlr77
