Thinking of You Card

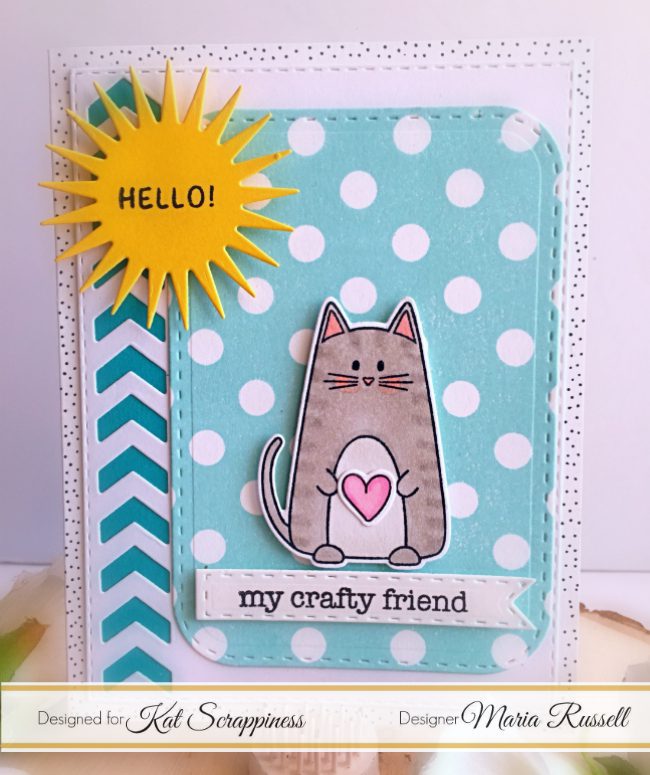
Hello LDRS fans!  I have a confession to make!  This lockdown is starting to make me feel anxious and my way of dealing with the anxiety is to stamp and color images.  I make some camomile tea, put on some relaxing music and just color, color, color!


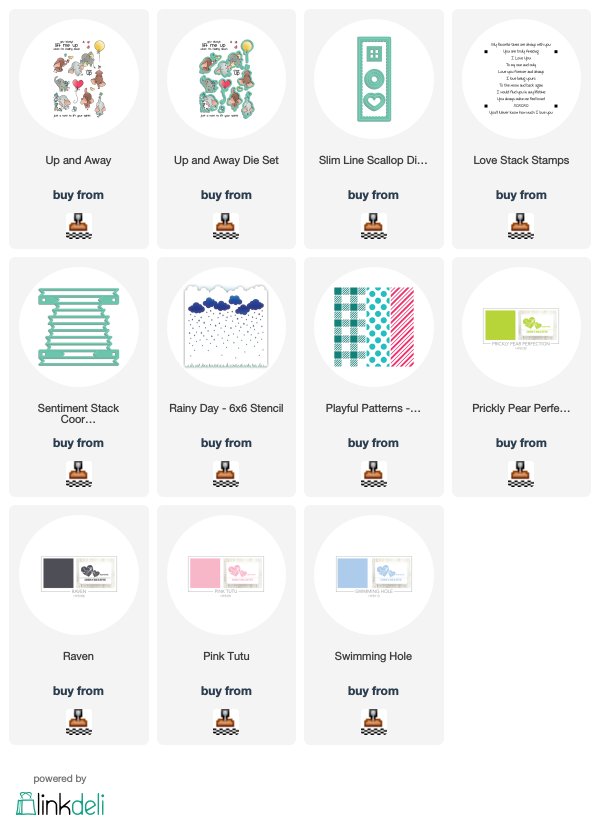
This card that I made today reminds me of home.  Everything about it is so serene!  I mixed and matched a couple of stamp sets to create my scene.  I am showcasing the Up & Away stamp set and coordinating dies, with the Thank Ewe and Mountains stamp set, along with the At the Clouds Edge Border die.  The sentiment came from the Anytime Stack stamp set, and die-cut using the Sentiment stack coordinating die.


I stamped the images with Raven Hybrid ink on some white card stock.  I also stamped the tree and picket fence from the Thank Ewe stamp set on some masking paper to mask the images.  I colored the images in with my alcohol markers and used the Up & Away coordinating die to cut them out.


The clouds and the grass hill was die-cut using the At the Clouds Edge die.  I colored the grass hill with alcohol markers again to match the ones I’ve already colored.  I foam-mounted the clouds and grass hill on the card to create more dimension.


Lastly, I stamped the sentiment using the Anytime Stack stamp set, and die-cut using the Sentiment stack coordinating die on some black card stock.   This stamp and die combination is one of my favorites now because you can die-cut a bunch of them in one go.  I keep the others inside the sleeve so that I can use it for another project.  Easy, peasy!


 I also have a process video of this card today (with speed coloring) if you’re interested.


I hope I’ve inspired you today!   The supplies are listed and linked below.  Thank you for stopping by and have an amazing day!  Happy stamping!
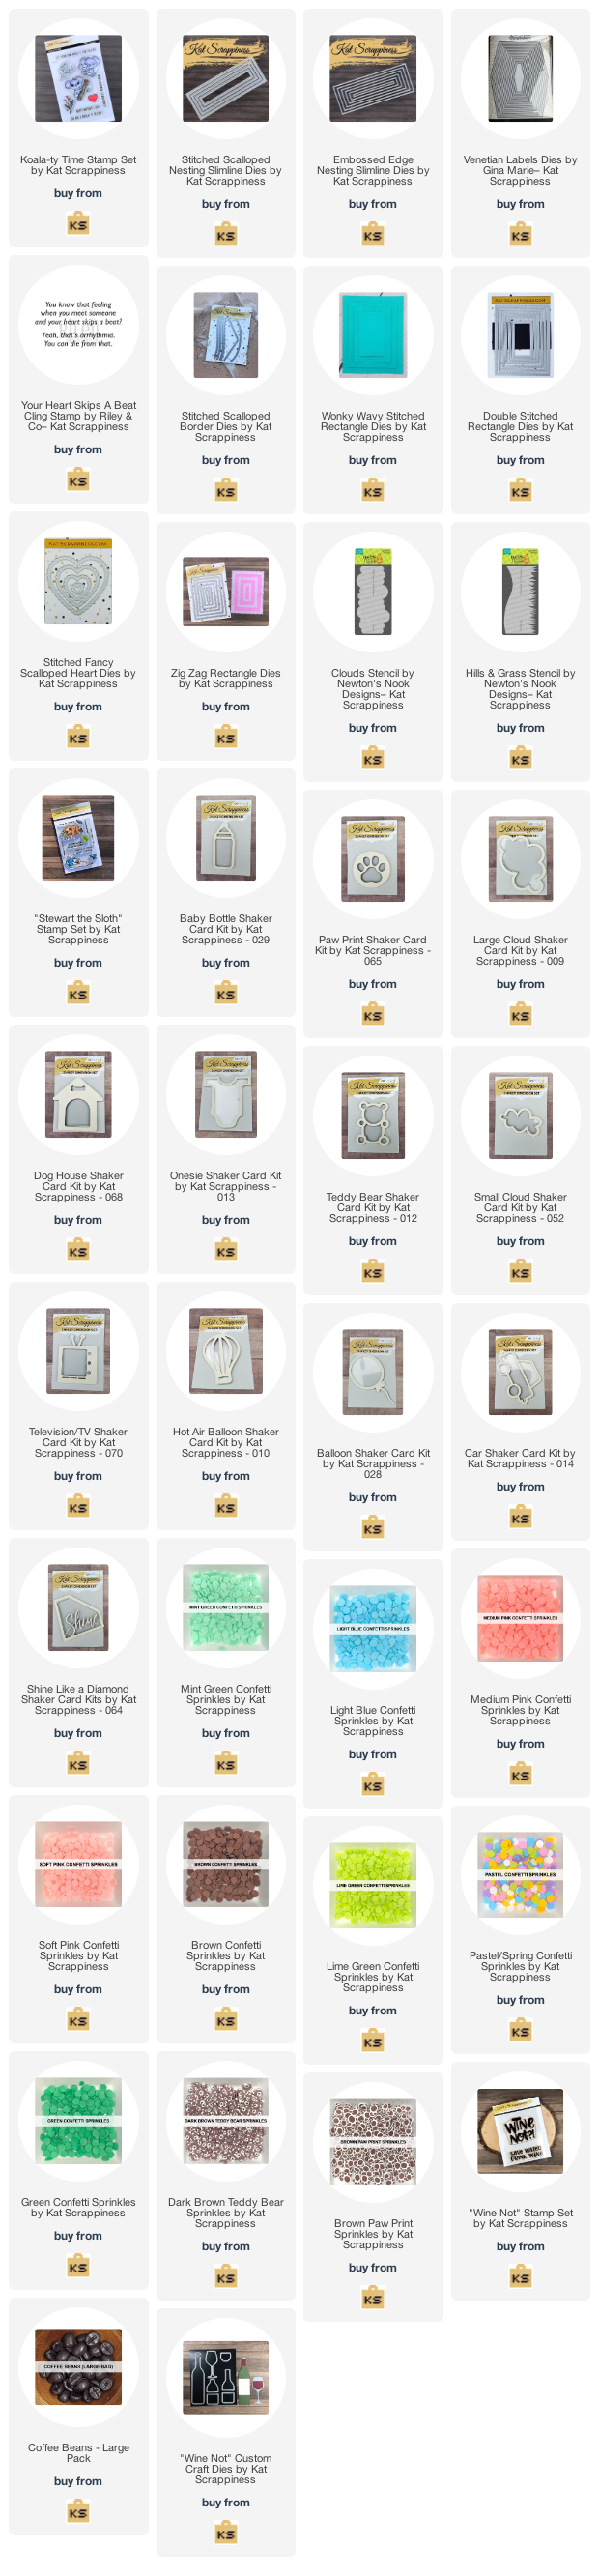
 

————SUPPLIES————

Uplifting Cards | Up & Away | LDRS Creative

Hello LDRS fans!  Maria Russell here with you and I am so excited to share my first post for LDRS Creative!  For today’s cards, I am showcasing the Up & Away stamp set and coordinating dies with the Slim Line Scallop die, the Love Stack stamp setSentiment Stack coordinating die, Rainy Day stencil, and Playful Patterns stencil.  I also used the Raven,  Prickly Pear PerfectionPink Tutu and Swimming Hole hybrid inks.  They are amazing!


Before I proceed with my post, don’t forget that LDRS Creative is offering a special discount valid until midnight (EST) of March 31, 2020.  Please use coupon code “CRAFTATHOME” for 15% off on your entire order (no minimum purchase required).


The first card was ink-blended using the Playful Patterns stencil and Pink Tutu hybrid ink.  I wanted a subtle background against the cute elephant being carried away by the balloon.  The sentiment and the hearts were stamped using some Raven hybrid ink.  Here’s a closer look:


I love the images and sentiments from the Up & Away stamp set.  I think we all need these type of cards in our stash to cheer someone up, who is having a bad day!


For my second card, I cut a panel of Bristol measuring 8 1/2 x 3 1/2.  I ink-blended this panel using the Rainy Day stencil to create the grass with Prickly Pear Perfection hybrid ink.  For the clouds, I used the Swimming Hole hybrid ink.


The scallop border was die-cut using one of my favorite dies, the Slim Line Scallop die set.  This set contains 8 dies that you can use to create your cards.

The sentiment came from the Love Stack stamp set and die-cut using the Sentiment Stack coordinating die.  I love that this die cuts out a bunch of sentiments in one go!  Such a brilliant design!


 I also have a process video of my cards today if you’re interested.


I hope I have given you some inspiration to create something beautiful today!   Thank you for stopping by and have a wonderful day!  Happy stamping!


———-SUPPLIES———–

A Happy Hello Featuring Crafter’s Essentials 2 Die

I’m so excited to share today’s post because we are launching a new product at Kat Scrappiness called Crafter’s Essentials 2 die set.   This set includes 8 steel rule dies.  You can also pair them up with the Crafter’s Essentials 1 die set and you will have endless design possibilities.  Here’s what it looks like:

I made two cards today to showcase the Crafter’s Essentials 2 die set and I have a process video for the mermaid card that you will see below.

For my first card, I used an older stamp set from my stash and made a simple card.   I love the stitching details  on the banner and the bigger dies.

I also used the Everyday Brush Strokes stamp set for my sentiment.  Don’t you just love the chevron pattern on the big die?   Here’s another look:

I added some black dots on the card base to give it a little bit more dimension.  Here’s a little close-up:

For my second card, I wanted to create a happy, summer-themed card.  I used a stamp set that I recently purchased with this cute cat mermaid.  I also used the Sunscape stencil die by Newton’s Nook Designs.

I started out by inking up some Bristol smooth white card stock with Squeezed Lemonadeand Spiced Marmalade distress oxide inkwith my mini ink blending tool.  Since I have a process video for this card, I will keep this blog post short.

I inlaid the little chevron pieces on my card.  I also added the Sparkling Clear Jewels to make them look like bubbles.  Here’s a little close-up:

This card makes me happy.  I love the colors that I used and this die-set is a must-have!  Here’s another look:

Here’s my process video:

I hope you got inspired today.  The supplies I used are listed and linked below.  I’d be so grateful if you can also subscribe to my YouTube channel.  Please don’t forget to use my coupon code “MARIA10” for 10% off your order.   Have a nice day and happy crafting!

————-SUPPLIES————-


(We’re) Made For Each Other – M.F.E.O. with Ghost Inlaid Technique

Hello Kat Scrappiness fans! I hope you are all having a great week so far.  I’m back on the blog today sharing with you this cute card, featuring the Punny Snacks stamp set, the Condensed Lower Case Alpha Dies and the new Stitched Scalloped Rectangle Dies.  I love the new scalloped dies so much.

I don’t know about you, but I like to keep a stash of “just-because” cards to give to family and friends.  I love the “Ghost Inlaid Technique” that I added to this card using the Condensed Lowercase Alphabet Dies and even though it looks complicated, it really isn’t.  I have a process video for you all today (linked below) so I will keep this blog post short.

Here’s what the card looks like.  I added some cute girly, eyelashes to the soda image on the left side.

KatScrapMFEO1B

Also added some black polka dots to the whole background to finish it off.  I LOVE the cute little smiley faces from the Punny Snack stamp set.  They are adorable!

KatScrapMFEO1A

This M.F.E.O. Quote is one of my favorite scenes from the movie, Sleepless in Seattle.  I thought it was really funny!

KatScrapMFEO1

Here’s the YouTube process video if you would like to see how I made the card:

I hope I have given you some inspiration today.  Please visit www.katscrappiness.com today the supplies I used.  They’re also listed and linked below.  Have a wonderful day!

————–SUPPLIES—————-


Chocolate Lover’s Card Kit – 5 Projects

Hello, hello my crafty peeps!  I hope you are all having a wonderful day!  I am back to share with you my projects, showcasing the limited-edition Chocolate Lover’s card kit by Kat Scrappiness.  I ABSOLUTELY LOVE THIS KIT!  There are so many possibilities using the supplies included in this kit.  Here’s what’s inside, plus the two add-ons, which is the Chocolate Lover’s sentiment stamp set and the Wonky Wavy Stitched Heart Dies.


KatScrapCardKit


For my first project, I wanted to create a fun shaker card using the 6 X 6 paper pad by Pebbles and the Mint Sprinkles Sequin mix as my shaker material.  I love this color combo.  I also included a short video showing you how to stamp the layered chocolate stamp set.  It looks so realistic.  Here’s the first card:


KatScrapChocolate1


Here’s the close-up:


KatScrapChocolate1A


Here’s the YouTube video showing you how I stamped the chocolate:


For my second project, I wanted to create a simple, one-layer card, with the chocolate layering stamp set and the Chocolate Lover’s sentiment stamp set.  I added the pink and blue dots and finished my design with glossy accents.  The card is very simple but I love how it turned out.  Here’s the second card:


KatScrapChocolate2


For my third project, I used the chocolate image again with the “Sweet” script sentiment  die included in the kit, as well as the Fancy Scalloped Stitched Border dies.  I finished my design by adding the gold twine.  Here’s the third card:


KatScrapChocolate3


For my fourth project, I used the chocolate candy bar stamp set again but this time, I added a wreath die-cut using the Avery Elle Star Frames Elle-Ments Dies and also created a wavy card-front using the Fancy Scalloped Stitched Border Dies.  I finished my design by adding the wooden heart embellishments from the kit, coloring it with my Copic marker.  Here’s the fourth card:


KatScrapChocolate4


For my last project today, I wanted to use the stamp set to decorate a giant Hershey’s chocolate candy bar to give as a gift either for Christmas or Valentine’s Day.

I wrapped the candy bar with a plain white typing paper.  I used a stamp from my stash to stamp the snowman’s face on the paper, and colored it with my Copic markers.  I cut a square and a rectangle black card stock to create the snowman’s hat.  I then stamped my sentiment on the hat with versa mark ink, and heat-embossed it with my white embossing powder.  I adhered the hat to the snowman.  I used my 1/2 inch circle punch to create the buttons for the snowman, and adhered it onto the wrapped candy with my Xyron Mega Tape Runner.  To finish my design, I added the red seam binding for the snowman’s scarf, and added the heart embellishment by pebbles, included in the kit.  It turned out so cute.  You can easily mass-produce this project to give as gifts to teachers, your friendly neighborhood mailman/mailwoman, or anyone else.  Here’s my fifth project.  Isn’t he cute?


KatScrapChocolate5

I hope you like all of the projects that I created today and got inspired.  The supplies I used are listed and linked below if you are interested.  Have a wonderful day!

————SUPPLIES———-