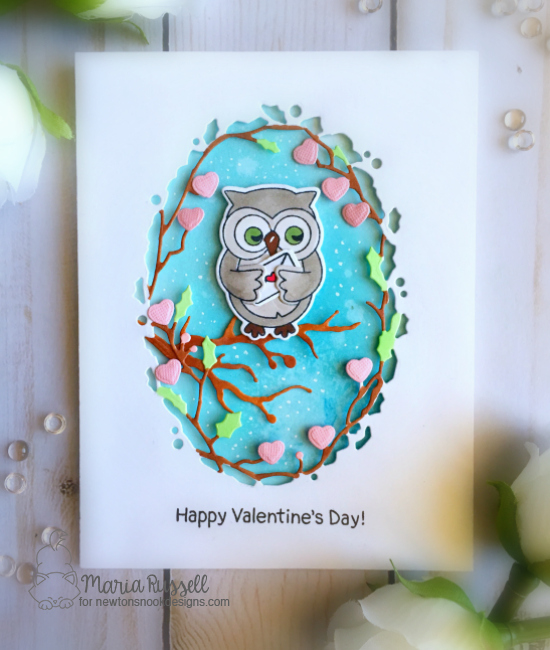
Are you looking for a simple Valentine’s Day card without all the hearts and romantic stuff? Or just a simple “just-because” card to brighten someone’s day? For my project today, I am showcasing the Layered Chocolate Bar 6″ x 8″ stamp set, the Chocolate Lover’s Sentiment stamp set, Sparkling Manhattan sequin mix, Distressed Edge Rectangle dies and the Wonky Wavy Stitched Rectangle dies.
I started out by stamping the layered chocolate bar stamp using my Tim Holtz Tonic stamp platform with my memento tuxedo black ink. I used my precision-cut scissors to fuzzy-cut the images.

I also cut the little chocolate squares to add to my project.

It has been awhile since I made a shaker card so I thought I’d make them today. I die-cut my 110 lb. white card stock with the wonky wavy stitched dies. I die-cut the middle using the second of the largest piece of the distressed edge rectangle dies to create the window.
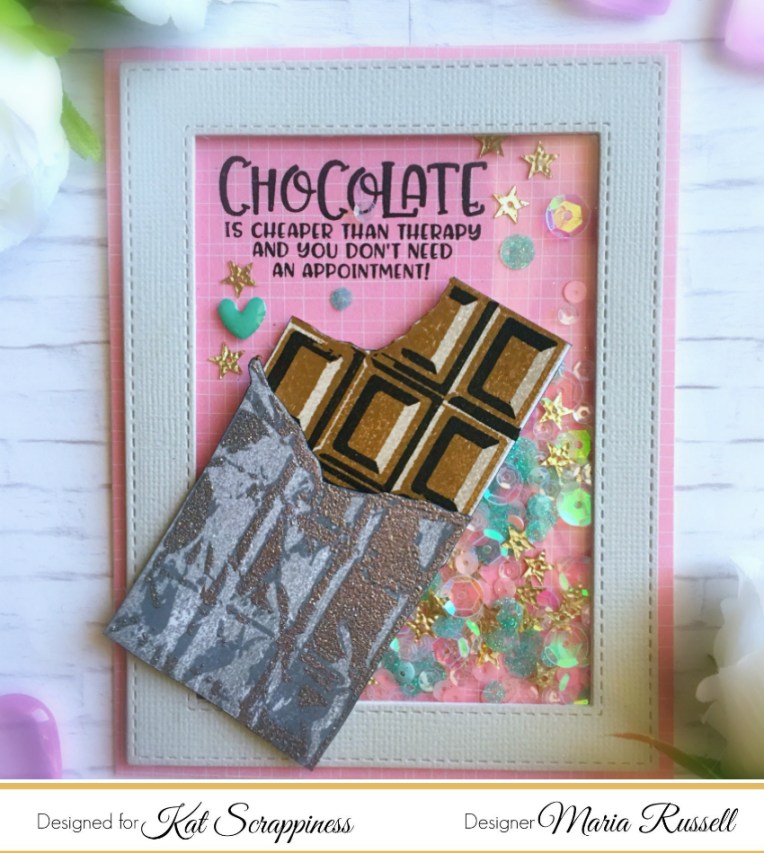
I cut a piece of acetate to cover the window and adhered the chocolate bar at the bottom left side corner. I added some 3M foam tape. I decided to use my Cinnamon Swirl Mix sequins for my shaker element and the chocolate squares but since the sequin mix I used is not available anymore at the store, you can also use the Sparkling Manhattan sequin mix. to finish the design, I stamped my sentiment using my Worn Lipstick Distress Oxide ink to give it a little bit of color.
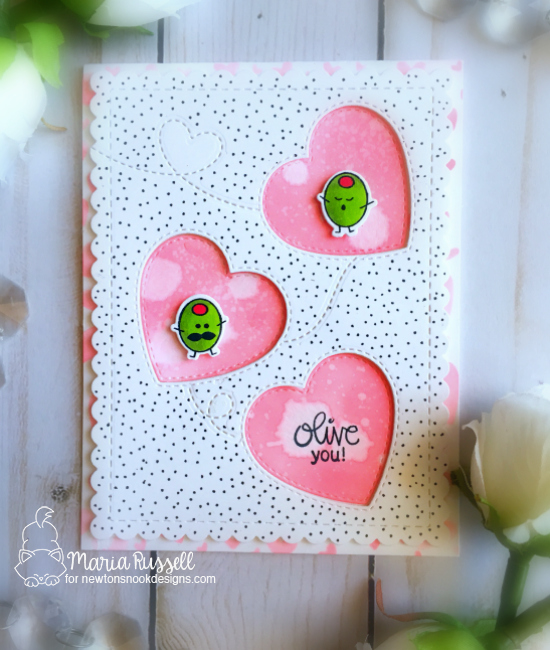
Here’s the close-up of the card:

I love this stamp set because the chocolate image looks so realistic! There are so many possibilities using this stamp set.

I hope you all got inspired to create this simple “Just-Because” card, or a “non-romantic” Valentine’s Day card that you can give to a friend to brighten up their day! I have listed and linked the supplies I used below. Thanks for stopping by today and have a wonderful day!
![]()
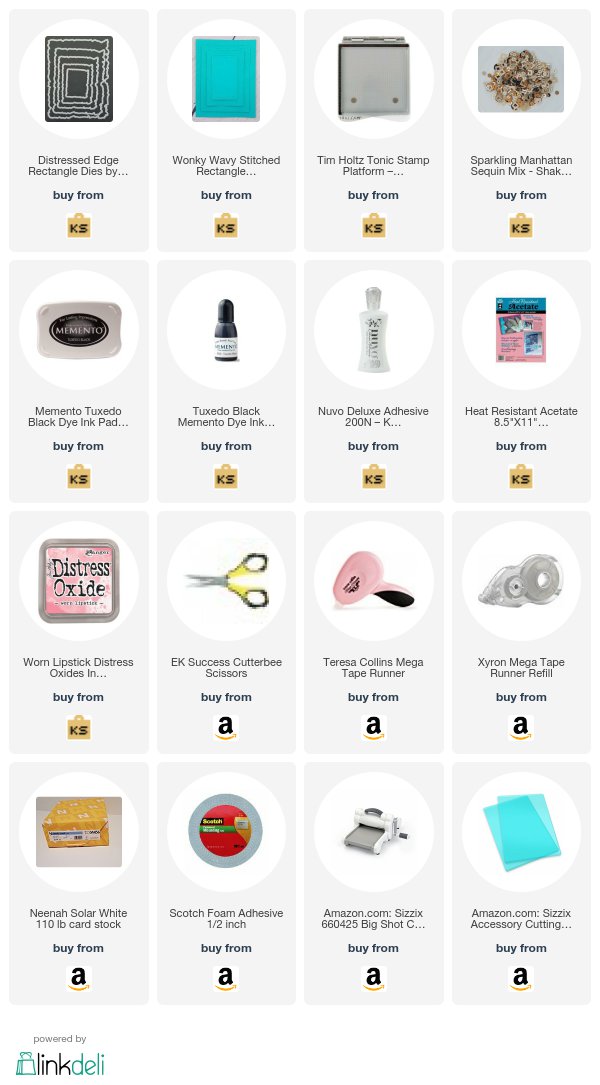
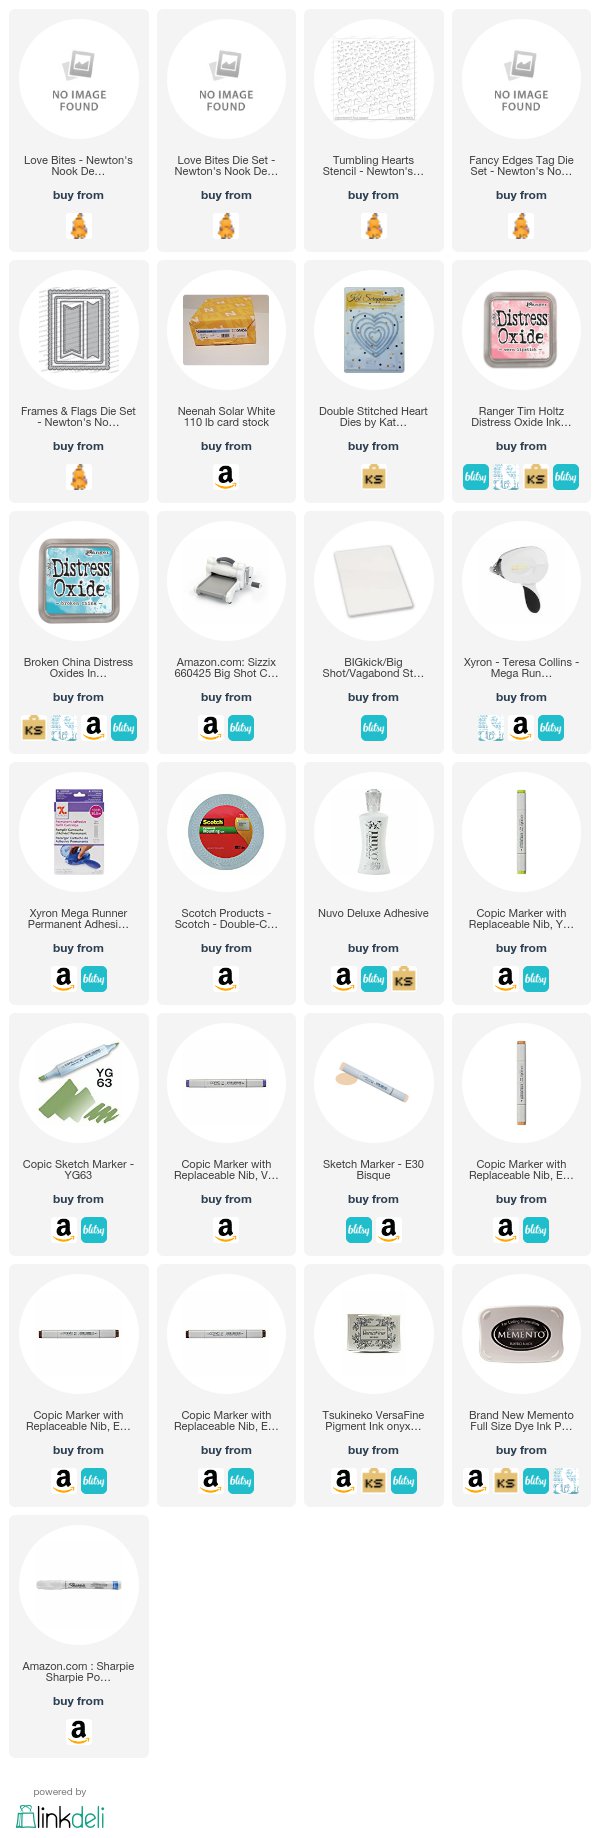
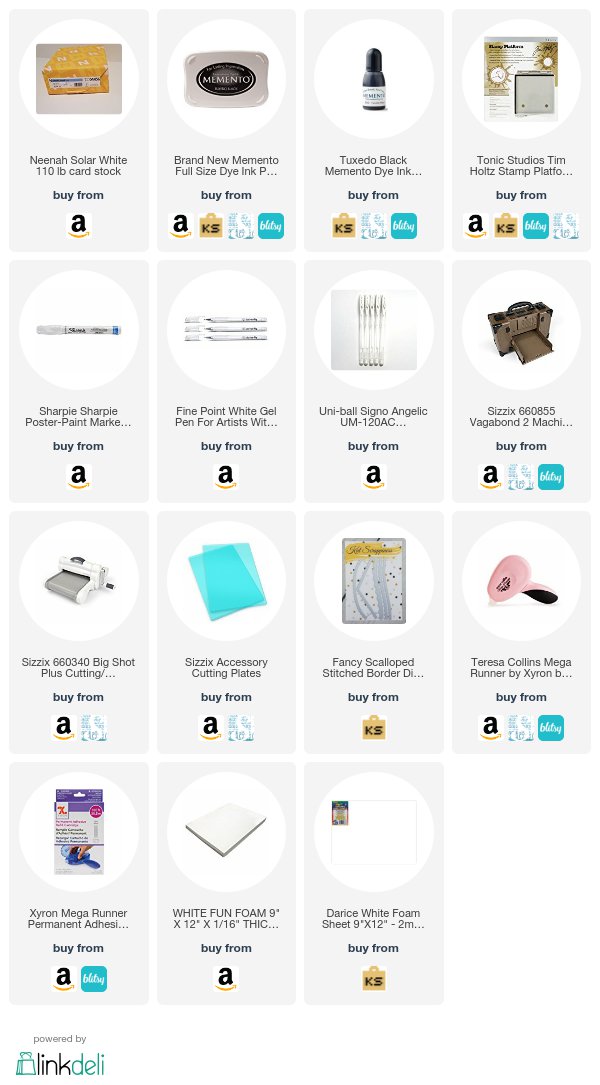
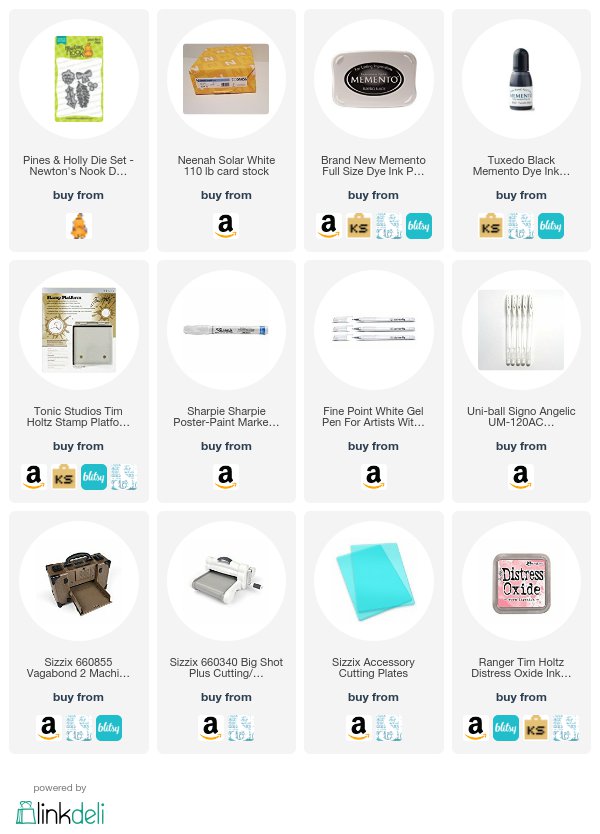
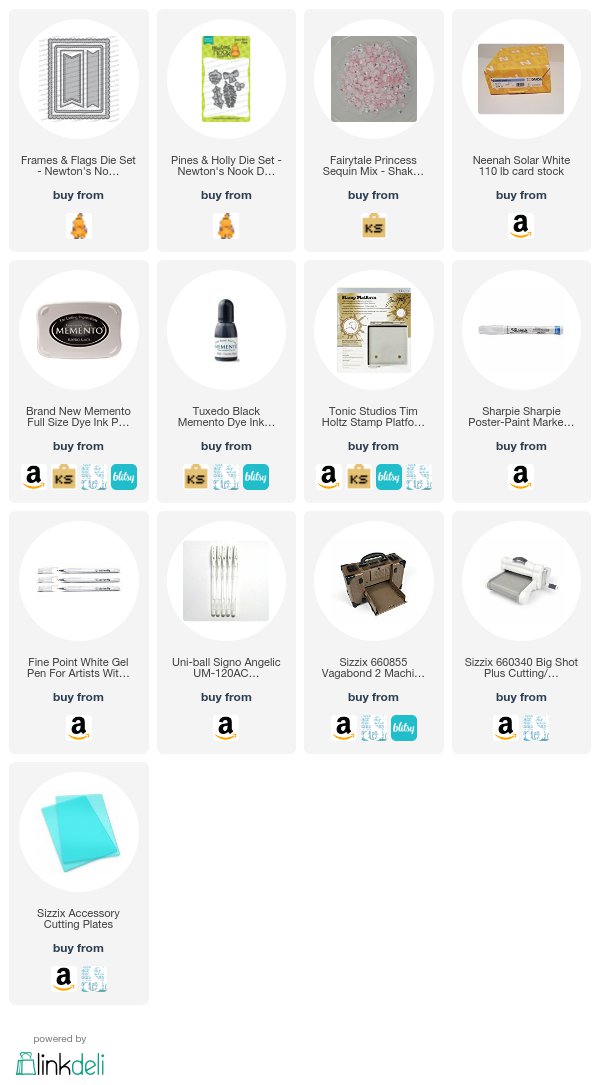
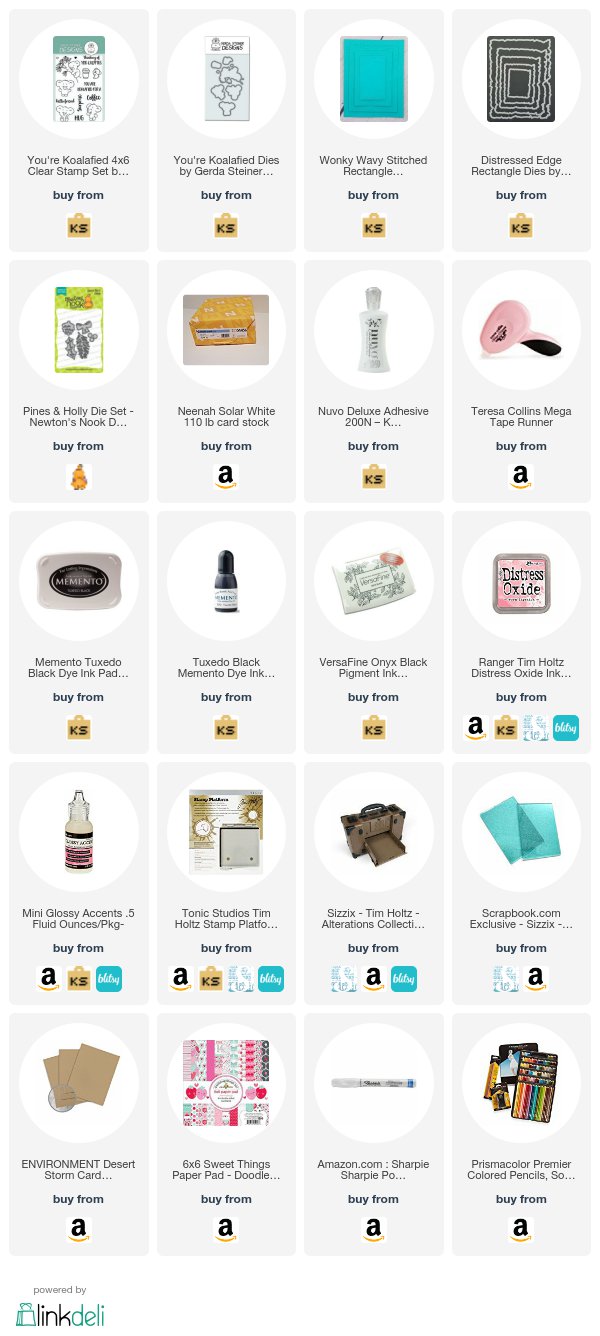
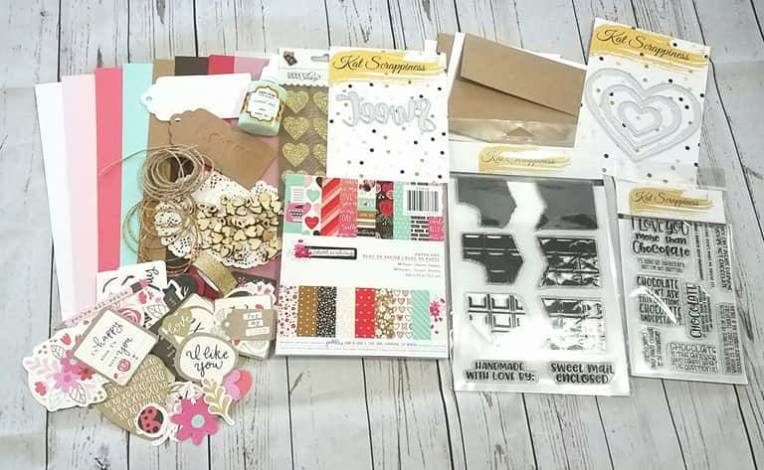
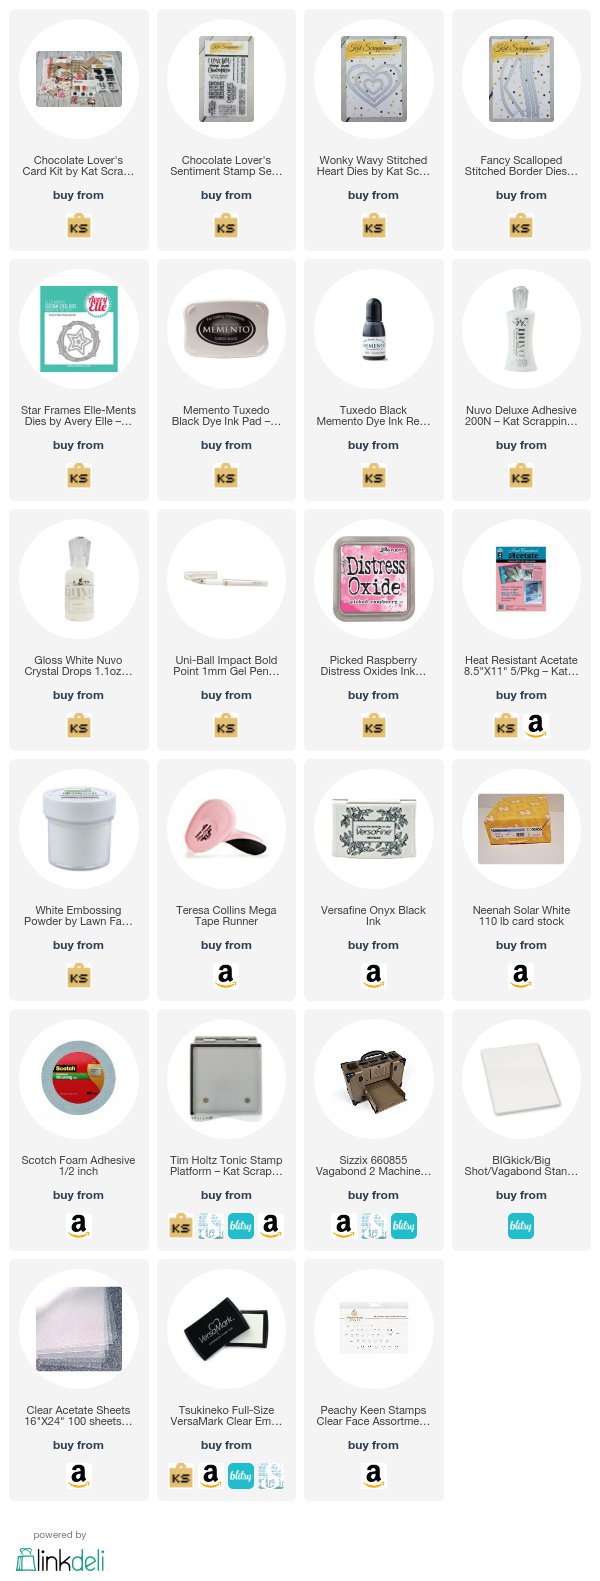
—————SUPPLIES—————-