Let’s Pour Some Holiday Cheer with Miss Ink Stamps

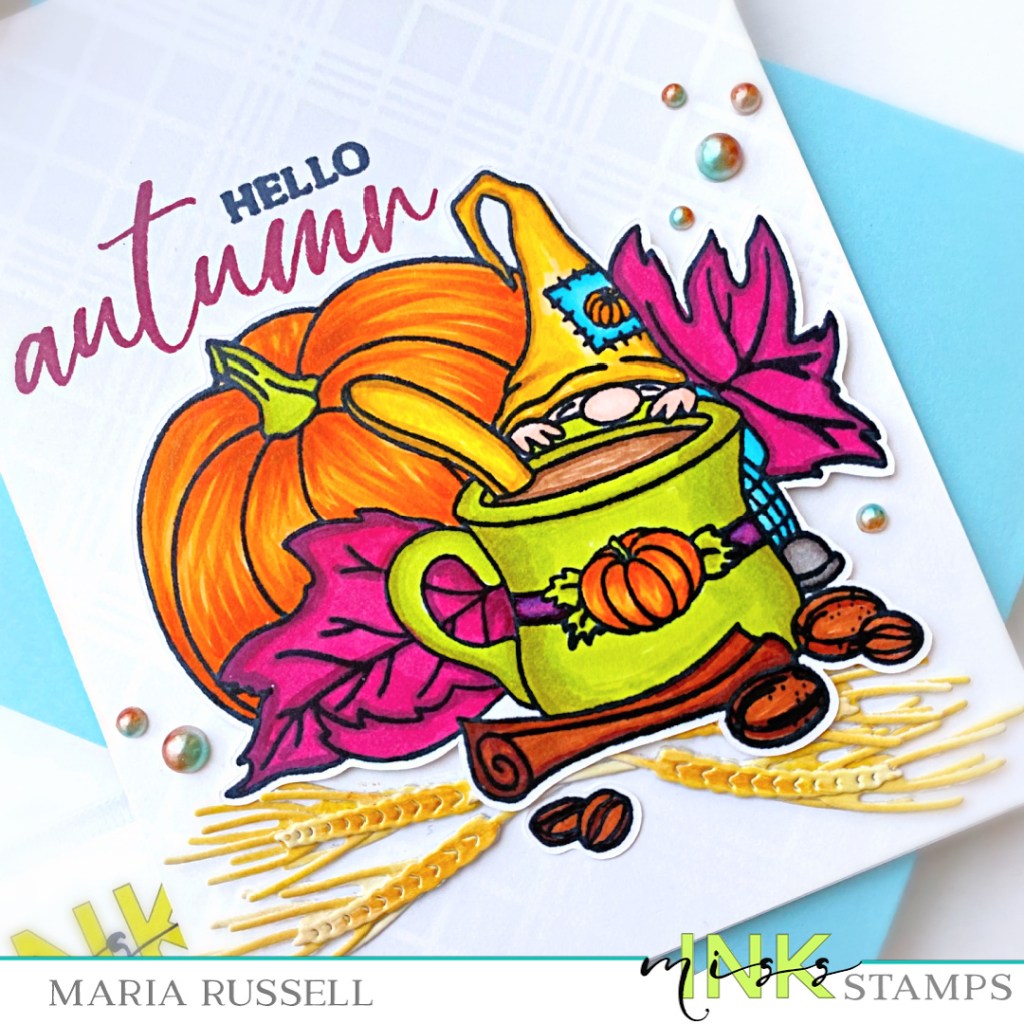
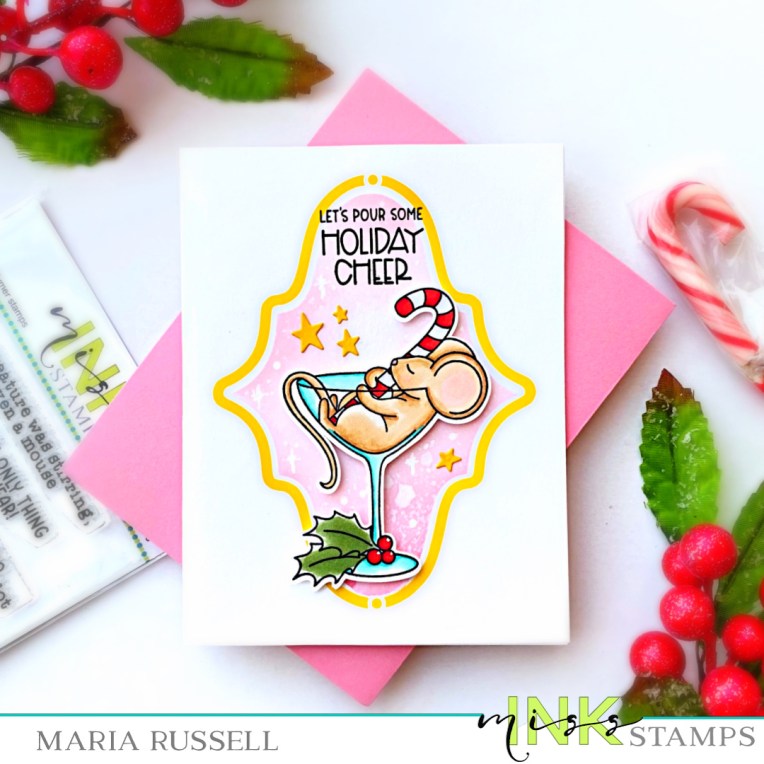
Hello Miss Ink fans!  I am sharing yet another holiday-themed card today showcasing the Blitzened Stamp Set with the Ins & Outs Bohemian Stencil Set. As soon as I saw this stamp set, I knew I just had to have it!

Here’s how I made the card:

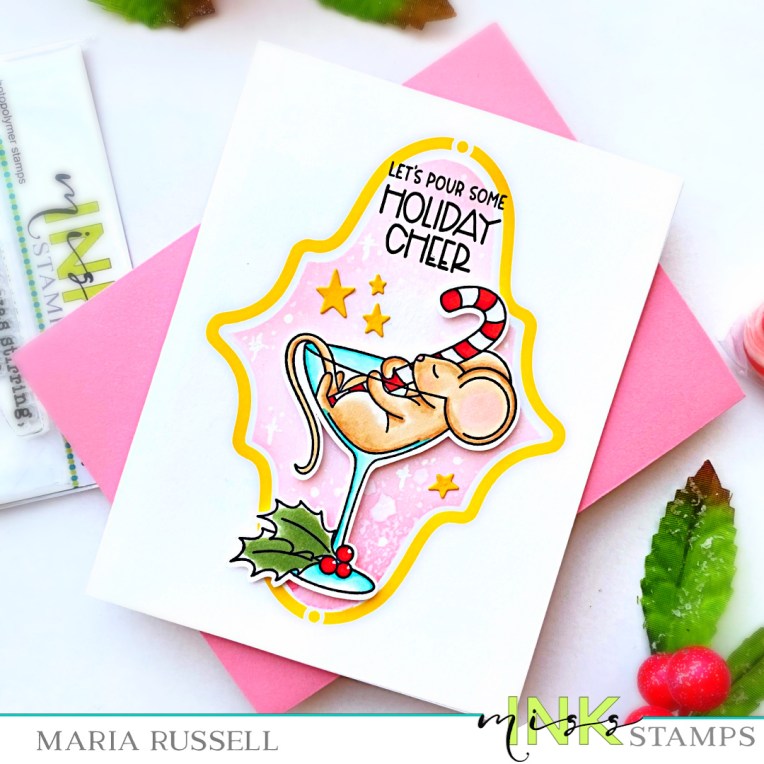
  • Temporarily adhere stencil # 1 to an A2-size panel of Bristol Smooth white card stock using some Pixie Spray.
  • Ink-blend the panel with Spun Sugar and Worn Lipstick Distress Oxide Ink. Remove the stencil.
  • Place Stencil #2 and use Mustard Seed Distress Oxide Ink for the outline.
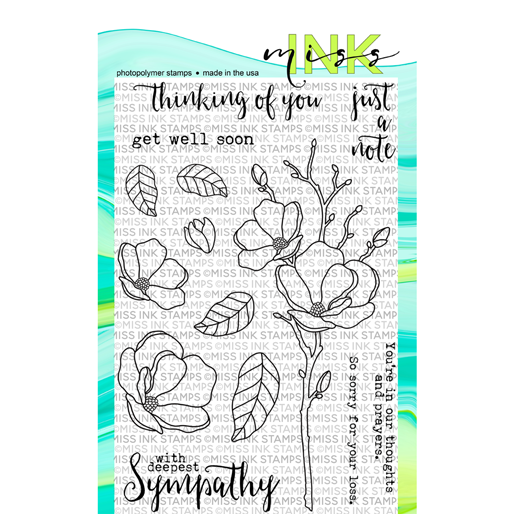
  • Stamp the images on some Neenah solar white card stock and color them in with alcohol markers.
  • Fussy-cut the images or use an electronic cutting machine to cut them out. I used my Scan N Cut Machine to cut the images that I colored.
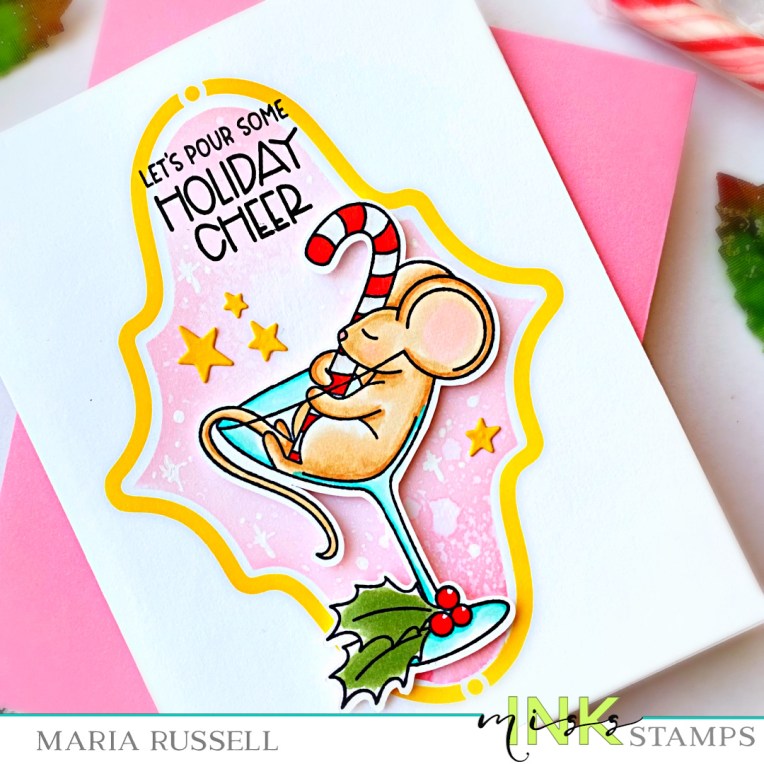
  • Adhere the focal image on the card panel with foam adhesive for added dimension.
  • Adhere some star die-cuts to the card and use white gel pen to add some dots and stars to the panel for added interest and texture.  [Designer’s tip: These tiny details really help to make a cute card.]
  • Finish the card design by stamping the sentiment with VersaFine Claire in Nocturne.

I hope you like my holiday-themed card today and got inspired.  The supplies I used are listed and linked below.  Thank you for stopping by!
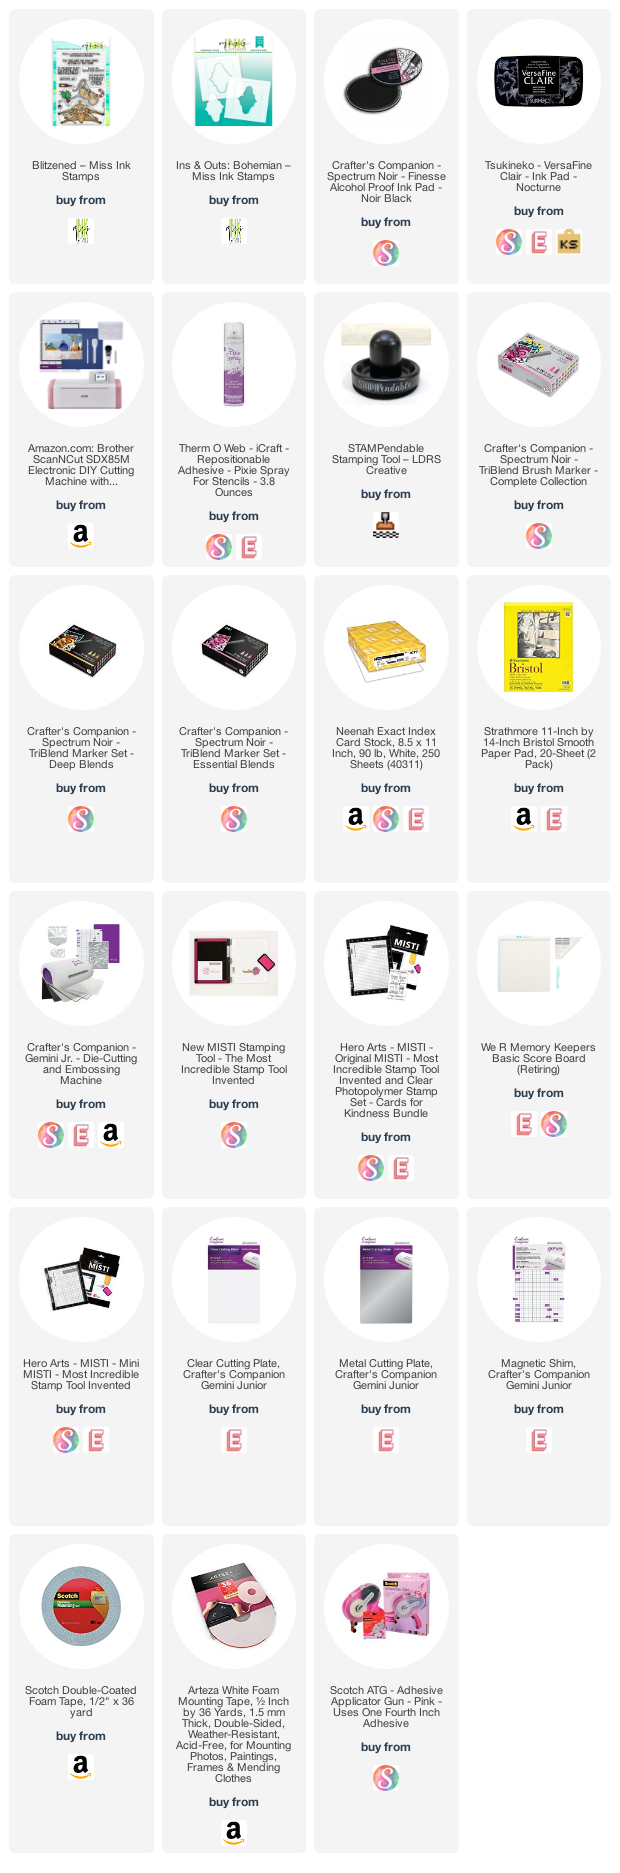
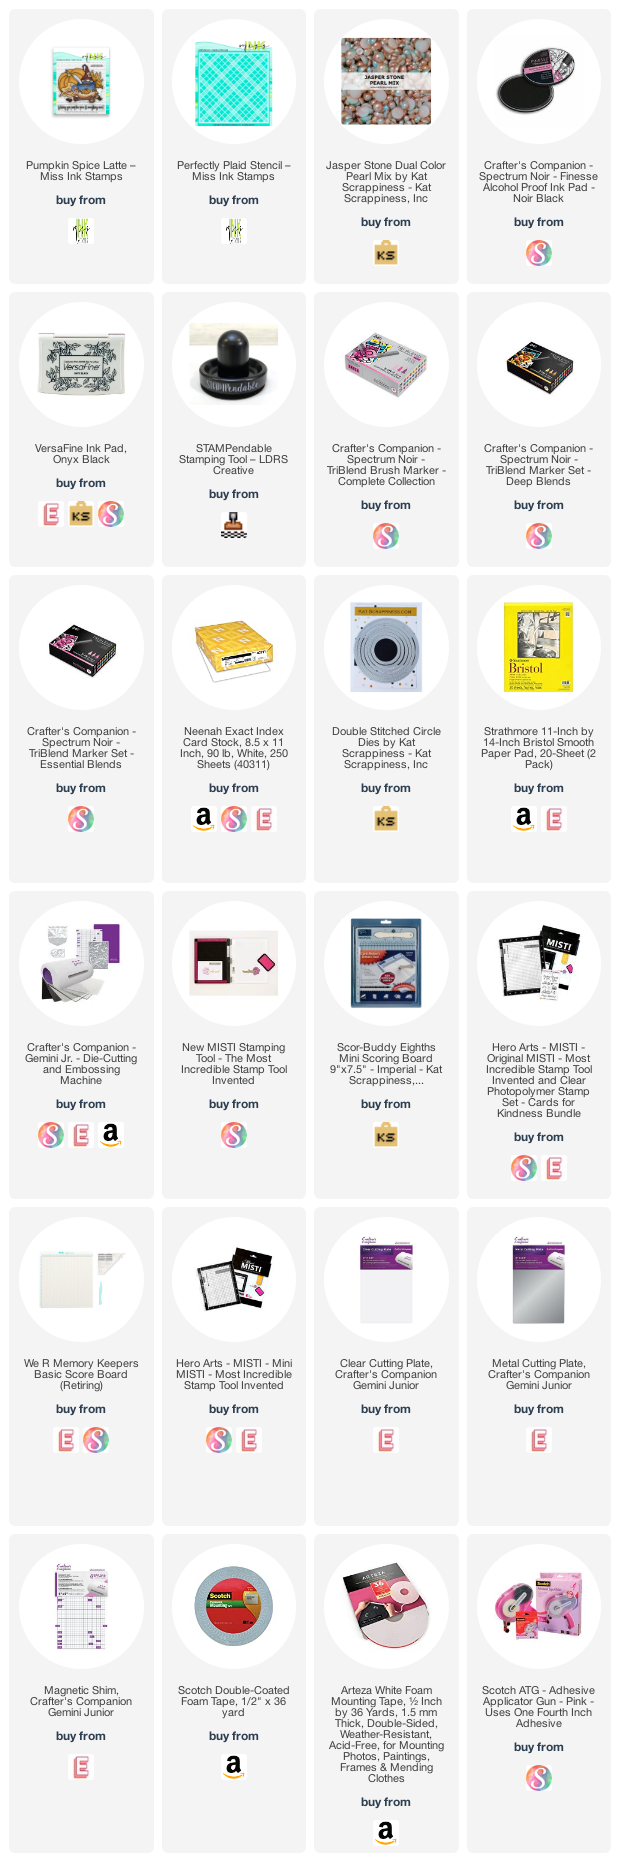
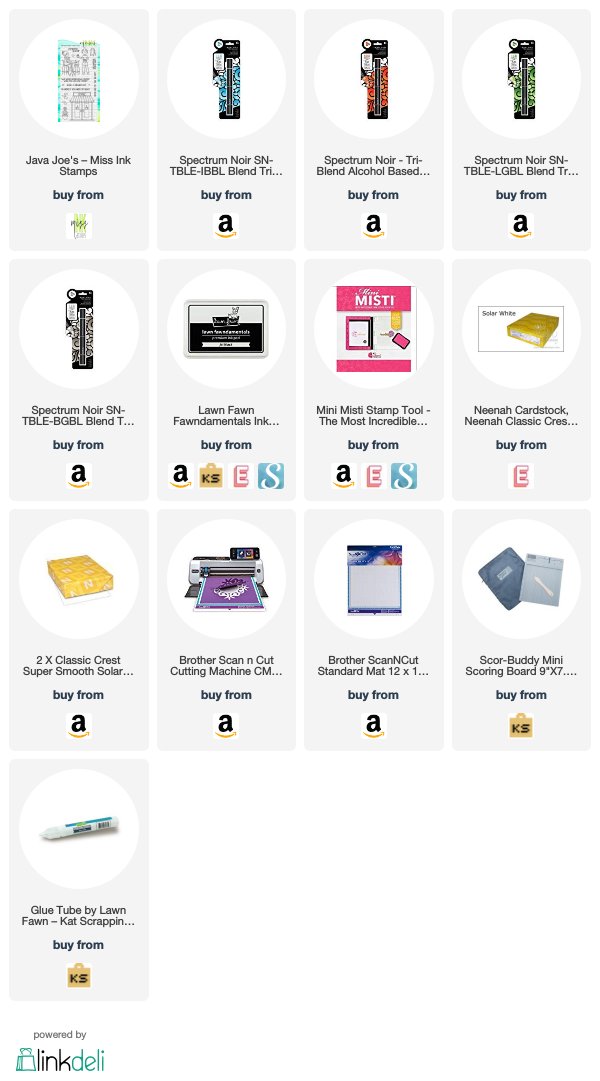
———-SUPPLIES———–

Hello Autumn with Miss Ink Stamps

Hello Miss Ink fans!  I am super excited to share my very first blog post as the new DT member for Miss Ink Stamps.  Autumn is my favorite season and when I saw this Pumpkin Spice Latte stamp set, I knew I just had to have it.  I’m also showcasing the Perfectly Plaid 6×6 Stencil.

To make the card, I started by stamping the image on some Neenah solar white card stock and colored the images in with Spectrum Noir alcohol markers.  I used my precision snips to fussy-cut the image.

Since the focal image is really colorful, I decided that the neutral background is the way to go.  I created the background panel by using the Perfectly Plaid 6×6 Stencil and some light gray dye ink.  I adhered this panel on some A2-size notecard.

I created my simple autumn scene by adhering some additional die-cuts that I have from my collection with liquid glue, then foam-mounted the focal image for added dimension.  I finished my card design by stamping the sentiment with some quick dry dye inks and added some Jasper Stone Pearl Mix for more texture.

I hope you like my card today and got inspired.  Thanks for stopping by!

——SUPPLIES——-

Have a Grande Day with Miss Ink Stamps

It’s week 5 guest-designing for Miss Ink Stamps and for today’s card, I am showcasing the Java Joes stamp set and my Spectrum Noir TriBlend markers.  Here’s what the stamp set look like:


javajoes_540x


I started by stamping my images on some Neenah classic crest 110 lb. solar white card stock  with Lawn Fawn Jet Black ink (this is an alcohol-friendly ink).  I colored my images in with my Spectrum Noir TriBlend Markers.   I used my make-up brushes with my Clouds stencil to add the clouds on the background.  I masked the bottom and used my make-up brushes again to add the color to make it look like grass.   I added the “pebble stones” by drawing them using the Brown Grey Blend Triblend Markers.


MissInkWeek5A


Here’s a closer look at my card:


MissInkWeek5B


I hope you like my card today!  Next Saturday will be my last post for Miss Ink Stamps.  Have a great day and happy crafting!

Coffee-themed Card with Miss Ink Stamps

It’s week 4 guest-designing for Miss Ink Stamps and for today’s card, I am showcasing the Java Joes stamp set and my new love, Spectrum Noir TriBlend markers.  Here’s what the stamp set look like:


javajoes_540x

I started by stamping my images on some Neenah classic crest 110 lb. solar white card stock  with Lawn Fawn Jet Black ink (this is an alcohol-friendly ink).  I colored my images in with my TriBlend Markers.  The video below will show you how I colored my card, using the markers.  I just love, love, love the new TriBlends.  You get 3 markers out of one and they blend so easily.  Spectrum Noir will be coming out with more colors soon and I highly recommend them.

Here’s my card:

MissInkCoffee1A

Incidentally, this week is the Spring/Summer Coffee Lovers Blog Hop and I am linking this card to the hop.   Miss Ink Stamps is one of the super sponsors for the hop and they have a coupon code for all our coffee-loving hoppers- use COFFEE20 to get 20% off your purchase in the Miss Ink Stamp Store until May 10th!

Here’s a closer look at my card:

MissInkCoffee1B

I hope you like my project today!  Thanks for stopping by and happy crafting!

————–SUPPLIES————-

Just a Note with Miss Ink Stamps

It’s week 3 for my guest-design post with Miss Ink Stamps and for today’s card, I am showcasing the Magnolia Sympathy stamp set.  Here’s what it looks like:

magnolia-stamp

I started by stamping my images on some Neenah desert storm card stock with Versamark ink and I heat-embossed this with some white embossing powder.  I die-cut the the flowers using my Brother Scan N Cut 2 machine.  I did the same thing on another Neenah desert stormA2 size panel.  I colored the images in with my Prisma color pencils.

I adhered the die-cut flowers on top of the colored images to give it more dimension.  I stamped the sentiment with some Versamark ink and heat-set it with white embossing powder.  I finished my design by adding some white jewels.  Here’s my card:

MissInkMagnolia1A

Another clean and simple card.  I love that the stamp set is so versatile you can use it for any occasion, not just for sympathy cards.   Here’s a closer look at the beautiful flowers:

MissInkMagnolia1B

I hope you like my card today.  The supplies I used are listed and linked below.  I hope you all have a great day and Happy crafting!

For more inspiration, updates, and news make sure to check out these places.

Miss Ink Stamps

Miss Ink Stamps Instagram Page

Miss Ink Stamps Blog

Miss Ink Stamps Pinterest Page

————SUPPLIES———-