The Newton’s Nook Design Team is hopping along today to share some sweet treats – just in time for Valentines day! Make sure to scroll down at the bottom of this post to see the whole list, and hop along and comment for a chance to win!
As an extra treat to you, we are celebrating with a SALE! Use code TREAT to receive 15% off your order this weekend! Now through Monday, February 6th at www.newtonsnookdesigns.com.

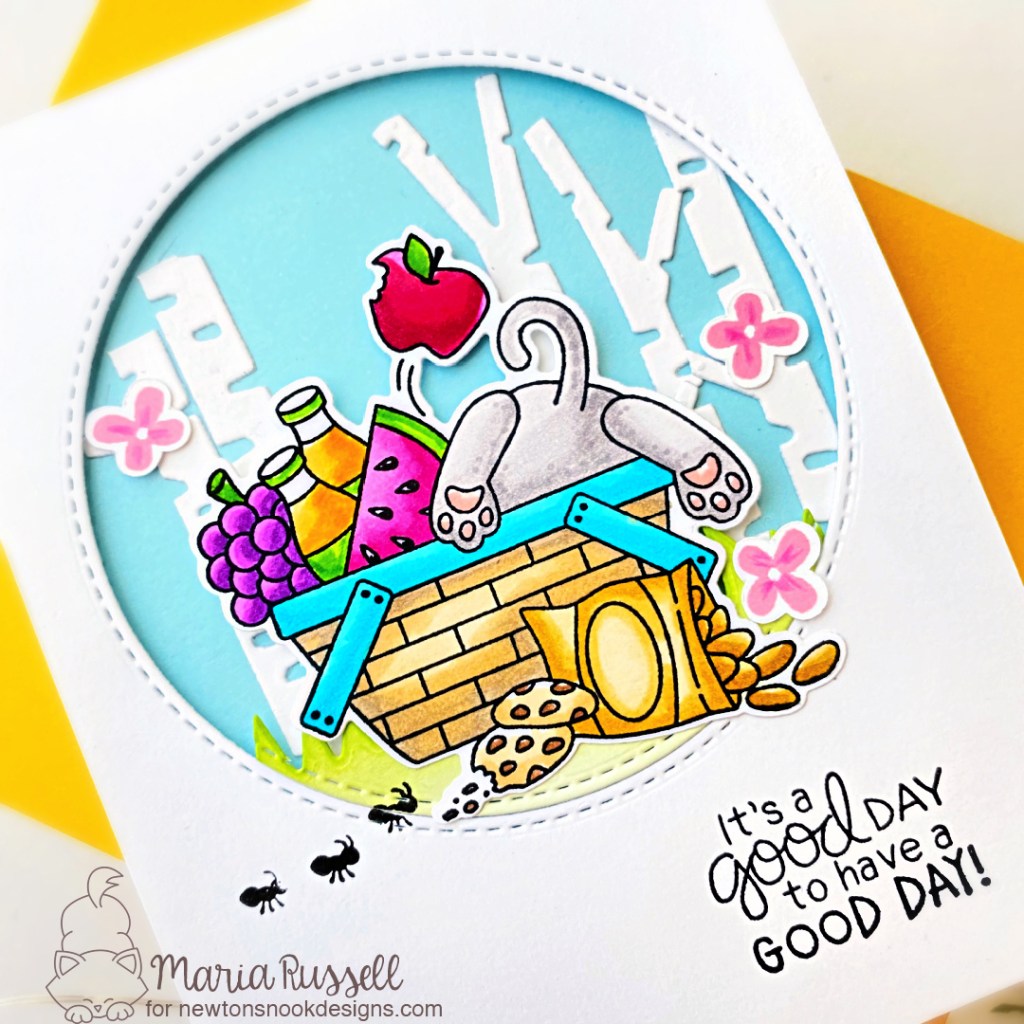
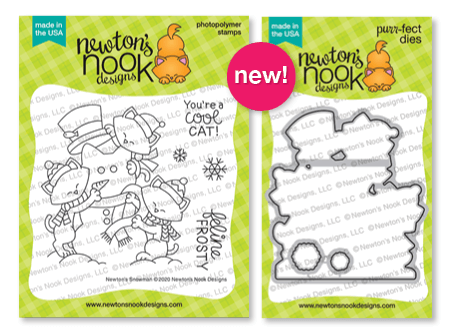
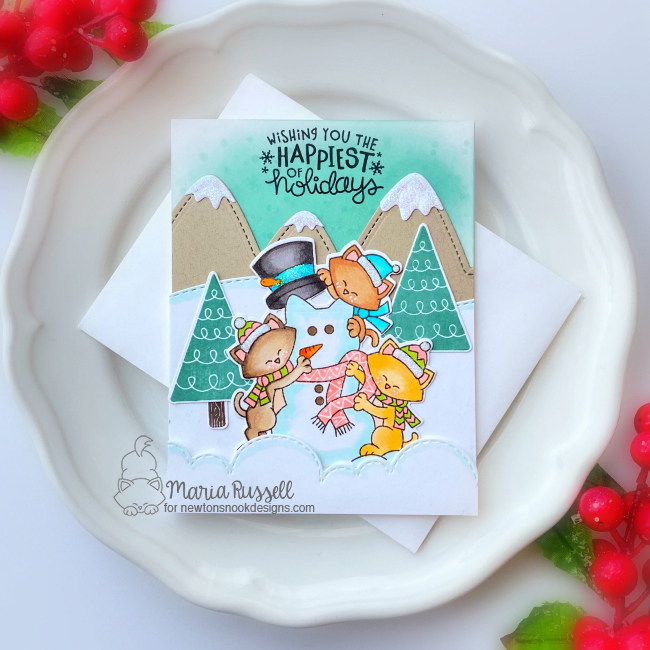
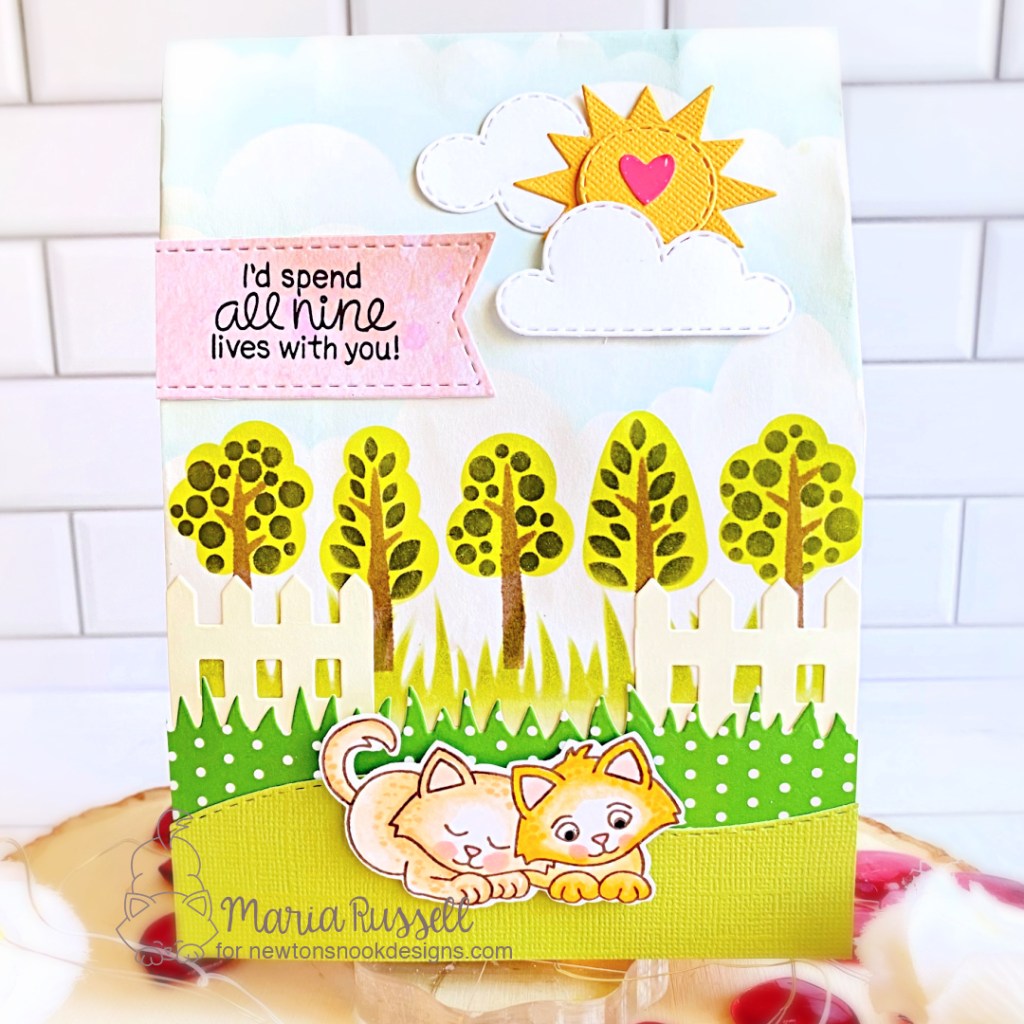
For my project today, I am showcasing the Smitten Kittens stamp set and coordinating dies, along with the Tree Line Stencil, Clouds stencil, Hills & Grass Stencil, Newton’s Sweetheart stamp set, Land Borders Die Set, Fence Die, Frames & Flags Die Set and Sky Scene Builder Die Set. [Can you tell I had a lot of fun mixing and matching these products to create the beautiful scene?!]
I purchased a few of my husband’s favorite chocolates and they all fit in this white paper sack that I decorated to create a unique Valentine’s treat bag!
Here’s how I made this project:
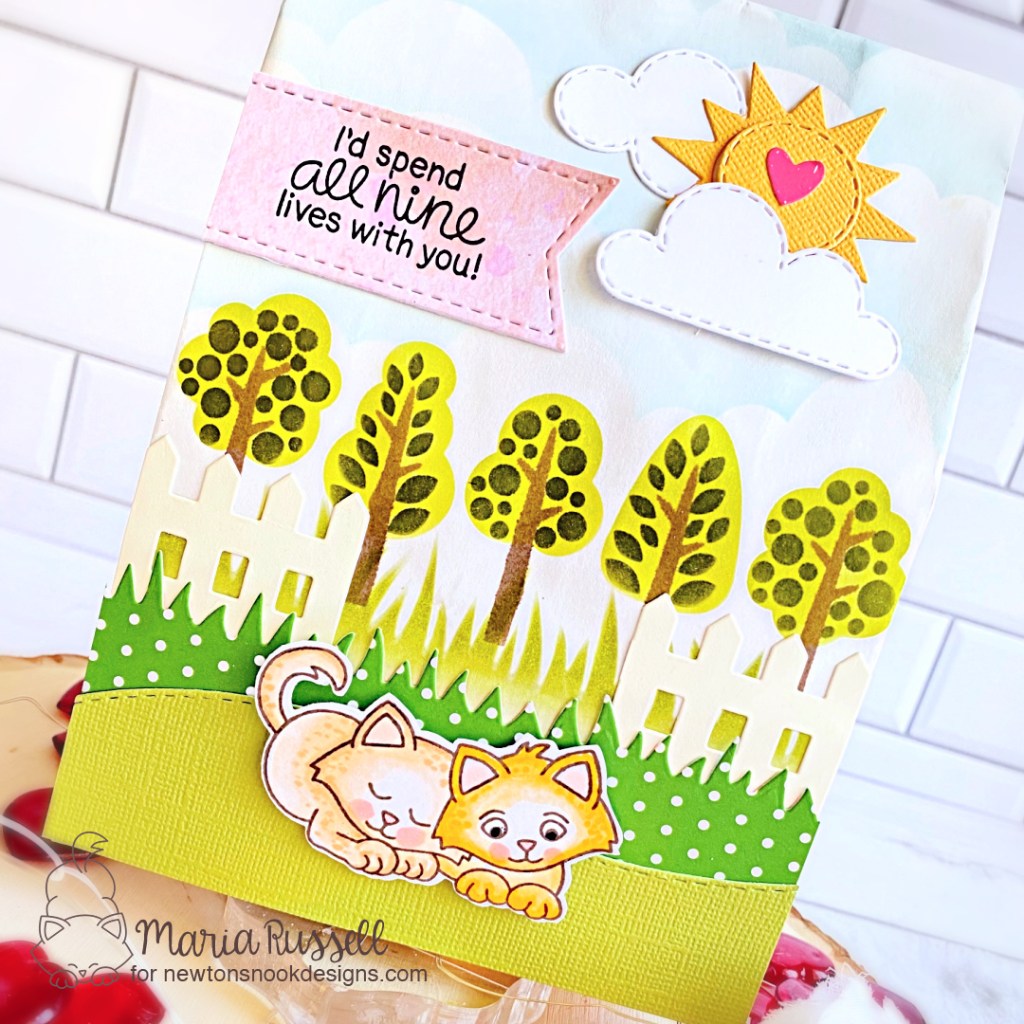
- stamp the images on some Neenah Classic Crest Solar white card stock. It is really helpful if you have the Misti Stamping Tool to get a really nice impression of your stamped images.
- color the images in with alcohol markers (or any medium of your choice). I color mine with Spectrum Noir Alcohol Markers.
- die-cut the image using the coordinating die with your die-cutting machine. Secure the dies by using Repositionable Tape so they don’t shift while die-cutting. In case you’re wondering, I use the Sizzix Big Shot Machine with Cutting Plates plus Magic Mat by Scrapbook.Com. [The Magic Mat is a self-healing mat and you can use it for a long time without having to buy new plates].
- on a white paper sack, start by using some blending brush and the Clouds stencil to create the clouds.
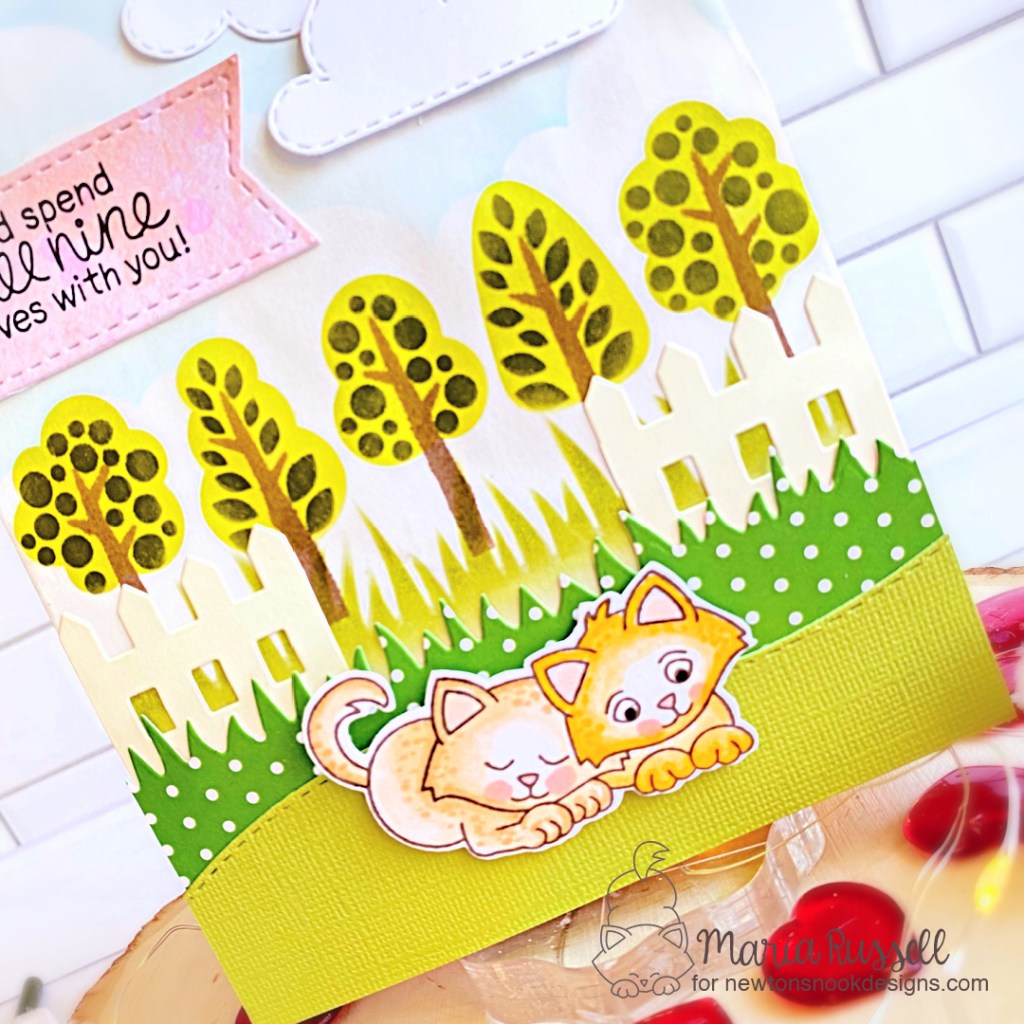
- use the Tree Line Stencil and the Hills & Grass Stencil also with some dye inks and blending brushes.
- die-cut the picket fence, land borders with canine Christmas paper and card stock using the Land Borders Die Set and Fence Die.
- adhere the die-cuts onto the paper sack with liquid glue.
- die-cut the sun and clouds using the Sky Scene Builder Die Set. Adhere them on the paper sack with liquid and foam adhesive for added dimension.
- foam-mount the focal images, making sure they are nicely-centered onto the scene.
- die-cut the sentiment strip using the Frames & Flags Die Set. Stamp the sentiment from the Newton’s Sweetheart stamp set on the sentiment strip and adhere to the project.
- finish the design by adhering a heart sticker on the sun.
Enter to Win! Sweet Treats Blog Hop Prizes!
We will be choosing two lucky winners to win a $25 store credit for Newton’s Nook Designs online shop! To enter, just leave comments on the Design Team Member and Guest blogs (see list below)! Two winners will be chosen at random from the collective blogs in the blog hop. Make sure to check out each of their blogs and comment for your chance to win. You will not know which blog has been chosen so the more you comment on the better your chances are of winning! You have until Sunday, February 5th at 9 pm EST to comment — winners will be announced on the NND blog on Monday, February 6th.
Check out all the awesome Design Team Blogs below to enter:
Maria Russell (you’re here)
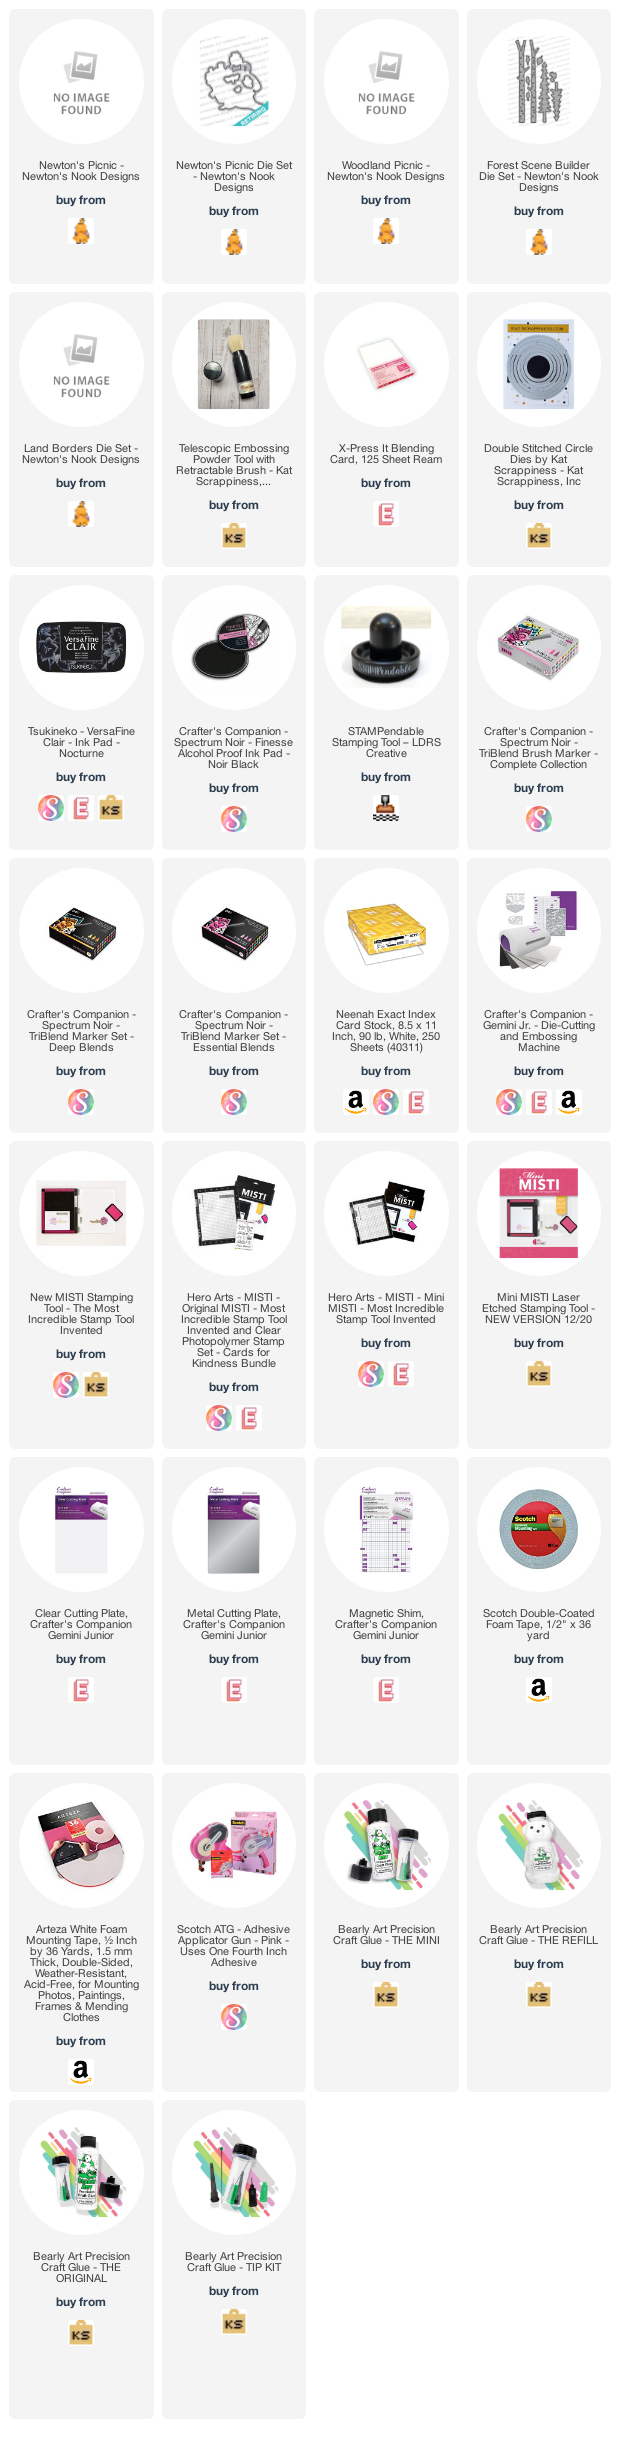
————SUPPLIES———-