Kat Scrappiness Dies with Lawn Fawn Sweet Friends

I hope you all had a great Valentine’s Day yesterday!  I have two cute cards for you today showcasing the (new) Large Alpha Dies, Distressed Edge Circle Dies, Distressed Edge Rectangle Dies, Fancy Scalloped Edge Dies by Kat Scrappiness, with Lawn Fawn’s Sweet Friends stamp set and Sweet Friends Lawn Cuts dies.

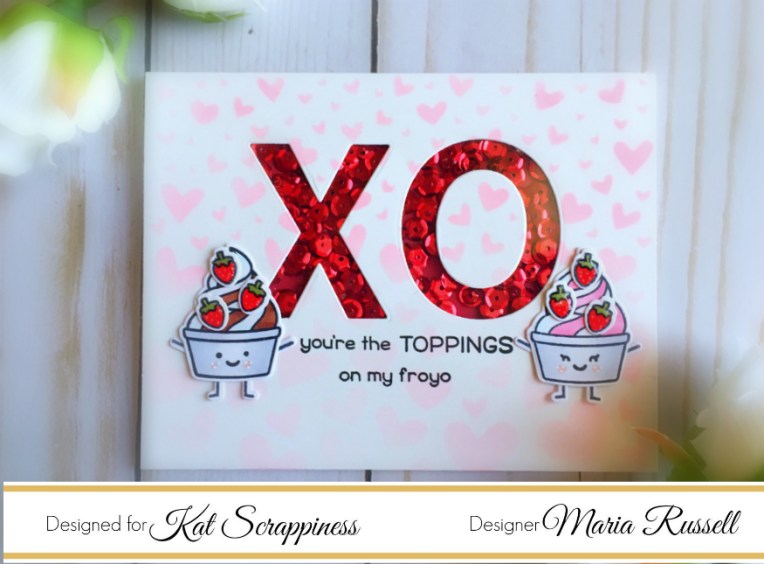
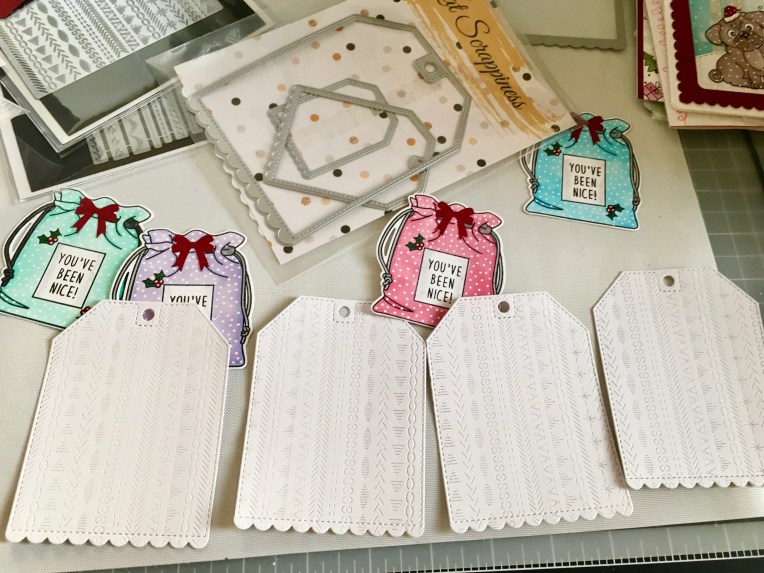
Even though these two cards have hearts, they are not for Valentine’s Day.  My friends and I love s’mores and I thought the Sweet Friends stamp set with the Large Alpha Dies and other dies by Kat Scrappiness would be perfect to use for my cards today.

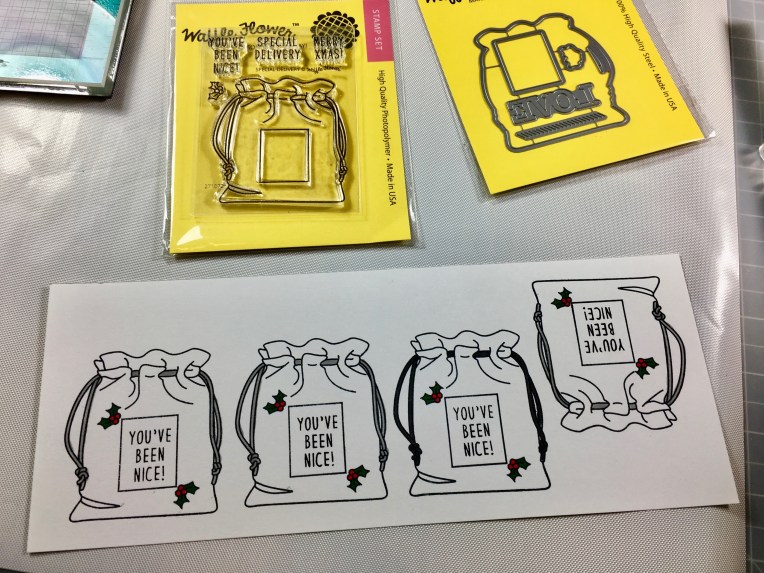
I have a process video for you so I will keep this blog post short.  Here are my cards:

KatScrapAlpha2

KatScrapAlpha1

Here’s the process video:

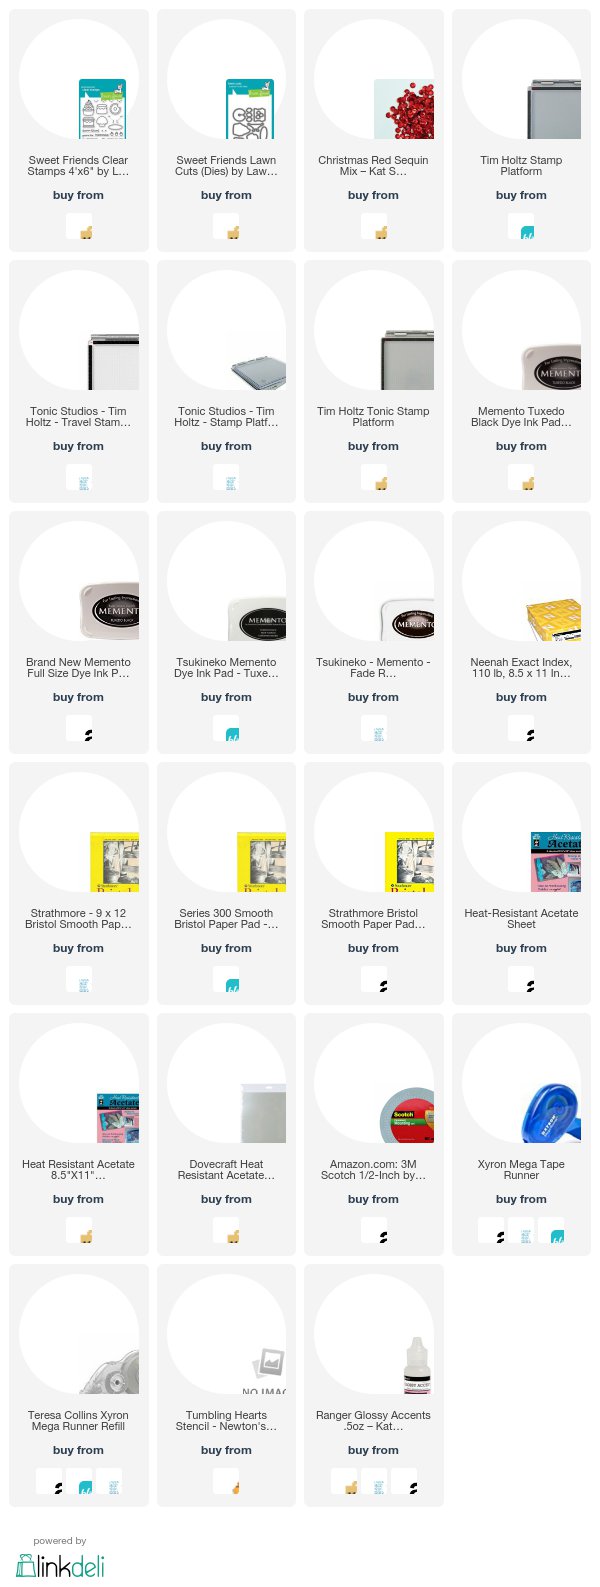
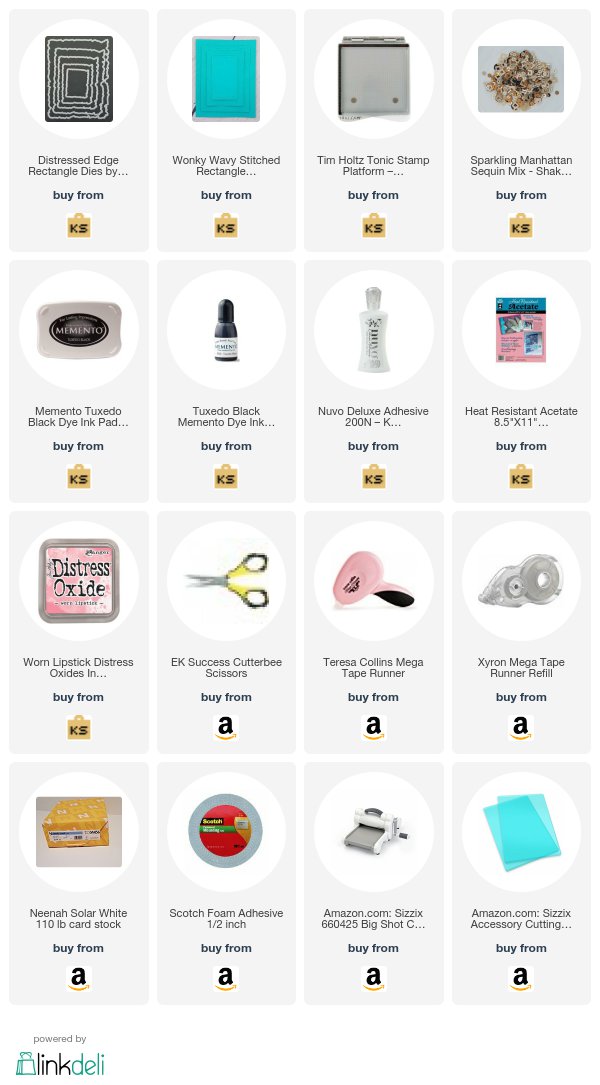
I hope I have inspired you today.  If you like to purchase the products I used, they are listed and linked below.  Please don’t forget to use my coupon code “MARIA10” for 10% off your order.  Please also check out the Valentine’s Day sale at the shop as they are only valid until February 18, 2017.  Have a wonderful day!

KatScrap Valentine's Sale

 ——–SUPPLIES———-


Kat Scrappiness Large Alpha Dies with Lawn Fawn

Hello my crafty friends.  I am back today to share with you a simple Valentine’s Day card, showcasing the new Large Alphabet dies and Christmas Red Sequins by Kat Scrappiness,   Lawn Fawn Sweet Friends stamp set and Lawn Fawn Sweet Friends coordinating dies, plus other supplies available at the shop.

I started out by stamping my images on Neenah Solar white card stock and I colored the images in with my Copic markers.   I cut another 4 1/4 x 5 1/2 piece of Bristol Smooth white card stock and used my Tumbling Hearts stencil to create my background, with my Worn Lipstick distress oxide ink and the ink blending tool.

IMG_7065

I wanted to create a Valentine’s Day shaker card and also use the new Large Alphabet Dies.  I chose the letters, X and O and used my die-cutting machine to cut my background.  I covered it with my acetate and used my foam tape to create my shaker window.  I have been meaning to use the Christmas Red sequins and thought that this was the perfect color to use as my shaker element.

IMG_7064

To finish my design, I added my little Froyo images and stamped my sentiment.  I also added the little strawberries to the Froyo and covered it with glossy accents.  Here is the card:

KatScrapBigAlpha

Isn’t this adorable?  I hope you like my card today and got inspired.  Please visit www.katscrappiness.com for inexpensive dies and craft supplies.  Don’t forget to use my coupon code “MARIA10” for 10% off your order at the shop.  The supplies I used are listed and linked below.  Have an amazing day!

—————–SUPPLIES—————-


Chocolate Shaker Card with Kat Scrappiness

Are you looking for a simple Valentine’s Day card without all the hearts and romantic stuff? Or just a simple “just-because” card to brighten someone’s day?  For my project today, I am showcasing the Layered Chocolate Bar 6″ x 8″ stamp set, the Chocolate Lover’s Sentiment stamp set, Sparkling Manhattan sequin mix, Distressed Edge Rectangle dies and the Wonky Wavy Stitched Rectangle dies.

I started out by stamping the layered chocolate bar stamp using my Tim Holtz Tonic stamp platform with my memento tuxedo black ink.  I used my precision-cut scissors to fuzzy-cut the images.

IMG_6823

I also cut the little chocolate squares to add to my project.

IMG_6824

It has been awhile since I made a shaker card so I thought I’d make them today.  I die-cut my 110 lb. white card stock with the wonky wavy stitched dies.  I die-cut the middle using the second of the largest piece of the distressed edge rectangle dies to create the window.

I cut a piece of acetate to cover the window and adhered the chocolate bar at the bottom left side corner.  I added some 3M foam tape.  I decided to use my Cinnamon Swirl Mix sequins for my shaker element and the chocolate squares but since the sequin mix I used is not available anymore at the store, you can also use the Sparkling Manhattan sequin mix.  to finish the design, I stamped my sentiment using my Worn Lipstick Distress Oxide ink to give it a little bit of color.

Here’s the close-up of the card:

IMG_6821

I love this stamp set because the chocolate image looks so realistic!  There are so many possibilities using this stamp set.

KatScrapChocolate11

I hope you all got inspired to create this simple “Just-Because” card, or a “non-romantic” Valentine’s Day card that you can give to a friend to brighten up their day!  I have listed and linked the supplies I used below.  Thanks for stopping by today and have a wonderful day!

Maria Russell Signature Logo

—————SUPPLIES—————-


Easy Last-Minute Christmas Gift Tags

Are you looking for some easy, last minute Christmas gift tags ideas?  I am sharing 4 tags that you can easily mass-produce, showcasing the Waffle Flower Crafts Special Delivery stamp set and die set, with the Doodlebug Milk and Cookies Odds and Ends, and the Stitched Scalloped Nesting Tag Dies by Kat Scrappiness, available at the shop.

I started out by stamping my images on Neenah solar white card stock with my Memento Tuxedo black ink using my Tim Holtz Tonic Stamp Platform.   I colored the images in with my Copic markers.

IMG_6363

Using my new favorite Sharpie White Paint Pen, I added some white polka dots on the images then die-cut them using the coordinating die.   I also die-cut the tags using the Stitched Scalloped Nesting Tag dies on white card stock.  I used an embossing die from my stash to add some details on my tag.

IMG_6382

I adhered the images onto my white tags, and added the Gingerbread Men from Doodlebug and sequins on the red bows, using the Sparkling Clear Slid Confetti mix.  Here are the tags:

KatScrapWaffleFlowerTag

I also made some stocking-stuffers today showcasing the Chocolate Lover’s sentiment stamp set available only at Kat Scrappiness.  These giant candy bars look so cute!

KatScrapChoc10

I hope you like these last-minute ideas to create your own Christmas tags.  The supplies I used are listed and linked below.  Have a very, Merry Christmas!

———-SUPPLIES————

Christmas Tags with Kat Scrappiness Naughty Stamp Set and Die

Hello everyone.  This is my second post for the day.  Happy Thanksgiving!  Kat Scrappiness is also having a Black Friday/Cyber Monday sale at the shop so take advantage and place your order using the coupon code XMAS2017 for 15% off.

KatScrapBlackFri2017

I am sharing some cute tags today showcasing the Kat Scrappiness Naughty stamp set and die, with the Gerda Steiner Peeking Friends stamp set, Stitched Scalloped Nesting Tag Dies and Pop-Out die, plus a bunch of other supplies available at the shop.

I stamped my images on Neenah solar white card stock with my memento tuxedo black ink using my Tim Holtz Stamp Platform.  I colored my images in with Copic markers.   Since I didn’t have the die for the Gerda Steiner stamp set, I fuzzy-cut them with my scissors.  I also die-cut the naughty sentiment die on black card stock twice.

I die-cut 4 tags using the stitched scalloped nesting tag dies on white card stock, as well as 4 tags with the Doodblebug Christmas patterned paper.  I used the pop-out die to die-cut the window on the patterned paper.  I adhered the images first on the white card stock, and then adhered the patterned paper on top.  To finish my design, I stamped the sentiment on black card stock for two of the tags with VersaMark ink and heat-embossed it with white embossing powder.

Here are my Christmas tags today:

KatScrapNaughtyTags

I hope you like my projects.  Please visit www.katscrappiness.com to shop for crafting supplies.  Have a great Thanksgiving!

———–SUPPLIES———


Simple Inlaid Christmas Cards

Hello my crafty friends!  I hope you are all having a great week so far. I’m back today with some simple inlaid Christmas Cards that you can easily mass-produce, showcasing the new Woodlands Reindeer Die, Double Stitched Rectangle Dies and a bunch of other supplies available at Kat Scrappiness.

I have a process video for you all today so I will keep this blog post short.  Here are the photos, and the video is also linked below.  I have also listed and linked the supplies I used.  Have a great week!

KatScrapReindeer1KatScrapReindeer2KatScrapReindeer3

Video:

————-SUPPLIES———–


Naughty Elves Card & Tag with Kat Scrappiness Naughty Stamp Set

Hello my crafty friends. It’s Maria here with you today with a Christmas Card and Gift Tag project, showcasing the new Kat Scrappiness Naughty Stamp Set, Cross Stitched Square and Cross-Stitched Rectangle Dies and the Stitched Scalloped Nesting Dies.

Since I have a process video for you today, I will keep this blog post short.  Have an amazing day!

Here is the card:

KatScrapNaughty1

Here’s the tag:

KatScrapNaughty2

Process video:

———-SUPPLIES———-

Gingerbread Christmas Gift Tags

Hello my crafty peeps! I am back today for Kat Scrappiness sharing a process video on how I made these cute Gingerbread Christmas Gift Tags, showcasing the new Gingerbread Die, Stitched Scalloped Tags and a bunch of other products available at the shop.

Here’s what they look like:

KatScrapGingerbread2

These tags are so easy to make you can mass-produce them for your holiday gift-giving this year.

KatScrapGingerbread.jpg

Here’s a process video on how I made the tags.  I hope you will give it a try and share with us your creation at the Kat Scrappiness Facebook page.  Have an amazing day!

————SUPPLIES———-


Toil and Troubled by Kat Scrappiness

Hello my crafty peeps!  I hope you are having a great day so far!  I am back today for Kat Scrappiness, showcasing the new Halloween Stamp Set called Toil and Troubled Layer stamp set, Cross-stitched Rectangle Dies, Spooky Sparkles Sequin Mix and the Waves Border Dies. Just a little heads up, I will have a haul video soon on my YouTube channel showing you a sneak peek of my huge giveaway coming up next month around Thanksgiving!  Please stay tuned for that announcement.  If you are not subscribed to my channel yet (www.youtube.com/rprmlr772), you need to head on over there because you wouldn’t want to miss new process videos of craft projects I have lined up, plus of course the giveaways I do regularly.

I started out by stamping the cat image with my stamping tool, using two light gray inks,  the Simon Says Stamp Fog Ink and Lawn Fawn Hippo Ink.  I have the coordinating die for the cat but I didn’t want a black border around it so I fuzzy-cut it with my precision tip scissors.

I used the biggest of the Cross-stitched rectangle die to die-cut my card front with a light gray card stock, and used a die from my stash to create the spooky window scene.  I wanted to do a fun shaker card and use one of my all-time favorite sequin mixes by Kat, called Spooky Sparkles Sequin Mix.   I covered my little spooky scene with the Dovecraft Heat-resistant Acetate sheets.

I die-cut my spider-web with the Lawn Fawn Spider Web die, adhering it with my Nuvo Deluxe Adhesive, and also adhered my Black Cat and the Waves Border Die.  I finished the design by adding the little ghosts from the Boo-tacular Sequin Mix and stamped the sentiment.  Here’s the card:

KatScrapBlackCat

I hope you like my card today and got inspired.  The supplies I used are listed and linked below. Have an amazing day!

————SUPPLIES————-