You Make Rough Days Better with Newton’s Nook

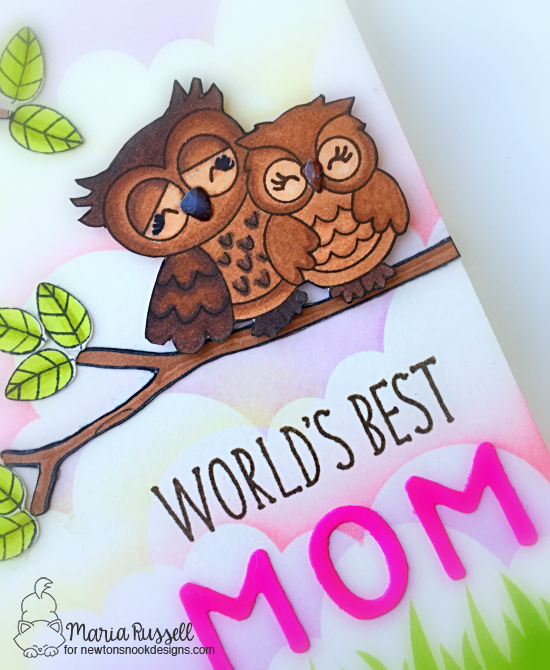
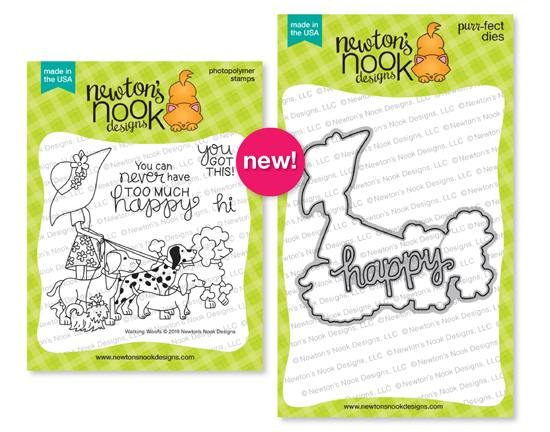
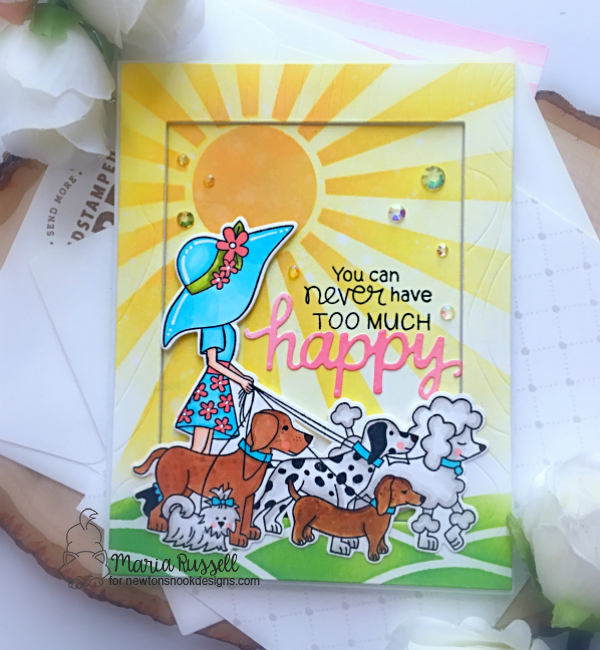
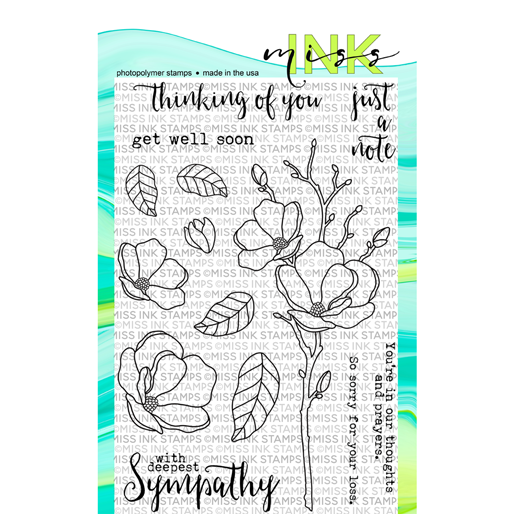
Hello my crafty friends! I hope you are staying safe and having a nice week so far! I am back today to share with you a very simple card, showcasing the Puppy Friends stamp set and coordinating dies along with the Petite Clouds Stencil and the following dies –> Land Borders, Sky Scene Builder and Banner Trio.

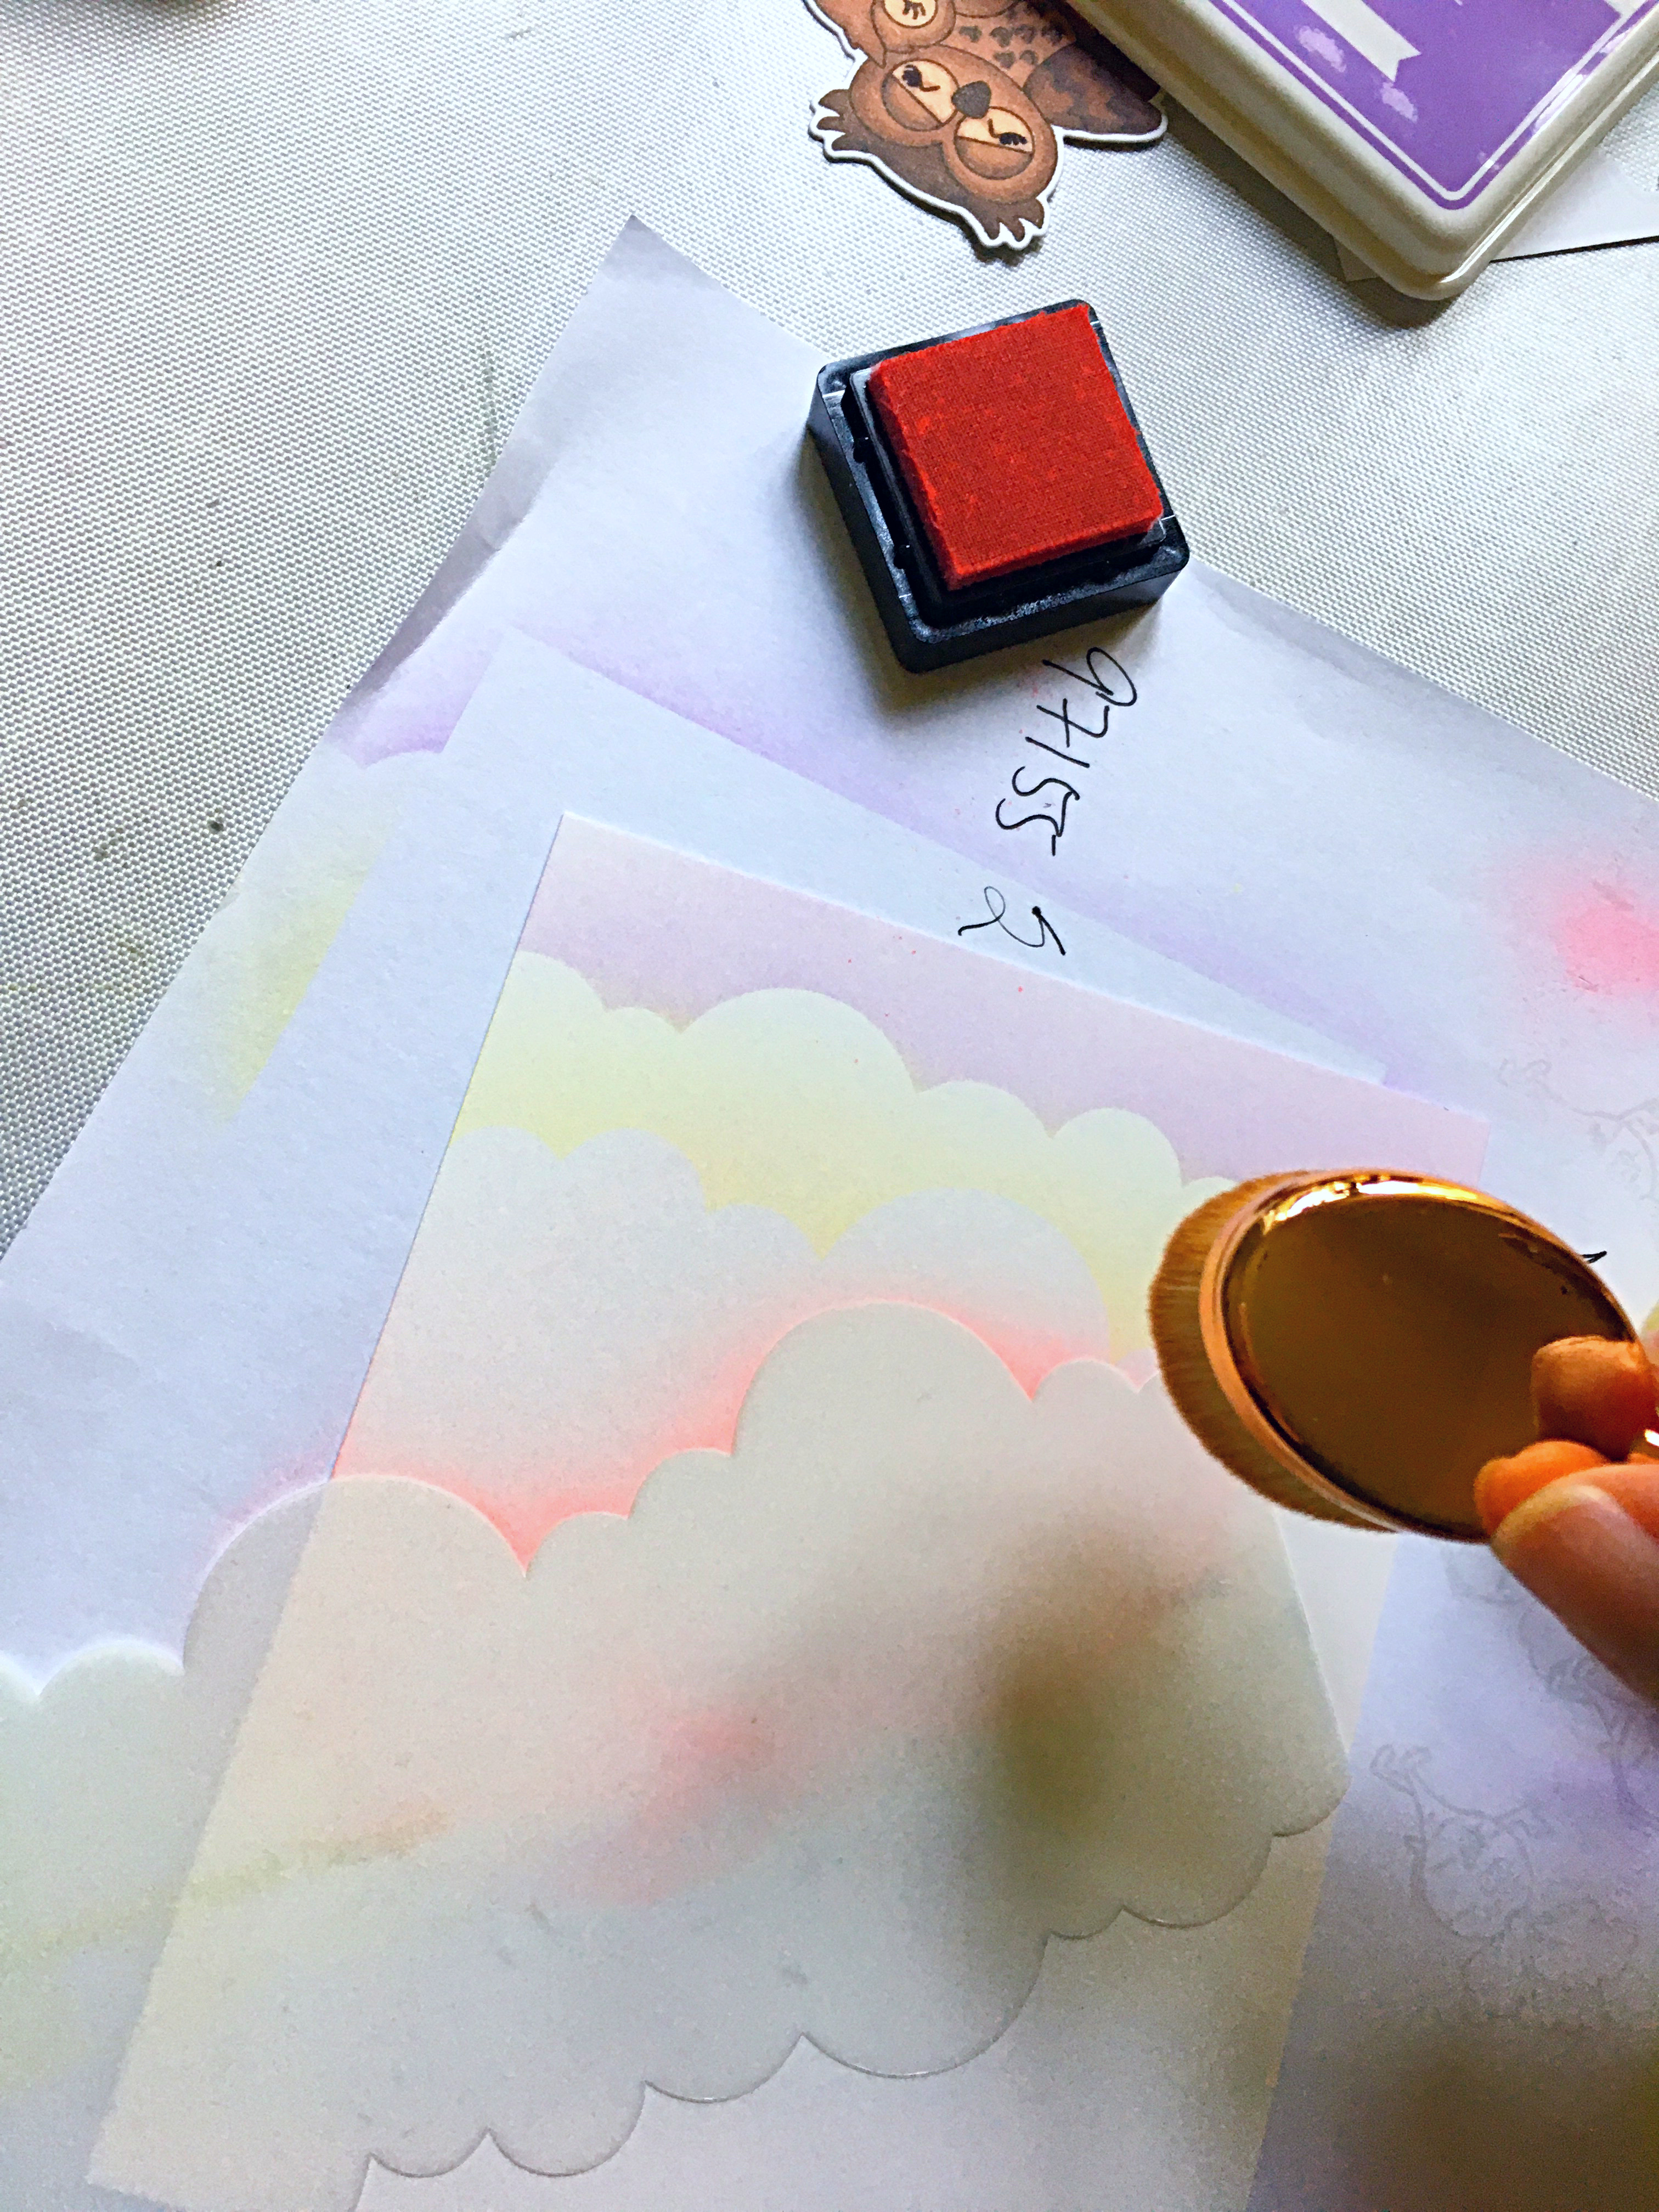
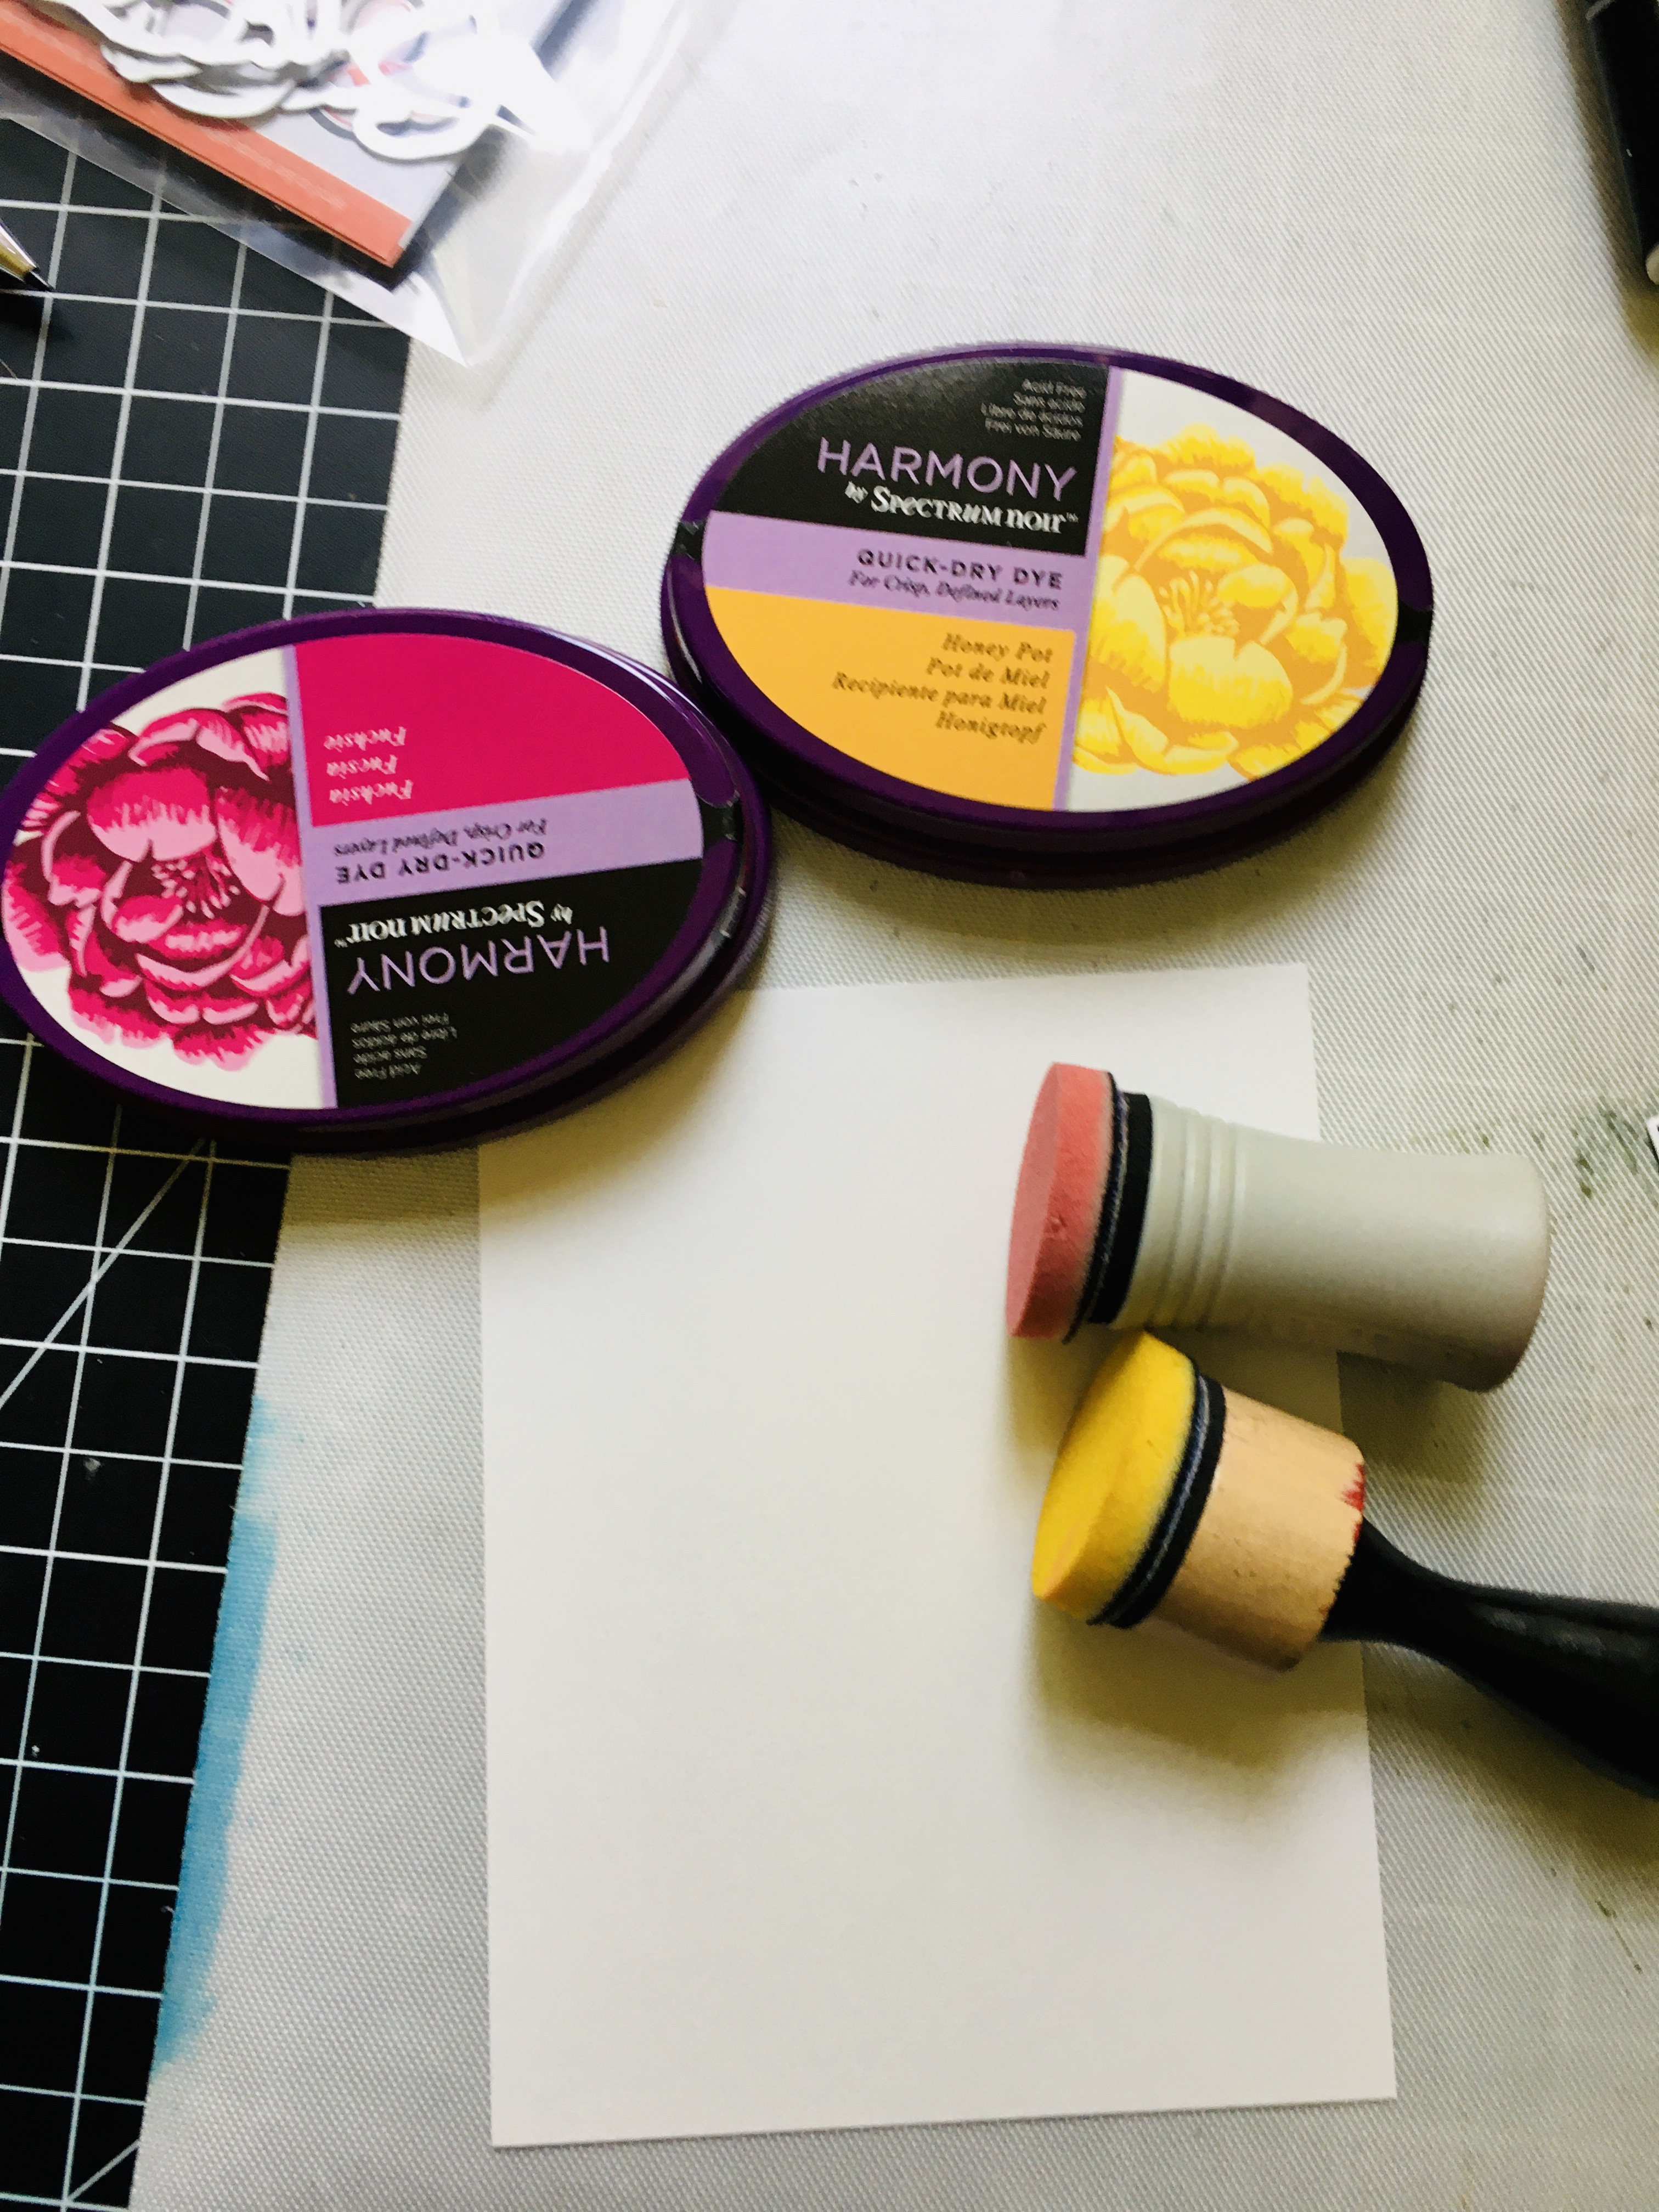
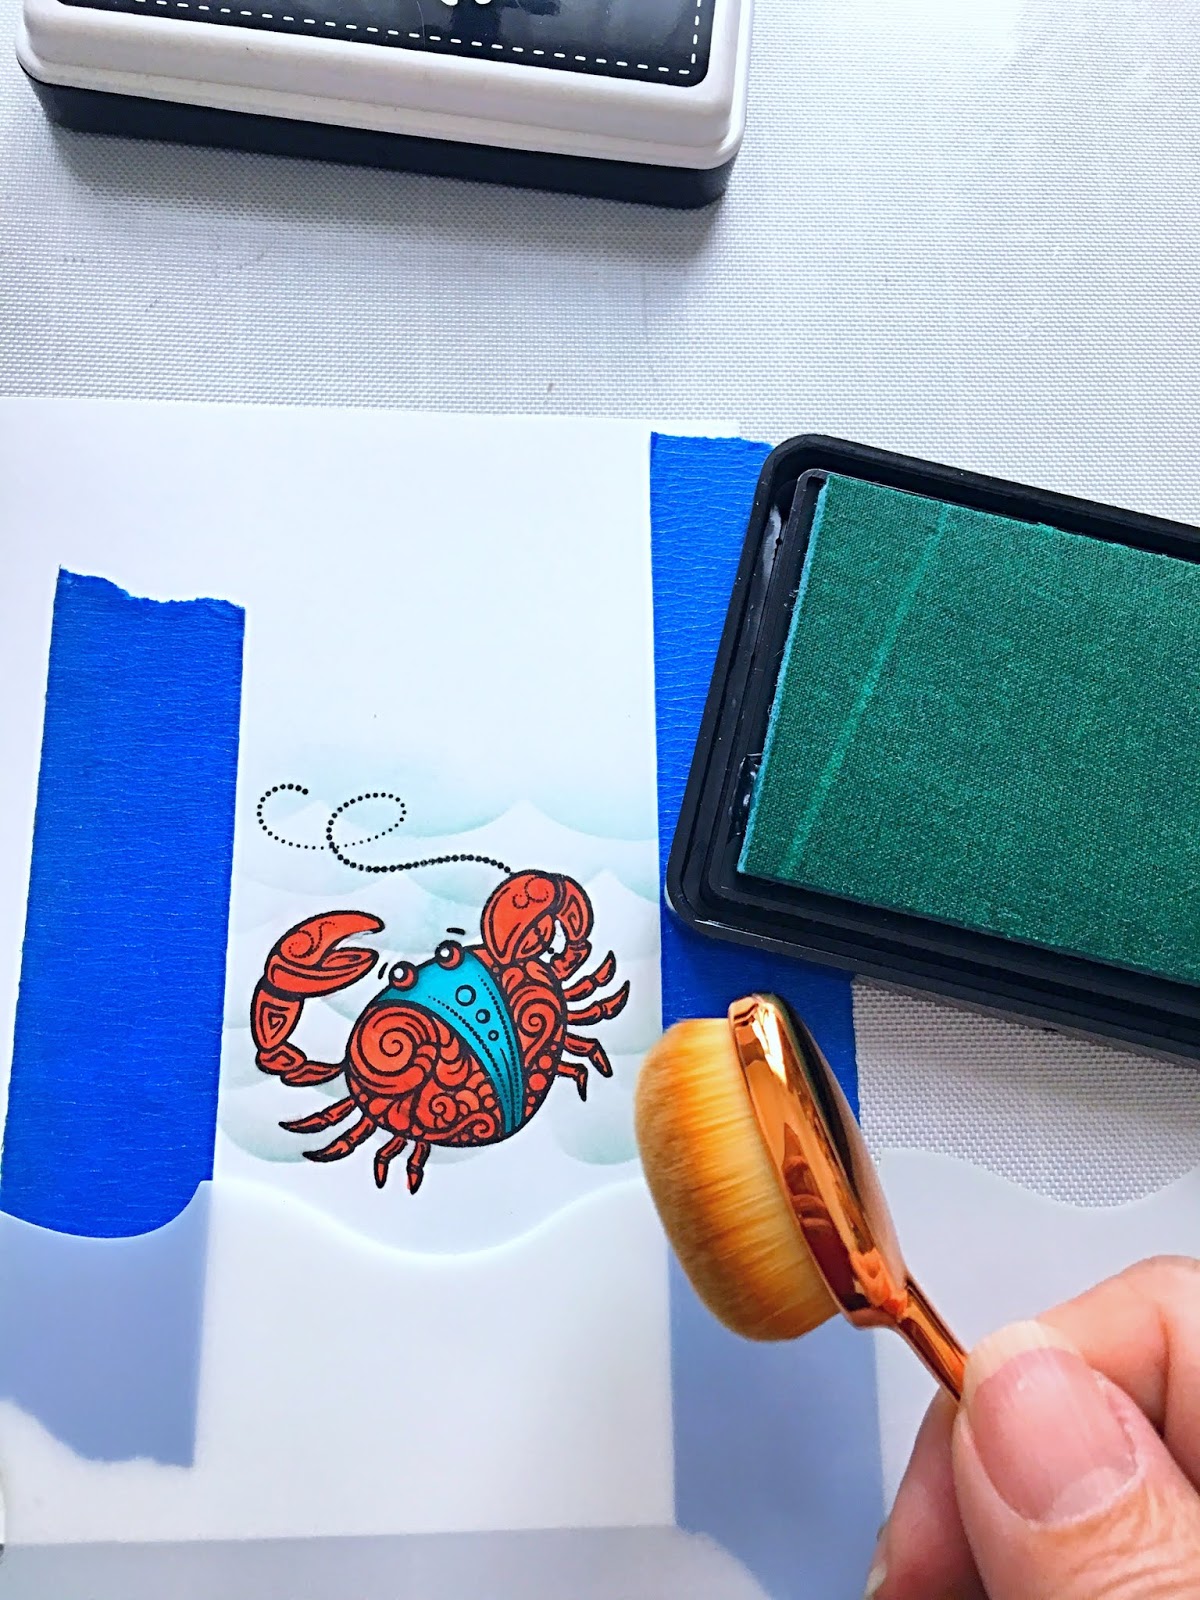
I started by creating the background first. I used masking tape to mask off the left side of some Bristol smooth A2-size white notecard. I used some distress oxide ink and the Petite Clouds stencil to create the sky. I sprayed some water on the colored panel for added texture.

Next, I removed the masking tape and used some light gray ink to stamp the sentiment “You ARFF the BEST!” in random order.

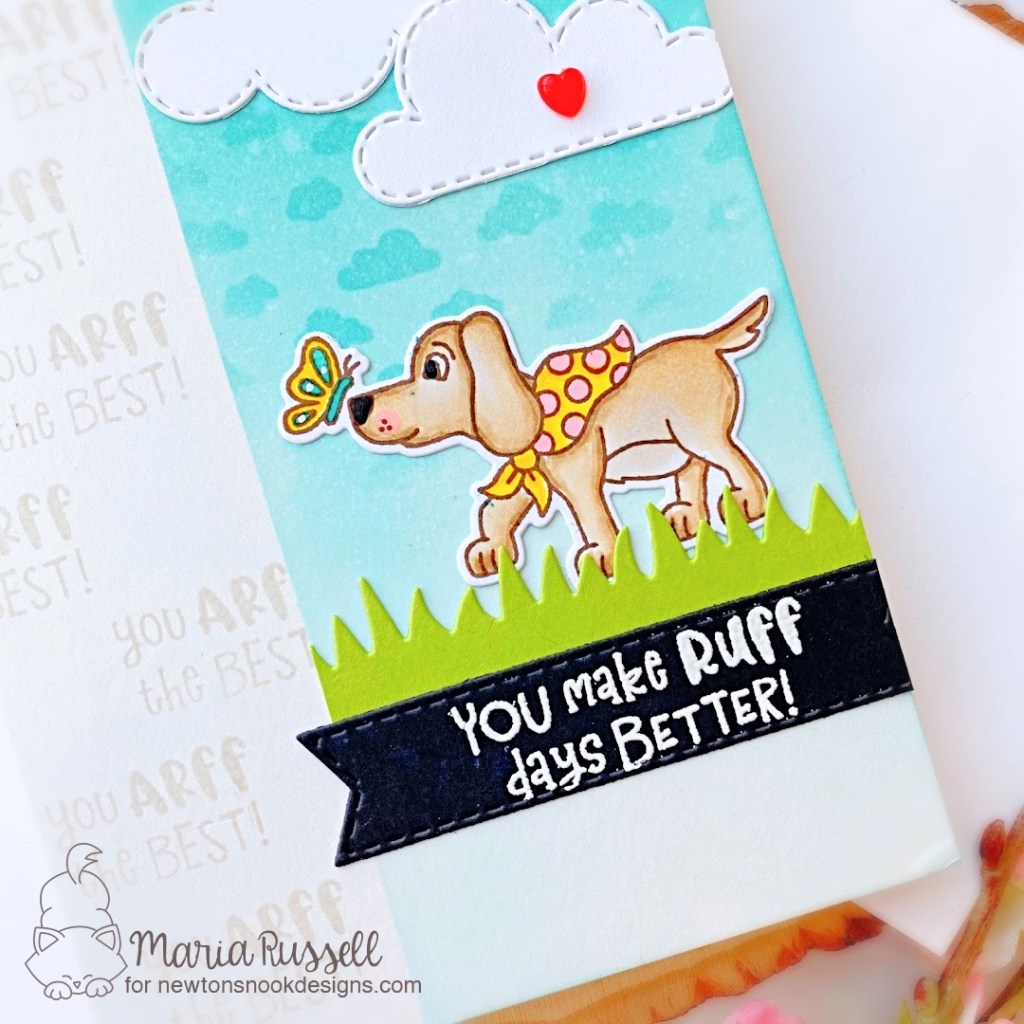
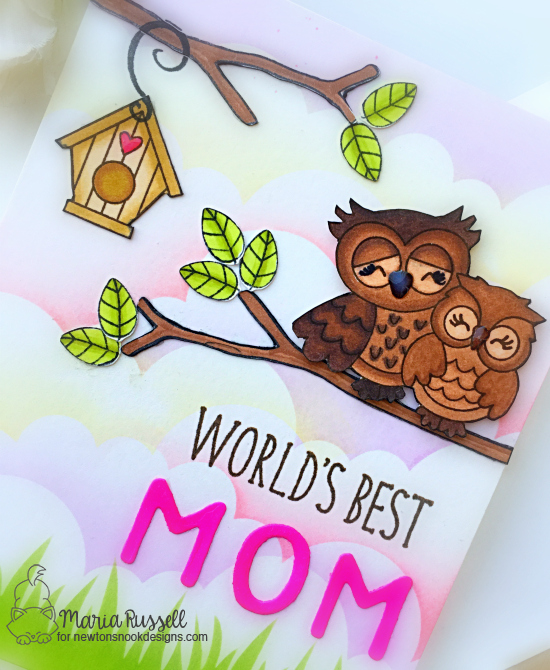
I die-cut the clouds and the grass border and adhered them on the colored panel with some liquid glue. Since I already have the image that I colored and die-cut previously, I added adhesive and tucked it behind the grass panel.

The sentiment strip was die-cut and stamped with Versamark ink and heat set with my heating tool. Positioning the sentiment was pretty easy, covering the grass panel slightly. I finished my design by adding a red heart on one of the clouds and used my black gel pen to add more depth and texture to the puppy’s eyes and nose. Here’s another look:

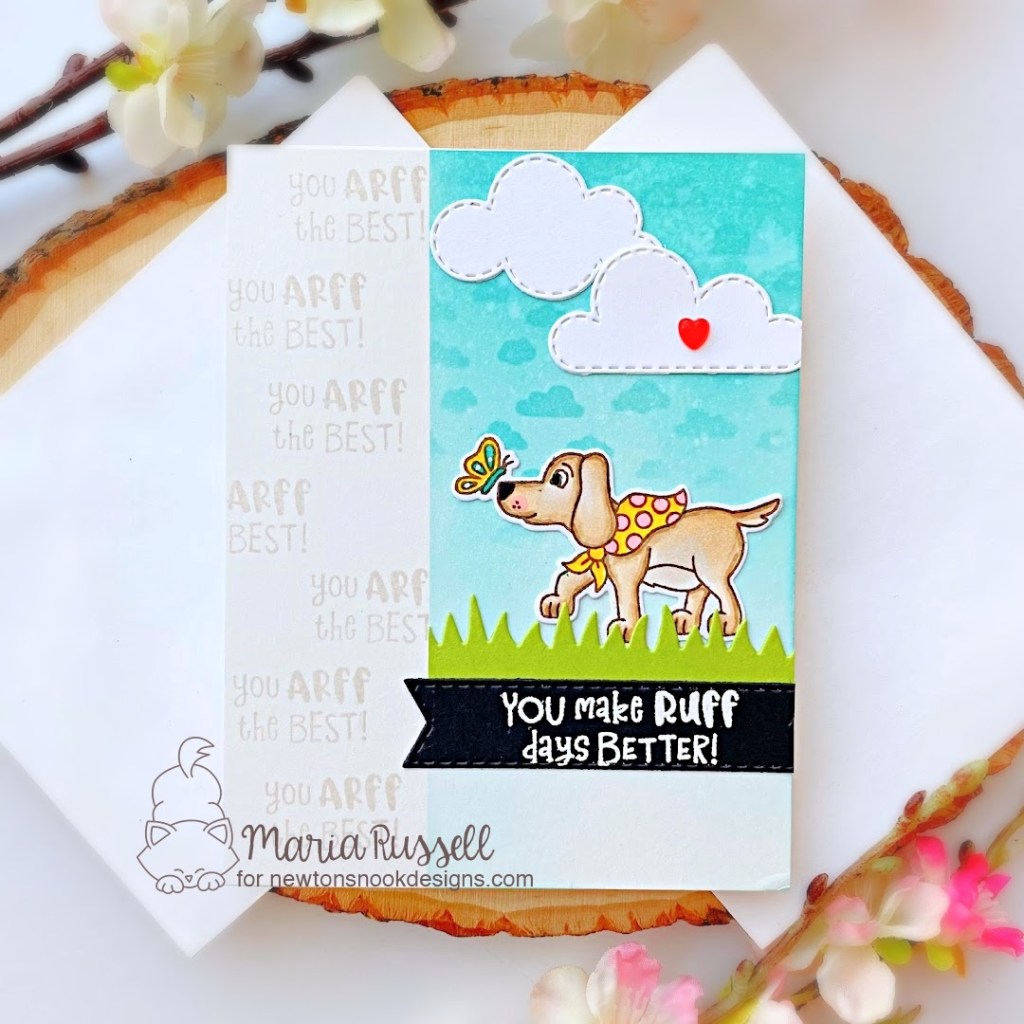
I hope you like this card design today. It’s pretty simple but sometimes, less is really more!

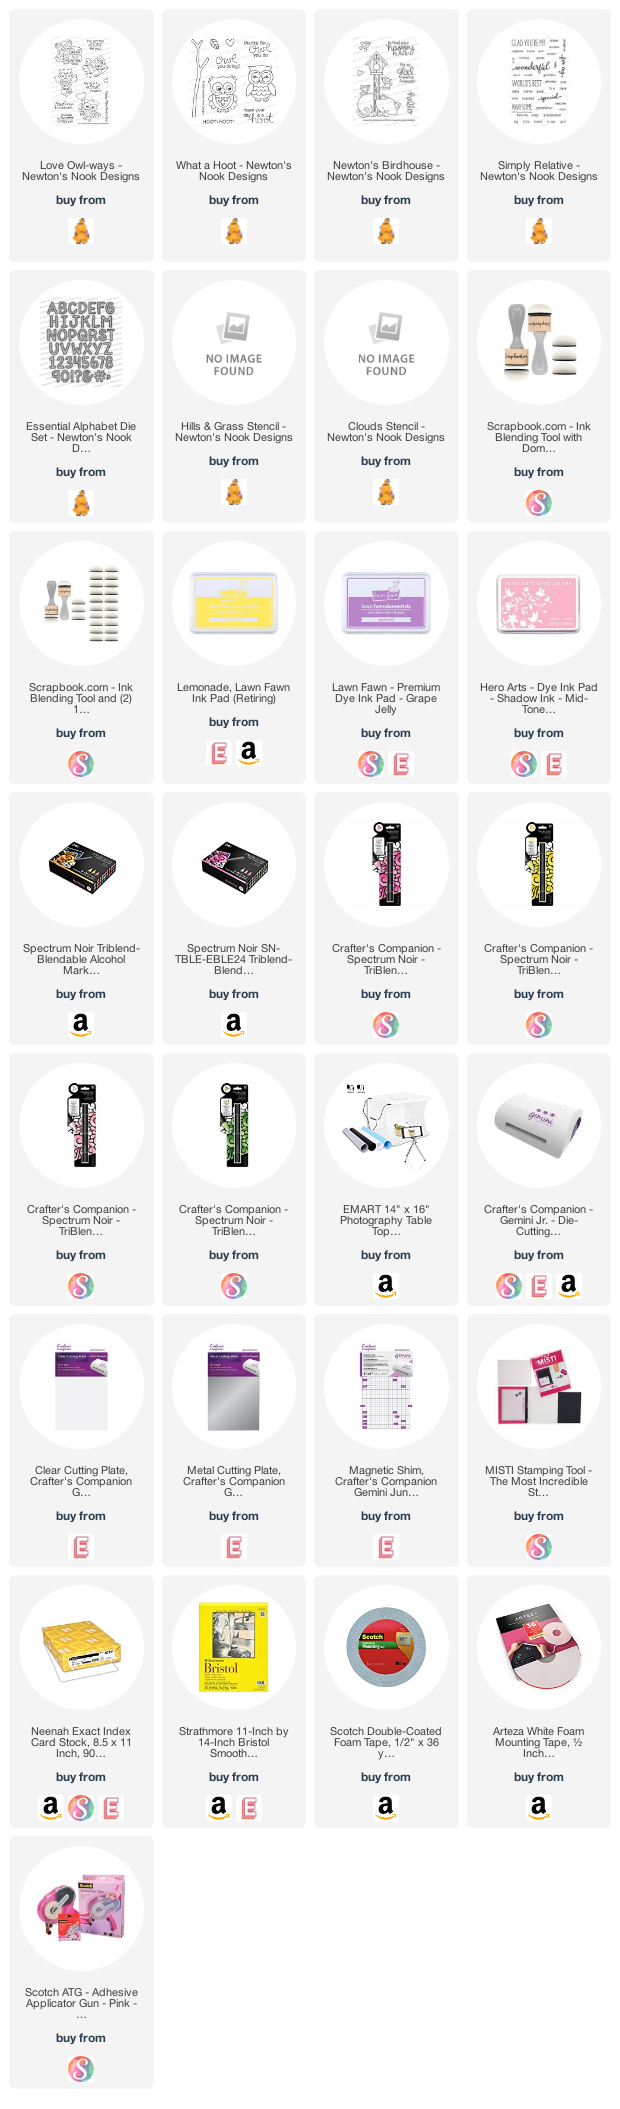
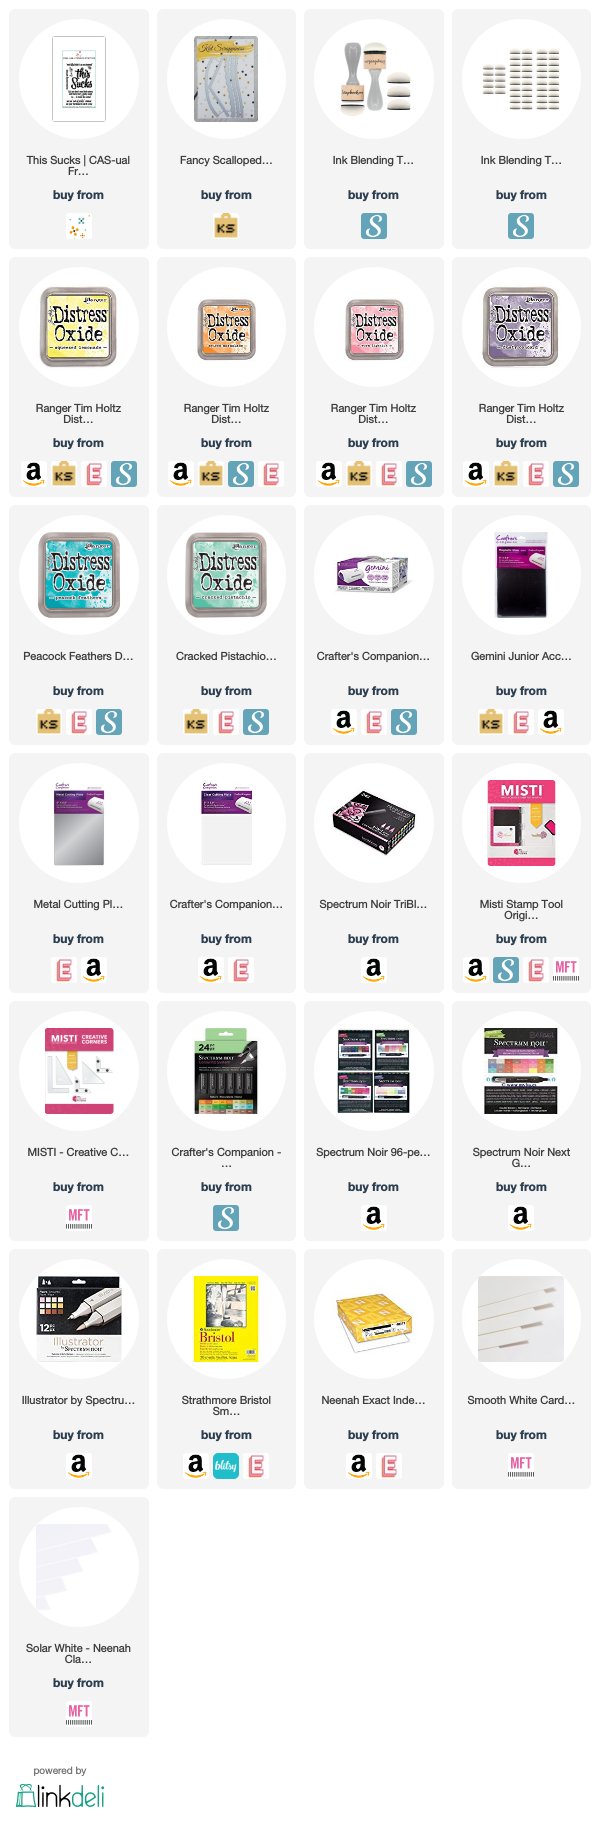
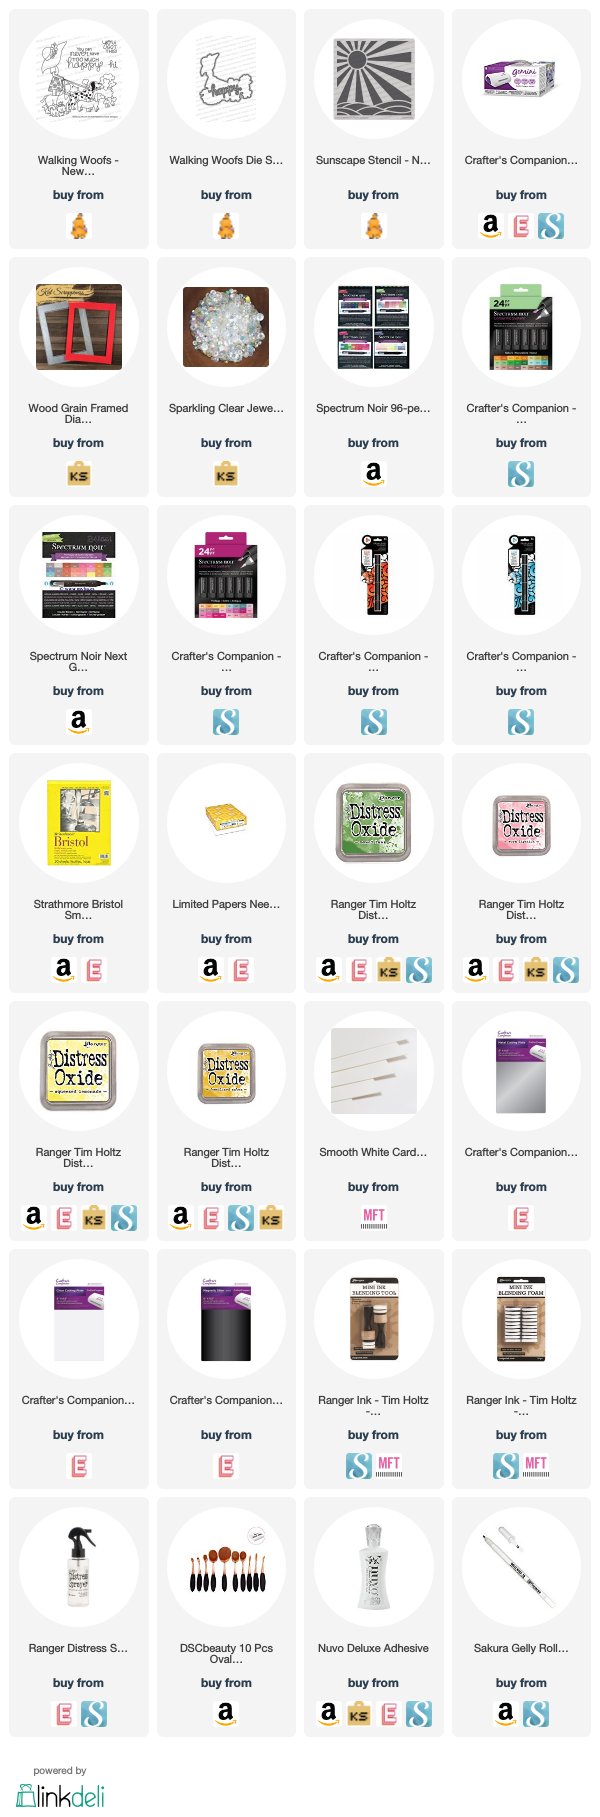
The supplies I use are listed and linked below. Thanks for stopping by today and happy stamping!
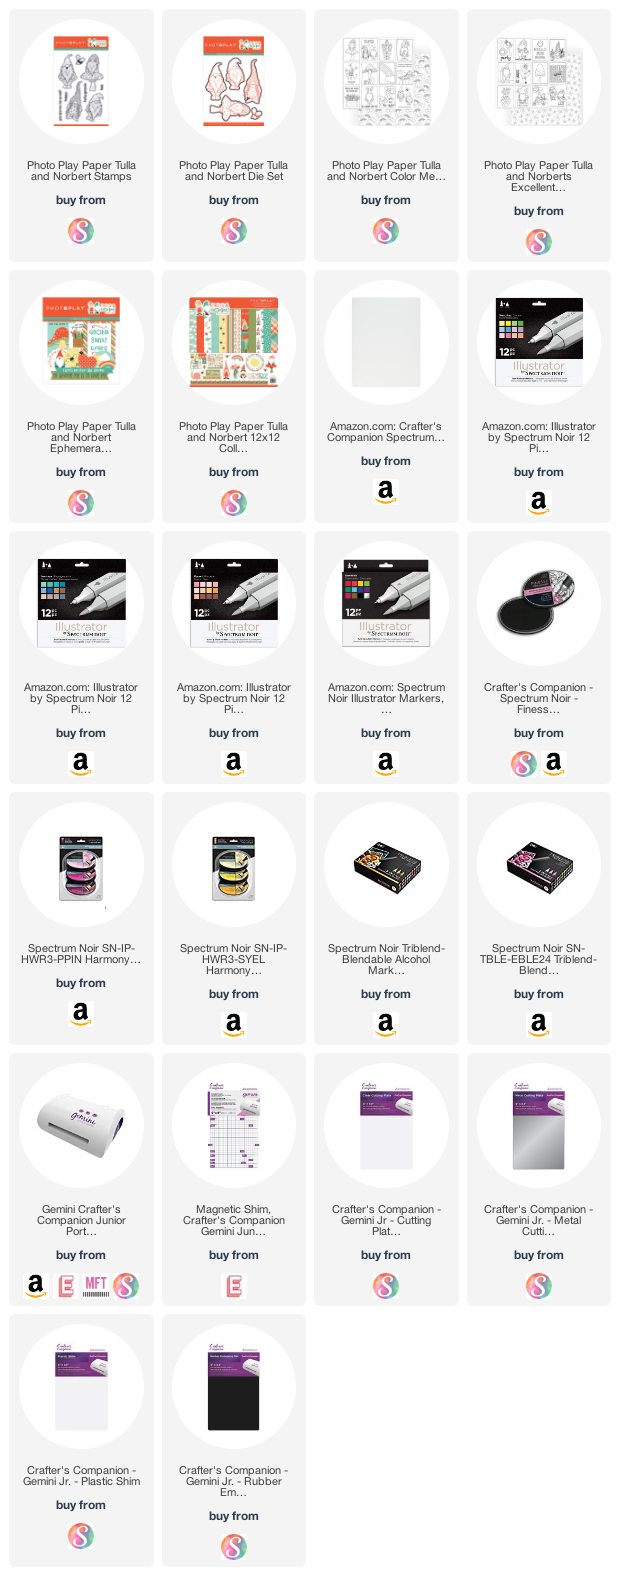
———SUPPLIES——-

Seas the Day with Fairy Hugs Stamps

Hello my crafty friends! I hope you are all doing well. I have a fun “mermaid-themed” card to share with you today, showcasing the new Malila Stamp Set (FHS-152) by The Fairy Stamper.

I wanted a rainbow-themed background for my lovely mermaid. Who said the ocean can’t be in rainbow colors, right?!

I started by inking up some Bristol smooth white card stock with distress oxide inks in Kitsch Flamingo, Ripe Persimmon, Mustard Seed and Peacock Feathers. I sprayed this background with water and picked up the excess with some paper towel.

Next, I stamped Malila using some Versafine Clair Ink in Nocturne. I love the intensity of the black against the colorful background.

To create the window panel, I die-cut some Neenah solar white card stock using a die from my collection. I colored the die-cuts with my alcohol markers and foam-mounted this piece on the card.

The last thing now is to add the sentiment. I wanted the sentiment to stand out so I stamped it on some black card stock with Versamark ink and sprinkled some white embossing powder. I heat-set the sentiment with my heating tool and adhered on my card. Here’s another look:

I hope you like my card today. The supplies I use are listed and linked below. Thanks for stopping by, and have an amazing day!

——-SUPPLIES——-

World’s Best Mom Card with Newton’s Nook

Hello Newton’s Nook fans!  I hope everyone is doing well.  I am back today to share with you this cute Mother’s Day card (or just-because you love your mom), showcasing a lot of stamp sets from Newton’s Nook Designs.  I’m featuring the Love Owl-ways, What A Hoot, Newton’s Birdhouse and Simply Relative stamp sets with the Essential Alphabet dies.  I love mixing and matching different images from my stamp set collection and stretch out my supplies.  These stamp sets were not meant for Mother’s Day but with a little imagination, you can certainly achieve it!


To begin, I stamped and colored my images on some Neenah solar white card stock.  I fussy-cut the images with my precision snips.   


I created the clouds by using the Clouds stencil and some dye inks with my blending brush.  I also used the Hills and Grass stencil to add the grass on this panel.


I die-cut the word “MOM” using the Essential Alphabet dies and adhered them on the card with some liquid glue.   I adhered the rest of the images on the card and foam-mounted the owls to give them more dimension.


I used glossy accents to add some texture and dimension to the owl’s beaks.   Here’s a closer look:


Lastly, I stamped the sentiment “WORLD’S BEST” with my Spectrum Noir Finesse ink in rich cocoa.


I hope you like my card today and got inspired.  The supplies are listed and linked below.  Have an amazing day and happy stamping!


———–SUPPLIES————-

Coloring with Spectrum Noir Illustrator Markers

Hello my crafty peeps!  I hope everyone’s doing well.  I am back today to inspire you to do some coloring using your Spectrum Noir Artist Illustrator Markers.   Coloring images for me is very therapeutic and having the right markers and card stock makes it more fun! 


For my project today, I am showcasing the SN Artist Markers and SN Harmony Water Reactive Inks.  The stamp and die set that I am featuring today is called Tulla and Norbert Stamp and die set collection by Photo Play Paper.


Begin by stamping images on Spectrum Noir Premium Ultra Smooth card stock using SN Alcohol Proof Dye Ink in Black.  Color images using Spectrum Noir Illustrator markers and die-cut using the coordinating dies.   


Here are the colors I used for the Gnome sitting on top of the mushroom:

BeardBG1, BG2 and Blender

Hat and ClothesBT3, BT4, BT5 and GB1, GB3 and GB5

MushroomOR1, OR2, OR3 and BG5, BG6, BG7 and Blender

BeeCT2, CT3, GY3 and WingsIB1 and Blender


Die-cut an A2 size piece of Bristol Smooth white card stock and ink-blend this panel using SN Water Reactive inks in Fuchsia and Honey Pot.


Die-cut the rest of the elements needed to create the card.   Adhere the die-cut panel on the ink-blended background with foam adhesive.  Adhere the main focal image in the middle with liquid glue.


Stamp the sentiment using Spectrum Noir Finesse ink in Black. 


Finish the design by adding some crystal jewels.  Add “stickles” to the bee’s wings and glossy accents to the Gnome’s nose.


I really LOVE how this card turned out.  Here’s another look:


I hope you got inspired today.  The supplies I used are listed and linked below.  Thanks for stopping by and happy coloring!


———–SUPPLIES————

Casual Fridays Release – Day 5 – This Sucks

We are super excited because today is Day 5 of Cas-ual Fridays Stamps 7th-year anniversary release.  You also have a chance to win a prize during each reveal day so please stop by the main Ca-sual Fridays Stamp blog post to find out more info.


For the fifth day of the reveals, we are showcasing the This Sucks stamp set.  Check out the Cas-ual Fridays online store or click on the supplies list below to purchase the stamps we are revealing each day.  Don’t forget to use my coupon code below to get 15% off your order.


To begin, I ink-blended my background with some distress oxide inks.  I used Squeezed Lemonade, spiced marmalade, worn lipstick, dusty concord, peacock feathers and cracked pistachio.  I sprayed my background with some water using the distress sprayer and blotted it with paper towel.  I stamped my sentiment with Versamark ink and sprinkled some white embossing powder.  I used my Wagner heating tool to heat-set the sentiment.


I used a border die from my stash to die-cut the scalloped edge on my foreground.  I also used the same border die to die-cut some black card stock.  I adhered both pieces on an A2 size card base.


To finish my design, I used my N3 copic marker to add some dots for more texture.  Here’s my card:


I love the rainbow-colored background and the bold sentiment.  This card is perfect for to give to a friend who’s having a bad day.  We all have one of those and this stamp set is a must-have for any stamper.  Here’s a closer look:


I hope you like my card today.  The supplies I used are listed and linked below.  Please visit Cas-ual Fridays Blog for a chance to win some prizes.  Come back tomorrow for the last day of the reveals.  Thank you so much for joining me and happy stamping!


———–SUPPLIES————


More Little Huggables with CAS-ual Fridays Stamps

Hello CAS-ual Fridays fans! It’s Maria back on the blog with you today with another card, showcasing the Little Huggables stamp set and Little Critter Fri-Dies.

Here’s my card:


I started with an A2 size Neenah solar white panel and used a circle die from my stash to die-cut the middle.

The inner circle was ink blended with distress oxide inks, using a clouds stencil for some pop of color.

I stamped and colored the images with alcohol markers. I used the coordinating dies to die-cut them all out.

I added some fun foam to the card panel for stability and adhered the little critters.  I glued this panel on my card base.

I positioned the sentiments on my acrylic block and stamped them under each little critter.  I also stamped the little paw prints using some ballet slippers ink.

I finished my design by using my black gel pen to add some interest and texture to their noses and eyes.  Here’s a closer look:

I hope you like my project today.  Please visit CAS-ual Fridays Stamps  to purchase the stamp and dies that I featured today.  Don’t forget to use my coupon code “MARIASENTME” for 15% off your order.  Happy stamping!

You Can Never Have Too Much Happy with Newton’s Nook Designs

Hello Newton’s Nook fans!  Did you manage to check out last week’s May 2019 release?  Which one is your favorite?  Mine is the Walking Woofs stamp set and coordinating dies.   For my project below, I also used the Sunscape Stencil.

NNDMAY19_WalkingWoofs
Walking Woofs stamp set & coordinating dies

I was planning on filming a YouTube video when I made this card but I am a little under while I’m writing this post.

For my card below, I started with an A2 size Bristol smooth white card stock and used the Sunscape Stencil and my distress oxide inks to ink up my background.  I also stamped and colored my image in with alcohol markers.  I die-cut the image using the coordinating die.

I used the Wood Grain Frame die to die-cut the colored background.  and adhered the middle piece first on my card base.  I inked up another piece of scrap card stock with Worn Lipstick distress oxide ink and used the “happy” die from the Walking Woofs die set to die-cut part of the sentiment.

IMG_2248

I assembled the card by adhering the frame, with some foam tape and also adhered the image.  I masked the word “happy” on the sentiment and stamped it onto my foreground.  I adhered the die-cut sentiment on the card.

NNDWalkingWoofs2A

I used my white gel pen to add highlights to the hat and the flowers on her skirt.  To finish the design, I added some sparkling clear jewels.  Here’s a closer look:

NNDWalkingWoofs2B

I hope you like my card today.  The supplies I used are listed and linked below.  Have a wonderful week and happy crafting!

—————-SUPPLIES—————

Sorry I was so Crabby

Hello The Rabbit Hole Designs fans!  I am back today to share another clean and simple card (“CAS”), showcasing the ever-classy, Sofishticated stamp set by the Rabbit Hole Designs.  Here’s what it looks like:

Here’s is my card:

TRHDSofishticated2A

Card recipe:

  • stamp the crab image on some Neenah classic crest solar white card stock and color him in with alcohol markers (or any medium of your choice).
  • use some painter’s tape to mask the spaces between the crab.
  • use the waves stencil with the make-up brush to color in some waves (avoiding the crab image if at all possible).  The ink that I used here is so light that I didn’t really have to mask the image itself.

  • die-cut the “sorry” sentiment using a die from my stash.  Adhere this piece with some liquid adhesive
  • stamp the sentiment “I was so crabby” using Versafine Onyx black in and the card is all finished.  Simple and classy!

Here’s a closer look:

I have been really loving some clean and simple designs lately!  I hope you do as well.  I know a lot of my subscribers are beginners and this is one simple card you can mask-produce.   I hope you like my project today.  The supplies I used are listed and linked below.  Have a nice day and happy crafting!

For more inspiration, updates, and news make sure to check out these places.

————SUPPLIES————


Just a Note with Miss Ink Stamps

It’s week 3 for my guest-design post with Miss Ink Stamps and for today’s card, I am showcasing the Magnolia Sympathy stamp set.  Here’s what it looks like:

magnolia-stamp

I started by stamping my images on some Neenah desert storm card stock with Versamark ink and I heat-embossed this with some white embossing powder.  I die-cut the the flowers using my Brother Scan N Cut 2 machine.  I did the same thing on another Neenah desert stormA2 size panel.  I colored the images in with my Prisma color pencils.

I adhered the die-cut flowers on top of the colored images to give it more dimension.  I stamped the sentiment with some Versamark ink and heat-set it with white embossing powder.  I finished my design by adding some white jewels.  Here’s my card:

MissInkMagnolia1A

Another clean and simple card.  I love that the stamp set is so versatile you can use it for any occasion, not just for sympathy cards.   Here’s a closer look at the beautiful flowers:

MissInkMagnolia1B

I hope you like my card today.  The supplies I used are listed and linked below.  I hope you all have a great day and Happy crafting!

For more inspiration, updates, and news make sure to check out these places.

Miss Ink Stamps

Miss Ink Stamps Instagram Page

Miss Ink Stamps Blog

Miss Ink Stamps Pinterest Page

————SUPPLIES———-