UFO Brentwood Owl Stamp Set Release

Today I am featuring two cards that I created using the new Stamp Set by http://www.jessicalynnoriginal.com called the “UFO Brentwood Owl”. I am super excited to share these cards with you today because I absolutely love the images that Jessica created for this set. If you would like to win this stamp set, please head on over and leave a comment on Jessica’s Blog post (http://jessicalynnoriginalstamps.blogspot.com). Jessica will choose a random winner and she will announce it on her Blog, so please stay tuned for that.

To start, this stamp set reminds me of my love for the 90’s TV show, “Roswell”. My children and I were addicted to Roswell, and Buffy The Vampire Slayer – two famous TV shows at the time when my children were still young. Since we live overseas, I always pre-recorded the shows so that after homework and dinner, the kids and I will have some quality time together watching the show. We even listened to the Roswell soundtrack in my car while I drove them to school.

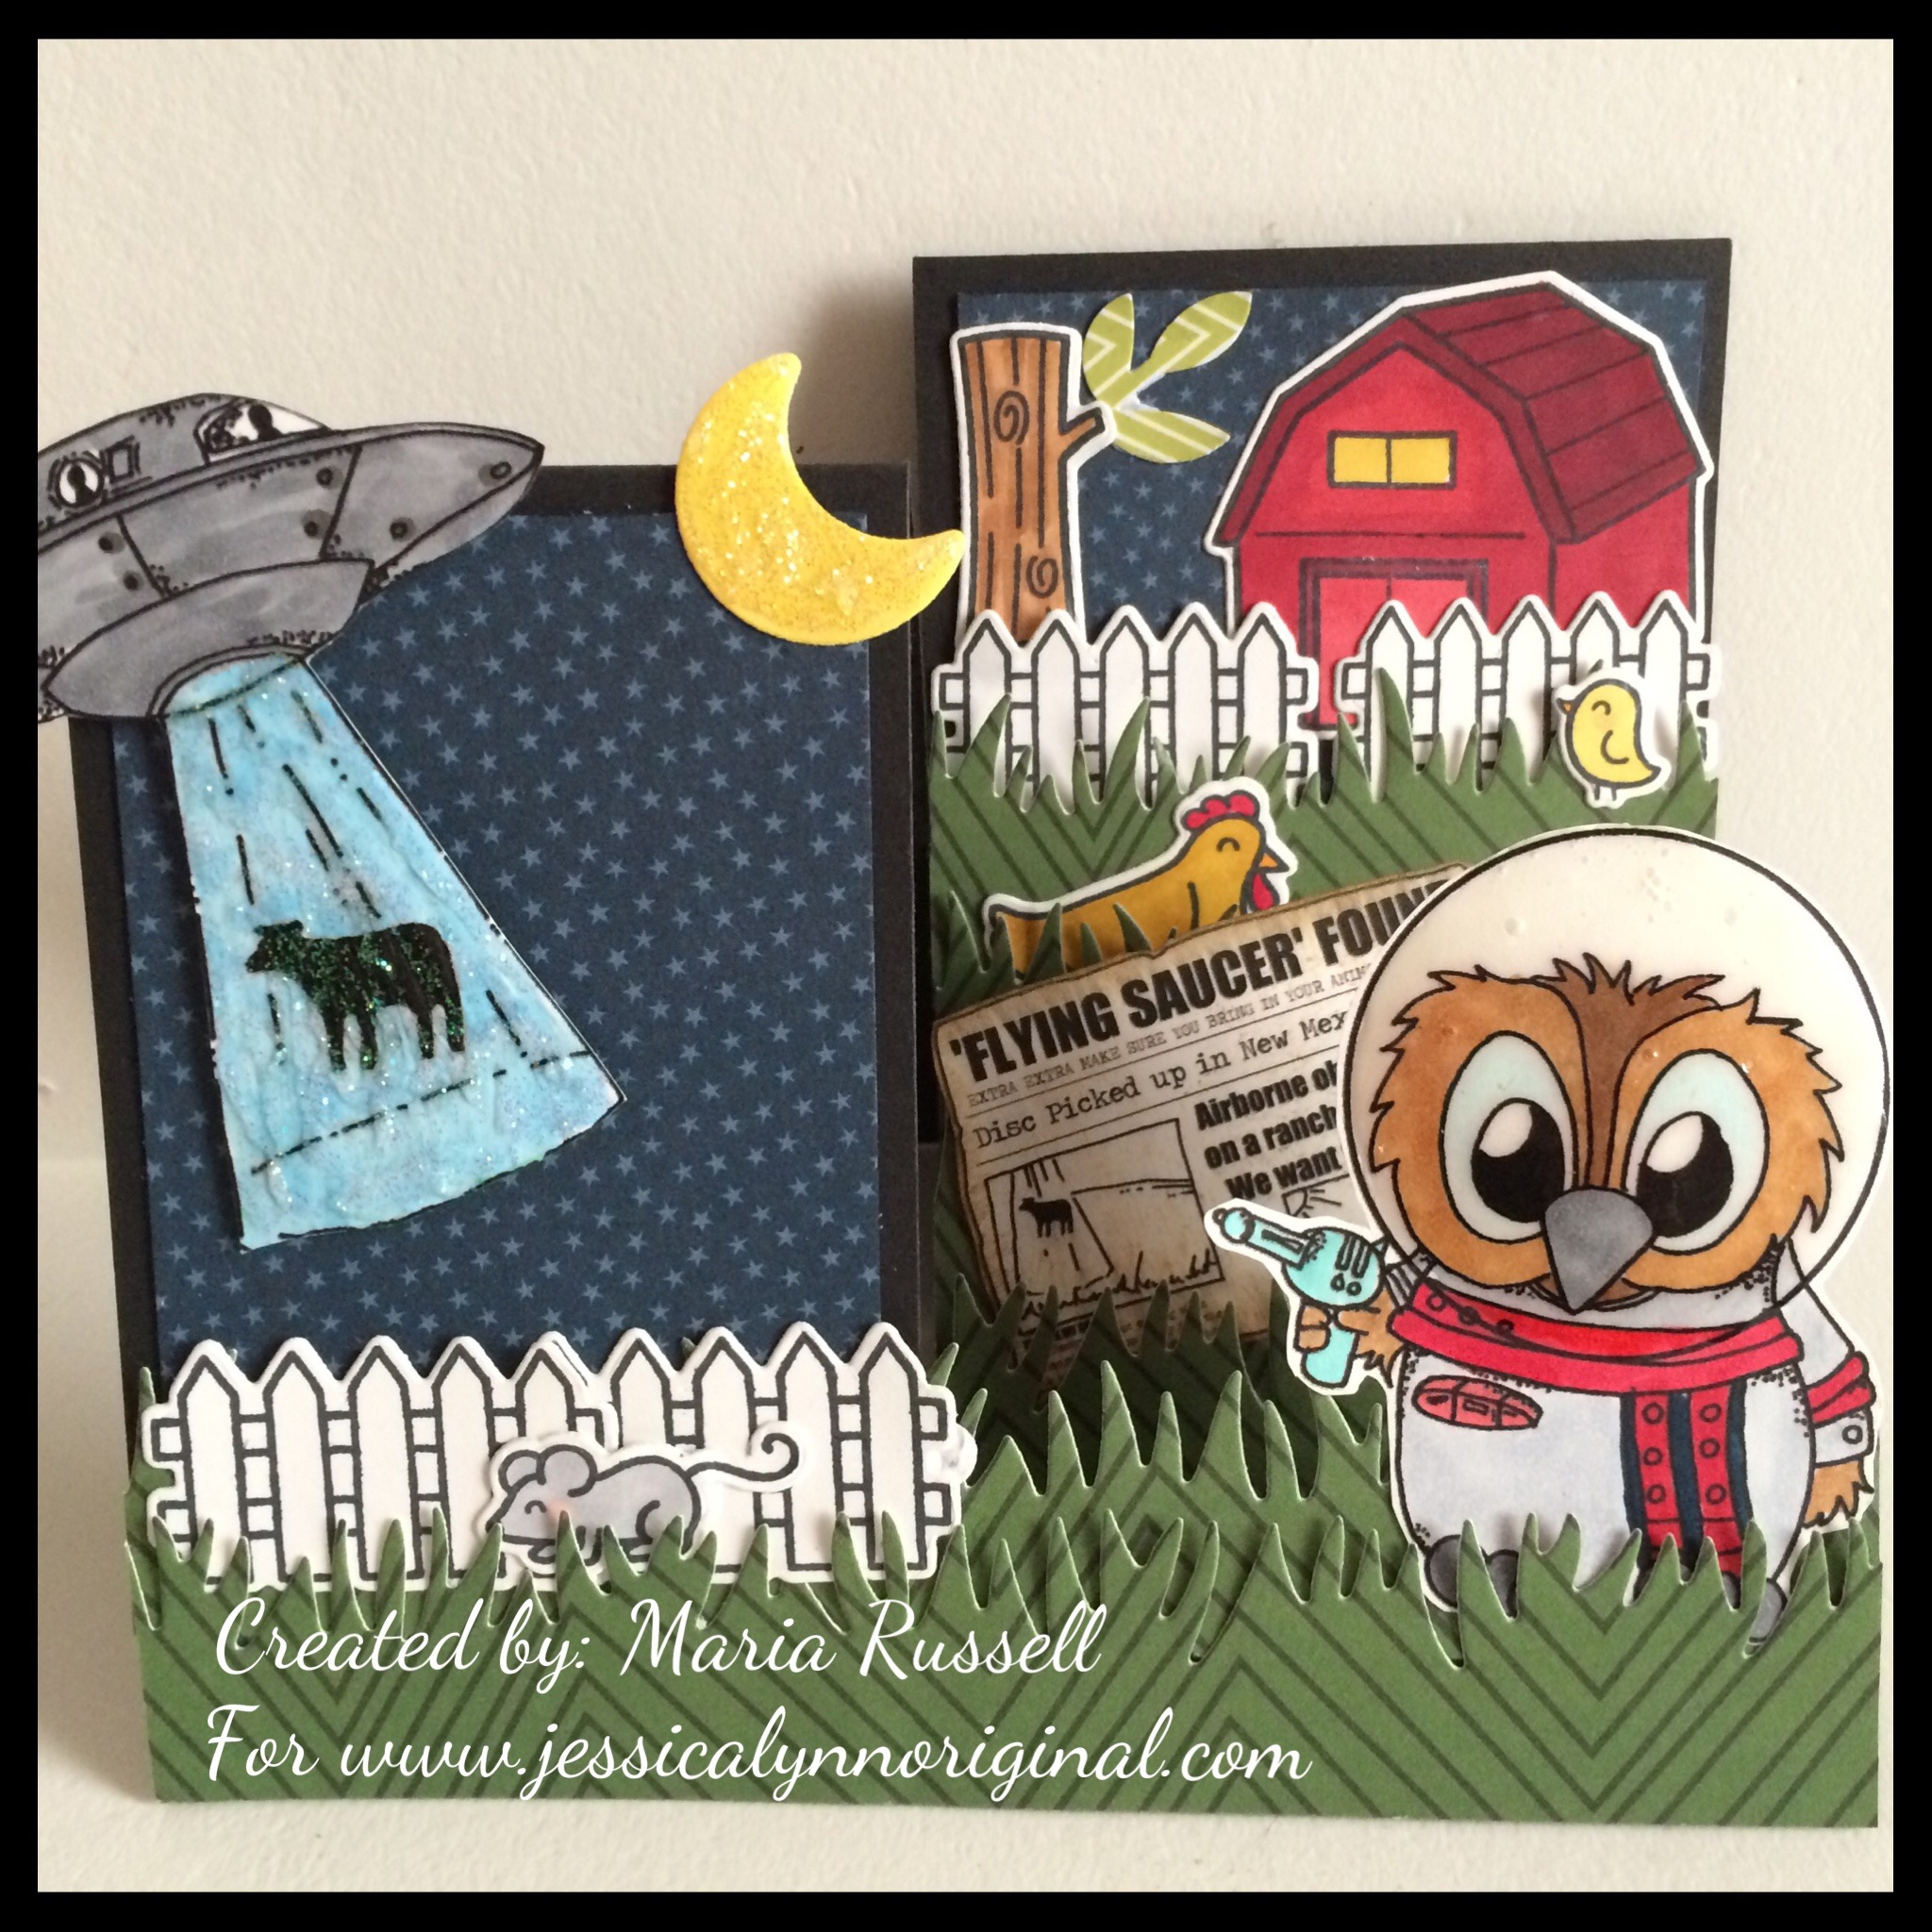
The first card below is a side-step card. I always love creating interactive cards, and I thought that Brentwood needed to have more space so that I can highlight each of the stamp images in their own way, without it getting “lost”. I think I was able to capture this sense by making a farm-scene at night with the moon shining in the background.

I first colored Brentwood and the UFO images with my Copics. Then I put glossy accents on Brentwood’s helmet to achieve the look of glass, and make it look more realistic. While waiting for the glossy accents to dry, I then stamped the other images using some of the stamps I already have in my stash and preceded to die-cut the pieces. Once I had everything laid out, it was really easy to put the card together. I added stickles to the moon and the UFO beam to make it stand out a little.

Processed with Moldiv
Created by Maria Russell for http://www.jessicalynnoriginal.com

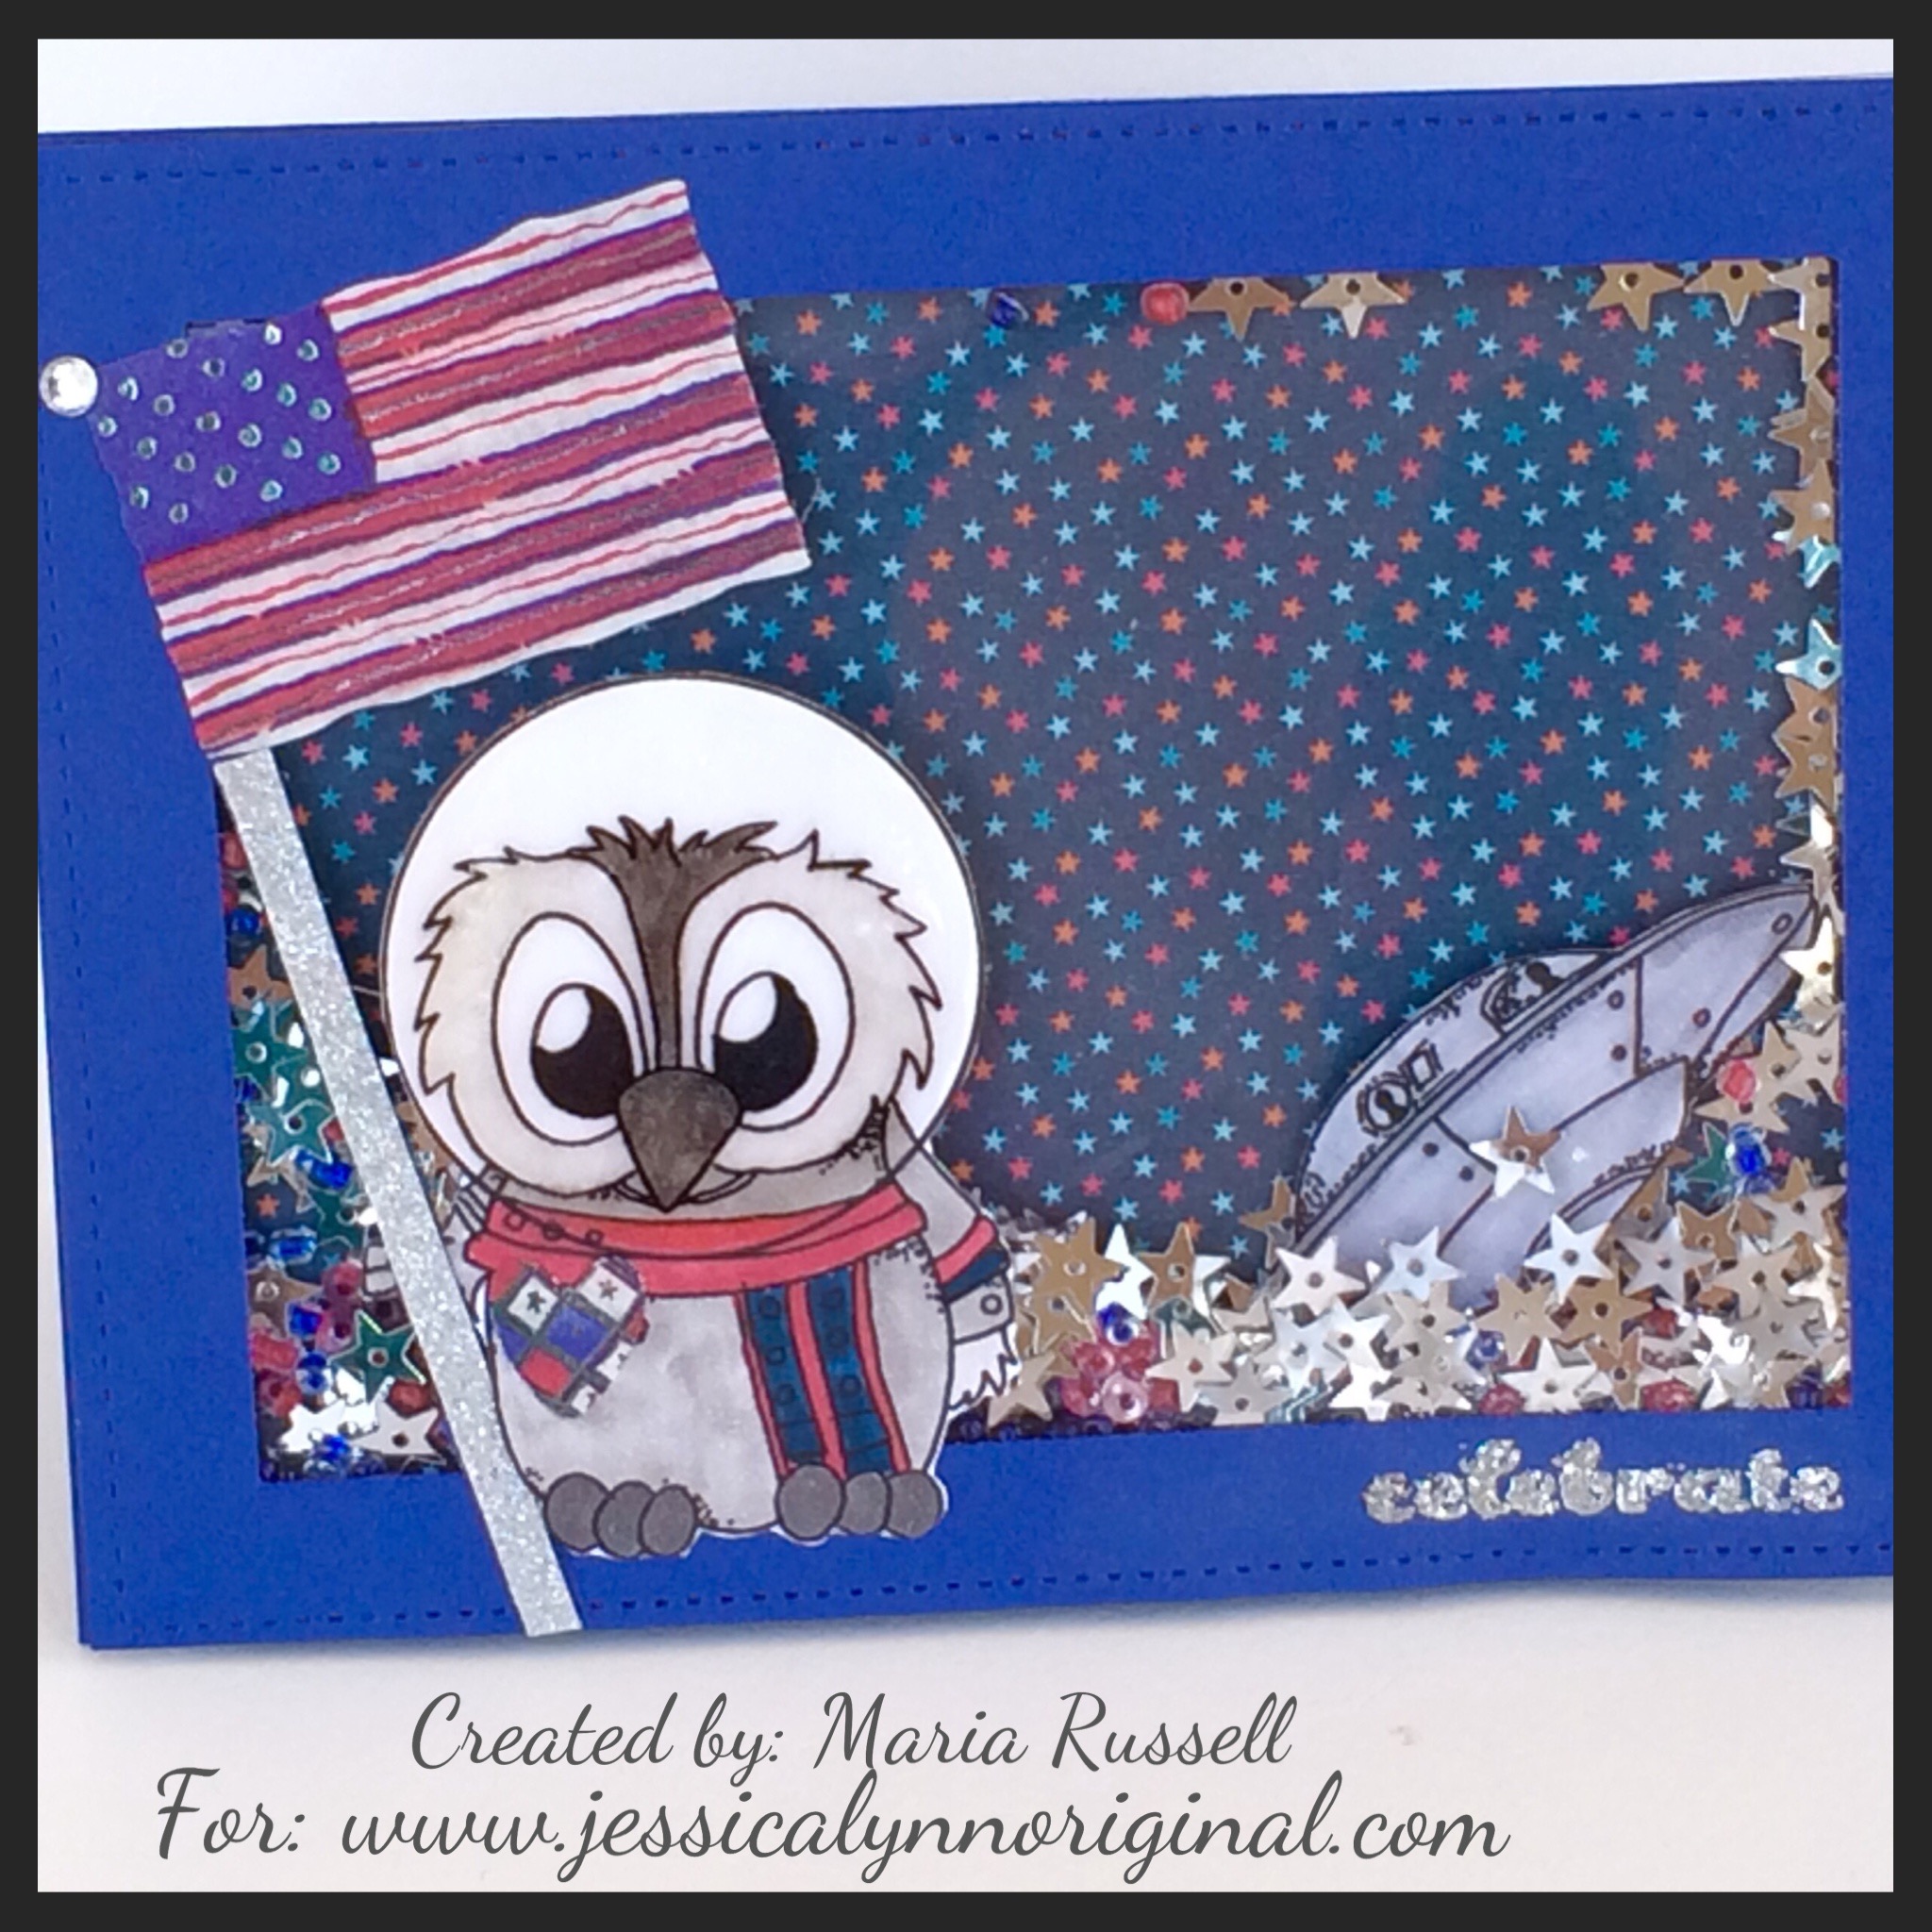
The second card below is very patriotic. With the 4th of July coming up, I think this is a perfect project to make in time for our Independence Day. My original idea was to create a scene where Brentwood was holding the USA flag landing on the moon, but one of our design team members already made a card using a similar design. I was in Germany and Lithuania for a week and only came back yesterday, so I was a bit late creating these cards. However, I still wanted to create a scene in space, so I decided to create a shaker card. Brentwood is holding the USA flag, but with the UFO, stars confetti, blue and red seed beads as the shaker material. I also added glossy accents to Brentwood’s helmet but unfortunately it didn’t show through the photo.  I had so much fun creating this card. What do you guys think? I will post a tutorial on my YouTube channel for these two cards.

Processed with Moldiv
Created by Maria Russell for http://www.jessicalynnoriginal.com

Thank you so much for stopping by and have an amazing weekend!

Pop-Up Card

I have created this card for Mother’s Day. Unfortunately, I was not able to post it here on my Blog because my hubby and I traveled back home to Orlando to see our family, and move our daughter out of her dorm. It has been a busy month of May so far for me. I apologize for neglecting this Blog but I promise to post more regularly from now on.

This card is perfect not only for Mother’s Day but for any occasion. I hope that you will give it a try. I would love to hear from you if you did.

Happy Crafting!

2 Valentine Box Cards ~ 1 Card Stock (Tutorial)


This is a very easy tutorial to follow to create 2 box cards out of one 8 ½ x 11 card stock:

Materials Used:

One cardstock (8 ½ x 11) cut in half measuring 5 ½ x 8 1/2
2 pieces – Designer Series paper – cut at 1 ¾ X 5 ¼
6 pieces – Designer Series paper – cut at 1 ¾ X 2 ½
3 pieces – card stock cut at 3 X 1 ¼ (these pieces will go in the middle of your box card to hold the embellishments
Optional ~ 3 pieces of card stock cut at 2 inches wide using a decorative die or deco punch
Acetate sheets
Stickers and other ephemeras to decorate your box card
Double-sided tape or Tombow Glue
Mini Glue Dots

Gatefold Shutter Card

When I saw this video posted by France Martin, I immediately wanted to recreate this card and share with my subscribers.  I thought this card is not only unique, but also stylish.  I wanted to make my version a lot easier and I hope I achieved that on this video.  I chose a simple black and white color scheme and I thought it turned out so pretty.

Materials Used:

Card Base — Very Vanilla Card Stock — cut at 8 ½ by 5 ½, then score at 2 1/8 and 6 3/8

Shutter — Basic Black card stock (2 pieces) — cut at 3 ½ by 4. On the 4 inch side, score both pieces at ½ inch. Then on 3 ½ side pencil mark at 1 ¾ then mark at 2 inches to find the center so you can cut the fish tail for the shutter.

Center Piece — Basic Black card stock — cut at 3 by 5 ½. DSP cut at 2 ¾ x 5 1/4 . Adhere together using your TG or tombow glue. Use your large circle punch or circle framelits to cut a hole on the middle piece. This will create the window to your shutter card.

Shutter DSP — DSP cut at 5 ¼ by 1 7/8.

Bellyband — 1 by 11 inches. Fold on your card to create the bellyband. Don’t make it too tight so it can still slide in and out. Decorate according to your style.

TOOLS:

Score board and scoring tool or stylus
Bone Folder
Stampin Dimensionals or foam dots
Mini Glue Dots
Rhinestones
Adhesive (tape runner of Tombow glue)
Ruler
Pencil
Scissors
Circle Framelits (about 1 ¾ inch. In diameter)
Pansy Punch
Boho Blossoms Punch
Petite Petals Punch


Valentine Pop-Up Card Tutorial

If you would like to order the products shown on this video and avail the discounted rate through a demonstrator website (also earn some stampin’ rewards and free stuff), please click on the link above.

The tutorial on this video is just to show you how to create an A2 size Pop-Up card that fits in a regular A2 envelope; but you can decorate it according to your own taste and style.   The possibilities are endless!

Materials used:

Main card — Card Stock is cut at 9 inches by 5 ½ inches
(on the 9 inches side — score your card stock at 2 1/8, 4 ¼, 6 3/8 and 8 ½
(on the 5 ½ inches side — score your card stock at 2 ¾ inches)

Tabs in the middle of the card:

Card stock cut at 3 1/8 by 3 1/8 score at ½ inch and 2 5/8 — (We will cut this in half as I showed on the video to create the middle tabs in the card and these will hold your decoration).

Fold the scored tabs and put sticky strip and insert and adhere to your basic card.

Mini Glue Dots (Item No. 103683)

Sticky Strip

Acetate sheets

I hope you enjoyed this video. If you have any questions, please feel free to send me a message.. Craft with your loved ones and create some memories. Happy crafting!