This week Newton’s Nook Designs is getting ready for Halloween with a fun Inspiration week! All week the NND Design Team will be sharing inspiration using some of their favorite Halloween products to get you in the mood for tricks and treats! Check out what I created today and don’t forget to check the NND Blog each day this week.
Create cute seasonal maple bag tags with the Art of Sublimation!
Learn how to create one-of-a-kind seasonal bag tags with Artesprix Sublimation Markers and Ink Pad!
Hello! Maria Russell here again and I am super excited to share with you today’s project! Since I’ve already created some summer-themed bag tags a few months ago, I thought I’d share more projects today celebrating Halloween, Winter and Spring seasons.
Trace your maple tag on plain typing paper with a pencil.
Step 2.
Before I stamped the images, I refilled my Artesprix Sublimation Stamp Pad with the (new) Sublimation Stamp Ink Refill. Since I was creating 3 designs, I wanted to make sure that my stamp pad is juicy so that my images will look crisp when stamped on the paper.
Add a few drops of the ink and use a plastic card to spread them evenly on the pad.
Use the Artesprix Sublimation Stamp Pad to stamp the images and color with the Sublimation Markers. I repeated these steps for the three tags, assembly-line style.
Step 4.
Secure your design on your Maple Bag Tag by using Artesprix Heat Tape. If you are going to sublimate using the Artesprix Heat Press, you only need one on each side to hold it down. If you are using an iron, you will need a few more. Sometimes the iron will cause the image to slip and you will get a ghost image. [Only use Artesprix Heat Tape on the outer edge of the design (not over it).]
Step 5.
Turn your Artesprix Heat Press on and set the temperature to 400 degrees Fahrenheit and the timer for 45 seconds. Create your sublimation sandwich. Cut two pieces of Protective Paper to cover your Artesprix Halloween Decorative Metal Panel on the top and bottom. [Designer tip: Make sure that your design is facing the heat source before you heat press.] Place it inside the Heat Press and close the machine. The Heat Press will beep indicating that your project is finished!
Step 6.
I sublimated the tags one after another (“assembly-line style“). This made it easier for me to get them all done while the machine is on!
Step 7
While wearing protective gloves, lift the handle and take your Sublimated Maple Bag tags out of the machine and sublimate the others. Place them all on top of the Protective Project Mat and give it about half an hour to cool it down.
Step 7.
Gently remove the paper to reveal the Sublimated Maple Bag Tag.
Step 8
I created a double-sided Halloween Tag. Here’s the design:
Here’s what it looks like after sublimation:
I didn’t add any sentiments on this design. Since I LOVE Halloween images so much, I can use this bag tag all-year round!
Here are the three Maple Bag Tags –> Halloween/Fall, Woodland/Winter theme and a floral one for Spring:
Join in the Iron-on-Ink Fun!
Love this All-seasons Maple bag tags project? Join the Iron on Ink Community on Facebook for more project ideas and to share your own creative iron-on ink projects.
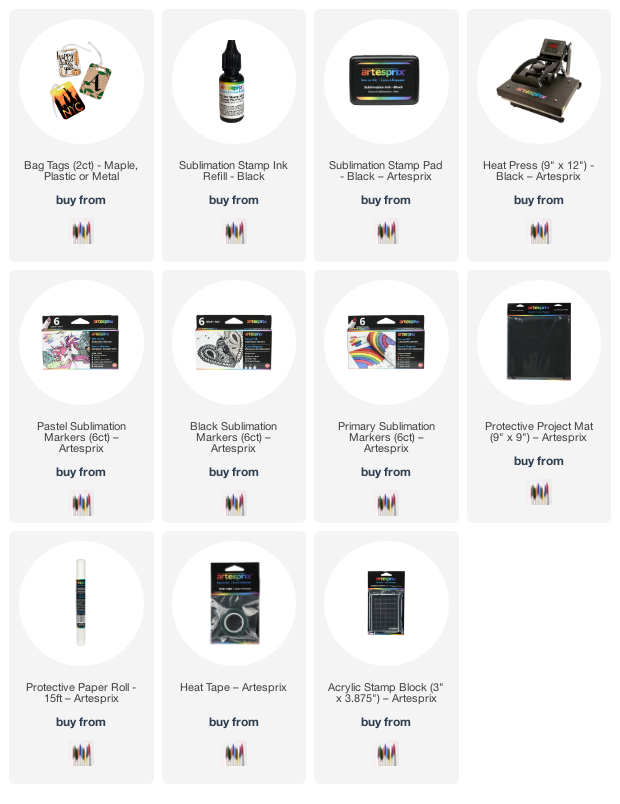
You will find all the blanks and other supplies available for purchase on the Artespix website. Thank you for stopping by and happy crafting!
**The links below are affiliate links. If you decide to make a purchase, you are supporting today’s post writer at no extra cost to you, thank you! These products are endorsed by the author and we hope you’ll love them, too.