It has been quite awhile since I wrote a blog post. I was traveling back and forth for a few weeks organizing our upcoming move back to our home in the United States. Yay! I hope everyone’s been looking forward to create a few Halloween, Fall and Christmas related projects! If you are, stick around and I will be posting a lot of projects soon, along with photos of how I decorated my home for the holidays!
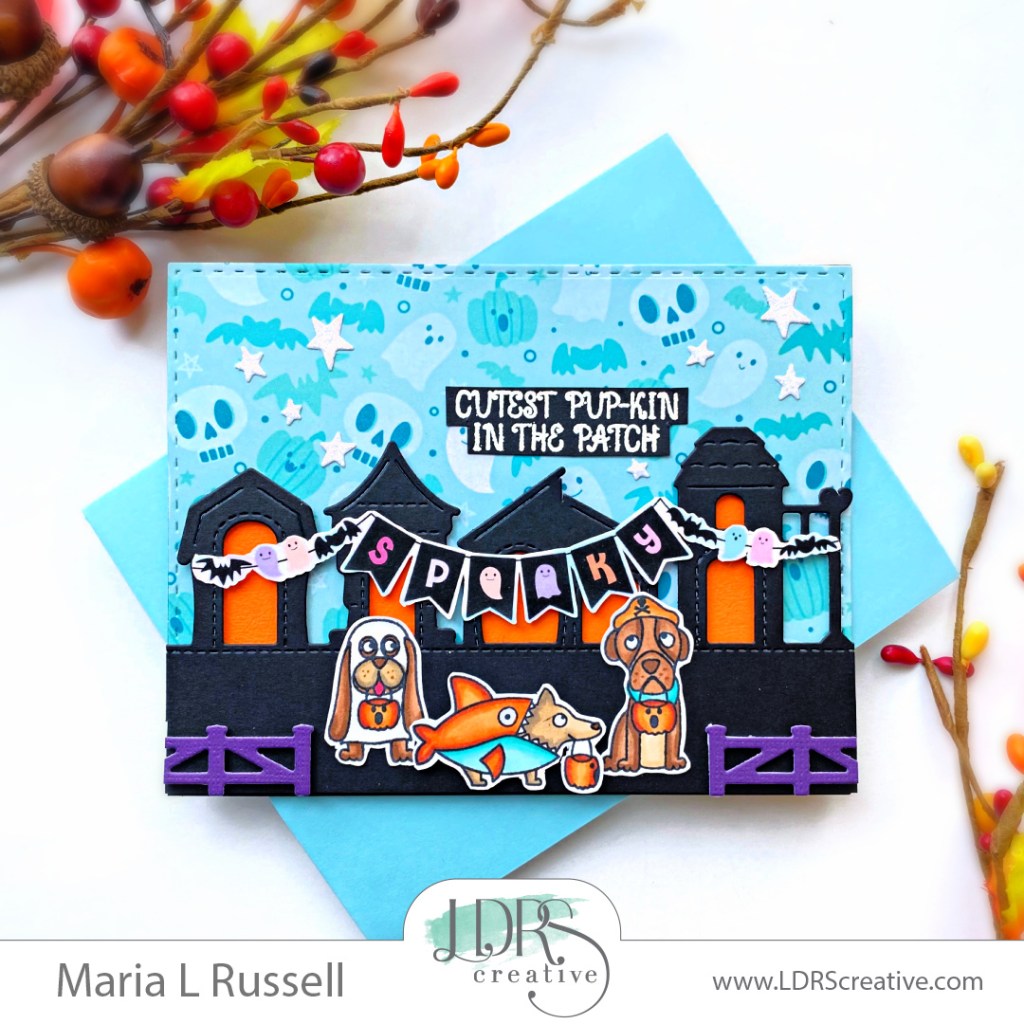
Today’s card features a mix of some newly-released stamp set and dies, with some of my old favorites from LDRS Creative. For the project below, I am showcasing the Kringle Numbers Jumbo Dies with the adorable Wicked Stamp Set, along with the Trick or Treat Paper Pack, Delicate Stitches Scalloped Rectangle and Delicate Stitches Scalloped Oval.
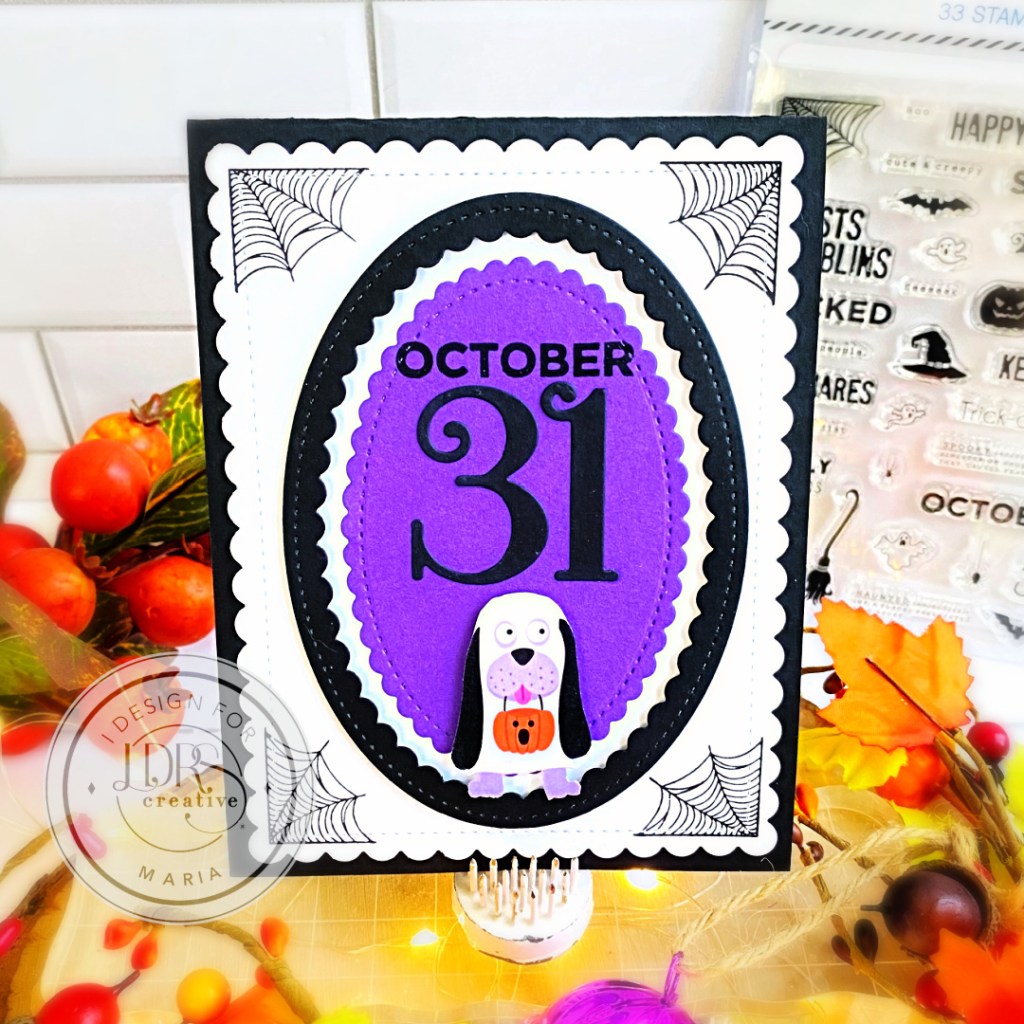
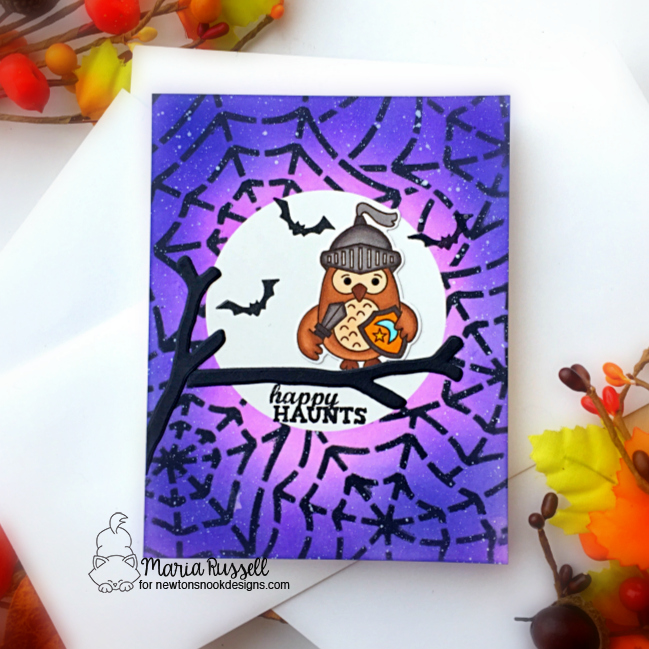
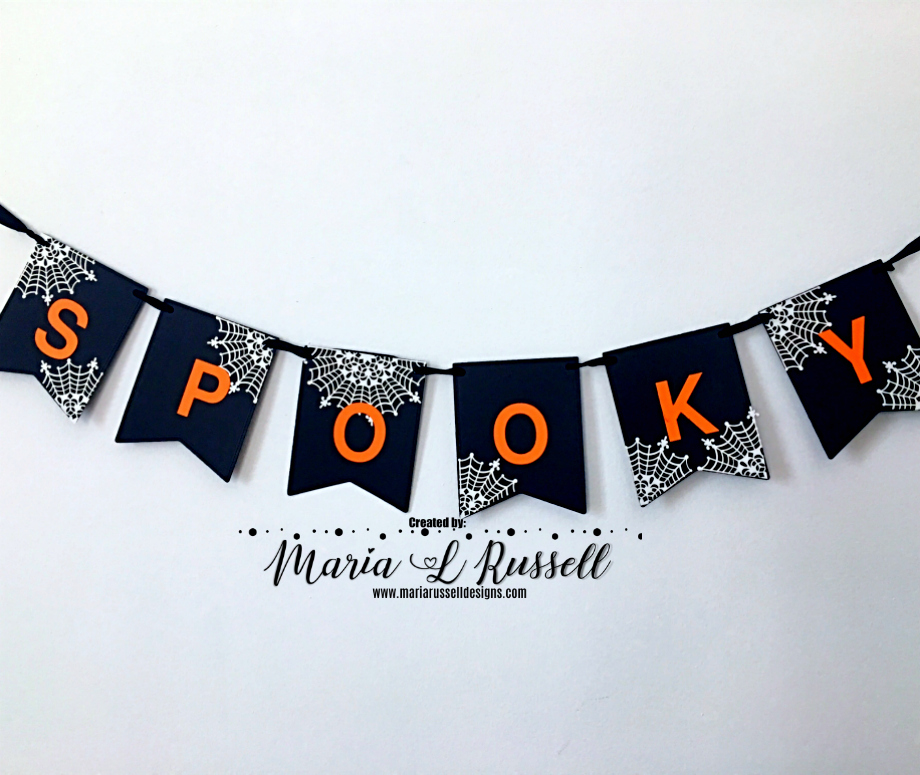
I started by adhering the Scalloped background that was die-cut using the biggest die from the Delicate Stitches Scalloped Rectangle die set. I stamped the four corners of the background using the spiderweb from the Wicked Stamp Set.
Simplicity is just really what I had in mind and die-cutting the scalloped rectangles using the Delicate Stitches Scalloped Oval on black and purple card stock were the perfect pieces to layer to create a beautiful pattern border for my card.
I added the numbers 3 and 1 using the Kringle Numbers Jumbo Dies in the center and stamped the month “October” from the Wicked Stamp Set with Raven Hybrid Ink.
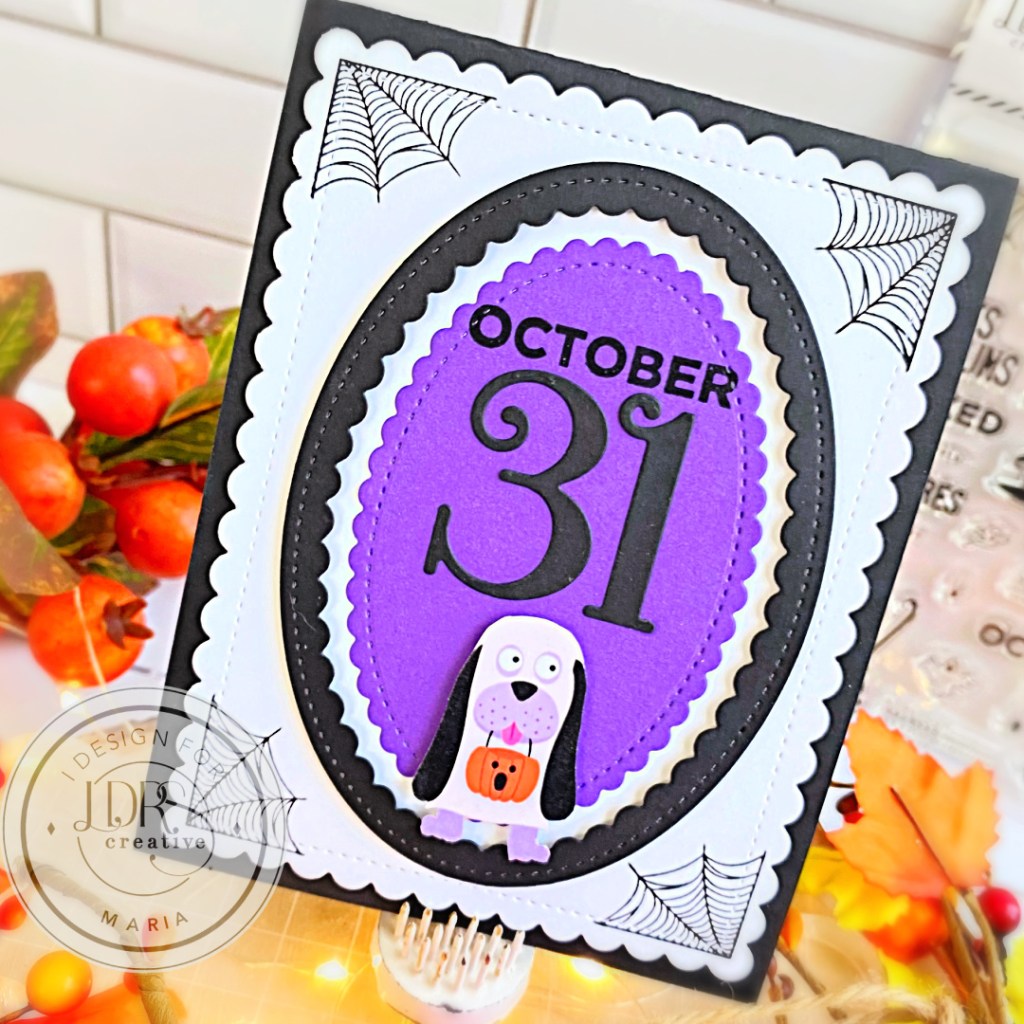
Lastly, I wanted to add this cute image of a dog trick-or-treating that I fussy-cut from the Trick or Treat Paper Pack. This was foam-mounted onto the card for added dimension. Here’s another look:

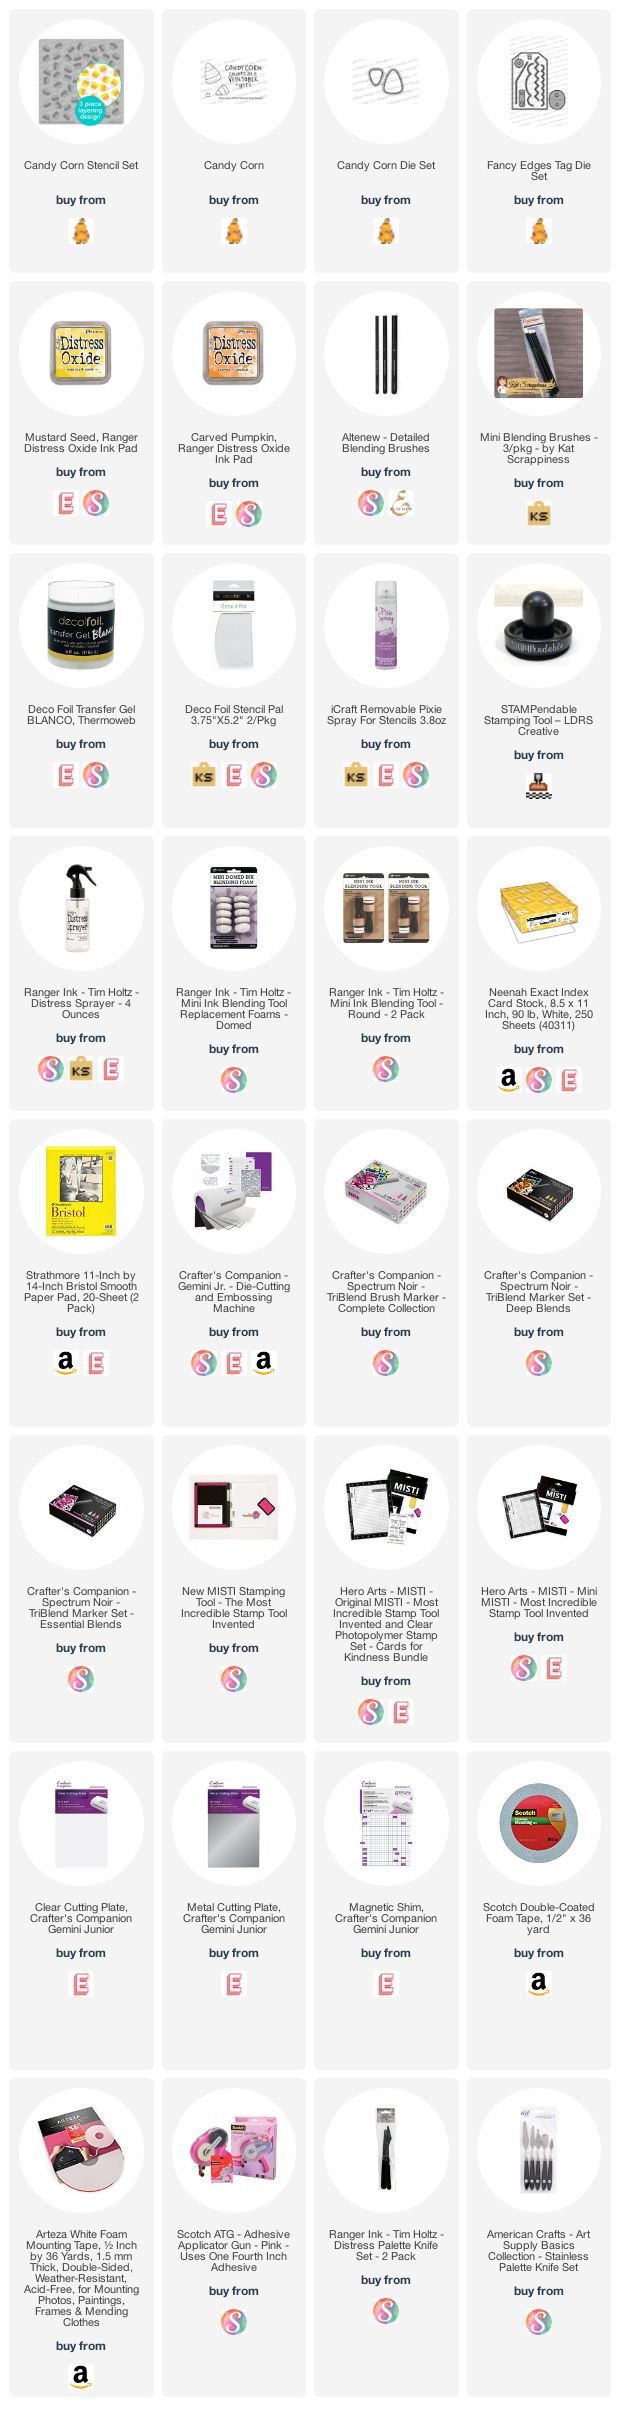
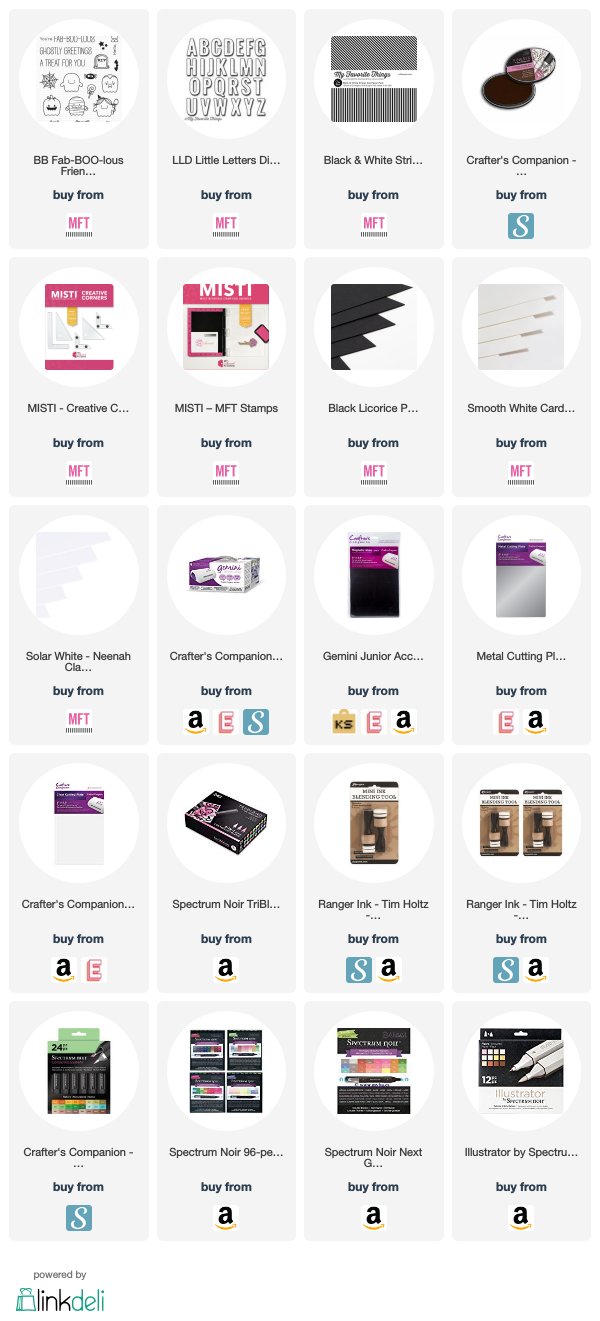
I hope you like this card and got inspired! The supplies I used are highlighted and linked within the context of this blog post. Thanks for stopping by and happy October!!!!