NND January Release Day 1 – Puppy Heart Stamp & Dies with 2 Paper Pads + Giveaway

Hello and Welcome to the Newton’s Nook January Release. I am so excited to show off the new products by Newton’s Nook Designs.  You also have a chance to win the stamp set being revealed each day so please read through til the end of the blog post to find out more info.  [Just a little important note:  I know some of you had difficulties finding the comments section.  If you would like to leave a comment to participate in the giveaway, the “comments section” will only be ever visible when a single post on Word Press is being viewed. Please click on this particular blog post and you will be able to leave a comment below.  Thank you!]  

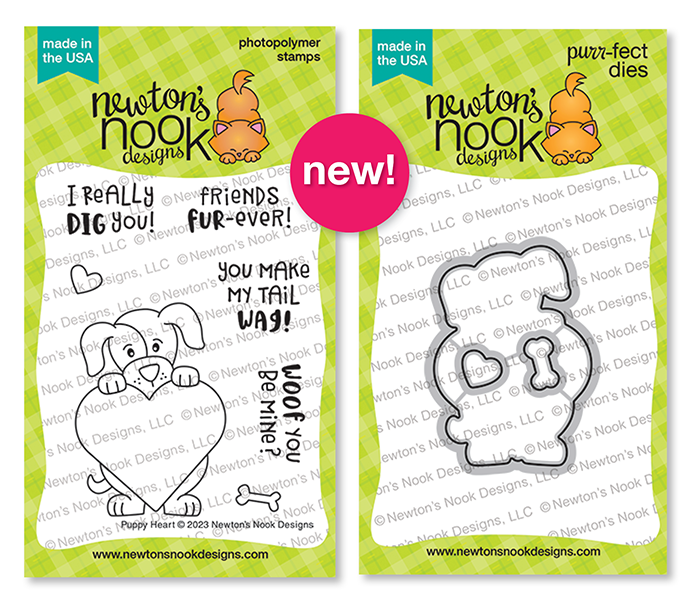
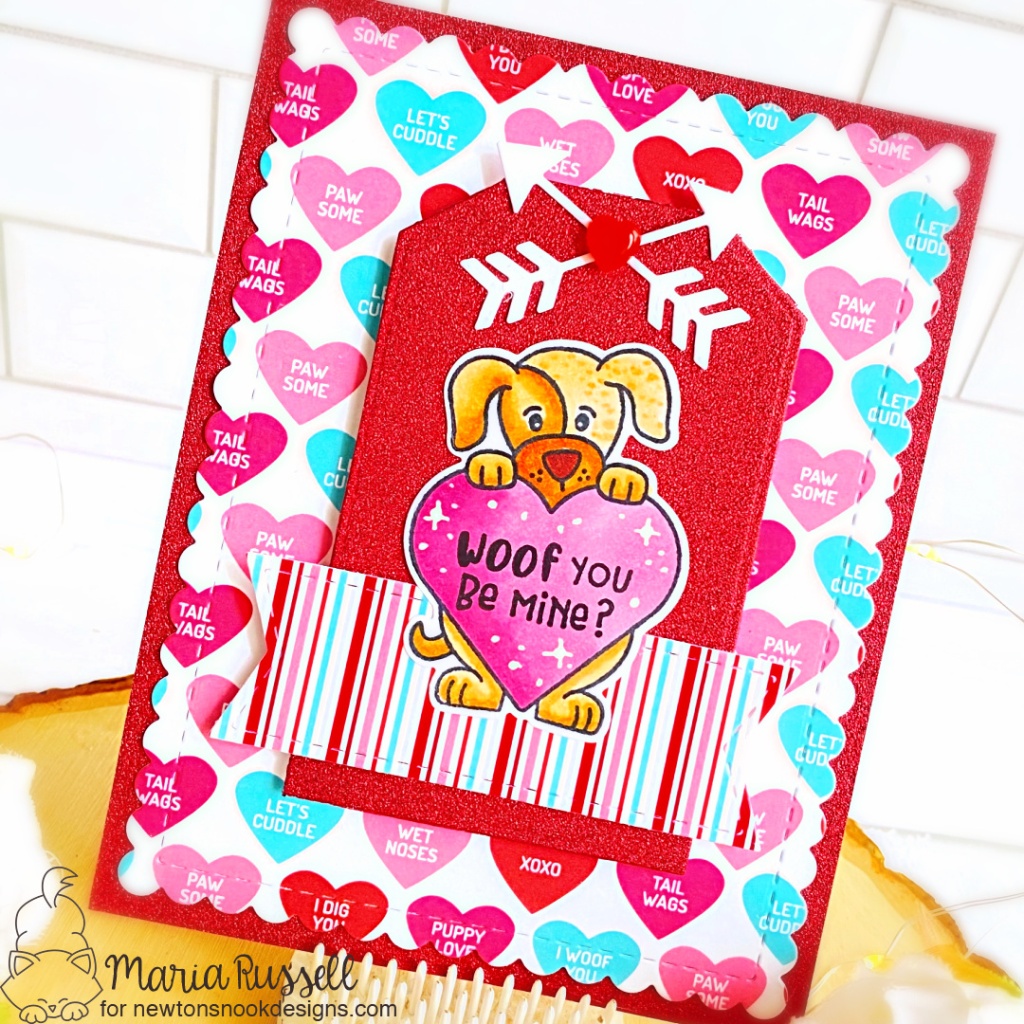
For Day 1 of the reveals, we are showcasing the Puppy Heart Stamp Set and coordinating dies, with the Love & Woofs Paper Pad and Love & Chocolate Paper pad. Incidentally, the Love & Chocolate Paper Pad will go perfectly well with the Love & Chocolate stamp set.
I started by stamping the image on some X-Press It Blending Card and colored the image in with alcohol markers. I used the coordinating die to cut it out. I also used the Frames & Flags Die Set to cut out the scallop frame and the stitched banner with the Love & Woofs Paper Pad and adhered the scallop panel on some red card base.

Next, I die-cut the red tag using the Fancy Edges Tag Die Set and foam-mounted this piece on the card for added dimension. I added the stitched banner and the focal image on the tag with liquid glue.
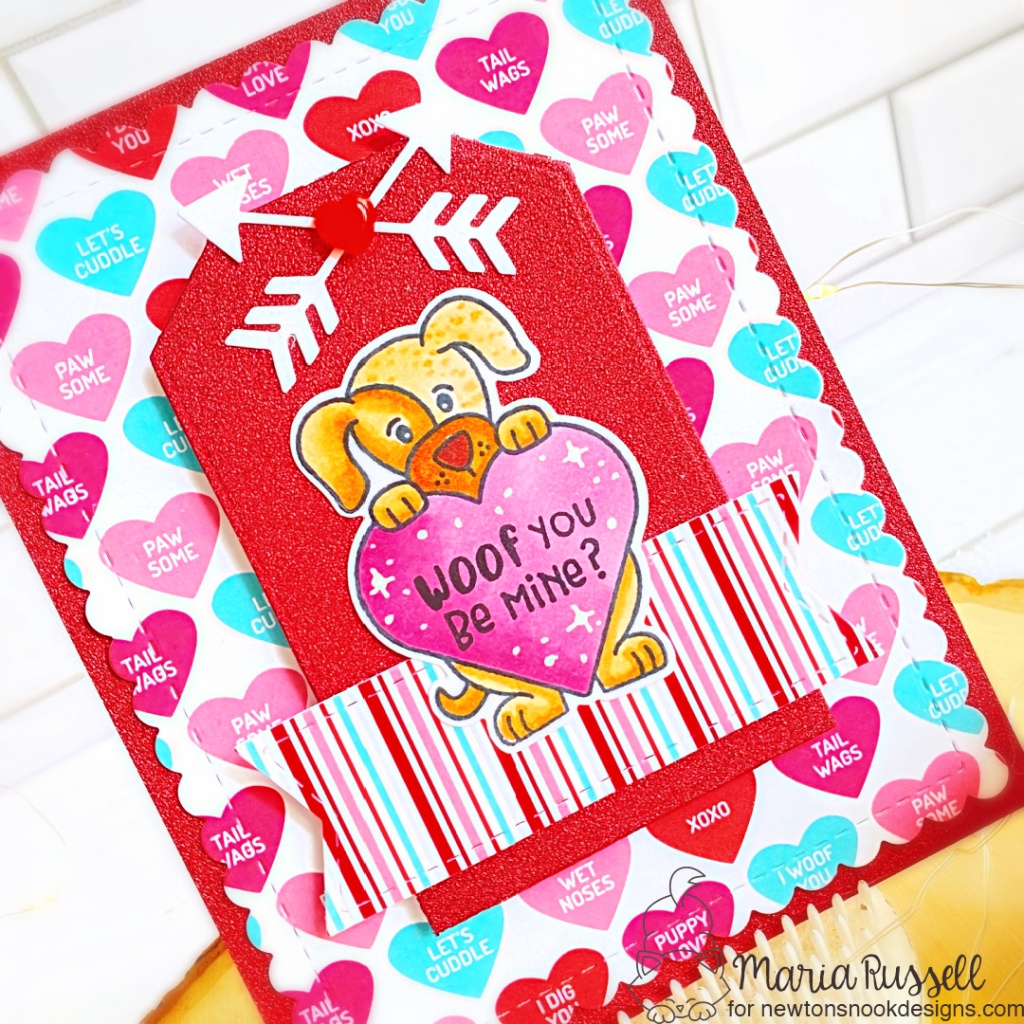
I finished the card design by stamping the sentiment and adding the die-cut arrows, as well as some red enamel heart. Here’s another look:
Would you like to win the “Puppy Heart” Stamp Set? This stamp set will be given away to ONE lucky winner!

Here’s how to win: Comment on the NND blog and Design Team blogs (see list below)! The winner will be chosen at random from the collective reveal posts. Make sure to check out each of their blogs and comment for your chance to win. You will not know which blog has been chosen so the more you comment on the better your chances are of winning! You have until Thursday January 19th at 9pm ET to comment  — winners will be announced on the blog post on Friday, January 20th.

Check out all the awesome Design Team Blogs below to enter:

Newton’s Nook Designs

Donna Idlet

Ellen Haxelmans

Tina Herbeck

Larissa Heskett

Samantha Mann

Zsofia Molnar

Maria Russell (you are here)

Farhana Sarker

Tatiana Trafimovich

Amanda Wilcox

——-SUPPLIES——–

Halloween Inspiration Week

This week Newton’s Nook Designs is getting ready for Halloween with a fun Inspiration week! All week the NND Design Team will be sharing inspiration using some of their favorite Halloween products to get you in the mood for tricks and treats! Check out what I created today and don’t forget to check the NND Blog each day this week.

For my project, I am showcasing the Witchy Newton Stamp Set + coordinating die, along with the Fancy Edges Tag Die Set and Halloween Trio Die Set.

Here’s how I made my project:

  • use the Fancy Edges Tag Die Set and die-cut the tag three times on some white, yellow and orange card stock. adhere them together with liquid glue.
  • die-cut the tag hole reinforcement on some black card stock and adhere to the tag.
  • stamp the image on some x-press it card stock and color the images in with alcohol markers.
  • use coordinating die to die-cut the image and adhere on the tag.
  • use black ribbon and some halloween-themed twine to finish the tag assemble.
  • die-cut the word Trick or Treat using the Halloween Trio Die Set on some purple card stock and adhere on the tag with liquid glue.
  • finish the tag by stamping the sentiment with some black dye ink.
  • adhere the tag on the treat box with double-sided adhesive.

Don’t forget to visit the Halloween Products Category at Newton’s Nook Designs and get your favorites for creating cute and spooky Halloween crafts! Check out all the design team’s inspiration this week on the Newton’s Nook’s Blog.

——-SUPPLIES——-

NND NOVEMBER Release Day 1 – TIME FOR COFFEE + coffee house stories paper pad

Hello and Welcome to the Newton’s Nook November Release. I am so excited to show off the new products by Newton’s Nook Designs.  You also have a chance to win the stamp set being revealed each day so please read through til the end of the blog post to find out more info.  [Just a little important note:  I know some of you had difficulties finding the comments section.  If you would like to leave a comment to participate in the giveaway, the “comments section” will only be ever visible when a single post on Word Press is being viewed. Please click on this particular blog post and you will be able to leave a comment below.  Thank you!]  

For the first day of the reveals, we are showcasing the Time For Coffee Stamp Set + Coordinating Dies with the Coffee House Stories 6×6 Paper Pad!

For my first project, I started by stamping the images from the Time for Coffee Stamp Set on some Espresso Car Stock with Versamark ink. I sprinkled some white embossing powder to this and used my heating tool to heat-set the images.

Next, I die-cut a circle scallop using a die from my collection on some Light Blue Card Stock. I also die-cut another circle on Neenah solar white which I ink-blended using Salvaged Patina Distress Oxide Ink. I adhered both pieces with liquid glue.

I stamped the image from the Newton Loves Coffee Stamp Set and colored the images in with Spectrum Noir Alcohol markers. I used the coordinating die to die-cut the image and adhered this image on the ink-blended circle panel.

Next, I cut abut 1 1/4 inches of patterned paper from the Coffee House Stories Paper pad and adhered a scalloped decorative edge on both sides for added texture and interest. I adhered this on the dark brown panel that was previously heat-embossed and added on an A2-size notecard.

I finished the design by foam-mounting my focal panel on t he card for added dimension, and stamped the sentiment using Versafine Clair Nocturne ink. This is my go-to ink for stamping sentiments on white card stock.

The next project is really simple. To create the tag, I used the Fancy Edges Tag Die-set and die-cut some patterned paper from the Coffee House Stories 6×6 paper pad. I also used the same die on Espresso and Mint Green Card Stock. I adhered them all together to create the beautiful tags. This is honestly one of my favorite tag die-set ever!

Next, I stamped the images from Newton Loves Coffee Stamp Set and colored the images in with my alcohol markers. I used the coordinating die to cut them out and foam-mounted to the tags for added dimension.

I finished the tags by adding the sentiment and the holly with a matching red ribbon and gold twine for that festive touch. Here’s a closer look:

Would you like to win the “Time for Coffee” Stamp Set?  This stamp set will be given away to ONE lucky winner!

Here’s how to win: Comment on the NND blog and Design Team blogs (see list below)! The winner will be chosen at random from the collective reveal posts. Make sure to check out each of their blogs and comment for your chance to win. You will not know which blog has been chosen so the more you comment on the better your chances are of winning! You have until Wednesday November 17th at 9pm ET to comment  — winners will be announced on the blog post on Thursday, November 18th. 

Check out all the awesome Design Team Blogs below to enter:

Newton’s Nook Designs

Ellen Haxelmans

Tina Herbeck

Larissa Heskett

Samantha Mann

Zsofia Molnar

Maria Russell (you are here)

Farhana Sarker

Tatiana Trafimovich

Samantha VanArnhem

Amanda Wilcox

———–SUPPLIES———

Newton’s Nook Designs Halloween Inspiration Week

Hello and welcome back! I hope everyone’s doing well today! As we bid summer farewell, what could be more fitting than to start your week and get excited for Halloween!

This week, Newton’s Nook Designs is getting ready for Halloween with a fun Inspiration week! All week long, the NND Design Team will be sharing inspiration using some of our favorite Halloween products to get you in the mood for tricks and treats! Check out what I created today and don’t forget to check the NND Blog each day this week for more fun inspiration!

Last week, I shared this cute “Candy Corn” Halloween tag on my blog and my friend liked it so much that I had to re-create it this week. I am featuring the Fancy Edges Tag Die Set with the Trick or Treat Kittens stamp set and coordinating dies.

Before I start with the tag, I wanted to create this cute Witch’s Broom Pen to go with the treat! If you look closer, you will see the red glowing eyes that gives it a spooky effect! I thought this is really cute and will be a nice addition to the treat.

I cut a strip of baking paper. I used my specialty scissors to create the fringe and wrapped it around the bottom of the pen. I adhered the fringe with hot glue so it wouldn’t come off. I added a black bow at the bottom to finish the look. This pen can actually stand up on it’s own!

Next, I filled a small bag with some of my friend’s favorite candy bars and closed the top with some black curling ribbons. Last thing to do is to add a tag!

Step-by-Step Instructions for the Tag:

  • Stamp the image using the Trick or Treat Kitten Stamp set on Bristol smooth white card stock and color the images in with Zig Clean Color real Brush Markers.
  • Use coordinating die to die-cut the image.
  • Create the Candy Corn Tag by die-cutting white, orange, yellow and black card stock using the Fancy Edges Tag Die Set. Adhere all pieces together with liquid glue.
  • Stamp the sentiment on the tag with Black Onyx ink.
  • Adhere the image on the tag with foam adhesive for added dimension.
  • Attach the tag to the treat bag with some baker’s twine.

My friend and I love Halloween so much! Not only will she love the treats inside this treat bag but I’m sure she is also going to love the Witch’s Broom Pen. It can stand up and the eyes glow in the dark! Check out the photo below!

I hope you like my project today and got inspired! The supplies I used are listed and linked below. Don’t forget to visit the Halloween Products Category at Newton’s Nook Designs and get your favorites for creating some cute and spooky Halloween crafts!

——-SUPPLIES——

It’s All About Candy Corn with Newton’s Nook Designs

Hello and welcome back! I am so glad you joined me today!

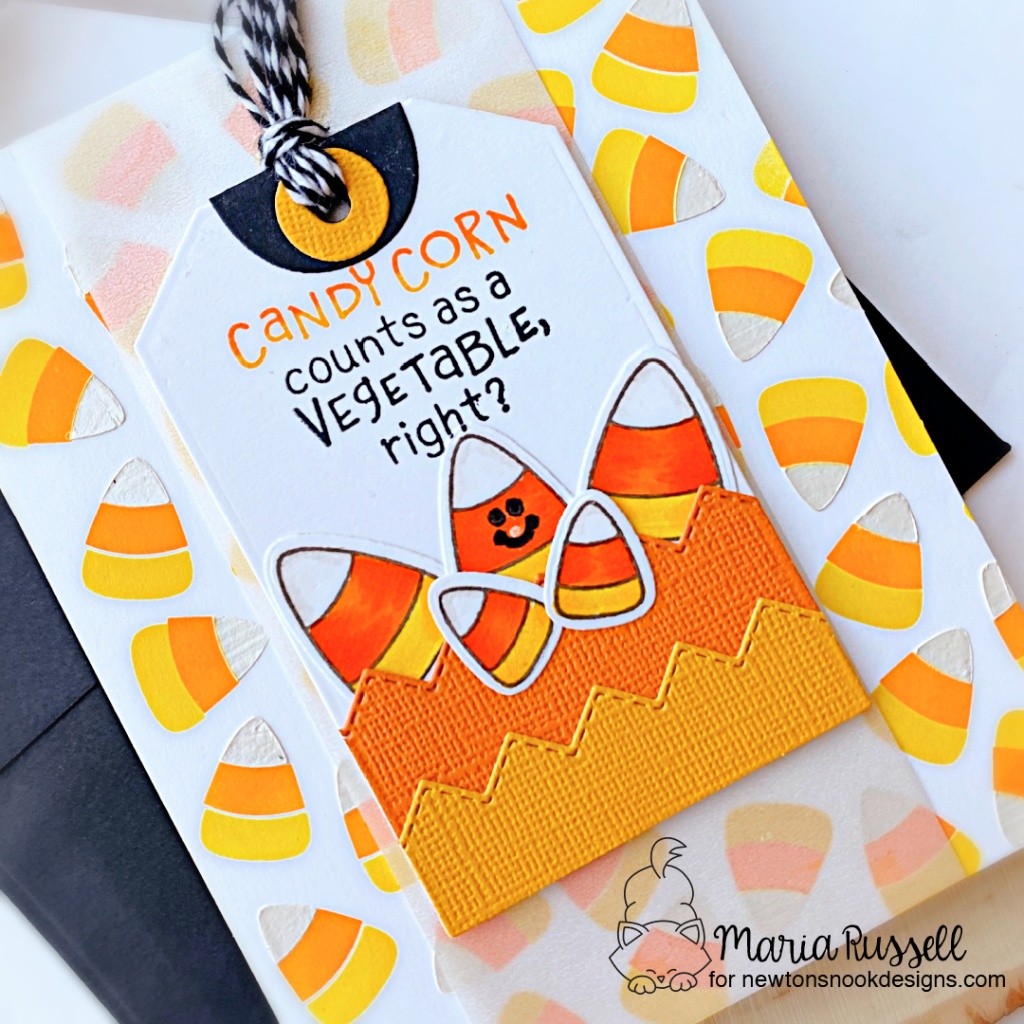
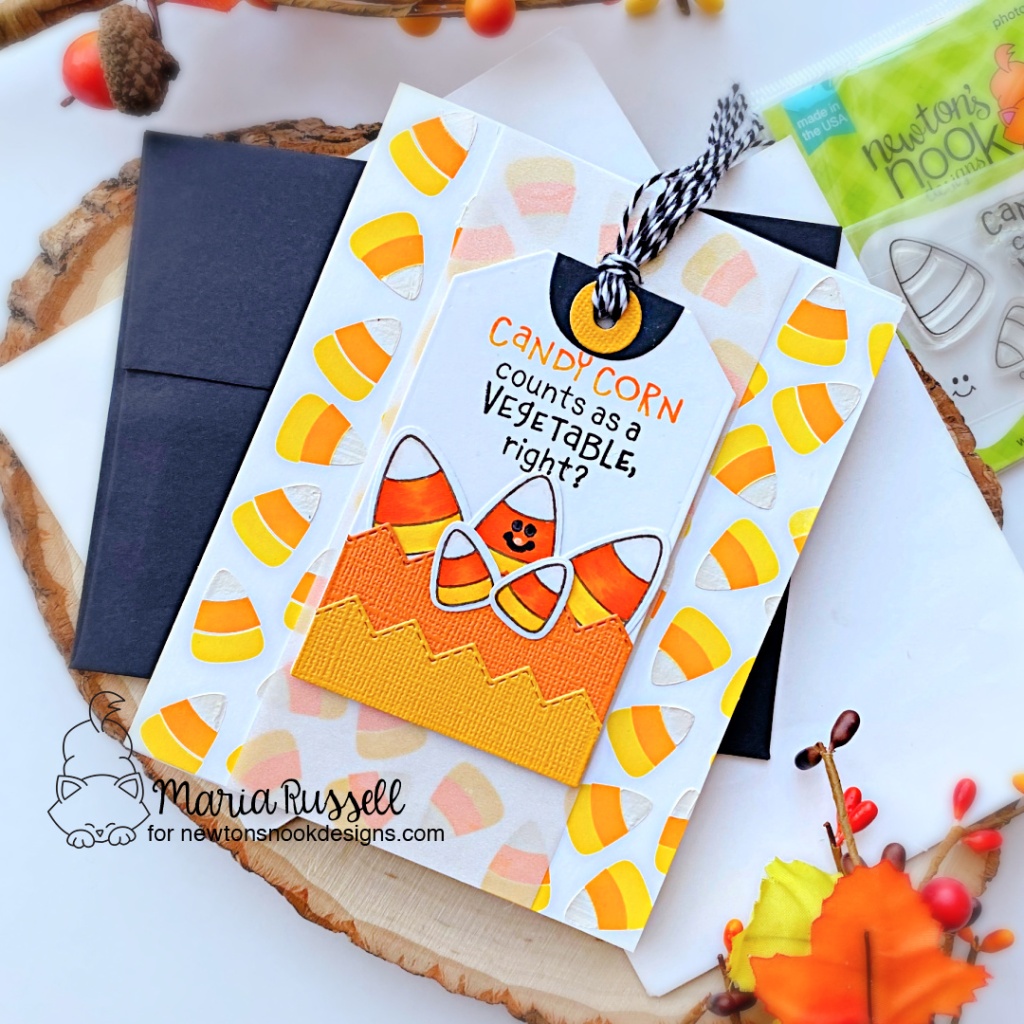
Today is all about Candy Corns! As soon as I saw this stencil set from the August release, this card idea already popped in my head. Isn’t is strange that you sometimes get ideas right away?! Most of the times, I have to look at my previous card designs to get some inspiration (or if I’m feeling more adventurous, I’d look at Pinterest).

For my project, I am showcasing the Candy Corn 6×6 Stencil Set, along with the Candy Corn Stamp Set and Dies with the Fancy Edges Tag Die Set.

Step by Step Instruction:

  • Use Pixie Spray to temporarily adhere Candy Corn Stencil # 1 on some Neenah Solar White card stock.
  • Use some detailed blending brushes with Mustard Seed Distress Oxide Ink and blend until you get a nice vibrant color. Let this dry for a few minutes.
  • Repeat process and use Candy Corn Stencil #2 using Carved Pumpkin Distress Oxide Ink.
  • Repeat the process above but this time, use Deco Foil Transfer Gel Blanco to make it stand out. Smooth the gel out by using the Stencil Pal. Let this dry for about half an hour.
  • Stamp images on some Neenah solar white card stock and color the images in with alcohol markers.
  • Die-cut the images with Candy Corn coordinating die.
  • Cut some vellum measuring 2 1/2 by 5 1/2 and adhere to the card background with tape runner. Designer note: make sure you hide the adhesive so that it doesn’t show up.
  • Adhere this background on an A2-size notecard.
  • Die-cut some white, yellow, orange and black card stock using the Fancy Edges Tag Die Set (a must-have for any paper crafter since there are so many possibilities using this set). Adhere with liquid glue.
  • Use some black and white Baker’s Twine and add to the tag.
  • Add some foam-tape to the back of the tag and adhere on the card.
  • Adhere the Candy Corn images with liquid glue.
  • Finish the design by stamping the sentiment using yellow, orange and black ink.

It always puts me in a great mood when I see bags of candy corn at the grocery store. It just reminds me of all the great holidays coming up, especially HALLOWEEN (my favorite holiday)!

I hope you enjoyed this inspiration today. The supplies I used are listed and linked below. Thank you again for joining me, and happy crafting!

——–SUPPLIES———