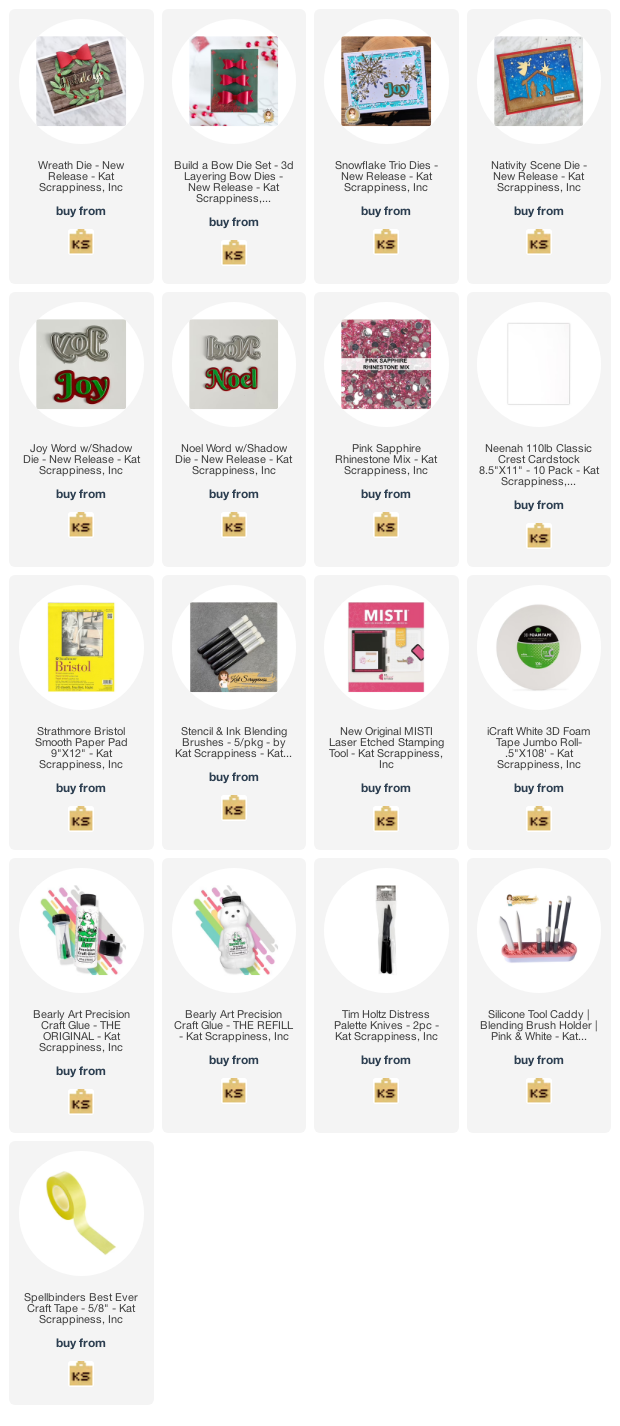
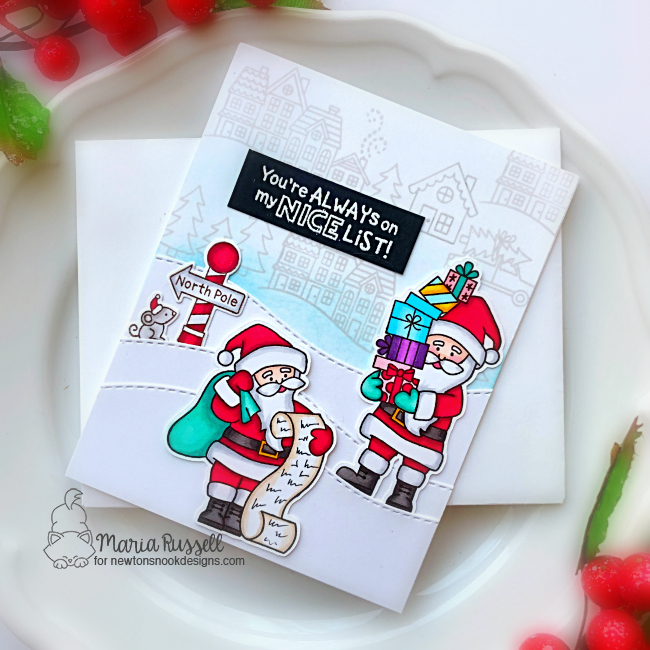
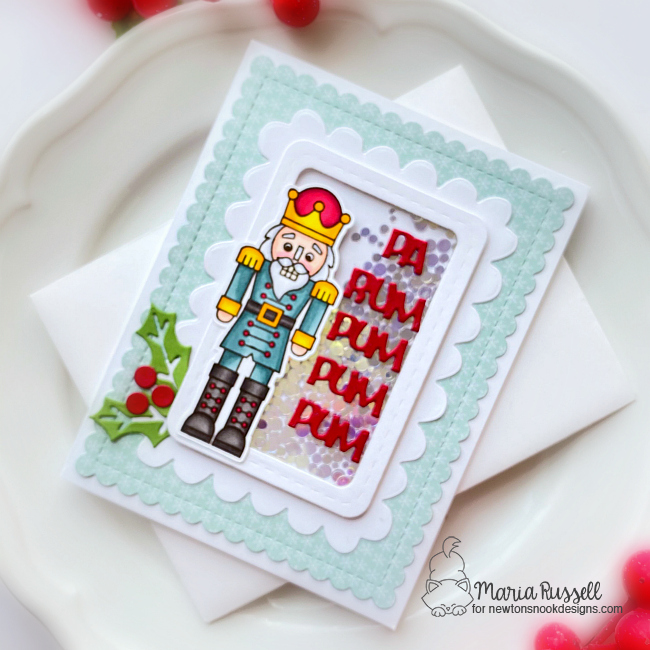
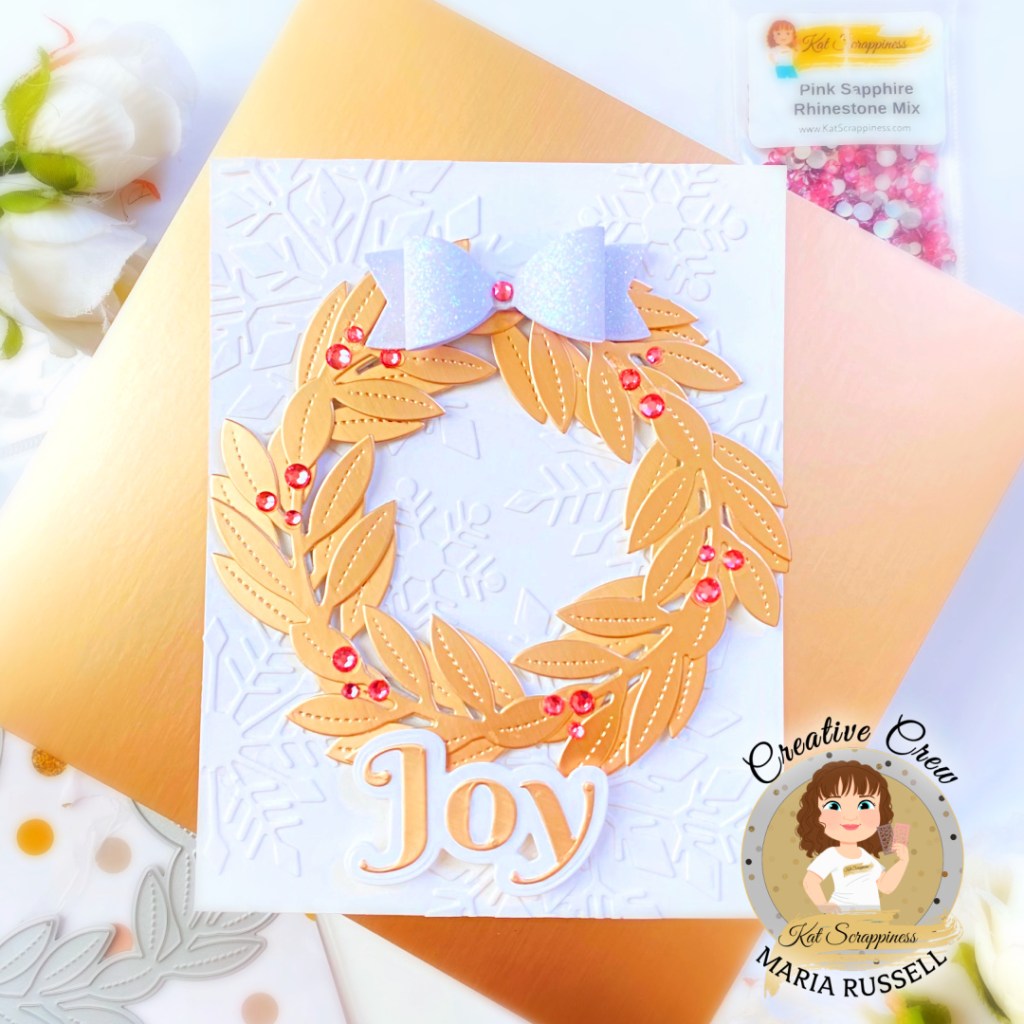
Happy weekend! There’s a new release by Kat Scrappiness, Inc. and it is full of holiday cheer! I honestly cannot even choose a favorite! For my samples today, I am featuring the Wreath Die, Build A Bow Dies, Snowflake Trio Dies, Pink Sapphire Rhinestone Mix along with the Joy Word Die with Shadow, Nativity Scene Backdrop Die and Noel Word Die with Shadow.
Here’s how I made this card:
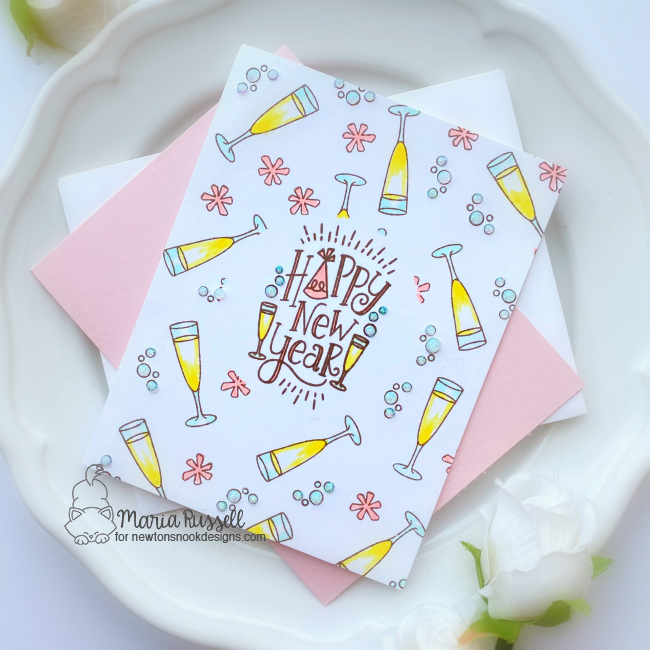
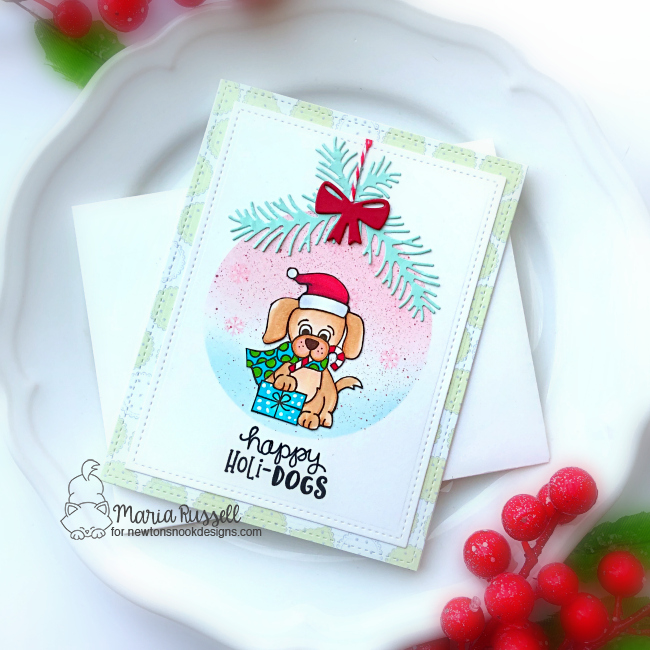
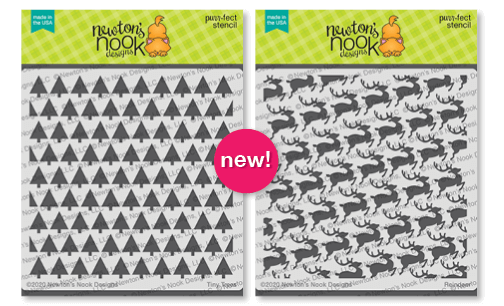
- create the background panel by die-cutting some Snowflakes using the Snowflake Trio Dies, and adhering on some A2-size panel. Adhere the snowflakes randomly and add this panel on some A2-size notecard. [Designer’s tip: adhering the snowflakes on the background added some subtle texture and interest to the card without overwhelming the whole design].
- die-cut the Wreath Die twice using some rose gold card stock. Adhere on the card panel with foam-adhesive for added dimension.
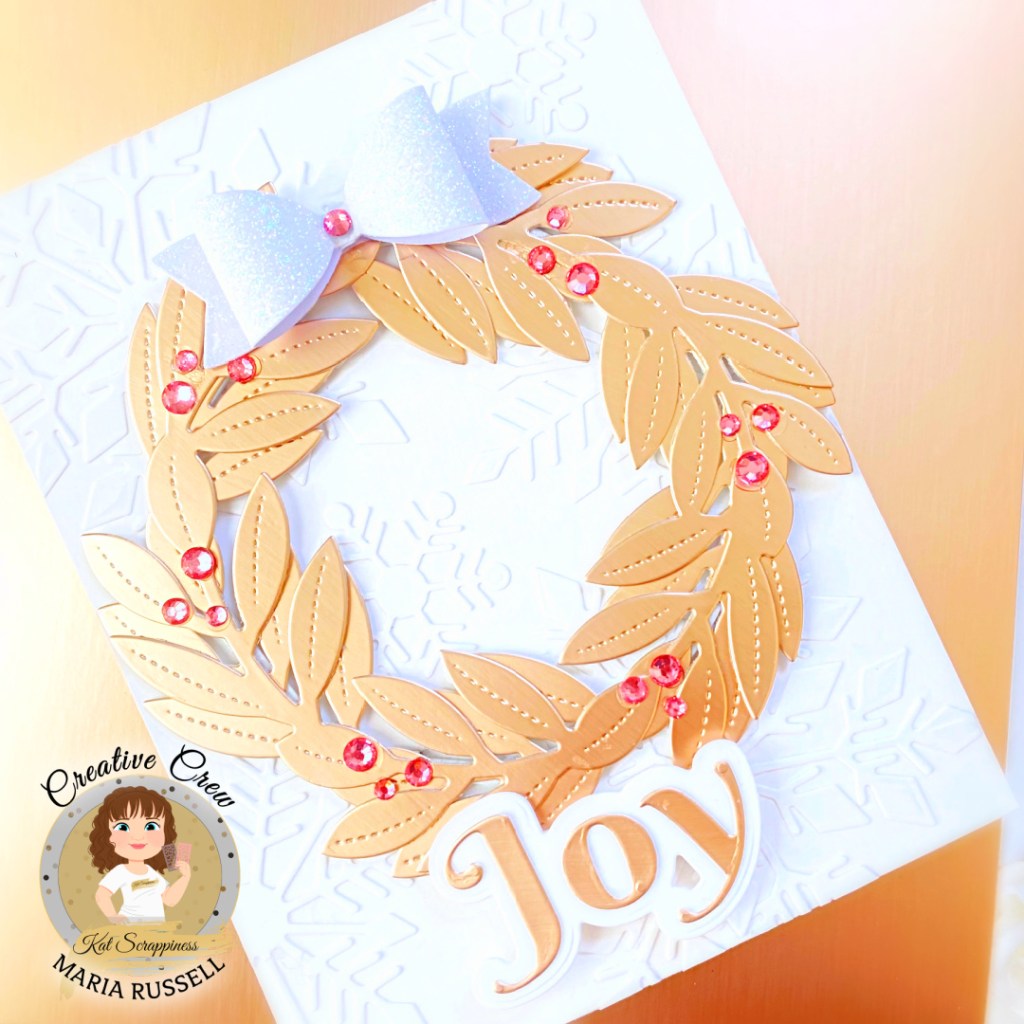
- die-cut the Joy Word Die with Shadow also with the rose gold card stock and some Neenah solar white card stock. Adhere on the card with foam adhesive.
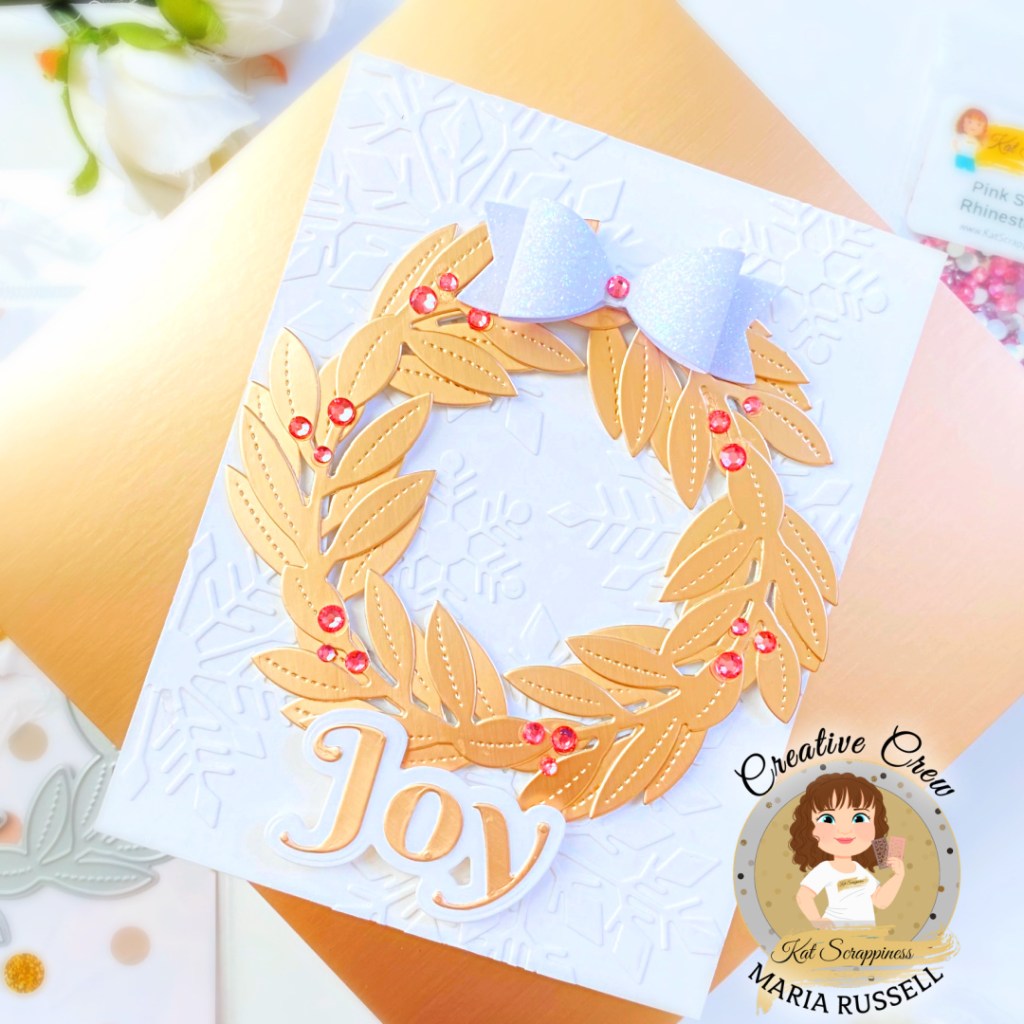
- add some Pink Sapphire Rhinestone Mix with liquid glue.
- finish the card design by die-cutting the Build A Bow Dies on some white glitter card stock and adhere on the card with foam adhesive to make everything look cohesive.
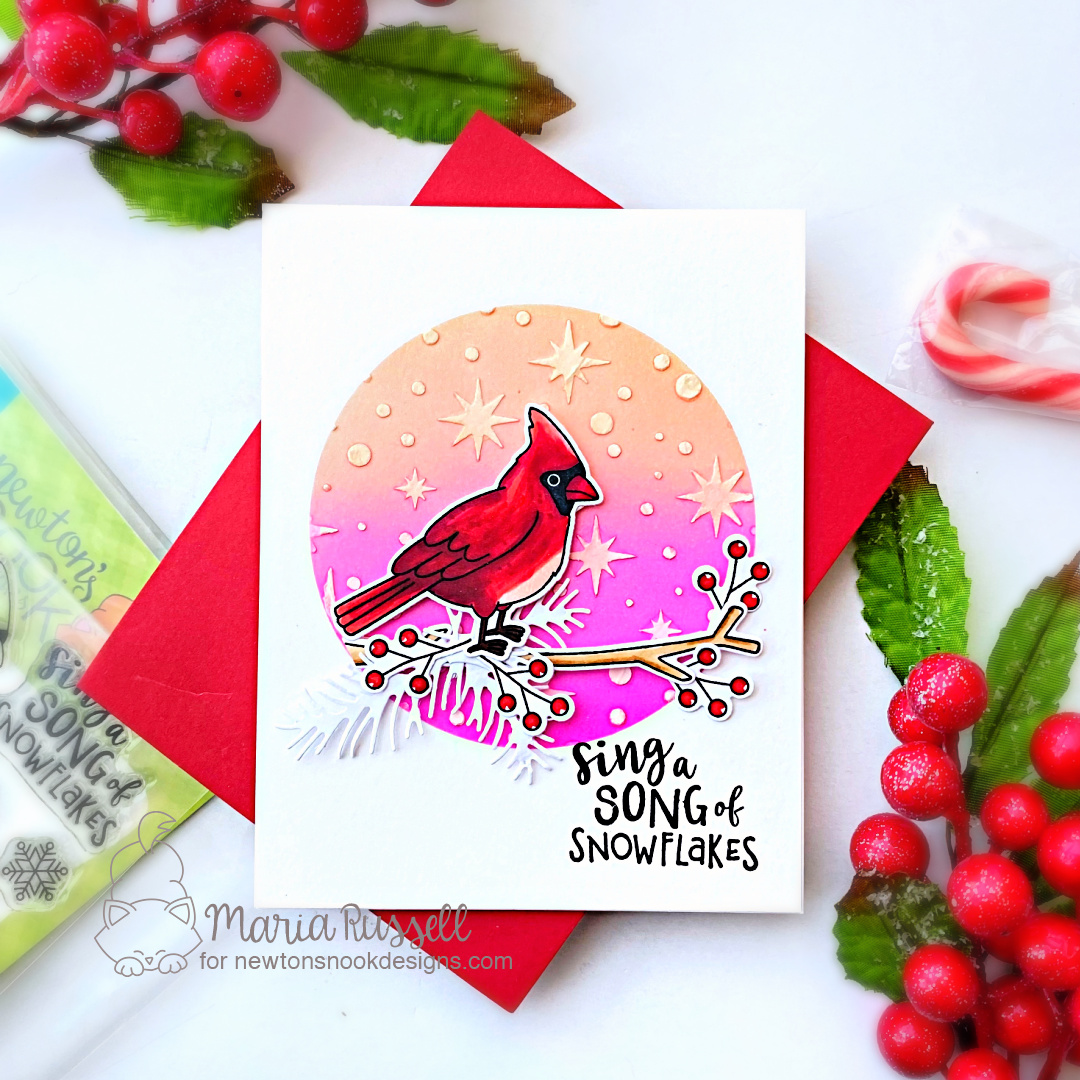
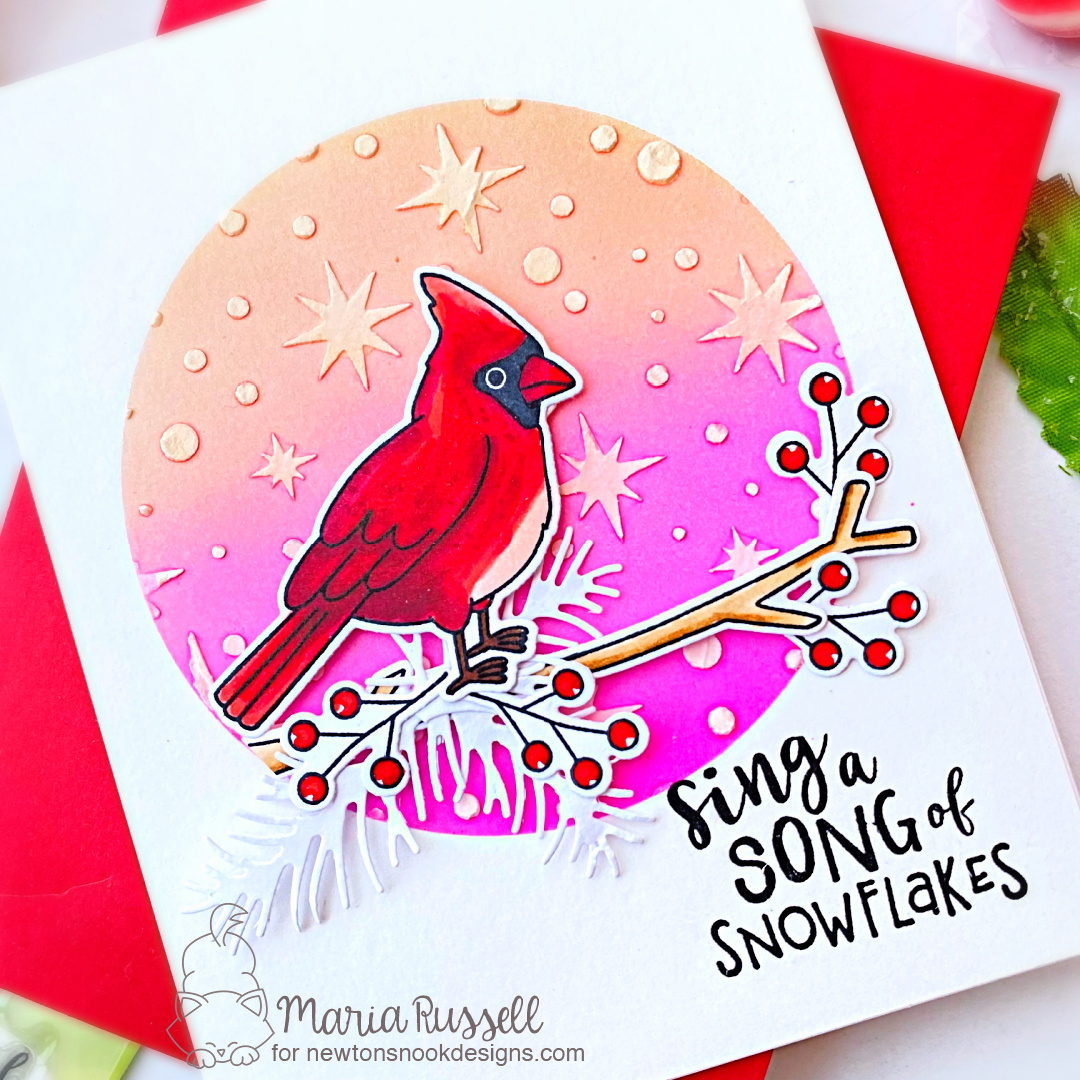
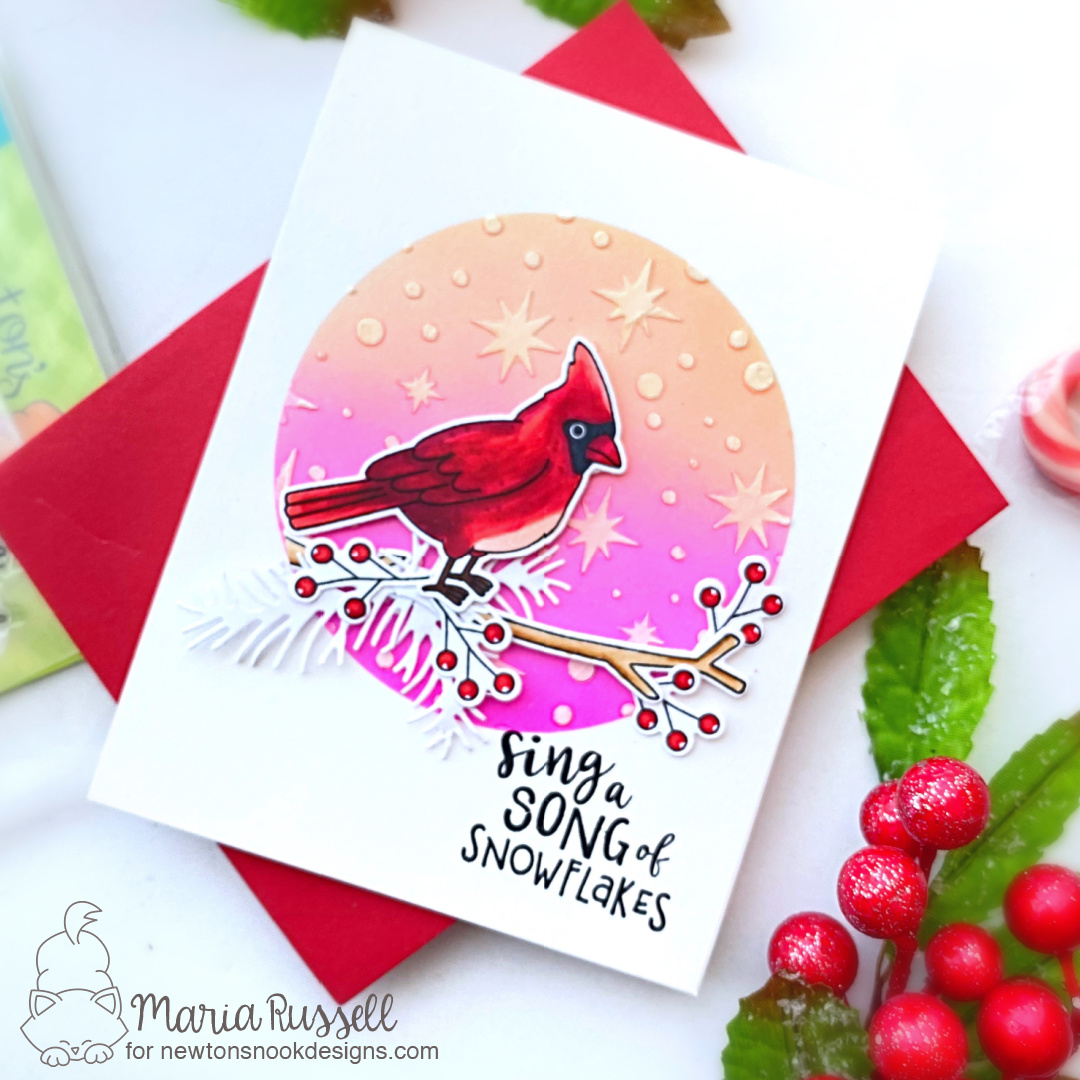
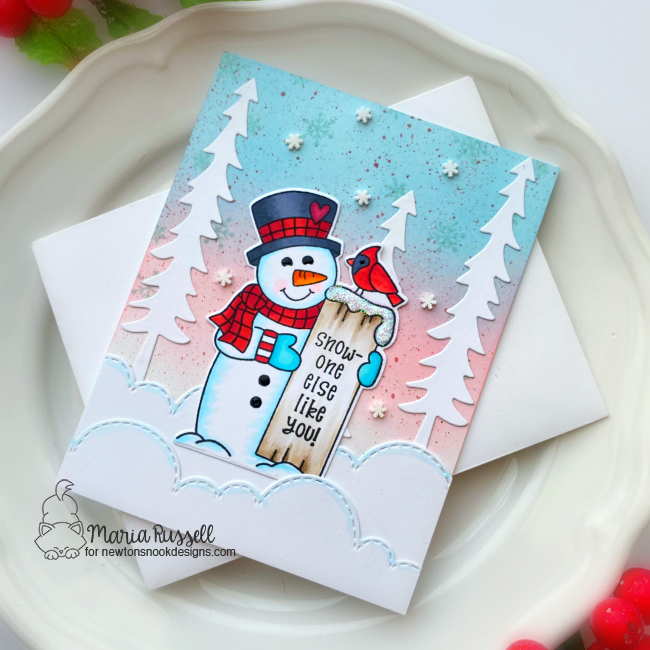
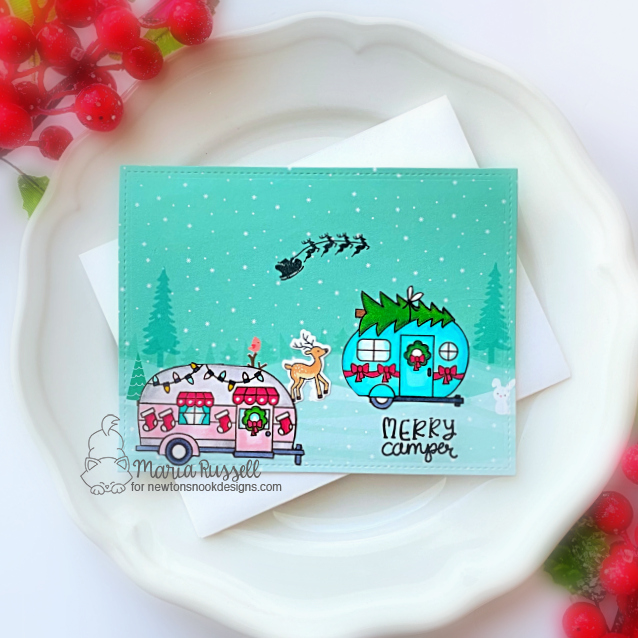
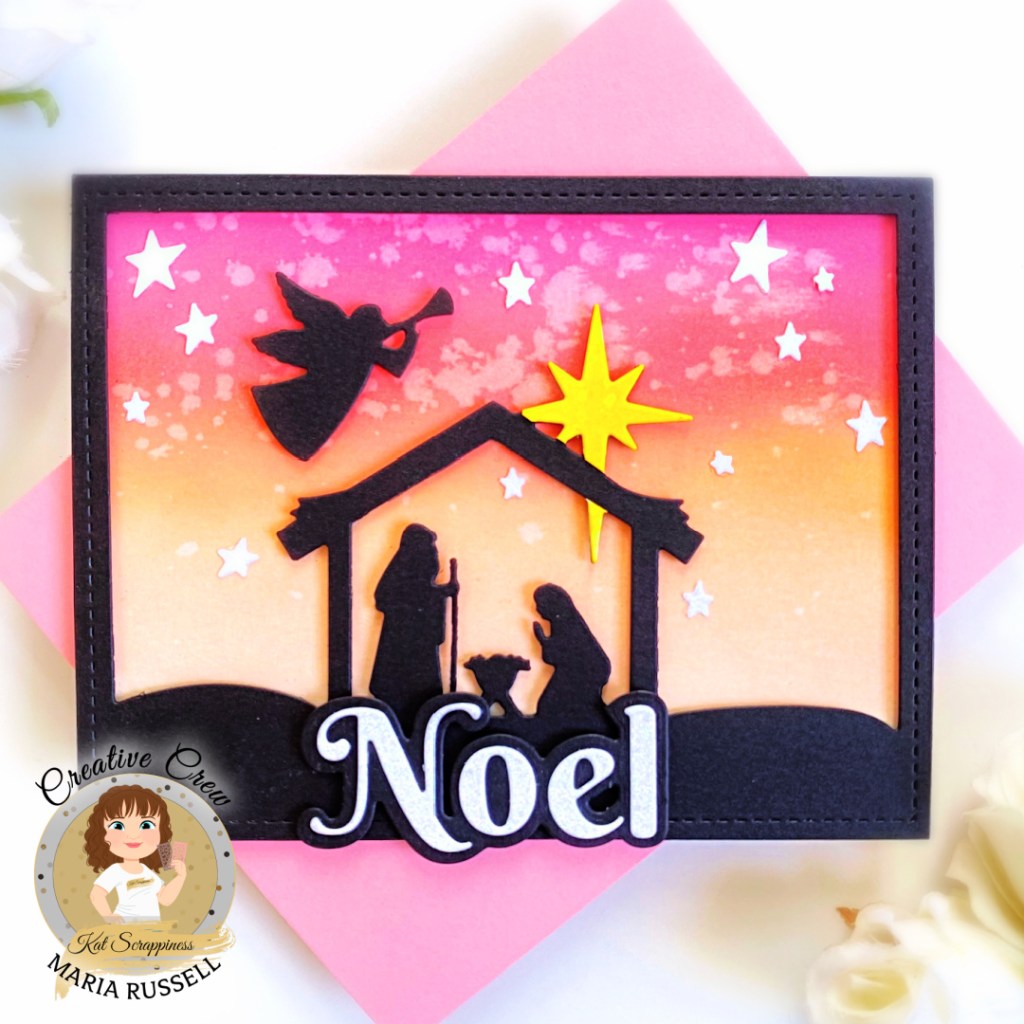
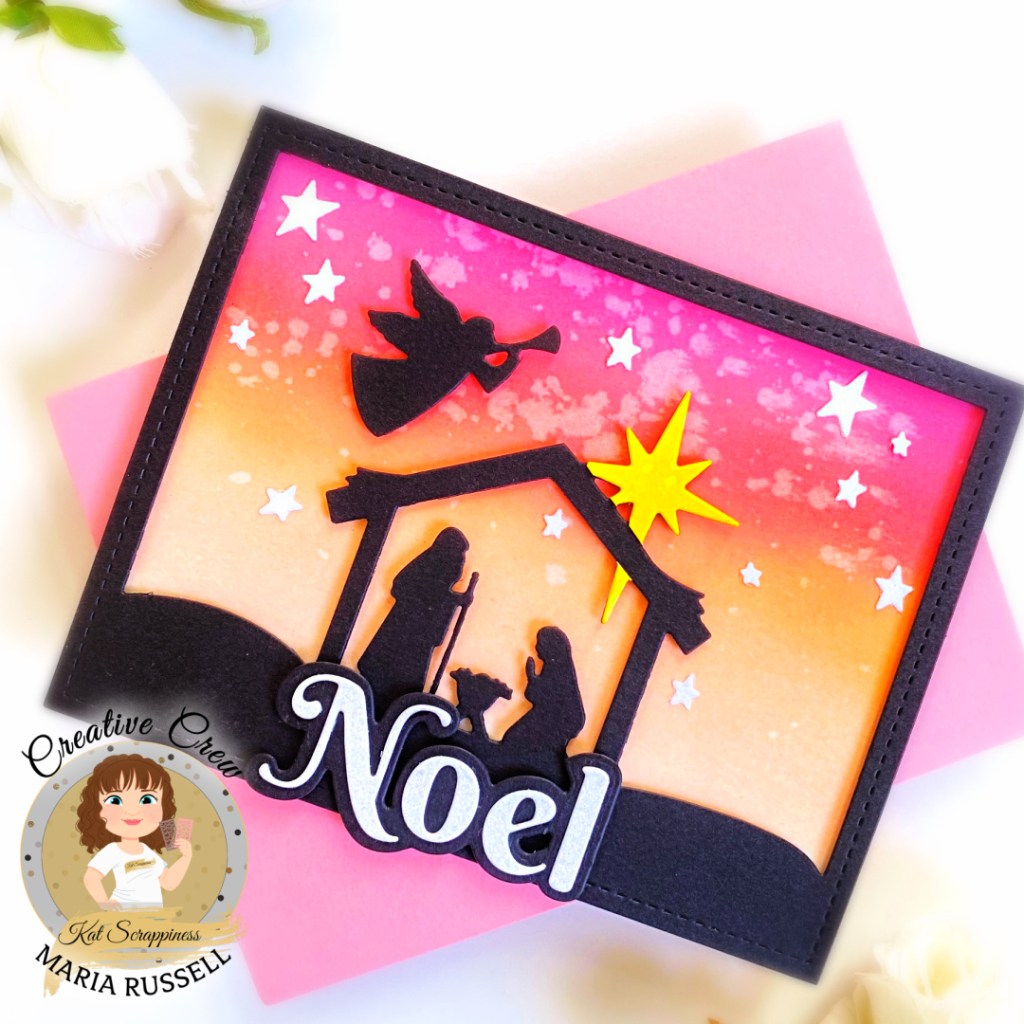
The next card is quite simple as well but I really LOVE the way this one turned out!
Here’s how to make this:
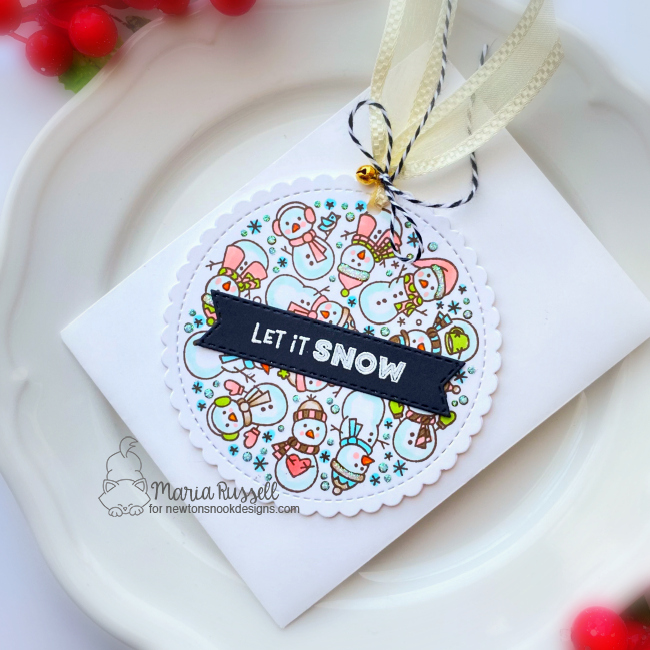
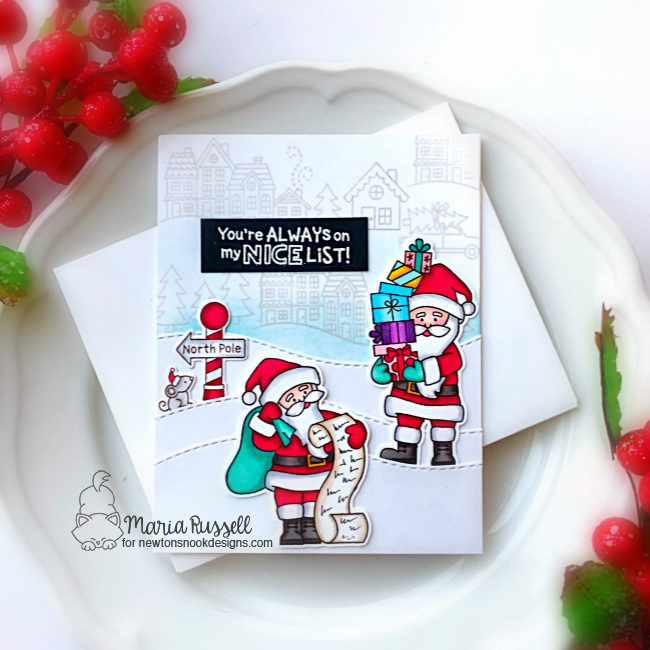
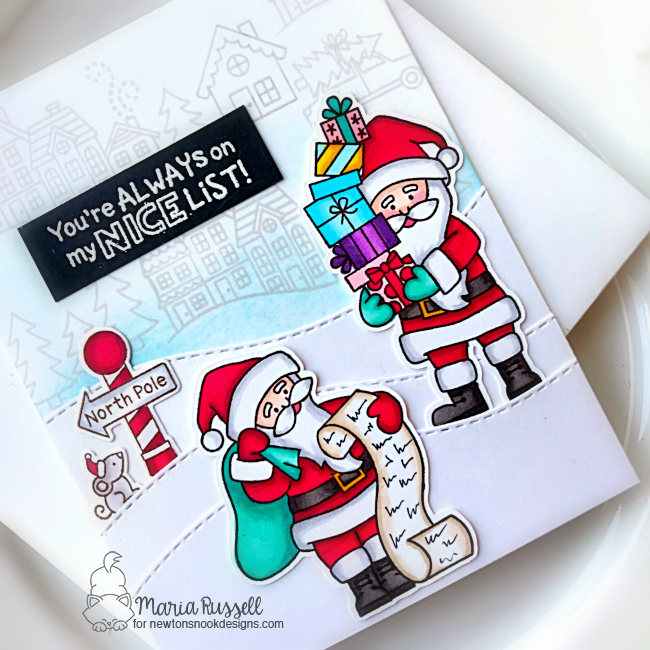
- die-cut the Nativity Scene Backdrop Die on some black card stock, securing the die by using Repositionable Tape so they don’t shift while die-cutting. In case you’re wondering, I use the Sizzix Big Shot Machine with Cutting Plates plus Magic Mat by Scrapbook.Com. [The Magic Mat is a self-healing mat and you can use it for a long time without having to buy new plates].
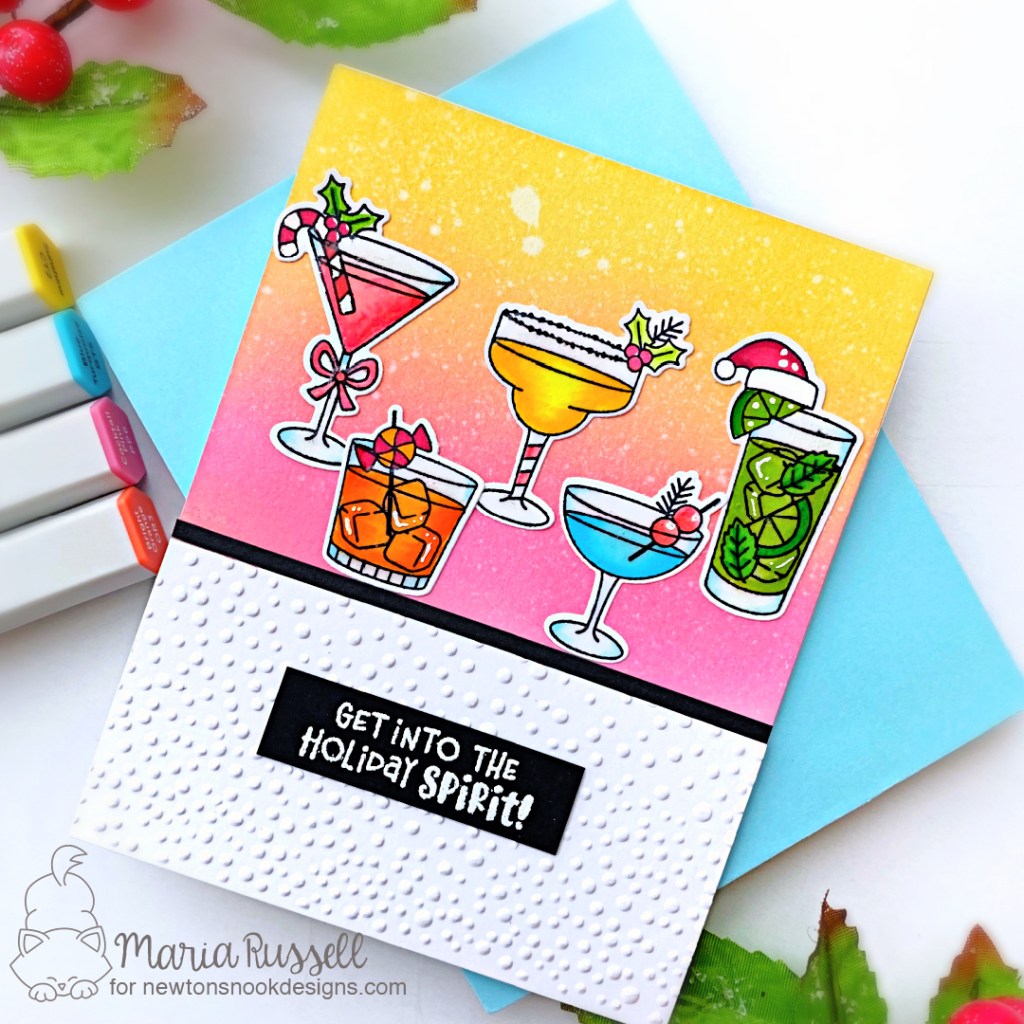
- prepare the background panel by ink-blending some Bristol Smooth White Card Stock. For a sunset effect, I used Picked Raspberry, Ripe Persimmon, Dried Marigold and Tattered Rose Distress Oxide inks.
- adhere the background panel with foam adhesive for added dimension.
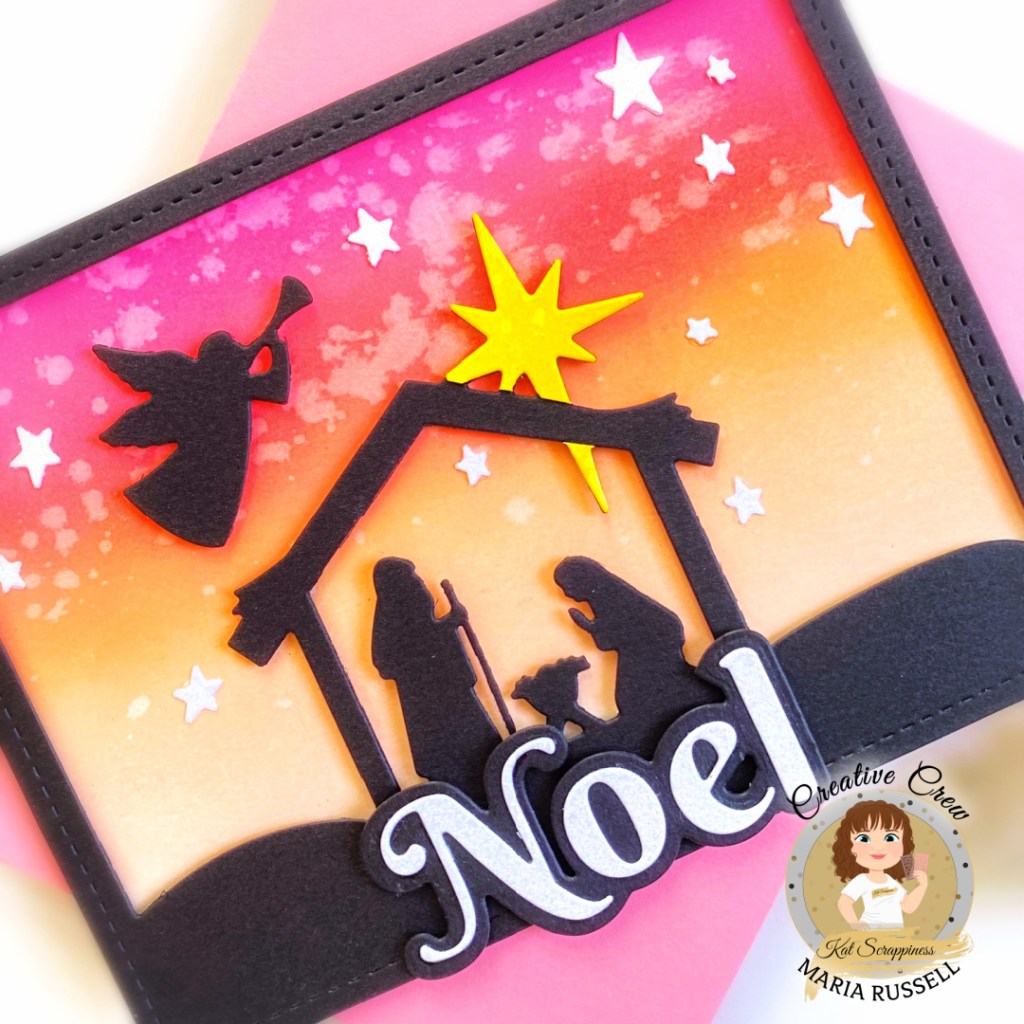
- use the same Nativity Scene Backdrop Die and die-cut the star with some yellow card stock. Adhere the star with Smart Craft Glue.
- die-cut the sentiment using the Noel Word Die with Shadow on some black and white glitter card stock and adhere on the card front with foam adhesive.
- finish the card design by adhering some stars to the panel.
I hope you like these cards today and got inspired. Below, you will find links to the supplies used to create these projects. Where available, I use compensated affiliate links at no extra cost to you. Your support helps me to keep bringing you new projects and inspiration. Thank you for stopping by, and have an amazing day!
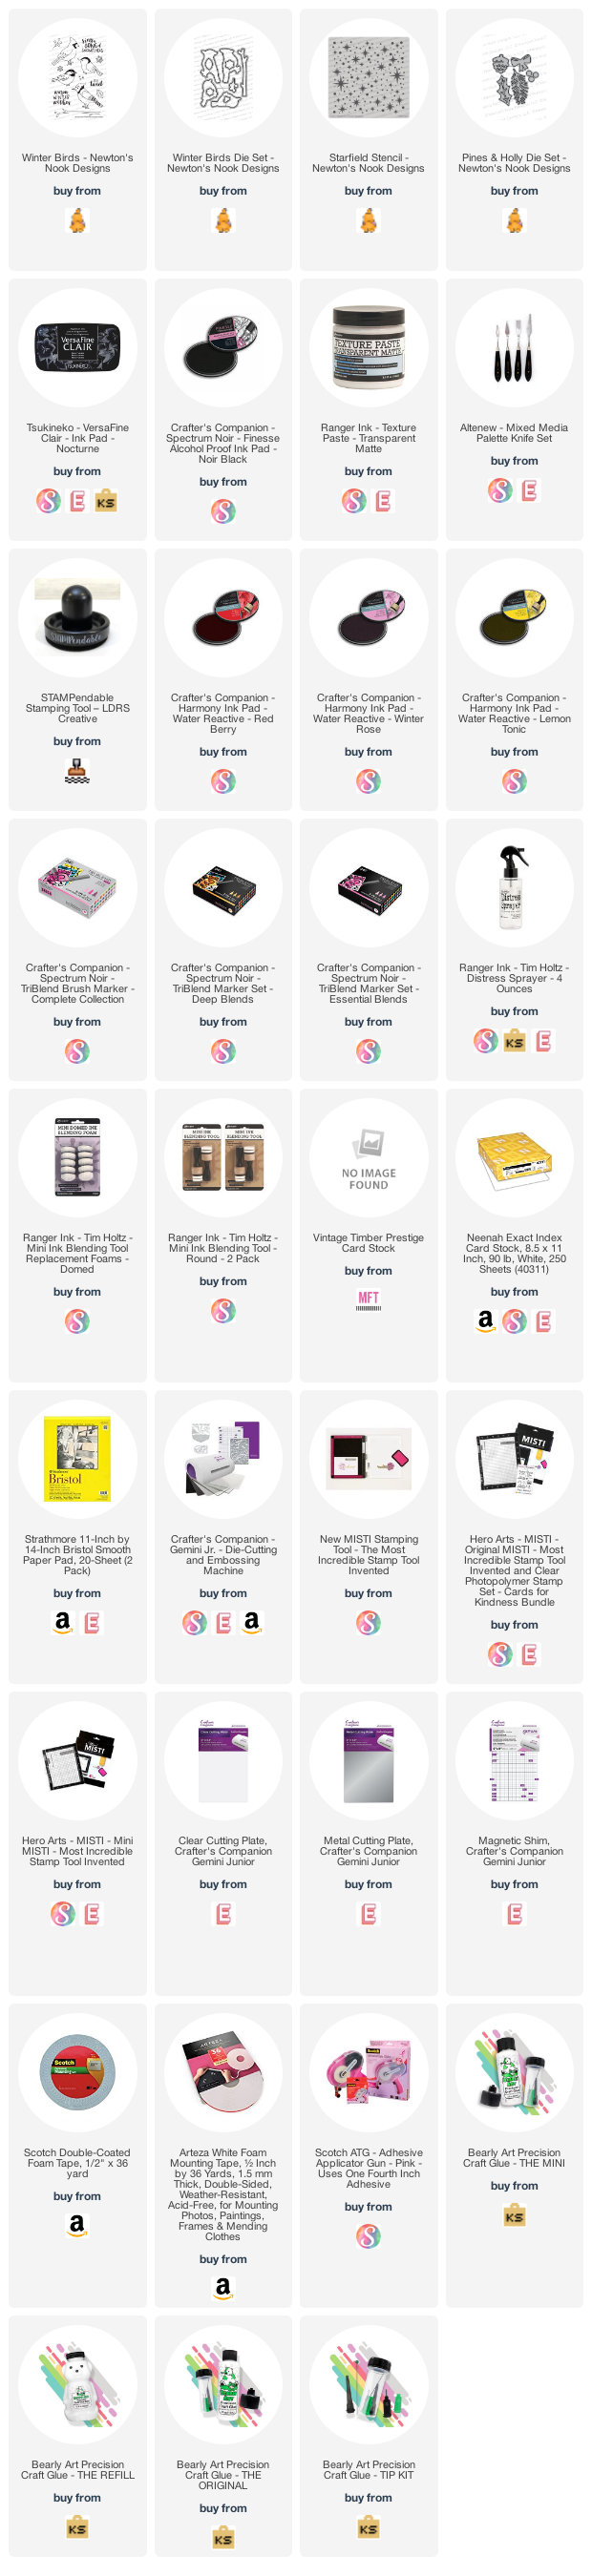
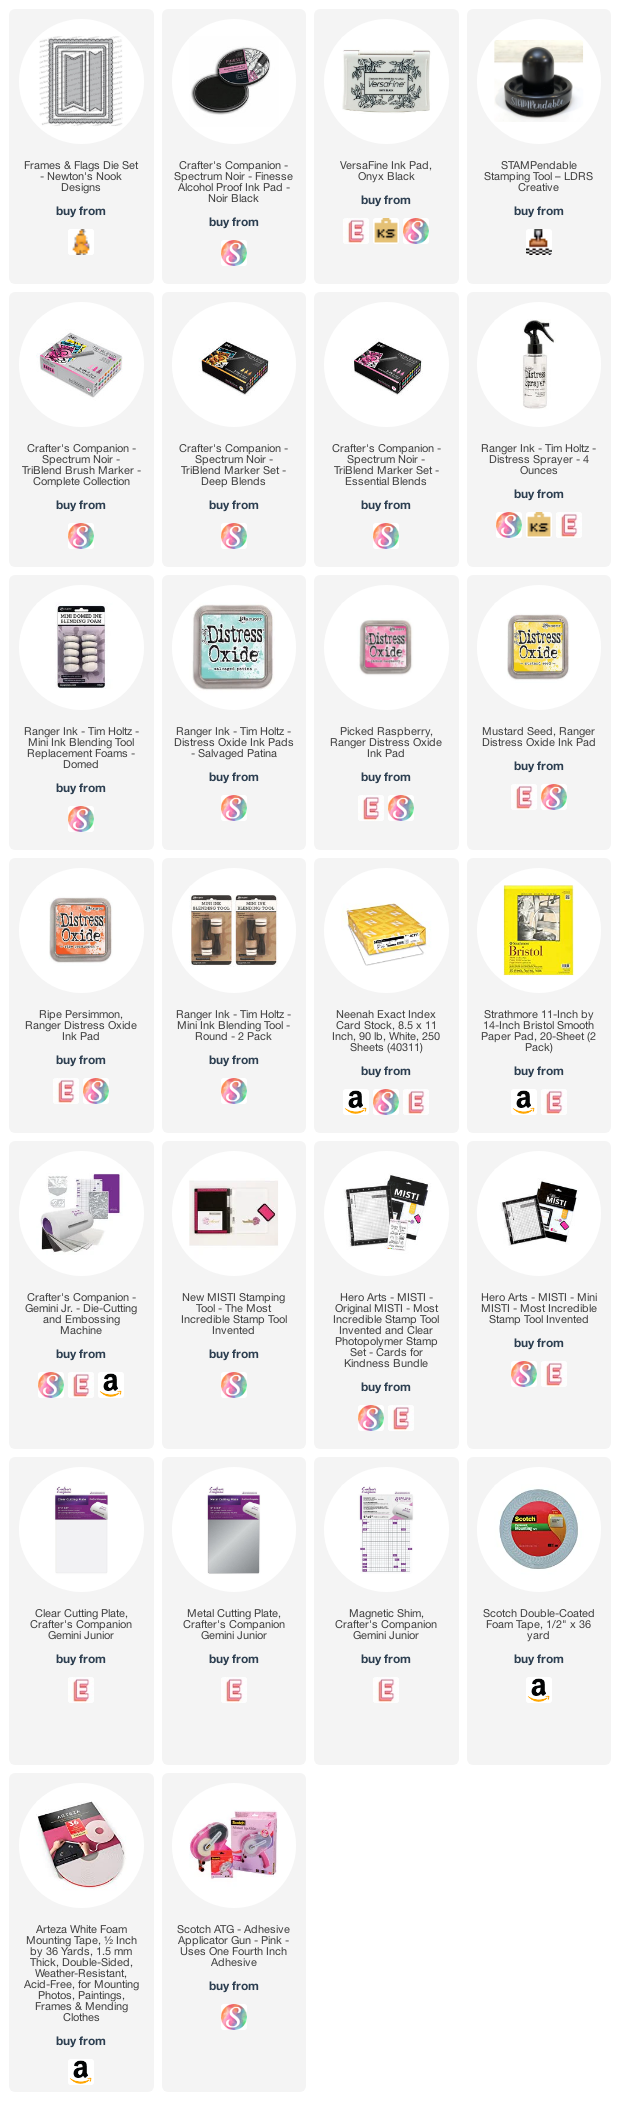
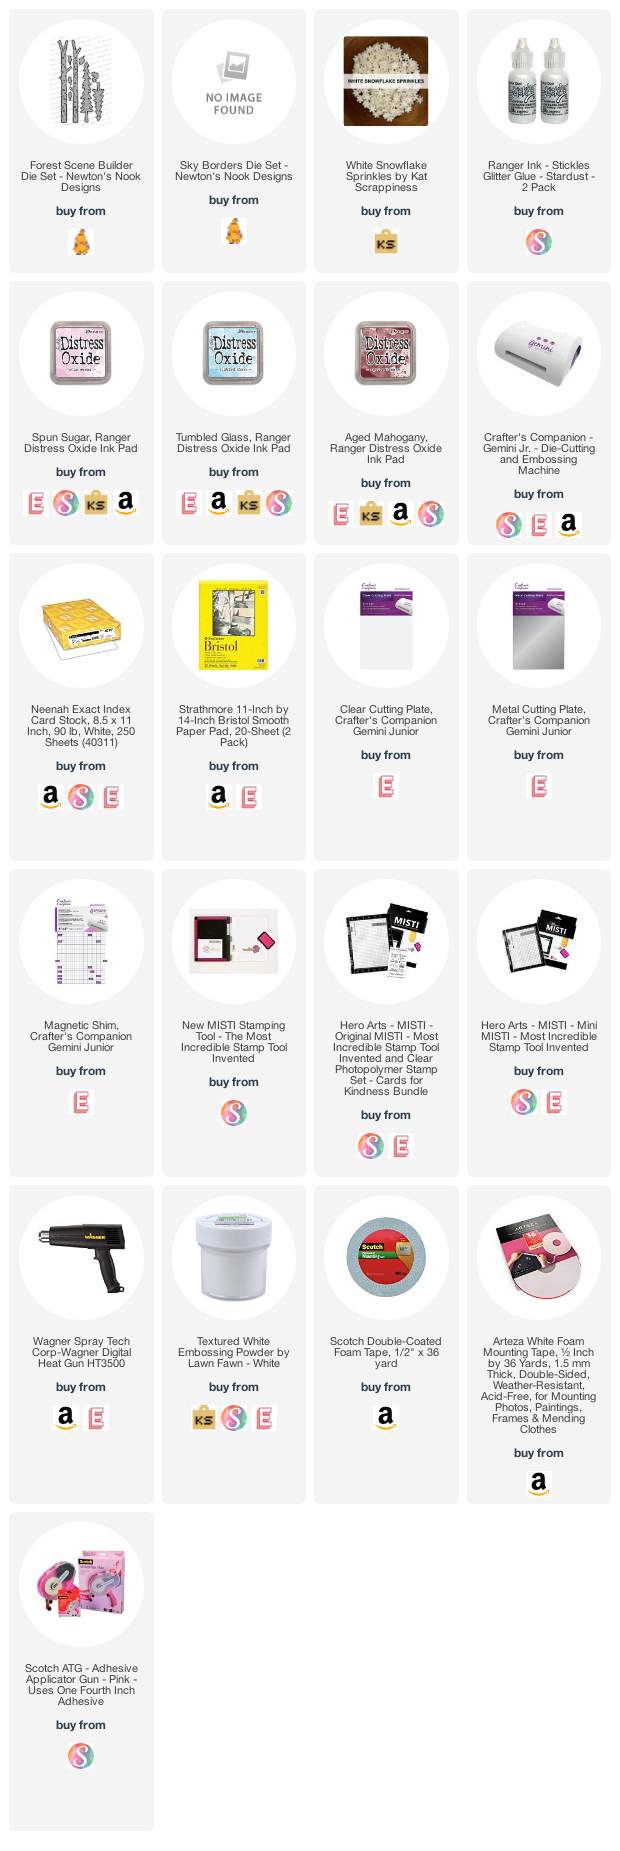
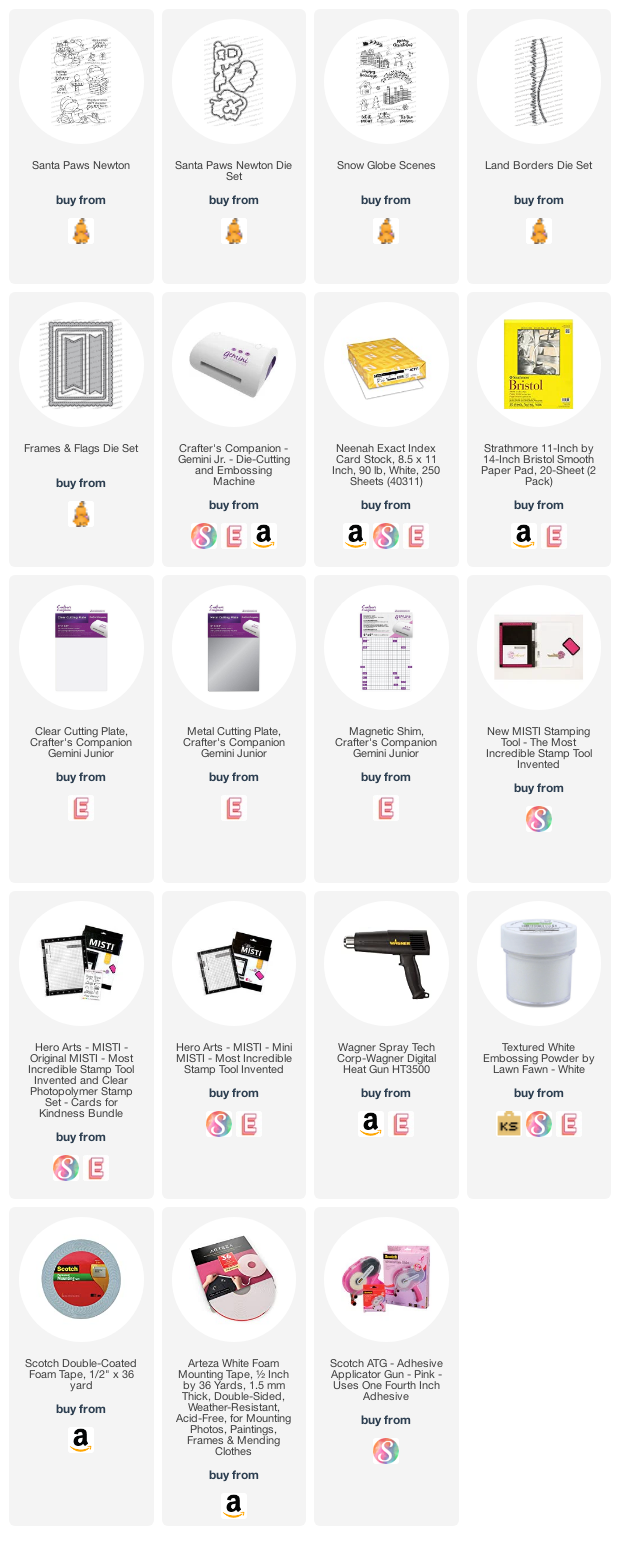
———-SUPPLIES———-