Happy Birthday Card with Newton’s Nook Designs

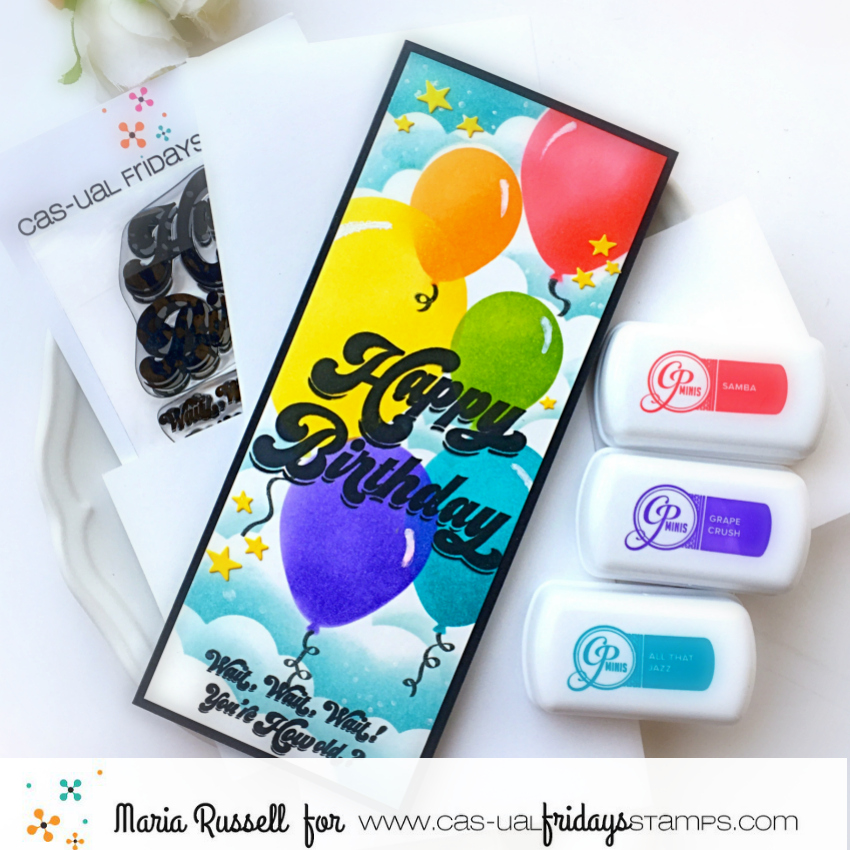
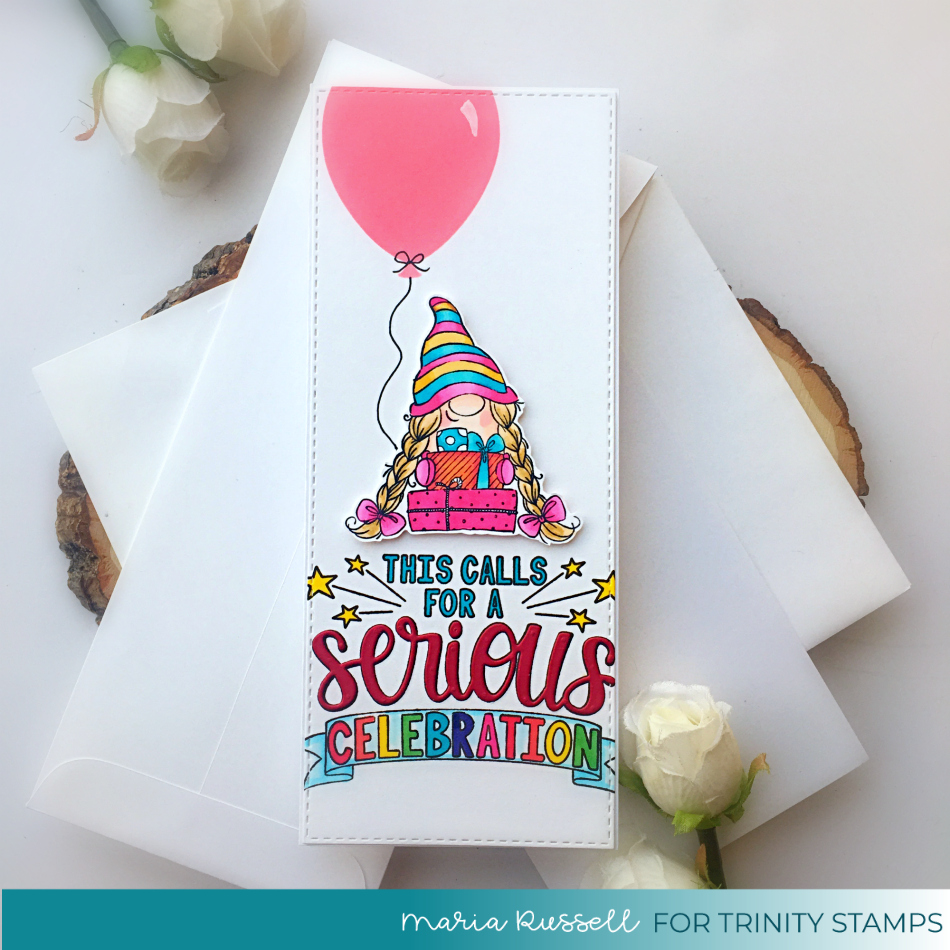
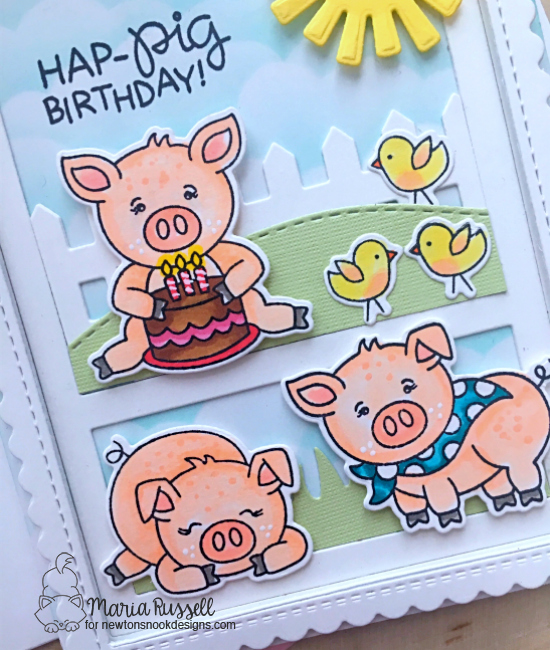
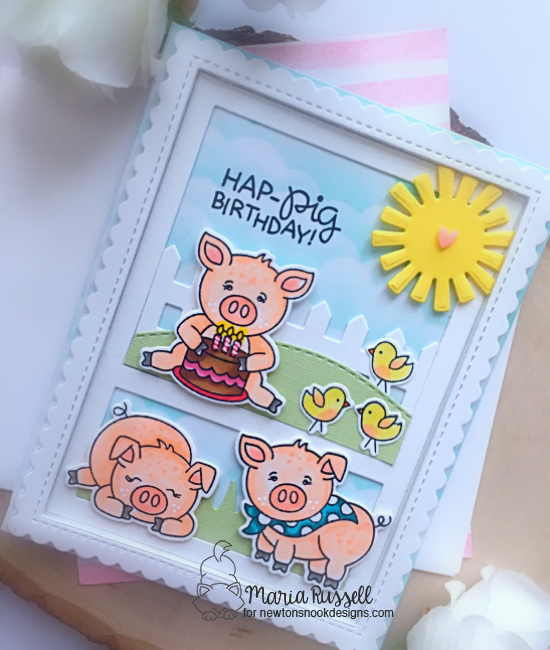
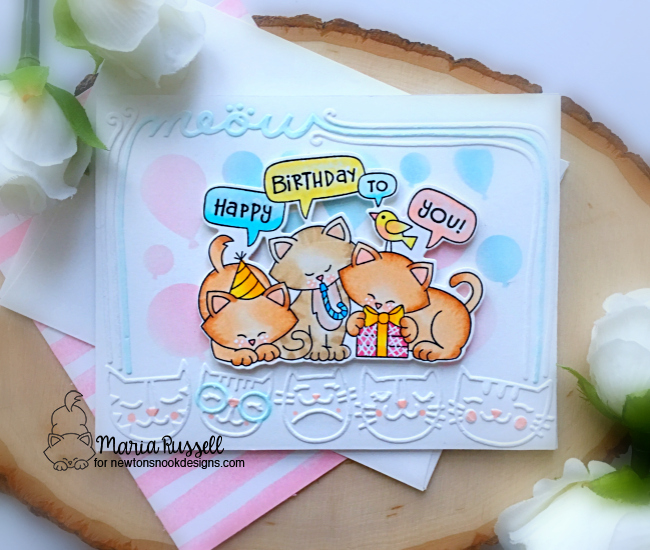
Hello my crafty friends! I hope you are all having a wonderful week! I am sharing another simple birthday card with you today, showcasing products from the July Birthday Release by Newton’s Nook Designs.

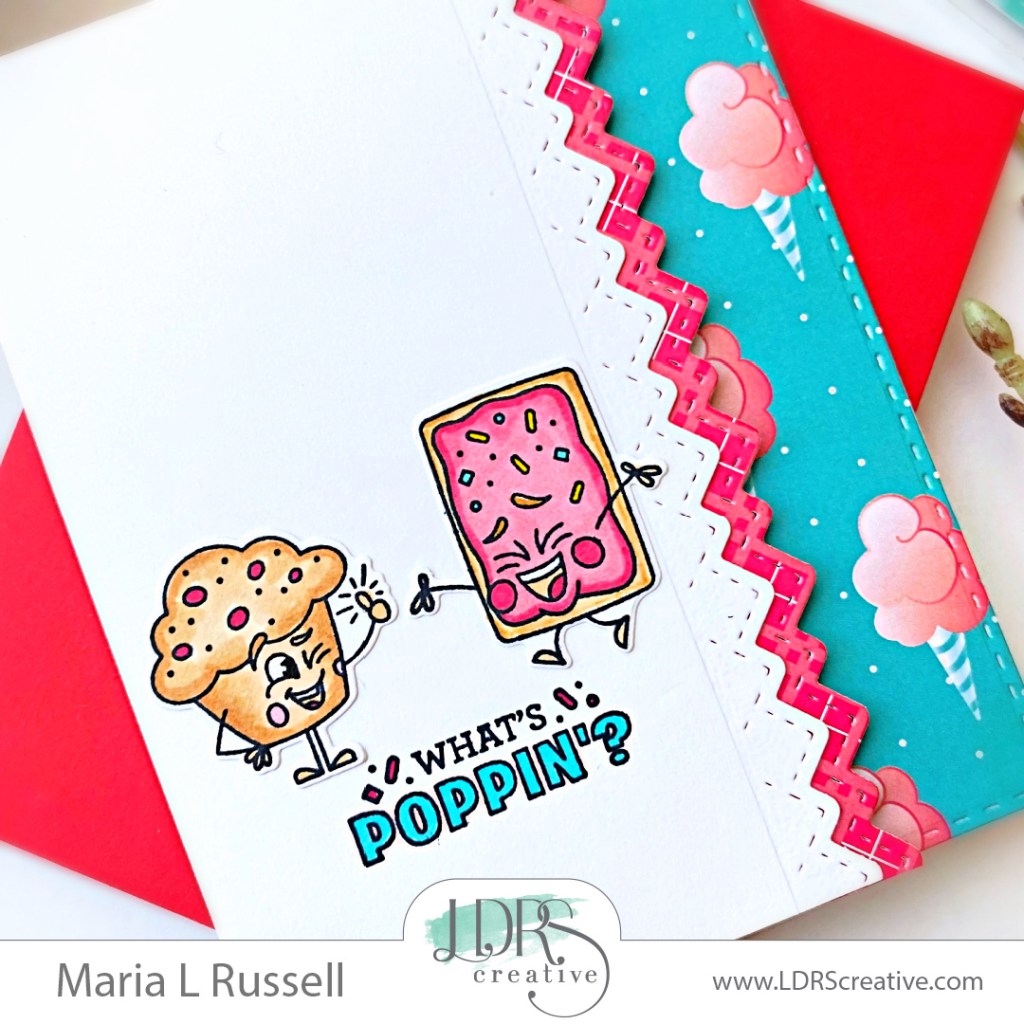
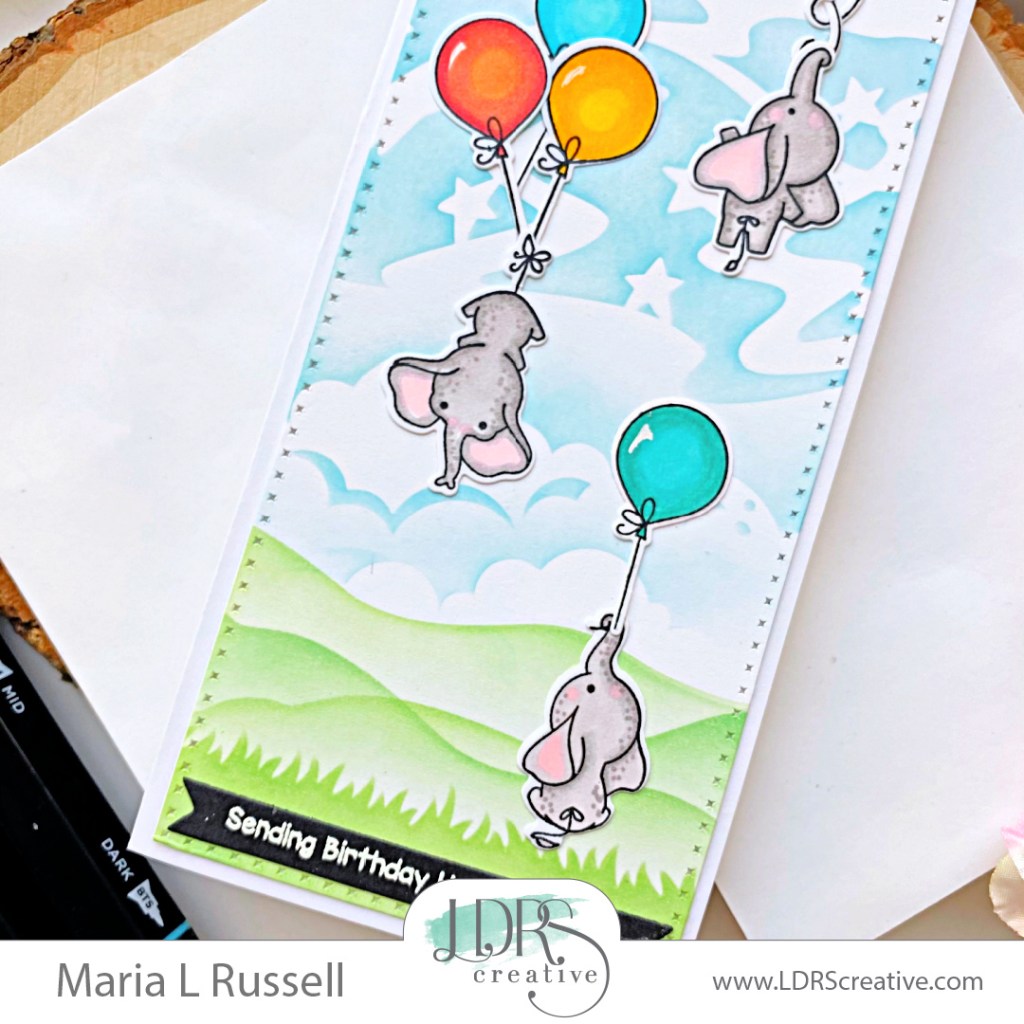
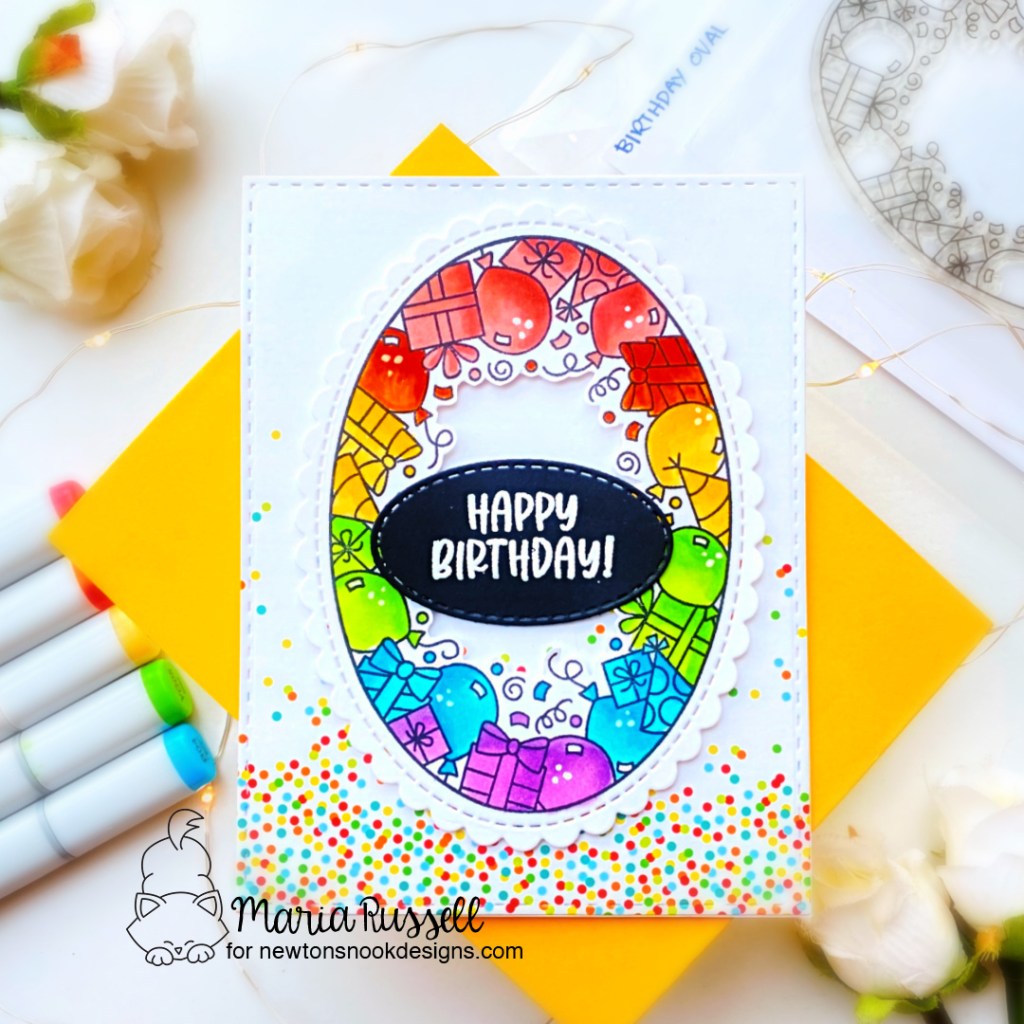
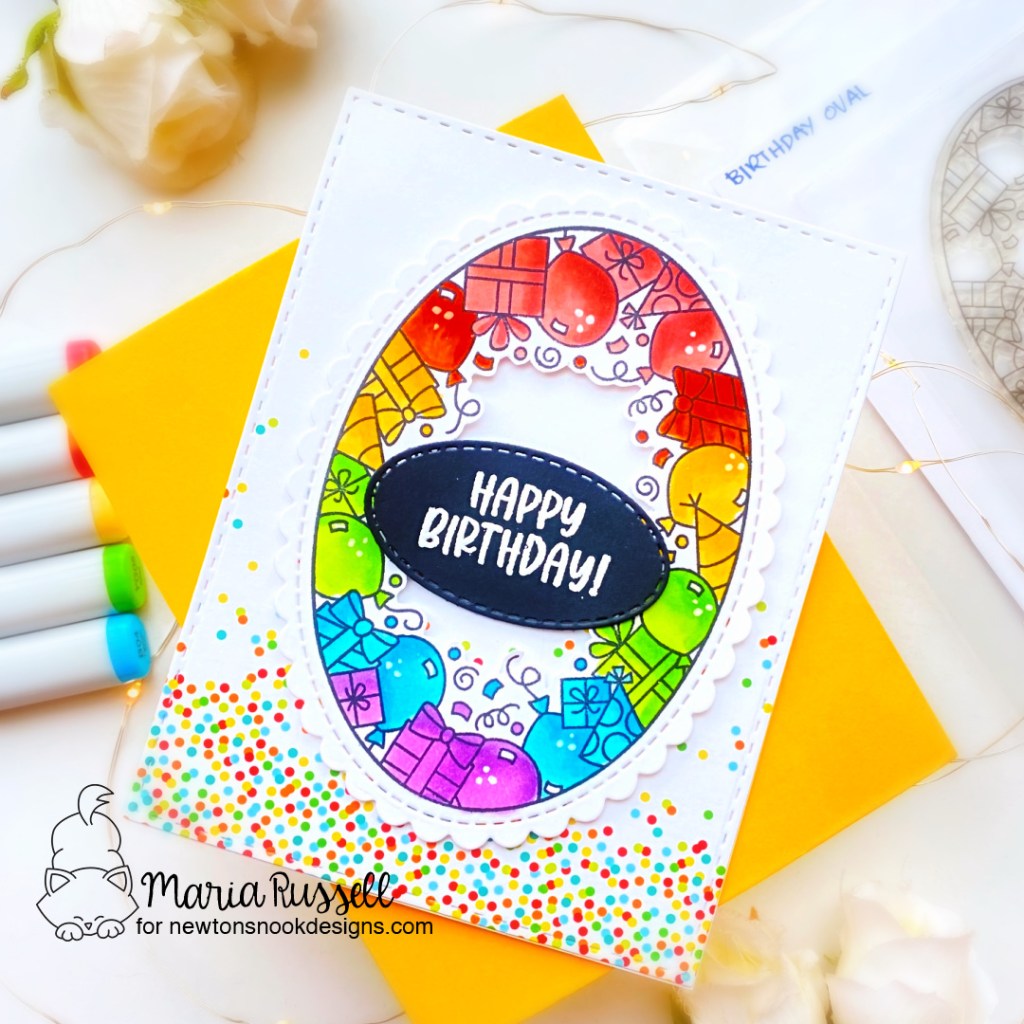
For this project, I am showcasing the Birthday Oval Stamp Set that coordinates with the (previously released) Oval Frames Die Set, along with the Birthday Party Paper Pad. I love that Newton’s Nook Designs came out with different oval stamp set that coordinates with the Oval Frames Die Set. I wish more companies would do this as it is a great way to save.

Here’s how I made this card:

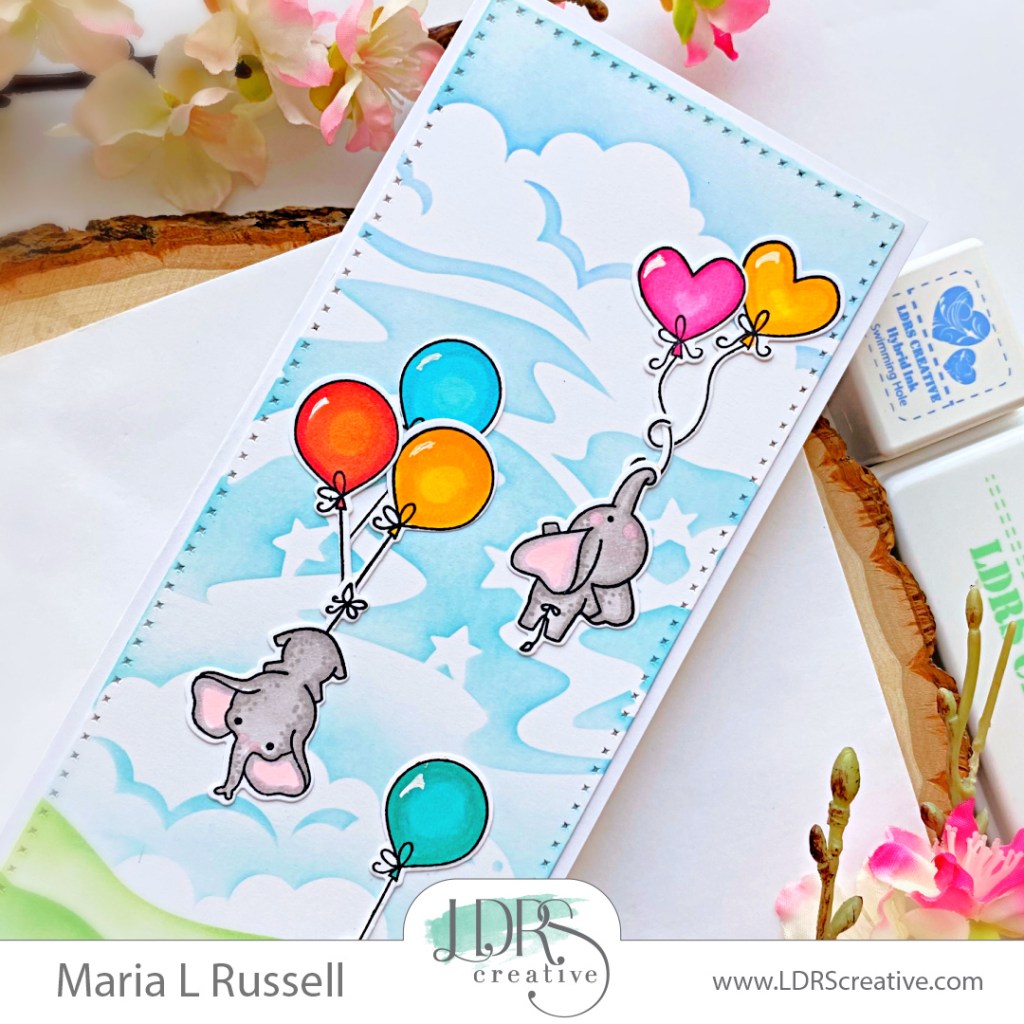
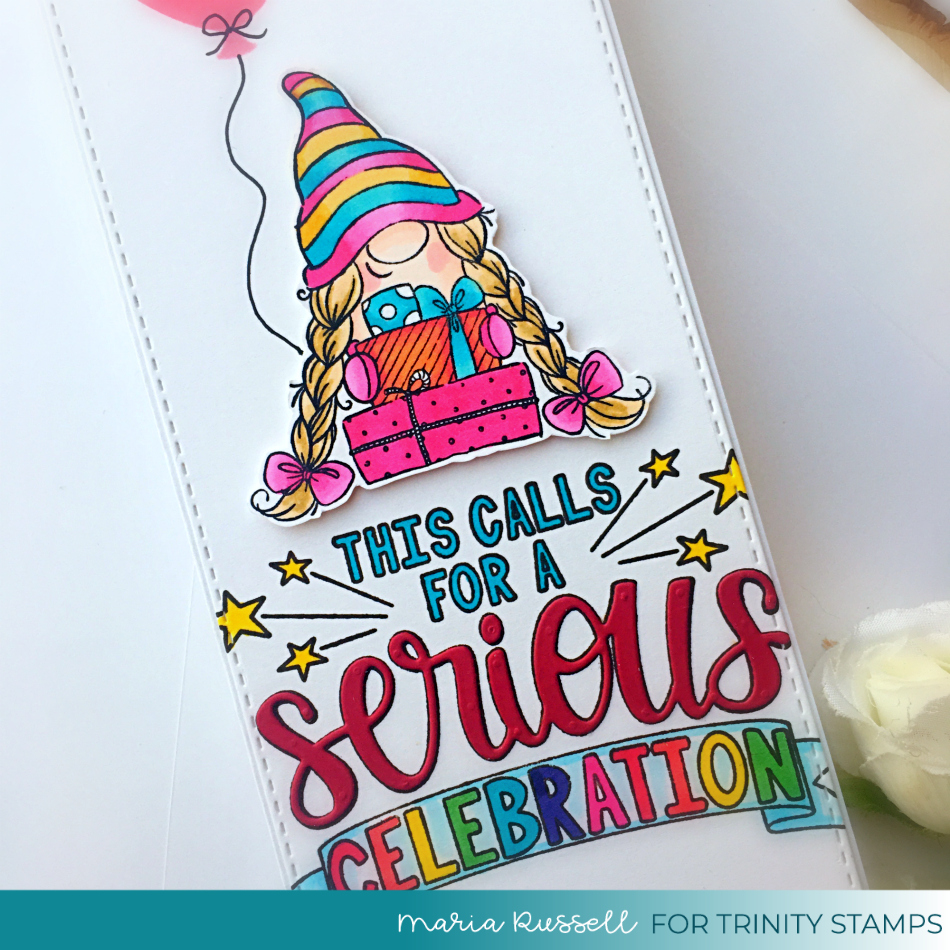
  • stamp the images on some Neenah solar white card stock and color the images in with alcohol markers (or any medium of your choice)
  • die-cut the images using the Oval Frames Die Set
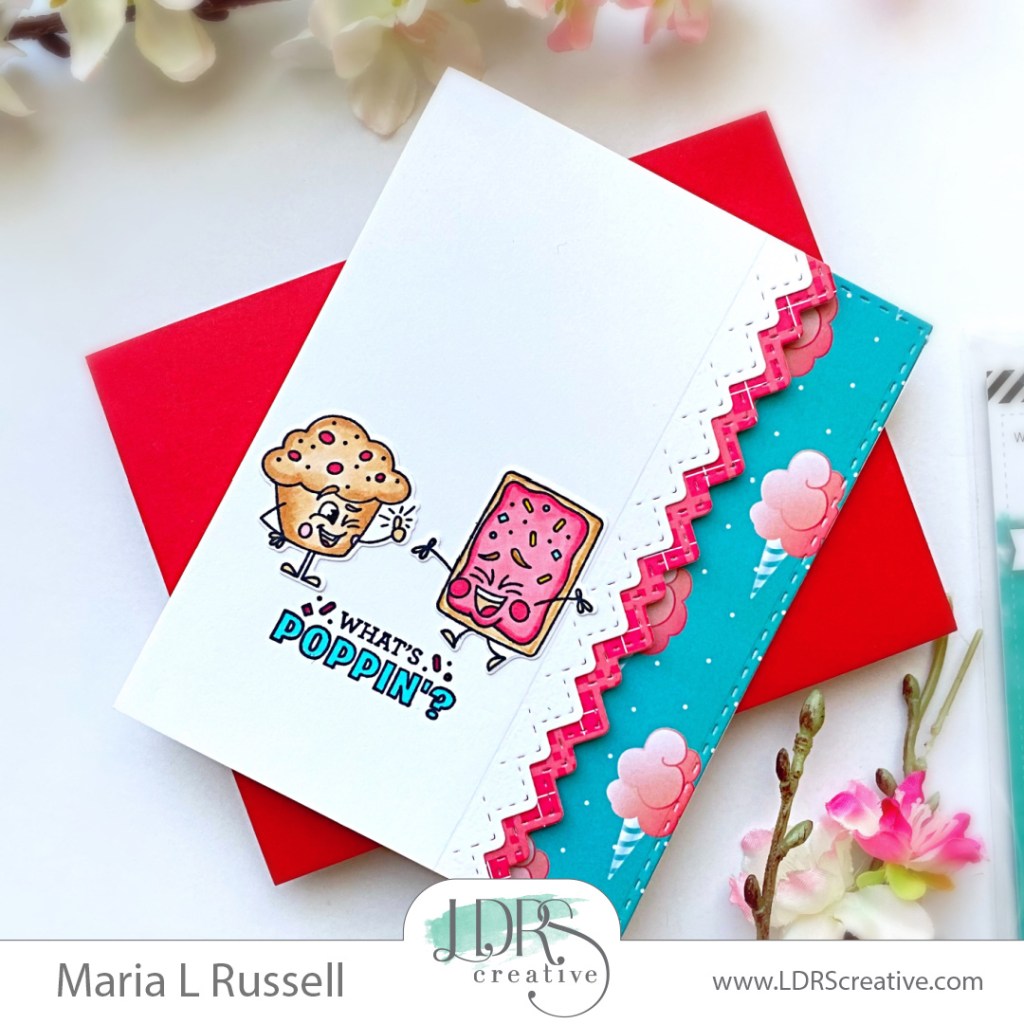
  • die-cut the background panel using a rectangle die from your collection
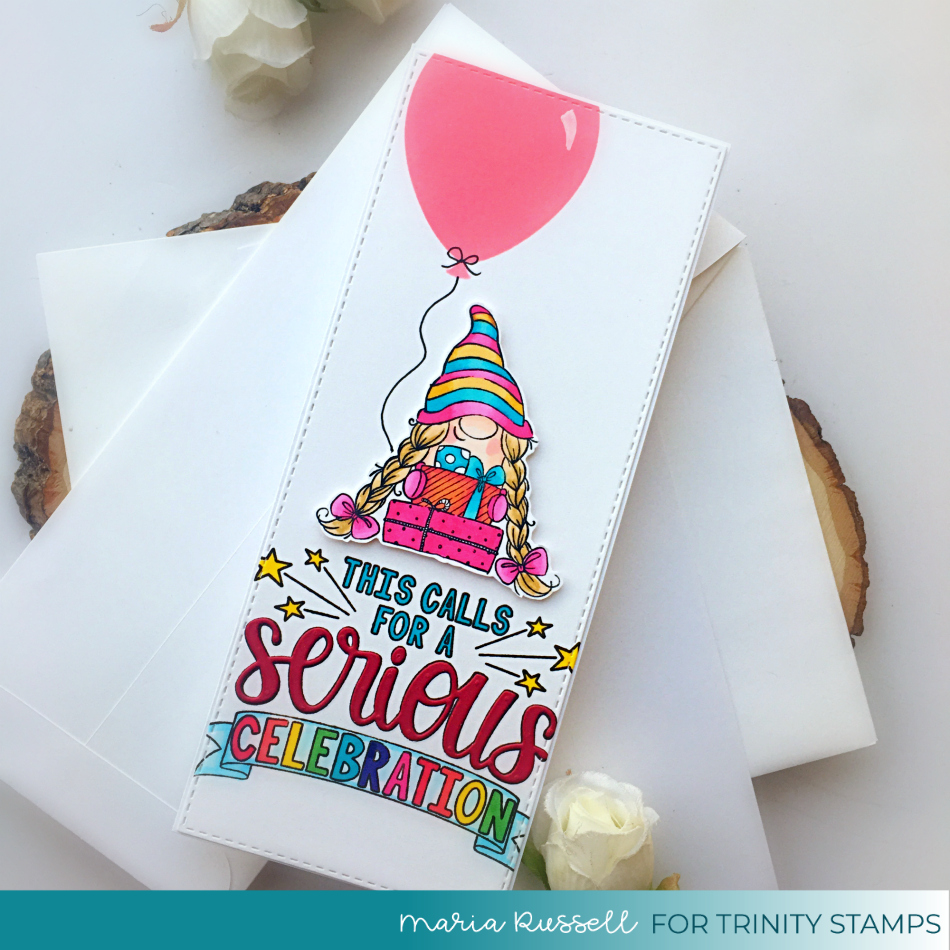
  • adhere this panel on some A2-size notecard.
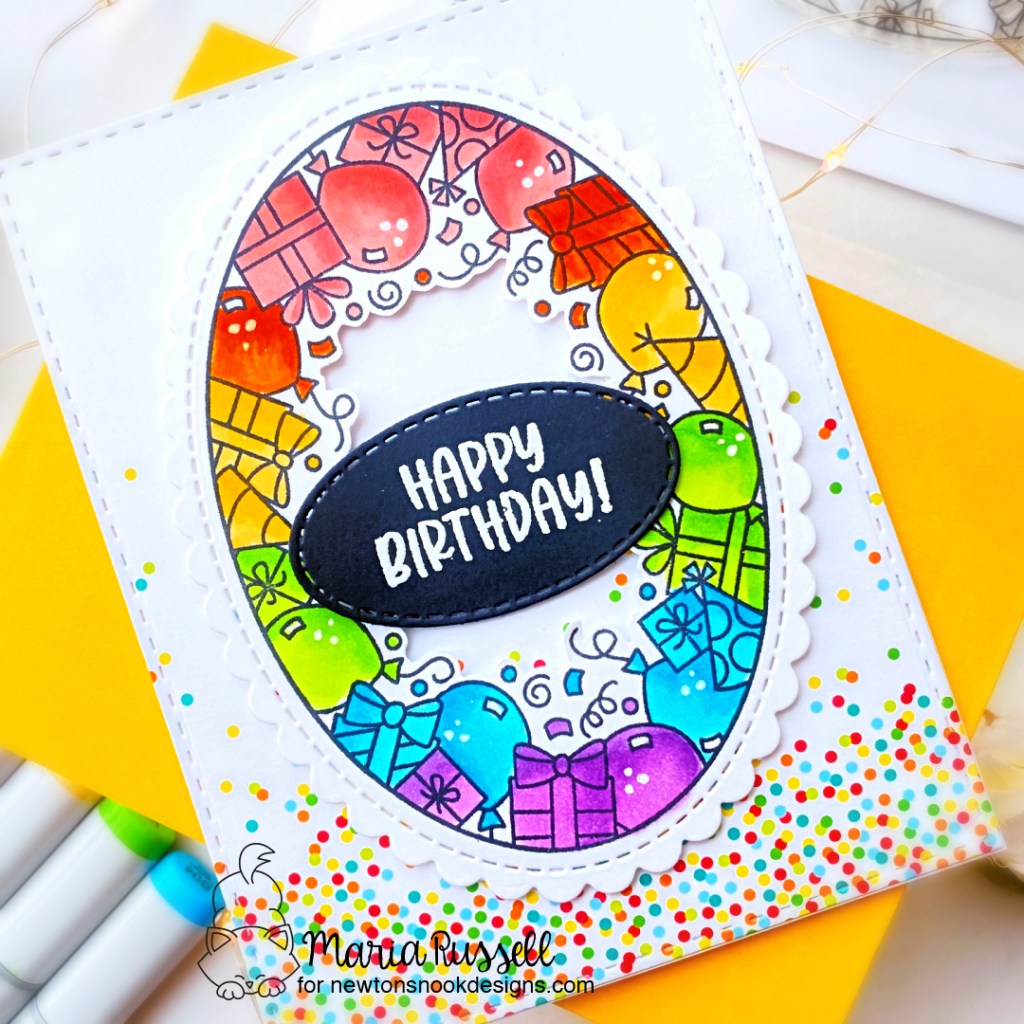
  • foam-mount the focal image on the card for added dimension.
  • stamp the sentiment on some black card stock with Versamark ink and die-cut using the small oval from the Oval Frames Die Set
  • adhere the sentiment on the card panel with foam adhesive
  • finish the card design by using some white gel pen to add interest to the balloons.

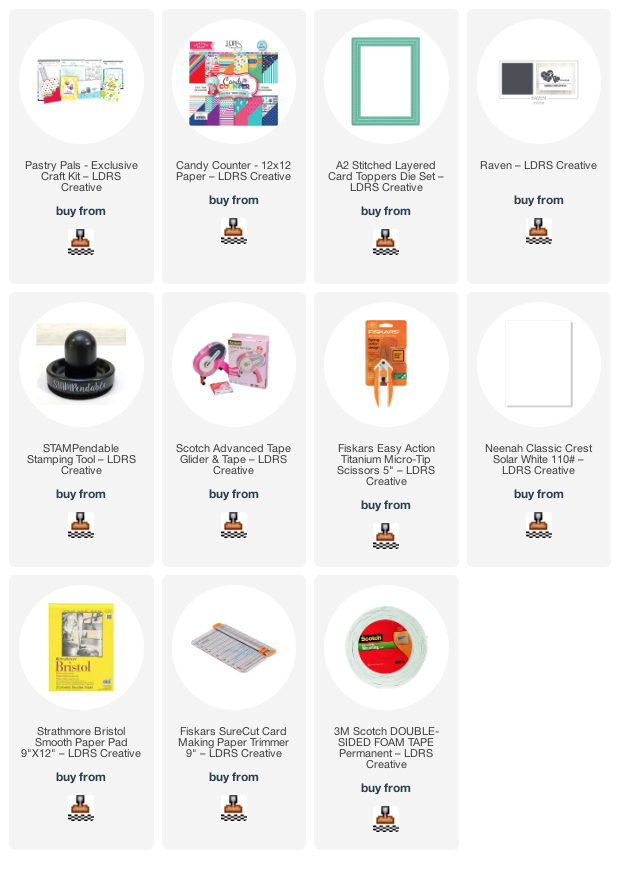
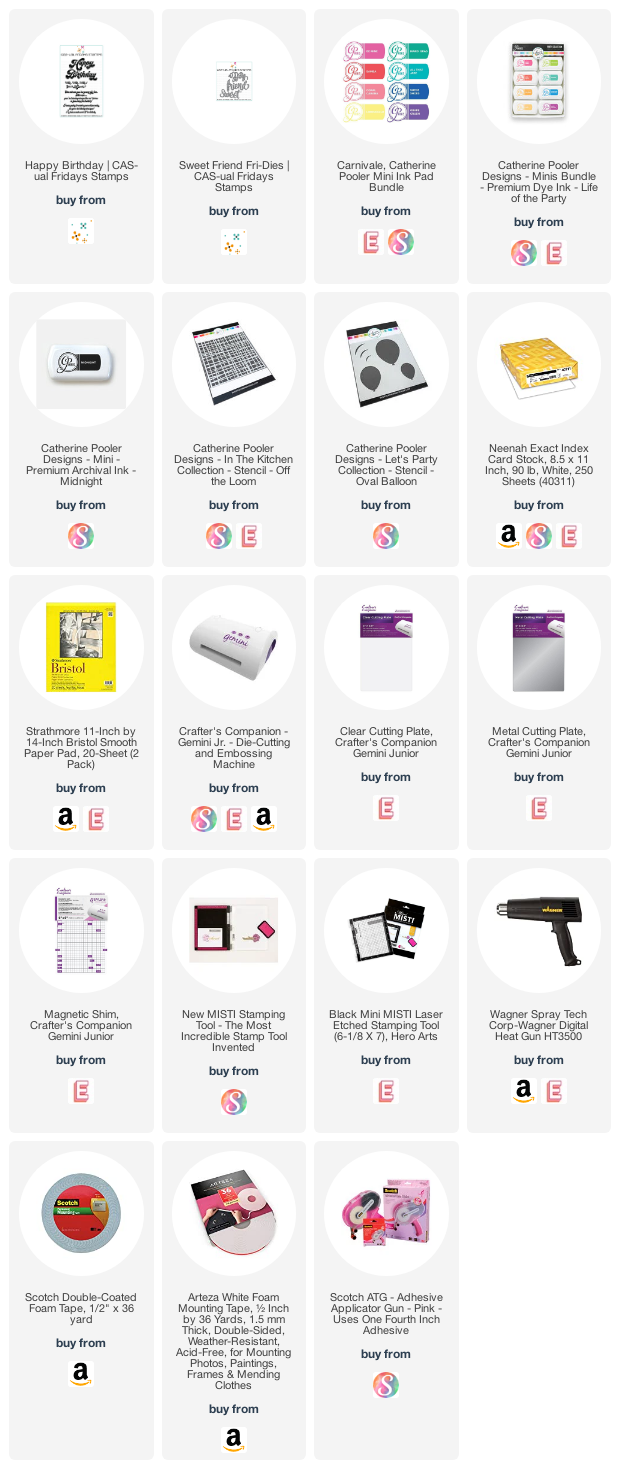
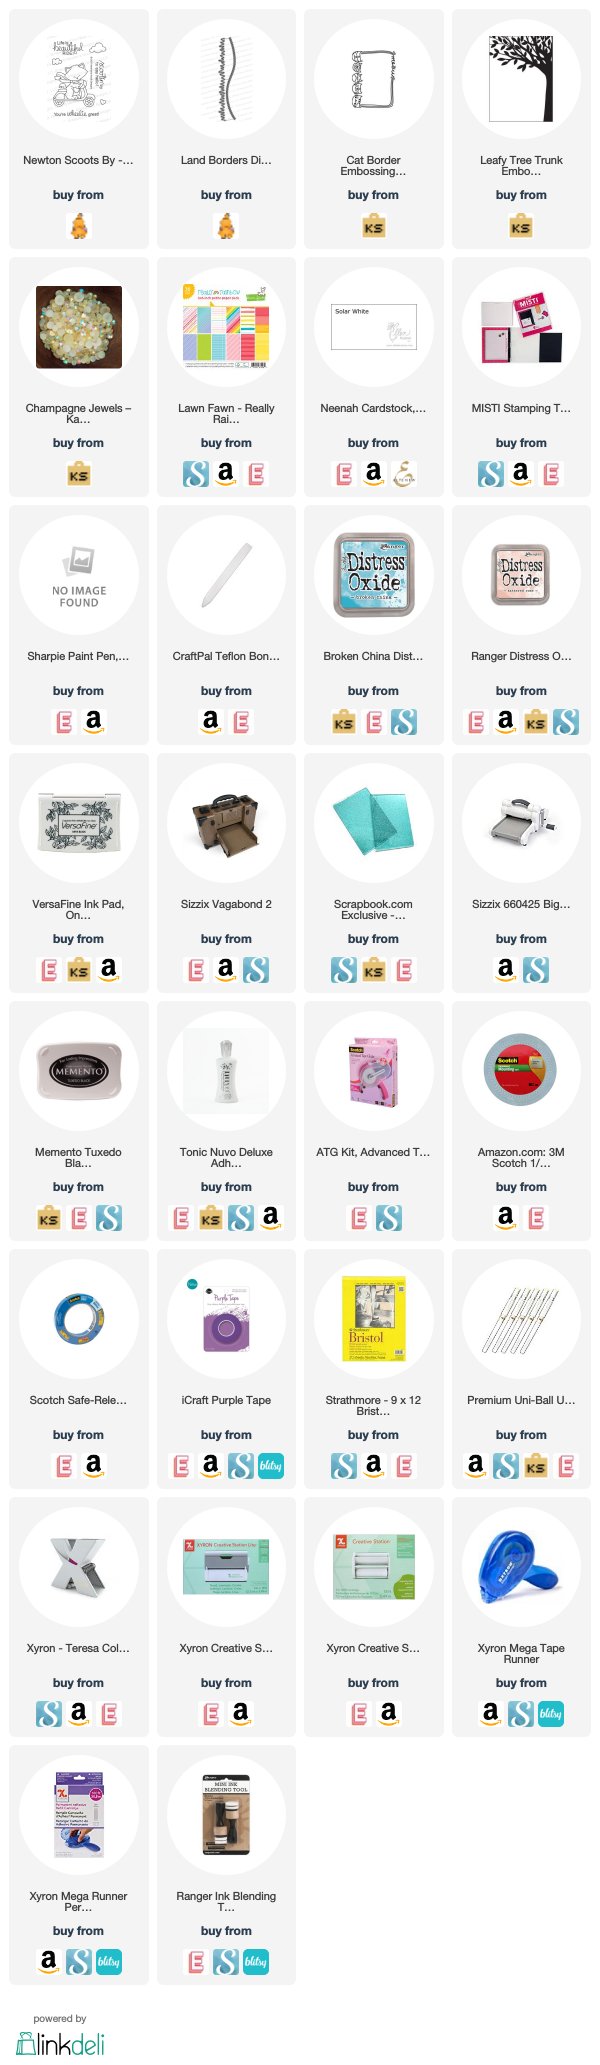
I hope you like this project(s) and got inspired. Below, you will find links to the supplies used to create this project(s). Where available, I use compensated affiliate links at no extra cost to you. Your support helps me to keep bringing you new projects and inspiration. Thank you for stopping by, and have an amazing day!
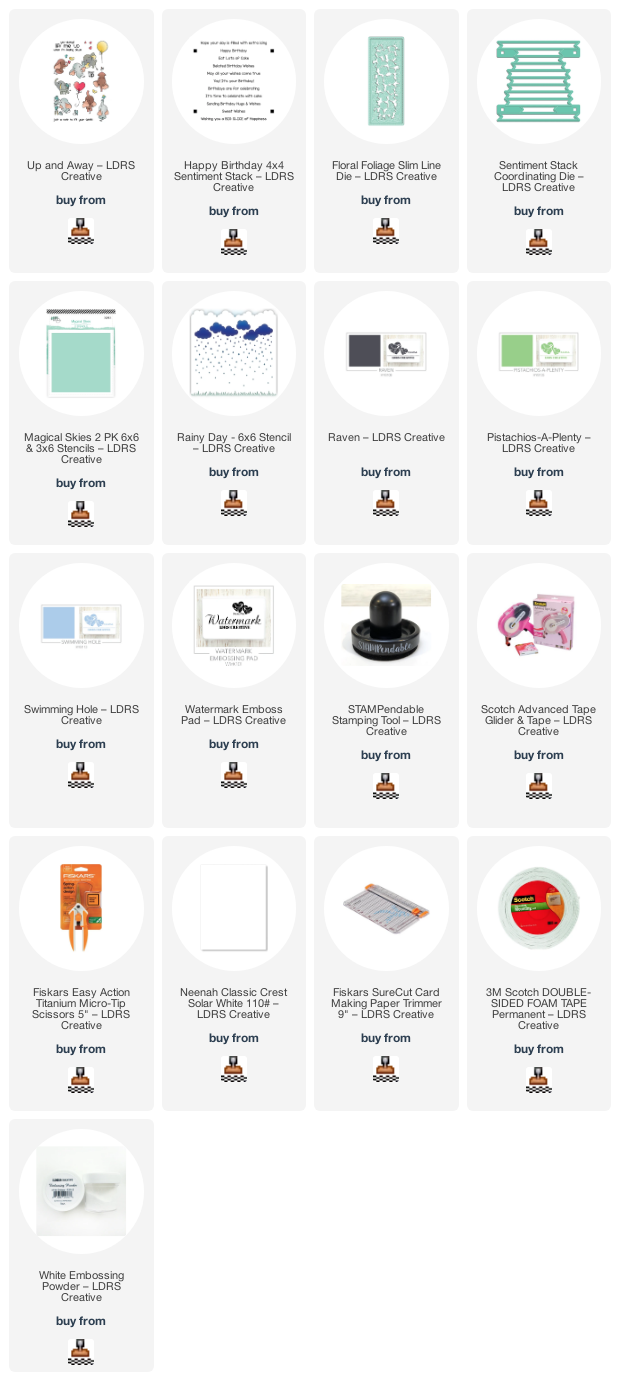
——–SUPPLIES——–

Pastry Pal Cuties with LDRS Creative

Hello and welcome back!  I am so excited to also be featured on the LDRS Creative Blog today, sharing TWO adorable cards, showcasing the Pastry Pals Craft Kit along with the Candy Counter 6×6 Double-Side Paper Pack.    I don’t know about you but when I saw this kit, I knew I just had to have it!  The images are too cute and you can use this kit all-year round.  The possibilities are endless! 

I started by stamping the images from the Pastry Pals Stamp Set on some Neenah solar white card stock with Raven Hybrid Ink.  I used my Stampendable Stamping Tool to get a nice impression of the images.  I colored the images in with alcohol markers and die-cut them all out using the coordinating dies. Next, I die-cut the slimline panels a few times using the Offset Slimline Stack-ables Die Set included in the kit with white and dark pink card stock.  I also used my pastel watercolor set to flick some colors on the card panel for added texture and interest. 

I adhered the pink frame on the white card panel and foam-mounted both on a slimline card base for added dimension.  I then lined up the images and evenly spaced them while adhering one-by-one with liquid glue.  I finished my design by stamping the sentiment with Raven Hybrid Ink and coloring the letters using the same color of markers that I used for the cupcakes.  I also used some gold gel pen for the sprinkles! 

 Since I colored a lot of images from the Pastry Pals Craft Kit, I decided to make another card.   

 I used the Offset Slimline Stack-ables Die Set from the kit to die-cut the decorative edges using some Neenah solar white card stock and the Candy Counter 6×6 Paper Pack.  I also used the A2 Stitched Layered Card Toppers Die Set to die-cut the patterned paper and adhered on an A2-size notecard. 

 Next, I foam-mounted the focal panel for added dimension and adhered the images with liquid glue.  I finished the design by stamping the sentiment with some Raven Hybrid Ink and colored the letters with alcohol markers.   

 Aren’t these images adorable?!  I am pretty sure this Pastry Pals Craft Kit will sell out soon just like the rest of the other kits so grab them now before they are gone! I hope you like my cards today and got inspired!  The supplies I used are listed and linked below.  Thanks for stopping by, and happy stamping! 

———–SUPPLIES———-

Sending Birthday Hugs & Wishes with LDRS Creative

I am back today to bring you another inspiration, showcasing some new and older stamp sets and dies by LDRS Creative.  Lately, it seems like I’m always running out of birthday cards so I decided to create one to add to my stash of cards. 

To make the card, I die-cut some Neenah Solar white card stock using the outer die from the Floral Foliage Slim Line die set.  I ink-blended this panel using the Magical Skies Stencil (hills & sky) and the Rainy Day stencil (grass), with the Swimming Hole and Pistachios-A-Plenty Hybrid Ink

Next, I stamped the images from the Up & Away Stamp Set with Raven Hybrid Ink and colored them in with alcohol markers.  I used the Up & Away coordinating dies to die-cut them out.  I adhered the images on the focal panel with liquid glue, as I didn’t think it needed any dimension. 

Next thing to do is to add a sentiment.  I stamped the sentiment/s from the Happy Birthday Sentiment Stack stamp set on some black card stock with the LDRS Watermark ink.  I sprinkled some LDRS White Embossing Powder and heat-set with my heating tool.  Using the Sentiment Stack Coordinating Dies made it possible to die-cut all of the sentiments in one go!  I saved the rest of the sentiment strips and put them inside my stamp pocket so I can use them for future projects! 

I adhered the sentiment onto the card, and added this focal panel on some White Slimline card base.  Finishing the card design, I added more interest to the balloons using white gel pen. Here’s another look: 

I love the colorful balloons and the cute little elephants flying up, up & away!  The magical sky just added that whimsical touch to the overall card design. 

I hope you like this card as much as I do.  The supplies I use are listed and linked below.  Thanks for stopping by and have an amazing day!

————SUPPLIES————

Catherine Pooler and Cas-ual Fridays Collaboration Weekend


Hello and welcome to the Catherine Pooler and CAS-ual Fridays Collaboration weekend!  I am so pleased to participate in this amazing blog hop!  Both companies are giving away a $30 Gift Certificate to the shop and the winners will be announced on each company’s blog post on Tuesday, September 29th.


For this hop, I am showcasing the Happy Birthday stamp set and SweetFriend Fri-dies by Cas-ual Fridays, along with the AMAZING CP Minis – Carnivale Collection,  CP Off The Loom Stencil, Oval Balloon StencilCP Minis – Life of the Party and CP mini ink in Midnight.


For my first card, I started by using the CP Oval Balloon stencil and inked up the balloons using CP Mini inks in Samba, Tiara, Lime Rickey, Grape Crush and All that Jazz.  I also used a stencil from my collection to add the clouds with All That Jazz ink. 


The balloon strings and the sentiment from the CFS Happy Birthday stamp set were stamped using the CP mini ink in Midnight.   I used my white gel pen to add more texture to the balloons.


To finish my design, I die-cut some yellow stars using a die from my collection.  Here’s another look:


For my second card, I inked up an A-2 size panel of Bristol smooth white card stock using the CP Off the Loom Stencil and CP Mini inks in Samba, Tiara, Lime Rickey, Grape Crush and All that Jazz.  These inks are so juicy and wonderful to blend to create a seamless, colorful background.


I adhered this panel on an A2-size top-fold card base.  Next, I die-cut some Neenah solar white and black card stock using a die from my collection.  I adhered both pieces on the card with my tape runner.


I finished my card design by die-cutting the “hello friend” using the Sweet Friend fri-dies and adhering it onto the card with liquid glue.  Here’s another look:


I am so in-love with these Catherine Pooler inks that I purchased more of them to complete my CP mini ink collection!   


I hope you like my cards today!   The supplies I use are listed and linked below.  Don’t forget to leave a comment on each stop for a chance to win one of the (2)  $30 Gift Certificates by both companies today.  Thanks for stopping by and happy stamping!


Here’s the order of the hop:

Catherine Pooler

Nora Noll

Allison Cope

Larissa Heskett

Nanette Tracy

Vicki Dutcher

Chrissie Tobias

Shona Chambers

Susan Powell

Michelle Wallace

Jen Carter

Lisa Bzibziak

Karen Baker

Maria Russell (you are here)

CAS-ual Fridays


————SUPPLIES————-

This Calls For a Serious Celebration with Trinity Stamps

Hello!  I am back today with a fabulous celebration card using products from Trinity Stamps.

This image has an empty alt attribute; its file name is MRussell_SeriousCeleb1_July25thBlog.jpg


I started by die-cutting my slimline panel on some Neenah solar white card stock using the biggest die from the Slimline Stitched Card Panels & Windows die set. I stamped the Serious Celebration on this piece and colored it in with my Spectrum Noir Classique Alcohol markers.

The word “serious” was die-cut using the Serious Celebration die set and adhered with liquid glue for added texture.

The gnome was stamped and colored with alcohol markers and foam-mounted on the card panel for added dimension.


This image has an empty alt attribute; its file name is MRussell_SeriousCeleb2_July25thBlog.jpg


Lastly, I used the Slimline Layered Balloons stencil and the Blending Buddy brush to add the balloon.  Here’s another look at the card:


This image has an empty alt attribute; its file name is MRussell_SeriousCeleb3_July25thBlog.jpg
 
I hope you like my card today and got inspired. The supplies I use are listed and linked below.  


——–SUPPLIES——-


STAMPtember Collaboration with Simon Says Stamp and Newton’s Nook Designs

Today Newton’s Nook Designs is featured on the Simon Says Stamp site with an EXCLUSIVE stamp set that was designed just for the 2019 STAMPtember celebration!  You can purchase the new Let’s Party stamps and coordinating die set today at Simon Says Stamp.  Remember, these items are ONLY available through Simon Says Stamp while supplies last!
Today, I am sharing a birthday card showcasing the Let’s Party stamp set.  I started by stamping my images on some Neenah solar white 110 lb. card stock and colored my images in using some Spectrum Noir alcohol markers.  I die-cut the images using the coordinating dies.
I inked up an A-2 size piece of Bristol smooth white card stock with Peacock Feathers distress oxide ink.  To add more texture, I added some gold splatters on the colored background using my Sakura watercolor and my watercolor brush.  I waited for about half an hour for this to dry, and adhered this piece on an A2 size card base.
I die-cut the words “Happy Birthday” a few times on white card stock using a die from Mama Elephant.  I inked up the top piece with some Dusty Concord distress oxide ink.
I foam-mounted the die-cut panel on my colored background.  This frame piece was die-cut using the Gift Box cover up die-namics from My Favorite things.  I adhered the Happy Birthday die-cut on the foreground and added my cute critters.  Here’s my card:
To finish my design, I added some glossy accents to the balloon for added texture and dimension and also adhered the little gift boxes between the two dogs.  Here’s a little close-up:
I hope you like my projects today.  Please visit Simon Says Stamp to purchase this exclusive stamp set.  Thank you for stopping by and happy stamping!
70df8-maria2brussell2bsignature2blogo

Farm-themed Cards with Newton’s Nook

Hello Newton’s Nook fans!  Have you seen last week’s April release?  What was your favorite?  I am back today to share with you two farm-themed cards, showcasing the Oink stamp set and coordinating dies with the Moo stamp set and coordinating dies.


Here’s my first card:

NNDOink1A


I started out by stamping my images on Neenah solar white card stock and colored them in with Copic markers.  I used the coordinating dies to die-cut the images.  I inked up a Bristol smooth white card stock with some Broken China distress oxide inks to create the sky.  I die-cut the rest of the images that I needed and assembled the card.  Here’s a closer look:


NNDOink1B


I absolutely ADORE these little piggies.  I don’t know about you but I think pigs are extremely cute.  A crafty friend of mine has a pet pig and that pig is so smart it makes me want to have one as a pet.


NNDOink1C


For my second project, I did all those steps that I mentioned above.  However for my grass hill and trees, I inked up my Neenah solar white card stock with some freshly cut grass ink using some make-up brushes.  I really love how it turned out.


NNDMoo2A


For my background, I inked up the background with Tumbled Glass and Spun Sugar distress oxide inks.  I also used the aged mahogany distress oxide inks to add the colorful speckles.  To create my clouds, I used the Cloudy Sky stencil by Newton’s Nook with some Peacock Feathers distress oxide ink.  Here’s a closer look:


NNDMoo2B

The sentiment was stamped using Aged Mahogany distress oxide ink and “note to self”, next time wait for it to dry before adhering it to the card base.   I smudged the sentiment a little.  I didn’t want all of my efforts to be wasted so I am keeping the card as it is.  To finish the design, I used my Sakura white gel pen to add some dots and lines to the trees to give it a little dimension.  I do LOVE how both cards turned out (with the exception of my little boo-boo!).


NNDMoo2C


I hope you like my cards.  The supplies I used are listed and linked below in case you are interested.  Thank you for stopping by my blog today and happy crafting!

————-SUPPLIES———–


Newton’s Nook Designs April Release – Day 3 – Moo Stamp Set

NND_April19

It is the third day of the April reveals by Newton’s Nook Designs.   Were you able to check out the last two days of the reveal?   Which one is your favorite so far?  You have a chance to win each stamp set during release week so check out the details I have indicated at the end of this blog post.  [Just a little important note:  I know some of you had difficulties finding the comments section.  If you would like to leave a comment to participate in the giveaway, the “comments section” will only be ever visible when a single post on Word Press is being viewed. Please click on this particular blog post and you will be able to leave a comment below.  Thank you!]  

For the third day, the design team is showcasing the Moo stamp set and coordinating dies.  Here’s what it looks like:

NND_APR19_Moo

Here’s my card:

NNDMoo1A

Here’s how I made my card:

  • stamp the images on some Neenah solar white card stock and color the images in with Copic markers.  Die cut the images using the coordinating dies.  I opted to color the cow with some dark brown Copic markers instead of the typical black to make it stand out.
  • cut an A2 size piece of Bristol smooth white and use distress oxide inks to ink up the background.
  • use a die from my stash to die-cut the colored background.
  • use some small dies to die-cut the trees with some patterned papers.
  • adhere this piece on an A2 size card base with liquid and foam adhesive.
  • die-cut the clouds silhouette using some clouds die from my stash.
  • adhere the clouds on the card.
  • adhere the rest of the elements to the card.

Here’s a closer look:

NNDMoo1B

I finished my card design by adding some pink enamel heart to the barn.!  Here’s another look:

NNDMoo1C

Would you like to win the “Moo” Stamp Set? This stamp set will be given away to ONE lucky winner!

Here’s how to win:

Comment on the NND blog and Design Team blogs (see list below)! The winner will be chosen at random from the collective reveal posts. Make sure to check out each of their blogs and comment for your chance to win. You will not know which blog has been chosen so the more you comment on the better your chances are of winning! You have until Thursday April 11th at 9pm EST to comment  — winners will be announced on the blog post on Friday, April 12th.

Check out all the awesome Design Team Blogs below to enter:

Newton’s Nook Designs

Amanda Bodine

Holly Endress

Larissa Heskett

Samantha Mann

Zsofia Molnar

Naki Rager

Maria Russell

Andrea Shell

Tatiana Trafimovich

————SUPPLIES—————

Newton’s Nook Designs – Back to Basic Card-making with Embossing Folders

Hello Newton’s Nook fans!  Were you able to check out last week’s March release?  Which one was your favorite?  I am back today for Newton’s Nook Designs sharing some simple, “back-to-basic” card-making designs using some cute embossing folders.

For my projects today, I am showcasing the Newton’s Birthday Trio stamp set and coordinating dies, Garden Mice stamp set and coordinating dies, Balloons Stencil and the Grass Border die with the Cats Border Embossing Folder and the Leafy Tree Trunk Embossing folder.

If you are a beginner in card-making and you don’t have a lot of dies to create scenes, you can always check out your local paper crafting stores and purchase some embossing folders.  They are pretty inexpensive and will add some great dimension to your card.

Here’s my first card:

NNDNewtonsBirthdayTrio2A

HOW I MADE THE CARD:

  • Stamp the images on smooth white card stock and color the images in with Copic markers (or any coloring medium of your choice).
  • die-cut the image using the coordinating die
  • cut a piece of some 110 lb. card stock and use the Cats Border Embossing folder to dry-emboss the card stock.
  • use BG-0000 and R-00 Copic markers to lightly color the embossed images.
  • use the balloons stencil to ink up the background with distress oxide inks.
  • adhere the colored image using foam adhesive.

Here’s a closer look:

NNDNewtonsBirthdayTrio2B

I think adding some color to the embossed images made them pop a little.  I simply ADORE this Newton’s Birthday Trio stamp set!  This card is perfect for any cat-lovers out there!  Here’s another look:

NNDNewtonsBirthdayTrio2C

For my second card, I used the Garden Mice stamp set and coordinating die, with the grass border die and the Leafy Tree Trunk Embossing folder.  The clouds are from the Newton Scoots By stamp set.

NNDGardenMice2A

HOW I MADE THE CARD:

  • Stamp the image on smooth white card stock and color the image in with Copic markers (or any coloring medium of your choice).
  • die-cut the image using the coordinating die
  • cut a piece of some 110 lb. card stock and use the Leafy Tree Trunk Embossing Folder to dry-emboss the card stock.  Cut about a 1/4 inch using your paper trimmer.
  • cut a 1/4 inch piece of patterned paper and adhere to an A2 size card base.
  • Adhered the embossed card stock onto the card base.
  • using the grass border die, cut a piece of patterned paper to create the grass.
  • using the clouds from the Newton Scoots By stamp set, stamp a couple of clouds on the foreground.

I finished my design by adding some Champagne jewels on the card and Nuvo crystal drops on the butterfly.

NNDGardenMice2B

It’s been awhile since I used my embossing folders and I really love both cards.  Here’s another look:

NNDGardenMice2C

I hope I have given you some inspiration today.  Please visit Newton’s Nook Designs to purchase the stamps, dies and stencil that I used today.  The supplies I used are listed and linked below.  Have a wonderful day!

———SUPPLIES———

%d bloggers like this: