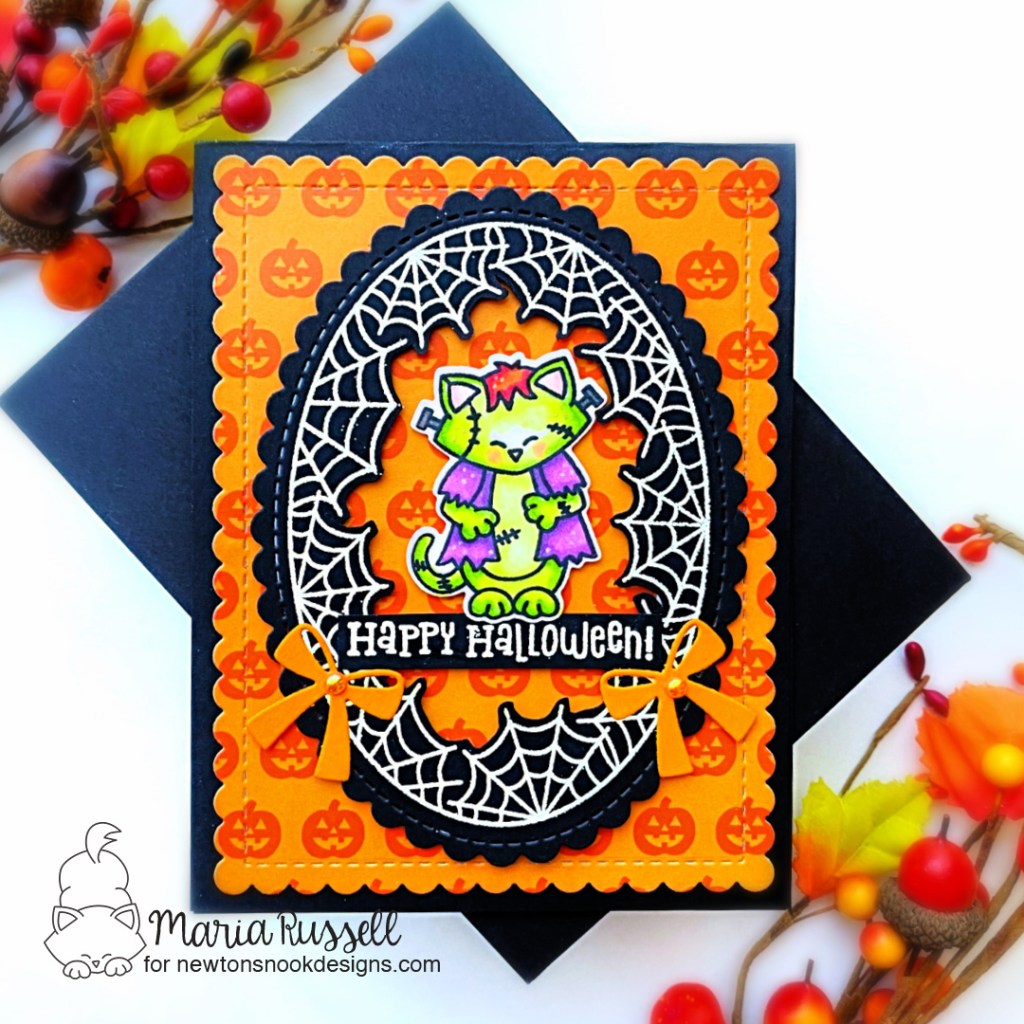
Hello Newton’s Nook fans! Thanks for joining me today and I am also up on the Newton’s Nook blog to share another Halloween card, featuring the newly-released Spiderweb Oval Stamp Set that coordinates with the Oval Frame Dies, along with the Franken Newton Stamp Set + Coordinating Dies, Halloween Meows Paper Pad and Frames & Flags Die Set.
Here’s how I made this card:
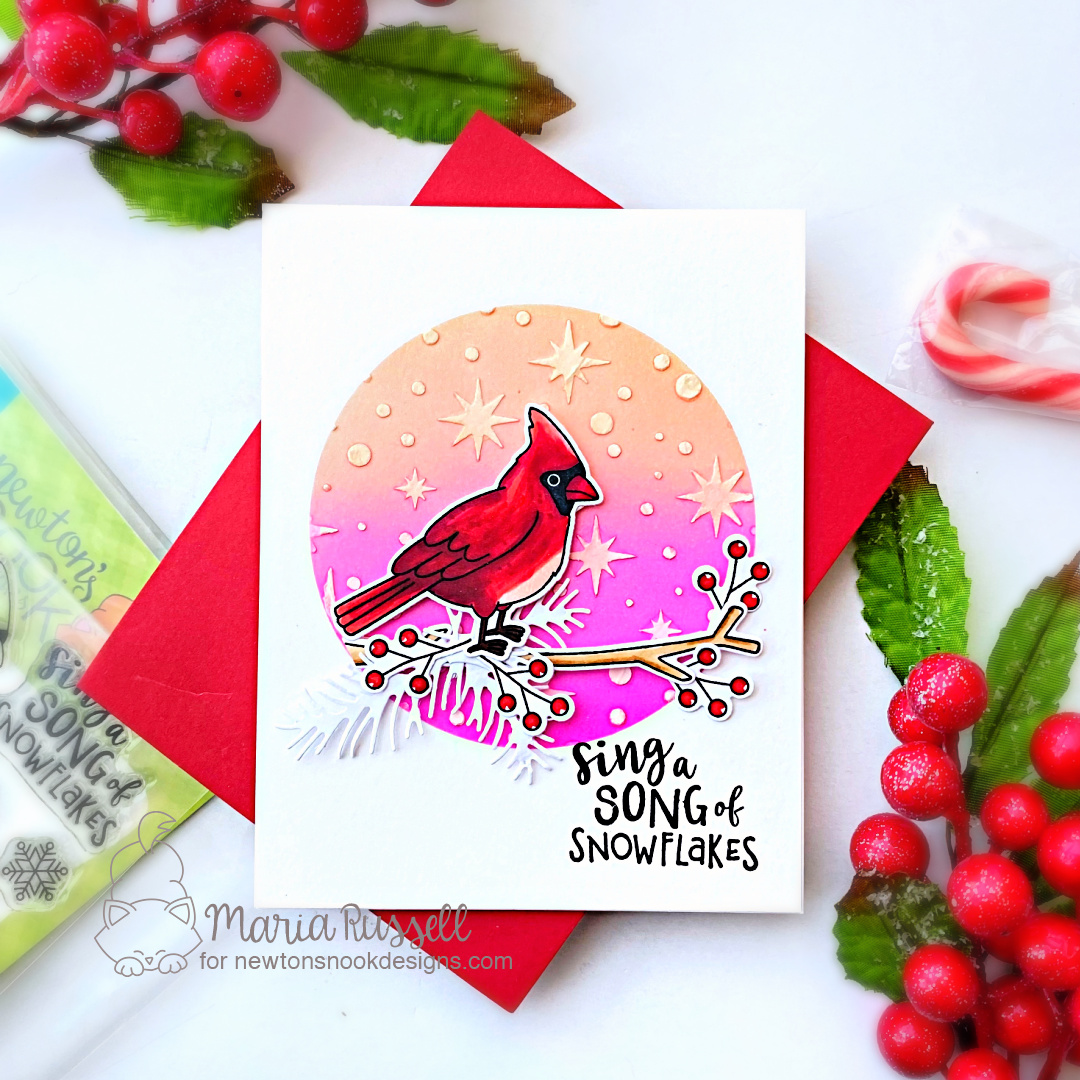
- die-cut the pattern paper from the Halloween Meows Paper Pad using the scallop die from the Frames & Flags Die Set. Adhere this piece on some A2-size top-folding notecard.
- stamp the Spiderweb Oval Stamp Set on some black card stock with Versamark ink. Sprinkle some white embossing powder and heat-set with heating tool. Die-cut the stamped image using the Oval Frame Dies.
- fussy-cut the middle part of the spiderweb using precision snips and foam-mount this panel on the card for added dimension.
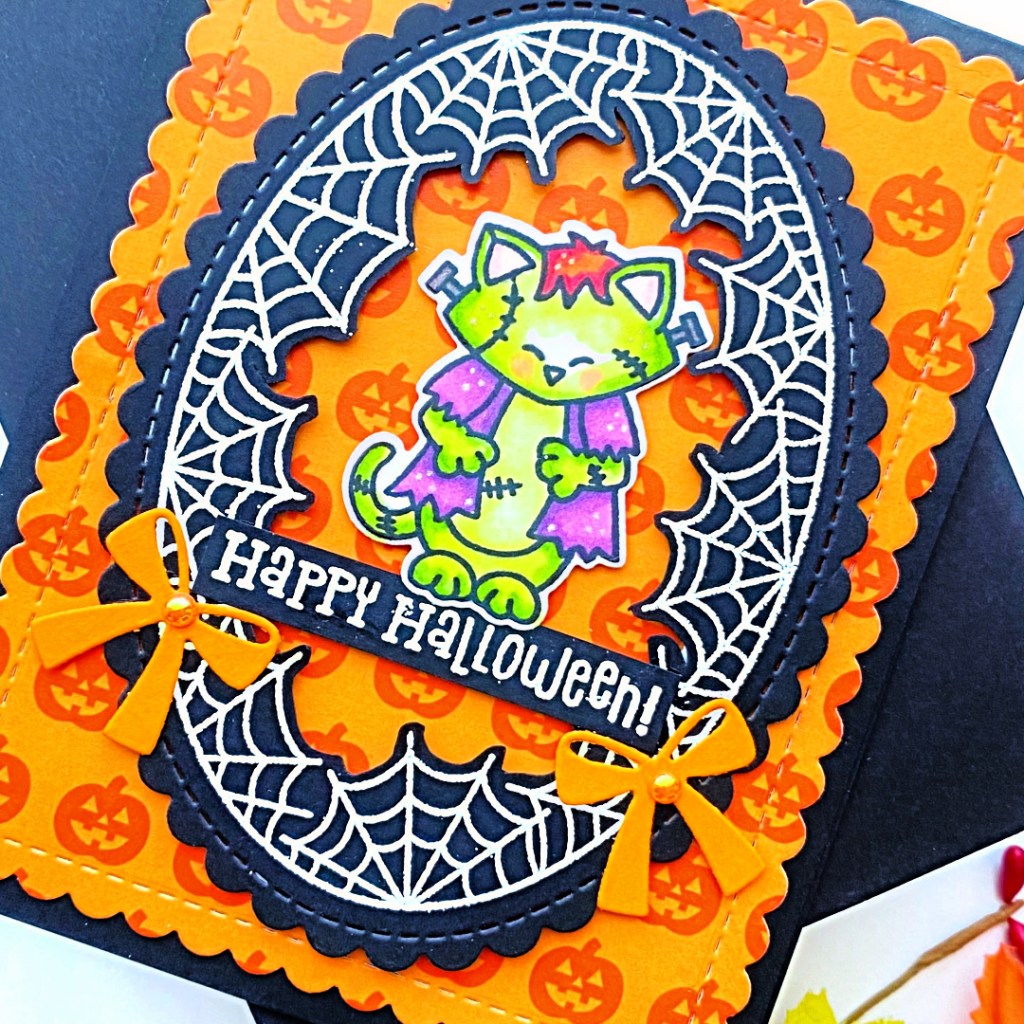
- stamp the focal image from the Franken Newton Stamp Set and die-cut using the Coordinating Die. adhere this on the card front with foam-adhesive.
- stamp the sentiment on some black card stock with Versamark ink and sprinkle some white embossing powder. Heat-set the sentiment with the heating tool and adhere on the card also with foam adhesive.
- finish the card design by adding the bows using the bow die from the Baby Bib Die Set and add some half orange pearls for added texture and interest.
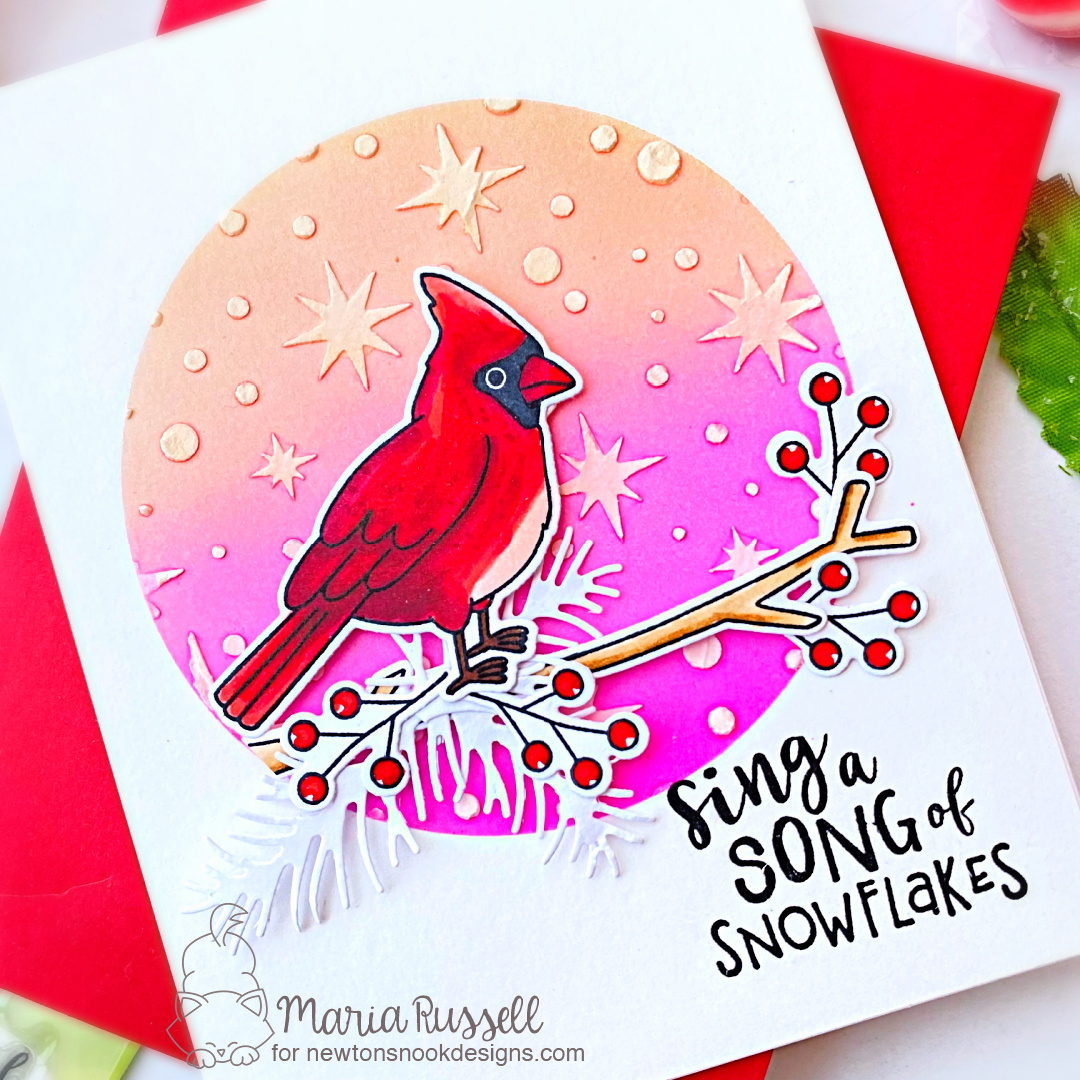
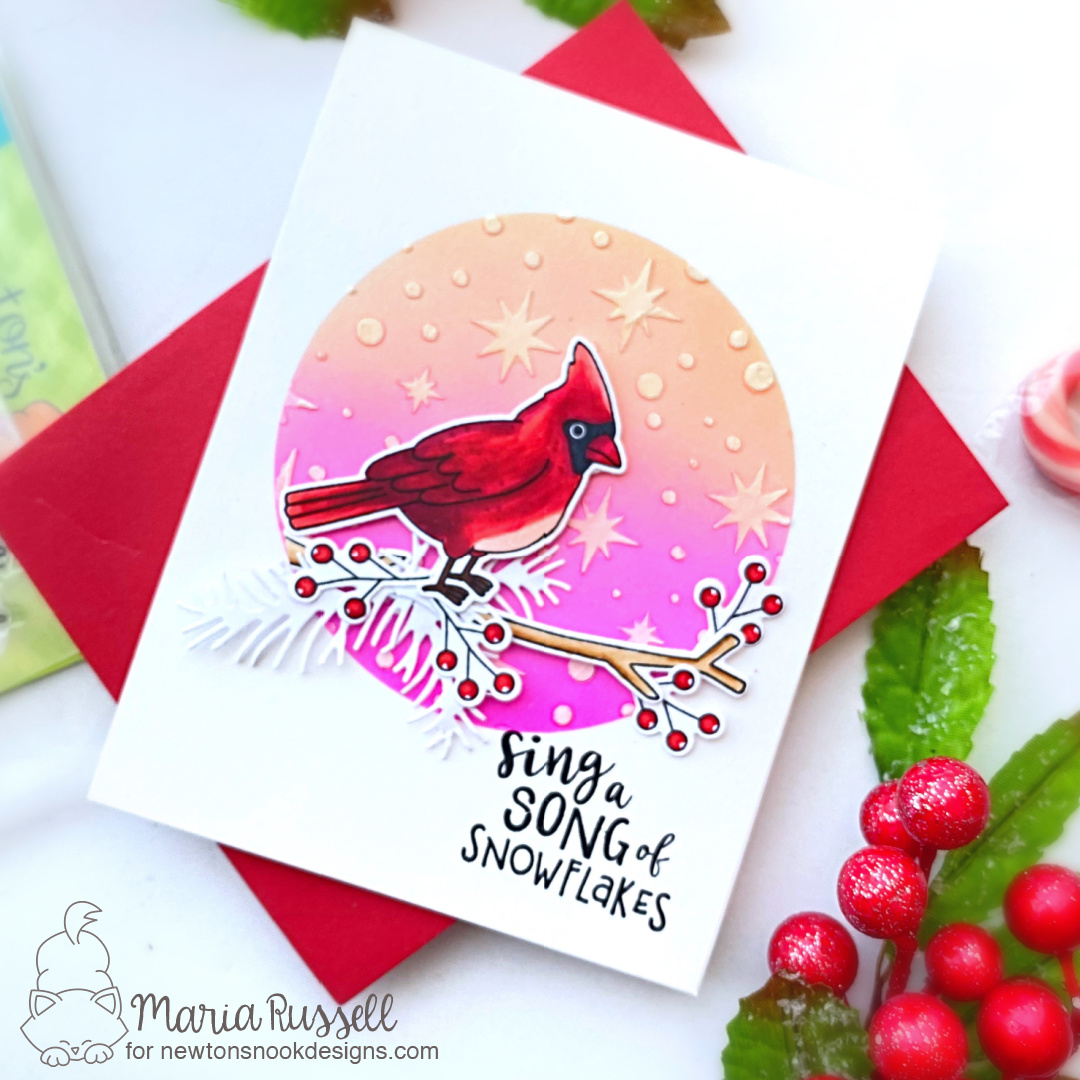
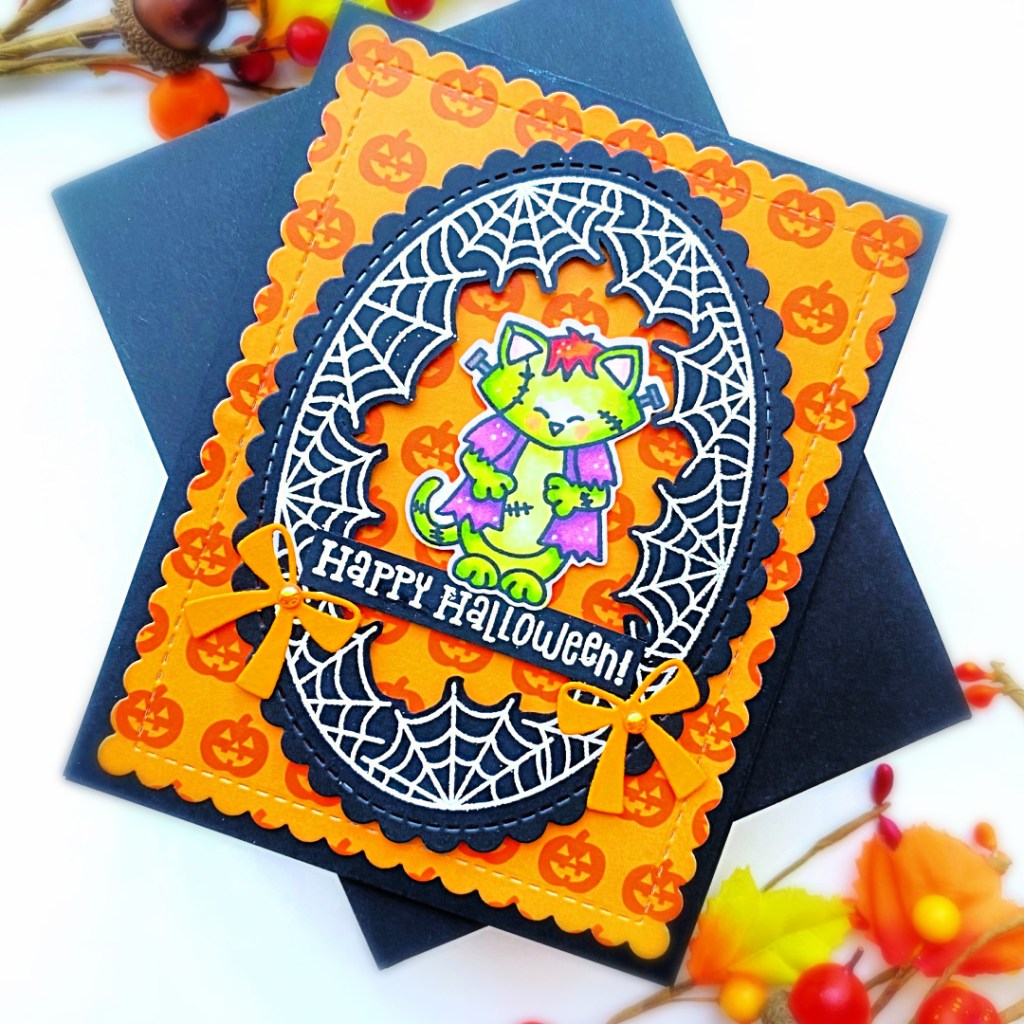
Looking back now, I think I should have used a different color for the bows but I still like the way this card turned out. Here’s another look:
I hope you like this card today and got inspired. Below, you will find links to the supplies used to create this project(s). Where available, I use compensated affiliate links at no extra cost to you. Your support helps me to keep bringing you new projects and inspiration. Thank you for stopping by, and have an amazing day!
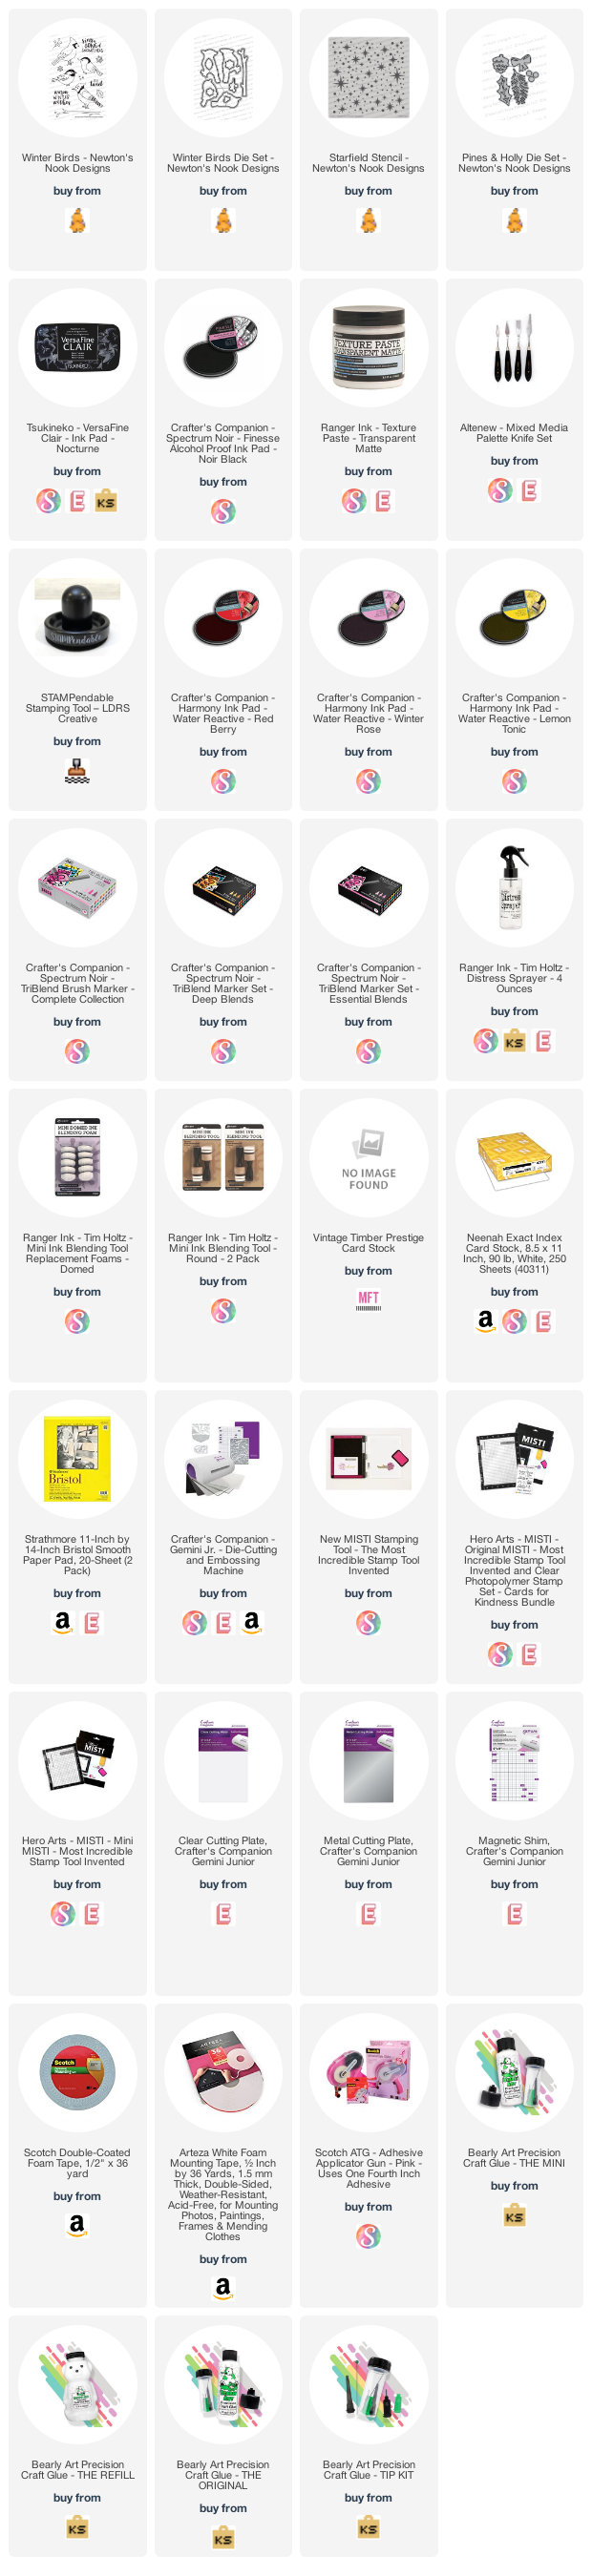
———SUPPLIES——–