Bring On the Cake!

Hello LDRS Creative friends!  I am so glad to be here to share another project showcasing the Party Time Tails Stamp Set and coordinating dies.  This stamp set pairs perfectly well with the About Birthday Collage 4×6 Stamp Set.

My idea for this card is to create something simple!  The image is so beautiful that it doesn’t really need anything else!  I created the colorful “arch” background by using the Arches Spotlight Stencil and combining two of my favorite hybrid inks: Banana Cream Pie and Little Boy Blue!  

After ink-blending, I used the Stitched Scallop dies to die-cut the background and another blue cardstock!  Both are adhered to a 4 x 5 1/4 card base, with the focal point foam-mounted for more dimension!  I also foam-mounted the cute image and adhered a few yellow stars using the Starry Sky Border Die for added interest.

Lastly, I stamped the sentiment using the About Birthday Collage 4×6 Stamp Set!  This is such a simple card, but I really love how it turned out!  Every time I create projects, I like to mix and match old and new products to create cute designs.

I hope you all have a great day, and thanks for stopping by!  Happy crafting!
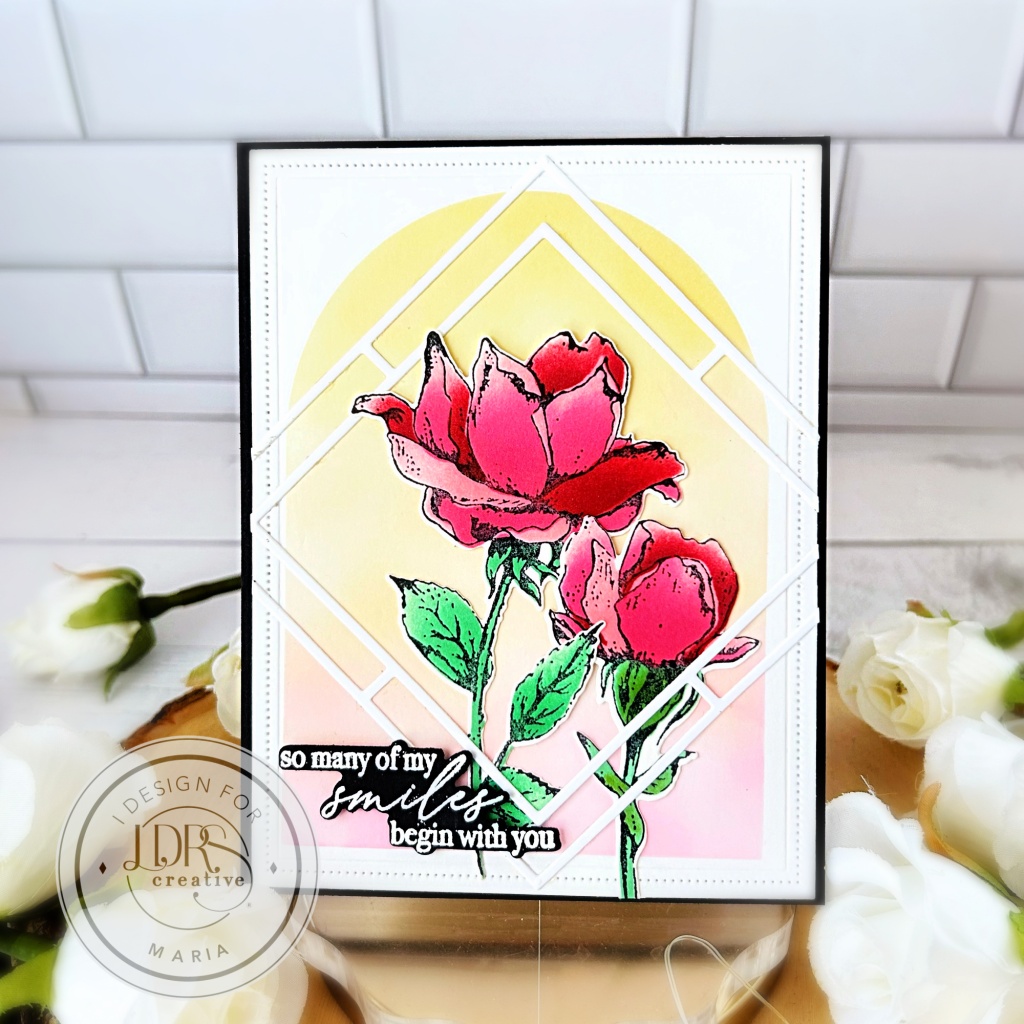
So Many of My Smiles Begin With You

Hello everyone! In today’s post, I want to share a card with a lot of texture and details!  I am showcasing the Velvet Petals Impress-ion Press + Foil Plates, with the Velvet Petals Layering Stencils and the Velvet Petals Coordinating Dies.

I started to die-cut the card front using the Pinpoint Rectangle Die set.    I wanted to add some color to the background and used the Arches Spotlight Stencil.  I mixed Banana Cream Pie, Peachy Keen, and Pink Tutu Hybrid inks.  

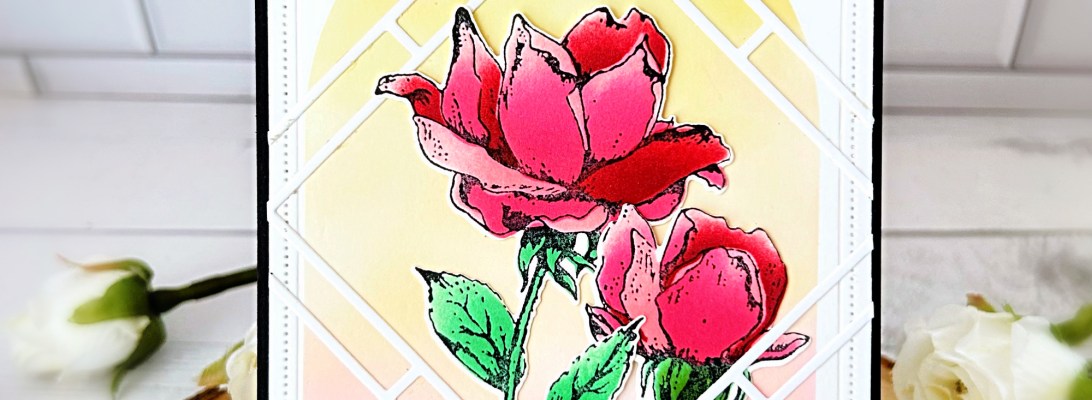
Next, I used the Velvet Petals Impress-ion Press + Foil Plates with the BetterPress Plates to stamp an impression on the watercolor cardstock with Raven Hybrid ink.  Coloring the images was very easy using the Velvet Petals Layering Stencils with Scarlet Rose, Lipstick Jungle, Soft Kisses, and Pistachios-A-Plenty Hybrid inks.

To add more texture, I die-cut the square white frame using the Floating Squares Die set.  I adhered the colored roses, then added the floating white square with liquid glue.  The background was then foam-mounted to the card base for more dimension and finished by adding the sentiment!  Here’s another look:

I LOVE how this project turned out, and I hope you do as well.  Thanks for stopping by and have an amazing day!