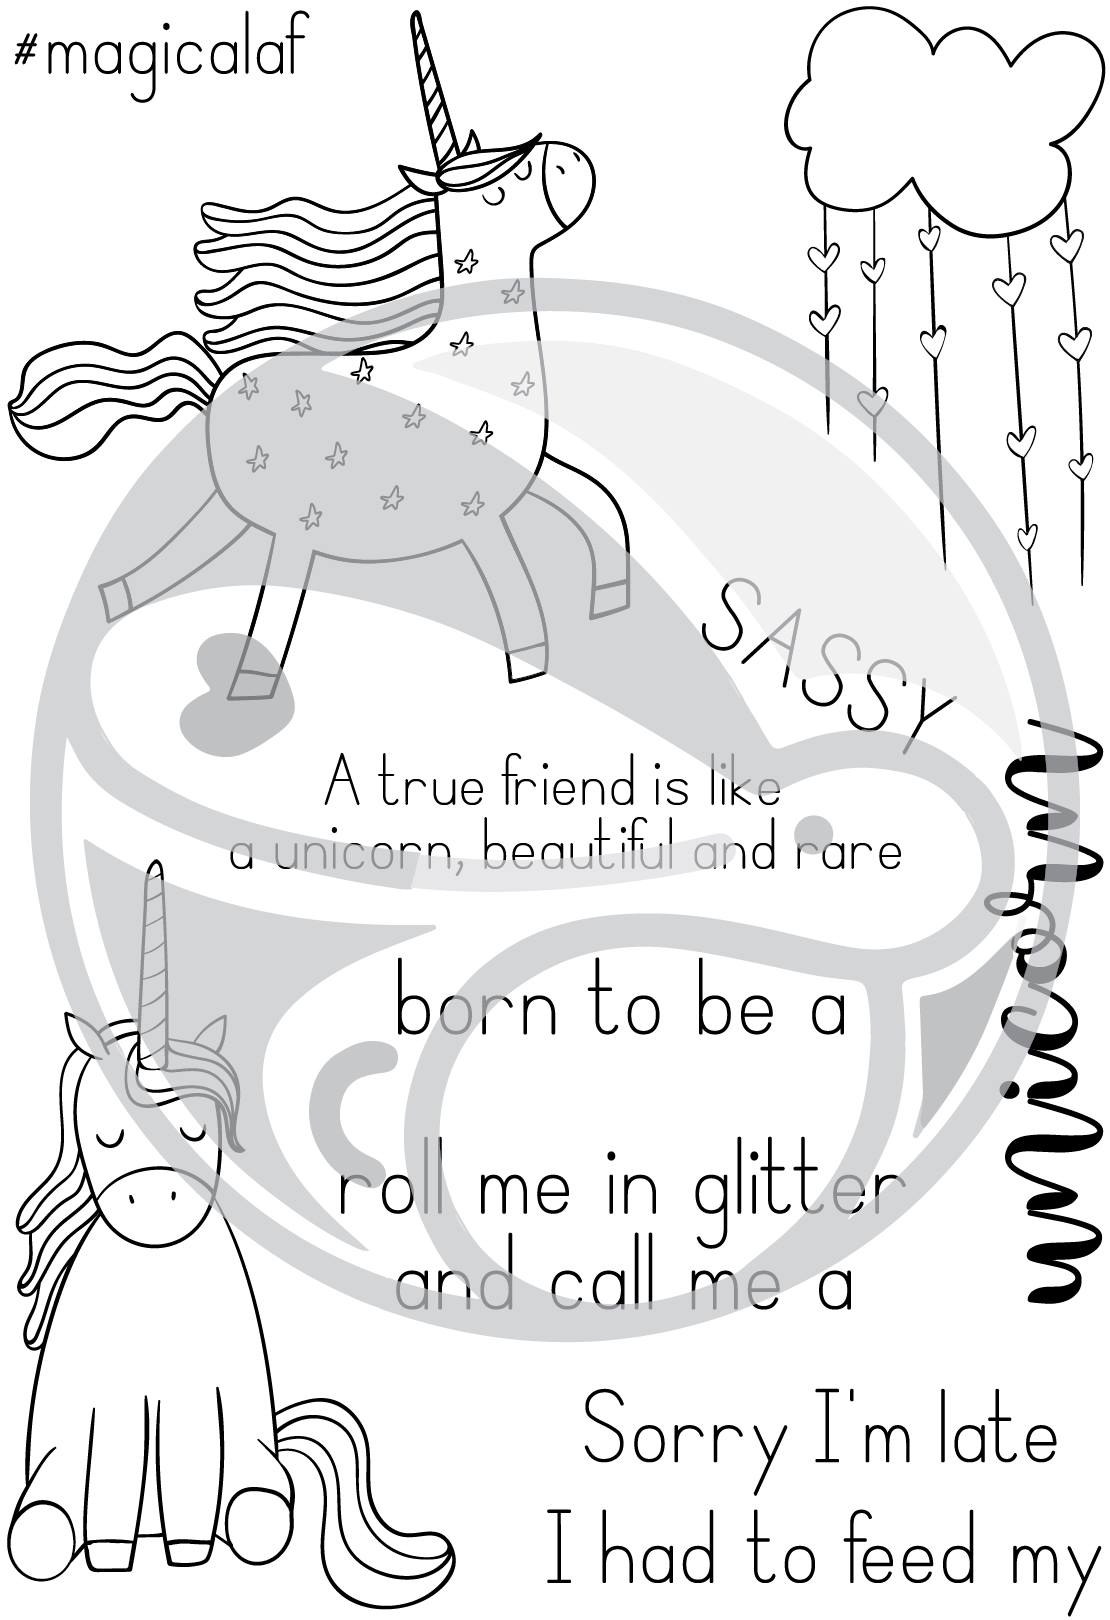
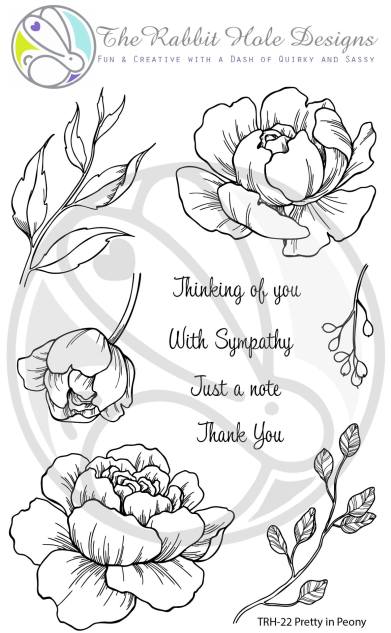
Hello and welcome to the release hop. We are so excited for you to join us as we present to you our August release. The whole design team will be sharing projects featuring the new Stencils. For my project today, I also used the Caffeinated Rabbit and the Sassy Sentiment stamp set. We also have a GIVEAWAY so please be sure to scroll at the end of this blog post to find out how you can WIN. Don’t forget to visit the participating blogs (links are indicated below) and leave us some crafty love. The new stamp sets and stencils are now available for purchase at the Rabbit Hole Designs as well as Simon Says Stamp. Here’s what it looks like:

Every order placed will be eligible for a 10% discount. Discount Code TRHD2019 this code will only be accepted until Friday 08-02-2019. EXCLUDES Dies and Crafters Essentials. Not applicable to previous orders. May be used more than once. Does not apply to shipping and tax.
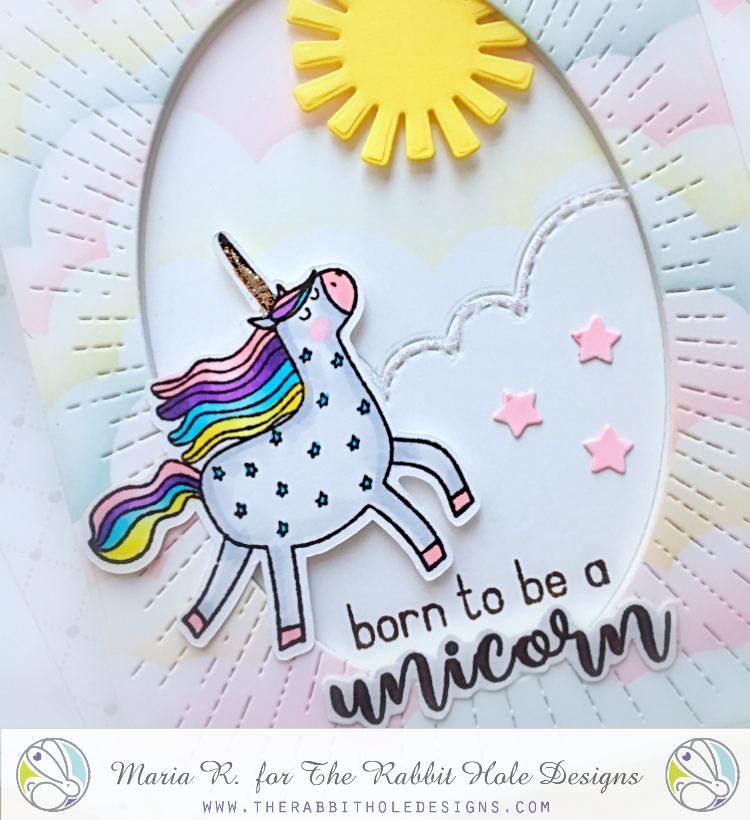
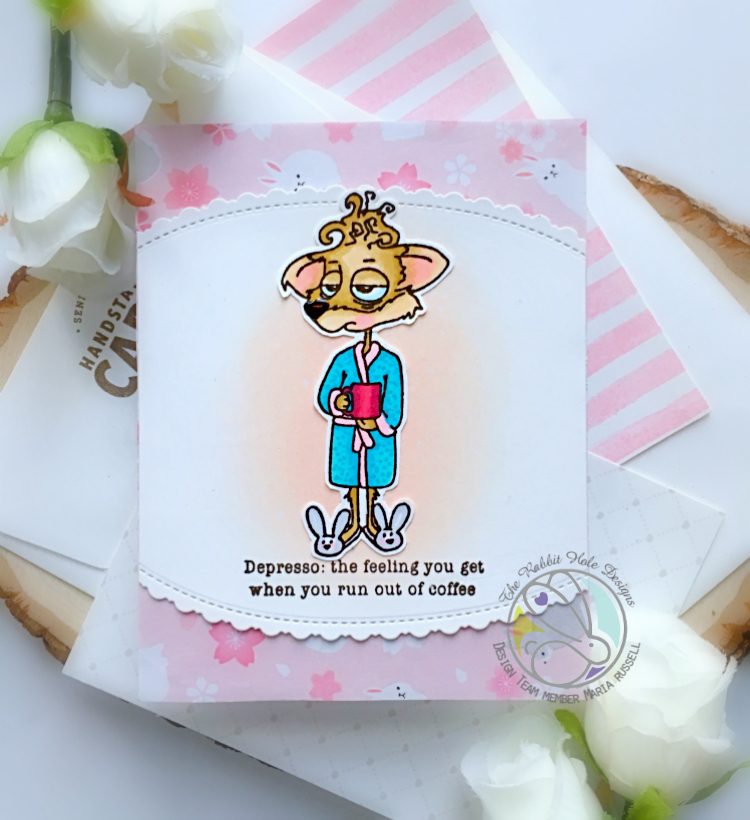
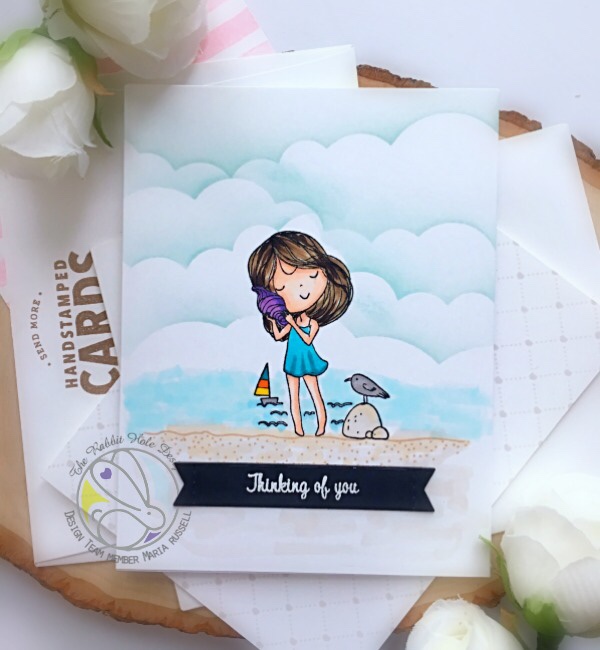
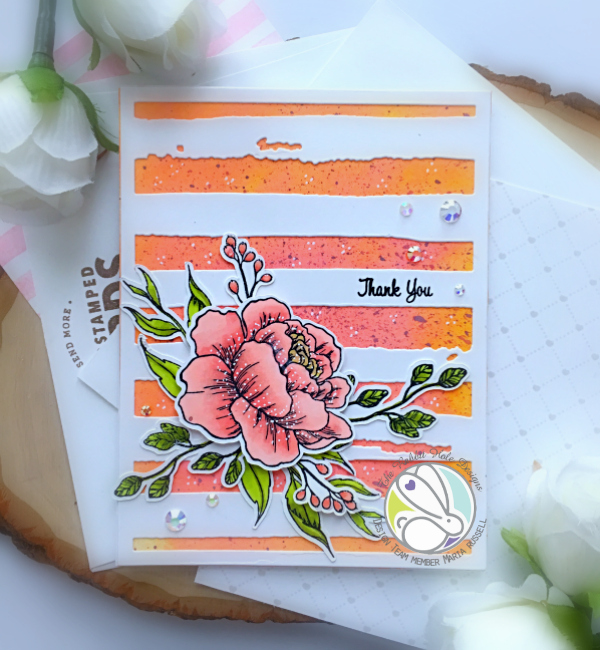
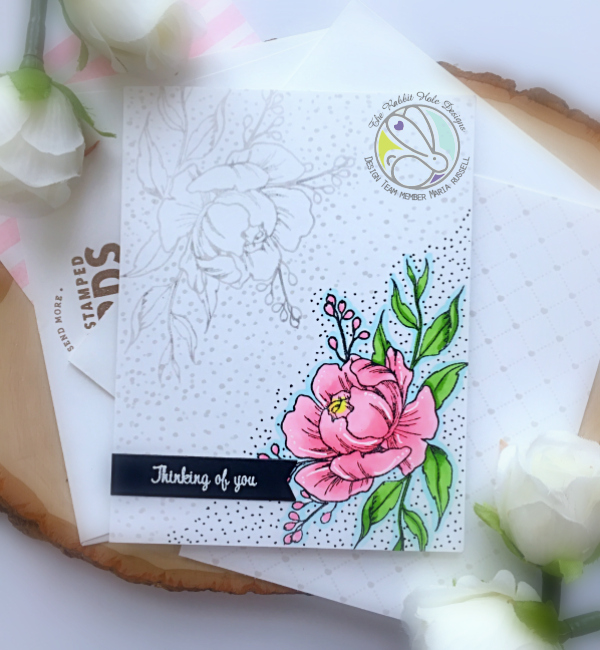
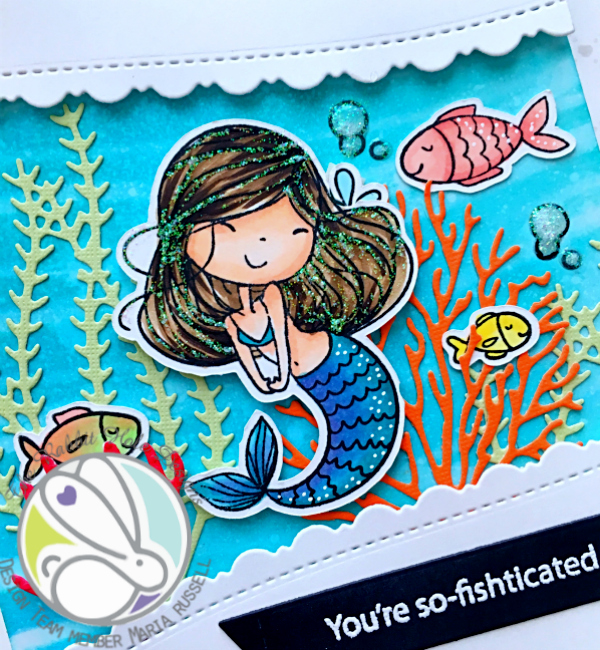
To start, I ink-blended an A2 size card stock panel using the Puzzle Box stencil and distress oxide ink. I also stamped the Caffeinated Rabbit and colored him in with my Copic markers. I die-cut the image using my Brother Scan N Cut 2. I adhered the Rabbit and added balloons on the card.

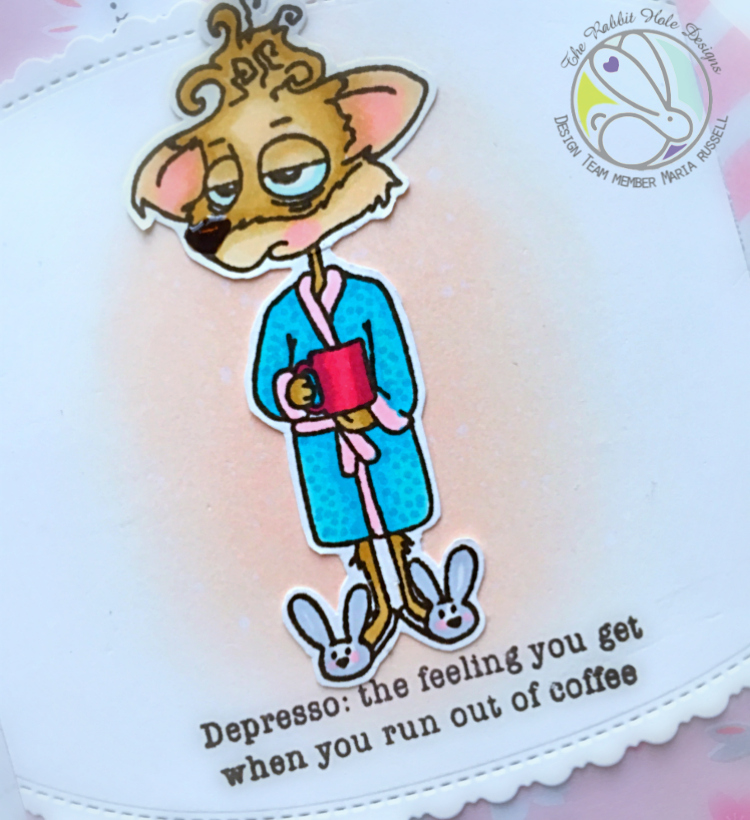
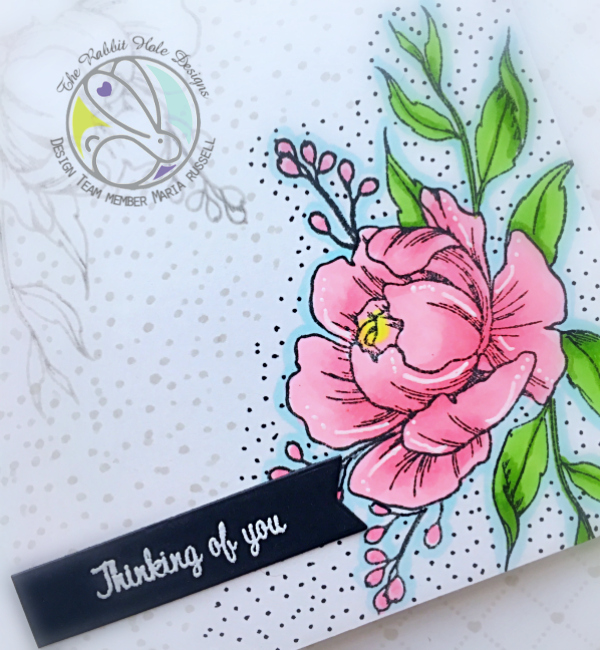
I stamped the sentiment with Versamark ink on a banner strip using the Sassy Sentiments stamp set and heat-set this with my heating tool. I foam-mounted this piece onto my card and added sparkling clear jewels for more texture. Here’s a closer look:

I hope you like my project today. Here’s the info about the GIVEAWAY:
To celebrate day 3 inspiration, The Rabbit Hole Designs is giving away the stamp set Sassy to One lucky winner. Winner will be chosen at random from the comments left on participating blogs, so make sure to visit each stop and leave a comment. Leave comments by 11:59 pm PST 08-01-2019 on all participating blogs. Winner will be announced on The Rabbit Hole Designs blog 08-02-2019
Maria (you are here)
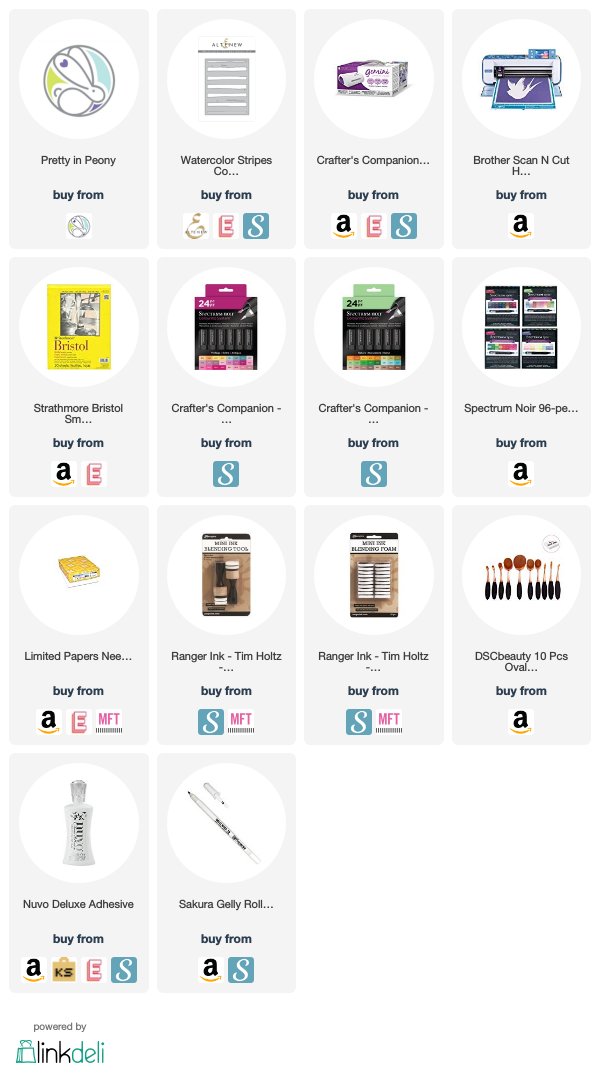
———–SUPPLIES————