So Glad You’re My Mom with LDRS Creative

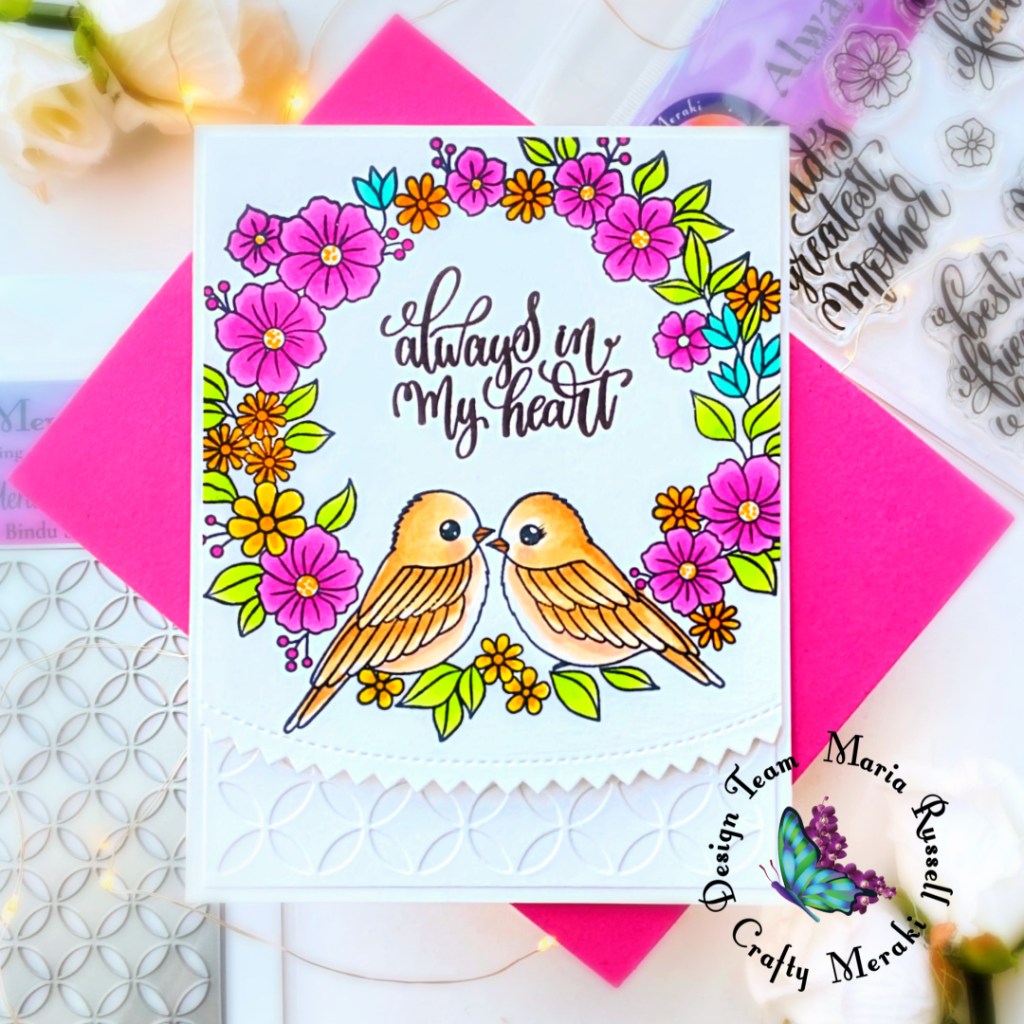
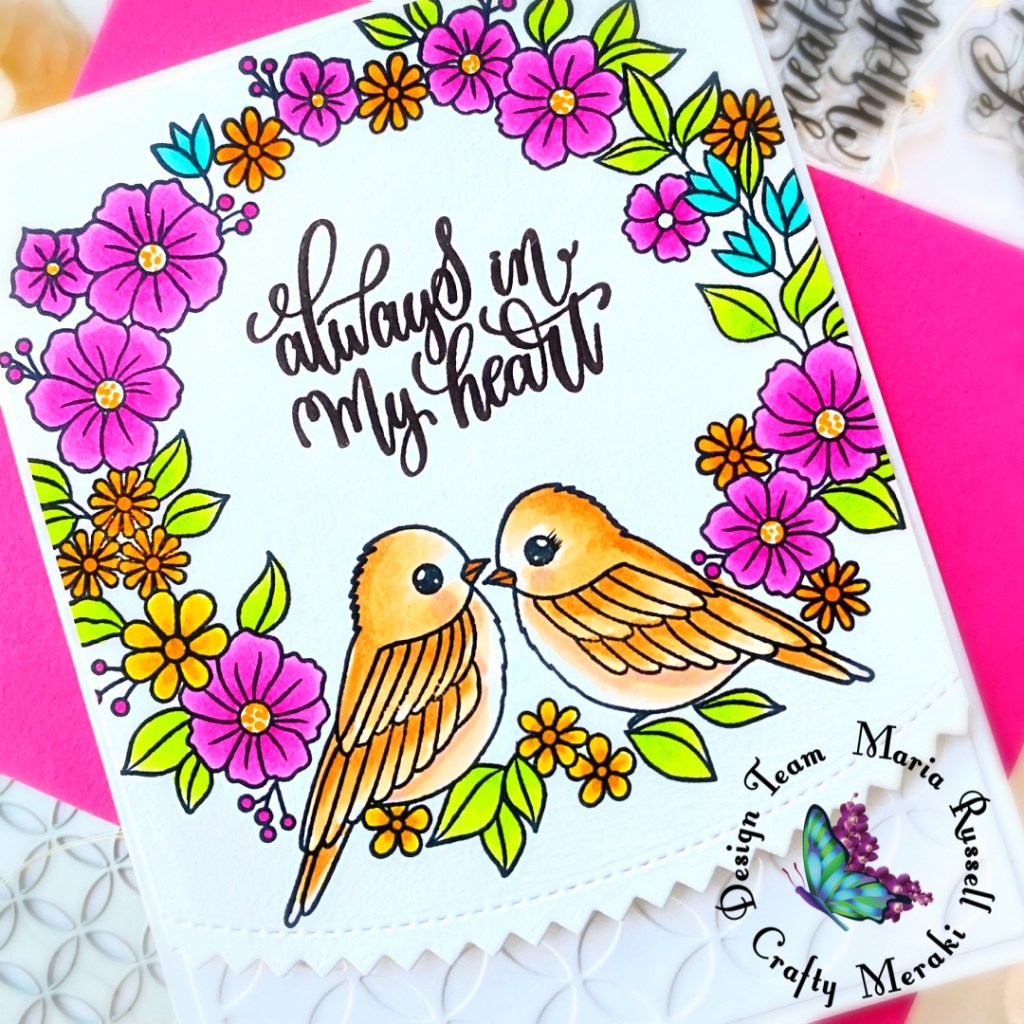
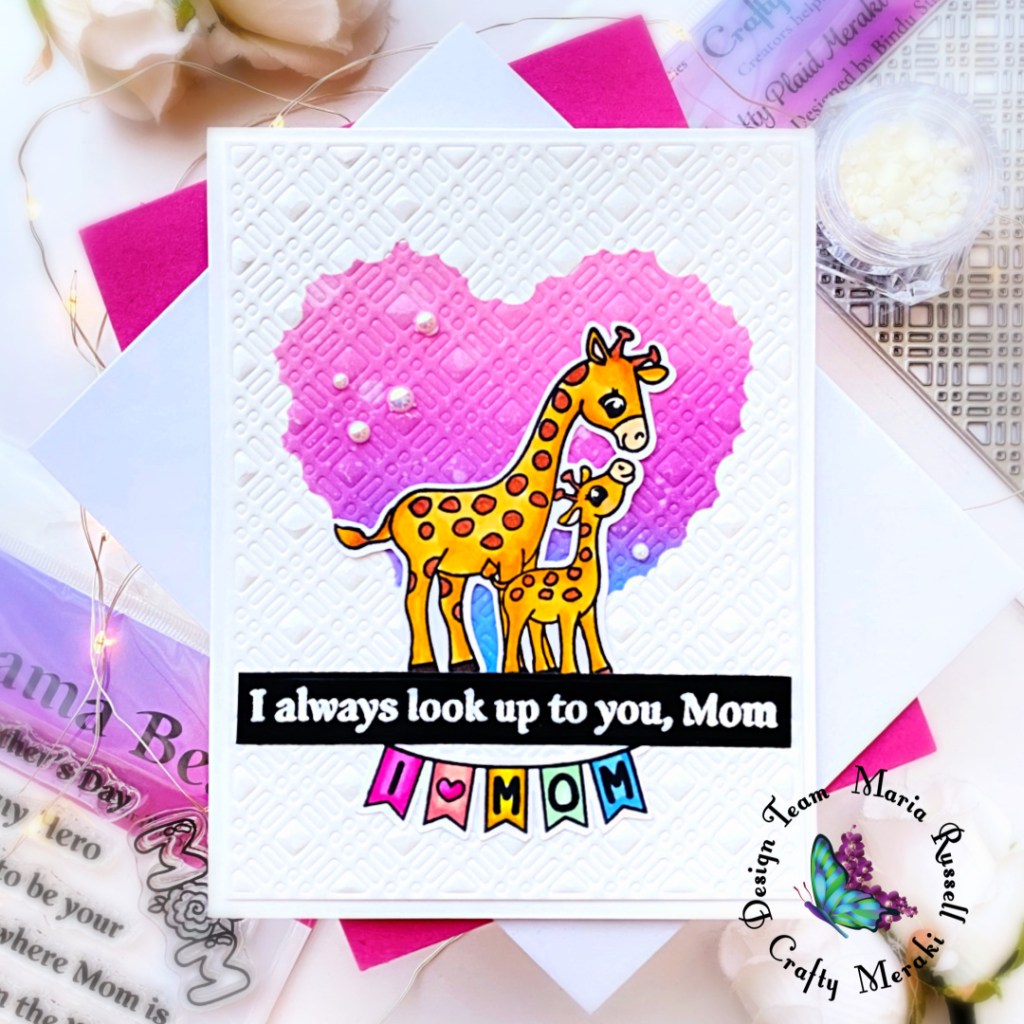
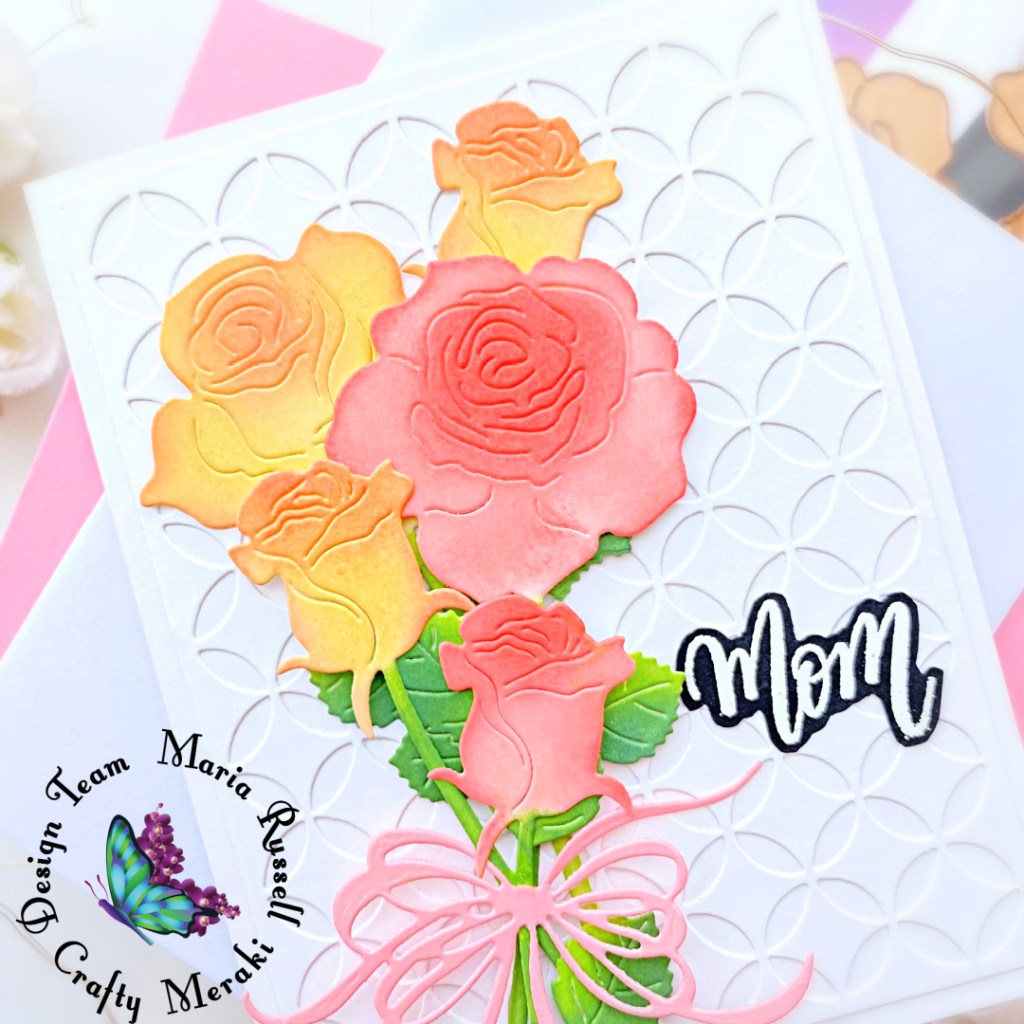
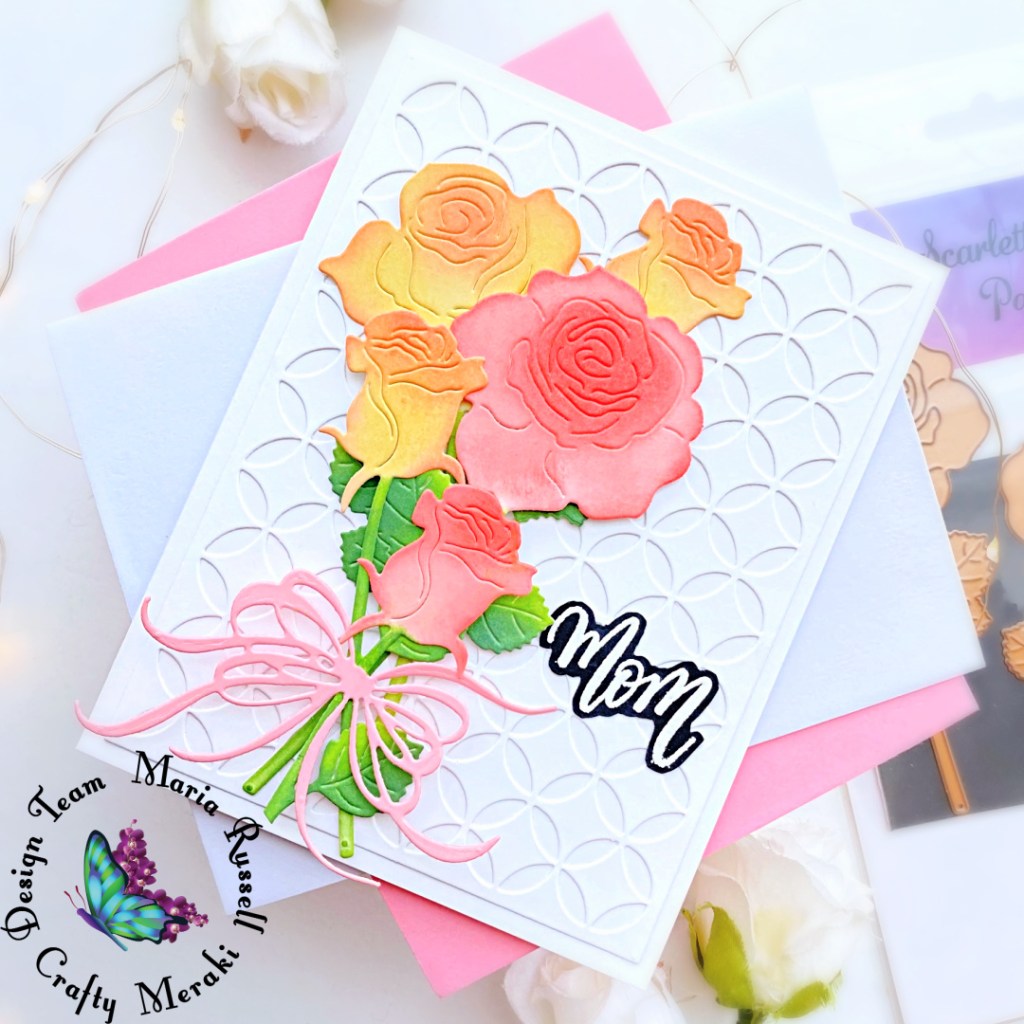
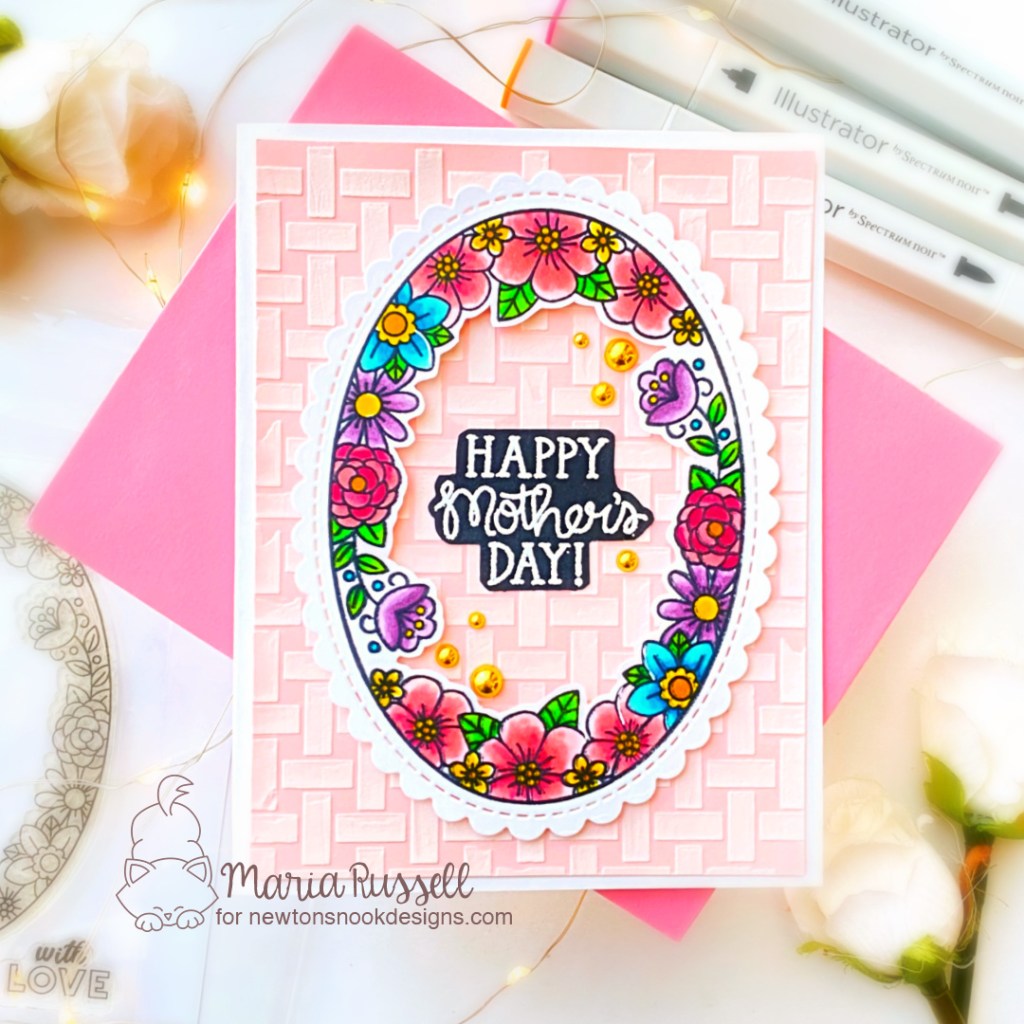
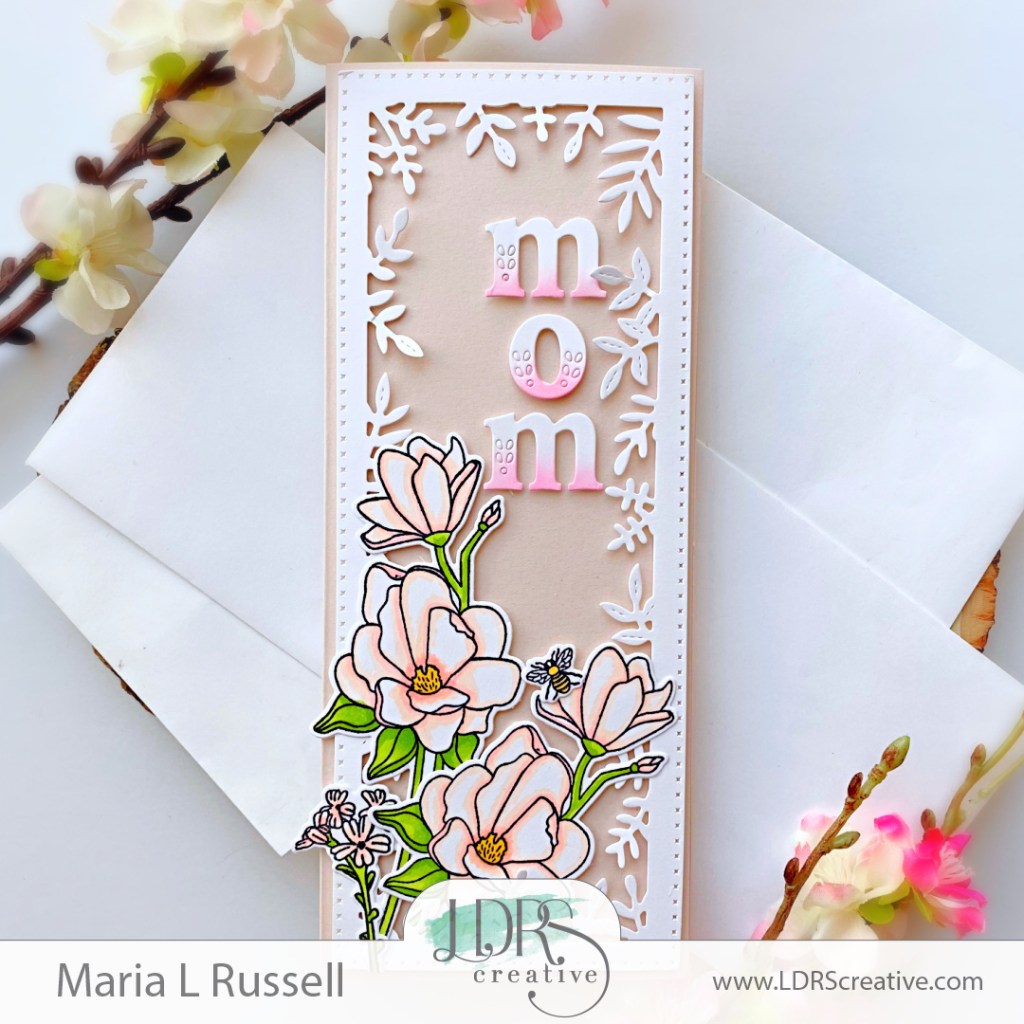
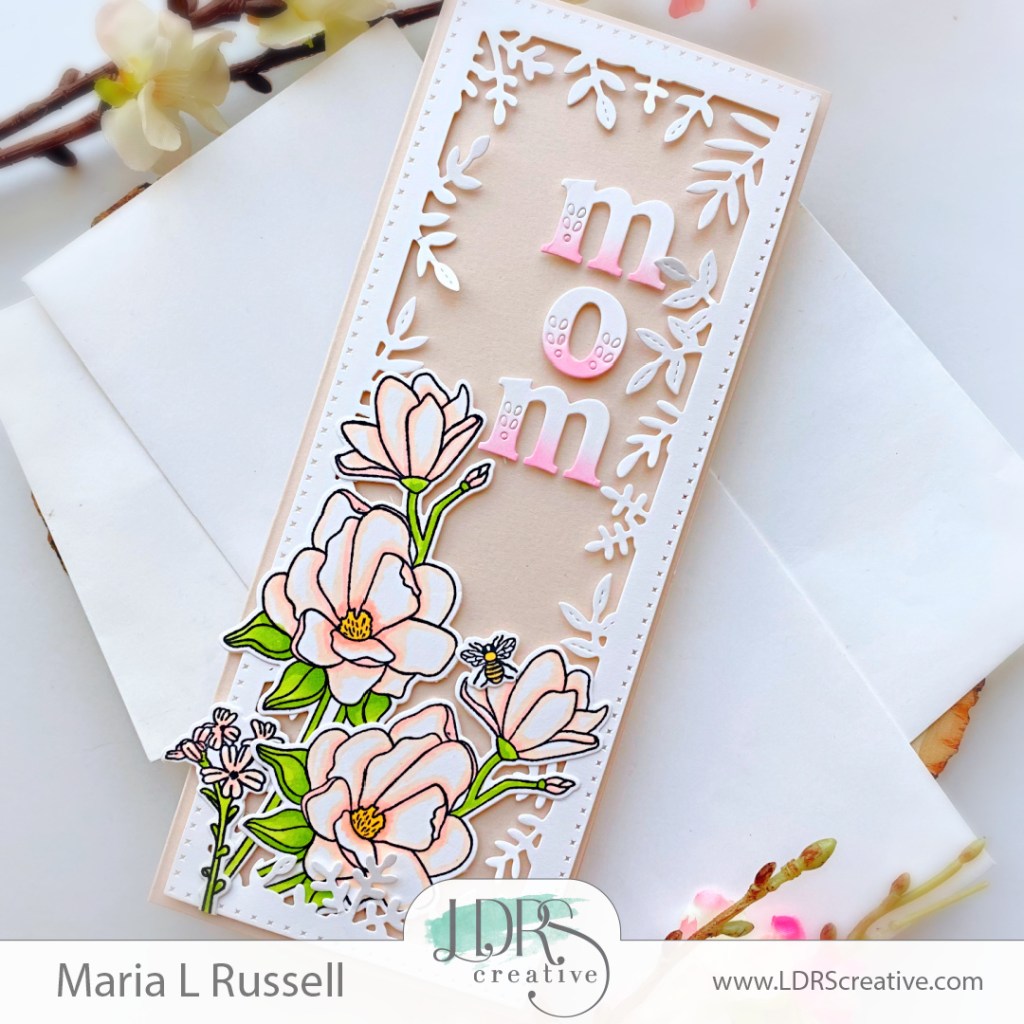
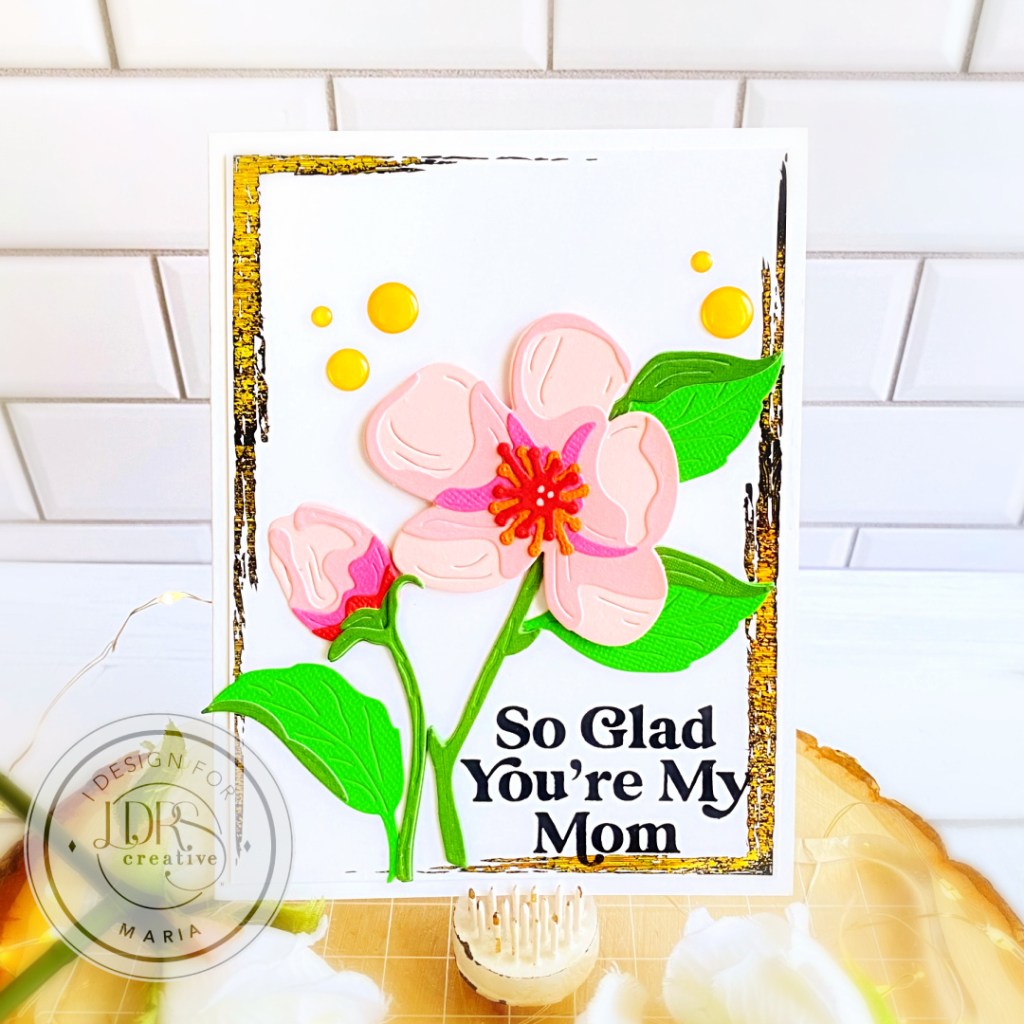
Mother’s Day is almost here and I have a beautiful card to share with you, showcasing the Cherry Blossom Layering Dies, along with the Special Occasions Stamp Set.

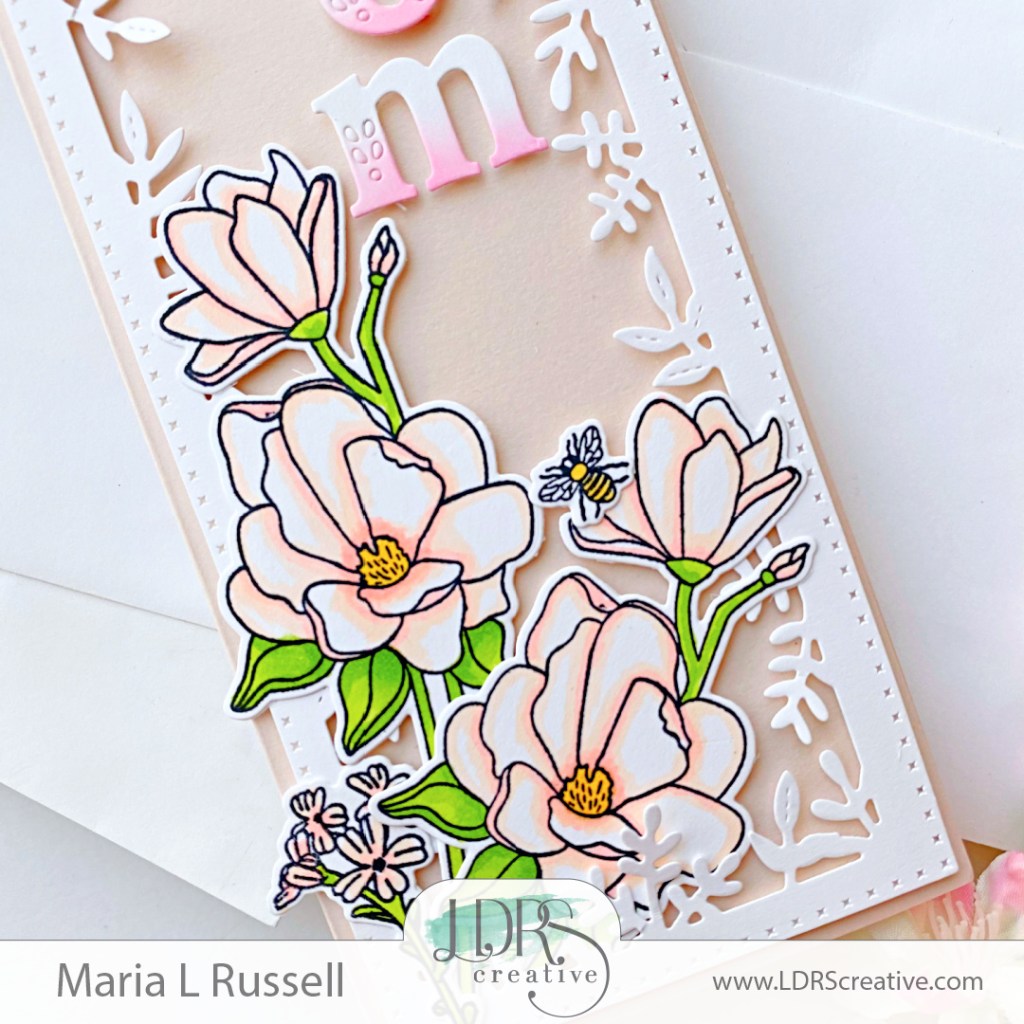
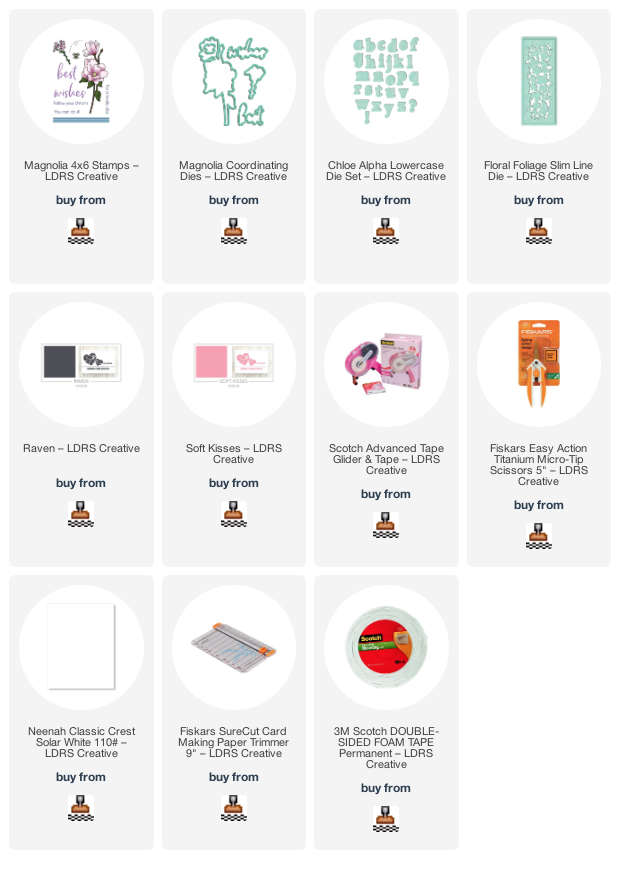
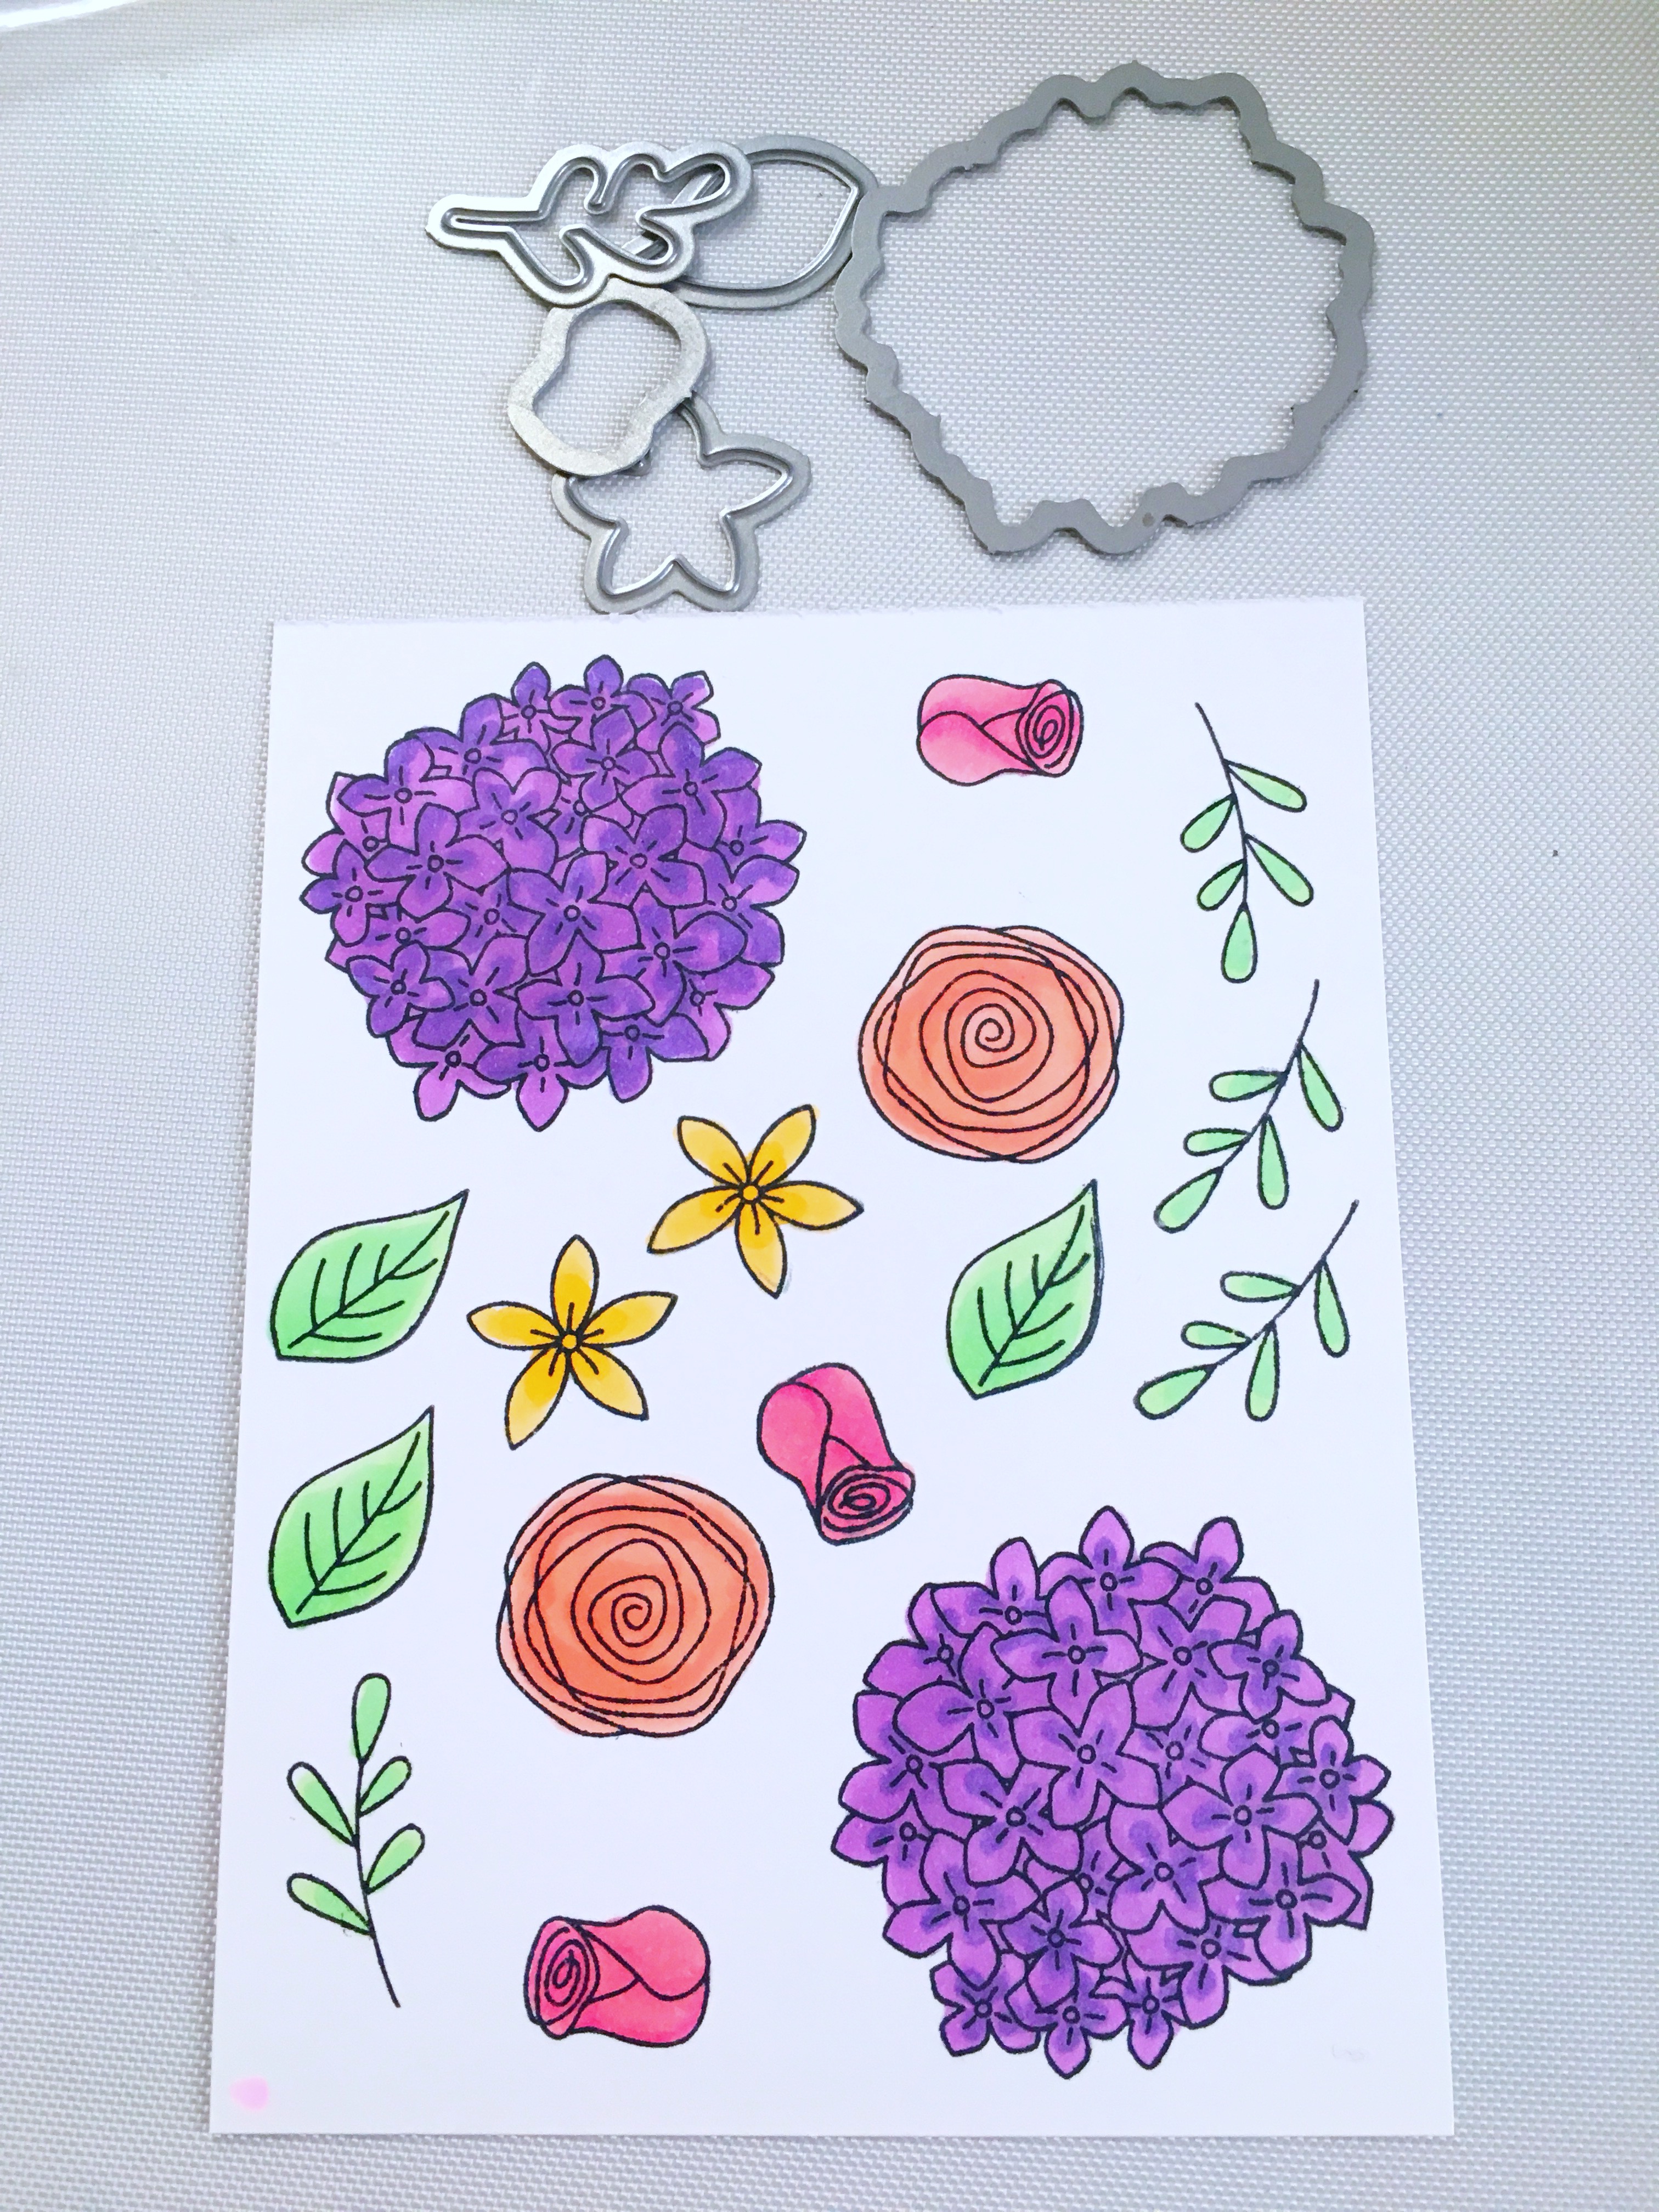
I started by die-cutting the leaves and flowers using the Cherry Blossom Layering Dies with different colors of scrap card stock.  I assembled the leaves and flowers using liquid glue and set it aside to let it dry for a few minutes.

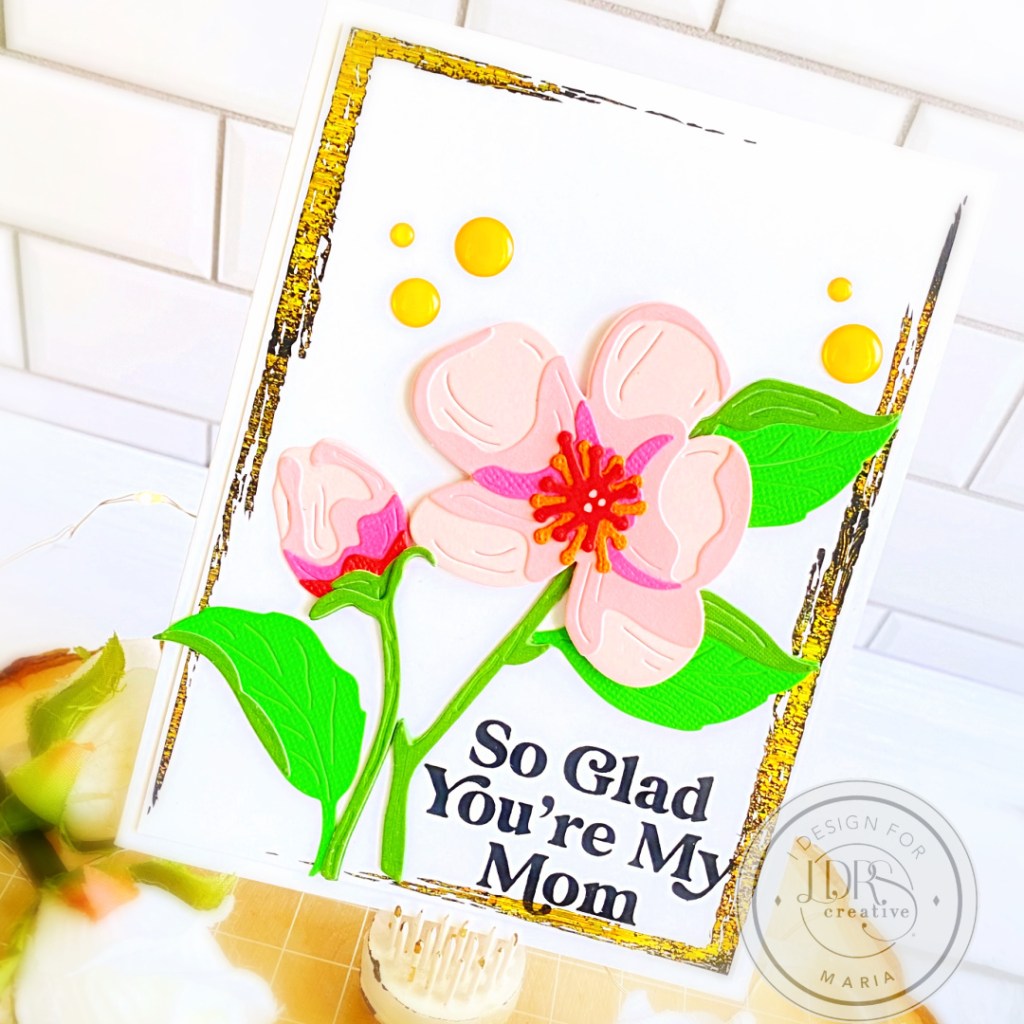
The background was made by foiling the A2 Toner Frames Paper (retired) with some gold foil.  I trimmed this panel for 4 x 5 1/4 inches and adhered onto some top-folding notecard.

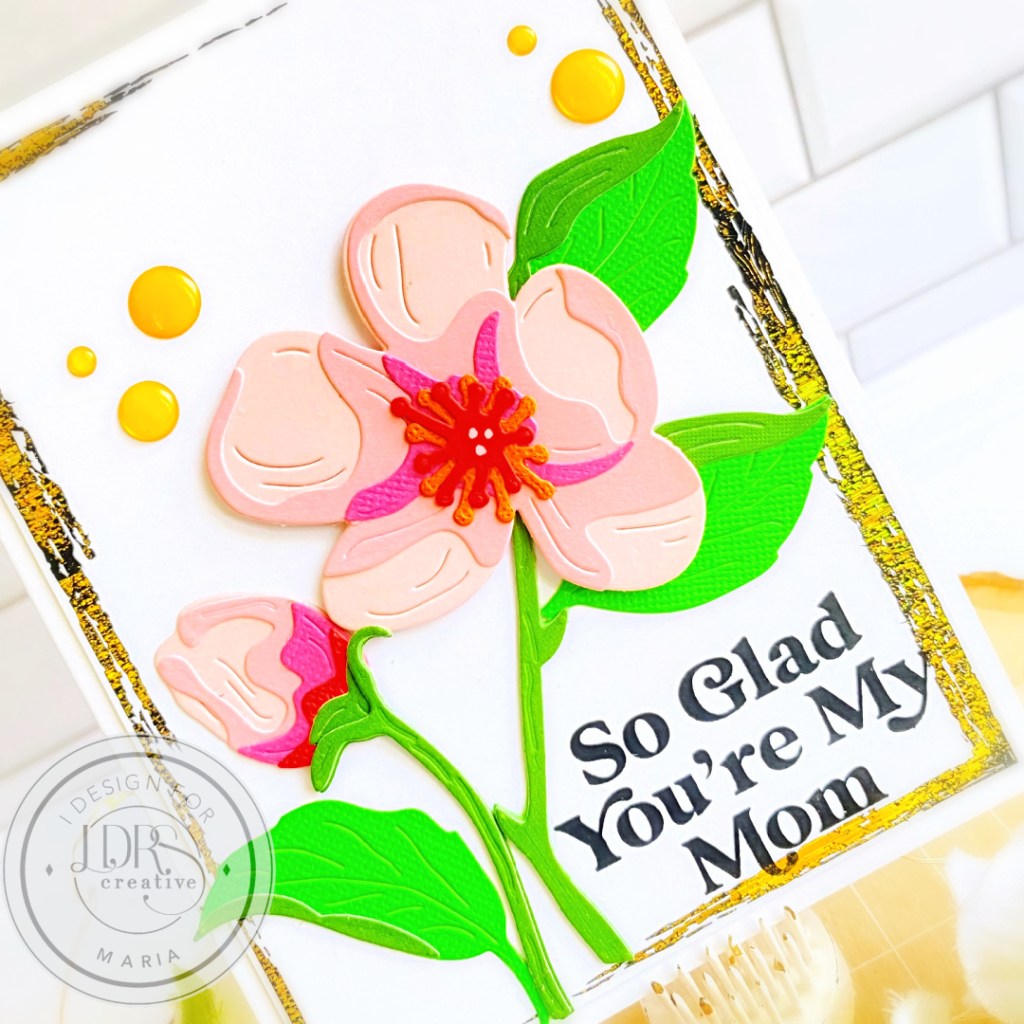
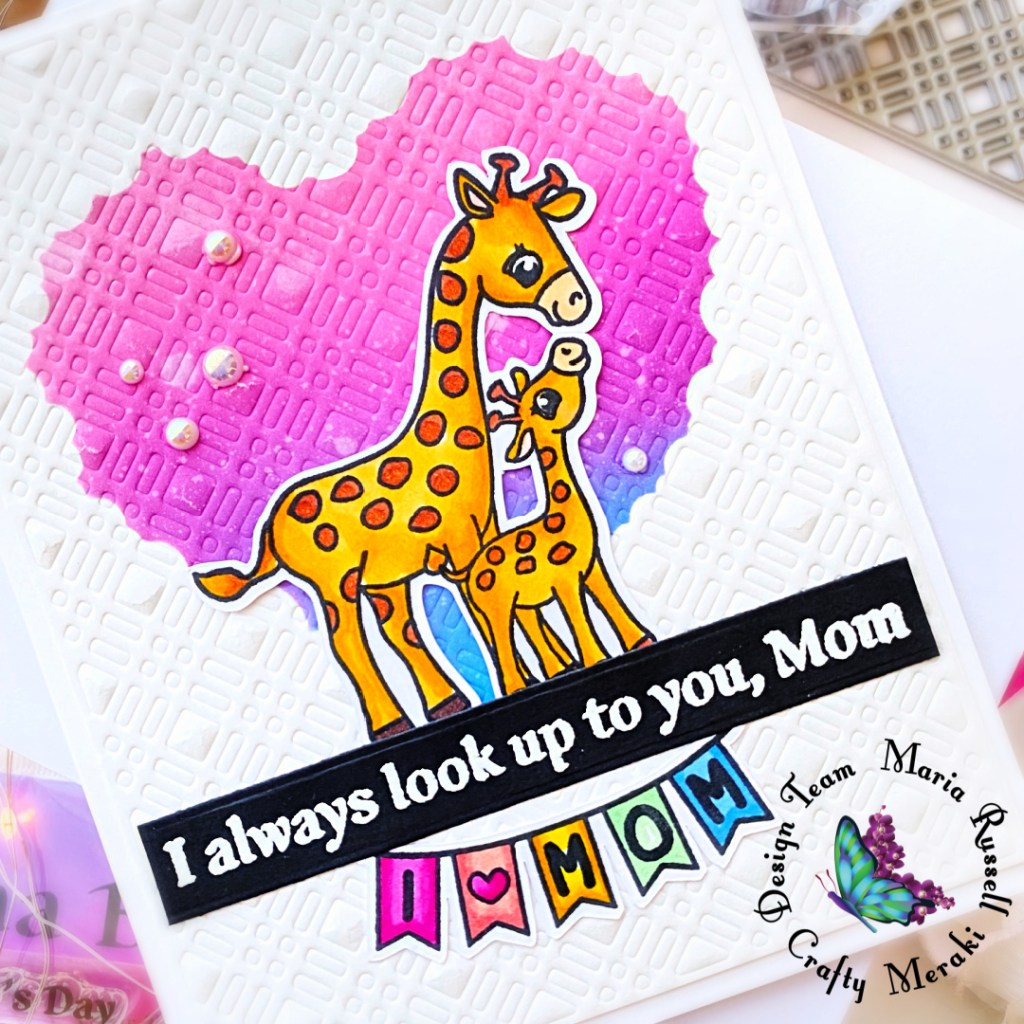
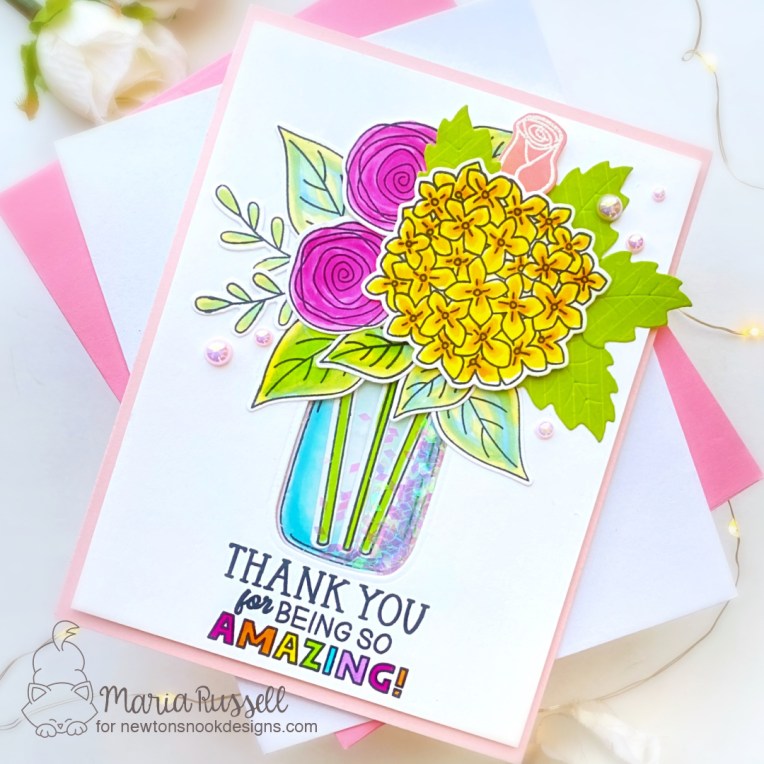
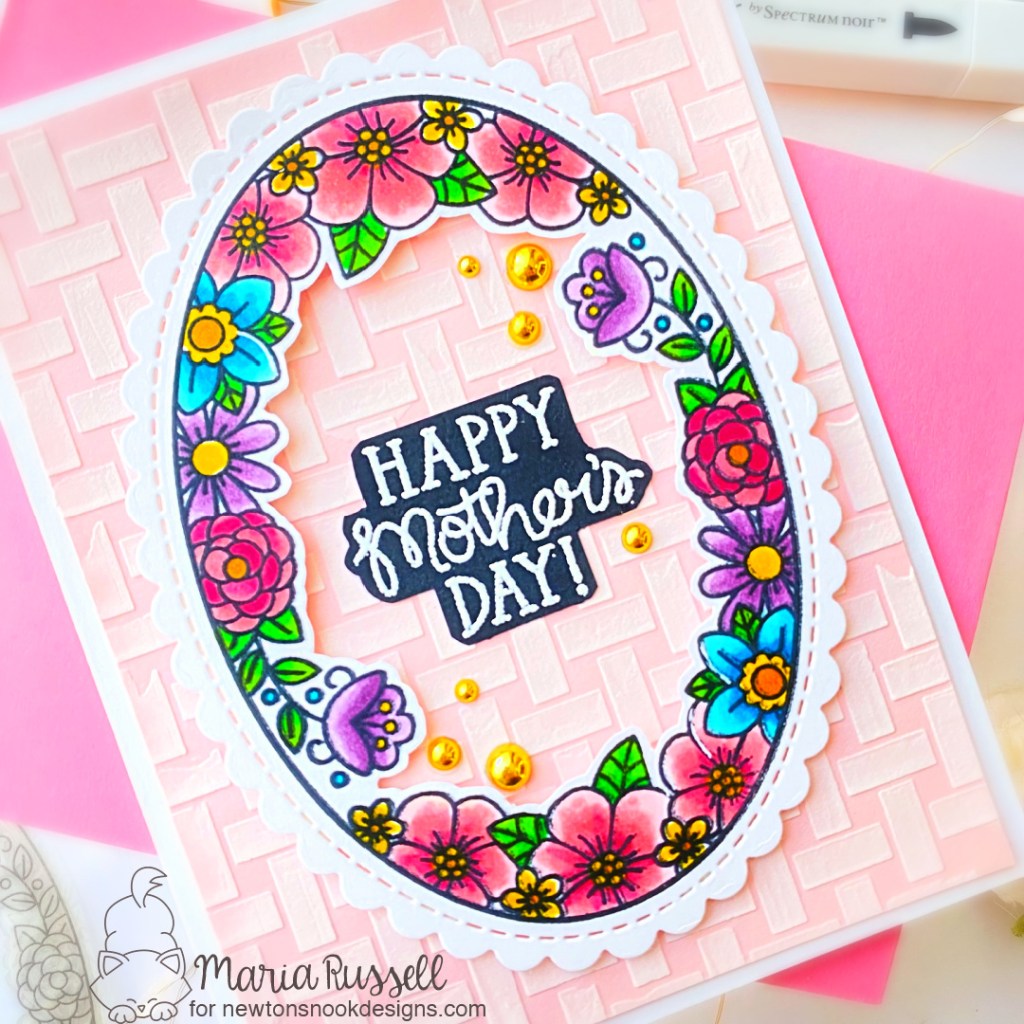
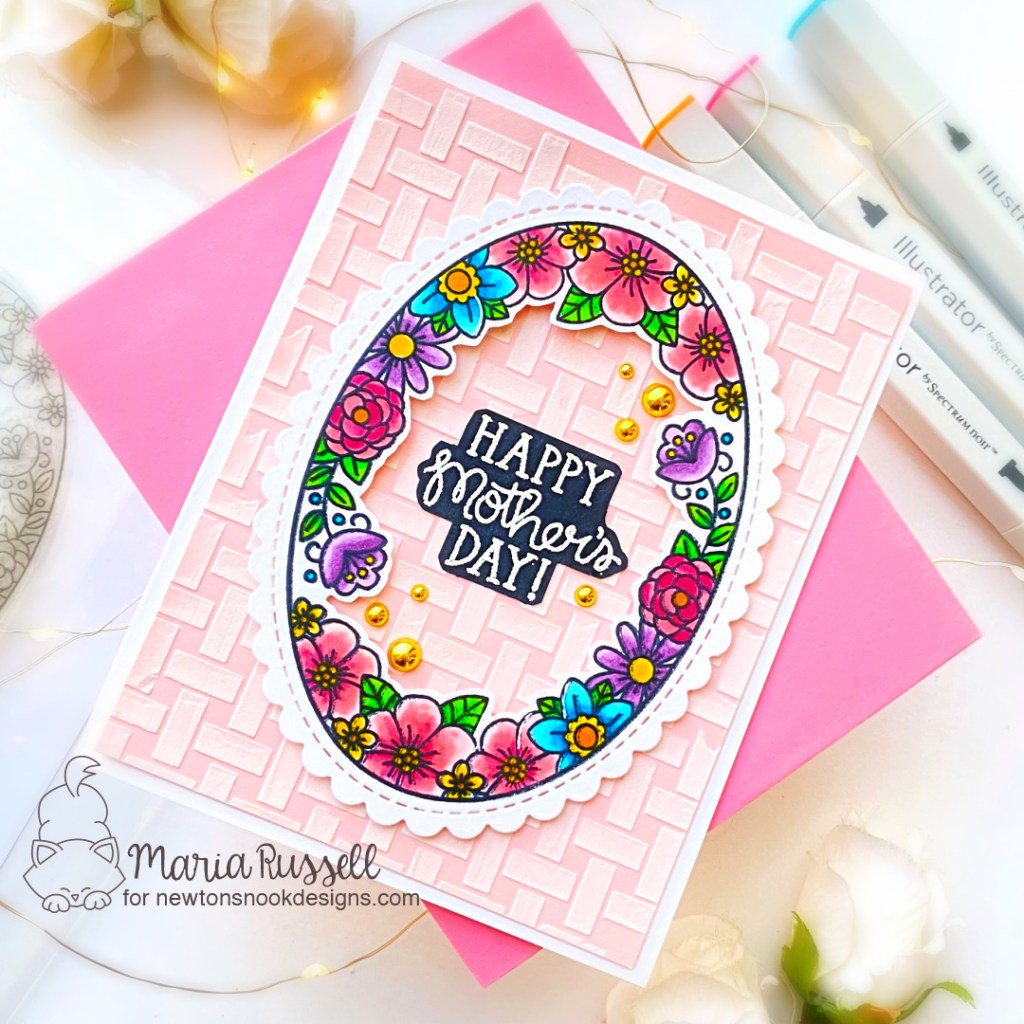
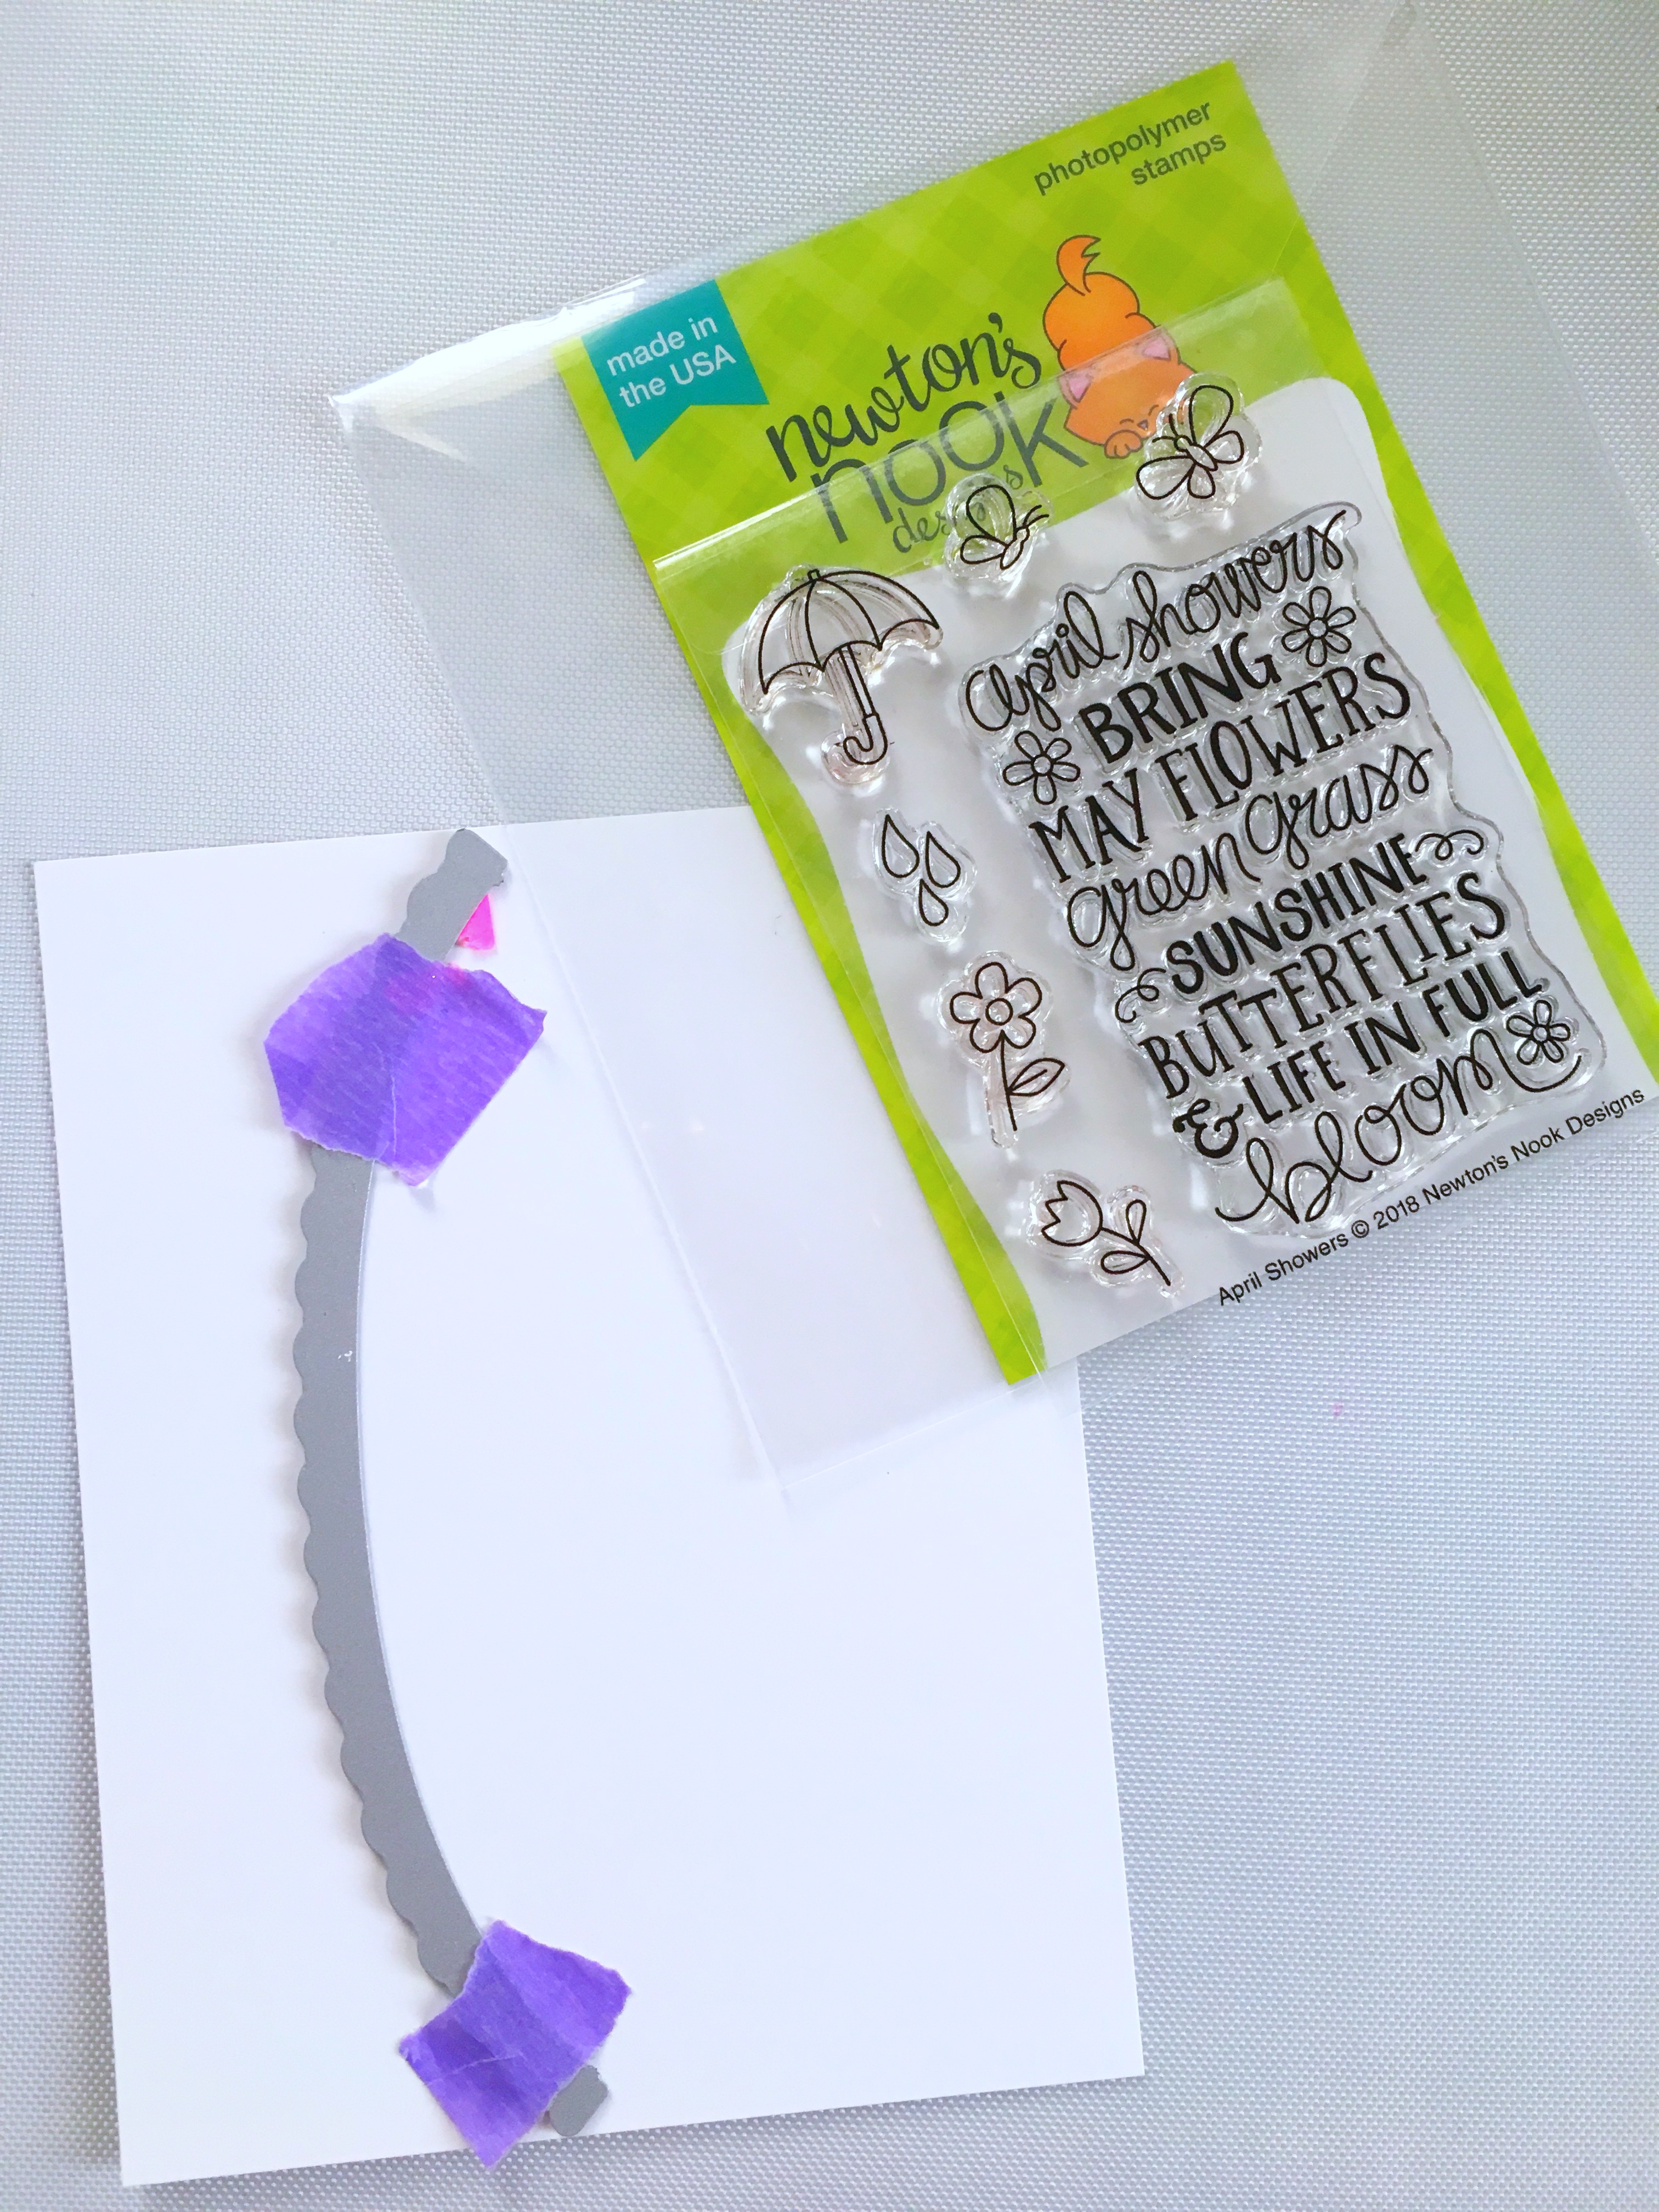
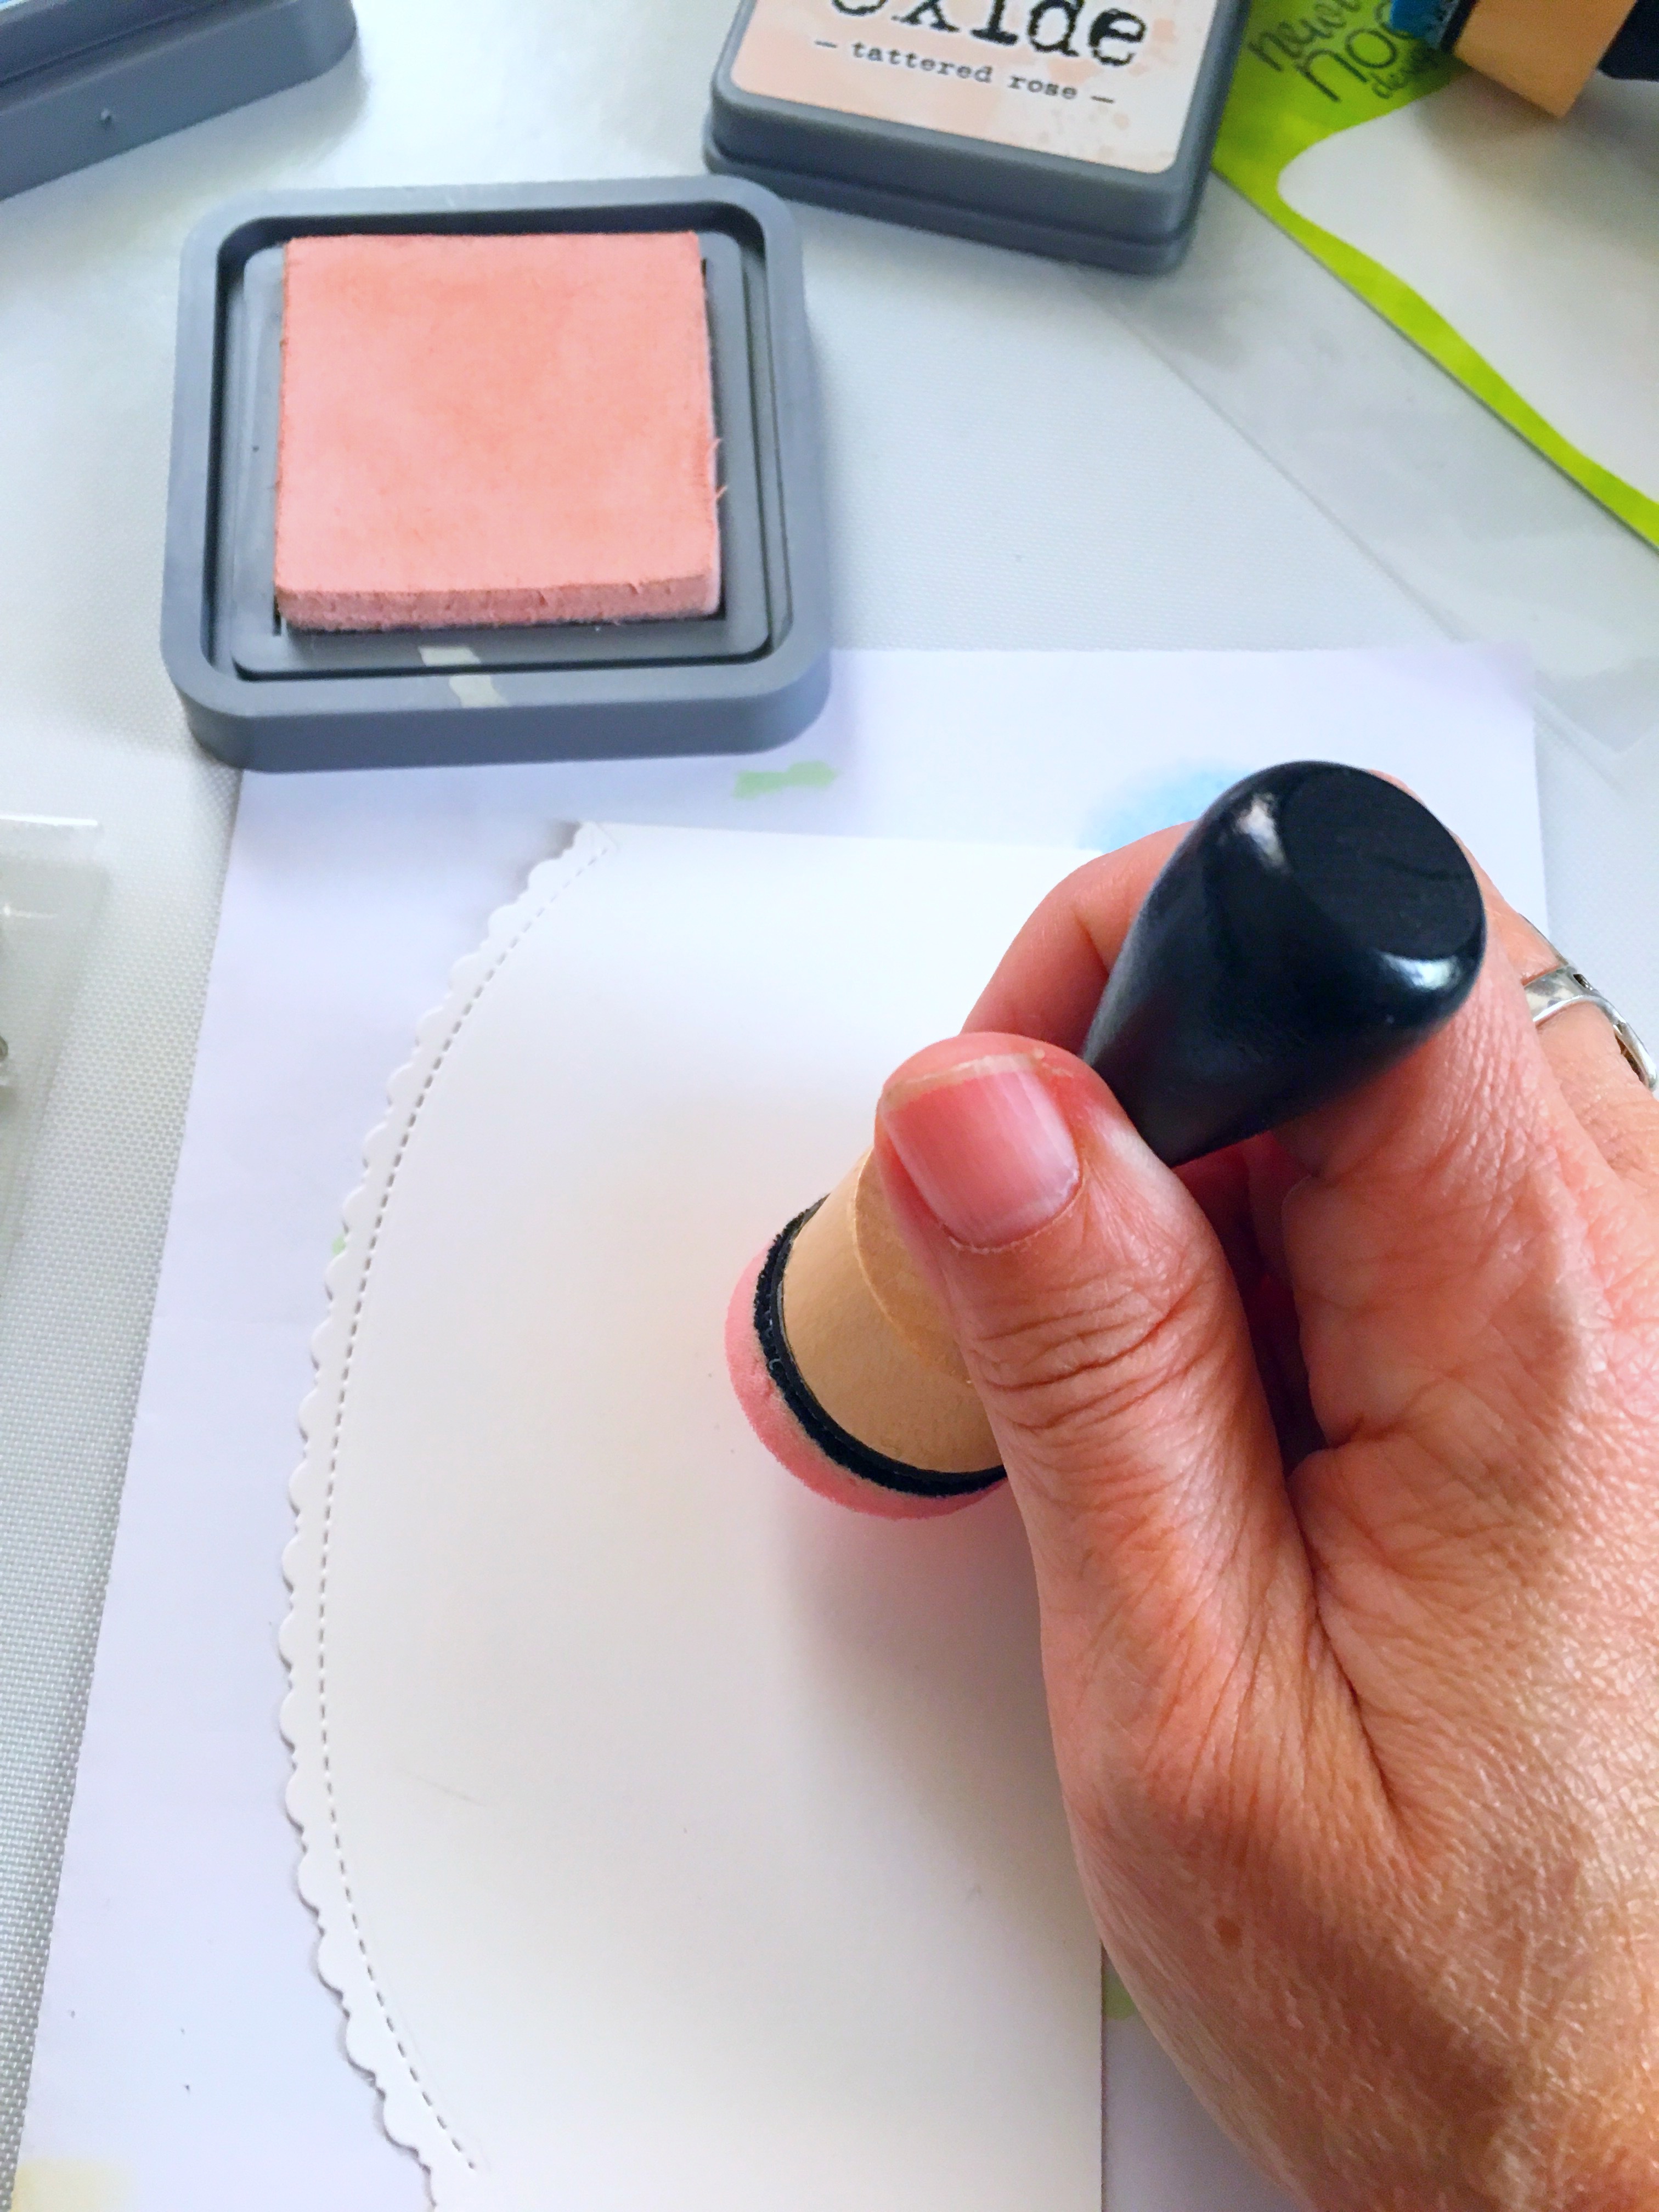
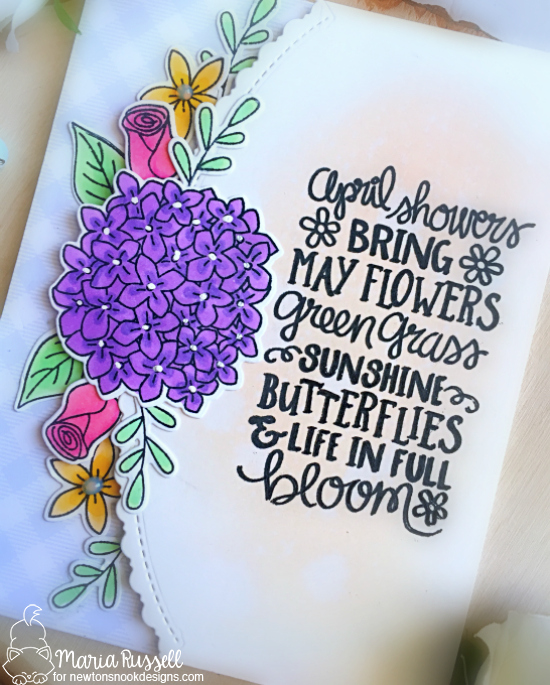
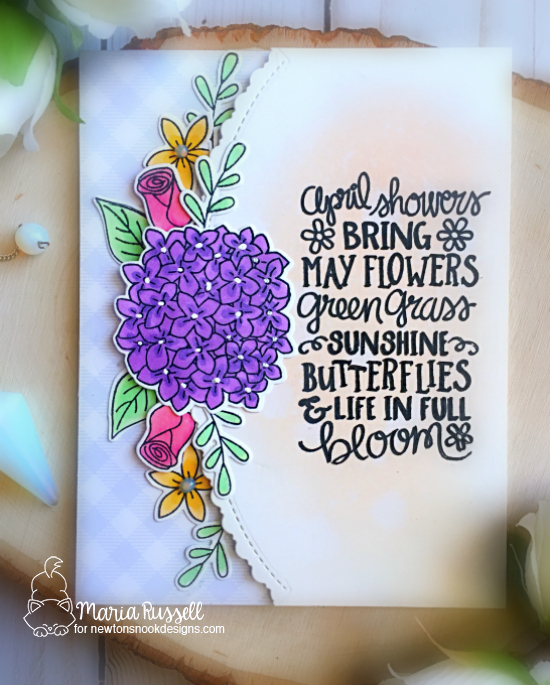
I stamped the sentiment from the Special Occasions Stamp Set with Raven Hybrid ink and finished the design by adding some Watercolor Enamel Dots for added texture and interest.  Here’s another look at the card:

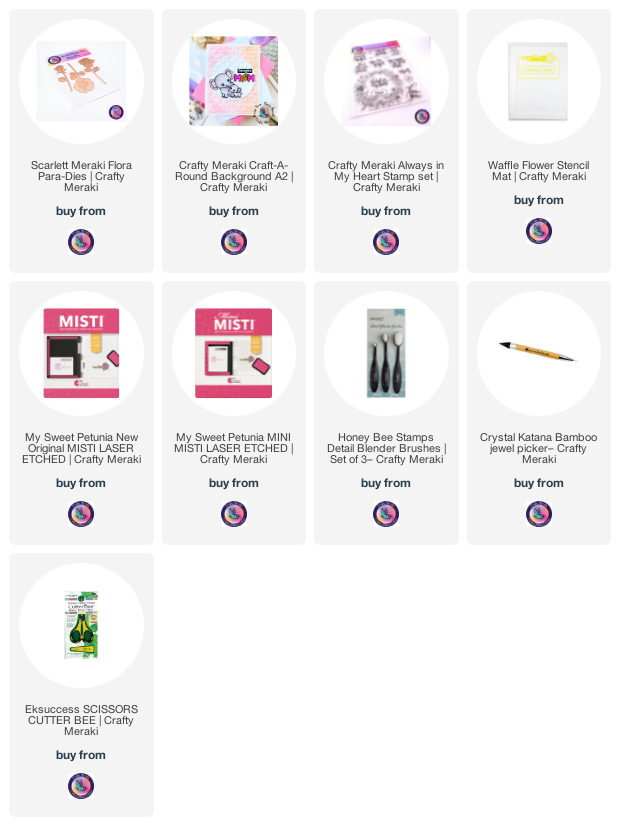
I hope you like this card today and got inspired. The supplies I used are highlighted and linked within the context of this blog post. Where available, I use compensated affiliate links at no extra cost to you. Your support helps me to keep bringing you new projects and inspiration. Thank you for stopping by, and have an amazing day!

A Few Mother’s Day Cards with Crafty Meraki

Hello Crafty Meraki fans!   I have a few Mother’s Day Cards to share with you today from the latest release.  This first one features the beautiful Always in My Heart Stamp Set with the Craft-A-Round A2 Background Die.

I die-cut a panel of some 110 lb. Neenah Solar White Card Stock using a border die from my collection.  I placed this panel inside my Misti Stamping Tool and stamped the images from the Always in My Heart Stamp Set.  I colored the images in with alcohol markers and foam-mounted this panel on the Craft-A-Round A2 Die-cut that I previously adhered on some A2-size notecard. 

I finished the sentiment in the middle of the card front.  Here’s another look:

For my next two cards, I am showcasing the Craft-A-Round A2 Background Die with the Mama Bear Stamp Set and Mama Bear Coordinating Dies with the Crafty Plaid A2 Background Die.

I stamped the images on some Neenah solar white card stock and used the Mama Bear Coordinating Dies to cut them all out. I prepared the background panel by inking up some Bristol smooth white card stock with oxide inks.  I set this panel aside to let it dry for about half an hour and used my embossing mat to dry-emboss the background.  I adhered this panel on some A2-size notecard.

I die-cut the circle and used the same embossing Mat to dry-emboss this piece and adhered on the card front with liquid glue.  I finished the design by adhering the images on the card.  Here’s a closer look:

The next card, is probably one of my favorite cards of all time.  The simplicity of the background and the sentiment are the perfect combo to cheer up your mom for Mother’s Day.

I inked-up a panel of some Bristol smooth white card stock using distress oxide inks and a heart stencil from my collection.  I used the Crafty Plaid A2 Background Die and my embossing mat to dry-emboss the panel for added interest.  I adhered the card front with liquid glue on some A2-size top-folding notecard.

The images were stamped and colored with alcohol markers.  I die-cut them all out using the Mama Bear Coordinating Dies and adhered on the panel with liquid glue.  I finished the card design by adding the sentiment strip and adhering some Meraki Ivory Opal Gems for added interest.  Here’s a closer look:

I hope you like the cards that I shared today and got inspired. Below, you will find links to the supplies used to create this project(s). Where available, I use compensated affiliate links at no extra cost to you. Your support helps me to keep bringing you new projects and inspiration. Thank you for stopping by, and have an amazing day!

——–SUPPLIES——–

Mother’s Day Bouquet with Crafty Meraki

Hello, Crafty Meraki fans!  It’s the weekend and time for some crafty inspiration from the latest release!  For today’s card, I am showcasing the Scarlett Meraki Flora Para-Dies, along with the Craft-A-Round Meraki Para-Dies and Always in My Heart Stamp Set.

I started by die-cutting the roses on some Strathmore Bristol Smooth White Card Stock using the Scarlett Meraki Flora Para-Dies.  I used some mini sponge daubers to add color to the die-cuts with Distress Oxide inks in Abandoned Coral, Saltwater Taffy, Scattered Straw, Mowed Lawn Rustic Wilderness.  The stencil mat is the perfect tool to use while ink-blending the die-cuts.

Next, I die-cut the background using the Craft-A-Round Meraki Para-Dies on some Neenah Solar White Card Stock.  I adhered this panel on some A2-size notecard with liquid glue.  I added the roses on the card with liquid glue and foam adhesive for dimension.  A bow was also added for interest and finished the design by adhering the word “mom” that I heat-embossed on black card stock.  Here’s another look:

I hope you enjoyed today’s inspiration.  Below, you will find links to the supplies used to create this project(s). Where available, I use compensated affiliate links at no extra cost to you. Your support helps me to keep bringing you new projects and inspiration. Thank you for stopping by, and have an amazing day!

——–SUPPLIES——–

THANK YOU FOR BEING SO AMAZING!

Happy Tuesday! I know I’ve been sharing a lot of Mother’s Day cards lately but my card today can also be made for a friend, or just-because! This card features the Lovely Blooms Stamp Set and coordinating dies, with the Best Mom Oval Stamp Set and the Flower Trio Die Set.

Here’s how I made this card:

  • stamp the images from Lovely Blooms Stamp Set and color them in with alcohol markers.
  • use the Lovely Blooms Coordinating Dies to cut them all out.
  • prepare the background by cutting using the Lovely Blooms Die to die-cut the window.
  • adhere acetate sheet on this panel and foam adhesive to create the shaker well.
  • add some confetti as the shaker element and adhere this on a pink A2-size notecard to close the shaker.
  • assemble the rest of the images on the focal panel with liquid and foam adhesive.
  • die-cut a few more leaves using the Flower Trio Die Set and adhere them on the card.
  • stamp the sentiment from the Best Mom Oval Stamp Set and color the letters with alcohol markers.
  • finish the card design by adding some pink gem stones for added interest.

I hope you like this Mother’s Day card as much as I do! The supplies I used are listed and linked below. Thanks for stopping by!

———SUPPLIES———-

Happy Mother’s Day Card with Newton’s Nook Designs

I am so glad that you joined me today as I share yet another card from the March release by Newton’s Nook Designs. For this Mother’s Day card, I am showcasing the Best Mom Oval Stamp Set, along with the Oval Frame Die Set and the Basketweave 6×6 Stencil.

Here’s how I made this card:

  • Use Cutter Bee Precision Snips to fussy-cut the middle portion of the colored image.
  • Add foam-adhesive and foam-mount this panel on the card for added dimension.
  • Stamp the sentiment on some black card stock with VersaMark ink and sprinkle some white embossing powder. Use heating tool to heat-set the sentiment.
  • Use the Cutter Bee Precision Snips again to fussy-cut the image and adhere on the card front with liquid glue.
  • Finish the card design by adding some KS Gold Pearl Mix for added texture.

I really love the texture behind the floral image on this card! I think this card is perfectly feminine and beautiful and I really LOVE how this turned out! I hope you like it too and got inspired! The supplies I used are listed and linked below. Thanks for stopping by today!

———SUPPLIES——–

Mother’s Day Card with LDRS Creative

Hello LDRS Creative fans! I have a simple slimline card to share with you today, just in time for the upcoming Mother’s Day (or just-because), showcasing the Magnolia Stamp Set and Coordinating Dies with the Chloe Alpha Lowercase Die SetFloral Foliage Slimline Die Set.

I started by stamping the images on some Neenah Solar White card stock using Raven Hybrid Ink, and die-cut the images with the Magnolia Coordinating Dies.  I colored them in with alcohol markers. To create the background, I die-cut the Floral Foliage Slim Line Dies on some Neenah Solar white card stock and foam-mounted this on some beige slimline card base.  I wanted the white die-cut to stand out against the beige background.  I also foam-mounted the Magnolia flowers on the card for added dimension. 

The last thing to do is to add the sentiment.  The new Chloe Alpha Lowercase Die set is so beautiful and perfect for the soft look I was going for on this card.  I die-cut the word “mom” on some Neenah solar white card stock and just to give it a little more interest, I used the Soft Kisses Hybrid Ink with a blending brush to color half of the letters.  This gave it an ombre effect.  I foam-mounted the die-cuts on the card for added dimension, giving it more of a unified look!   

You really need to check out the new release! I absolutely LOVE all the new stamps, dies and stencils at the shop.  I’ve listed and linked them below if you’d like to purchase them.  Thanks for stopping by today and Happy Mother’s Day this Sunday, to all the moms out there!

 ————SUPPLIES———–

Stretch Your Stamps – Mother’s Day Cards for Mom & Grandma

I know Mother’s Day was last Sunday but I still wanted to share these cards that I made for moms and grandmas.  For my projects today, I am showcasing the Tides of Love stamp set and coordinating dies with the Lovely Blooms stamp set.


To make the first card, I ink-blended a panel of Bristol smooth white card stock with distress oxide inks.  I spritzed it with water and dried with a paper towel.  I diluted some white paint with water on an acrylic block and used my watercolor brush to add some white speckles to the background.  I set this panel to dry.


I stamped the images on some Neenah solar white card stock using some Memento fog ink for a no-line coloring.  I colored the images in with spectrum noir alcohol markers and used the coordinating dies to die-cut the images.


I die-cut a white card panel using an ocean die from my collection.  I foam-mounted this piece on the ink-blended panel to give it more dimension.  I adhered the whale in the middle of the card, and stamped the sentiment with Versafine onyx black ink.


To finish my design, I added some clear droplets to the panel with liquid adhesive to make them look like bubbles.  Here’s a closer look:


The second card was created with the same steps that I made for the first card.  I used some painter’s tape to adhere on the card temporarily so I can ink-blend the background with distress oxide inks.  I removed the tape and adhered this on an A2 size card base.


I foam-mounted my focal image in the middle of the card and added the sea weeds using dies from my collection.  I stamped the sentiment on the card with some Versafine onyx black ink.  I also adhered some black and white patterned paper, as well as a black strip to ground the image.


I finished my design by adding blue droplets to the card to make them look like bubbles.  Here’s a closer look:


I hope I have given you some great ideas to stretch your stamps.  With just a little imagination, you can use any stamp sets that you have in your collection to create cards for different occasions.


The supplies I use are listed and linked below.  Thanks for stopping by and happy stamping!


———–SUPPLIES————-

Happy Mother’s Day with the Rabbit Hole Designs

Hello The Rabbit Hole Designs fans!  It’s Mother’s Day and I hope everyone’s celebrating this day with their loved ones.  For today’s card, I am showcasing the We Are Family stamp set:


Here’s how I made the card:

  • stamp the images on some Neenah classic crest solar white card stock and color it in with alcohol markers (or any medium of your choice).
  • I used a small stamp set from my stash to create the grassy hill, inking it up using my make-up brushes and some Lawn Fawn Celery ink.
  • I also stamped the clouds with Memento Desert Sand ink and colored them with alcohol markers.
  • I used a small “Mom” die to die-cut the background.  I also die-cut a few more and layered them together to make the word “Mom” stand out on the card.


Here’s a closer look:


I have been really loving  some clean and simple designs lately.  I hope you like my card today.  Happy crafting!

For more inspiration, updates, and news make sure to check out these places.


—————–SUPPLIES—————-

April Showers Bring May Flowers with Newton’s Nook

Hello Newton’s Nook fans!  I hope you all enjoyed the April stamp release last week and hoping that a lot of you are loving the spring weather and seeing beautiful flowers in your garden.  Spring is what inspired my project today.

For my card I am showcasing the April Showers stamp set, with the Lovely Blooms stamp set and coordinating dies.

Using a scallop border die from my stash, I die-cut a piece of Bristol Smooth white card stock using my die-cutting machine.

IMG_7957

I colored my background with my Tattered Rose distress oxide ink with my mini ink blending tool.  I used my distress sprayer to add droplets of water onto my colored background, and dabbed it dry with my paper towel.

IMG_7958

On a piece of Neenah solar white card stock, I stamped the flower images from the Lovely Blooms stamp set and colored them in with my Copic markers.  I die-cut the images with the coordinating dies.

IMG_7959

I adhered fun foam at the back of my inked background to give it a little dimension and adhered this piece on my card base.  I stamped the sentiment from the April Showers stamp set onto my foreground.   I adhered the flowers using my Nuvo adhesive, and 3M foam adhesive.

I wasn’t really planning on adding a process video but since I colored a lot of images, I thought I might as well show you the process (without the coloring).  If you prefer to watch the video, here it is:

Here is my card:

NNDAprilShowers2C

I finished the design by adding Nuvo Jewel drops to the yellow flower and added white dots on the Hydrangea.

NNDAprilShowers2B

Here’s another look:

NNDAprilShowers2A

I love how this card turned out.  Wouldn’t this just make someone’s day?  If you haven’t grabbed the April Showers stamp set and the Lovely Blooms stamp set just yet, you need to go to www.newtonsnookdesigns.com before they sold out.  I hope you like my project today.   The supplies I used are listed and linked below.  Thanks for stopping by and happy crafting!

————–SUPPLIES————–