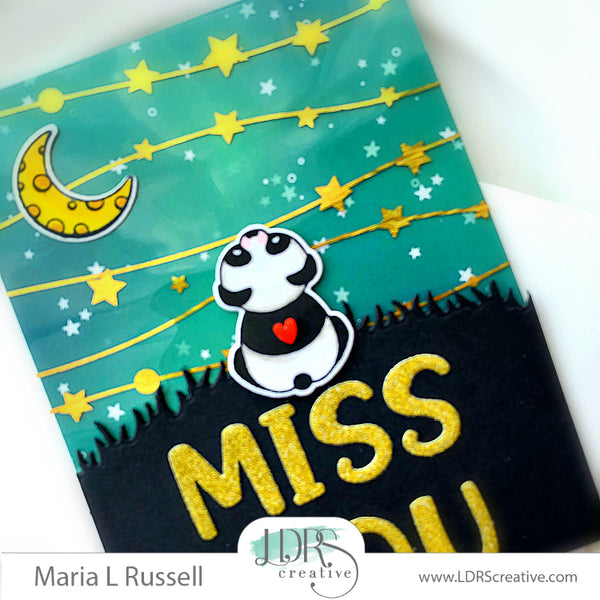
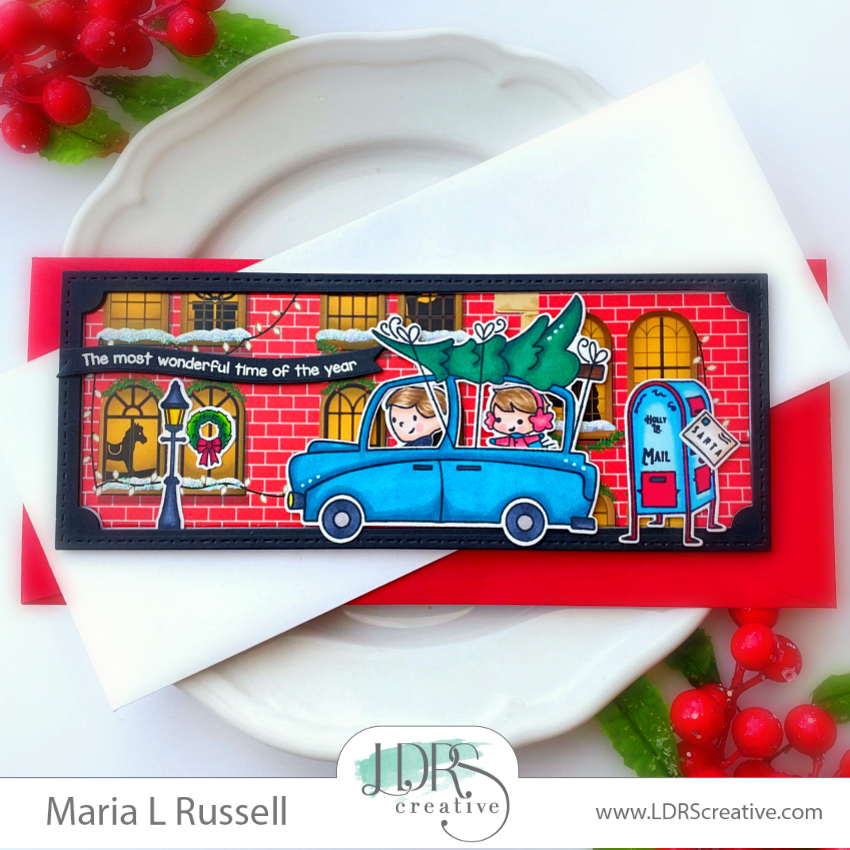
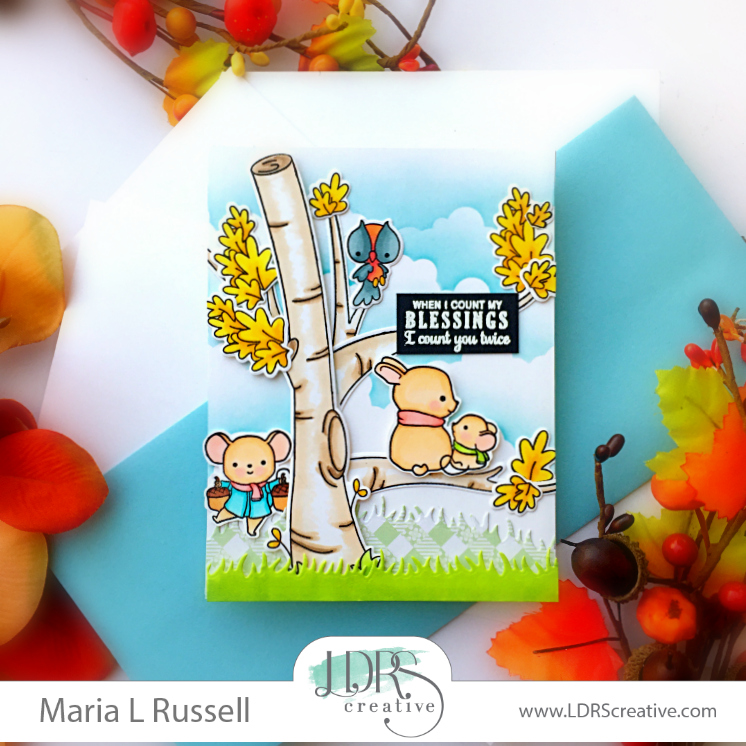
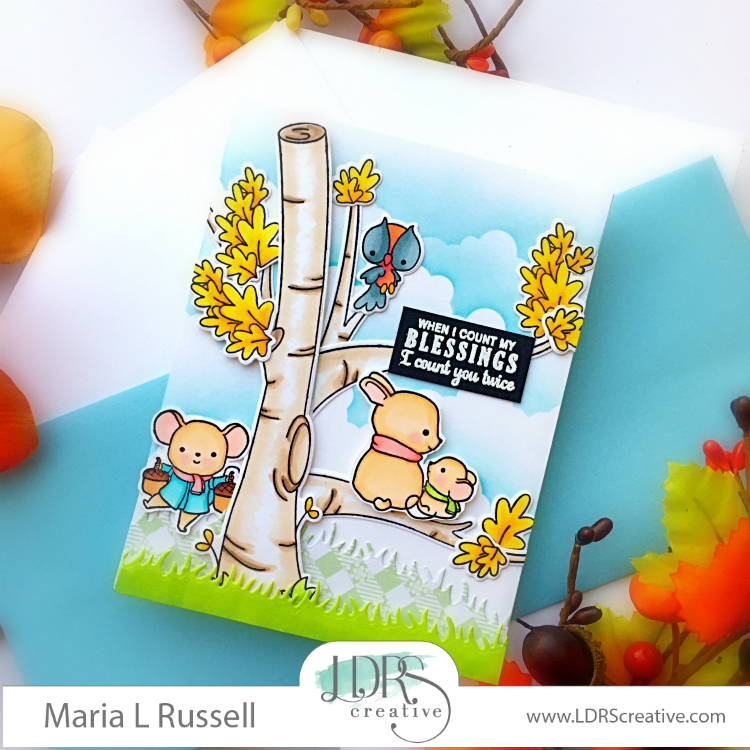
Hello there! I’m back today for LDRS Creative to share this cute Mini Slimline Card, showcasing the Barnyard Bunnies Pocket Pals stamp set and Barnyard Bunnies Pocket Pals dies, along with the Country Fence Pocket Die, Slimline Basket Weave Pocket die set and Farmer’s Market 6×6 Paper Pad. I thought these items just perfectly go together like peanut butter and jelly! Everything is just perfectly proportioned from the stamps, dies and patterned paper!

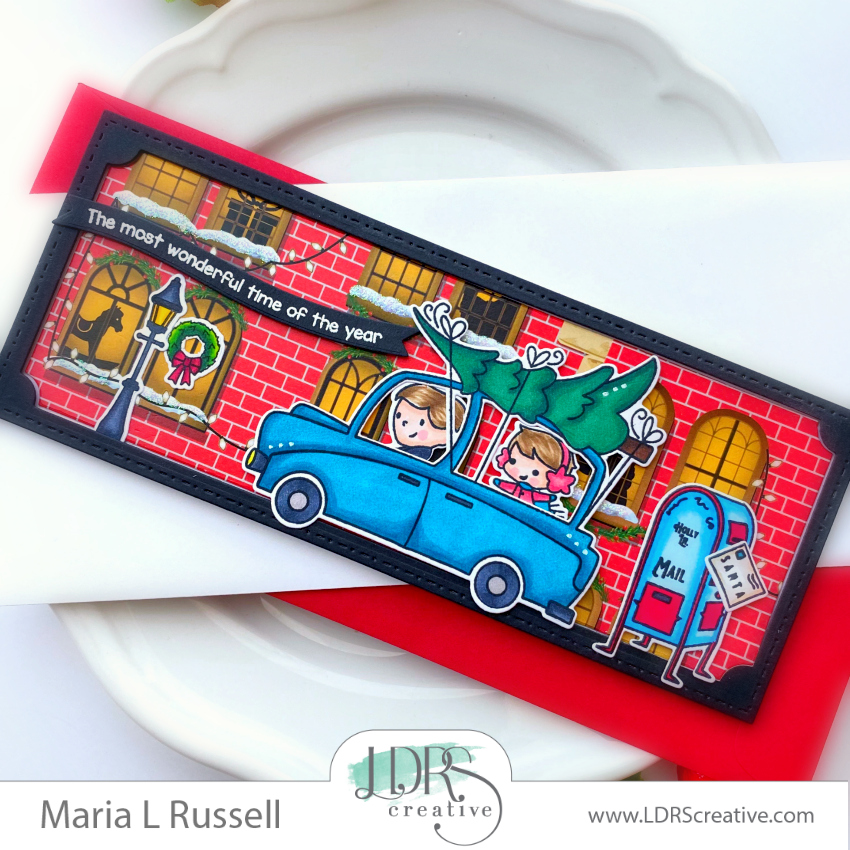
To make the card, I started by preparing my slimline card base that measures 5 1/2 x 6 inches that I folded in half. I used the Slimline Basket Weave Pocket die set and the Farmer’s Market 6×6 Paper Pad to die-cut the panel and adhered this on my card base with liquid glue. The design I chose from the paper pad really is the perfect background for my scene. I really LOVE the paper pads that are available at the shop!
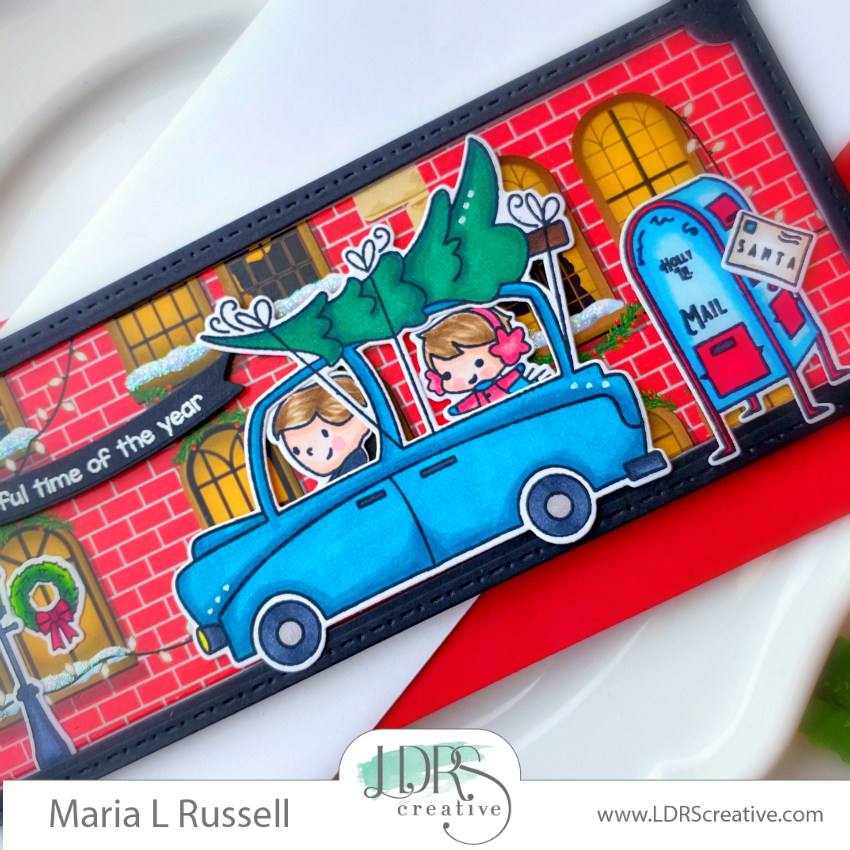
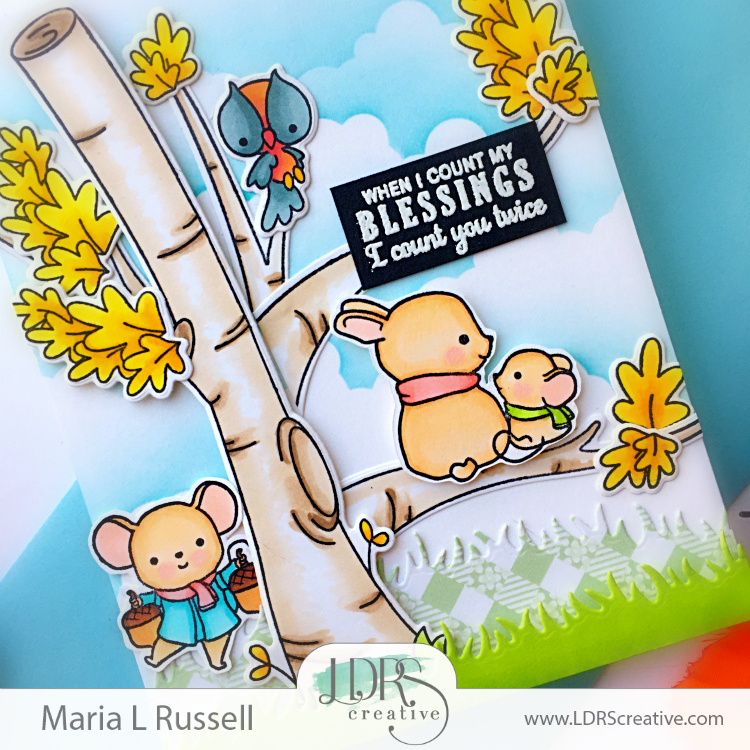
Next, I stamped the images on some Neenah solar white card stock and colored them in with alcohol markers. Since the images are so tiny, I only use a maximum of two markers for each image to blend the colors. Easy, peasy!

I die-cut the little white picket fence using the Country Fence Pocket Die. This is just the perfect size to use for my scene! I foam-mounted the pieces on my focal panel, along with my colored images.
Next, I stamped the sentiment on some black card stock with Watermark ink and sprinkled some white embossing powder on top. I used my heating gun to heat-set the sentiment and adhered to the card with my ATG gun. I finished my design by adding some glossy accents to the tractor’s window. Here’s another look at the card:

I love that this card was so easy to put together by combining some amazing products from the shop! I hope you like this card today and got inspired. The supplies I use are listed and linked below. Thanks for stopping by, and happy crafting!
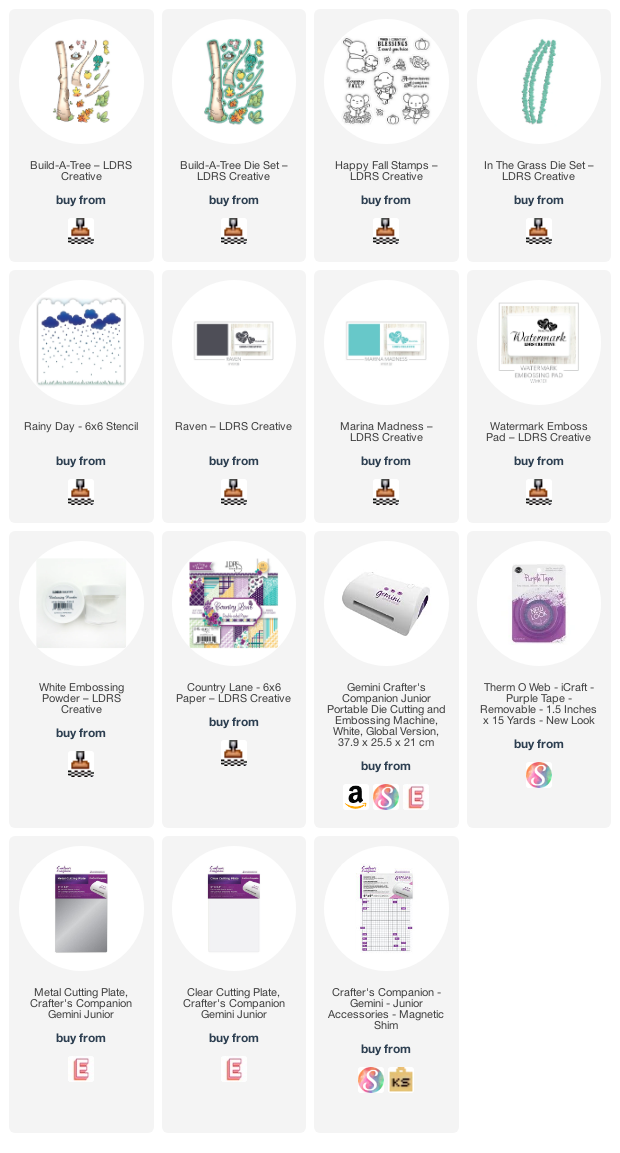
————–SUPPLIES———–