It’s Day 3 of the Countdown to Confetti January Release by Reverse Confetti and we have more amazing products to show you! Remember, all of the products you will see during the reveals will be available on January 8th.
Don’t forget to leave a comment each day during reveal week here on the blog and on the Reverse Confetti FaceBook group for a chance to win the gift certificate.
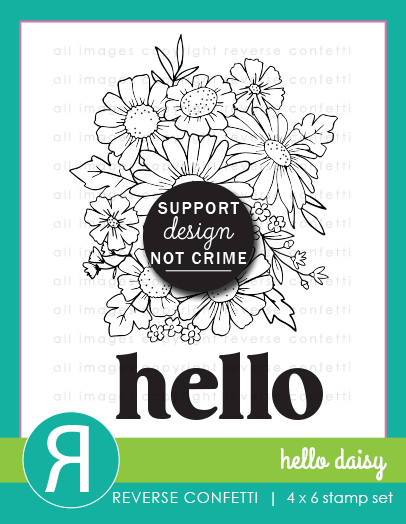
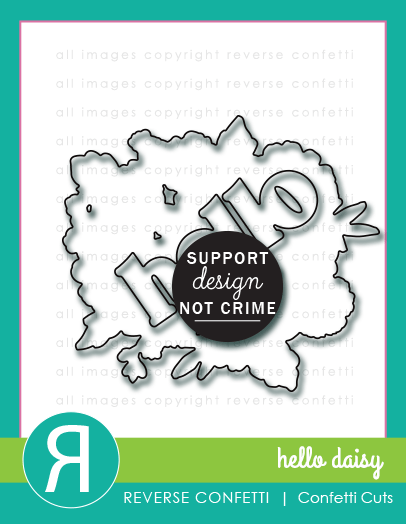
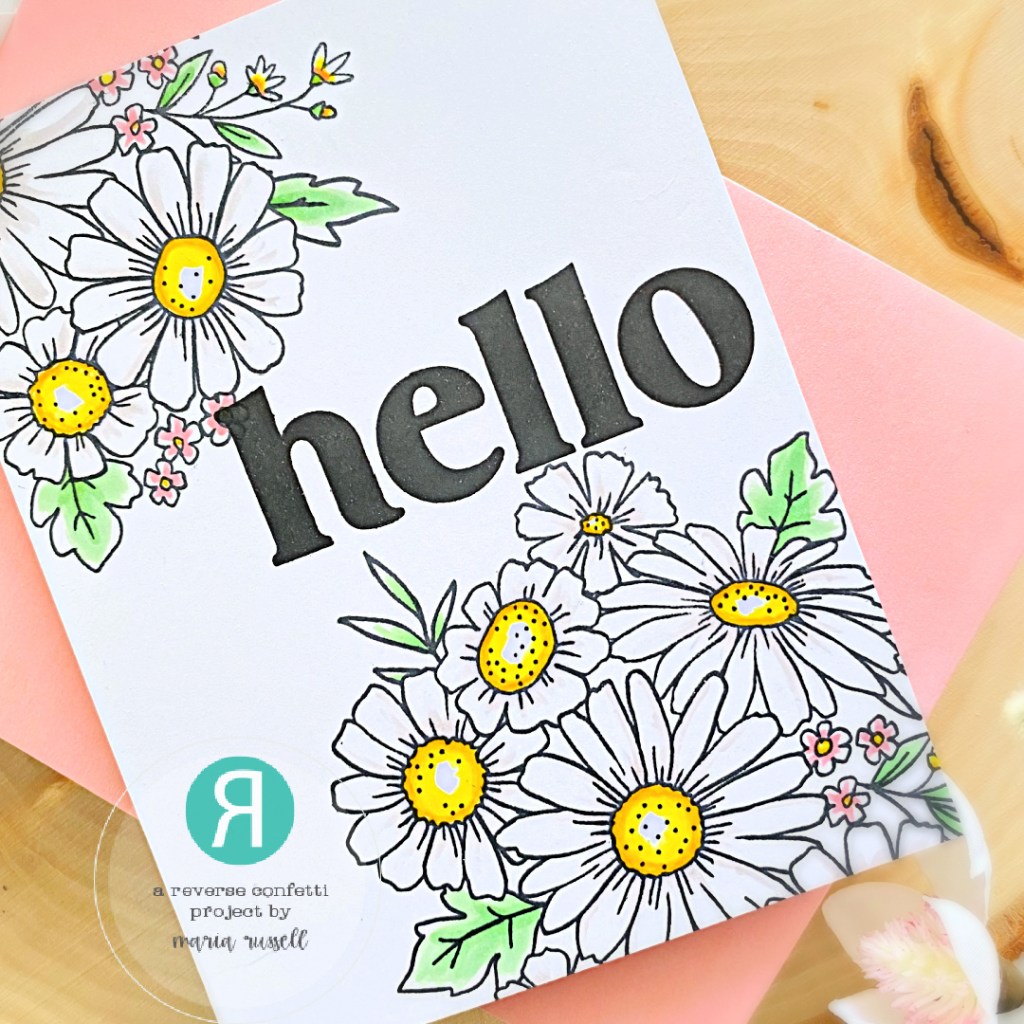
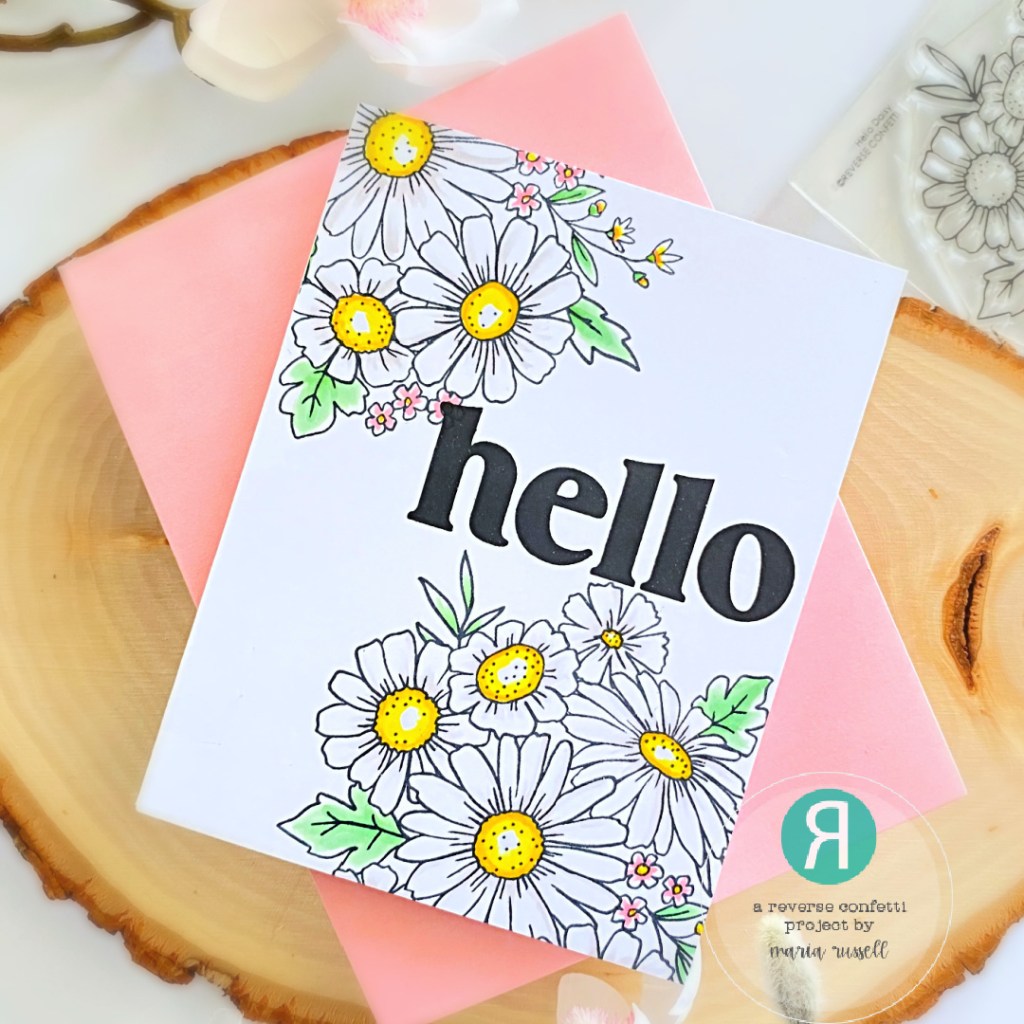
For today’s sneak peek, we are showcasing the Hello Daisy Stamp Set and Dies.
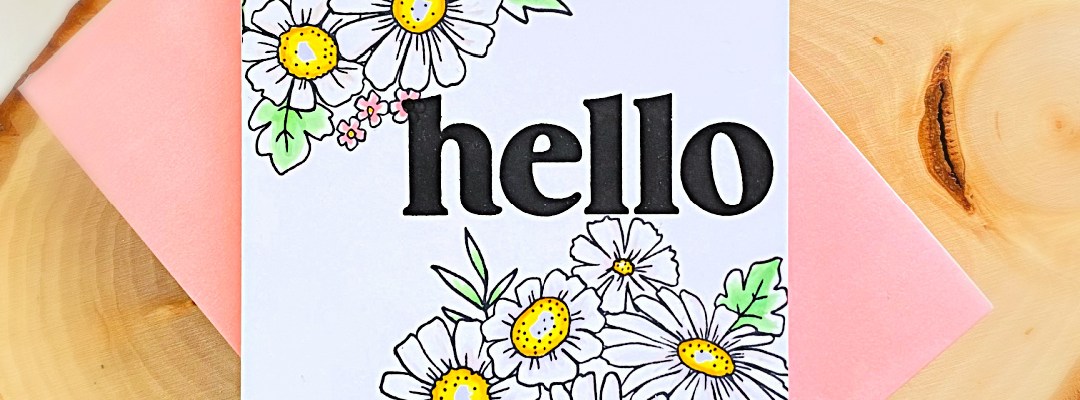
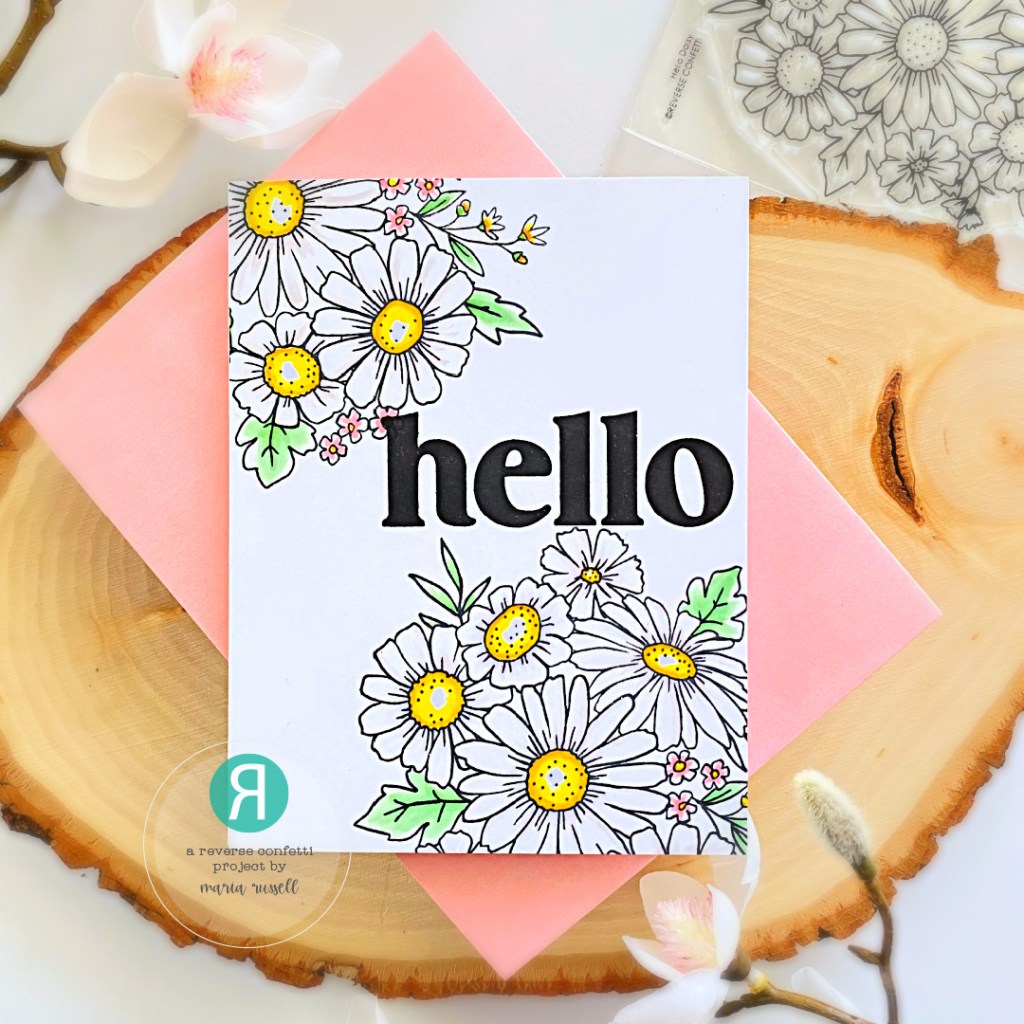
I am honestly 100% fan of daisies! They just remind me of happy days and sunshine! I didn’t think that this card below will need anything else because the images speak for themselves, don’t you think? You can easily mass-produce the card I have below for a little “hello, I love you-just-because” kind of thing!
I started by stamping the images in with Memento Tuxedo Black Ink on some Express-It blending card stock. I colored the images in with my Spectrum Noir alcohol markers. I adhered the panel on some A2-size notecard.
I stamped the sentiment “hello” a few times with some Versafine ink to get a good impression to make sure it stands out. Other than that, I didn’t think it needed anything else because the images just speak for themselves, don’t you think?
I hope you got inspired as much as I did! Don’t forget to check our tomorrow’s post fo the finale and get more inspiration from the whole team. Hop along with us for a chance to win the gift certificate. Check out the rest of the inspiration below:
It’s Day 2 of the Countdown to Confetti January Release by Reverse Confetti and we have more amazing products to show you! Remember, all of the products you will see during the reveals will be available on January 8th.
Don’t forget to leave a comment each day during reveal week here on the blog and on the Reverse Confetti FaceBook group for a chance to win the gift certificate.
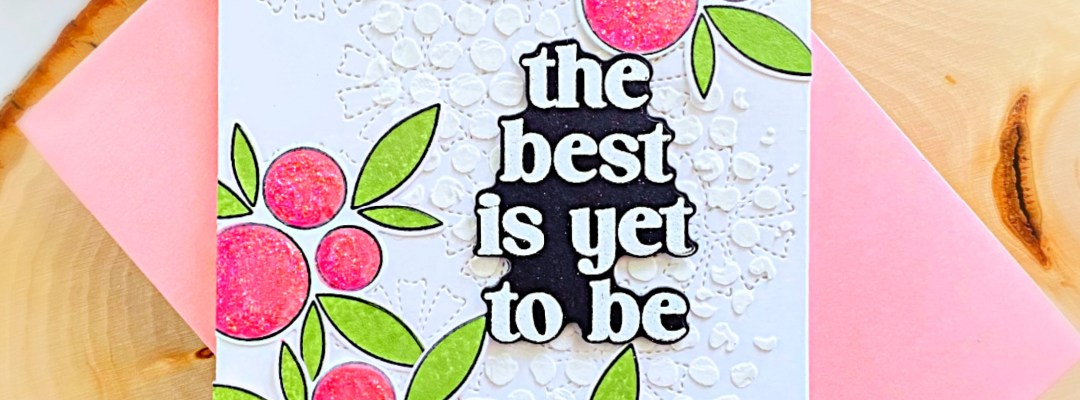
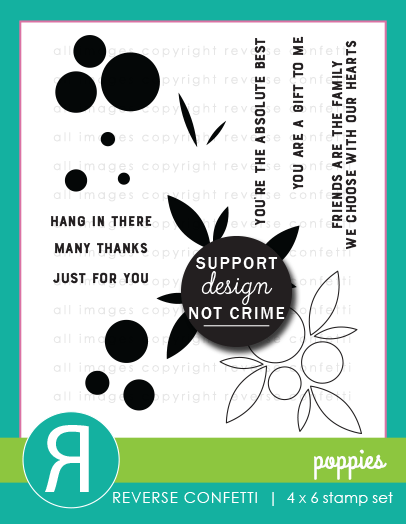
For today’s sneak peek, we are showcasing the Poppies stamp set and coordinating dies.
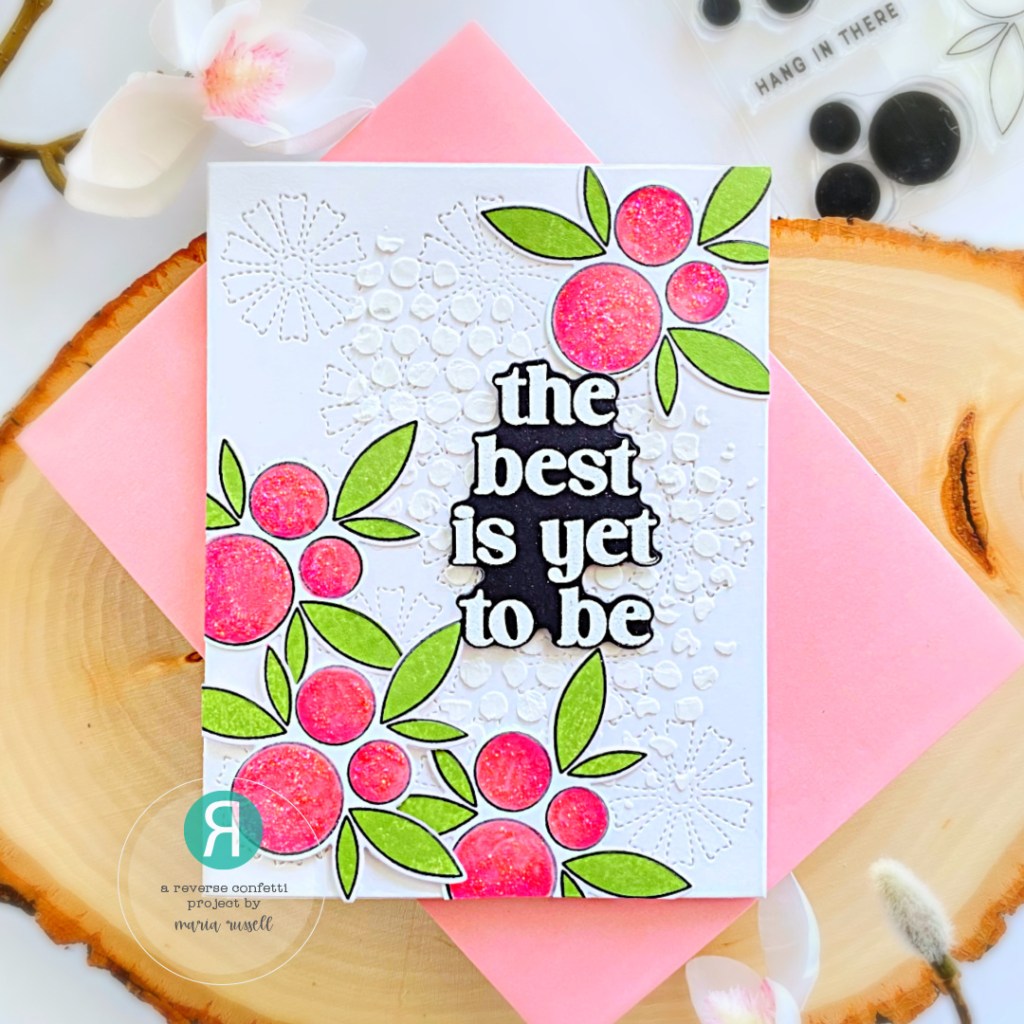
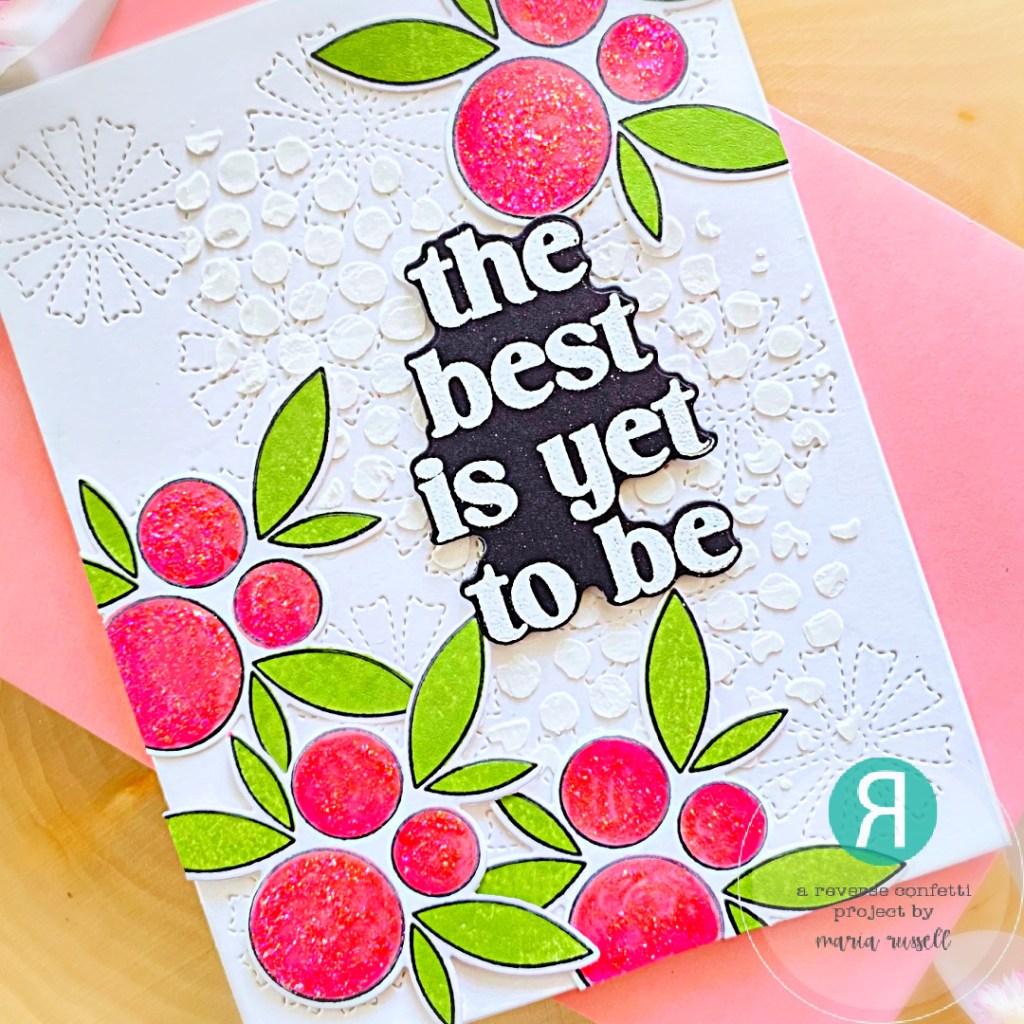
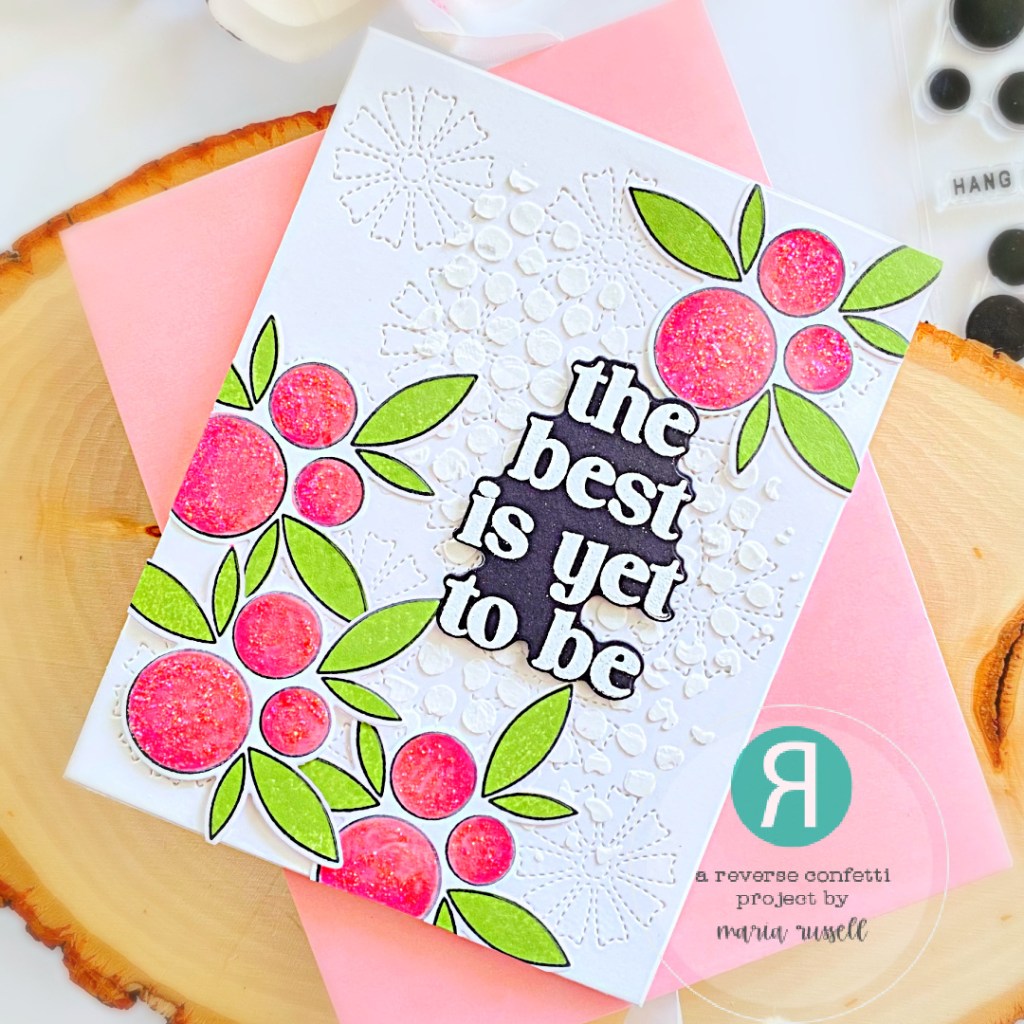
For my project today, I also used the Stitched Daisies Cover Panel and the Big Hearts Sentiments Stamp Set & Dies.
I started by stamping the images on some Express-It Blending card stock with Memento Tuxedo Black Ink. I used different shades of quick-dry dye inks in pink and green to add color. What I love about this stamp set is you don’t really need to use other mediums to color them in but I used my Spectrum Noir alcohol markers to create some depth and dimension to the images. I die-cut the images using the coordinating die.
Next, I die-cut the background panel using the Stitched Daisies Cover Panel with some Neenah Solar White Card Stock. I used a stencil from my stash and applied some texture paste for added texture and interest. I let this panel dry for about half an hour, then adhered on some A2-size notecard. I adhered the colored images on the card with either foam or liquid glue.
I stamped the sentiment with VersaMark ink on some black card stock and sprinkled some white embossing powder, then heat-set with my heating tool. I used the coordinating die to cut it out and foam-mounted the sentiment on the card for added dimension. Lastly, I applied stickles to the images for more interest to finish the design. Here’s another look:
Be sure to hop along with the rest of the team today! Comment along the way for your chance to win a Reverse Confetti gift certificate and don’t forget to check the Reverse Confetti FaceBook Group and leave a comment there as well! I hope you will come back tomorrow to see more of the new release!
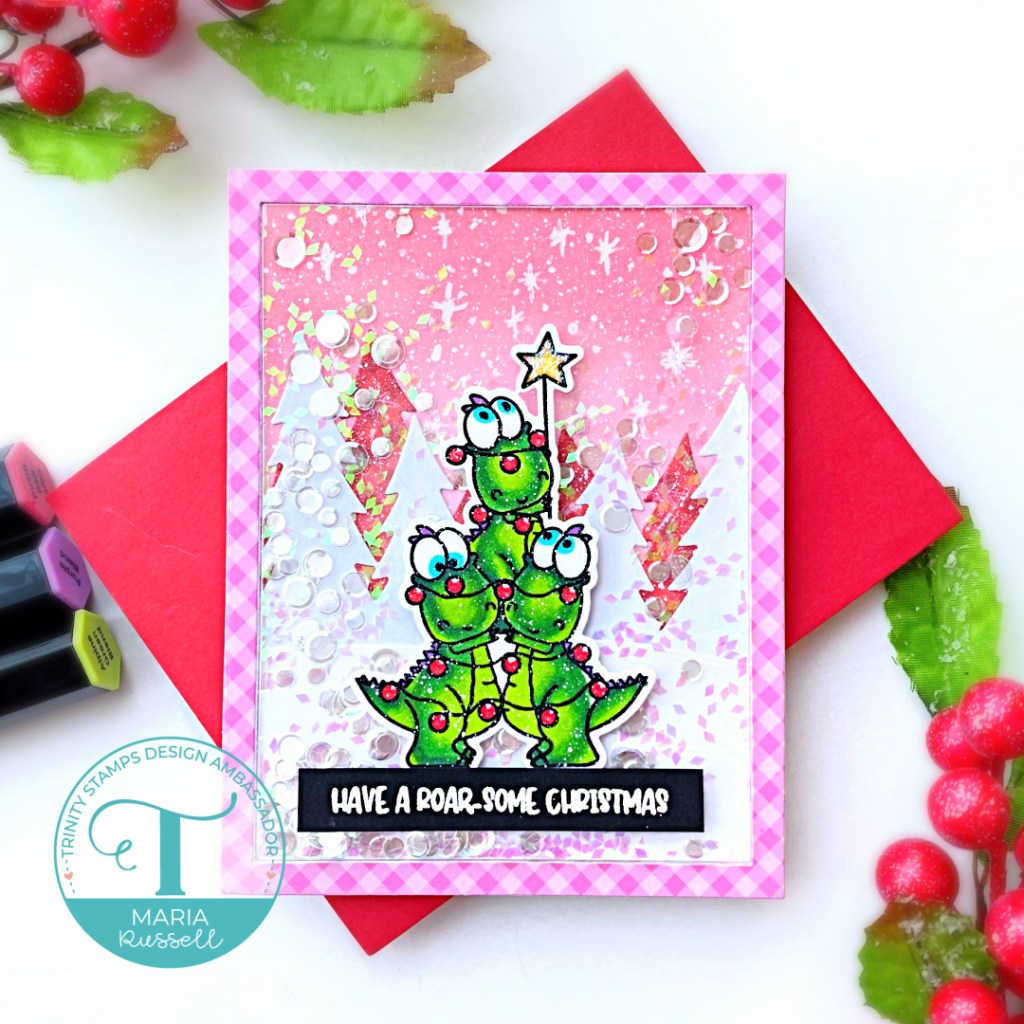
Adhere the pattern paper border on the card panel.
Add the focal image with liquid glue.
Stamp the sentiment on some black card stock with Versamark ink, sprinkle some white embossing powder and heat-set with the heating tool.
Adhere the sentiment on the card.
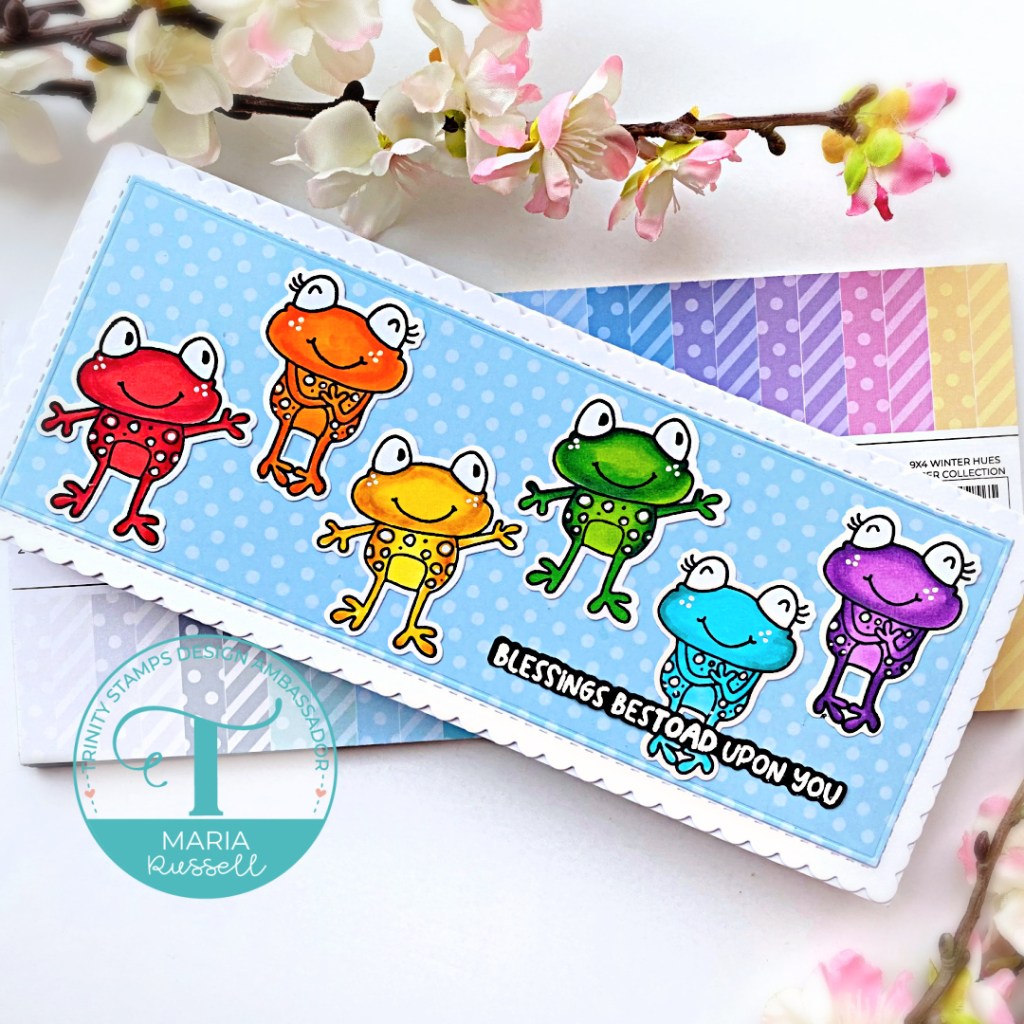
My next project is easy, peasy! Who wouldn’t want to see rainbow toads, right?! I know I would! I know this stamp set is meant for Christmas but I would like for you to think outside the box and stretch your supplie.
Finish the design by using white gel pen to add some dots to the toads.
Aren’t they ADORABLE? Which one is your favorite? I can’t really choose because both cards are so cute!
I hope I have given you some inspiration today to stretch your supplies. Everything I used is listed and linked below. Thanks for stopping by and happy stamping!
I have been making a lot of holiday-themed cards lately and I wanted to take a break from that. Luckily, I have this Otters Stamp Set and coordinating dies by CC Designs that I can play with. I always like having just-because cards in my stash to send to family and friends.
Here’s how I made it:
Cover an A2-size watercolor panel with Pink, Yellow and orange watercolors. Let this dry for about half an hour.
Temporarily adhere the stencil to the background panel with Pixie Spray. Use the stencil and palette knife to spread texture paste for added interest. Let this dry for half an hour and adhere on an A2-size notecard.
Stamp the images on some Neenah solar white card stock and color the images in with alcohol markers.
Die-cut the images using the coordinating dies.
Adhere the focal images on the card.
Stamp the sentiment on some black card stock with Versamark ink and speinkle some white embossing powder. Use heating tool to heat-set the sentiment.
Adhere the sentiment on the card with liquid glue.
Finish the design by adding some stars.
This is honestly one of the quickest cards I’ve ever made! I hope I have given you some inspiration today. The supplies I used are listed and linked below. Thanks for stopping by!
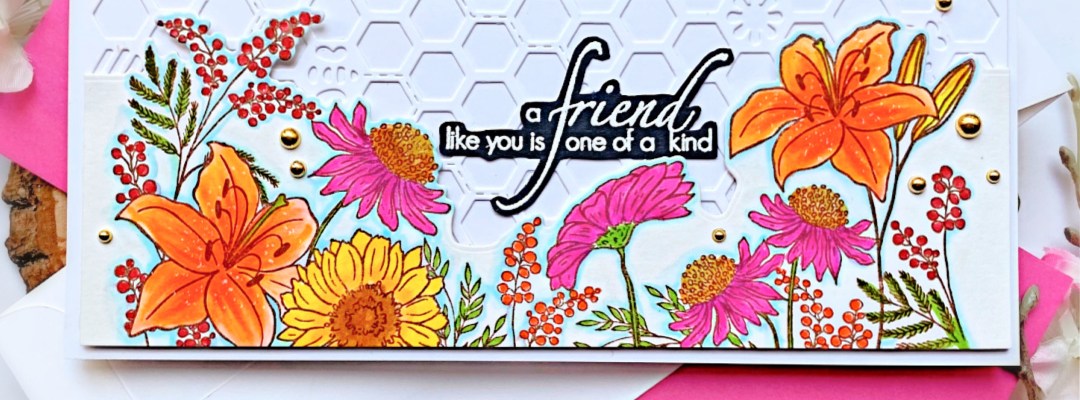
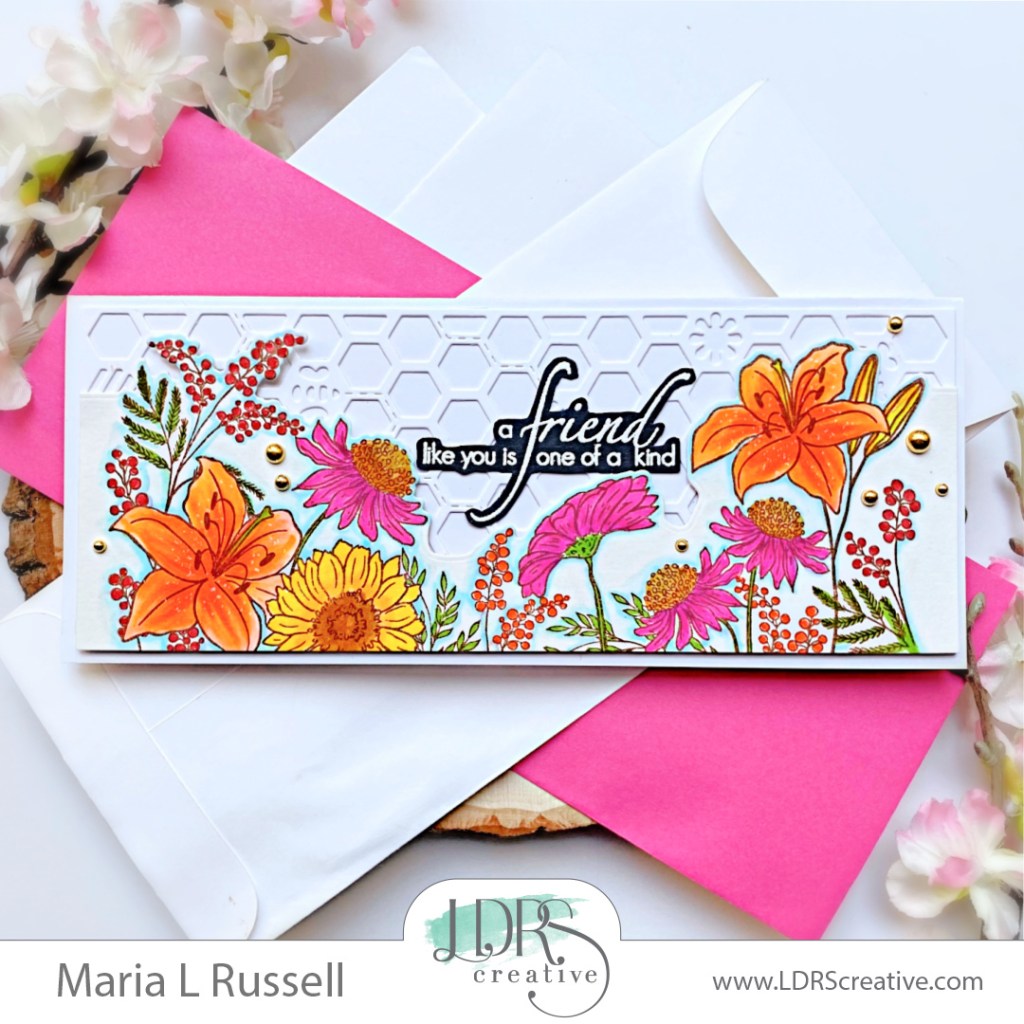
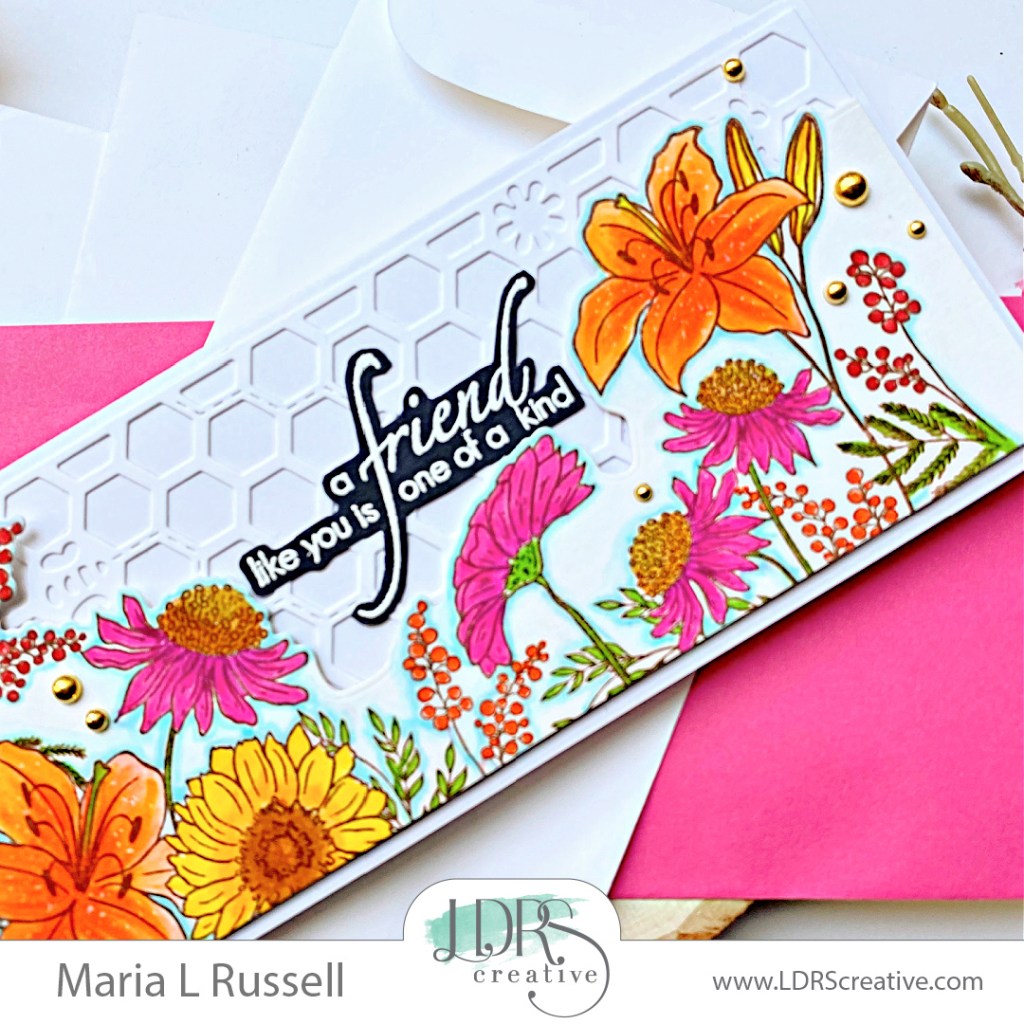
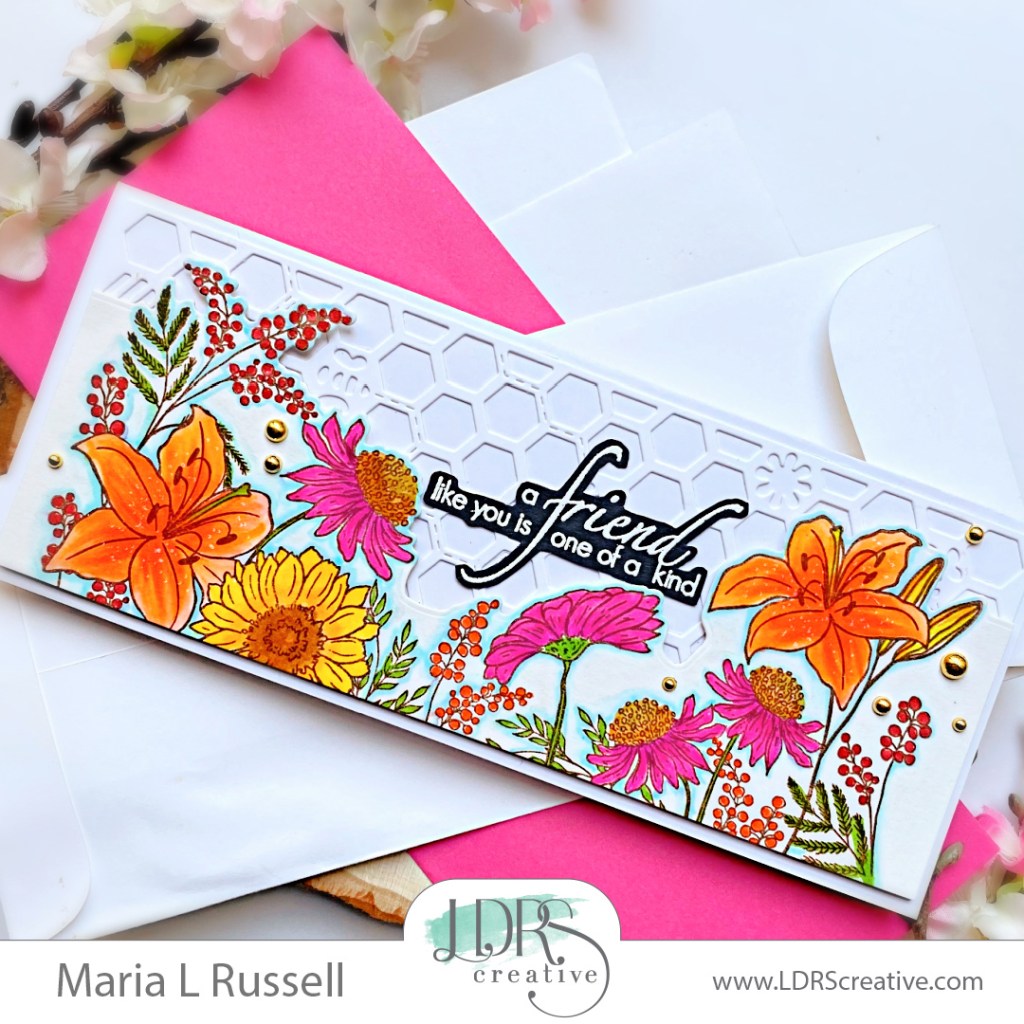
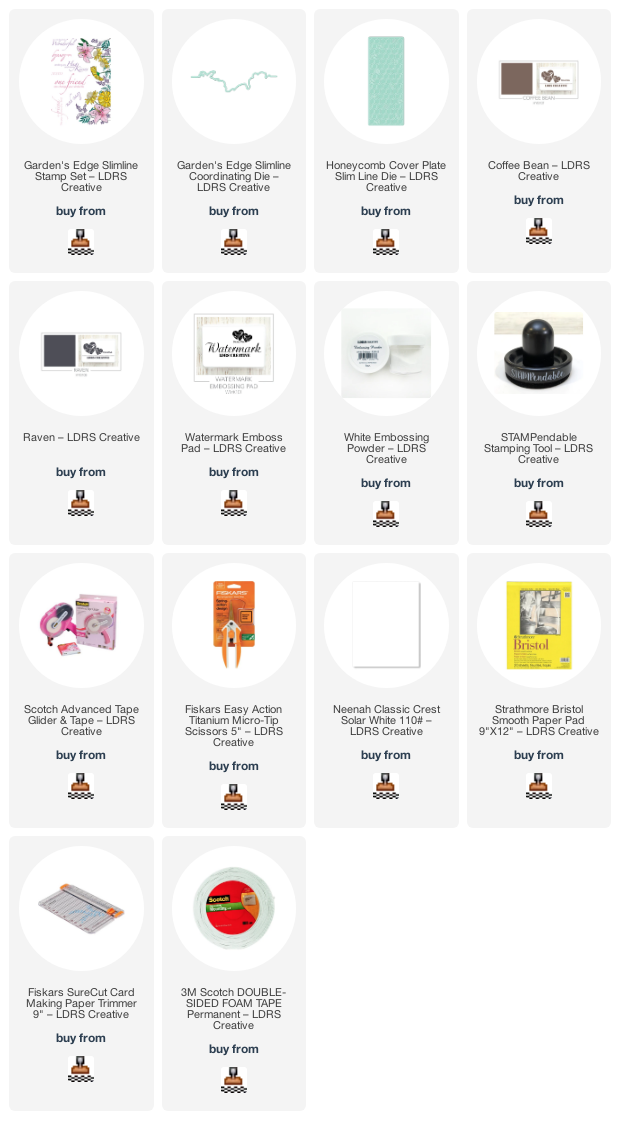
I love sending some “just-because” cards to my friends and this beautiful floral stamp set is exactly what I needed. I started by stamping the images on some Bristol smooth white card stock using Coffee Bean Hybrid ink. What I love about the LDRS hybrid inks is the fact that you can use either alcohol or water-based markers and it will not smudge. I colored the images in with some water-based markers. I die-cut the colored image with the coordinating die.
The Honeycomb Cover Plate slimline die was used to die-cut some Neenah solar white card stock and adhered with liquid glue on a slimline card base. The focal image was popped up with foam adhesive for added dimension. I stamped the sentiment on some black card stock using Watermark ink. I sprinkled some white embossing powder to this and heat-set with my heating tool. I fussy-cut the sentiment with my precision snips and adhered the same with liquid glue on the card.
I finished my card design by adding some gold baubles for added interest. Here’s another look:
I hope I have given you some inspiration to create something beautiful today from the latest release. The supplies I used are listed and linked below. Thanks for stopping by!
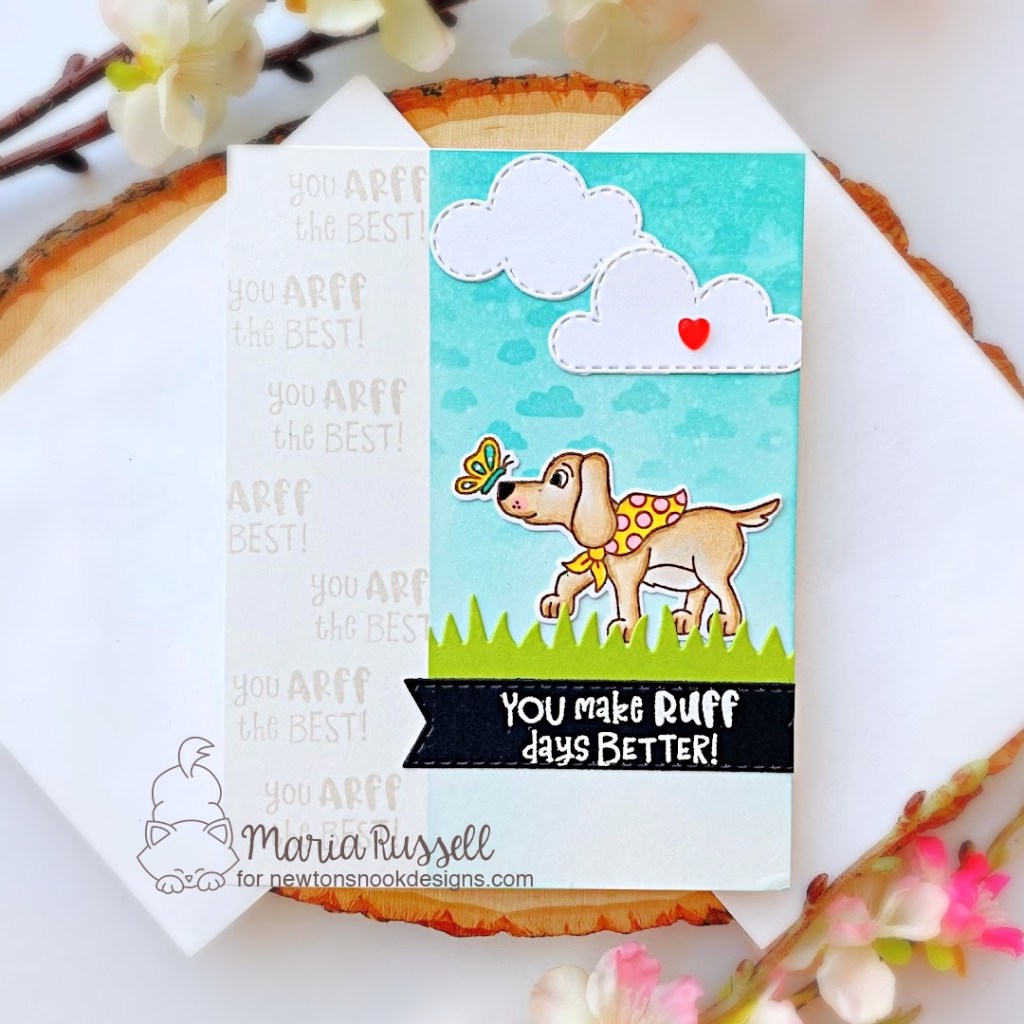
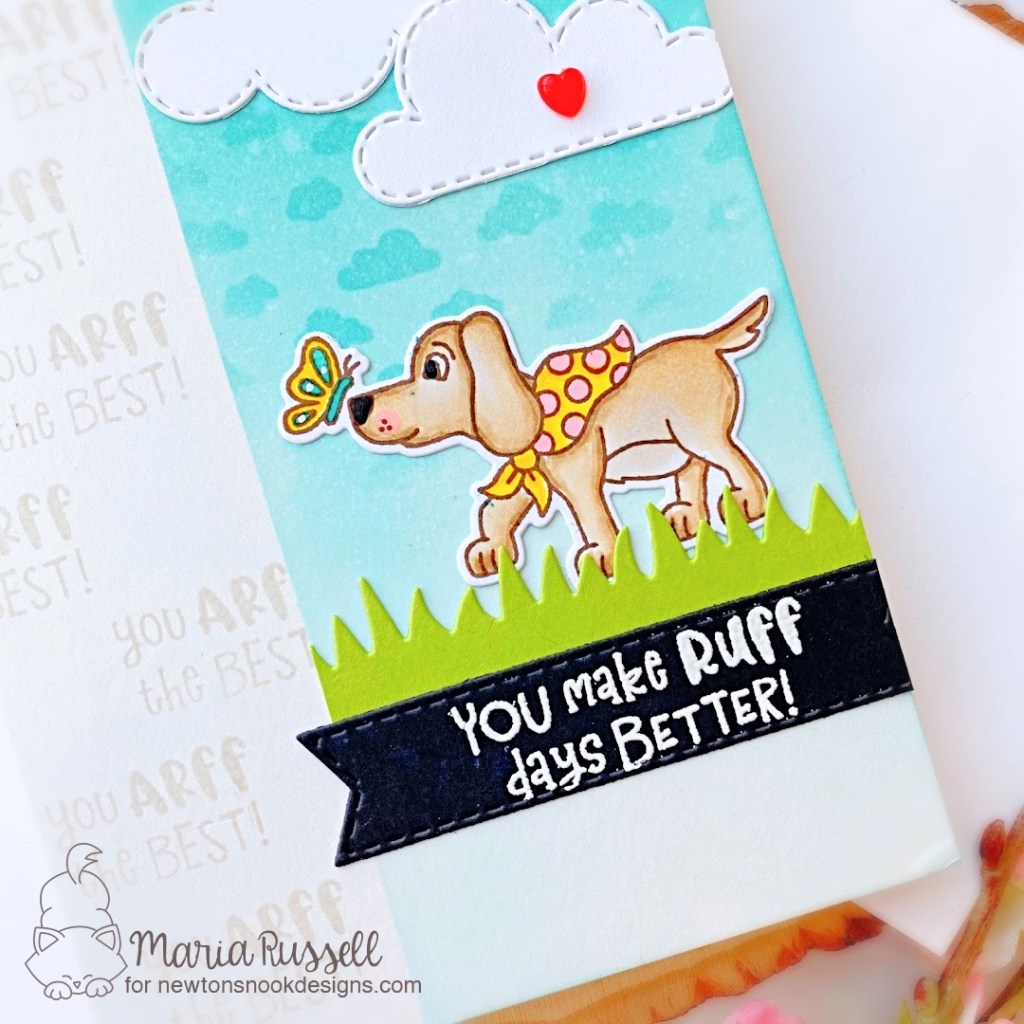
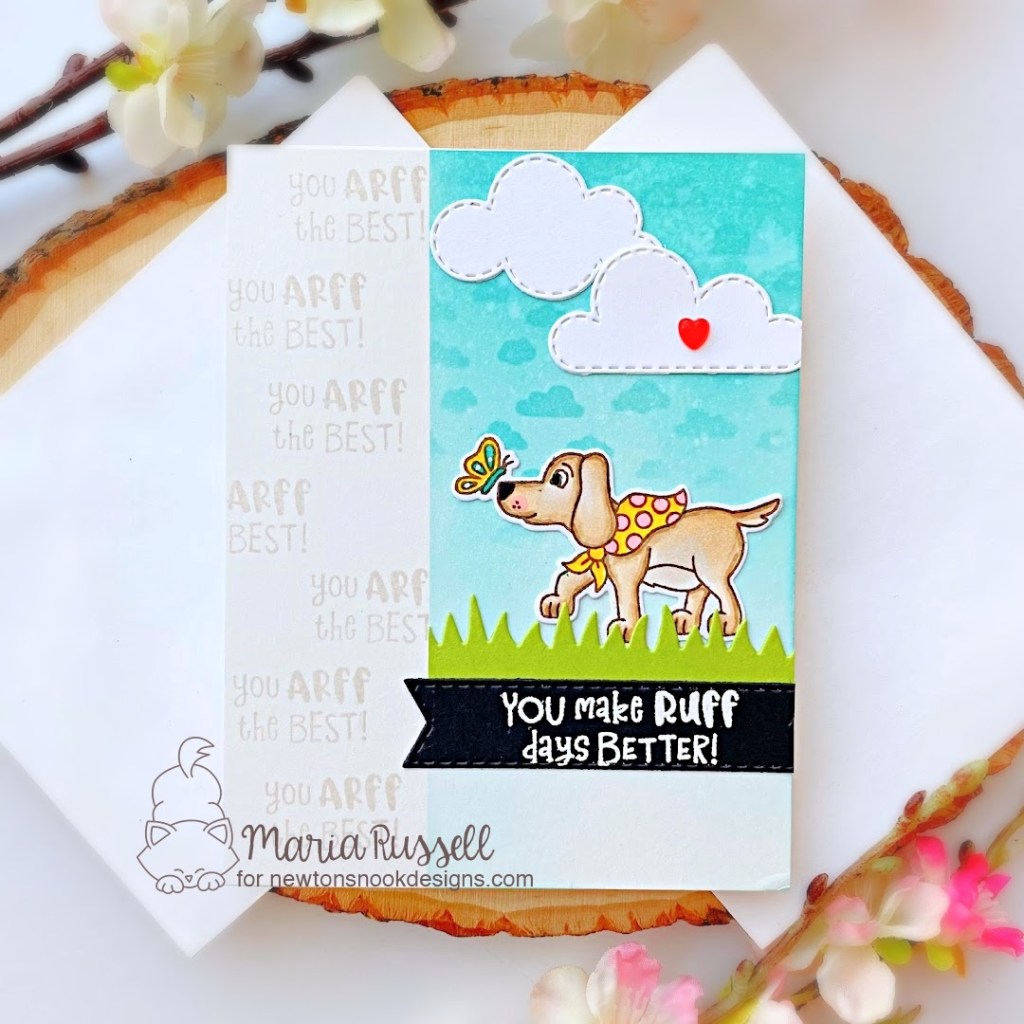
I started by creating the background first. I used masking tape to mask off the left side of some Bristol smooth A2-size white notecard. I used some distress oxide ink and the Petite Clouds stencil to create the sky. I sprayed some water on the colored panel for added texture.
Next, I removed the masking tape and used some light gray ink to stamp the sentiment “You ARFF the BEST!” in random order.
I die-cut the clouds and the grass border and adhered them on the colored panel with some liquid glue. Since I already have the image that I colored and die-cut previously, I added adhesive and tucked it behind the grass panel.
The sentiment strip was die-cut and stamped with Versamark ink and heat set with my heating tool. Positioning the sentiment was pretty easy, covering the grass panel slightly. I finished my design by adding a red heart on one of the clouds and used my black gel pen to add more depth and texture to the puppy’s eyes and nose. Here’s another look:
I hope you like this card design today. It’s pretty simple but sometimes, less is really more!
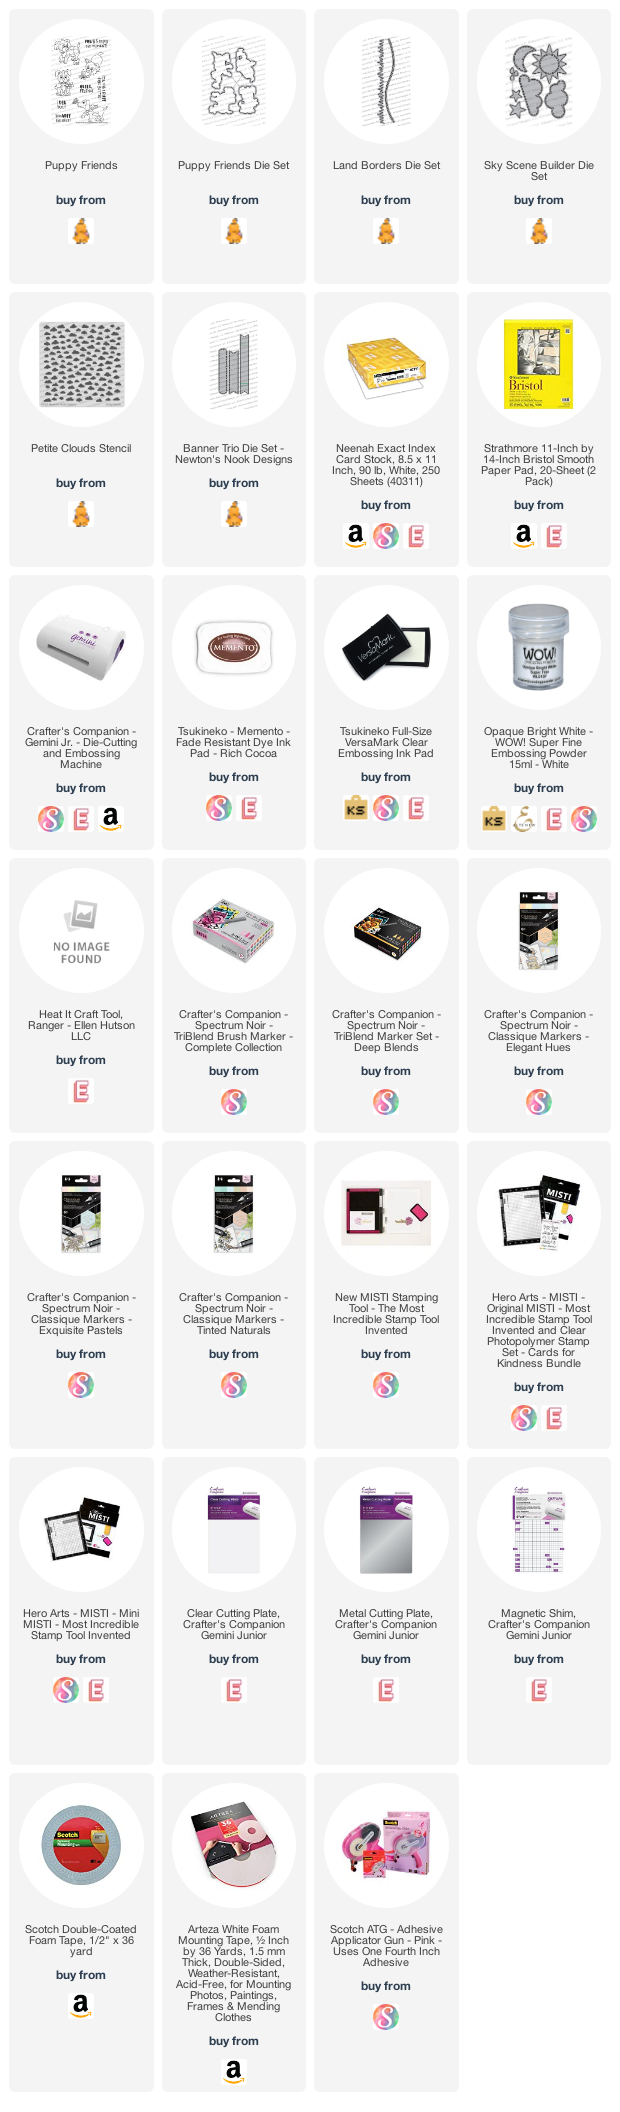
The supplies I use are listed and linked below. Thanks for stopping by today and happy stamping!
Did you see that Newton’s Nook Designs is having a retiring sale on their website? It’s time to make room for new products so they are retiring select designs! These designs are available at up to 40% off while supplies lastso hurry and get your favorites before they’re gone for good!
All throughout this week, the NND Design Team will be sharing inspiration using some of our favorite products from the retiring list! Check out what I created today and don’t forget to check the NND Blog each day this week for more fun inspiration!
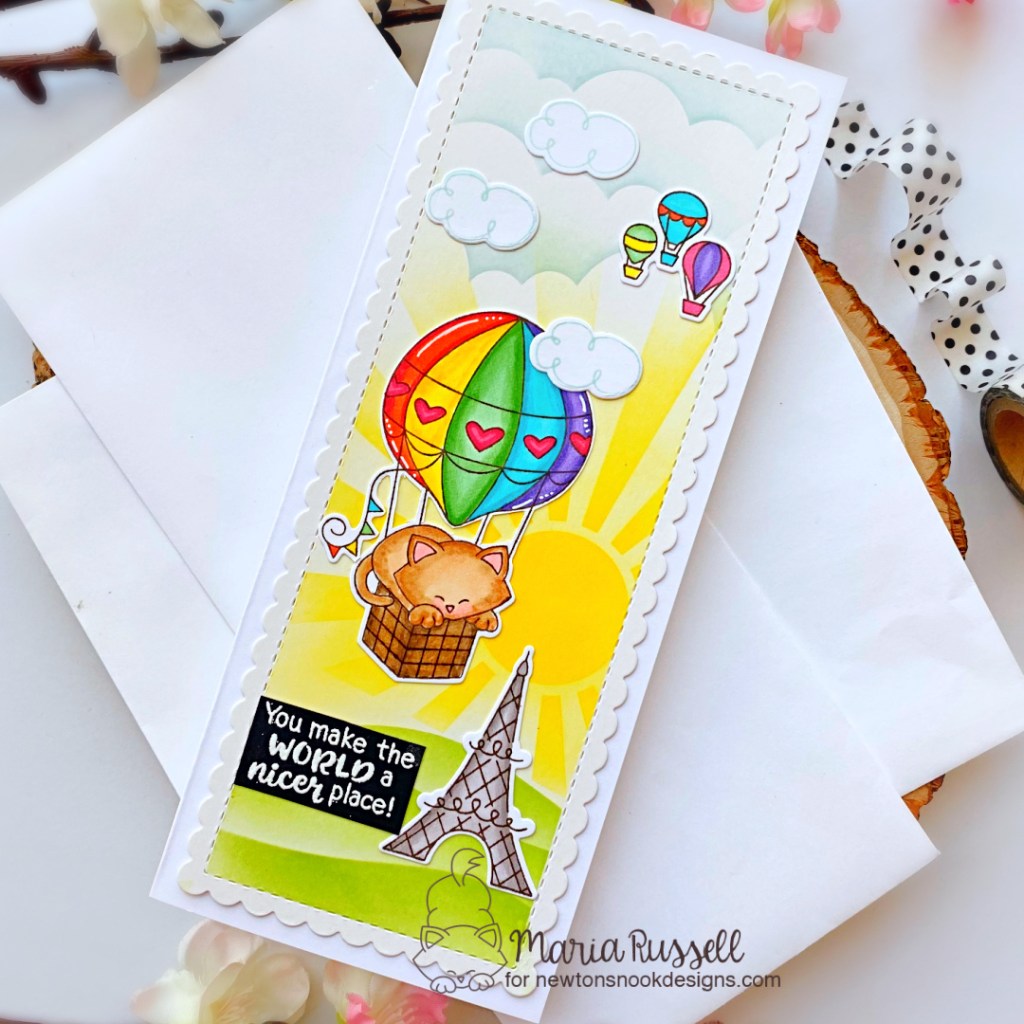
I started by stamping my images on Neenah solar white card stock and colored the images in with my Spectrum Noir alcohol markers. I used the coordinating dies to cut them out.
The background was created by die-cutting the scallop using the Slimline Frames & Portholes die set, on some Bristol Smooth White Card Stock. I used my masking tape to mask off the scallop portion of the card stock, then ink-blended this slimline panel using 3 of my favorite stencils –> Hills & Grass, Sunscape and Clouds Stencil. I took the masking tape and adhered this panel on a slimline card base.
I didn’t want any dimension on this card so I adhered the images with some liquid glue.
I finished my design by adding the sentiment from the Thankful Thoughts Stamp Set that I stamped and heat-embossed on some black card stock. Here’s another look at the card:
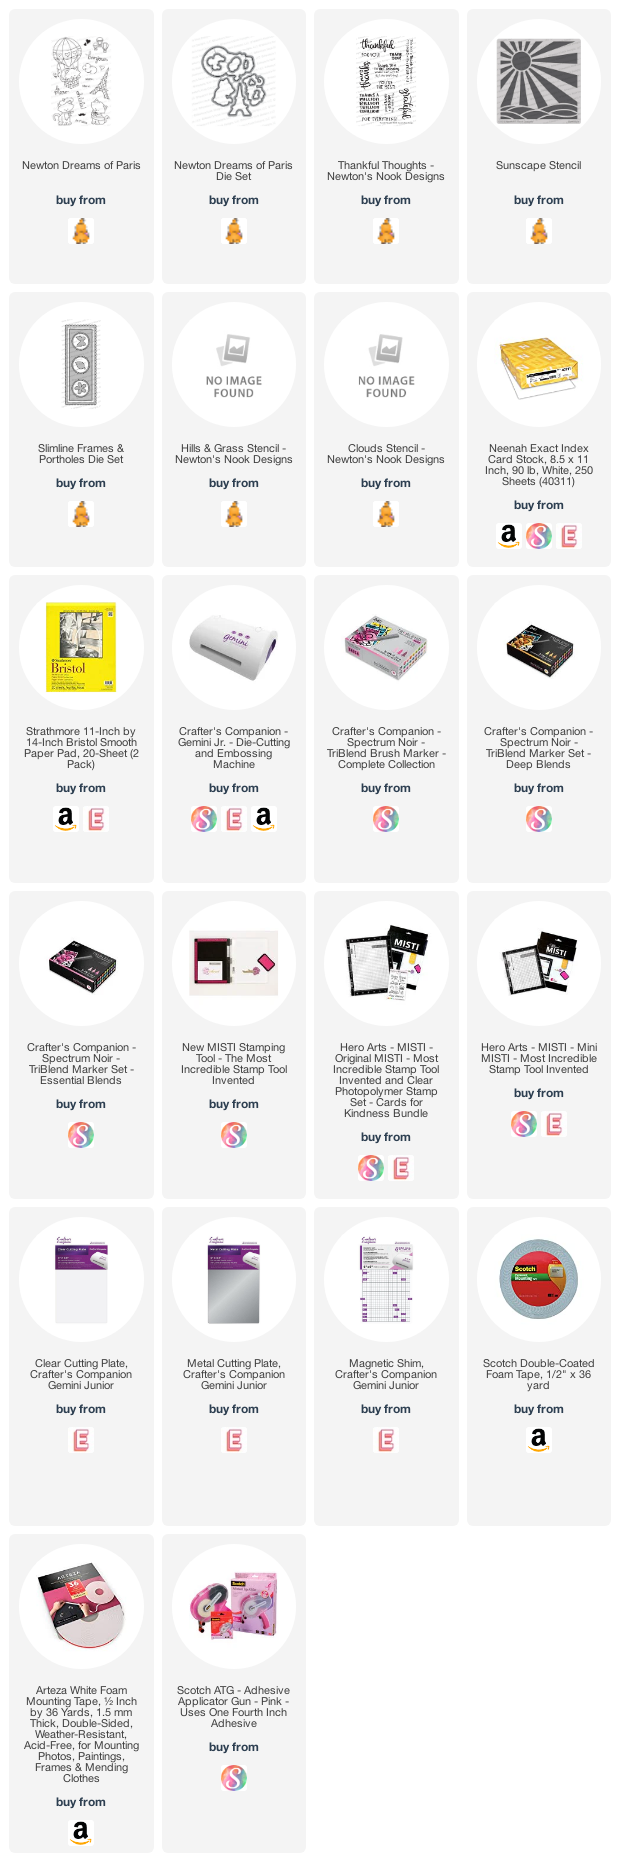
I hope you like my “just-because” card today and got inspired. The supplies I use are listed and linked below.
Welcome to Therm-O-Web and Newton’s Nook Designs collaboration. This week, NND and TOW are partnering for a fabulous inspiration week! All week long, both design teams will be sharing ways to add use Therm O Web products with Newton’s Nook Designs stamps! There are prizes too! Read all the way to the end of this post to find out how you can win!
Today is the last day of the collaboration so I figured I’ll share two projects to give you more inspiration! I used A LOT of products from both companies!
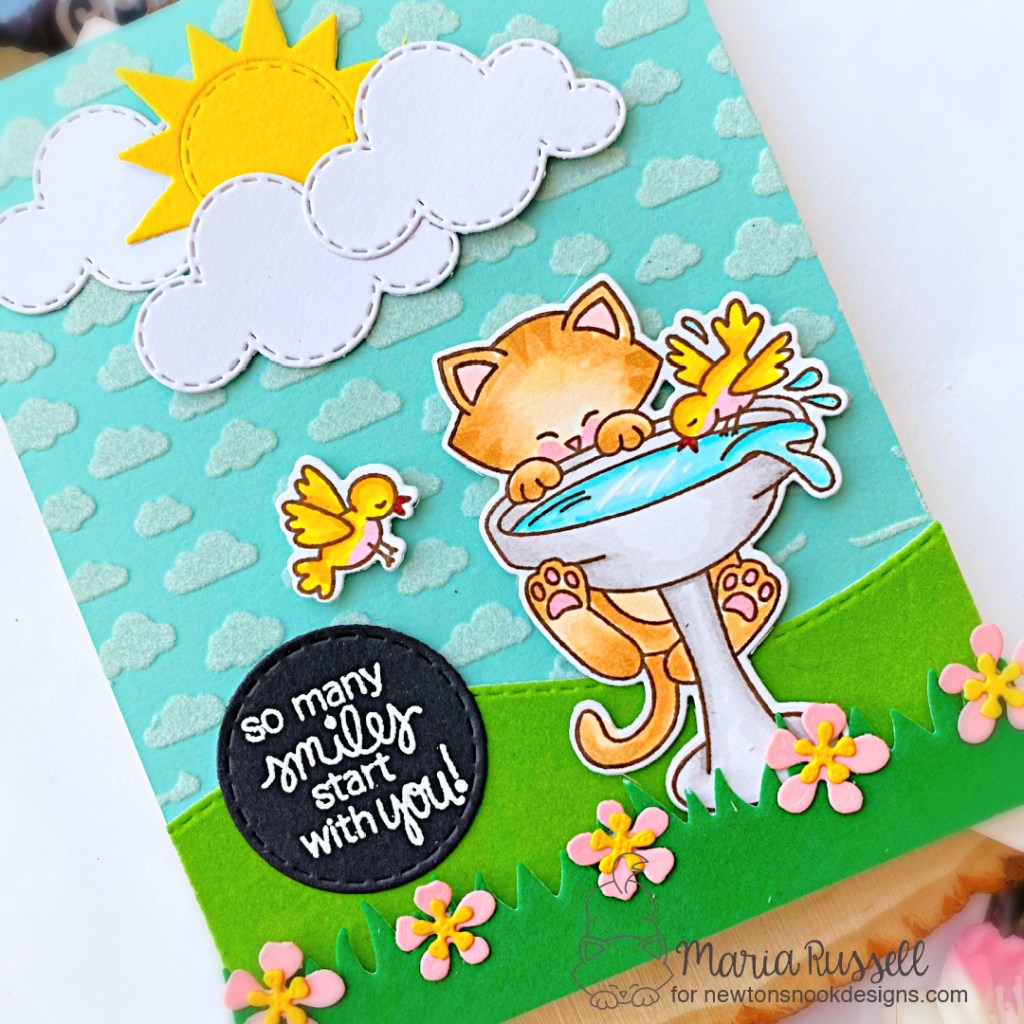
The background was created by applying Deco-Foil Transfer Gel Duo with the Petite Clouds Stencil on some blue card stock. I spread the gel evenly with the help of (one of my favorite tool) the Stencil Pal. I set this panel aside to let it dry for about half an hour.
Once the gel turns translucent, you are ready to do the flock transfer. Since I used the Deco-Foil Transfer Gel Duo, you can either run this panel through your laminator, or use your die-cutting machine. In this instance, I used my laminator. I put the panel inside my transfer sheet and cut a piece of the Deco-Foil Transfer Flock in White Latte (fussy side down). I run it through my laminator to transfer the flock. I love how the small clouds look so fluffy and realistic because of the flock sheet.
Next, I stamped the images from Newton’s Birdbath stamp set on some Neenah solar white card stock and colored them in with alcohol markers. I used the coordinating die to cut them out.
I die-cut the rest of the components together using the dies and flock transfer sheets (mentioned above) to and started building my scene. I like having a bit of a dimension on my cards so I used the iCraft 3d Foam Adhesives on the grass panel, clouds and sun. I also had some cute flowers that I’ve already die-cut from a previous project so I adhered them onto the card for added interest.
The last piece to add is the sentiment. I stamped it on some black card stock with Versamark ink and sprinkled some white embossing powder. I used my heating tool to heat-set, then die-cut using the smallest die from the Circle Frames Die set. I adhered the sentiment using the tape runner.
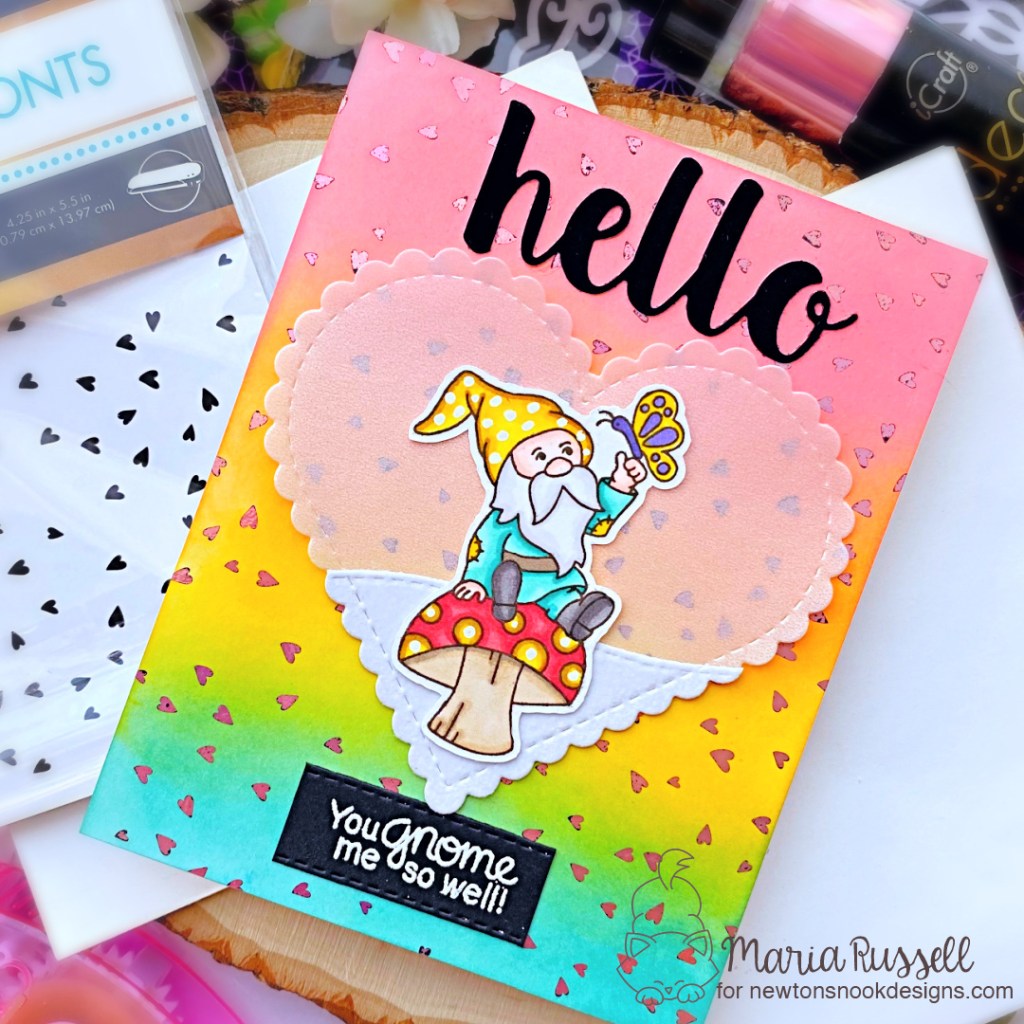
The word “hello” was die-cut using a die from my collection and the Deco Foil Flock Transfer Sheet in Black Velvet. With a colorful background such as this card, I wanted the sentiments to stand out!
I finished my card design by using my white gel pen and drew some dots to the Gnome’s hat for added interest. Here’s another look:
Which one is your favorite -> Newton’s Birdbath or the cute Garden Gnome? I hope you like both cards because I love how they turned out. The supplies I use are also listed and linked below in case you are interested.
NOW HERE IS THE BEST PART! Would you like to win a $40 store credit from Therm O Web or Newton’s Nook Designs? Visit the Newton’s Nook Designs blog and the Therm O Web Blog for a chance to win! Both companies will be giving away a prize this week! Make sure to check out their blog posts for the announcement of the lucky winners!
Thanks for stopping by my blog today and happy foiling and stamping!
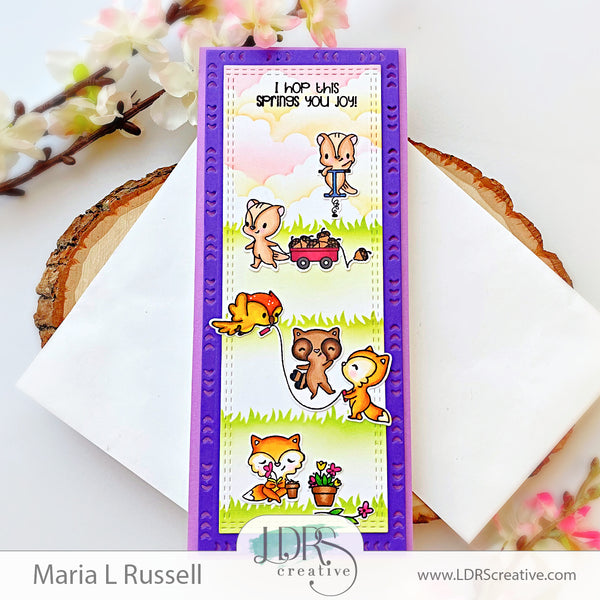
My first card below is very simple. I stamped the image on some Bristol smooth white card stock using Iced Tea Hybrid Ink and colored them in with watercolor. I die-cut the image using the Friends Like You coordinating die set.
Next, I colored the Neenah solar white card stock and using a blending brush and Marina Madness Hybrid Ink. I added some texture and interest to the foreground by using the 6×6 Plaid Stencil, white texture paste and palette knife. I set this aside to let it dry for about half an hour.
I cut the grass using the In the Grass Die Set and Daisy Delights 6×6 paper. Also cut the gingham pattern strip from the Farmer’s Market 6×6 paper pad and adhered both pieces to the foreground. The black and white strip was cut using the LDRS packaging. I adhered the image with liquid glue and added this piece to an A2-size notecard.
I finished the design by stamping the sentiment using Watermark Ink on some black card stock. I sprinkled some White Embossing Powder and heat-set with my heating tool. Adhered this piece on the card with my ATG gun. Here’s another look:
I added the grass and clouds by using the Rainy Day Stencil and hybrid inks in Dan-D-Lion, Soft Kisses, and Prickly Pear Perfection. I adhered the little critters on the foreground with liquid glue and added this piece on a lavender slimline card base. I finished my design by stamping the sentiment with Raven Hybrid Ink.
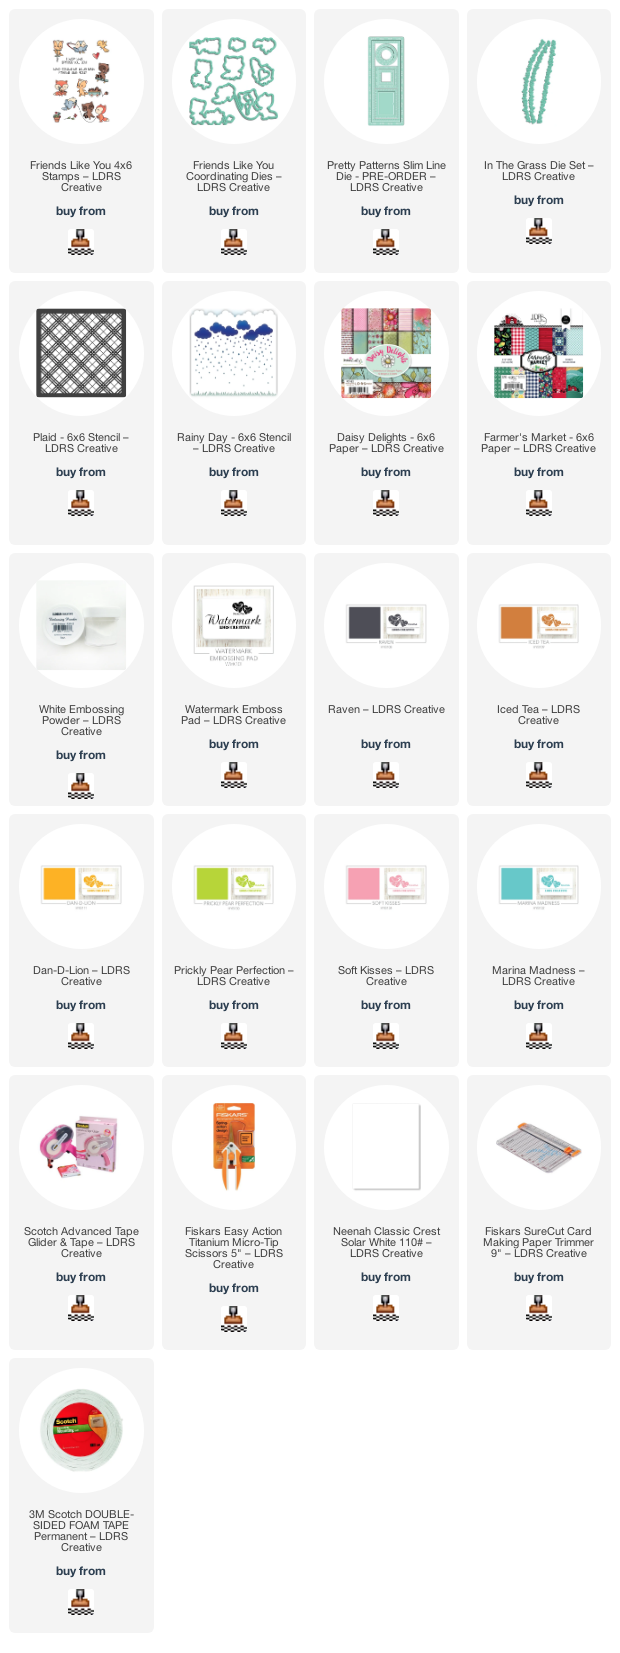
I really love both cards today and I hope you like them too! I’ve also listed and linked the supplies I use below. Thanks for stopping today today and happy stamping!