You Make Me Happy – CREATIVE TEAM INSPIRATION DAY 1 with LDRS Creative

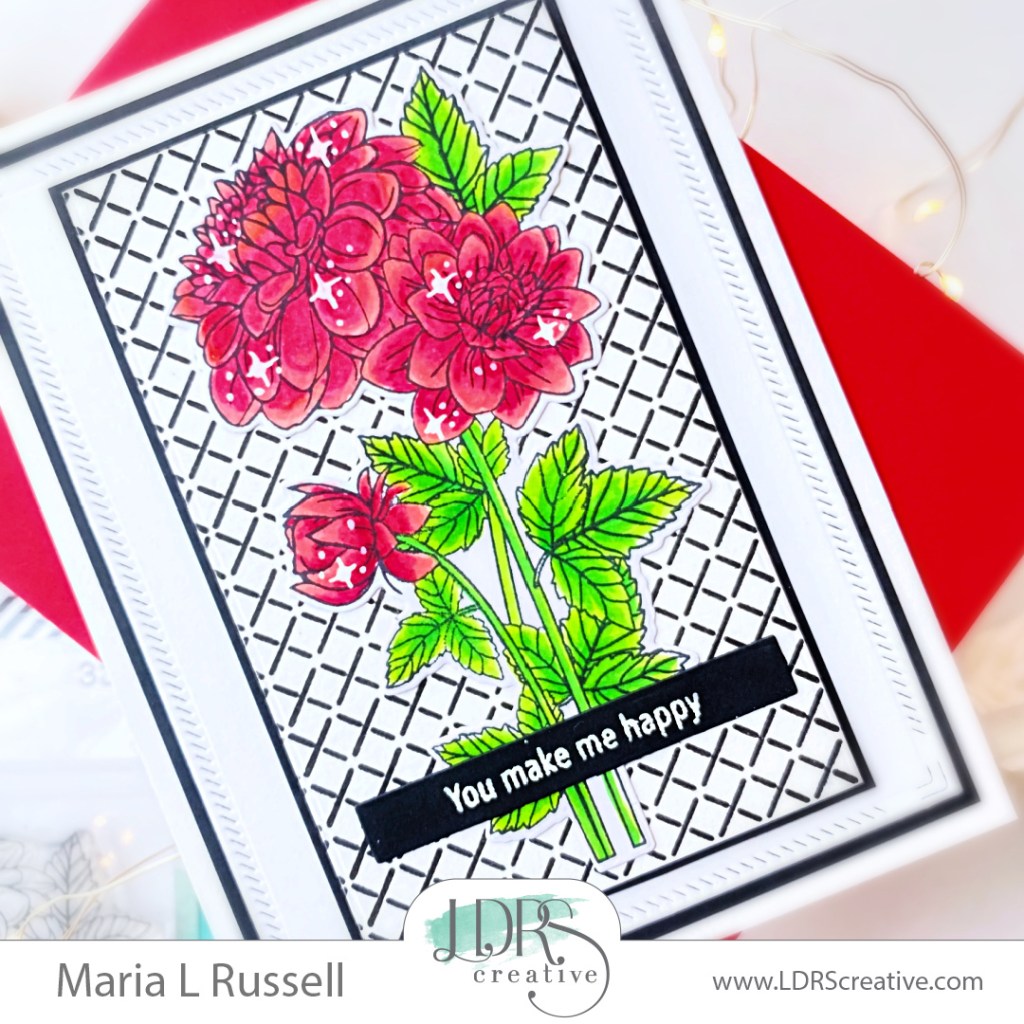
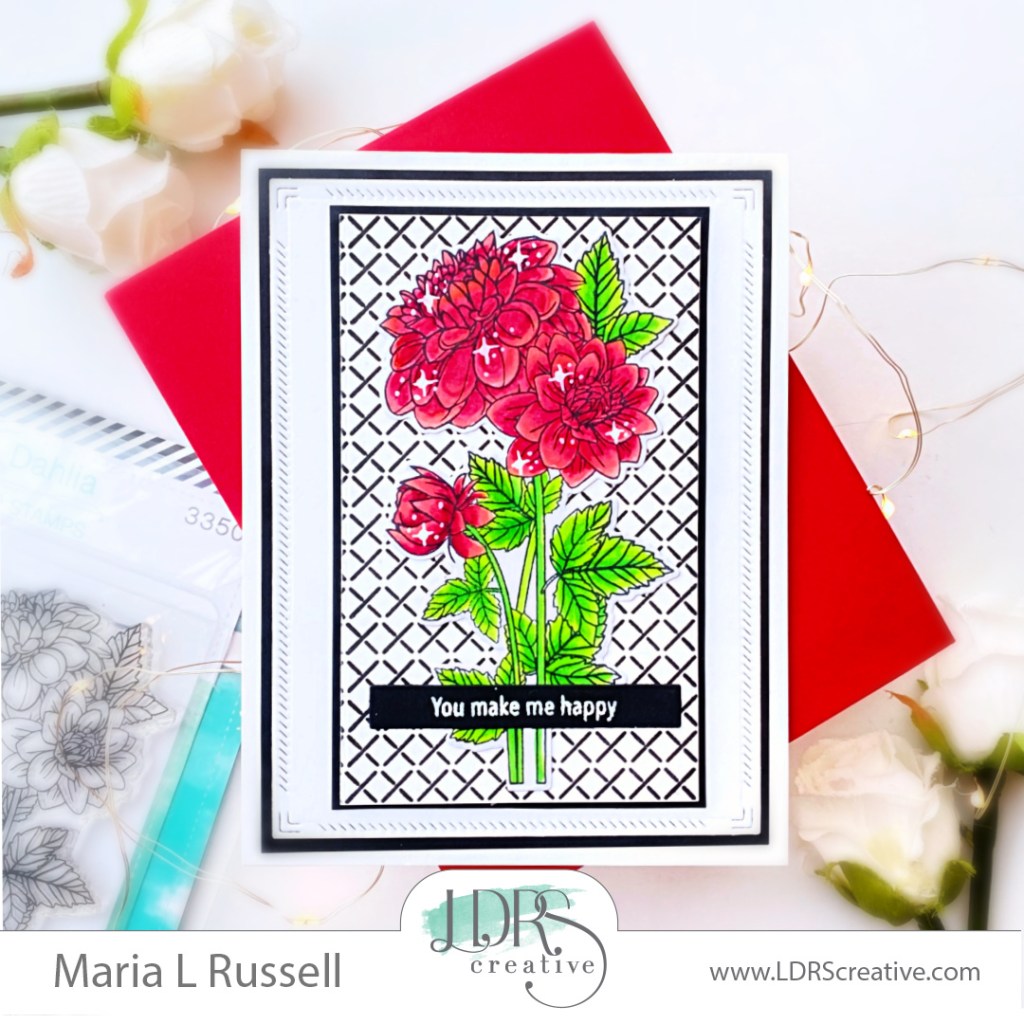
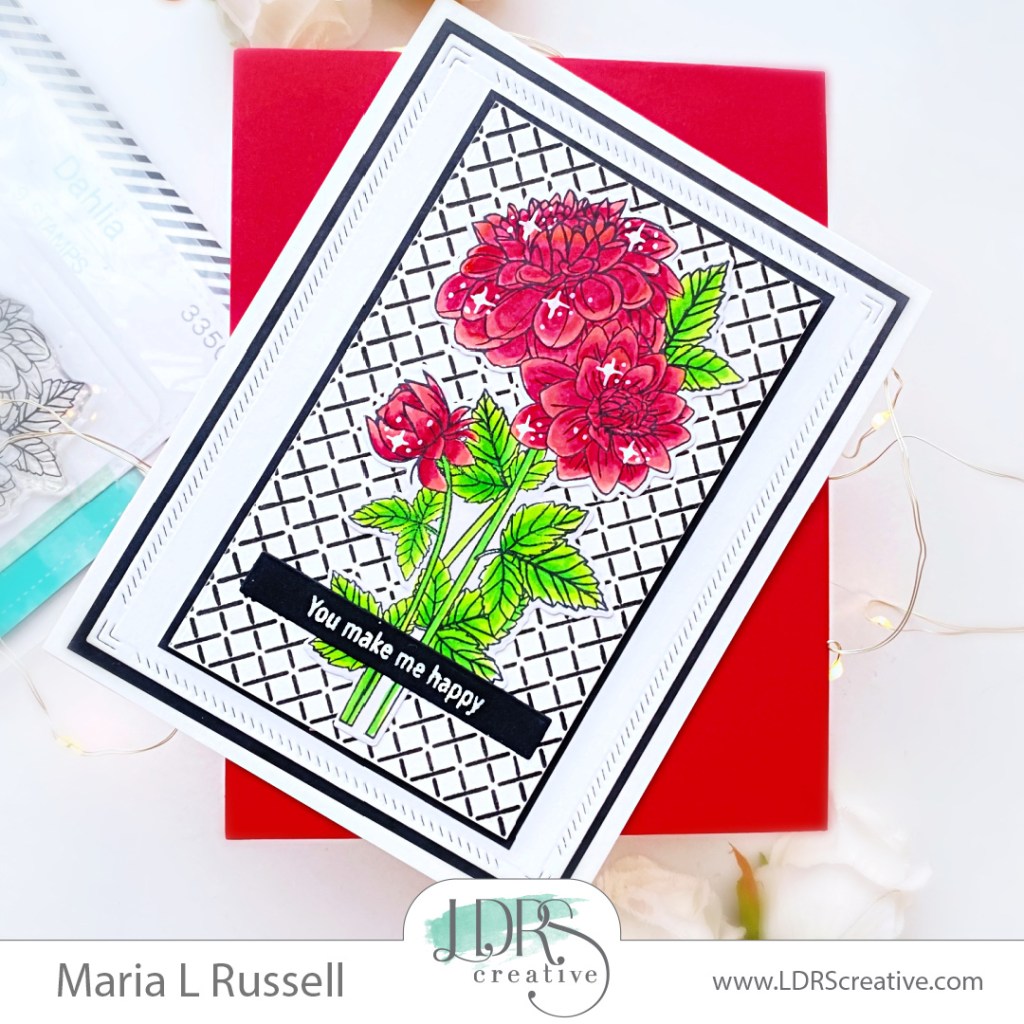
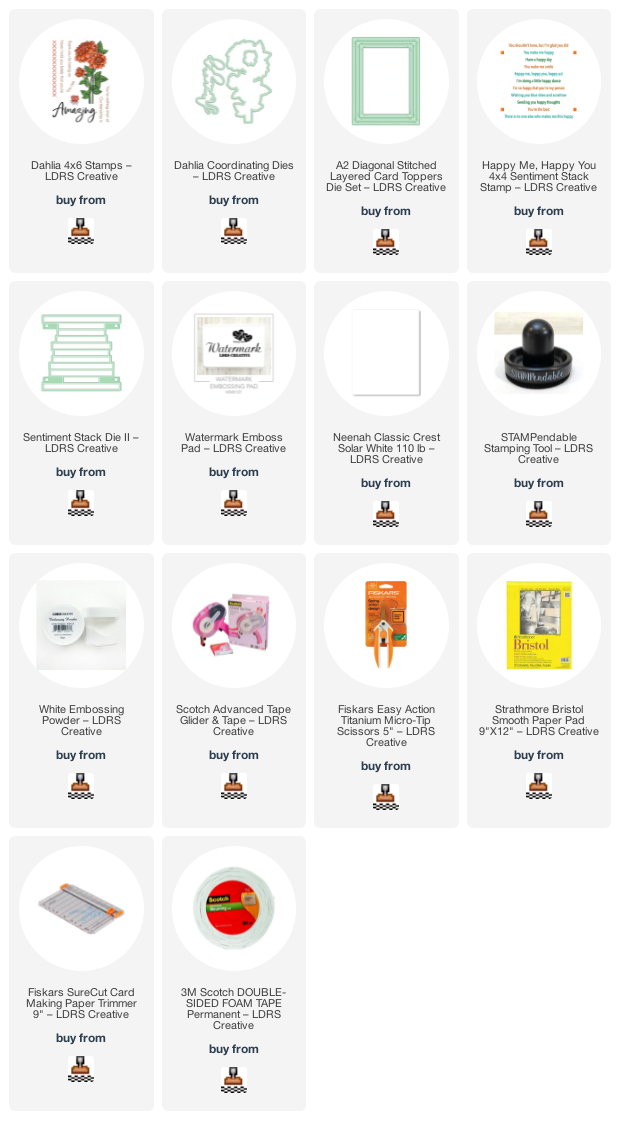
It’s inspiration day 1 at LDRS Creative and the entire design team is showing off a few of our favorites from the winter release. For today’s card, I am featuring the Dahlia stamp set and coordinating dies, with the A2 Diagonal Layered Stitched Card Toppers Die Set, Happy Me Happy You stamp set and the Sentiment Stack II Die.
Here’s how I made this card:

  • Adhere the focal image on the card.
  • Stamp the sentiments from the Happy Me Happy You stamp set and use the Sentiment Stack II Die to cut them all out. I really LOVE these type of stamp & die combo as you get to stamp a few sentiments and die cut all at once.
  • Adhere the sentiment “You Make Me Happy” on the card.
  • Finish the design by using white gel pen to add some dots and stars to the flowers for added texture.
Stay tuned for Day 2 as we bring you more inspiration tomorrow. I hope you like my card today. The supplies I used are listed and linked below. Thanks for stopping by!
———SUPPLIES———-
Friendship Card with Reverse Confetti

Hello everyone! Happy Friday! I am pleased to tell you all that a few of the stamps & dies that were sold out from the January release are now back in stock at the Reverse Confetti Shop!

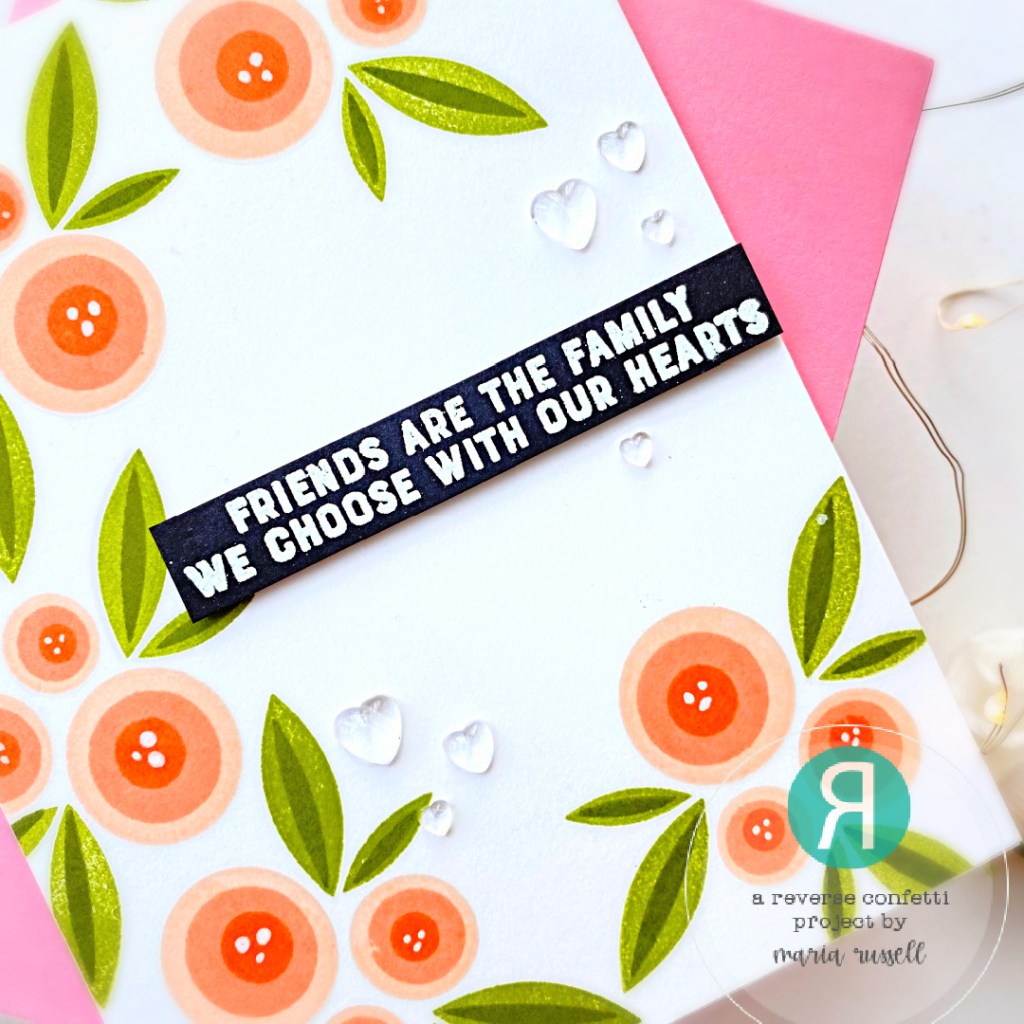
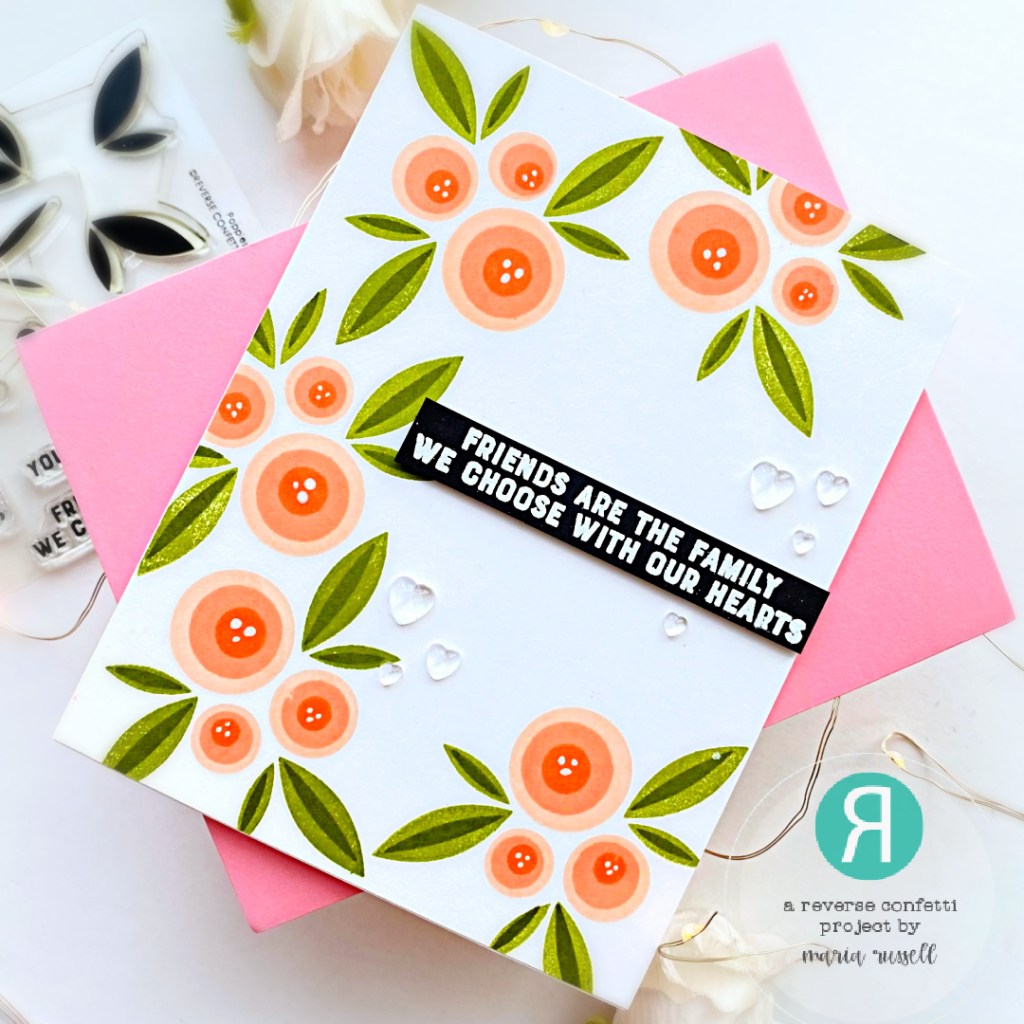
My card today features the Poppies stamp set. This time, I stamped it the way it should be without all of the glitter in between.

Here’s an easy, peasy design for you that you can mass-produce! I stamped the outline image first with some Ink-On-3 Fadeout ink. I didn’t want the outline to show but I still needed it so that I can position the flowers and leaves perfectly. I used 3 color variations of peach dye inks to stamp the flowers first, then moved on to stamping the leaves with two shades of green.

I stamped the sentiment on some black card stock with Versamark ink and sprinkled some white embossing powder then heat-set with my heating tool. I foam-mounted the sentiment onto the card for added dimension.

I used some white gel pen and added dots to the centers of each flower for more texture and adhered some Clear Heart Droplets to finish the design. Here’s another look:

I hope you like my card today and got inspired. Thanks for stopping by and have a great weekend!

NND JANUARY RELEASE DAY 4 – LOVE BOTS

It is the last day of the January reveals by Newton’s Nook Designs.  If you haven’t hopped along with us yet, please check out all of the posts from Day 1 since this is your last chance to do it.  You have a chance to win the stamp set being revealed each day so please read through ’til the end of the blog post to find out more info.  [Just a little important note:  I know some of you had difficulties finding the comments section.  If you would like to leave a comment to participate in the giveaway, the “comments section” will only be ever visible when a single post on Word Press is being viewed. Please click on this particular blog post and you will be able to leave a comment below.  Thank you!]  

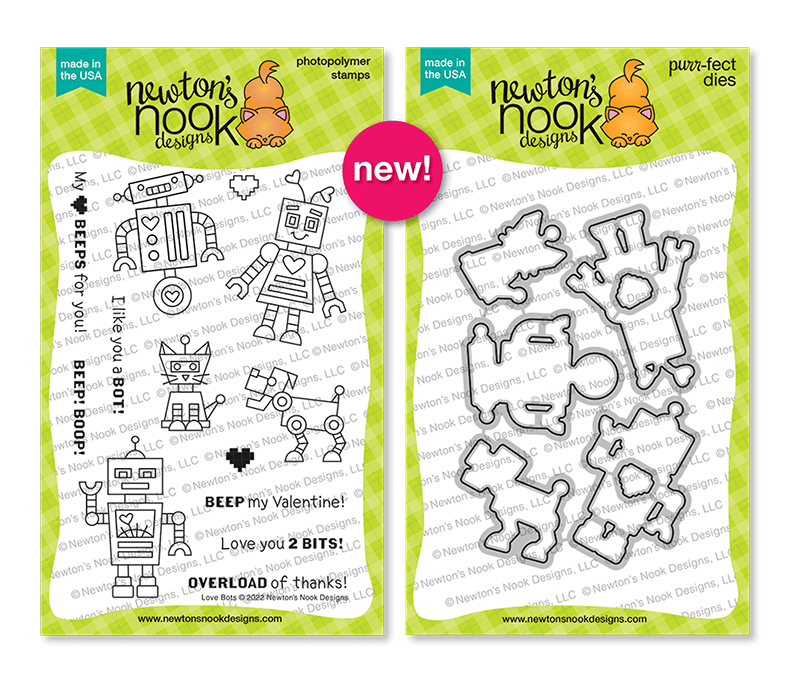
For day 4, we are showcasing the Love Bots Stamp Set and coordinating die.

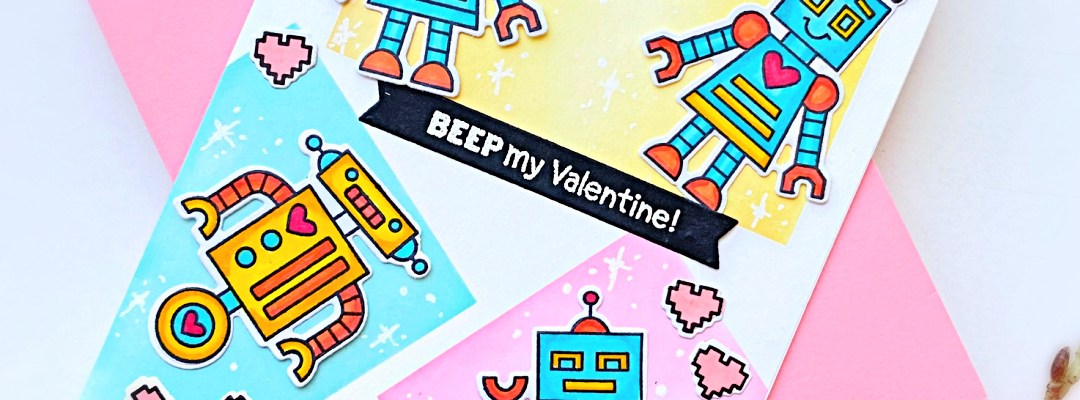
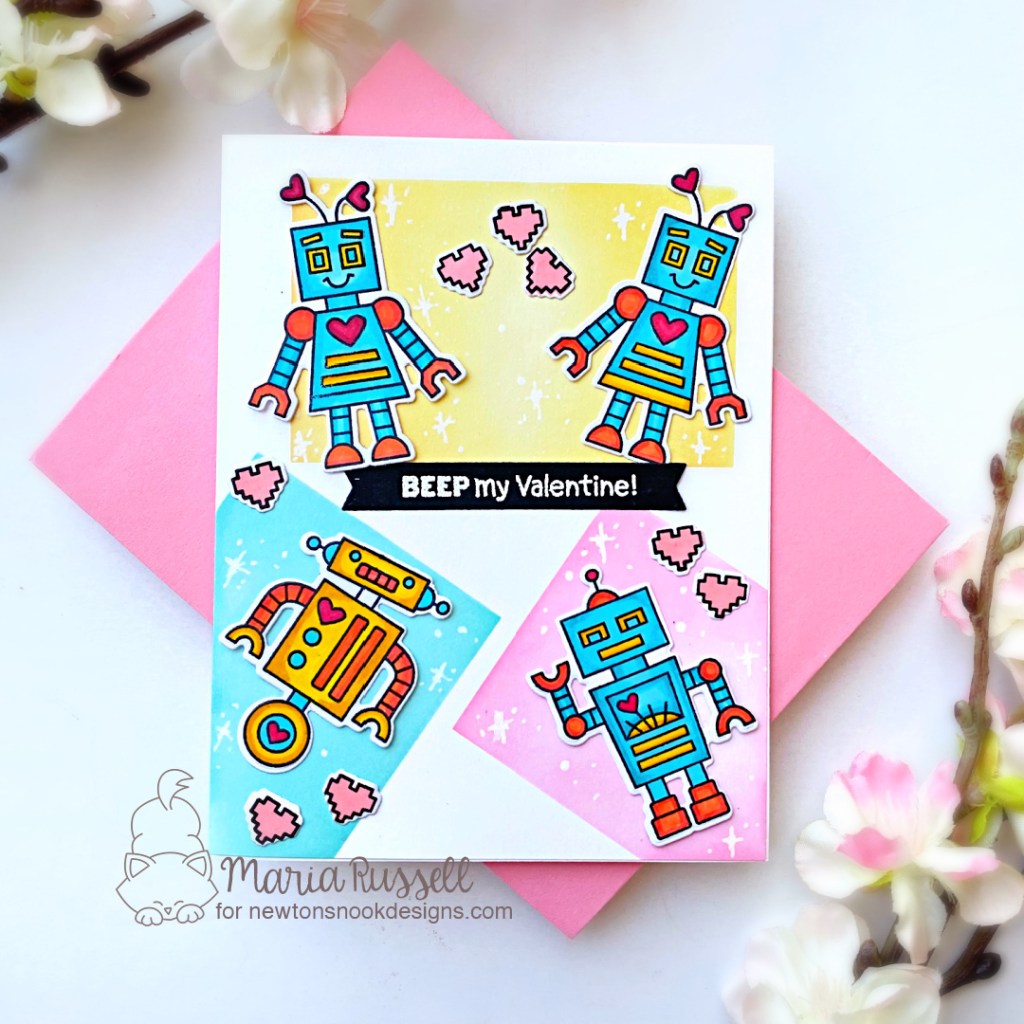
Do you remember when you were a kid and you were so excited to go to school on Valentine’s Day? That’s my inspiration today! I wanted something fun that kids can make themselves using this stamp set so I opted to do a colorful design that can easily be mass-produced.

To make the card, I stamped the images from the Love Bots Stamp Set on some X-Press It Blending Card and colored the images in with alcohol markers. I used the coordinating dies to cut them out.

Next, I used some rectangle dies from my stash and created a stencil on some acetate sheet. I used this stencil to ink up a panel of Strathmore Bristol smooth white card stock with different colors of distress oxide inks. I adhered this panel on an A2-size notecard.

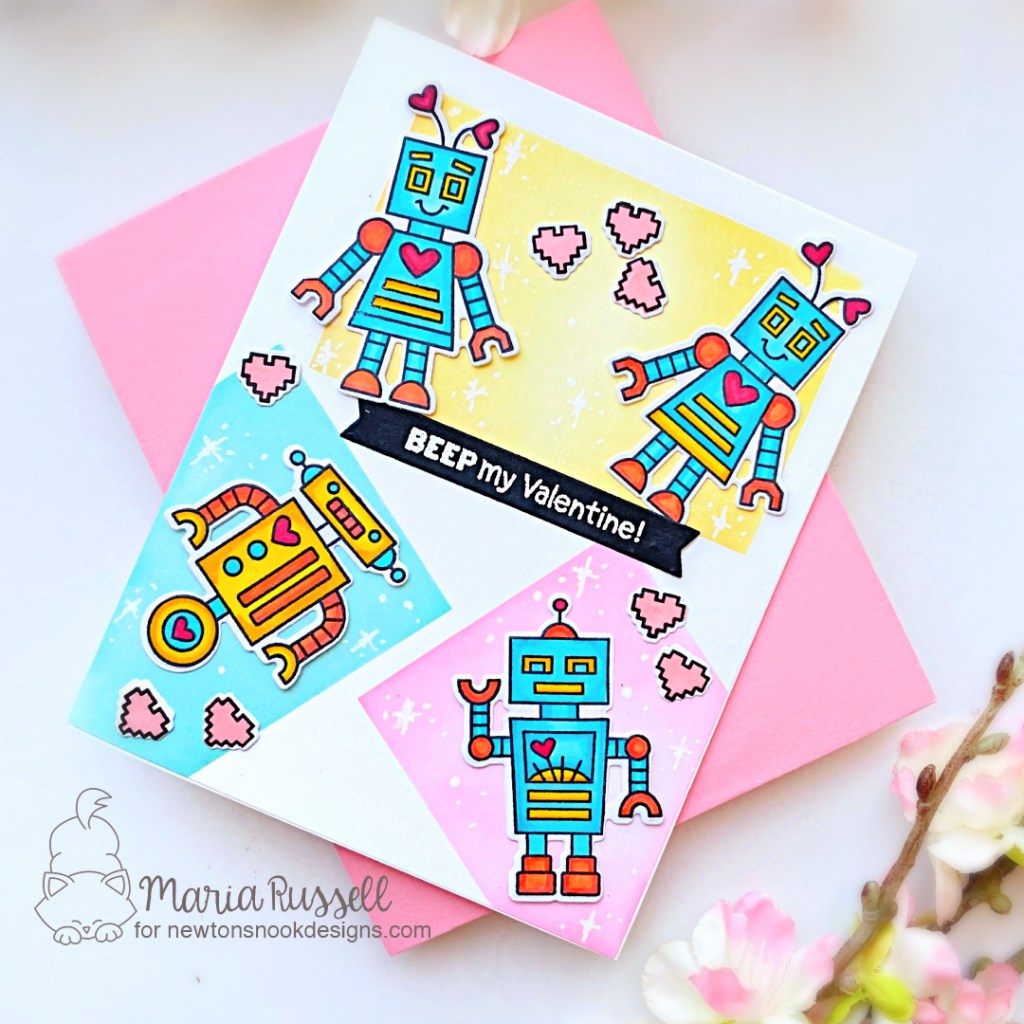
Since this is a “kid-friendly” card, I didn’t need to add foam adhesive to any of the images so I added them with liquid glue. I finished the card design by adding the sentiment that was die-cut using one of the banners from the A7 Banners & Frames die set that I heat-set with my heating tool. I used my white gel pen to add some stars and dots to the card for some whimsical touch. Here’s another look:

Would you like to win the “Love Bots” Stamp Set? This stamp set will be given away to ONE lucky winner!

Here’s how to win: Comment on the NND blog and Design Team blogs (see list below)!  The winner will be chosen at random from the collective reveal posts. Make sure to check out each of their blogs and comment for your chance to win. You will not know which blog has been chosen so the more you comment on the better your chances are of winning! You have until Thursday January 20th at 9pm ET to comment  — winners will be announced on the blog post on Friday, January 21st. 

Check out all the awesome Design Team Blogs below to enter:

Newton’s Nook Designs

Donna Idlet

Ellen Haxelmans

Tina Herbeck

Larissa Heskett

Samantha Mann

Zsofia Molnar

Maria Russell (you are here)

Farhana Sarker

Tatiana Trafimovich

Amanda Wilcox

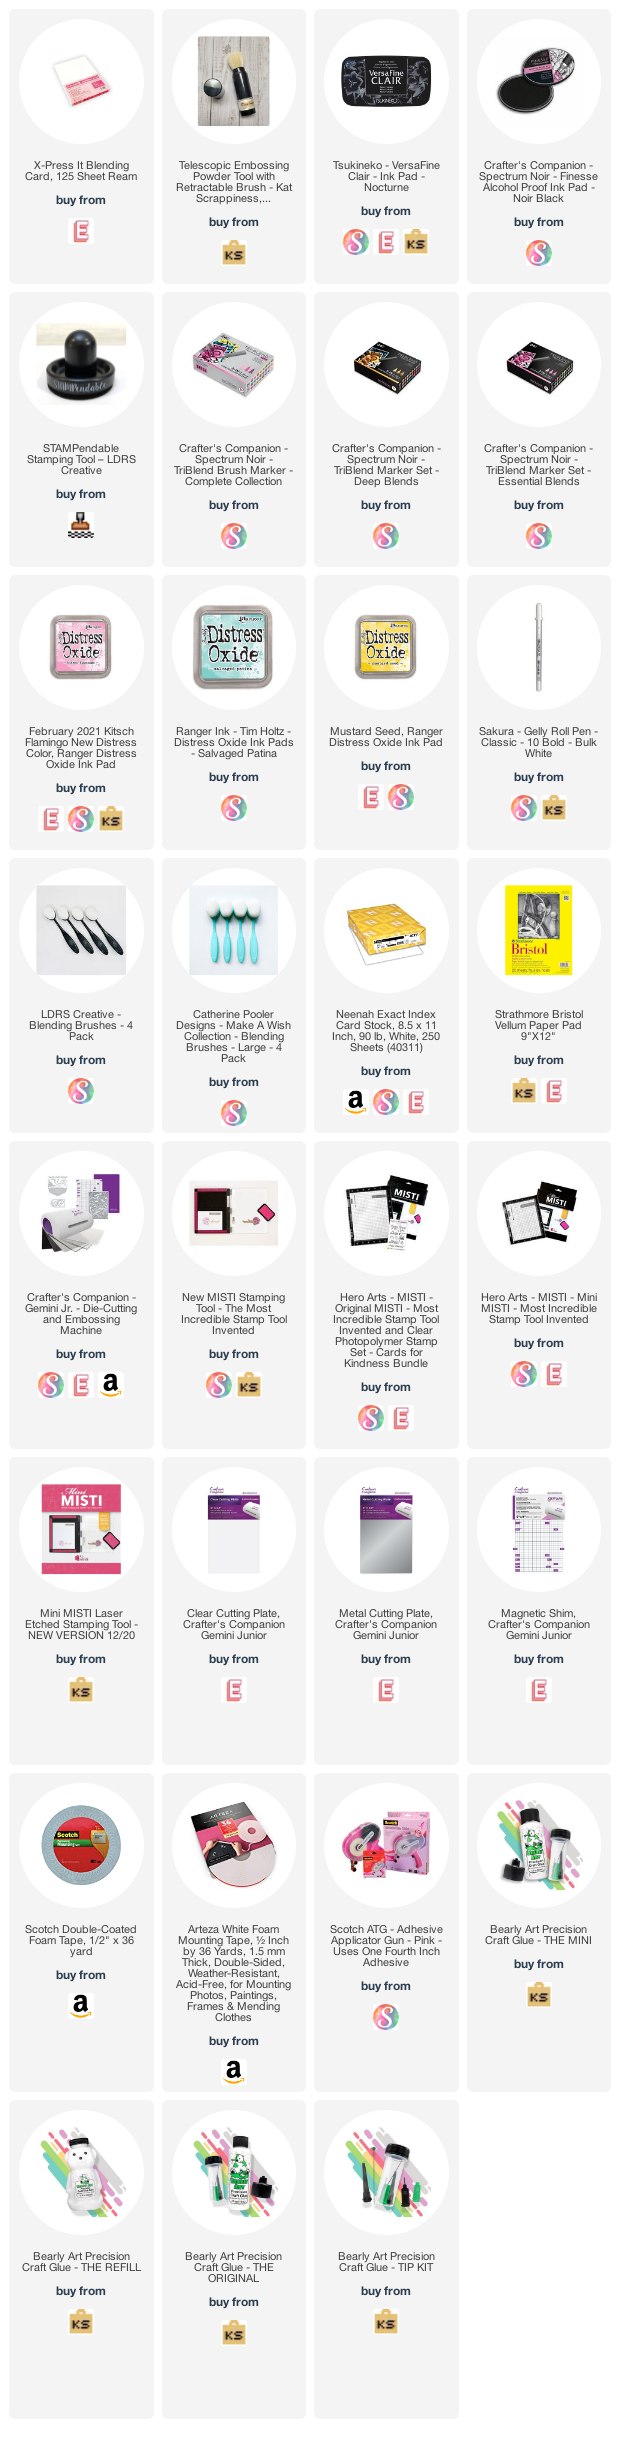
——–SUPPLIES——-

NND JANUARY Release Day 3 – heartfelt meows & heartfelt woofs

It is the third day of the reveals by Newton’s Nook Designs.  Were you able to hop along with us for the last two days? Which one are you dying to get your hand s on so far? You have a chance to win the stamp set being revealed each day so please read through ’til the end of the blog post to find out more info.  [Just a little important note:  I know some of you had difficulties finding the comments section.  If you would like to leave a comment to participate in the giveaway, the “comments section” will only be ever visible when a single post on WordPress is being viewed. Please click on this particular blog post and you will be able to leave a comment below.  Thank you!]  

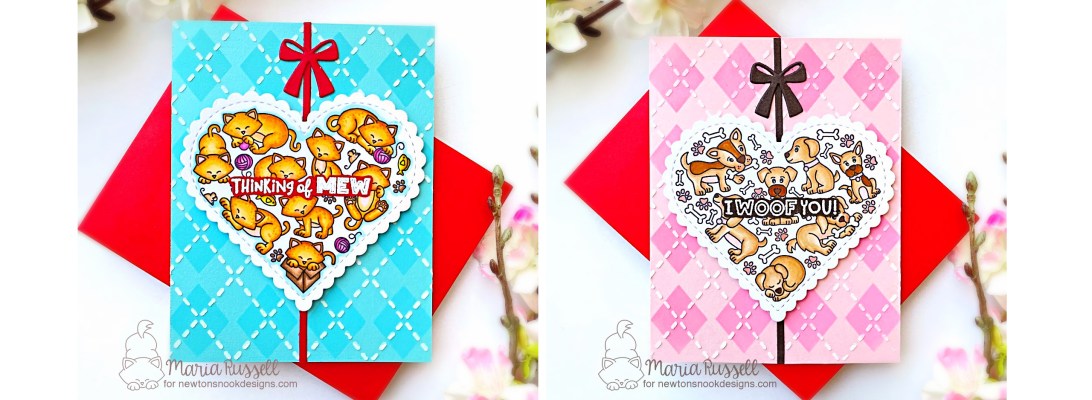
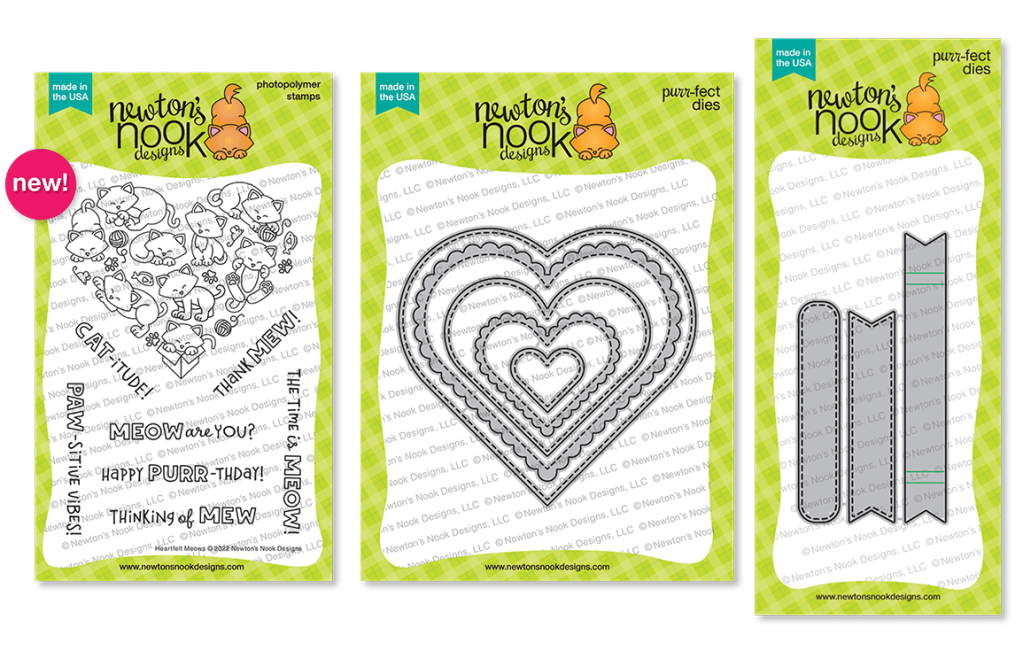
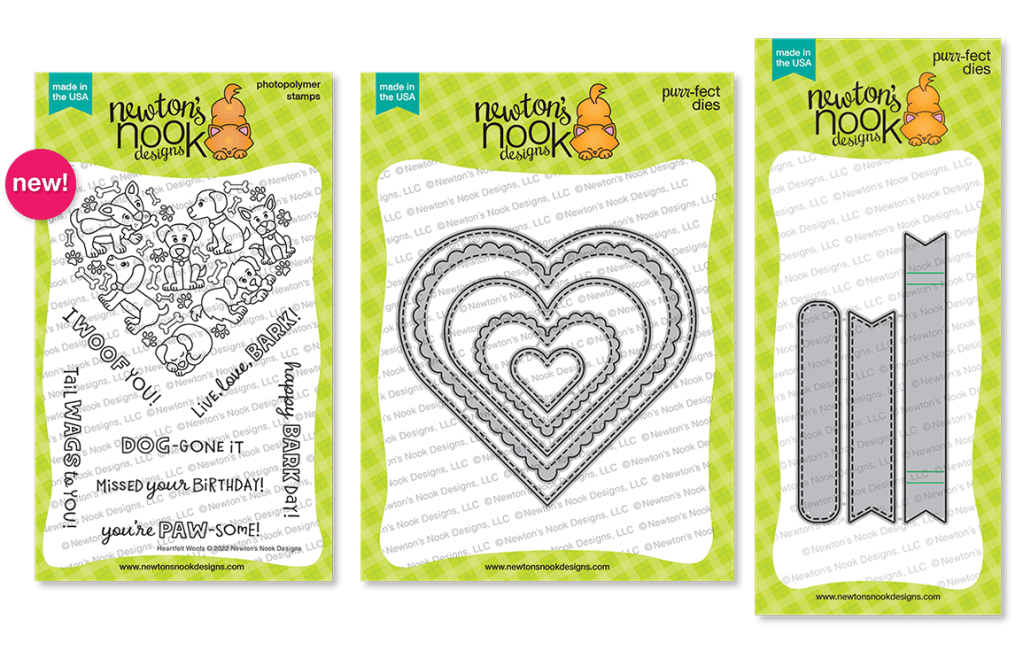
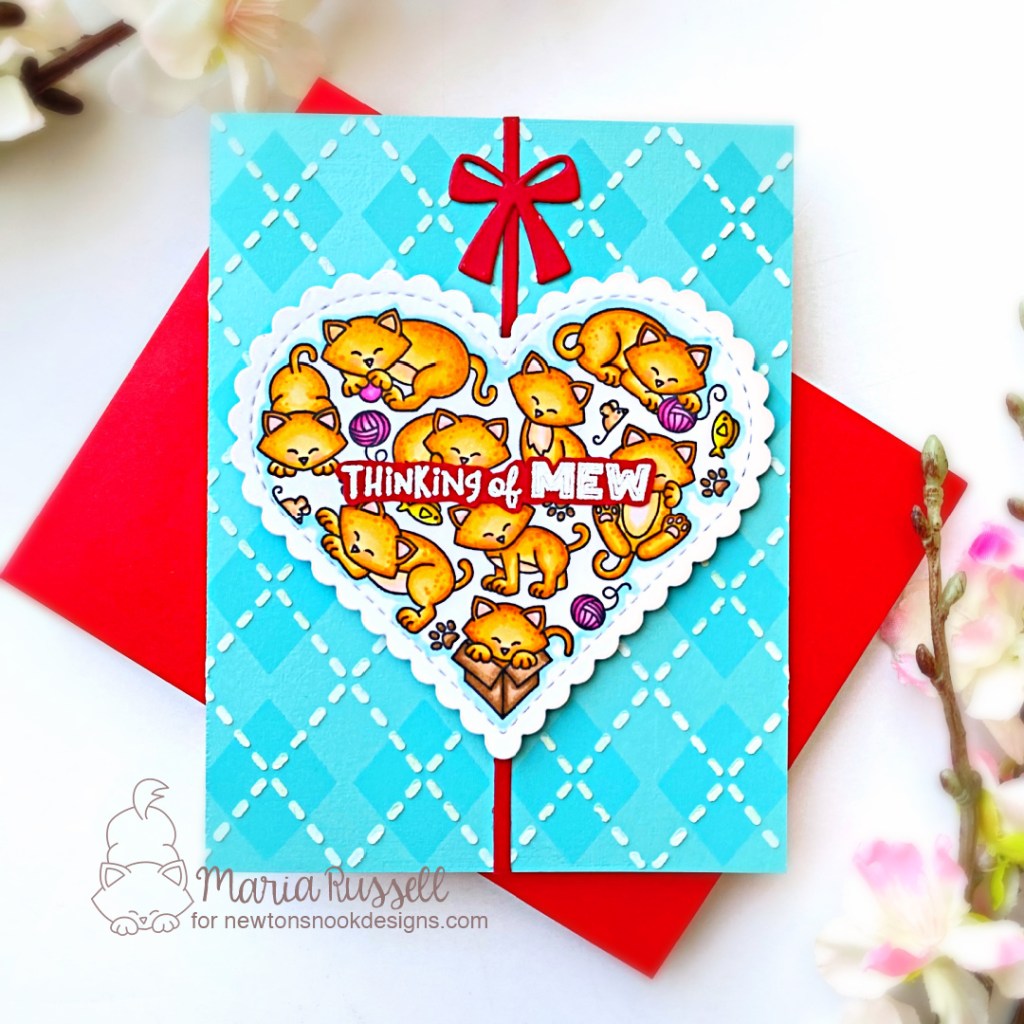
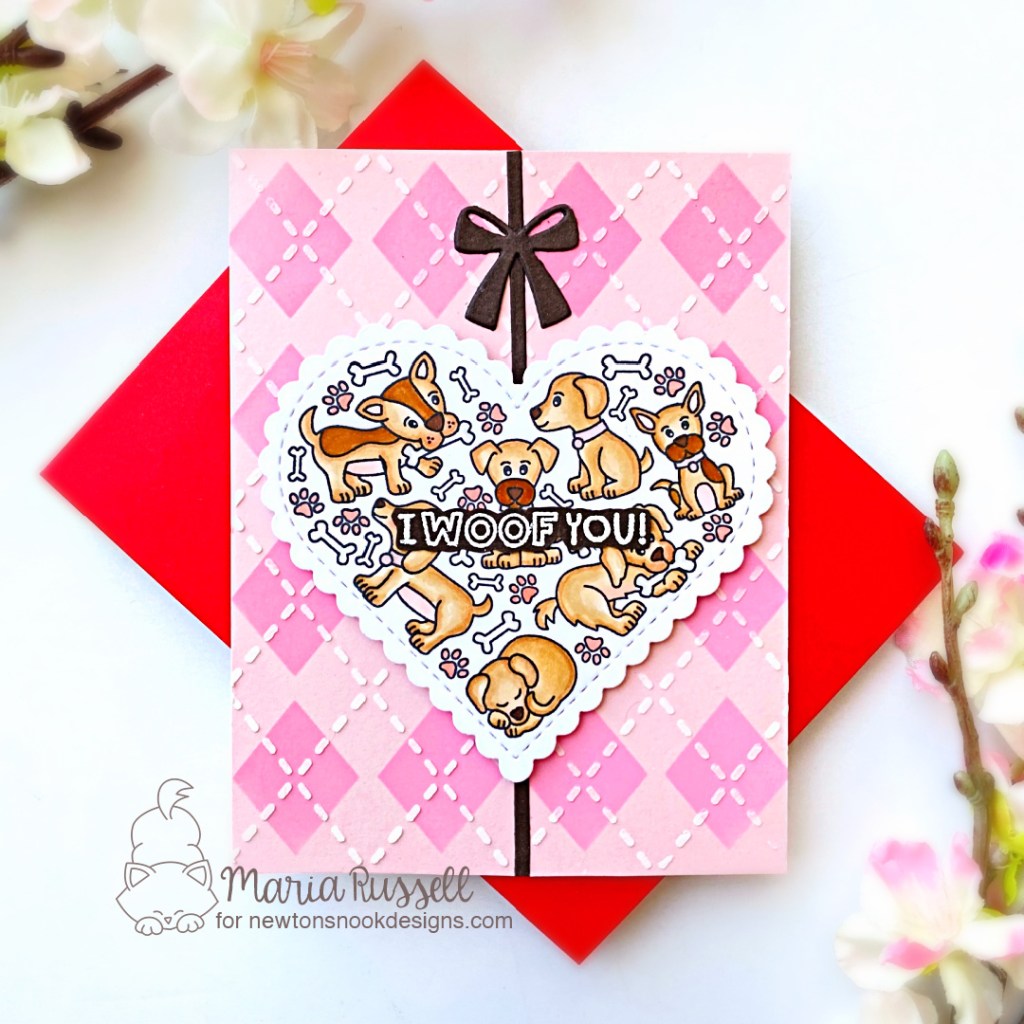
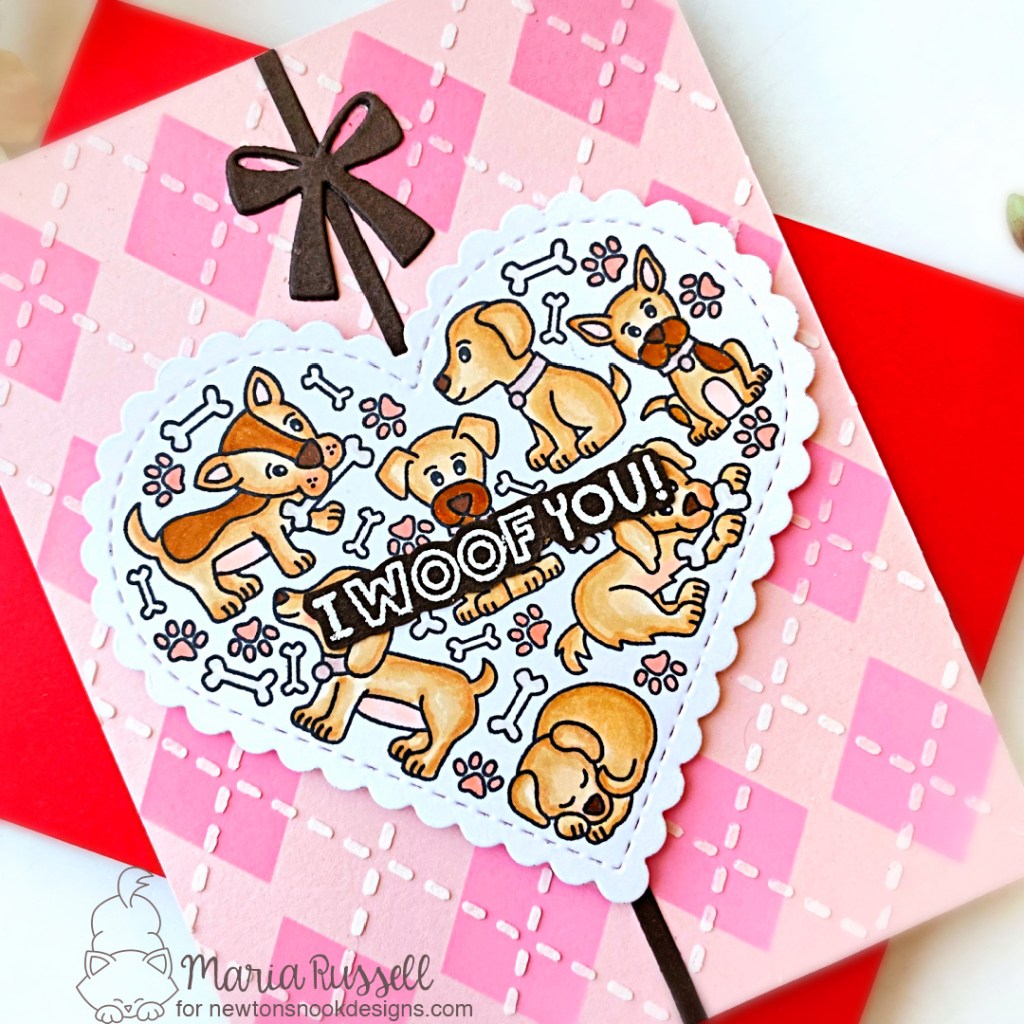
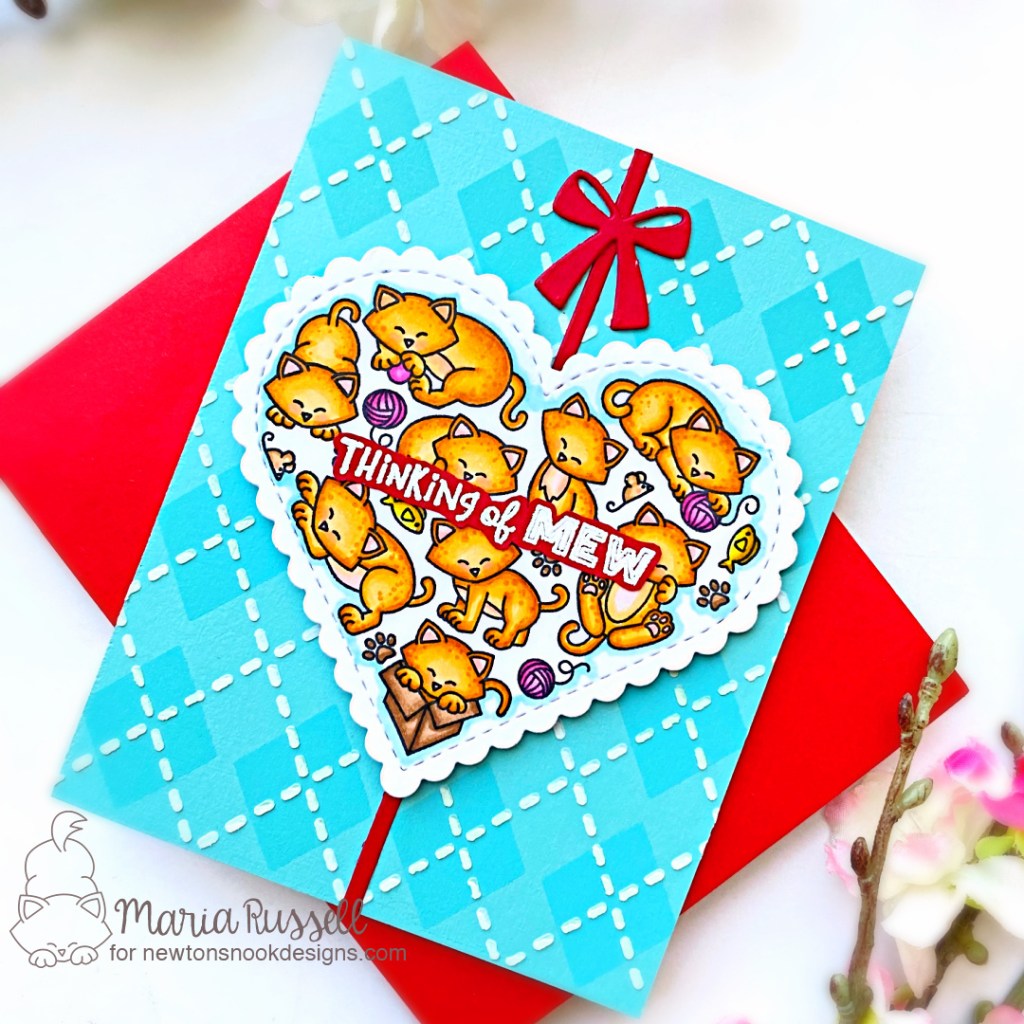
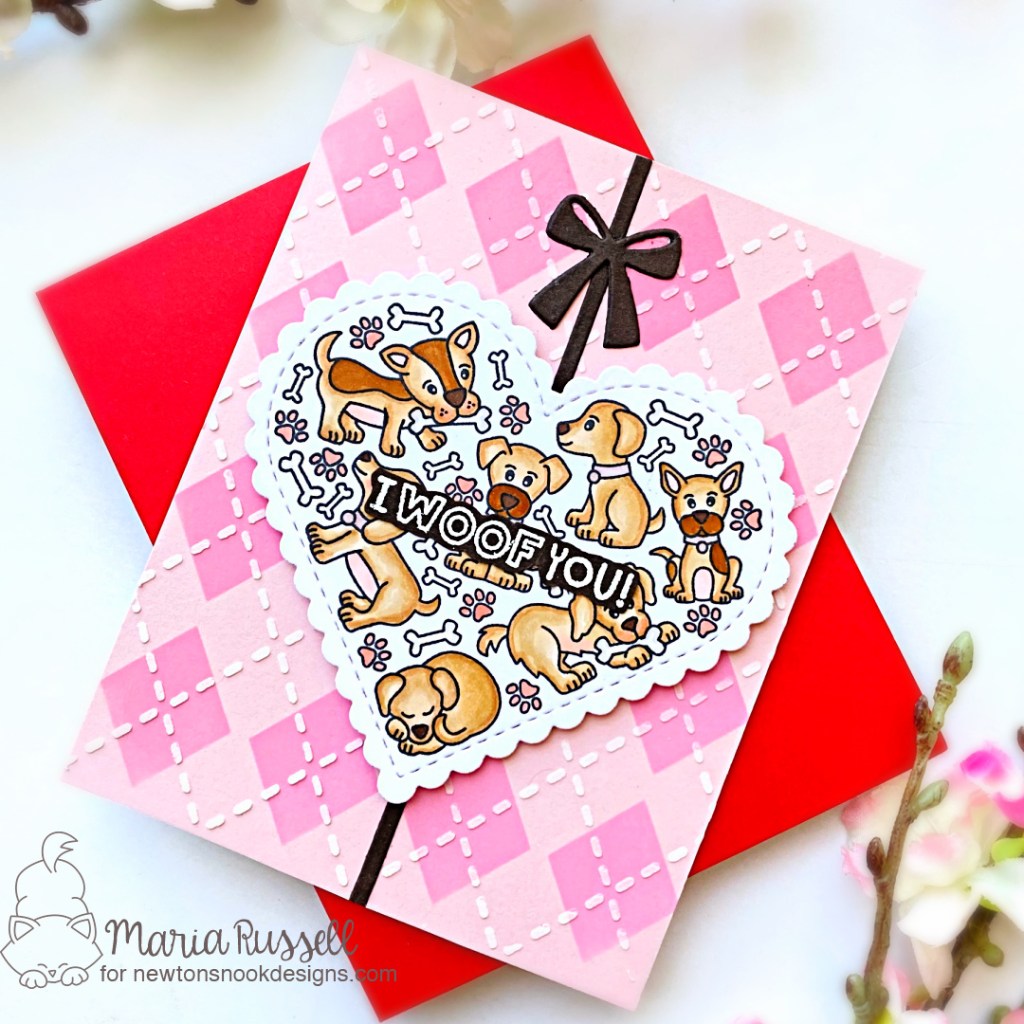
For Day 3, we are showcasing the Heartfelt Meows Stamp set and coordinating dies and Heartfelt Woofs Stamp Set and coordinating dies that pairs well with the Heart Frames Dies & Banner Trio Dies.

For my cards today, I also used the bow from the Baby Bib Die Set with the Argyle Stencil Set.

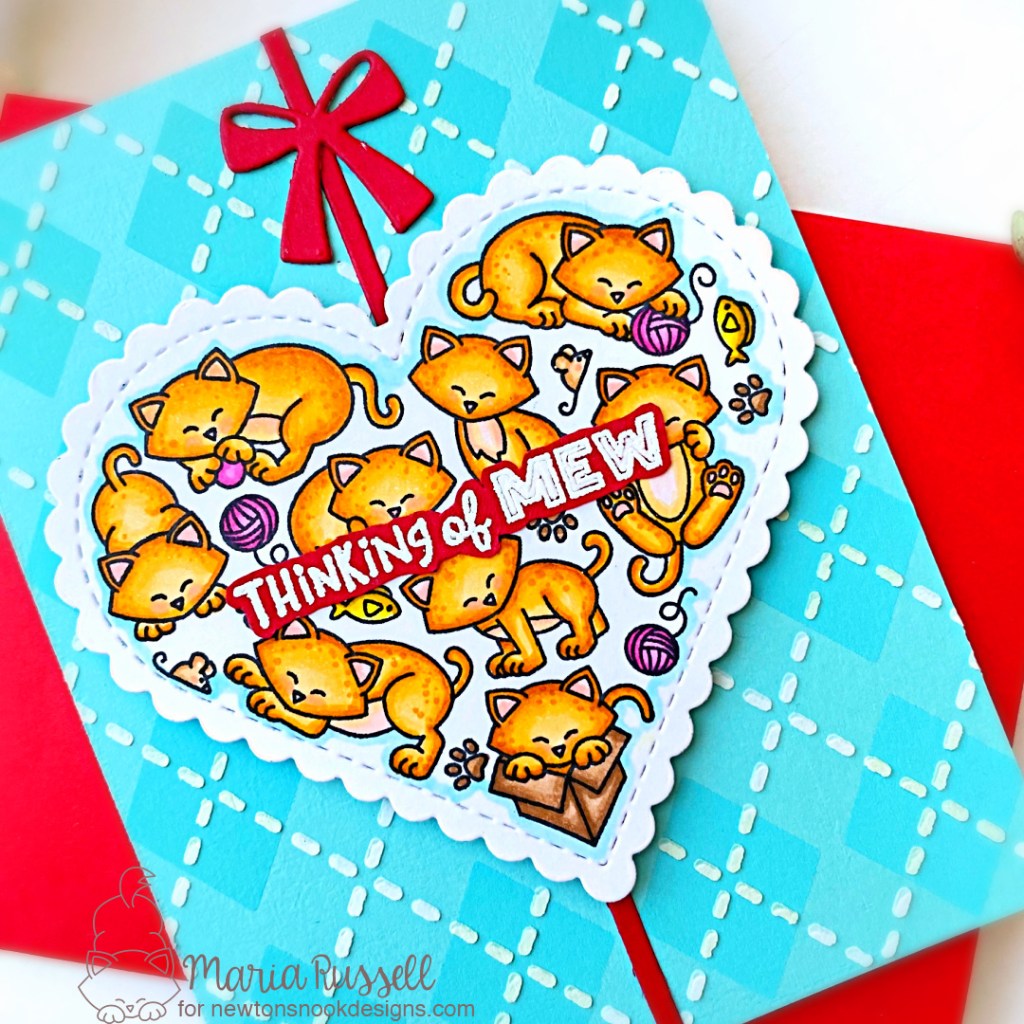
To make both cards, I die-cut the scallop heart frame using the second die from the Heart Frames Dies Set on some X_Press It Blending Card Stock. Since Both cards are completely identical in design, I needed two hearts. I stamped the images from the Heartfelt Meows and Heartfelt Woofs with Memento Tuxedo Black on each heart and colored the images in with alcohol markers .

I worked on both background panels by inking up some Light Blue & Pink Card Stock with some darker shades of pink and blue using Argyle Stencil No. 1. I waited for both panels to dry for about 10 minutes, then used Argyle Stencil No. 2 and applied texture paste all over. This gave it more texture and dimension. I set both panels to dry for about half an hour, then adhered on a top-folding notecard.

I cut strips of brown and red card stock as well as two bows, and added both on the cards with liquid glue for more stability. I foam-mounted the focal panel and finished the card designs by adding the sentiments.

Would you like to win the “Heartfelt Meows” or the “Heartfelt Woofs” Stamp Set? We will choose ONE lucky winner for each stamp set!

Here’s how to win: Comment on the NND blog and Design Team blogs (see list below)!  The winner will be chosen at random from the collective reveal posts. Make sure to check out each of their blogs and comment for your chance to win. You will not know which blog has been chosen so the more you comment on the better your chances are of winning! You have until Thursday January 20th at 9pm ET to comment  — winners will be announced on the blog post on Friday, January 21st. 

Check out all the awesome Design Team Blogs below to enter:

Newton’s Nook Designs

Donna Idlet

Ellen Haxelmans

Tina Herbeck

Larissa Heskett

Samantha Mann

Zsofia Molnar

Maria Russell (you are here)

Farhana Sarker

Tatiana Trafimovich

Amanda Wilcox

——–SUPPLIES——-
NND JANUARY RELEASE DAY 2 – ORCHIDS STAMP SET & COORDINATING DIE

It is Day 2 of the January reveals by Newton’s Nook Designs.  I hope you were able to check out yesterday’s reveal.  You also have a chance to win the stamp set being revealed each day so please read through ’til the end of the blog post to find out more info.  [Just a little important note:  I know some of you had difficulties finding the comments section.  If you would like to leave a comment to participate in the giveaway, the “comments section” will only be ever visible when a single post on Word Press is being viewed. Please click on this particular blog post and you will be able to leave a comment below.  Thank you!]  

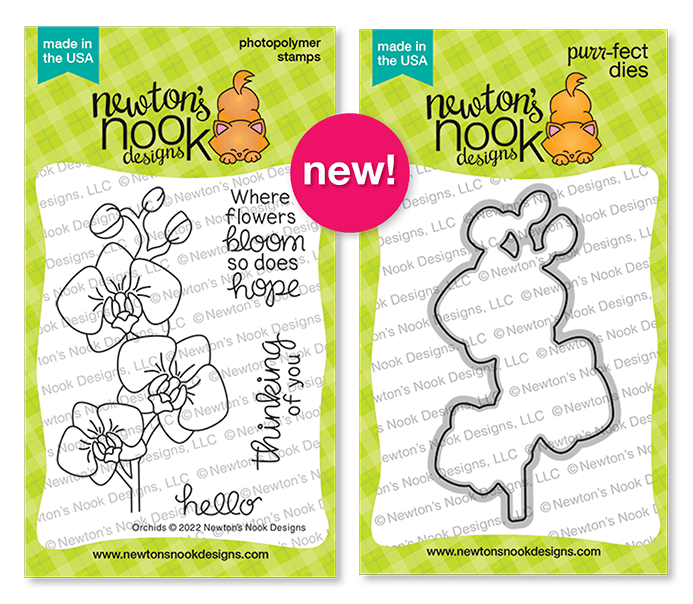
For day 2, we are showcasing the Orchids Stamp Set and coordinating die.

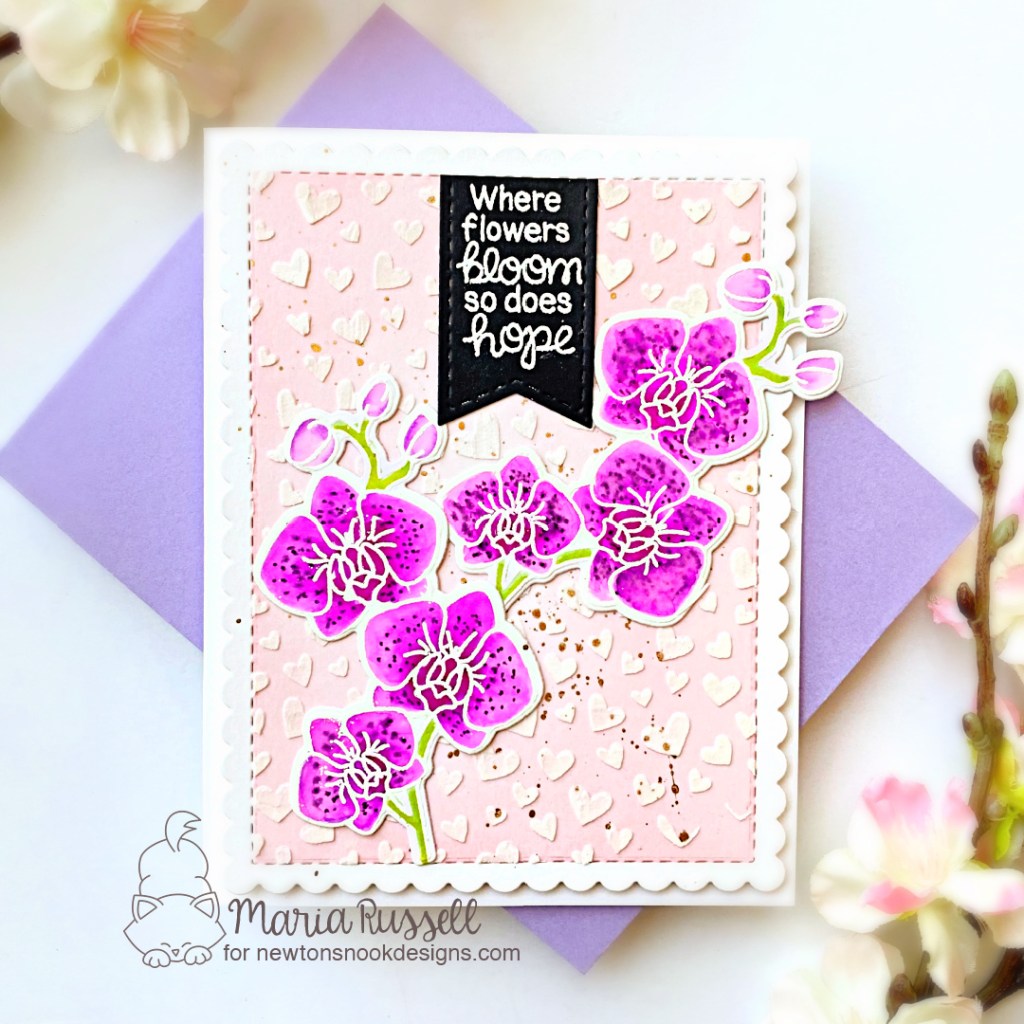
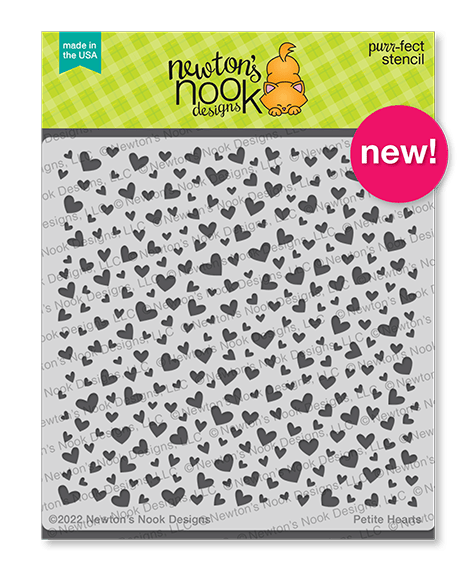
For my card below, I also used the Frames and Tags Die Set with the new Petite Hearts Stencil that was just revealed yesterday.

To make the card, I stamped the images from the Orchids Stamp Set on some Bristol Smooth White Card Stock with VersaMark ink. I sprinkled some white embossing powder and heat-set with my heating tool. I colored the images in with Zig Clean Color Real Brush Markers and used the coordinating die to cut them out.

Next, I die-cut the scallop using the scallop die from the Frames and Tags Die Set on some Bristol smooth white card stock. I inked up this panel with some Spun Sugar Distress Oxide ink for some subtle color.

I sprayed some Pixie Spray on the Petite Hearts Stencil to temporarily adhere the same on the background panel. This will prevent it from slipping while I’m adding the embossing paste for more texture and interest. I set this panel aside to dry for about half an hour, and then adhered on a top-folding notecard.

I added a few droplets of some gold watercolor paint using my paintbrush, then adhered the focal images on the card with liquid glue for stability. I finished the design by adding the sentiment that was die-cut using the tag from the Frames & Tags Die set that was heat-embossed with my heating tool!

Would you like to win the “Orchids” Stamp Set? This stamp set will be given away to ONE lucky winner!

Here’s how to win: Comment on the NND blog and Design Team blogs (see list below)!  The winner will be chosen at random from the collective reveal posts. Make sure to check out each of their blogs and comment for your chance to win. You will not know which blog has been chosen so the more you comment on the better your chances are of winning! You have until Thursday January 20th at 9pm ET to comment  — winners will be announced on the blog post on Friday, January 21st. 

Check out all the awesome Design Team Blogs below to enter:

Newton’s Nook Designs

Donna Idlet

Ellen Haxelmans

Tina Herbeck

Larissa Heskett

Samantha Mann

Zsofia Molnar

Maria Russell (you are here)

Farhana Sarker

Tatiana Trafimovich

Amanda Wilcox

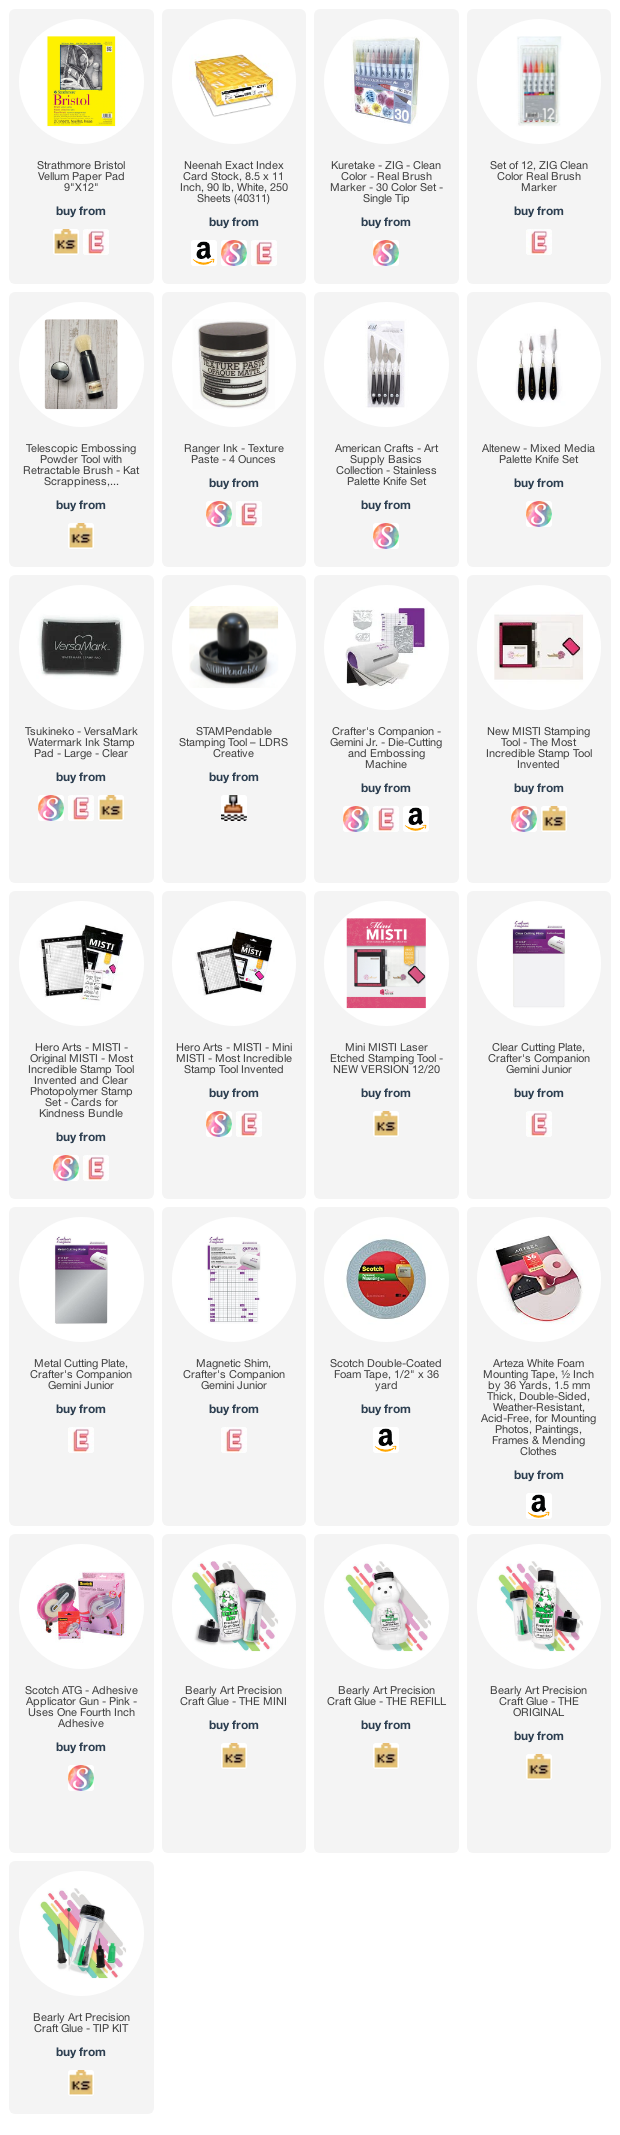
——–SUPPLIES——-
Faith, Trust & a Little Pixie Dust with CC Designs

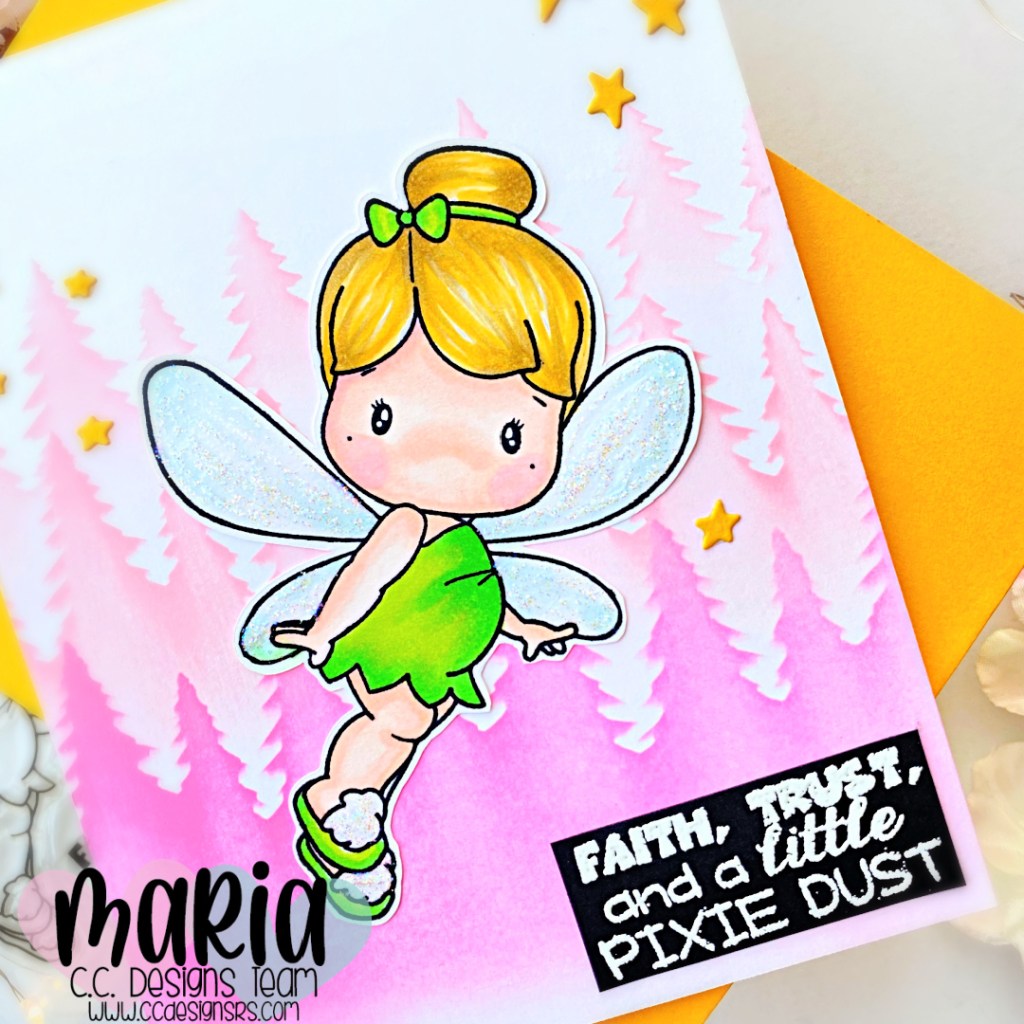
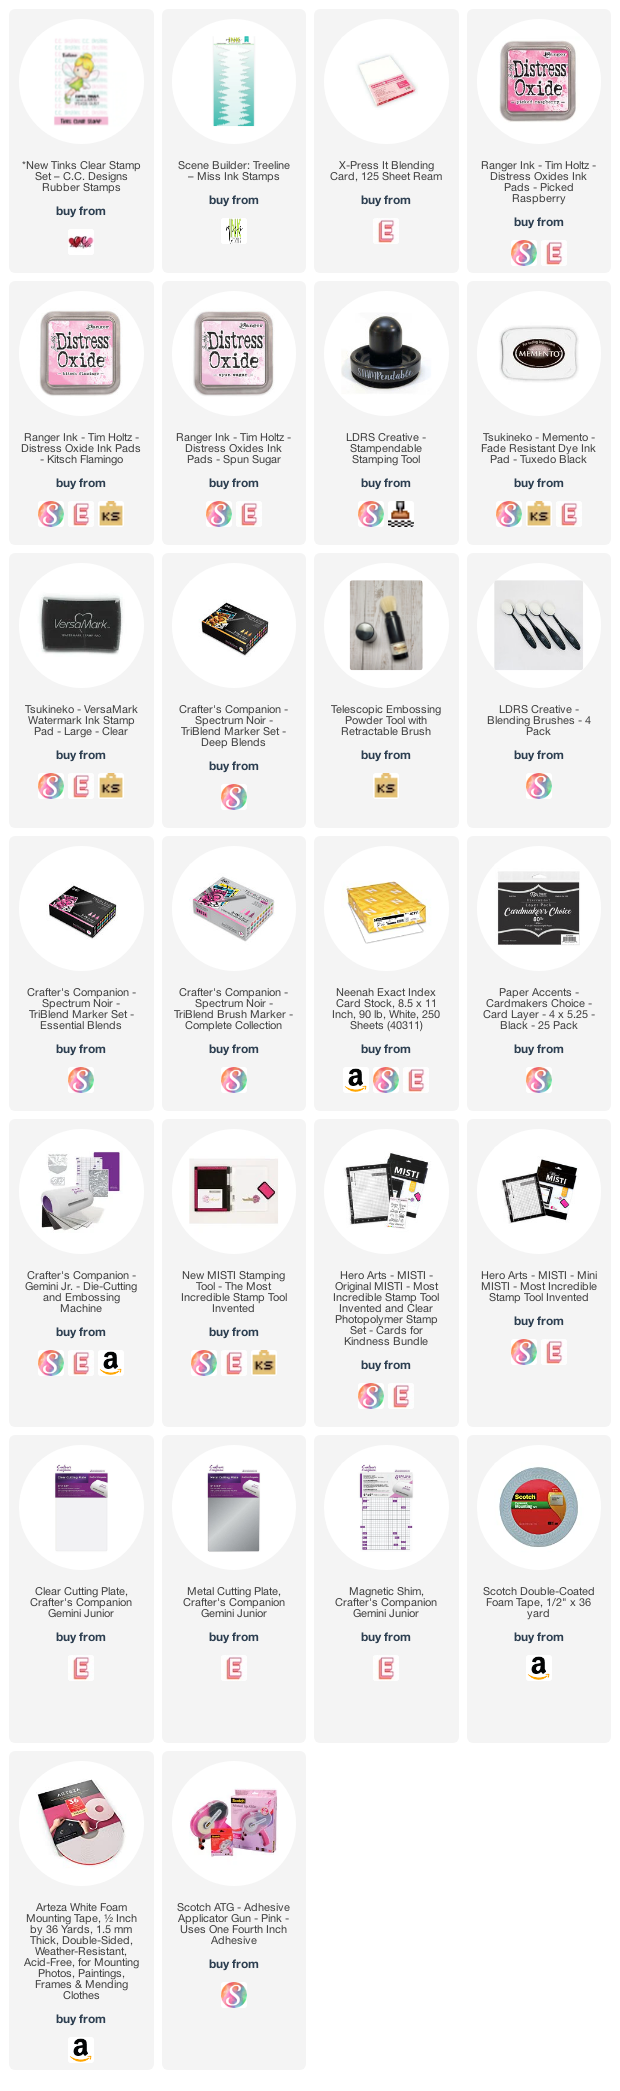
Don’t you just love cheerful cards? I have a really cute and simple card to share with you today, featuring the newly-released Tinks Stamp Set by CC Designs.

Here’s how to make the card:

  • Stamp the image from the Tinks Stamp Set on some X-Press It Blending Card with alcohol markers.
  • Fussy-cut the image using precision snips.
  • Add Stardust stickles to the wings and set this aside to dry for about half an hour.
  • Cut a panel of Neenah solar white card stock measuring 4 1/4 x 5 1/2. Adhere this panel on an A2-size notecard.
  • Ink-up the panel using the Treeline Stencil with some blending brushes and 3 colors of pink dye inks.
  • Adhere the focal image on the card with liquid glue.
  • Stamp the sentiment on some black card stock. Sprinkle some white embossing powder and heat-set with the heating tool.
  • Adhere the sentiment on the card.
  • Finish the card design by adhering a few yellow stars to the background.

Isn’t she adorable? I hope you got inspired today. The supplies I used are listed and linked below. Thanks for stopping by, and have a wonderful day!

———SUPPLIES——–

NND JANUARY Release Day 1 – KNEAD KITTENS + A7 Frames & Banners Die, Love & Meows Stencil & Petite Hearts Stencil

Hello and Welcome to the Newton’s Nook January Release. I am so excited to show off the new products by Newton’s Nook Designs.  You also have a chance to win the stamp set being revealed each day so please read through til the end of the blog post to find out more info.  [Just a little important note:  I know some of you had difficulties finding the comments section.  If you would like to leave a comment to participate in the giveaway, the “comments section” will only be ever visible when a single post on Word Press is being viewed. Please click on this particular blog post and you will be able to leave a comment below.  Thank you!]  

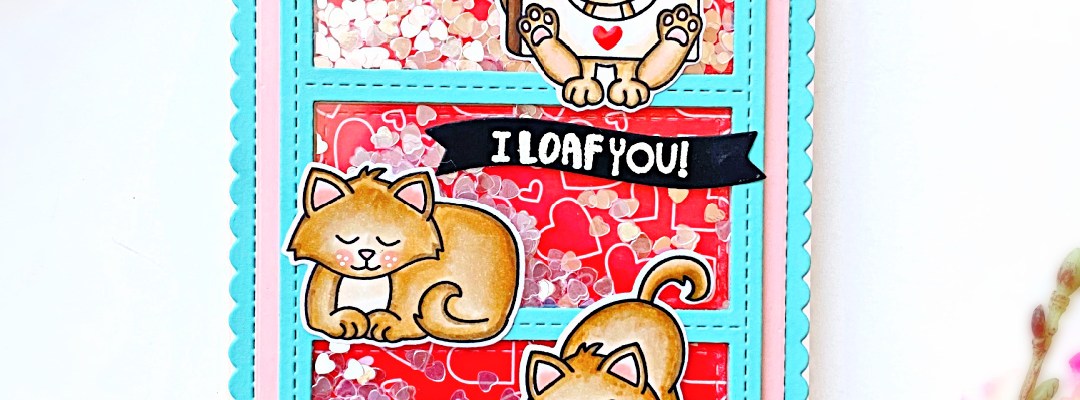
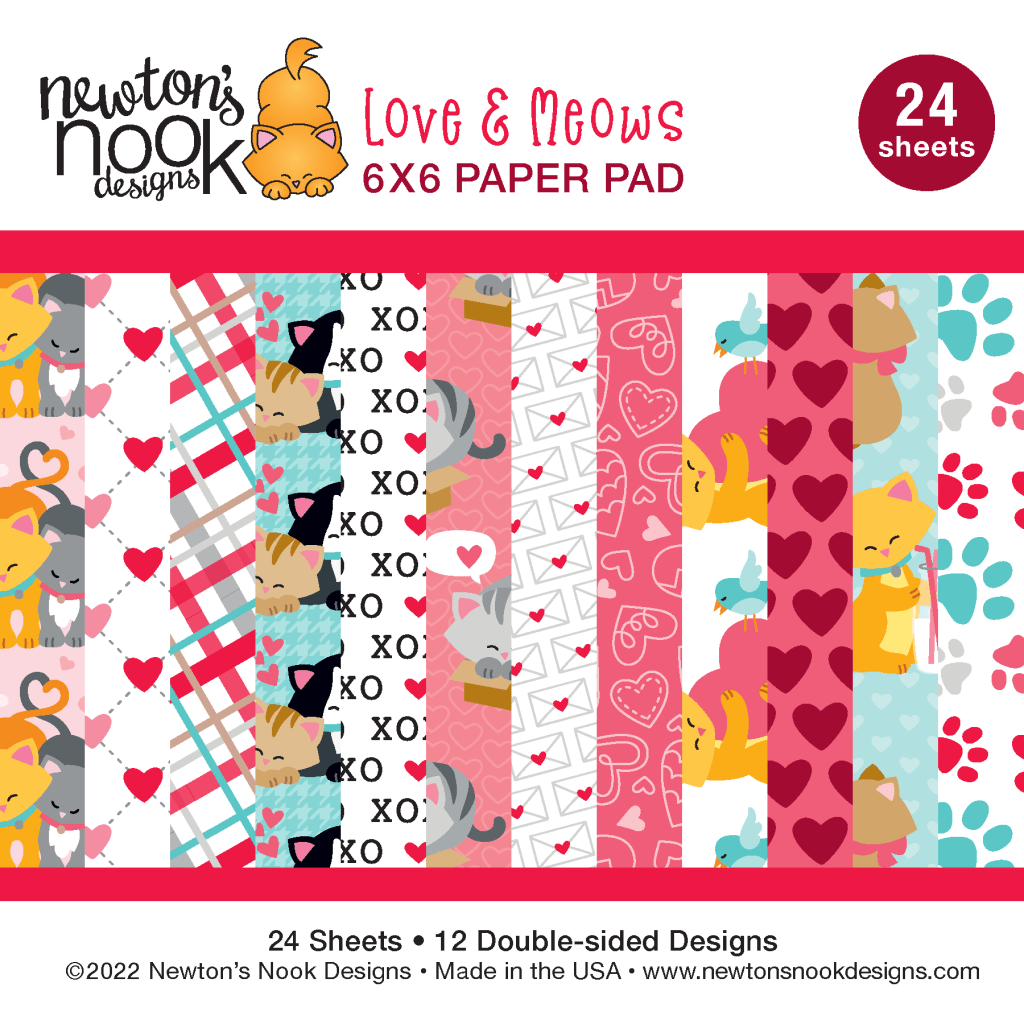
Brace yourselves because for the first day of the reveals, we have a lot of AMAZING products to show you today! We are showcasing the Knead Kittens Stamp Set and coordinating dies, A7 Frames & Banners Die Set, Petite Hearts Stencil and the Love & Meows Paper Pad.

For my shaker card, I started by stamping the images from the Knead Kittens stamp set on some on some X-Press It Blending Card. Lately I have been using this card stock because it just makes blending so much easier. I colored the images in with alcohol markers and die-cut with the coordinating dies.

Next, I die-cut the card background using the new A7 Frames & Banner Die Set using different colors of card stock with the new Love & Meows Paper Pack. I created my shaker well and added some heart confetti as my shaker element. [Designer confession: To be honest, the paper pack is so beautiful I was having a hard time cutting it out. I may have to go for therapy one of these days about my paper pad collection that I can’t seem to part with. But that’s another story for later, haha!].

I closed the shaker and added this focal panel on an A7 card base. I adhered the images on the card with liquid glue.

I finished my design by die-cutting the sentiment strip using one of the dies from the A7 Frames & Banner Die Set. I stamped the sentiment with Versamark ink and sprinkled some white embossing powder, then heat-set with my heating tool. I adhered the sentiment strip with liquid glue and used some white gel pen to add texture interest to the kittens’ faces.

Would you like to win the “Knead Kitten” Stamp Set? This stamp set will be given away to ONE lucky winner!

Here’s how to win: Comment on the NND blog and Design Team blogs (see list below)!  The winner will be chosen at random from the collective reveal posts. Make sure to check out each of their blogs and comment for your chance to win. You will not know which blog has been chosen so the more you comment on the better your chances are of winning! You have until Thursday January 20th at 9pm ET to comment  — winners will be announced on the blog post on Friday, January 21st. 

Check out all the awesome Design Team Blogs below to enter:

Newton’s Nook Designs

Donna Idlet

Ellen Haxelmans

Tina Herbeck

Larissa Heskett

Samantha Mann

Zsofia Molnar

Maria Russell (you are here)

Farhana Sarker

Tatiana Trafimovich

Amanda Wilcox

——–SUPPLIES——-

COUNTDOWN TO CONFETTI – DAY 4

It’s the final Day of the Countdown to Confetti January Release by Reverse Confetti! The whole gang is here to show you all the amazing projects we’ve put together to encourage you to shop! Remember, all of the products are now available today!

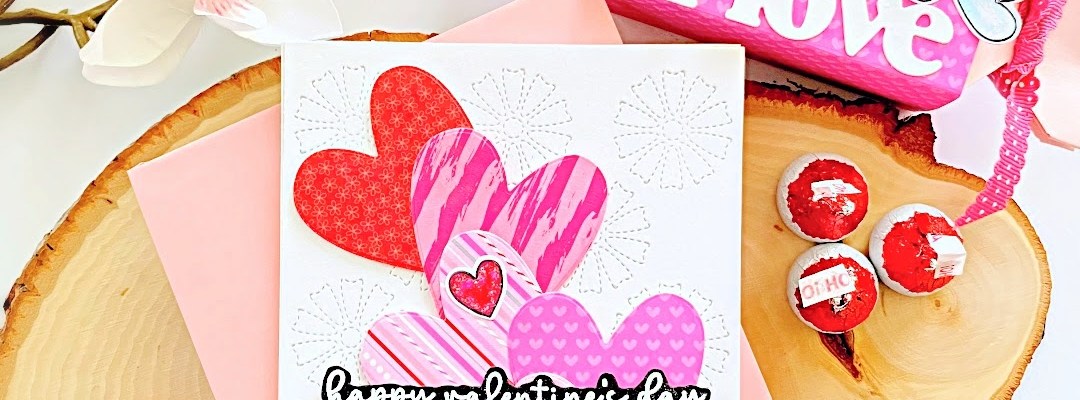
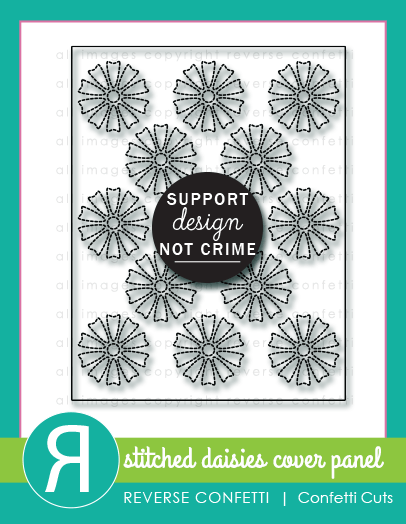
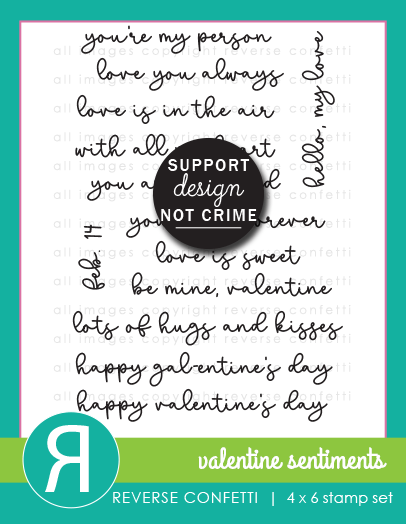
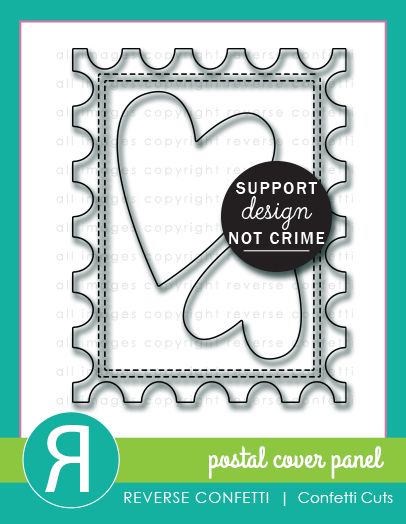
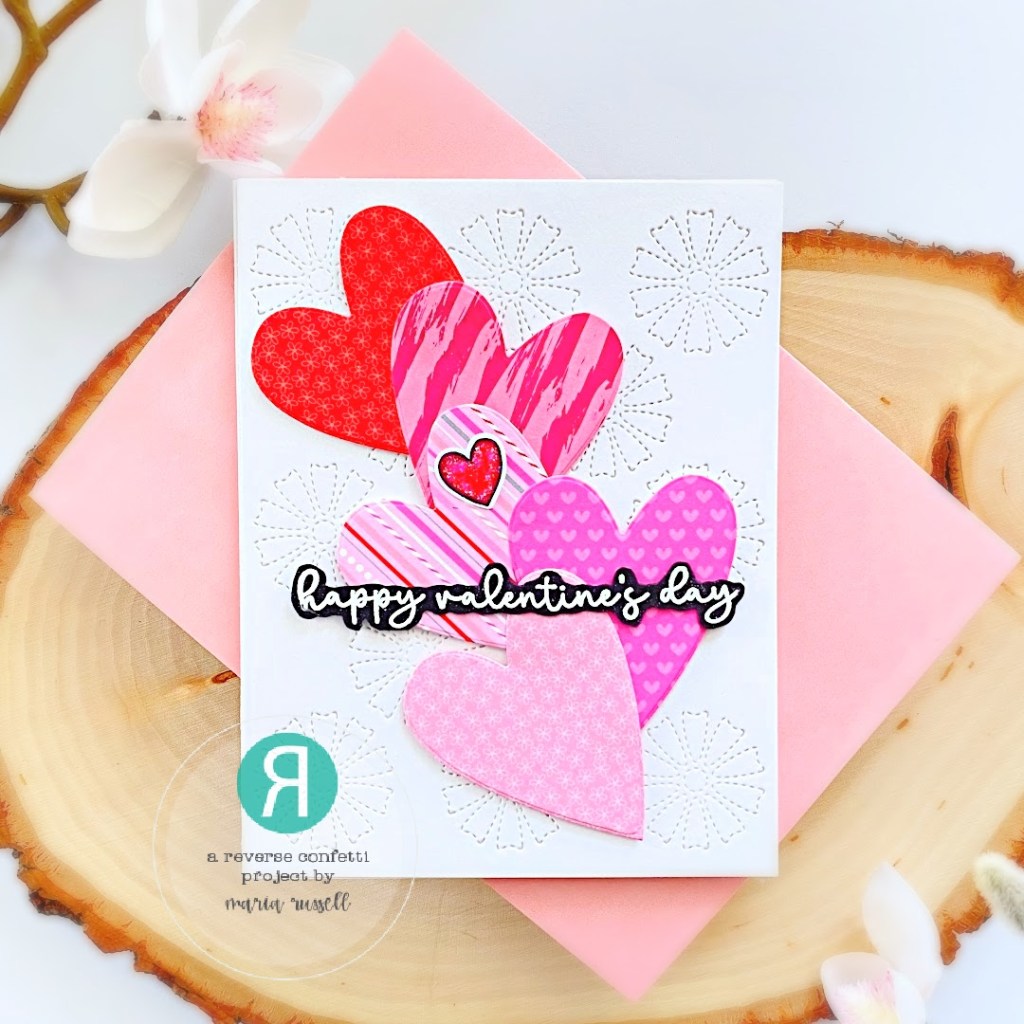
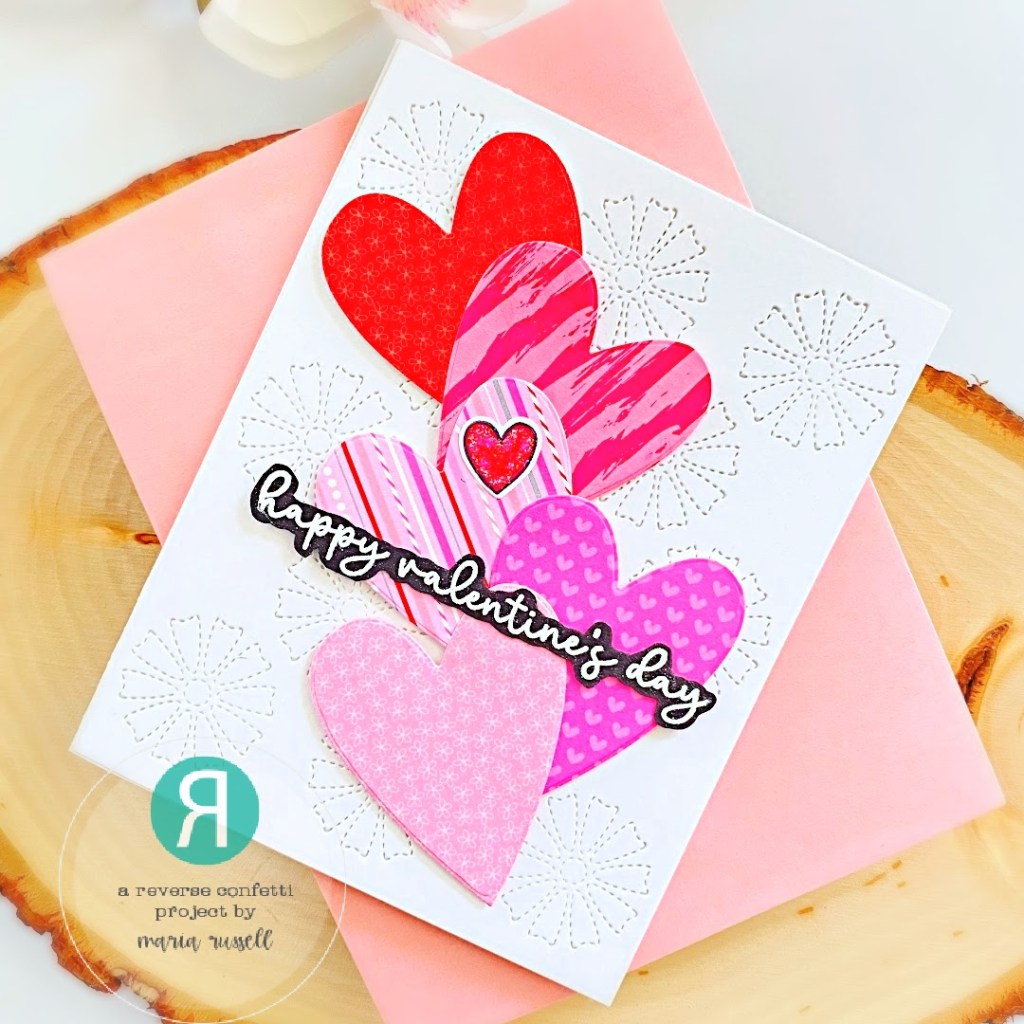
For my projects below, I used the Stitched Daisies Cover Panel, the hearts from the Postal Cover Panel, and the sentiment from the Valentine Sentiments stamp set.

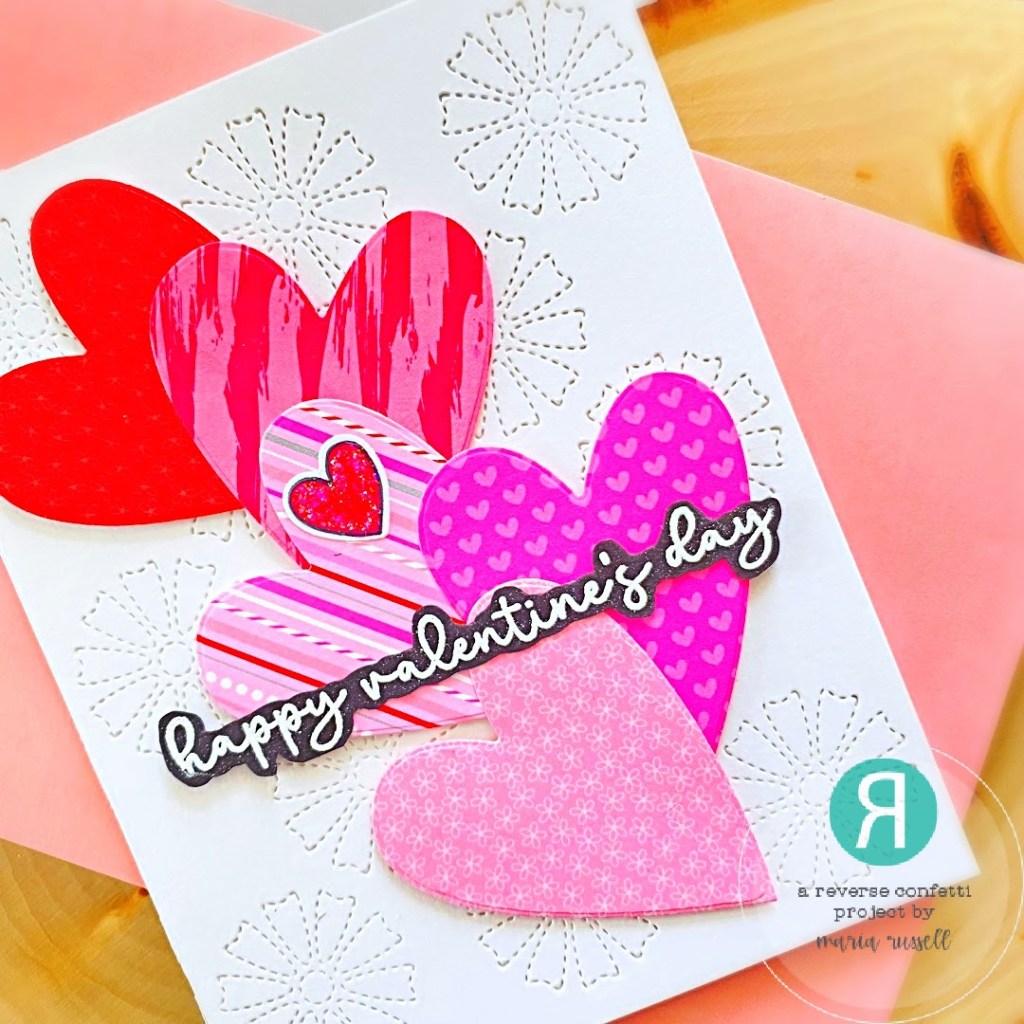
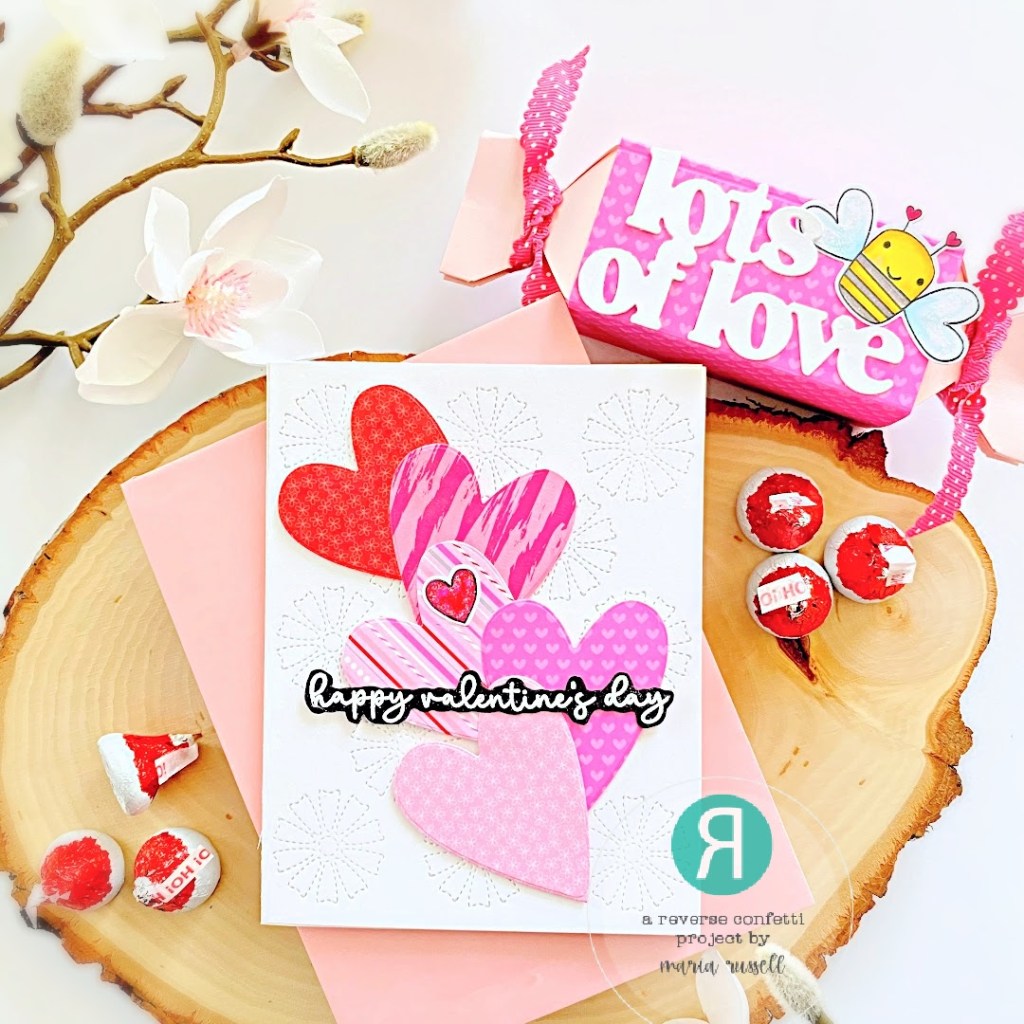
Sometimes, simplicity is the key to a beautiful card. I die-cut the background panel using the Stitched Daisies Cover Panel Die and adhered on a white A2-size notecard. I die-cut the hearts using the medium heart die from the Postal Cover Panel die set on different colors of pattern paper. I layered the hearts and foam-mounted all of them onto the card.

The sentiment was stamped on some black card stock with VersaMark Ink. I sprinkled some white embossing powder and heat-set with my heating tool. I adhered the sentiment with foam and liquid adhesive.

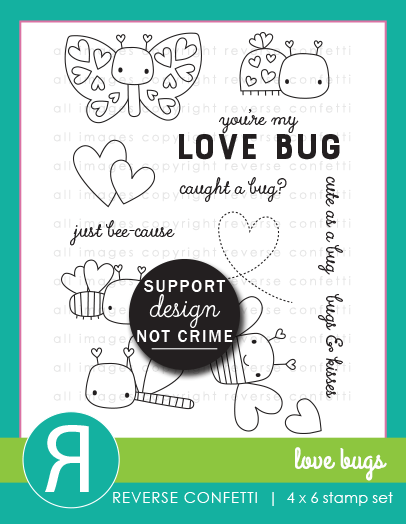
I finished my design by adding another heart from the Love Bugs stamp set and covered with Stickles.

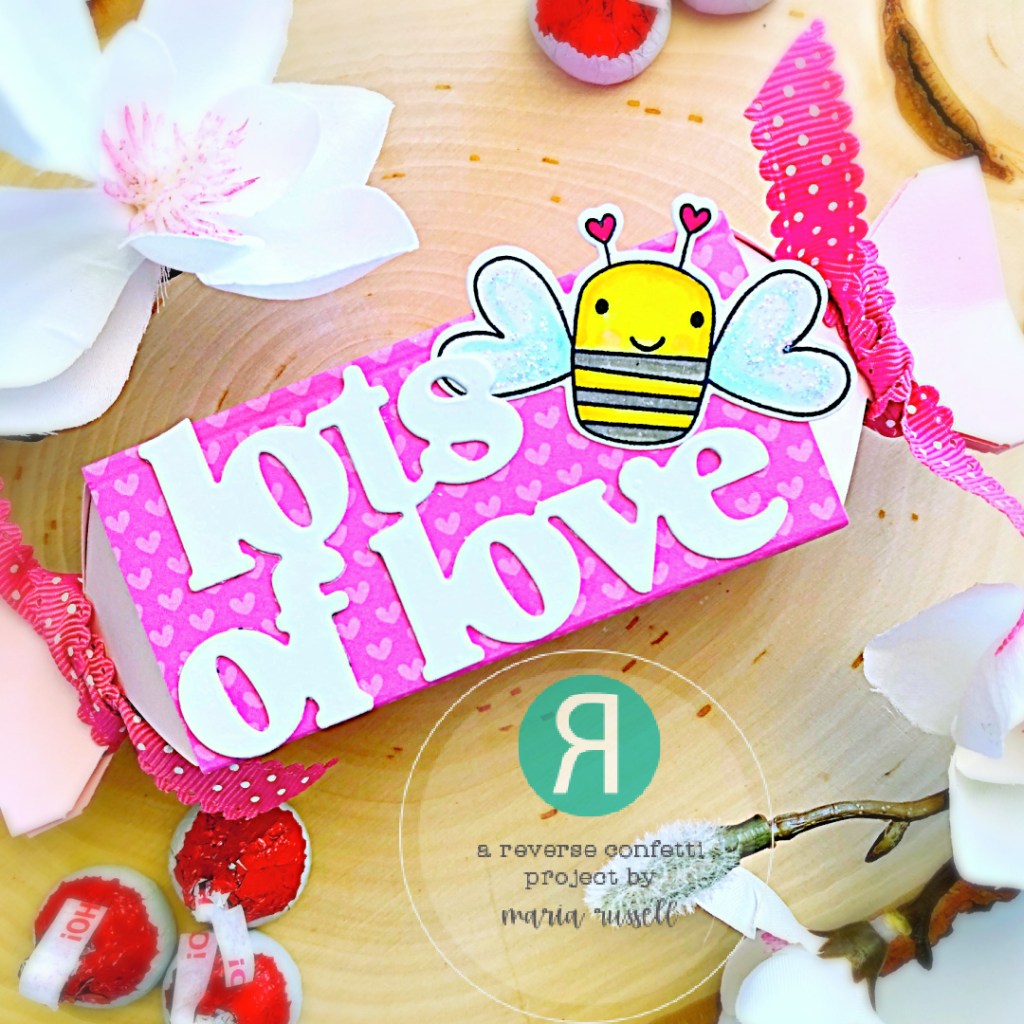
To go with this beautiful card, I decided to make a little treat box using a Punchboard from the collection. I filled it with some Hershey’s Kisses and closed both ends with some pink ribbon.

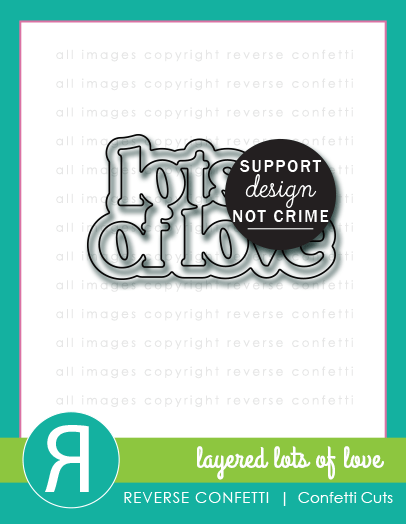
I added the die-cut sentiment using the Layered Lots of Love die set and adhered on the treat box with liquid glue. I finished this treat box by adding the cute little honeybee. Here are both projects again:

I hope you got inspired and like my projects this week! Hop along with us and see all the amazing projects prepared by the entire team!

Here’s the hop list:


Reverse Confetti

Cheiron Brandon

Audrey Tokach

Becky Roberts

Maria Russell (you are here)

Amy Rohl

Lisa Henke

Kelly Lunceford

Dilay Nacar

Amy Kolling

Michelle Short

Kellianne Wilson

Tiffany Pryce Russom

Andrea Shell

Rachel Alvarado

Dana Kirby

Candice Fisher

Susan Wymer

Amy Tsuruta

Tricia Barber

Melissa Phillips

Jenny Colacicco

Olga Moss

Jeanne Jachna

Lien Leysen
Heather Ruwe

COUNTDOWN TO CONFETTI – DAY 3

It’s Day 3 of the Countdown to Confetti January Release by Reverse Confetti and we have more amazing products to show you! Remember, all of the products you will see during the reveals will be available on January 8th.

Don’t forget to leave a comment each day during reveal week here on the blog and on the Reverse Confetti FaceBook group for a chance to win the gift certificate.

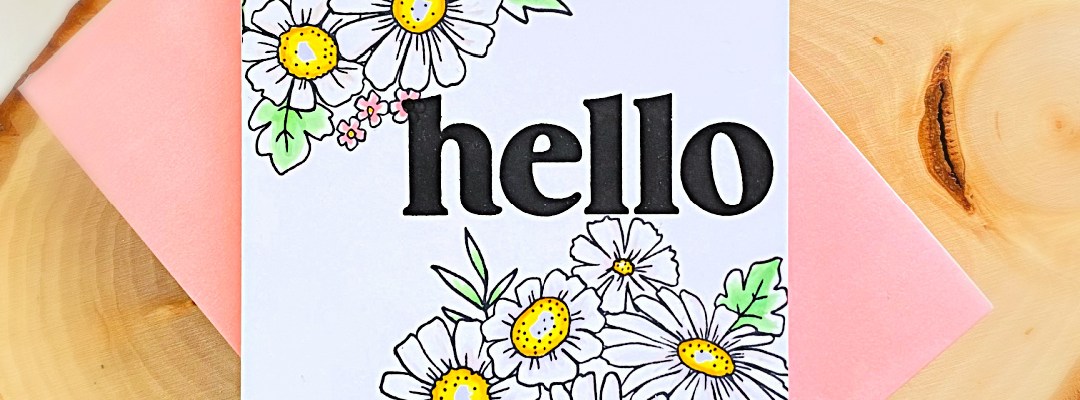
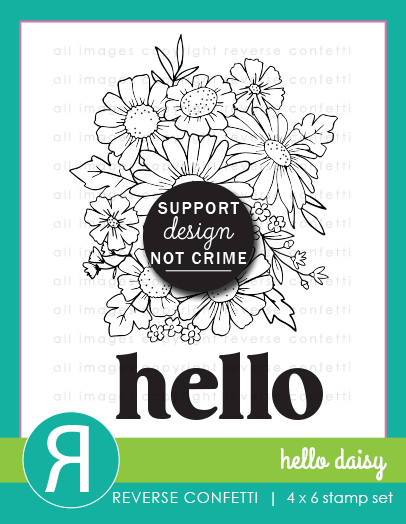
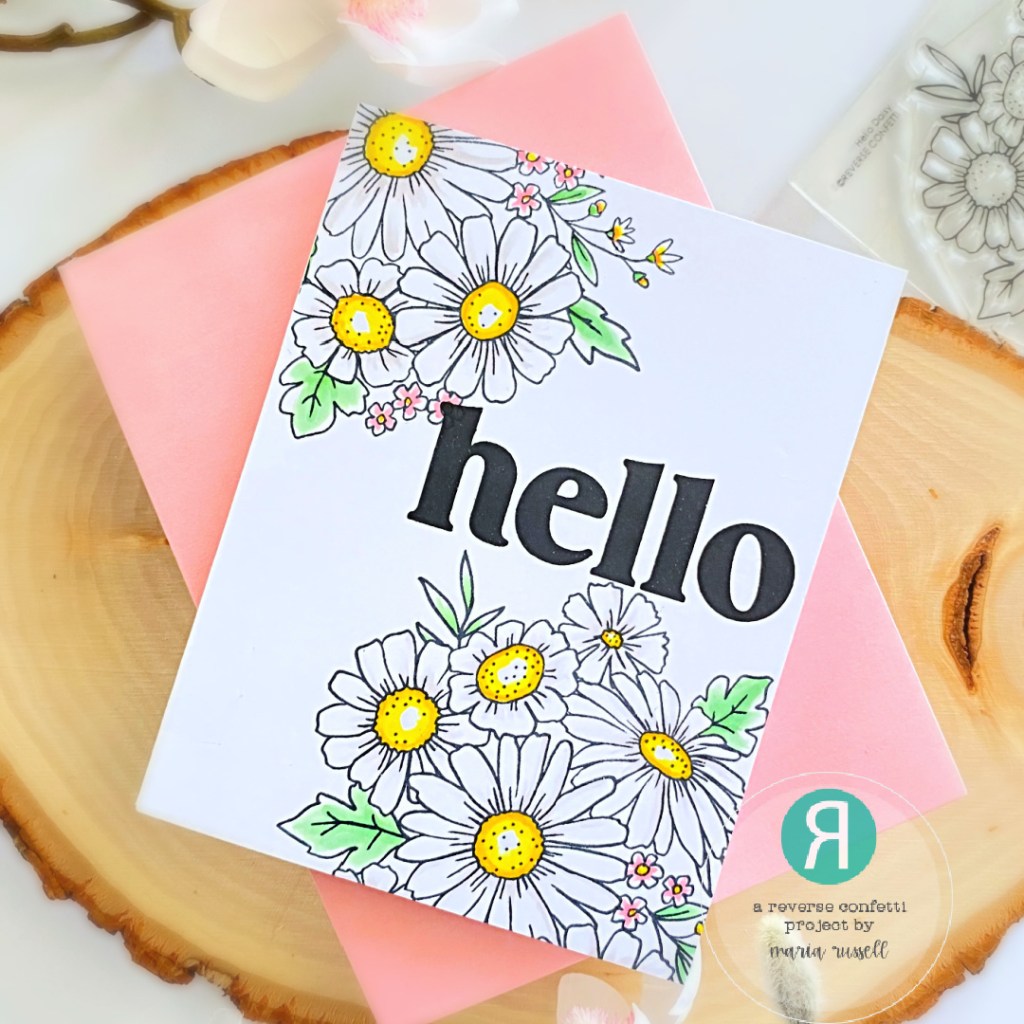
For today’s sneak peek, we are showcasing the Hello Daisy Stamp Set and Dies.

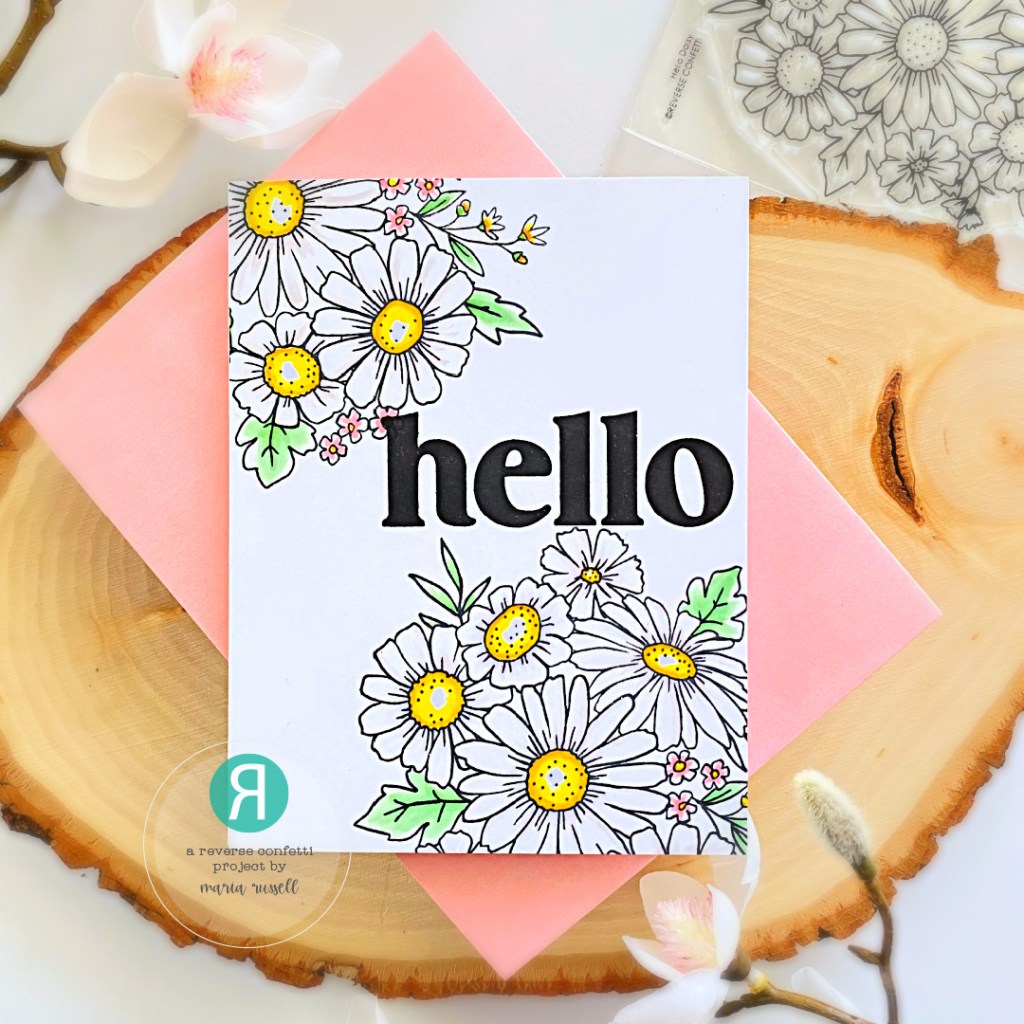
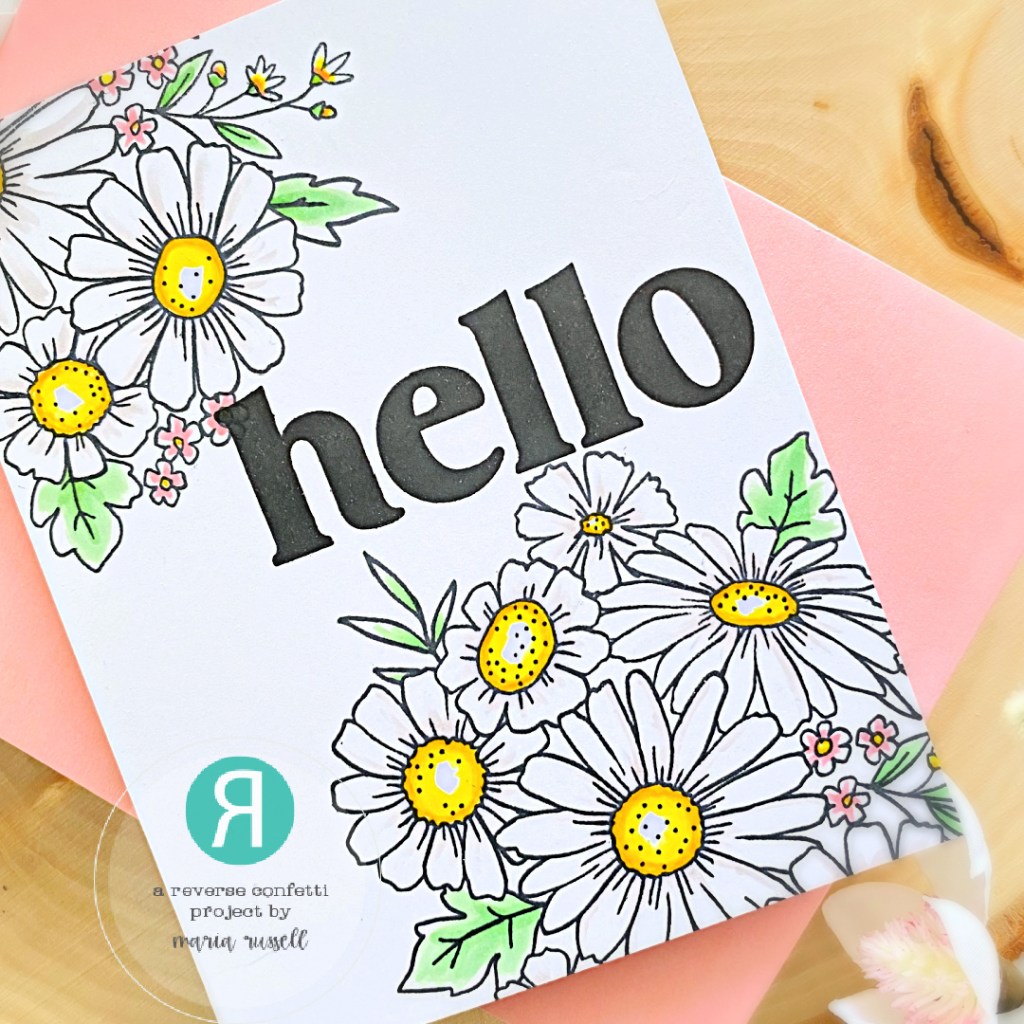
I am honestly 100% fan of daisies! They just remind me of happy days and sunshine! I didn’t think that this card below will need anything else because the images speak for themselves, don’t you think? You can easily mass-produce the card I have below for a little “hello, I love you-just-because” kind of thing!

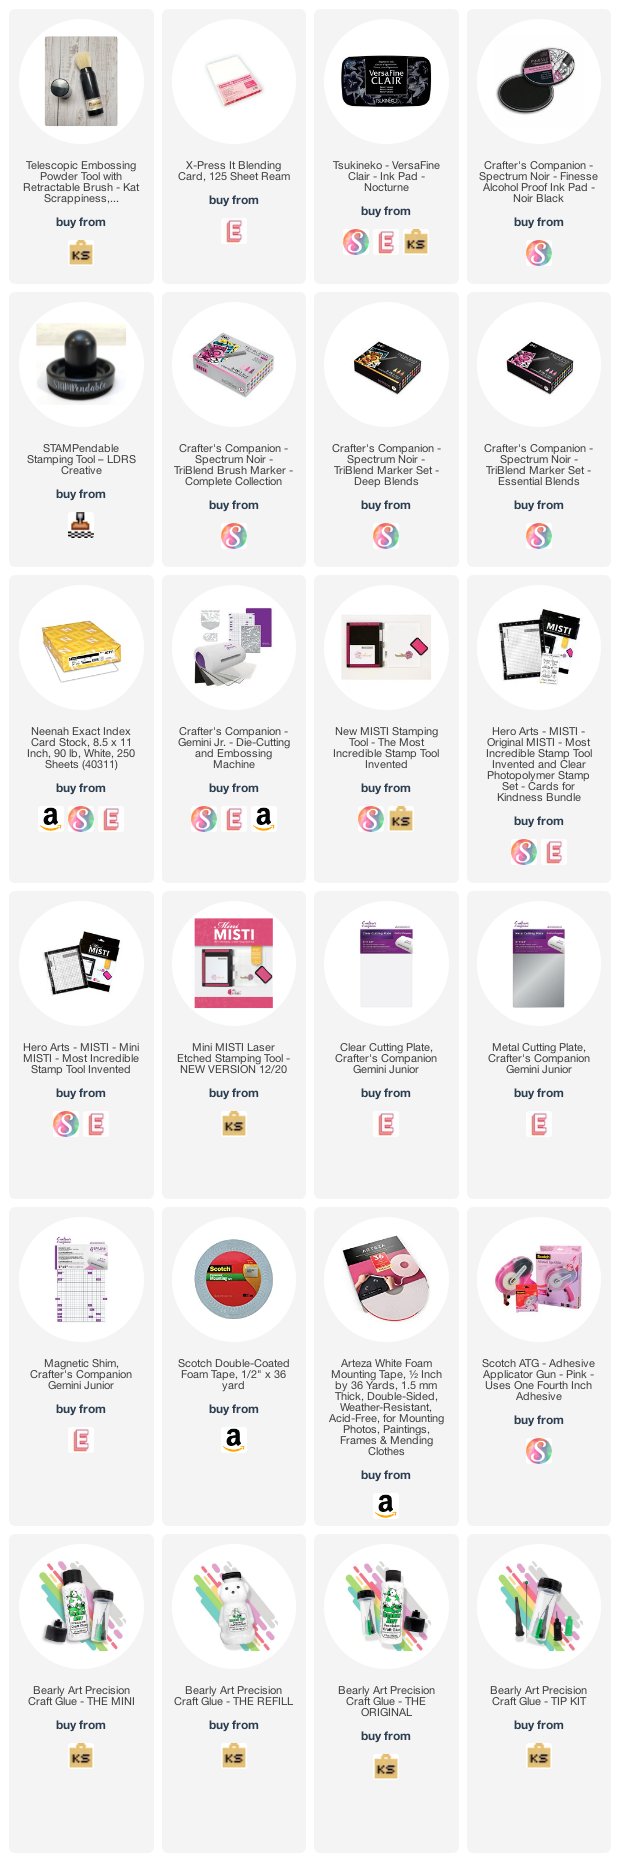
I started by stamping the images in with Memento Tuxedo Black Ink on some Express-It blending card stock. I colored the images in with my Spectrum Noir alcohol markers. I adhered the panel on some A2-size notecard.

I stamped the sentiment “hello” a few times with some Versafine ink to get a good impression to make sure it stands out. Other than that, I didn’t think it needed anything else because the images just speak for themselves, don’t you think?

I hope you got inspired as much as I did! Don’t forget to check our tomorrow’s post fo the finale and get more inspiration from the whole team. Hop along with us for a chance to win the gift certificate. Check out the rest of the inspiration below:

Here’s the hop list:
Reverse Confetti

Audrey Tokach

Maria Russell (you are here)

Lisa Henke

Amy Kolling

Kellianne Wilson

Dana Kirby

Amy Tsuruta

Melissa Phillips

Jeanne Jachna