Xyron and Paper Smooches Collaboration

Hello my crafty friends!  I am super excited because today, the Xyron Design Team is collaborating with Paper Smooches.  Thank you Paper Smooches for the goodies that you have sent us.


For my cards today, I am showcasing the Chubby Chums stamp set and the Bunny Card Die .  This set is so adorable!  Please visit www.papersmooches.com to purchase cute stamps and dies.


I started out by stamping my images on Neenah solar white card stock and colored the images in with my Copic markers.   I fuzzy-cut the images with my precision scissors.
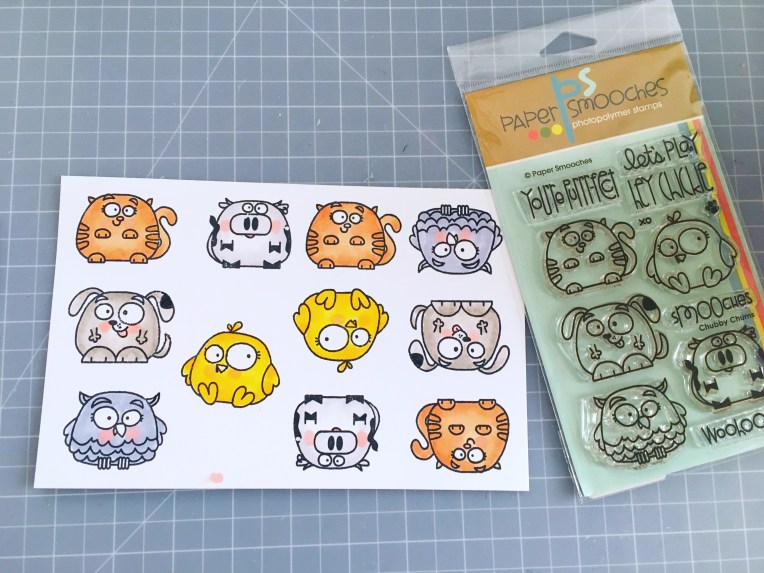
 

IMG_5669


Halloween is fast-approaching and I wanted to show you that you can use any stamp set for pretty much any occasion.  I used a frame die from my stash for my little “chubbies” and used my favorite Xyron Mega Tape Runner to adhere it onto my card front.  I also used the tape runner to adhere the critters.
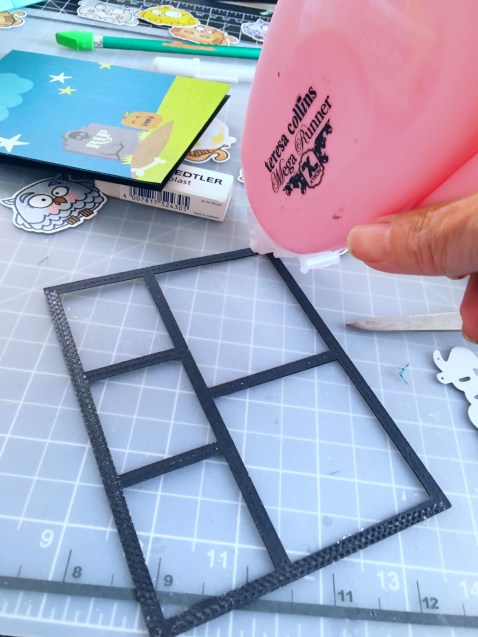
 

IMG_5671


Here’s the card:


XyronPaperSmooch1


Aren’t they adorable?  I added a cute witch’s hat to my Owl and a trick-or-treat bag to my cat.


Since I colored so many of the images I wanted to create a birthday card.  I used dies from my stash and to adhere the intricate bow on my card front, I used my Xyron 1.5 Inch Sticker Maker.  When I adhere intricate dies, I always use either my sticker maker or my Xyron Creative Station Lite.


IMG_5677


Here’s the birthday card:


XyronPaperSmooch2


Paper Smooches was very generous and also sent us the Bunny Card Die.  Here’s a little foldable treat bag that I made:


XyronPaperSmooch3


I hope you like my projects today.  Have a wonderful day!


Pumpkin Spice in my Latte

Hello my crafty friends.  I am up for Kat Scrappiness today to share with you a simple coffee-themed shaker tag, showcasing products available at the shop.

I started out by stamping my images using the Pumpkin Spice Stamp Set and Dies by Lawn Fawn on Neenah solar white with my Memento Tuxedo black ink.  I colored the images in with my Copic markers and die-cut them with its coordinating.

I wanted to create a cute shaker tag to use some new sequins from the shop, the Teal Woodgrain Flat and 6mm Orange AB Hallow Circle mix so I die-cut a medium tag using my Kat Scrappiness Stitched Scalloped Nesting Dies with the Lawn Fawn Perfectly Plaid Fall Collection Paper Pad.  I stamped my sentiment onto my tag, and assembled the shaker tag.

I hope you like my shaker tag.  I have also listed and linked the supplies I used below if you’re interested.  Please use my coupon code Maria10 for 10% off your order at the shop.  Have an amazing day!

KatScrapPumpkin1

Here’s a close-up:

KatScrapPumpkin2

———–SUPPLIES————-


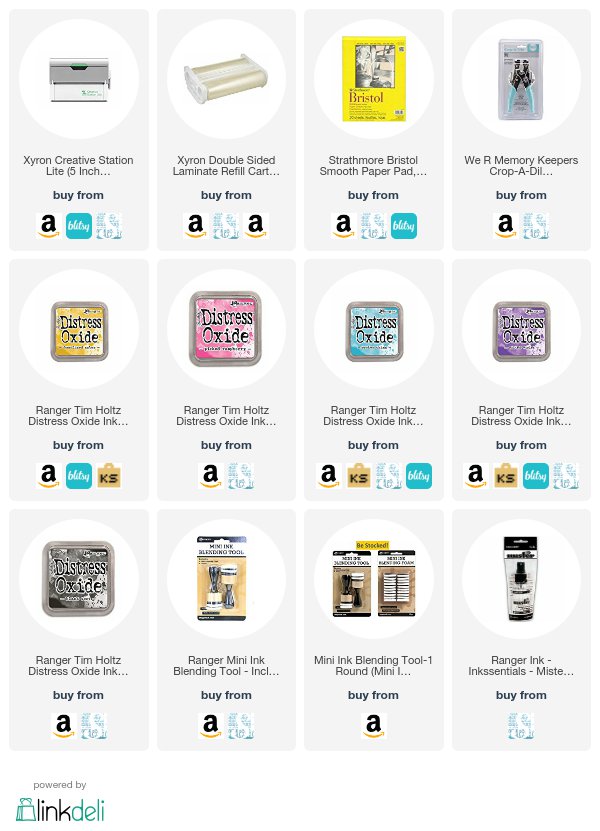
Laminated Planner Insert with Xyron Creative Station Lite

Hello my crafty friends! I hope you are having a fabulous week so far. I’m back today for Xyron and I have a cute project to show you, using the Creative Station Lite, with a double-sided laminate cartridge.

I have always loved to decorate my planner. If my planner looks organized and beautiful, I get inspired to use it more. Write my thoughts down and update my schedule.

As soon as I open my planner, I would like to see something inspiring, something beautiful. Most of the times the cover that you get when you purchase your planner is plain and boring ~ so I decided to create my own planner insert.

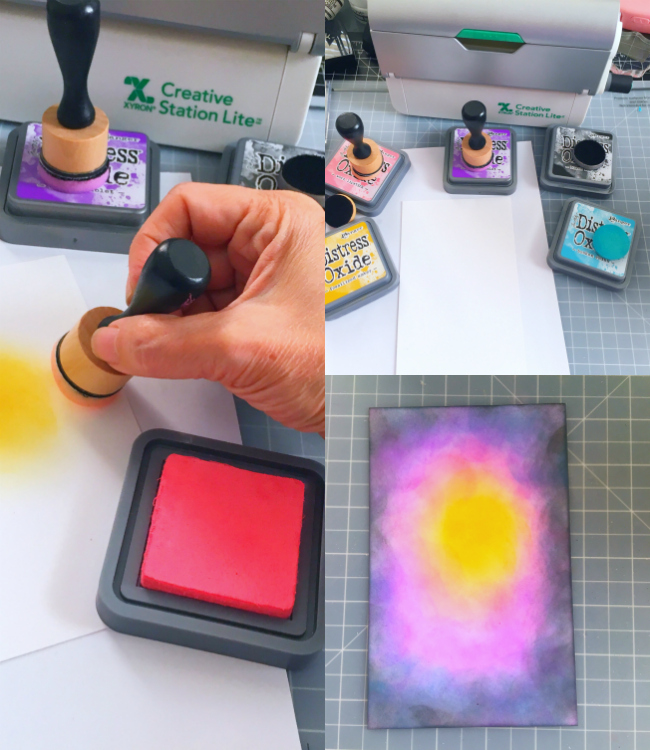
I started out by cutting a Bristol Smooth white card stock measuring 4 ¼ by 6 ¾. I am using my favorite combination of distress oxide inks for galaxy backgrounds (i.e., fossilized amber, picked raspberry, wilted violet, broken china and black soot). Using my mini-ink blending tools, I started to sponge the fossilized amber in the middle, then blended the rest of the distress oxide colors onto my card stock.

XyronLaminate1

I used my distress sprayer to spray some water on my colored background to achieve the distress look, dabbing the excess water droplets with a paper towel. They look like stars in the sky!

XyronLaminate2

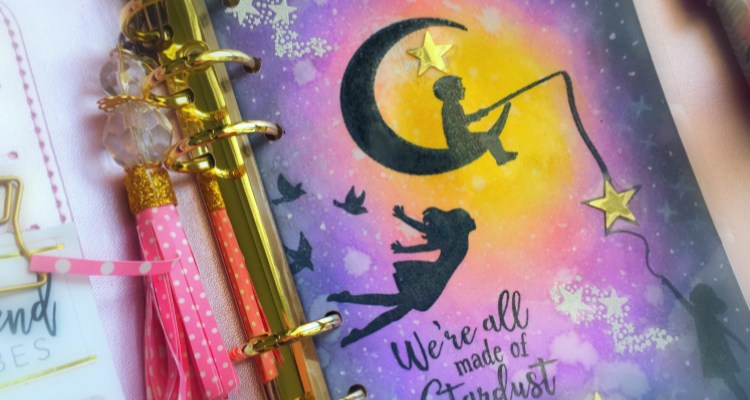
I stamped by images using a stamp set by Hero Arts onto my colored card stock with memento tuxedo black ink. To add the stars, I stamped them with versa mark ink and heat set it with white embossing powder. I also added the sentiment “We’re All Made of Stardust”. To finish the design, I added some gold star confetti.

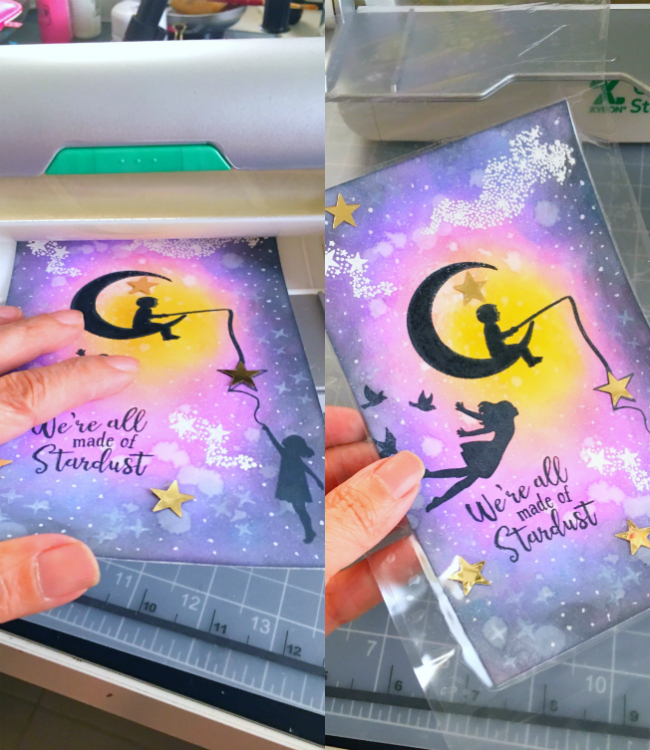
Using my Creative Station Lite with a double-sided laminate cartridge, I inserted my decorated planner insert through the machine, cranked the handle, and cut it through using the trimmer on the other side. Here’s what it looks like once it’s fully laminated. I really love that you can use laminate projects using this machine without having to use heat or electricity.  I trimmed the excess with my scissors.

XyronLaminate3

I used my We R Memory Keepers Crop-A-Dile to punch the holes on my planner insert. Here’s what it looks like inside my travel planner.

XyronLaminate5

XyronLaminate4

Isn’t it beautiful? I absolutely love creating my own planner inserts to decorate my planner. What do you guys think? I hope you like my project today.  For more project inspiration using Xyron products, please visit the Xyron Facebook Group here (https://www.facebook.com/xyroninc/) or the website at www.xyron.com.   I have also listed and linked the supplies I used below.  Have an amazing day!

————-SUPPLIES————

Click on the link to go directly to the product. Where available, I used compensated affiliate links which means if you make a purchase I receive a small commission at no extra cost to you. Thanks for your support.


You’re The Best Chapter of My Life

MFT_Superstars2017_BlogBanner


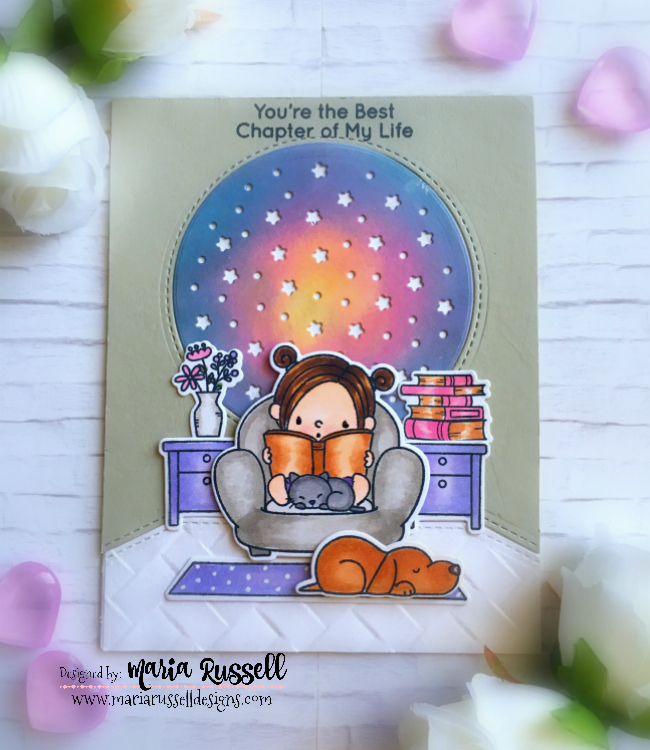
I finally made another card for my third and final entry for the 2017 Card Design Superstar.   The card that you see below is my entry for the “Coloring Virtuoso” category.  I love MFT Stamps and for today’s card, I am showcasing a lot of these stamps and dies that I have been collecting over the years.  The products I used will be listed below, and they are all available at www.mftstamps.com.


I started out by stamping my images from the Our Story stamp set, with the Make Yourself At Home stamp set on white card stock with the MFT Stamps Black Licorice Hybrid Ink.  I thought these two stamp sets would be the perfect pair to create my card. I colored the images in with my Copic markers.  I have always loved coloring with my Copic markers!    I die-cut the images with the coordinating dies.


I wanted to give my little girl a nice starry, colorful window background so I used a combination of different inks to blend the colors on smooth white card stock.  I used the Die-namics Starry Circle to die-cut the background.  I also used the same die to die-cut my card front.  I wanted to inlay all of my die-cut elements on the card for my scene.  For the “flooring”, I dry-embossed my white card stock and die-cut it using the Die-namics Stitched Basic Edges 2.


Here’s my card:


MFTColoringVirtuoso


I hope you like my card.  Please visit http://www.mftstamps.com to purchase the supplies I used for the card.  Have an amazing day!


SUPPLIES:

BB Our Story Stamp Set

Die-namics BB Our Story

Make Yourself At Home Stamp Set

Die-namics LJD Make Yourself At Home

Die-namics Stitched Basic Edges 2

Die-namics Starry Circle


NND September Reveals – Day 3 – Beautiful Bones & Spooky Skeletons


NND ReleaseI con_Sept17


Eek!  It is the 3rd day of the September reveals at Newton’s Nook Designs and we have another set of Halloween stamps for you.  You have a chance to win each stamp set during release week so check out the details I have indicated at the end of this blog post.  [Just a little important note:  I know some of you had difficulties finding the comments section.  If you would like to leave a comment to participate in the giveaway, the “comments section” will only be ever visible when a single post on Word Press is being viewed. Please click on this particular blog post and you will be able to leave a comment below.  Thank you for understanding and I apologize for the confusion.]


For today’s cards, I am showcasing the Beautiful Bones and Spooky Skeletons stamp sets and their coordinating dies.


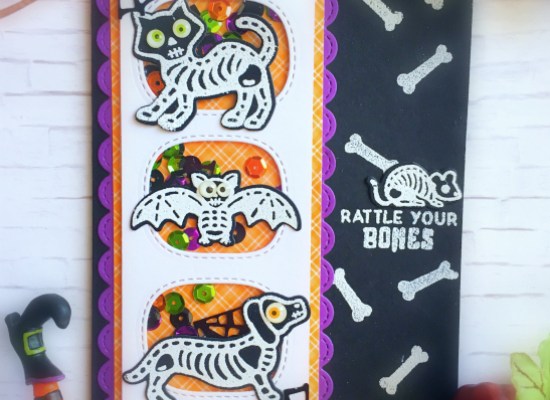
I stamped my Spooky Skeleton images on 110 lb. black card stock using my stamping platform with versa mark ink and heat-embossed them with my white embossing powder.   I die-cut the images with the coordinating dies.  I wanted to create a little shaker card and use my Halloween sequins.


To finish my design I used some doodlebug google-eyes on the images.  Here’s my first card:


NNDBones1


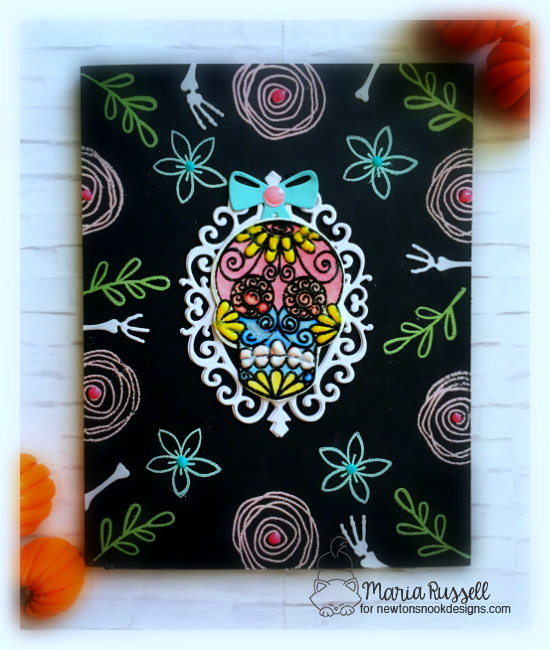
For my second card, I stamped my beautiful bones stamp set on Neenah solar white card stock and using my versa mark ink, and colored them in with my Gansai Tambi Pearl Watercolor.   I also used my Sakura gel pens to add more intense colors to the card.   Since this stamp set is sort of related to the “Day of the Dead”, I wanted to add some floral images to my black background.  I used an older stamp set by Newton’s Nook called Lovely Blooms, released last spring.  I stamped them with versa mark ink and used different colors of embossing powder to heat-set it and make them pop.  Isn’t it amazing that you can actually stretch your stamps using them for a different season?   Here’s my card:


NNDDayoftheDead


This “Beautiful Bones” and “Spooky Skeletons” stamp sets and coordinating dies will be available for purchase on Friday, September 15th, at 8:00 a.m. CST.


Would you like to win the “Beautiful Bones” or the  “Spooky Skeletons” Stamp Set? This stamp set will be given away to ONE lucky winner!


Here’s how to win: Comment on the NND blog and Design Team blogs (see list below)! The winner will be chosen at random from the collective reveal posts. Make sure to check out each of their blogs and comment for your chance to win. You will not know which blog has been chosen so the more you comment on the better your chances are of winning! You have until Thursday, September 14th at 9pm CST to comment — winners will be announced on the NND blog post on Friday, September 15th.


Check out all the awesome Design Team Blogs below to enter the giveaway:


Newton’s Nook Designs

Amanda Bodine

Holly Endress

Ellen Haxelmans

Larissa Heskett

Samantha Mann

Juliana Michaels

Naki Rager

Maria Russell (you are here)

Jennifer Timko

Tatiana Trafimovich


Simon Says Stamp STAMPtember with Newtons Nook Designs

NNDSTAMPtember-Exclusives_Newtons-Nook-Designs_1080 (1)

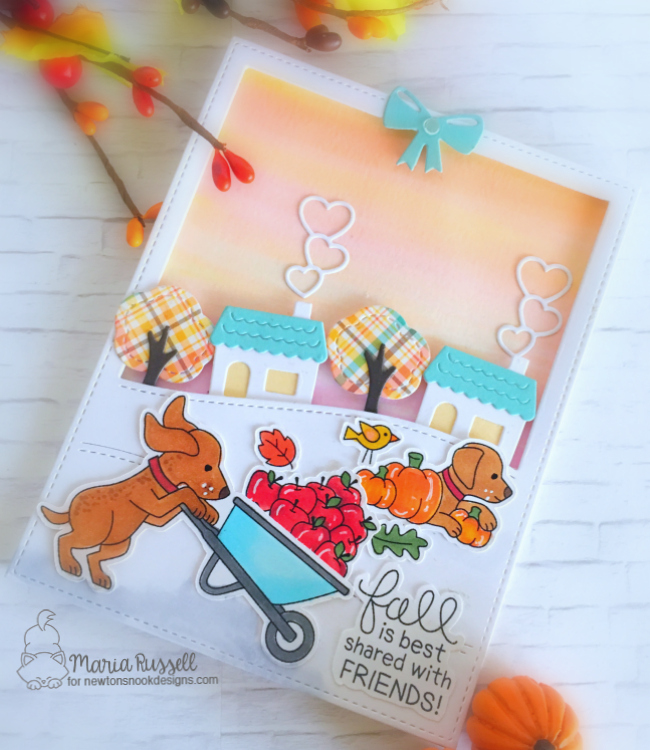
It’s Newton’s Nook Designs‘ turn for #STAMPtember collaboration with Simon Says Stamp and this stamp and die set is so adorable!  We are showcasing Loads of Thanks stamp set and its coordinating dies. This is limited-edition and is only available for purchase at Simon Says Stamp.   Here’s what the set looks like:

NND STAMPtember set

I started out by stamping my images on Neenah Solar White card stock with my memento tuxedo black ink and colored my images in with Copic markers.  I also used my Sakura white and black glazed pens to add more details to the images.  I die-cut the images with the coordinating dies.

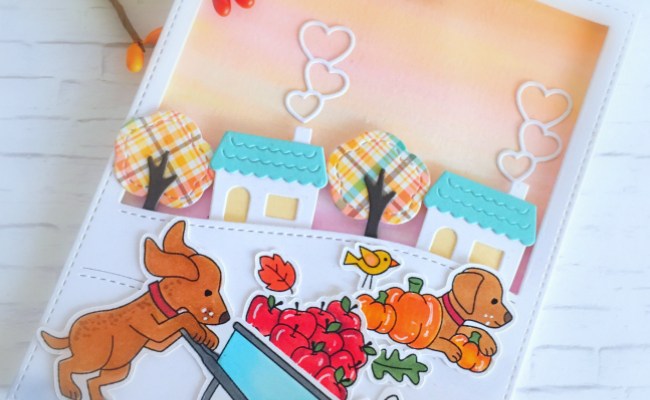
I die-cut my Strathmore Watercolor paper using my rectangle dies and created a sunset sky using my Zig Clean Color Real Brush Markers.  I wanted to create a cute hillside scene for my little doxies so I decided to use my portrait stitched hillside and landscape stitched hillside backdrop dies.  Here’s my card:

NNDStamptember

I hope you like my card.  Please check out all the amazing limited-edition products available during #STAMPtember at www.simonsaysstamp.com.  Have an amazing day!

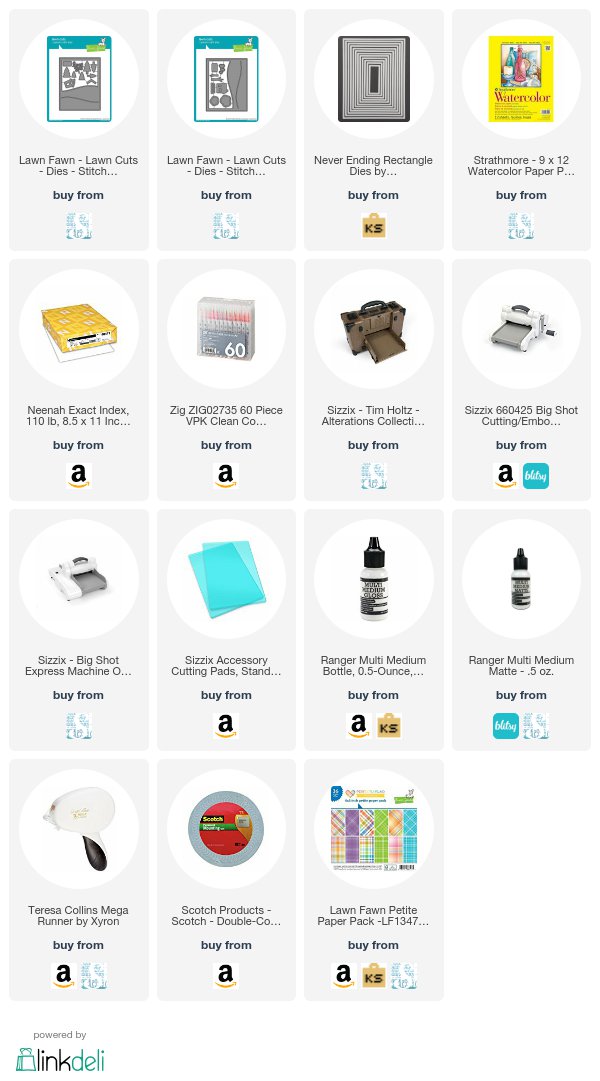
[DISCLAIMER: Since I received so many inquiries about the dies I used, I listed all of the products below. Please check out Simon Says Stamp first for product availability but if they are sold out,  I have also listed the supplies below. Click on the link to go directly to the product. Where available, I used compensated affiliate links which means if you make a purchase I receive a small commission at no extra cost to you. Thanks for your support. ]

———SUPPLIES——–

—-

NND September Reveals – Day 1 – Shades of Autumn and Falling Leaves Stencil

NND ReleaseI con_Sept17


Hello September! I am super excited because it is the first day of the September reveals at Newton’s Nook Designs. You also have a chance to win each stamp set during release week so check out the details I have indicated at the end of this blog post.  [Just a little important note:  I know some of you had difficulties finding the comments section.  If you would like to leave a comment to participate in the giveaway, the “comments section” will only be ever visible when a single post on Word Press is being viewed. Please click on this particular blog post and you will be able to leave a comment below.  Thank you for understanding and I apologize for the confusion.]


For today’s cards, I am showcasing the Shades of Autumn stamp set and its coordinating dies with the Falling Leaves stencil.


I stamped my images on Neenah solar white card stock using my stamping platform. I die-cut the images using the coordinating dies.


I made two cards for you today. The first one is relatively simple.


NNDShadesofAutumn1


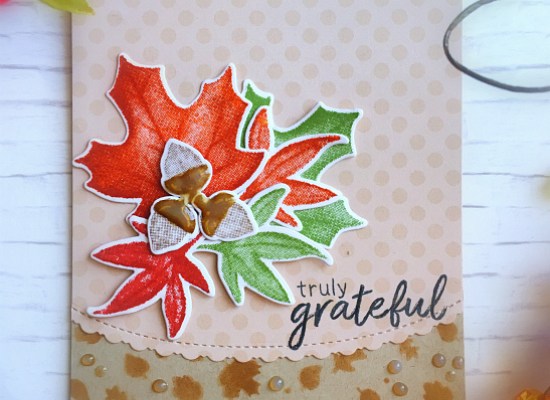
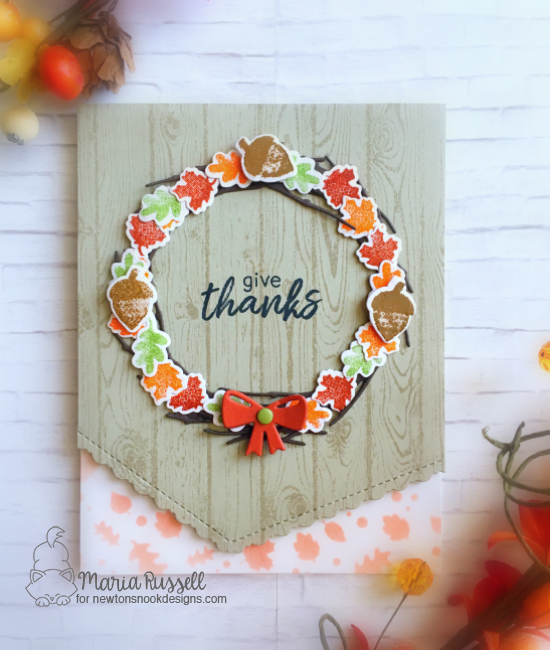
For my second card, I stamped and die-cut the small leaves and little acorns to create a wreath for my card. I also used the falling leaves stencil to add some color and finished the design by adding a small bow on the wreath, using the Pines and Holly die set. Here’s the card:


NNDLeaves1


This “Shades of Autumn” stamp set and coordinating dies will be available for purchase on Friday, September 15th, at 8:00 a.m. CST.


Would you like to win the “Shades of Autumn” Stamp Set? This set will be given away to ONE lucky winner!


Here’s how to win: Comment on the NND blog and Design Team blogs (see list below)! The winner will be chosen at random from the collective reveal posts. Make sure to check out each of their blogs and comment for your chance to win. You will not know which blog has been chosen so the more you comment on the better your chances are of winning! You have until Thursday, September 14th at 9pm CST to comment — winners will be announced on the NND blog post on Friday, September 15th.


Check out all the awesome Design Team Blogs below to enter the giveaway:

Newton’s Nook Designs

Amanda Bodine

Holly Endress

Ellen Haxelmans

Larissa Heskett

Samantha Mann

Juliana Michaels

Naki Rager

Maria Russell (you are here)

Jennifer Timko

Tatiana Trafimovich


A Halloween Hello

MFT_Superstars2017_BlogBanner


The MFT Card Design Superstar is finally here! The card that you see below is my entry for the “Clean and Simple Genius” category.


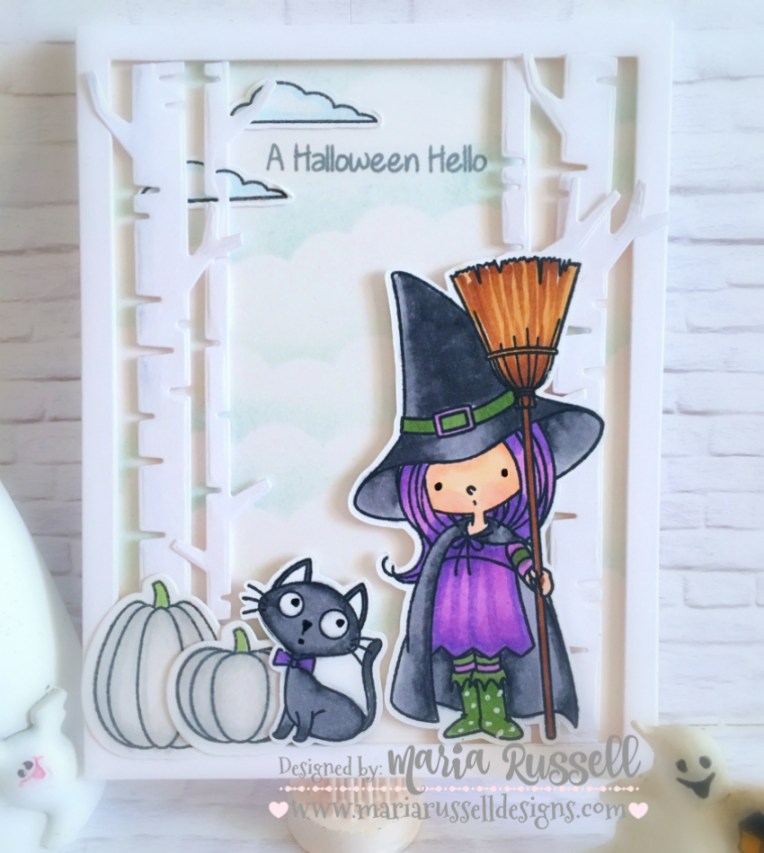
Sometimes, less is really more! I wanted to create a clean and simple Halloween card with non-traditional Halloween colors.  I also like the white pumpkins as fall decor, which is why I colored the pumpkins with light gray Copic markers. I wanted my focal point to be on the little witch and her cat. These images are so adorable!


I started out by stamping my images on Bristol Smooth 110 lb. white card stock using my MFT stamps Black Licorice hybrid ink. I used Copic markers to color my images in and used the coordinating dies to die-cut the images.


For my “subtle” sky scene, I used the clouds stencils with my light blue inkpad, lightly sponging the color on the card stock.


For the frame, I used my MFT Stamps Blueprints No. 32. I also die-cut the birch trees with the Birch Trees dies, also by MFT then lightly colored it with my Copic markers to give it some dimension.


To finish my design, I stamped the sentiment “A Halloween Hello” with my memento fog ink.


Here’s my card:


MFTSuperstar1

What do you guys think?  I hope you like my clean and simple card.  The supplies I used to create the card are listed and linked to the MFT online store.  Wish me luck and thank you for stopping by!

—–SUPPLIES——

BB Witch Way is the Candy Stamp Set

BB Witch Way is the Candy Die-Namics

Birch Trees Die-Namics

Die-Namics Blueprints No. 32 

Clouds Stencil – Large

Clouds Mini Edges Stencil

Black Licorice Hybrid Ink


Happy Haunting ~ MFT Sketch Challenge # 347

There is a new sketch challenge at My Favorite Things so I decided to play along.  Here’s the sketch:


img_6391


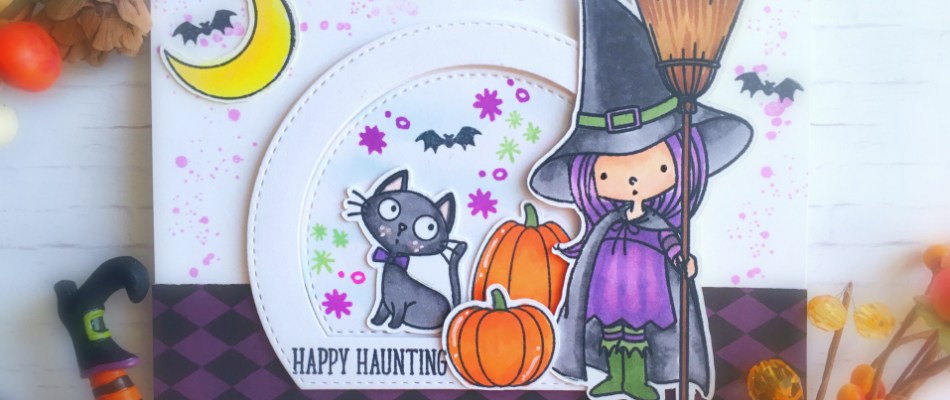
I am showcasing the BB Witch Way is the Candy stamp set and dies by MFT Stamps.  Don’t you just love the images on this set?  I hope you like my card and thank you so much for stopping by.  Have an amazing day!


MFTHallw1