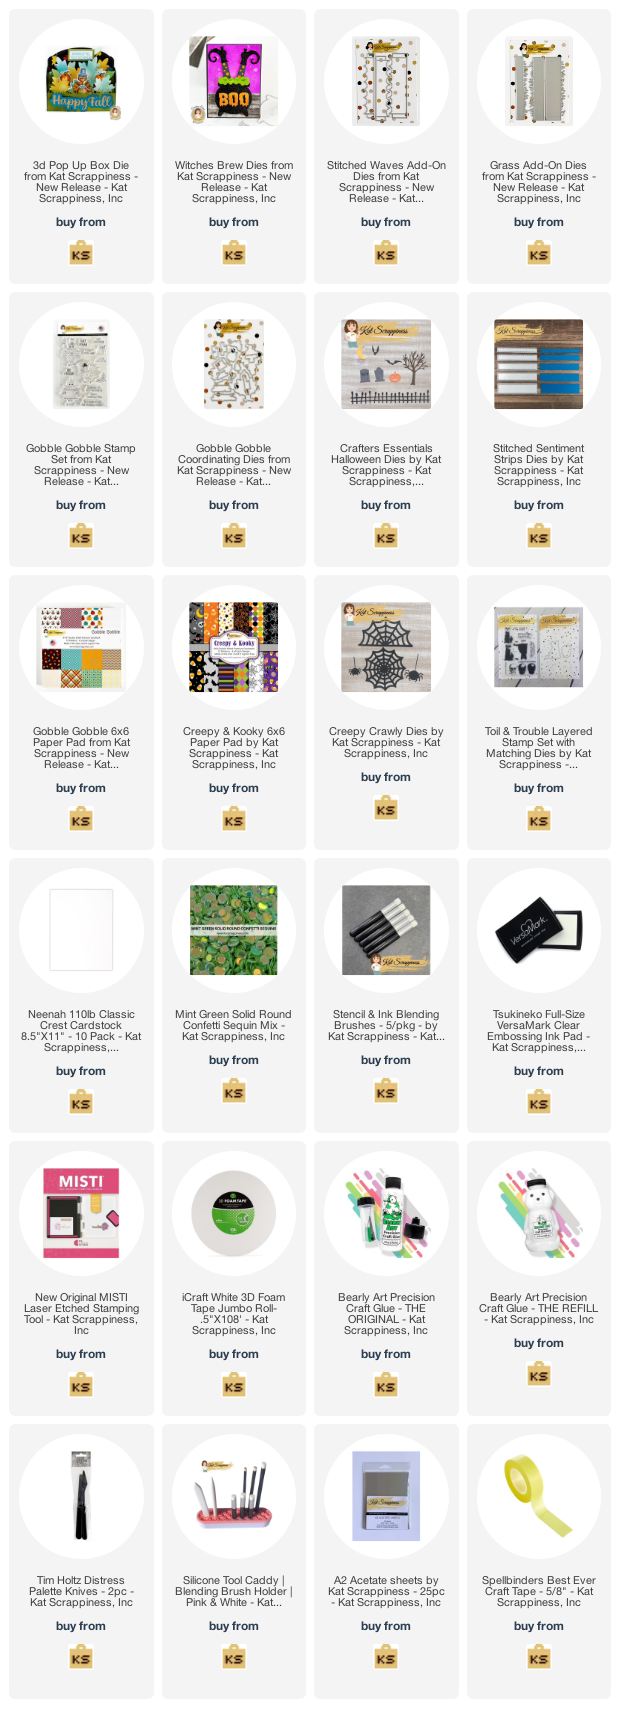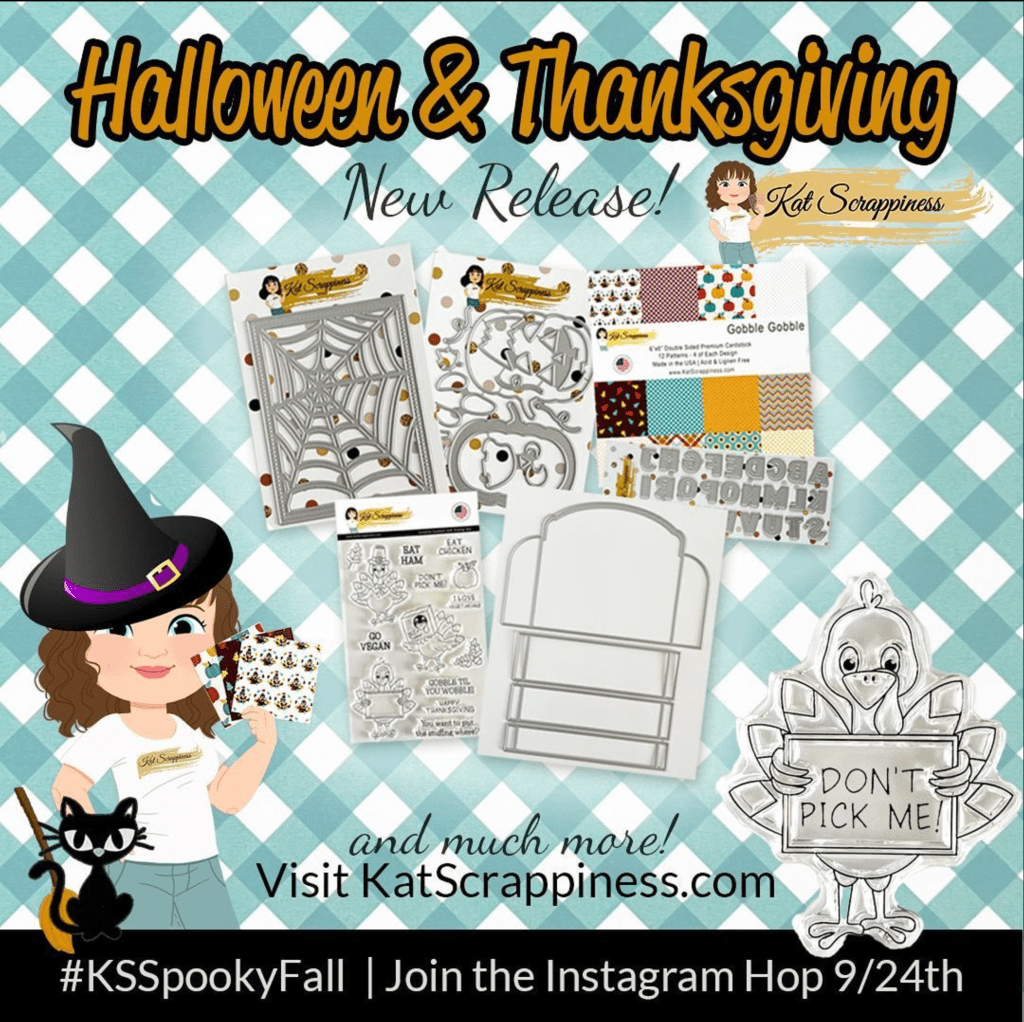
It’s finally here! The Kat Scrappiness, Inc. September release is AMAZING! You will find A LOT of new dies, stamp sets, paper pads and more!
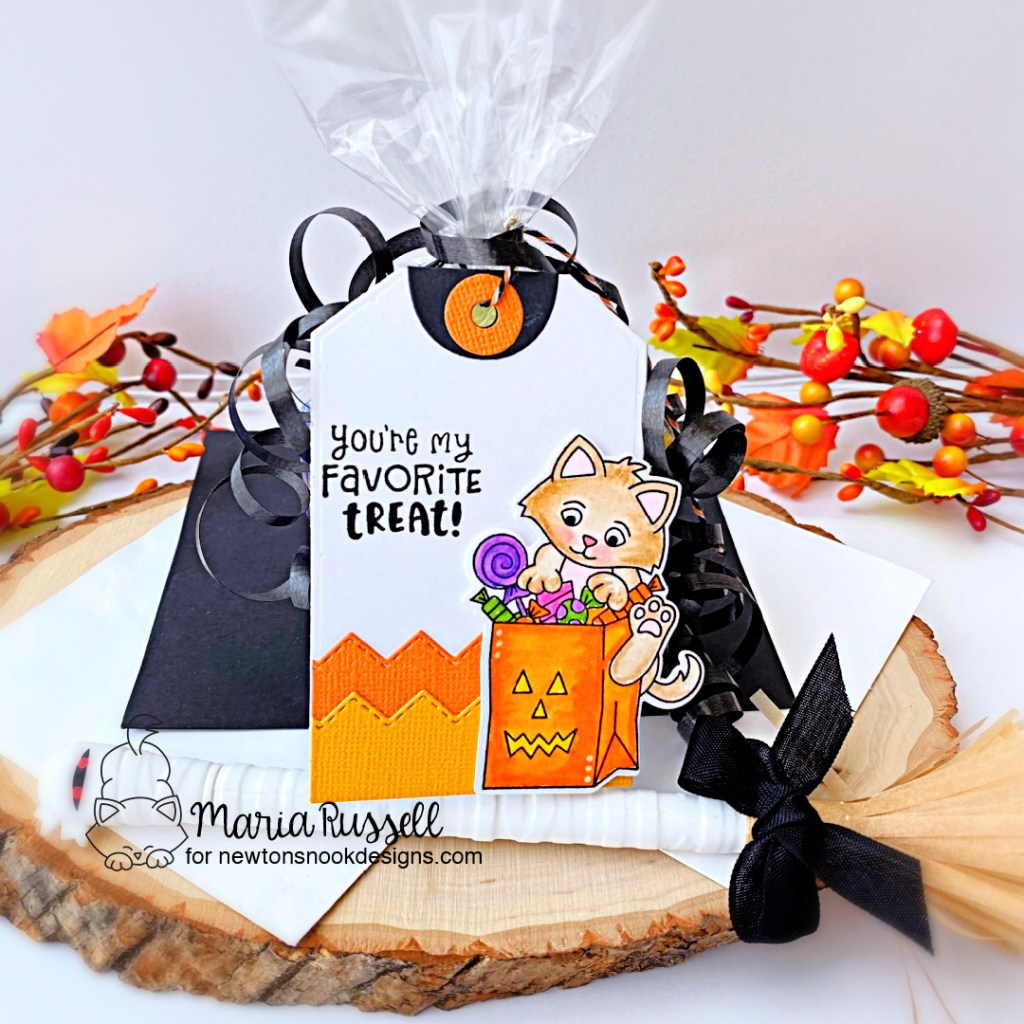
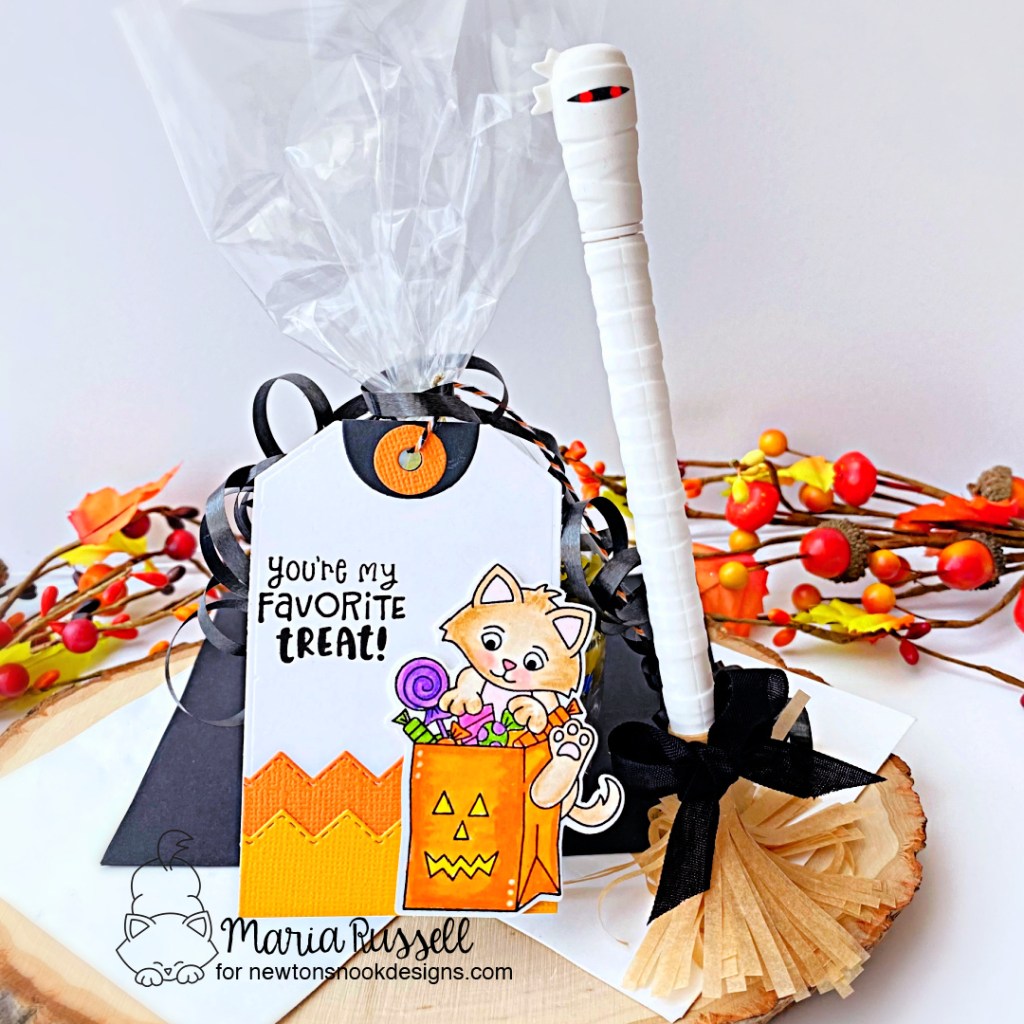
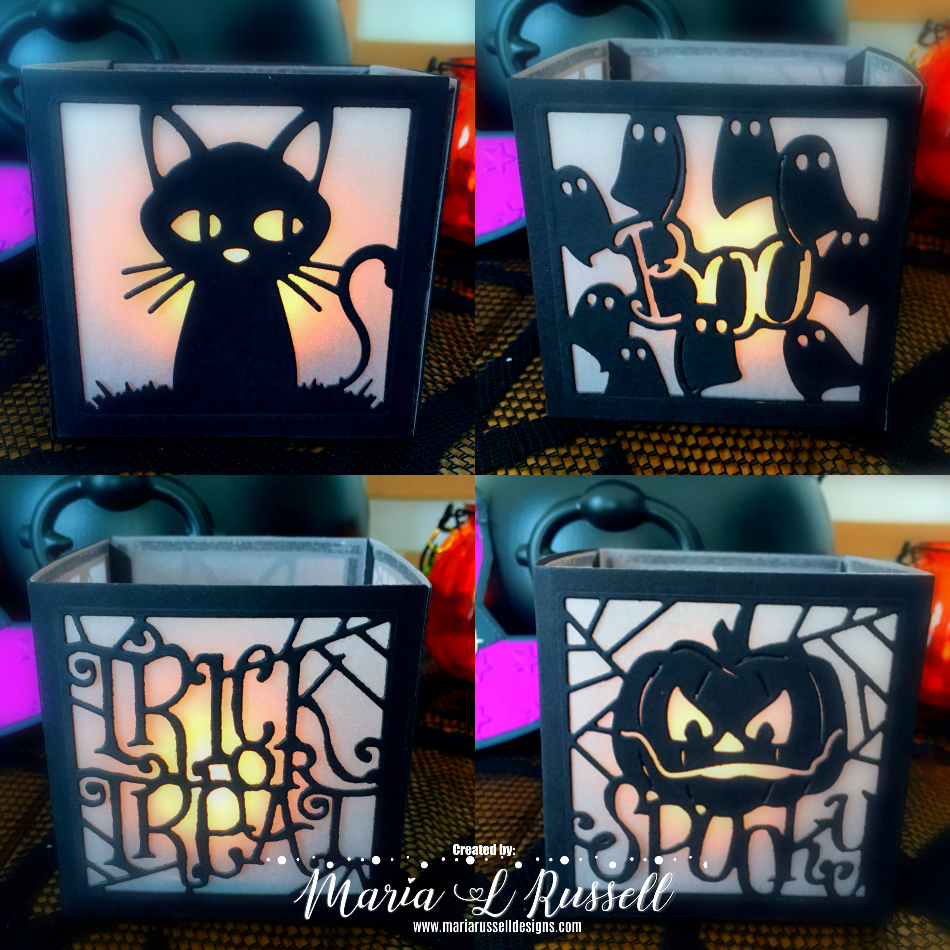
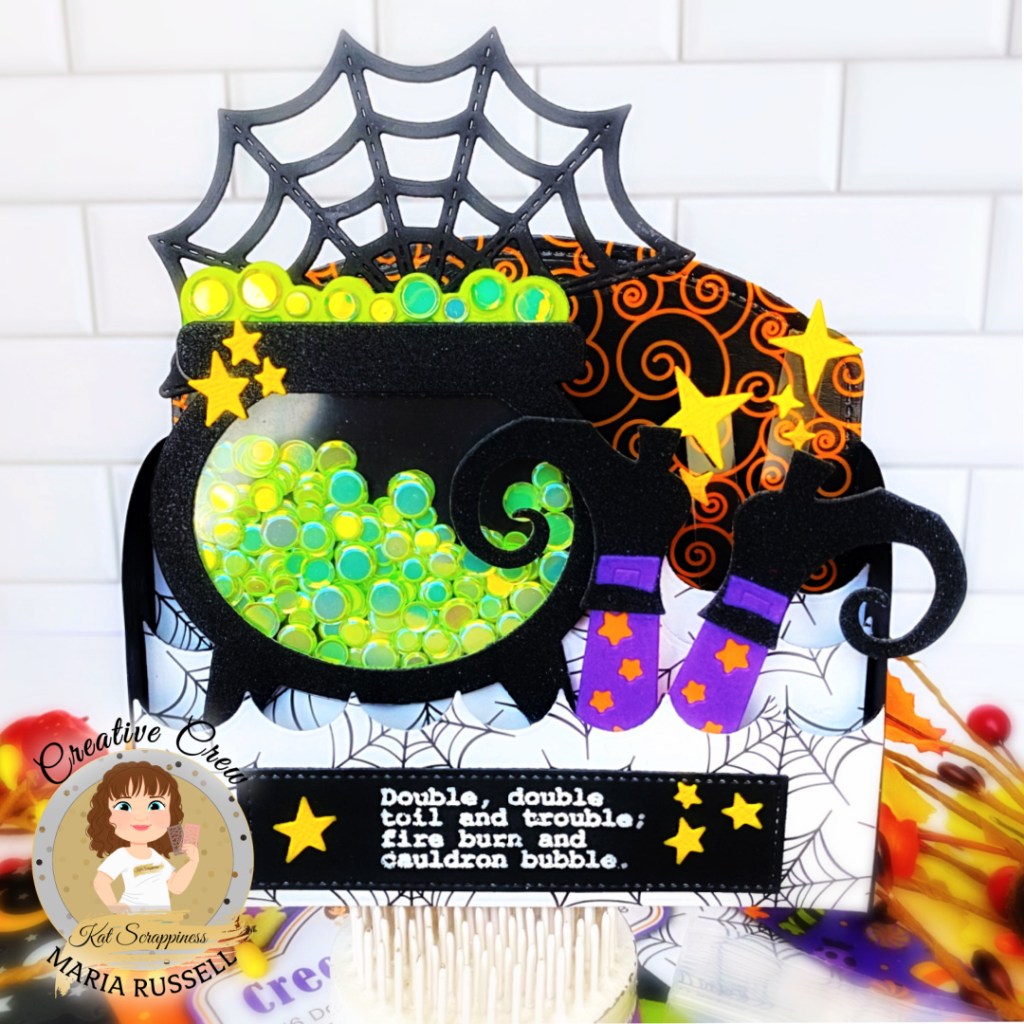
For my first project today, I am showcasing the 3D Box Pop-Up Die and Waves Add-On Die Set, along with the Witches Brew Die Set, Creepy Crawly Die, A2 Reverse Scallop Frame (Stars) Creepy & Kooky Paper Pad, Toil & Trouble Stamp Set plus a lot more.
Here’s how I made this card:
- die-cut the Creepy & Kooky Paper Pad using the new 3D Box Pop Up Die and Waves Add-On Die Set
- assemble the 3D Box Pop Up Die using some strong double-sided tape
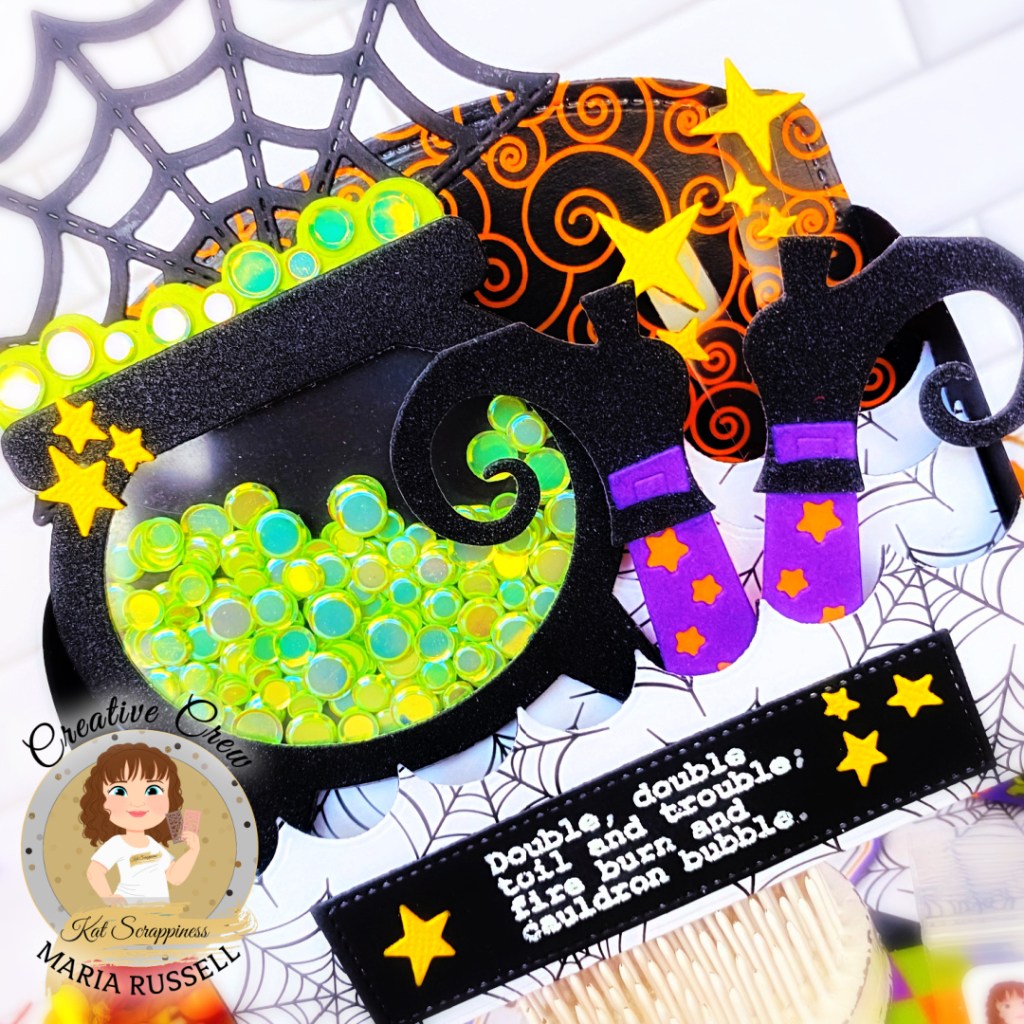
- die-cut the cauldron using the Witches Brew Die Set on some black glitter card stock and acetate sheet. adhere the acetate sheet with strong double-side tape.
- create the shaker well by adding foam-tape and use the Mint Green Solid Confetti Sequin Mix as the shaker element and close the well with double-sided tape.
- adhere stars to the cauldron with liquid glue.
- adhere the cauldron on the 3D Box card with liquid glue.
- die-cut the witch’s legs from the Witches Brew Die Set from different colors of card stock and adhere them together. Add the witch’s legs to the
- adhere the cauldron on the 3D Box card with liquid glue.
- die-cut the witch’s legs from the Witches Brew Die Set from different colors of card stock and adhere them together. Add the witch’s legs to the 3D Box card also with strong double-sided tape.
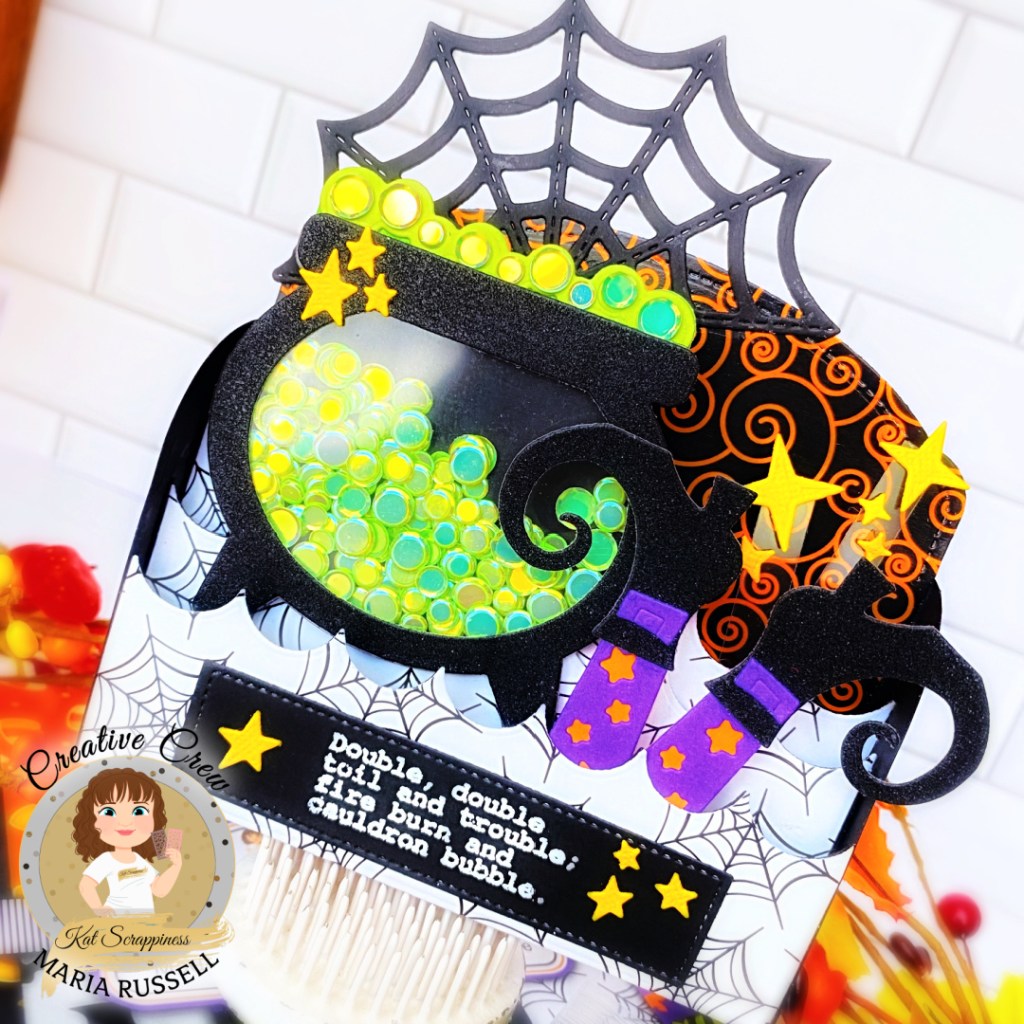
- adhere the spiderweb that was die-cut from the Creepy Crawly Die on the 3D Box card.
- cut a few strips of acetate sheets and adhere some stars that were die-cut using the A2 Reverse Scallop Frame (Stars) for added texture and interest. I love that they look like they are floating!
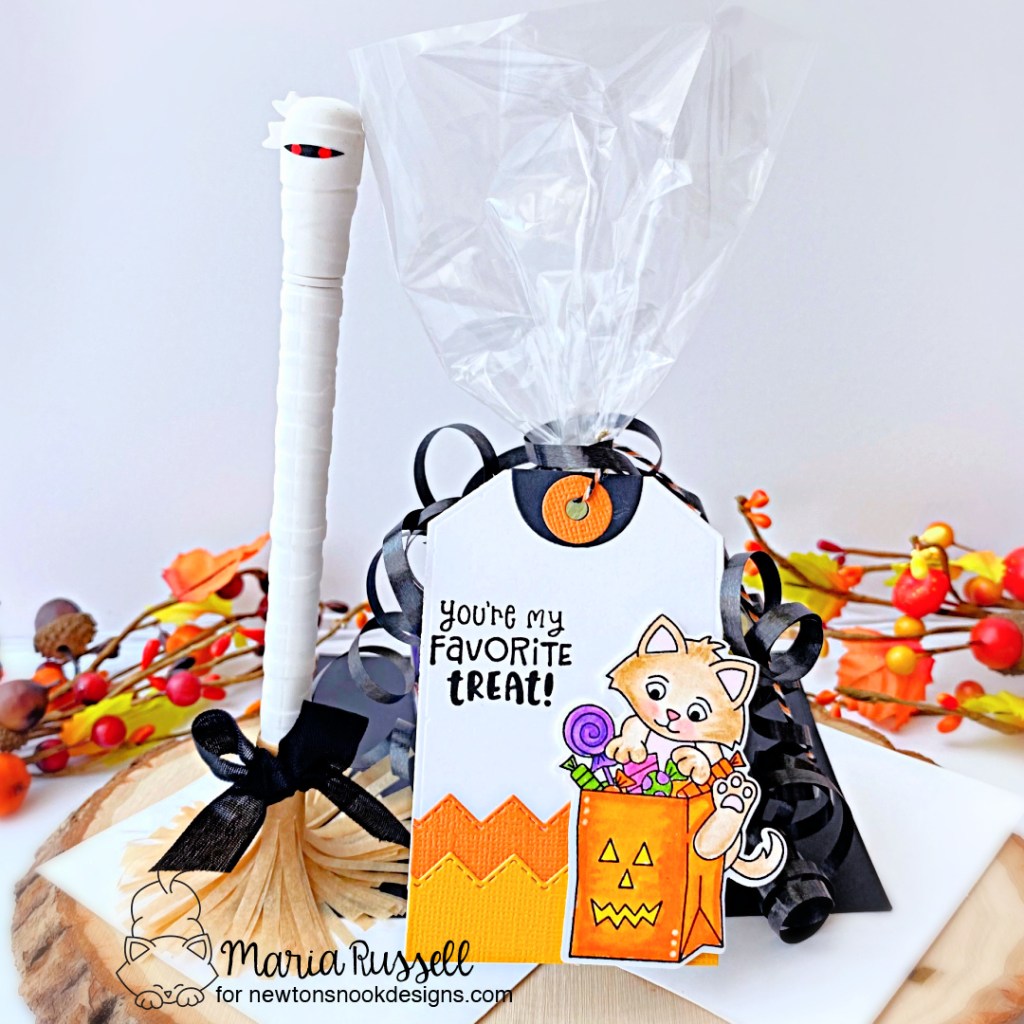
- finish the card design by adding the sentiment from the Toil & Trouble Stamp Set.
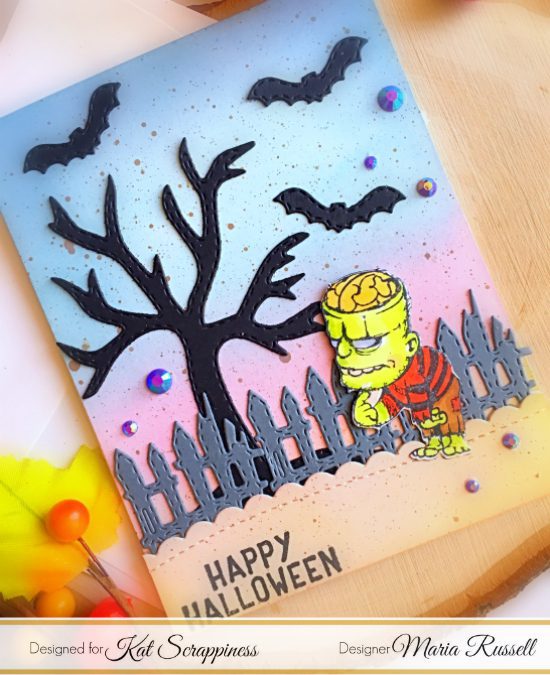
Here’s another look:
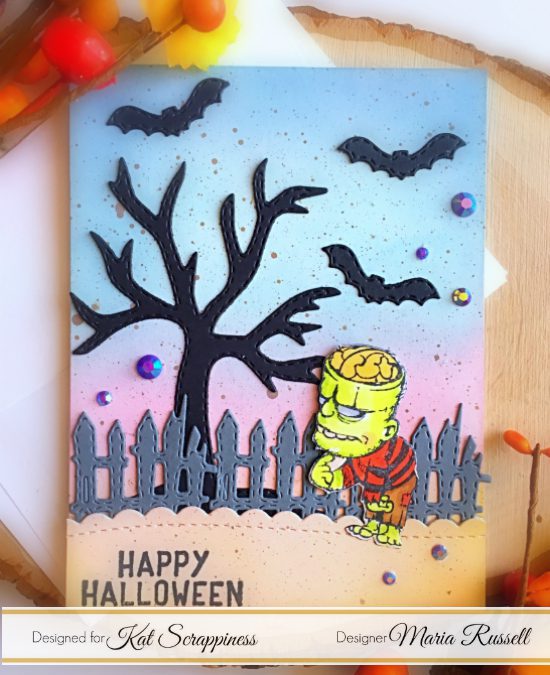
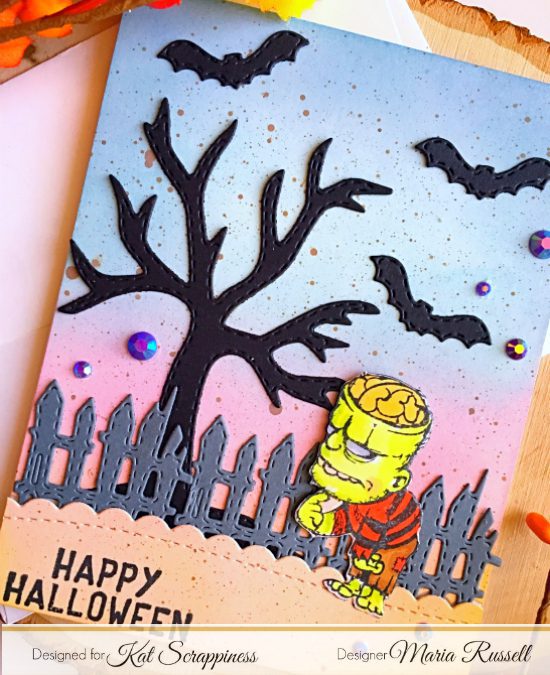
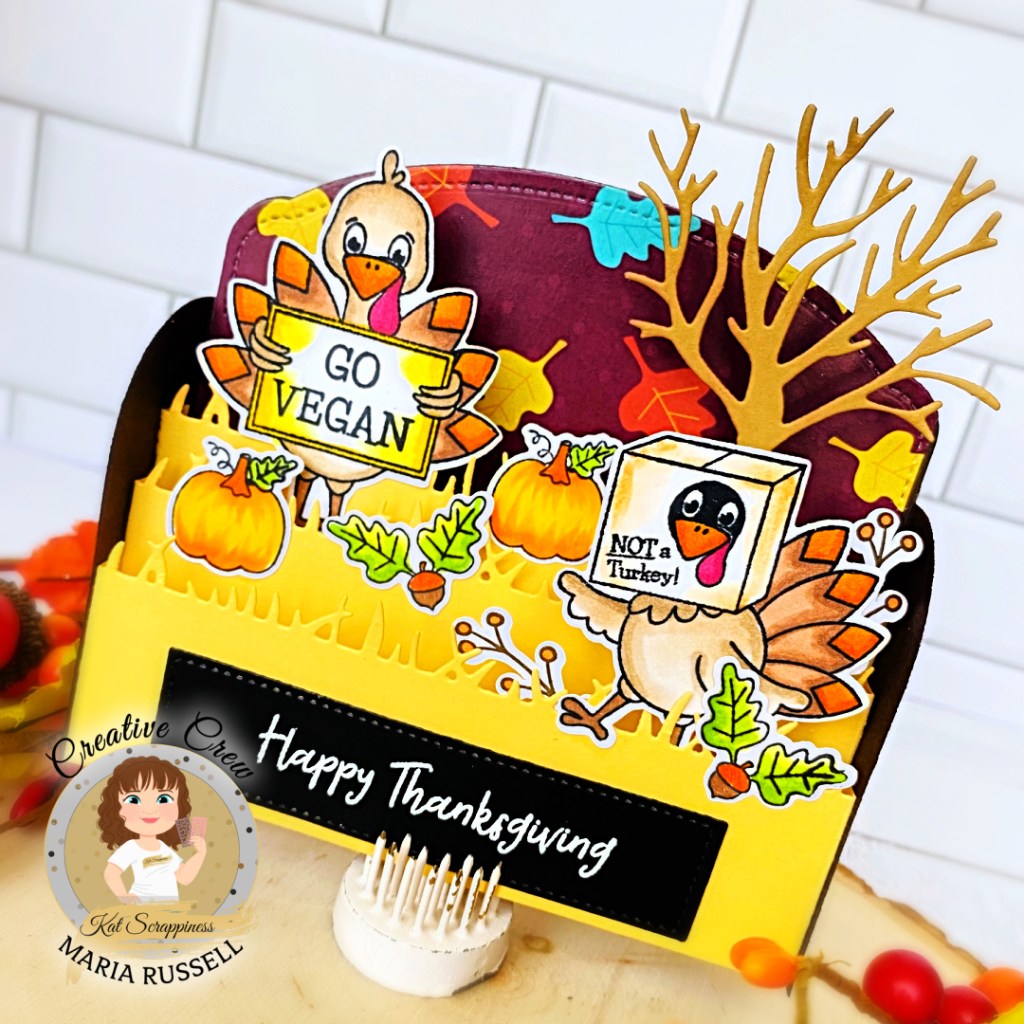
For my next 3D Box Card, I am showcasing the same 3D Box Pop Up Die, Grass Add-On Dies, along with the Gobble, Gobble Stamp Set, Gobble, Gobble coordinating dies, Gobble, Gobble Paper Pad, Crafter’s Essentials Halloween Dies and Stitched Sentiment Strip Dies.

I pretty much did the same steps above. The only difference is I stamped and die-cut the images from the Gobble, Gobble Stamp Set and cut using the Gobble, Gobble coordinating dies. I also used the Gobble, Gobble Paper 6×6 Paper Pad.
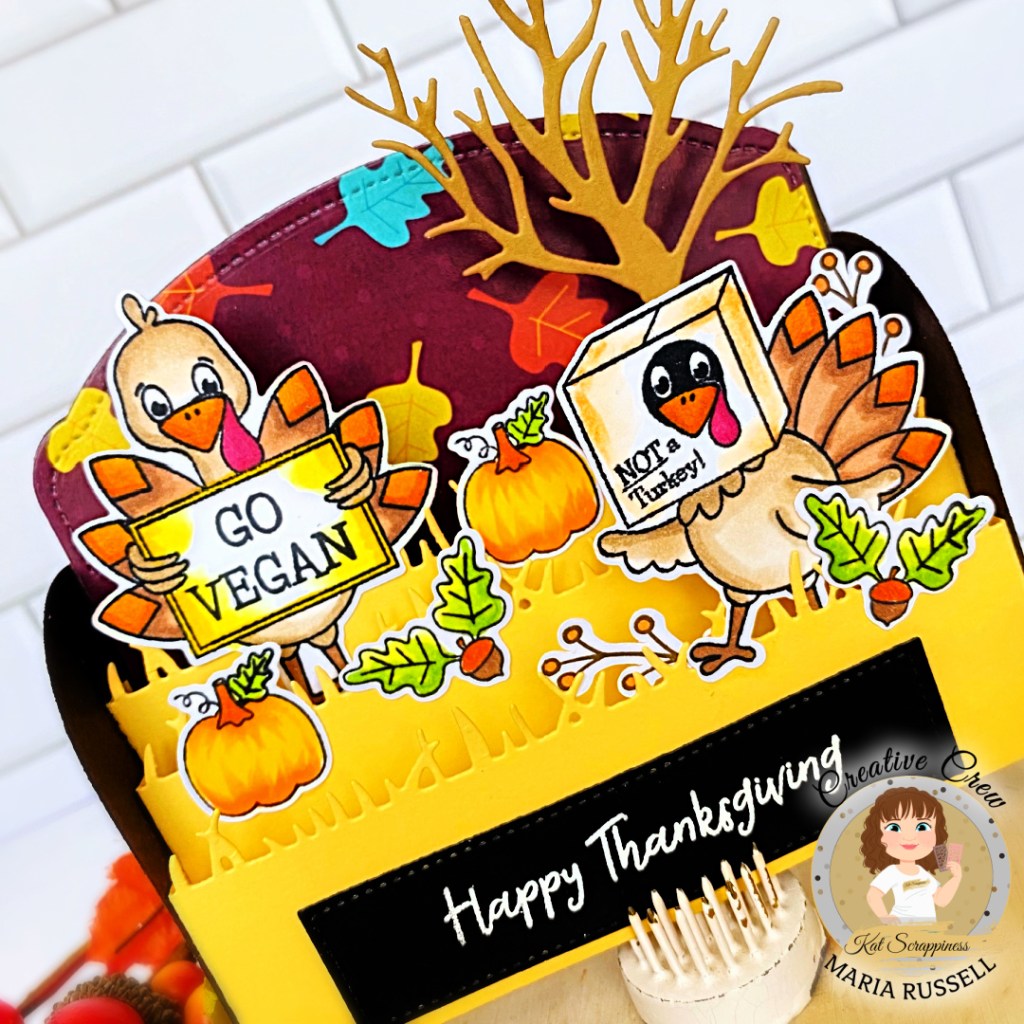
The “spooky” tree was die-cut using the Crafter’s Essentials Halloween Dies and adhered with double-sided tape and finishing the card design by adding the sentiment.
In a couple of hours, we are also having an Instagram hop where you can find more projects by the entire Design Team. We also have a GIVEAWAY! Hop on over to my Instagram handle @RPRMLR77 to join and WIN.
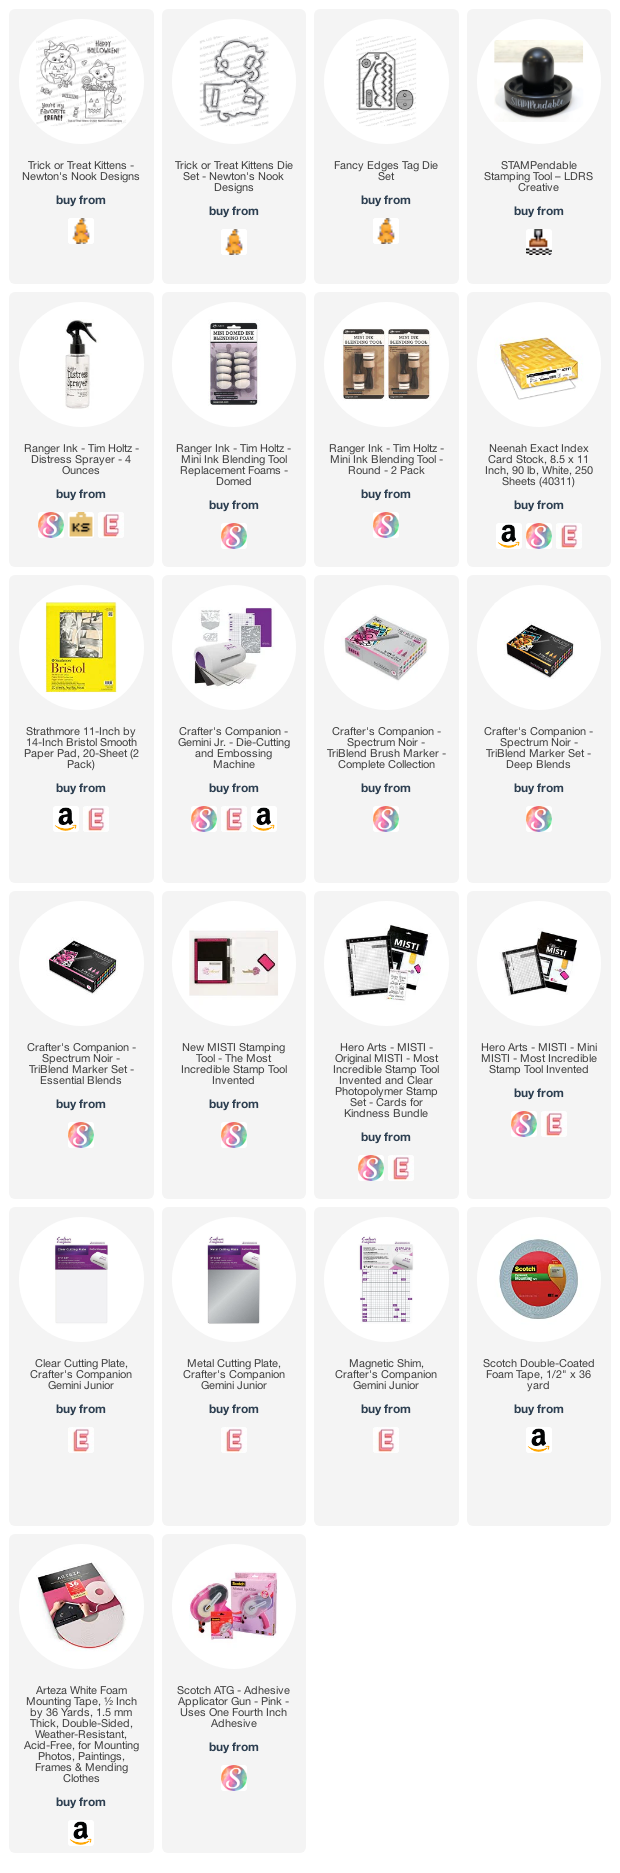
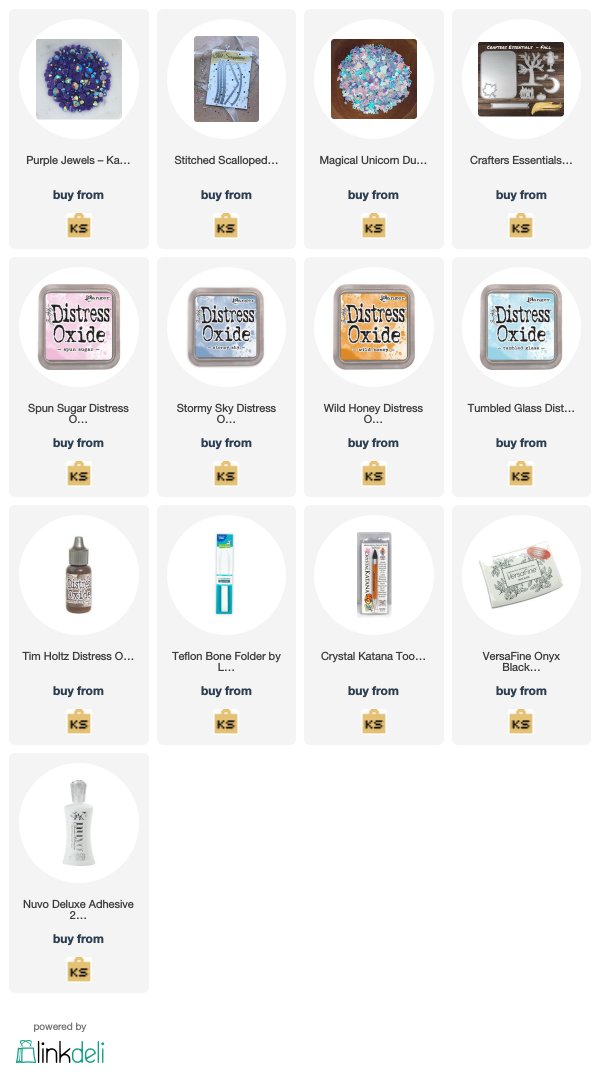
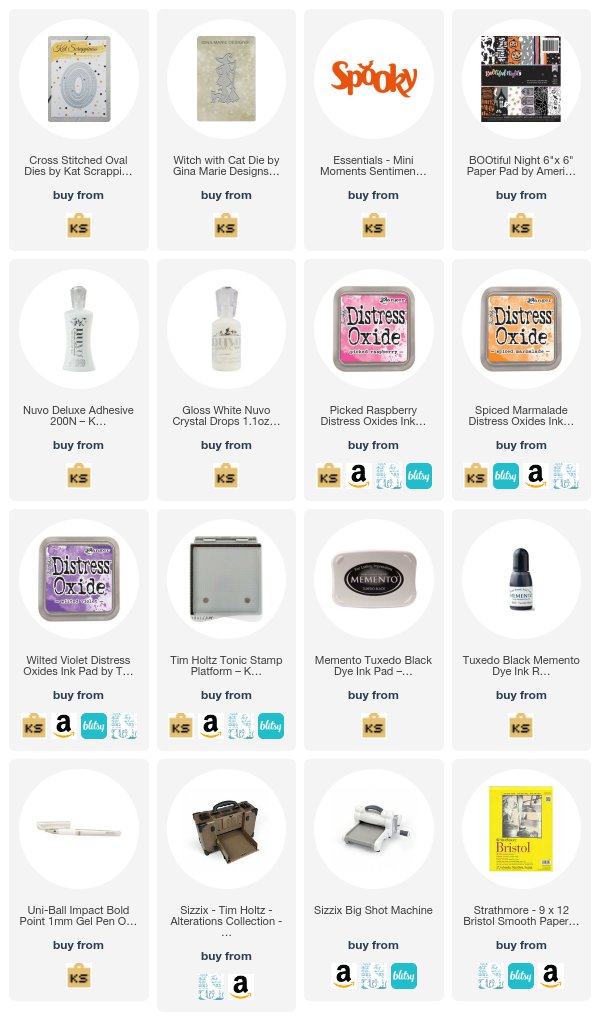
I hope you like this card today and got inspired. Below, you will find links to the supplies used to create this project(s). Where available, I use compensated affiliate links at no extra cost to you. Your support helps me to keep bringing you new projects and inspiration. Thank you for stopping by, and have an amazing day!
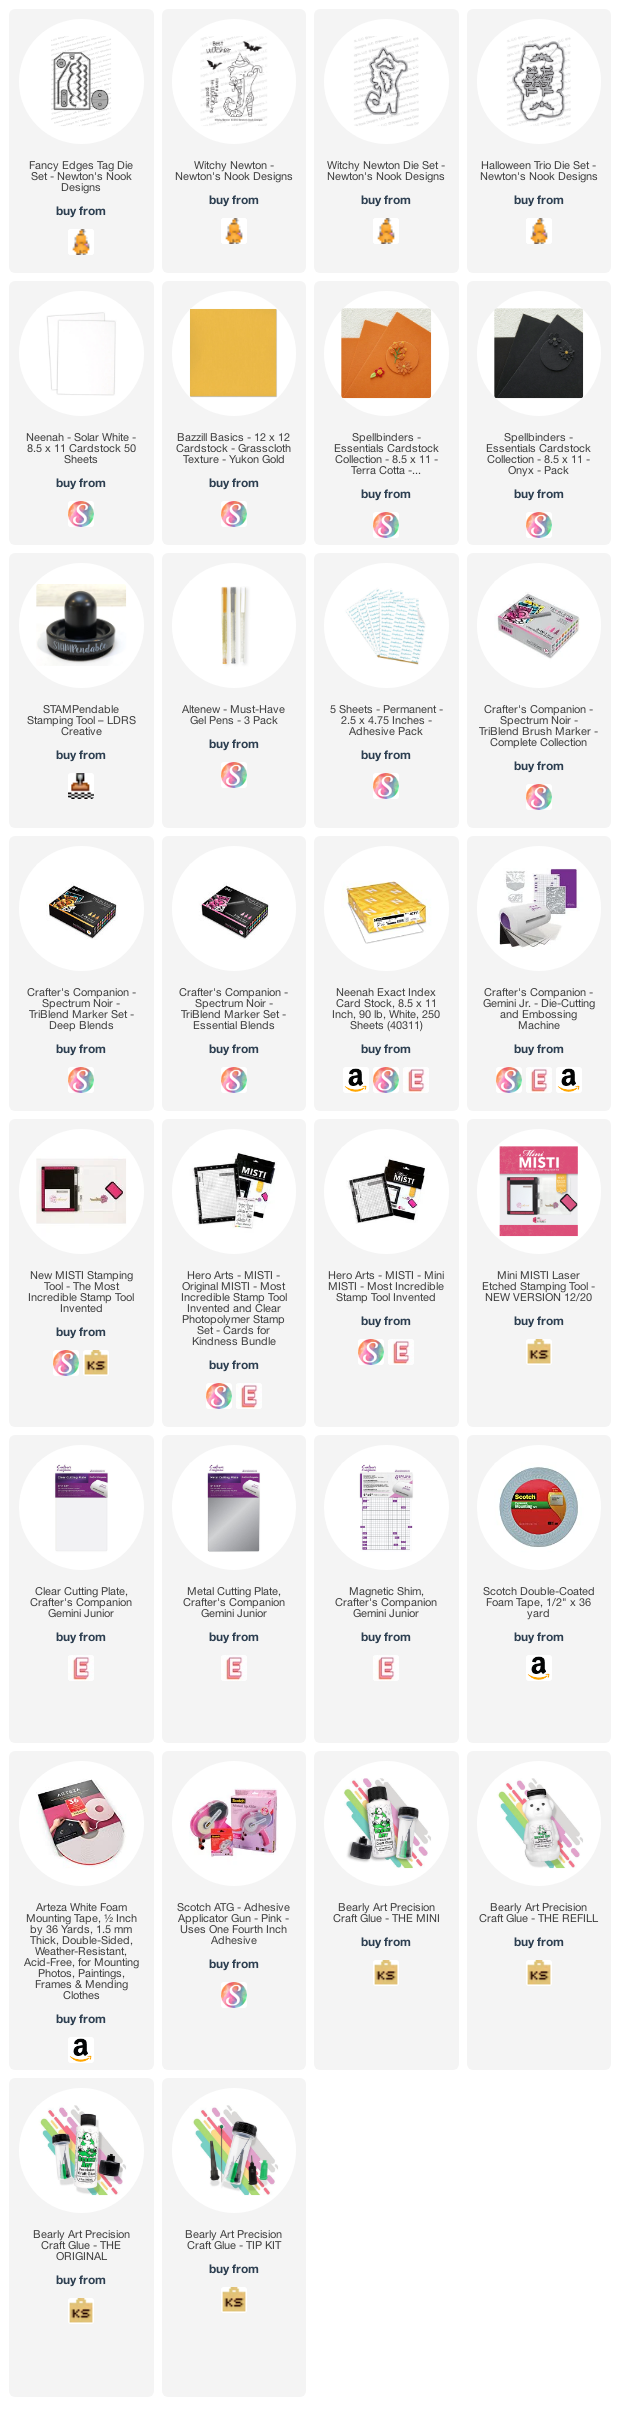
——-SUPPLIES——