It has been quite awhile since I wrote a blog post. I was traveling back and forth for a few weeks organizing our upcoming move back to our home in the United States. Yay! I hope everyone’s been looking forward to create a few Halloween, Fall and Christmas related projects! If you are, stick around and I will be posting a lot of projects soon, along with photos of how I decorated my home for the holidays!
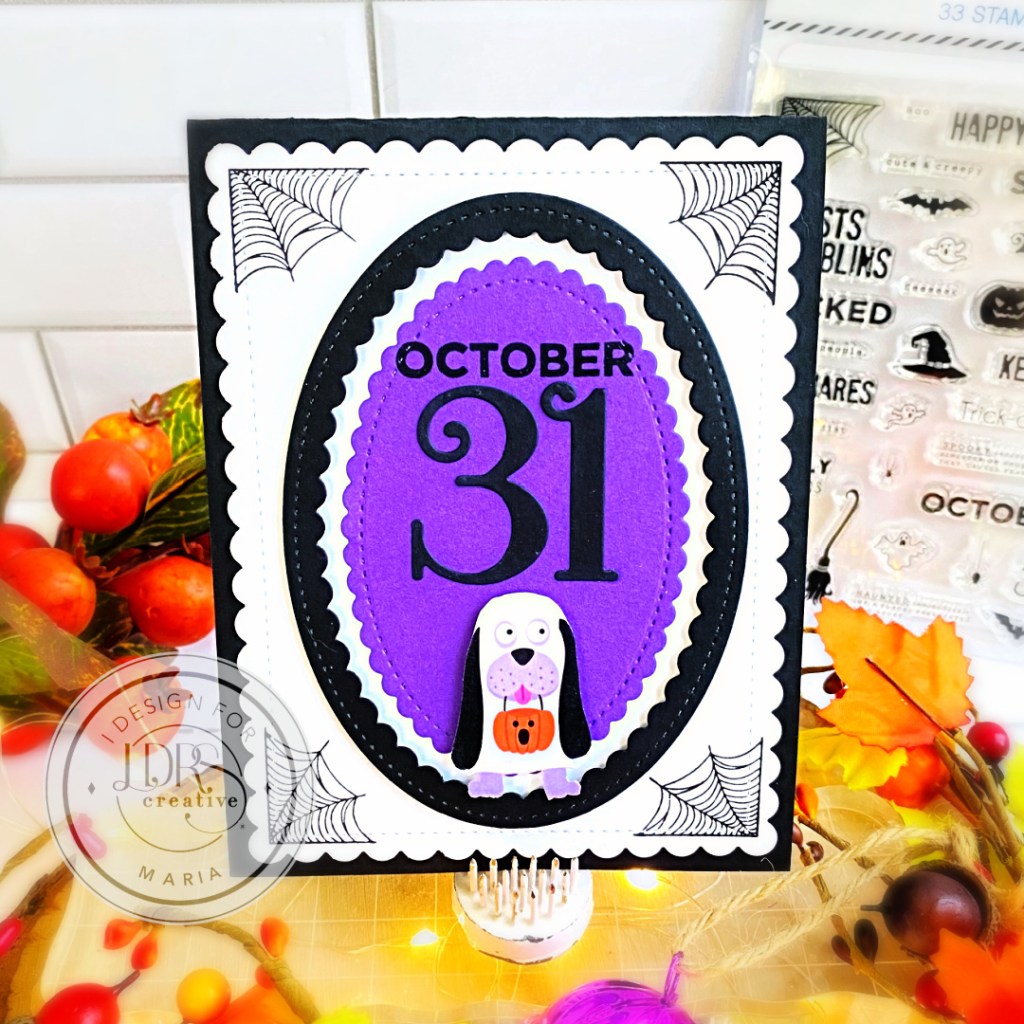
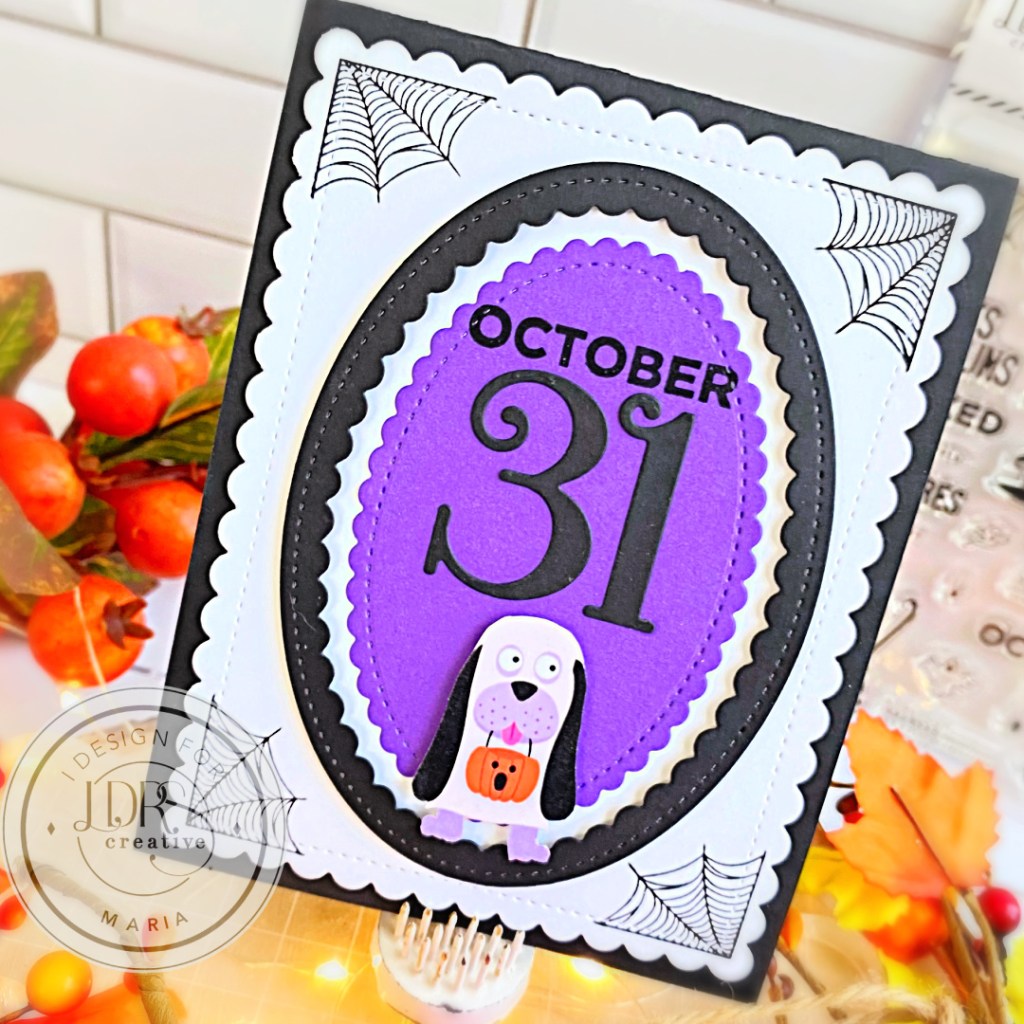
I started by adhering the Scalloped background that was die-cut using the biggest die from the Delicate Stitches Scalloped Rectangle die set. I stamped the four corners of the background using the spiderweb from the Wicked Stamp Set.
Simplicity is just really what I had in mind and die-cutting the scalloped rectangles using the Delicate Stitches Scalloped Oval on black and purple card stock were the perfect pieces to layer to create a beautiful pattern border for my card.
Lastly, I wanted to add this cute image of a dog trick-or-treating that I fussy-cut from the Trick or Treat Paper Pack. This was foam-mounted onto the card for added dimension. Here’s another look:
I hope you like this card and got inspired! The supplies I used are highlighted and linked within the context of this blog post. Thanks for stopping by and happy October!!!!
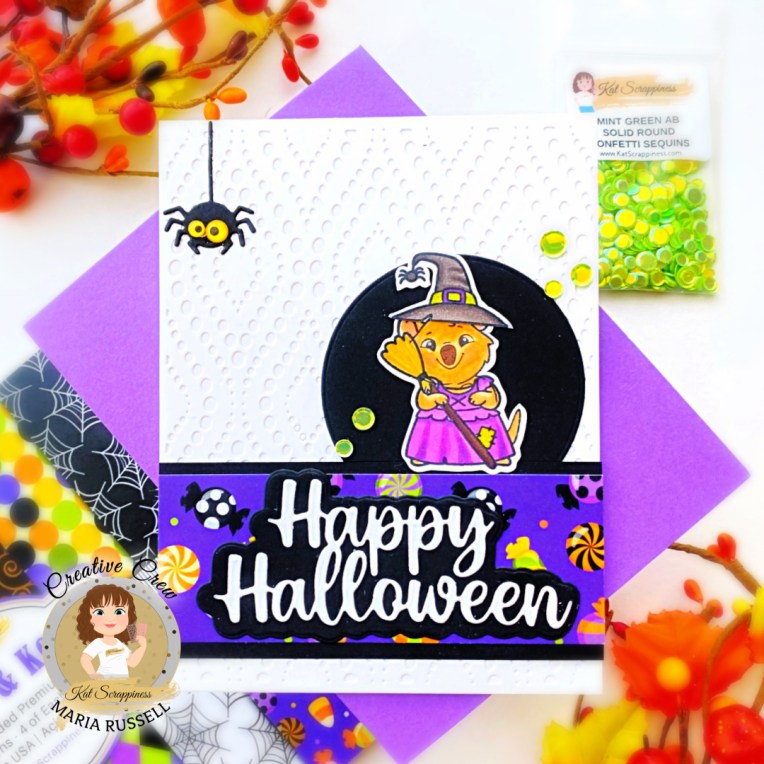
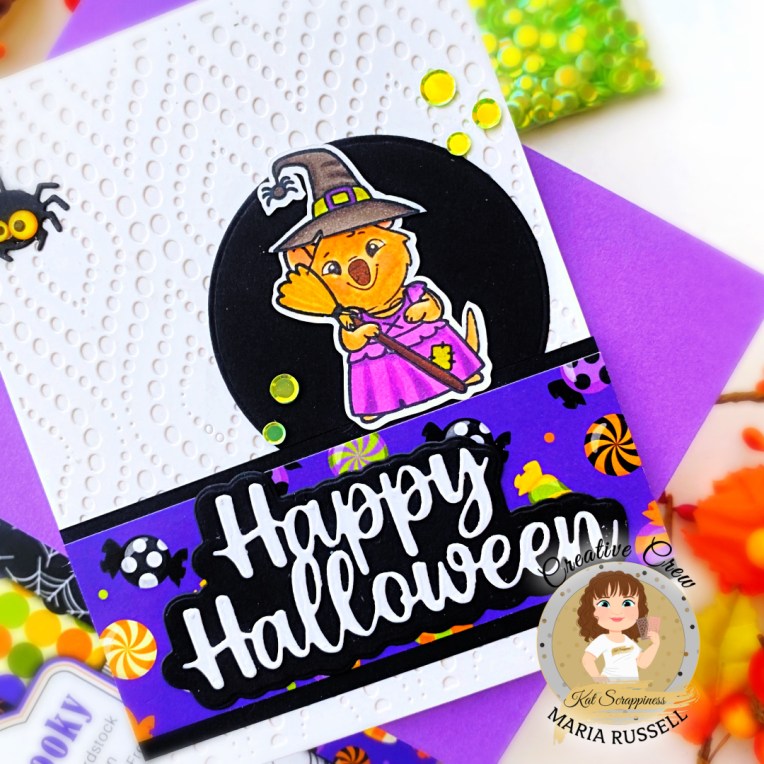
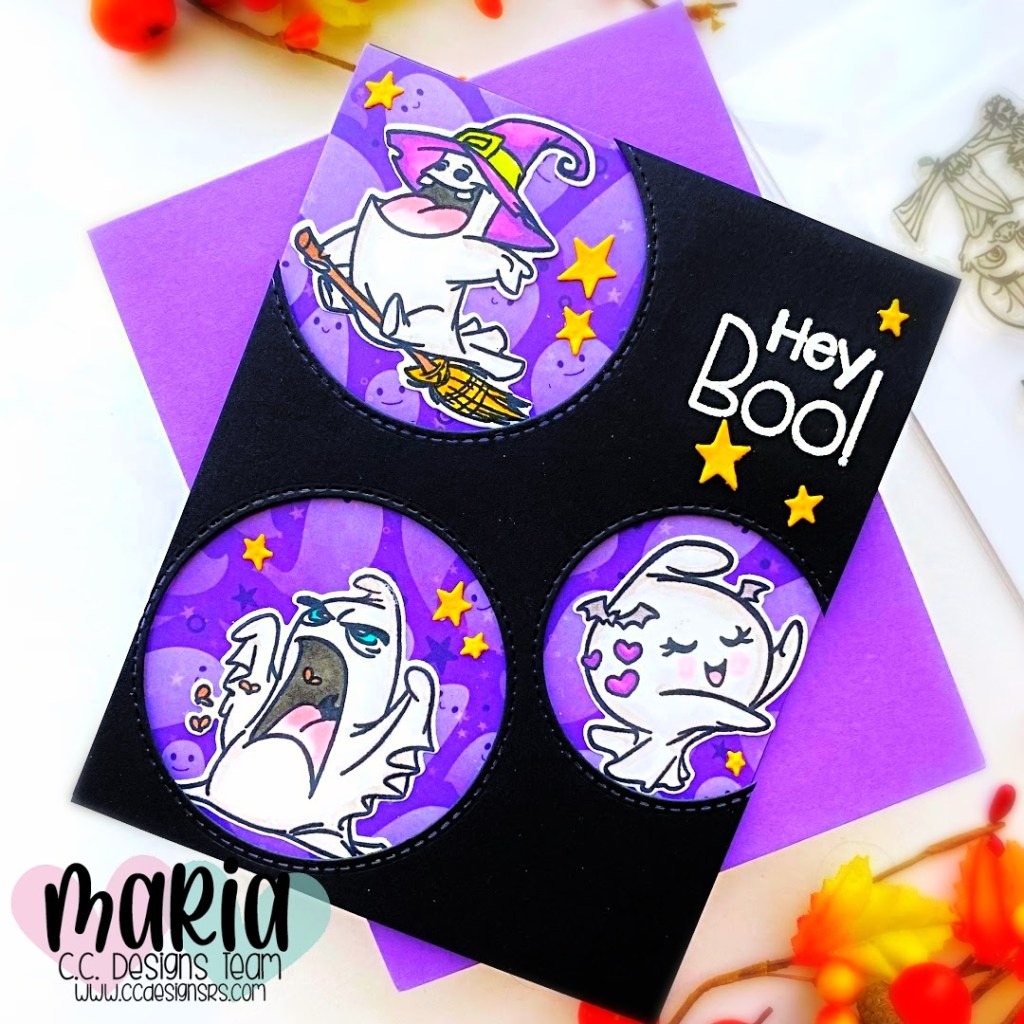
Sometimes, you just don’t have the time or energy to die-cut a lot of pieces to create a scene for your card. I am showing you a simple way to create a cute Halloween card without spending too much time, and use up those cute pattern paper without overwhelming the design.
Here’s how I made this project:
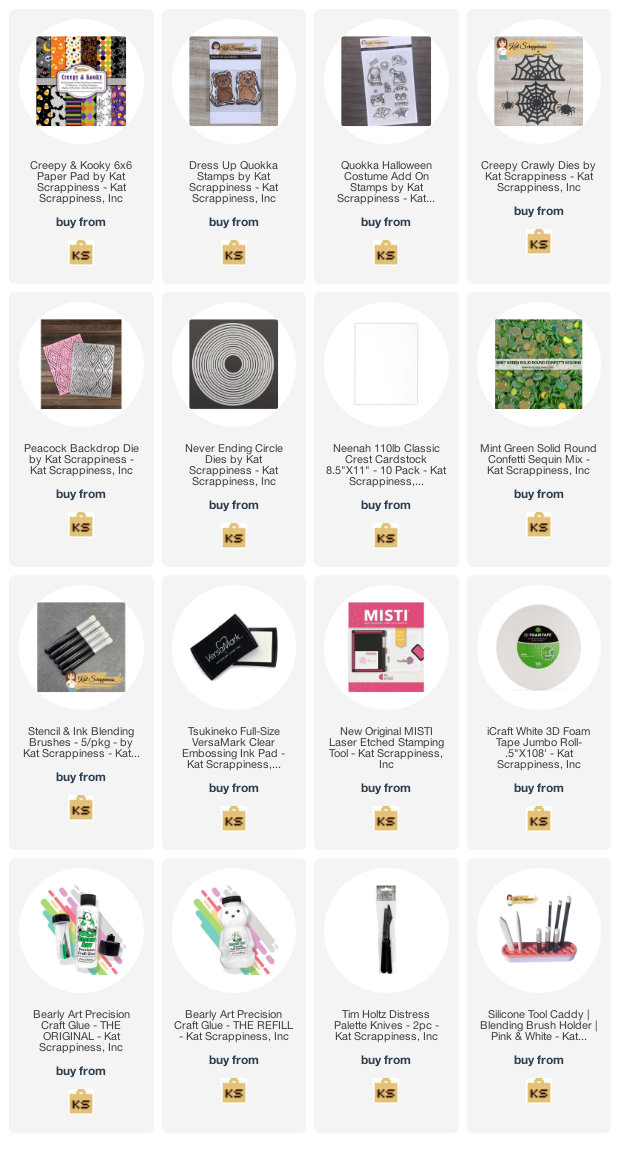
Stamp the image from the Quokka Halloween Costume Add On Stamp on Neenah solar white card stock. Stamp the image again on some masking paper and use precision snips to fussy-cut the masking image.
Stamp the Dress-Up Quokka Stamp Set onto the masked image. Remove the mask and color the images with alcohol markers.
Use Brother Scan N Cut machine to die-cut the image or precision snips if you don’t have the machine.
Die-cut the background panel using the Peacock Backdrop Die and adhere on some A2-size top-folding notecard.
Die-cut some black circle using the Never-Ending Circle Dies and cut some black strip as well measuring 2 1/4 by 4 1/4. Adhere both pieces on the card.
I hope you like this super simple Halloween card today and got inspired. Below, you will find links to the supplies used to create this project(s). Where available, I use compensated affiliate links at no extra cost to you. Your support helps me to keep bringing you new projects and inspiration. Thank you for stopping by, and have an amazing day!
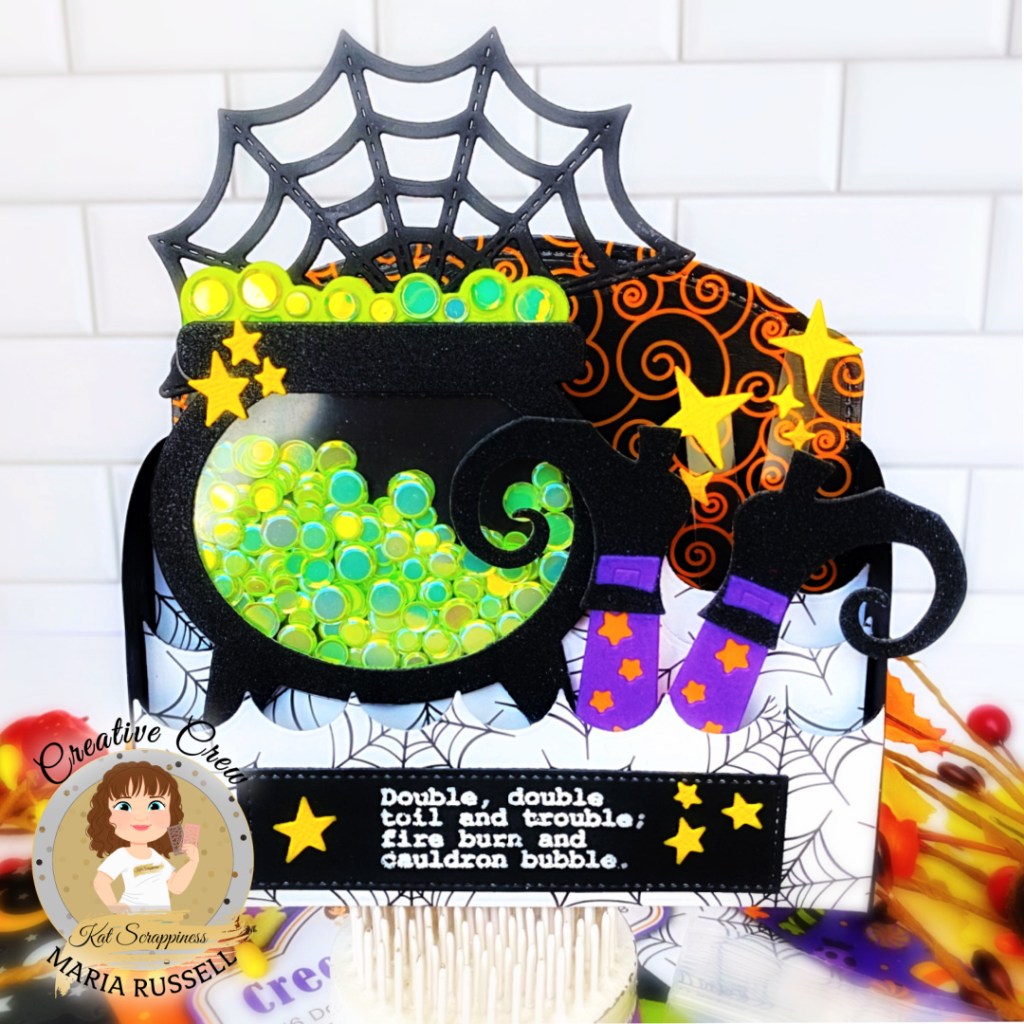
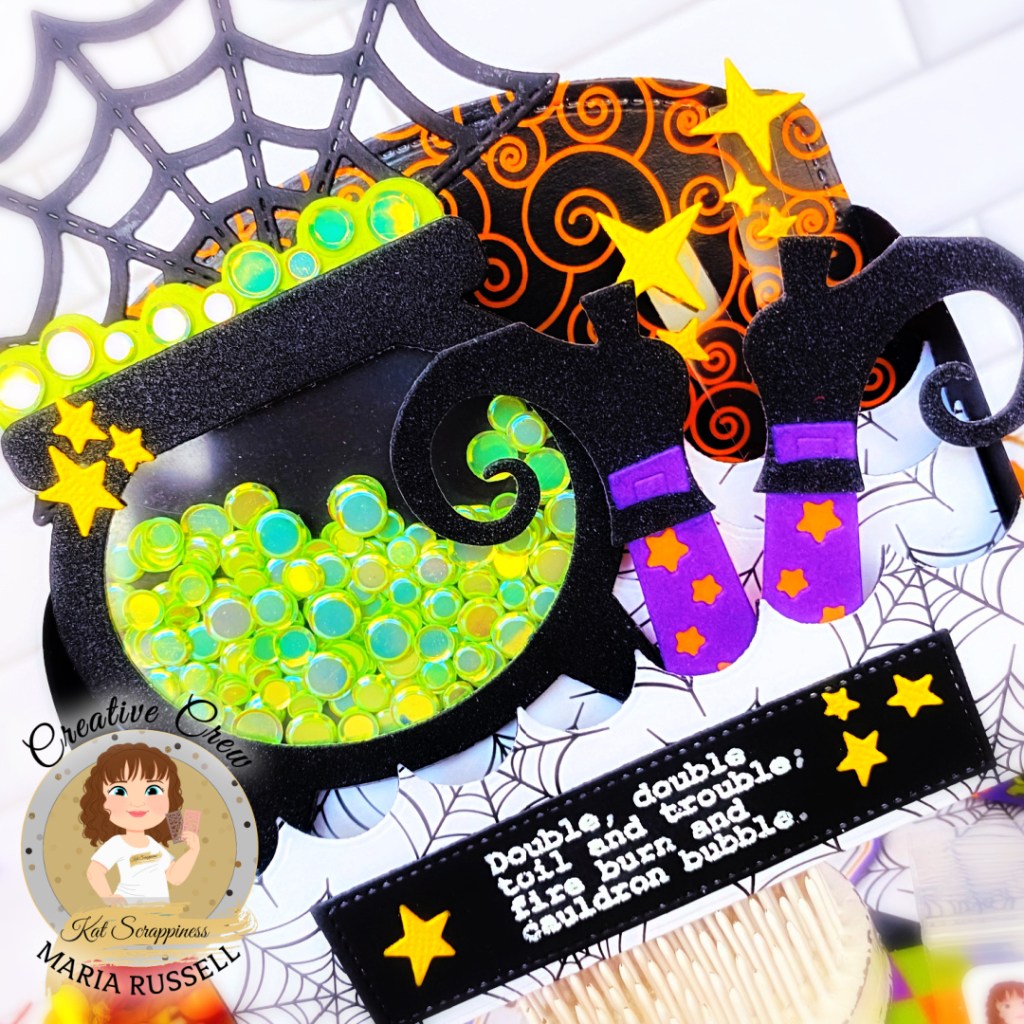
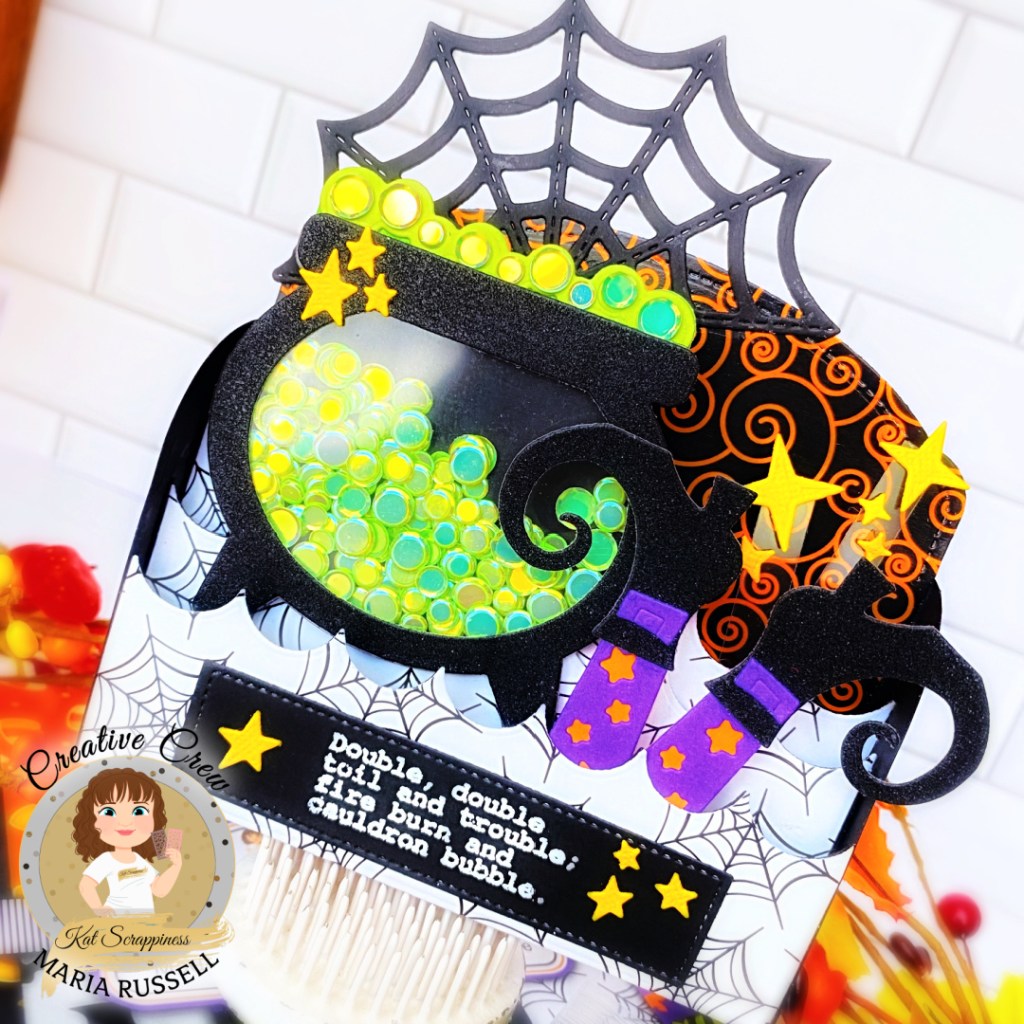
die-cut the cauldron using the Witches Brew Die Set on some black glitter card stock and acetate sheet. adhere the acetate sheet with strong double-side tape.
create the shaker well by adding foam-tape and use the Mint Green Solid Confetti Sequin Mix as the shaker element and close the well with double-sided tape.
adhere stars to the cauldron with liquid glue.
adhere the cauldron on the 3D Box card with liquid glue.
die-cut the witch’s legs from the Witches Brew Die Set from different colors of card stock and adhere them together. Add the witch’s legs to the
adhere the cauldron on the 3D Box card with liquid glue.
die-cut the witch’s legs from the Witches Brew Die Set from different colors of card stock and adhere them together. Add the witch’s legs to the 3D Box card also with strong double-sided tape.
cut a few strips of acetate sheets and adhere some stars that were die-cut using the A2 Reverse Scallop Frame (Stars) for added texture and interest. I love that they look like they are floating!
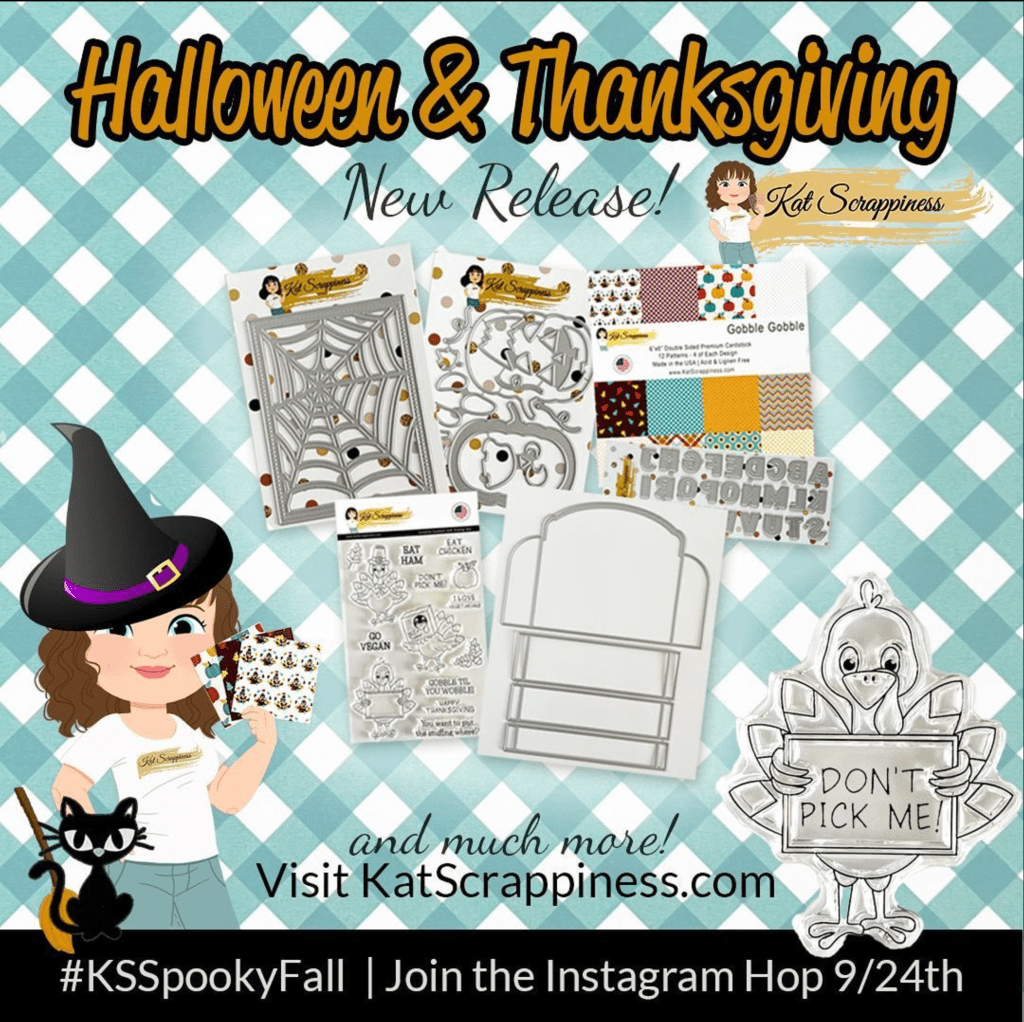
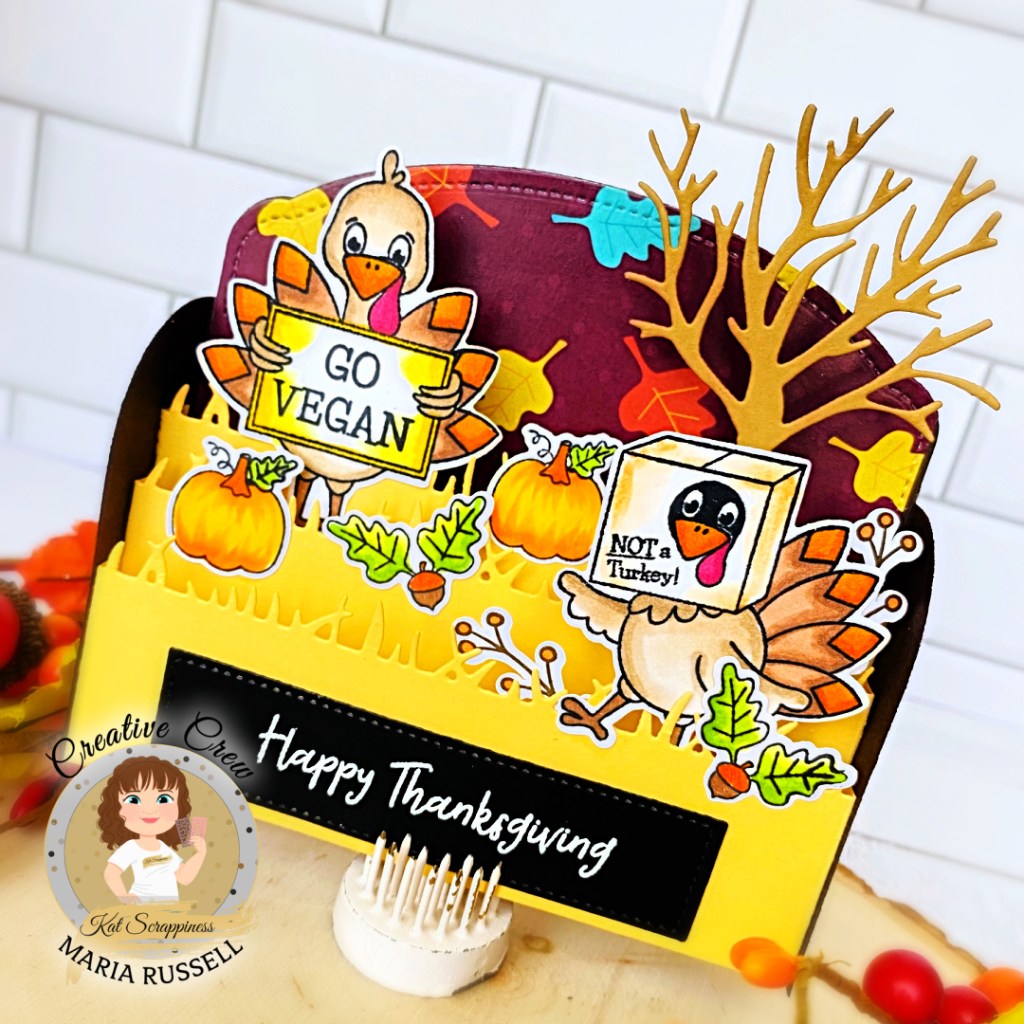
I pretty much did the same steps above. The only difference is I stamped and die-cut the images from the Gobble, Gobble Stamp Set and cut using the Gobble, Gobble coordinating dies. I also used the Gobble, Gobble Paper 6×6 Paper Pad.
The “spooky” tree was die-cut using the Crafter’s Essentials Halloween Dies and adhered with double-sided tape and finishing the card design by adding the sentiment.
In a couple of hours, we are also having an Instagram hop where you can find more projects by the entire Design Team. We also have a GIVEAWAY! Hop on over to my Instagram handle @RPRMLR77 to join and WIN.
I hope you like this card today and got inspired. Below, you will find links to the supplies used to create this project(s). Where available, I use compensated affiliate links at no extra cost to you. Your support helps me to keep bringing you new projects and inspiration. Thank you for stopping by, and have an amazing day!
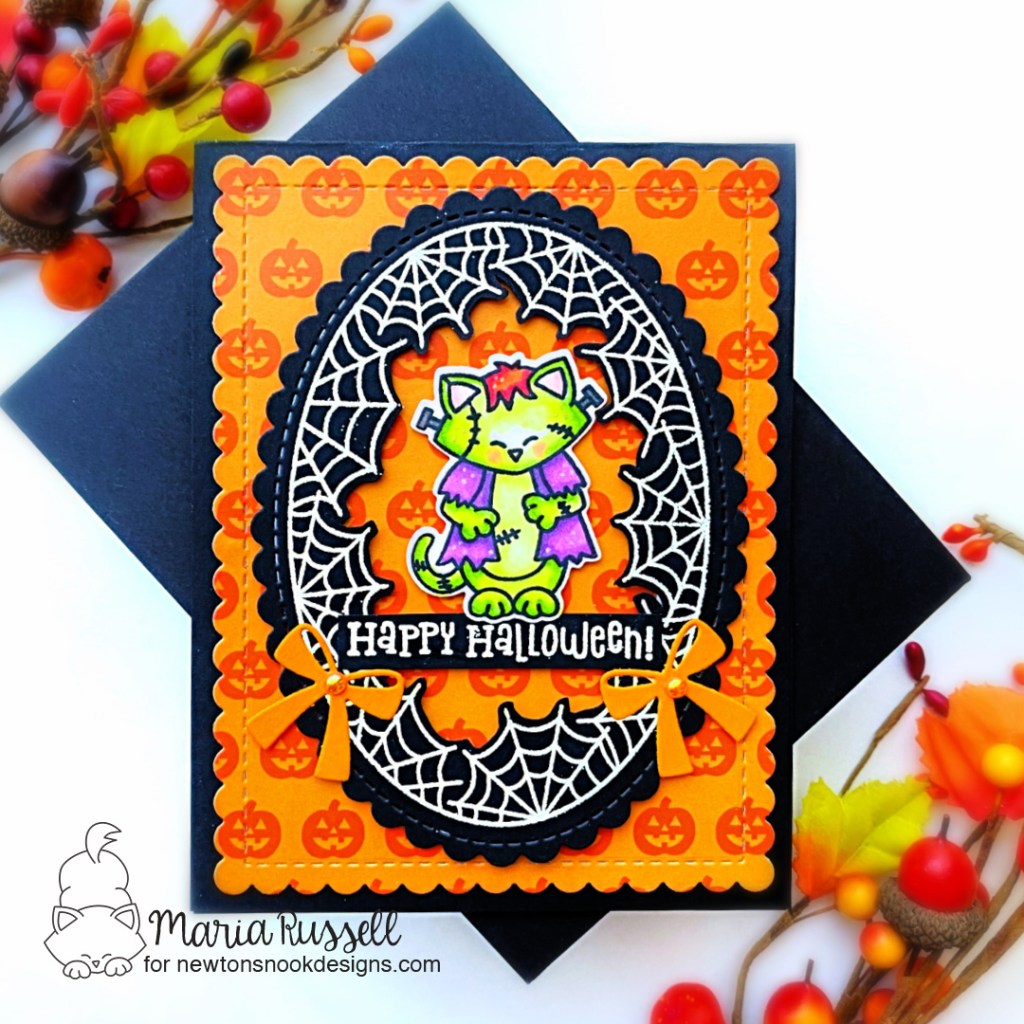
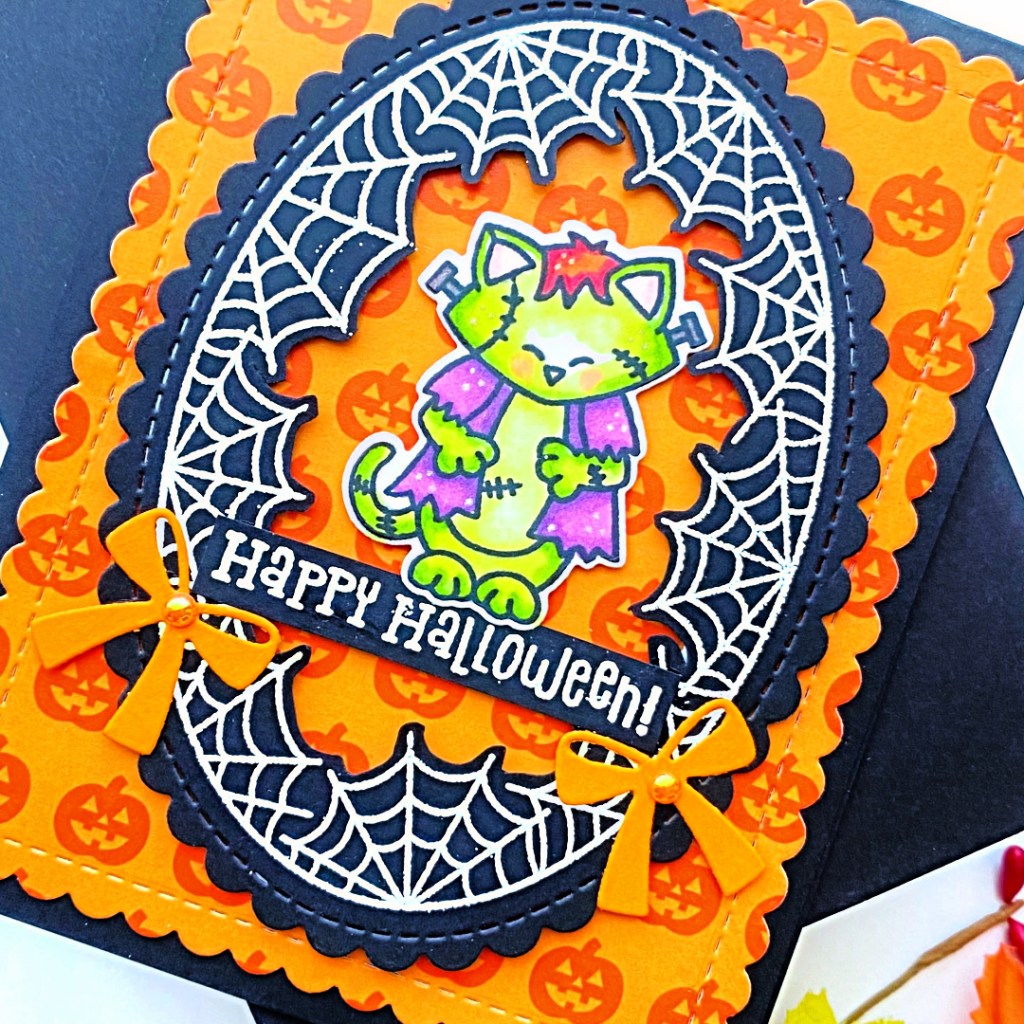
stamp the Spiderweb Oval Stamp Set on some black card stock with Versamark ink. Sprinkle some white embossing powder and heat-set with heating tool. Die-cut the stamped image using the Oval Frame Dies.
fussy-cut the middle part of the spiderweb using precision snips and foam-mount this panel on the card for added dimension.
stamp the sentiment on some black card stock with Versamark ink and sprinkle some white embossing powder. Heat-set the sentiment with the heating tool and adhere on the card also with foam adhesive.
finish the card design by adding the bows using the bow die from the Baby Bib Die Set and add some half orange pearls for added texture and interest.
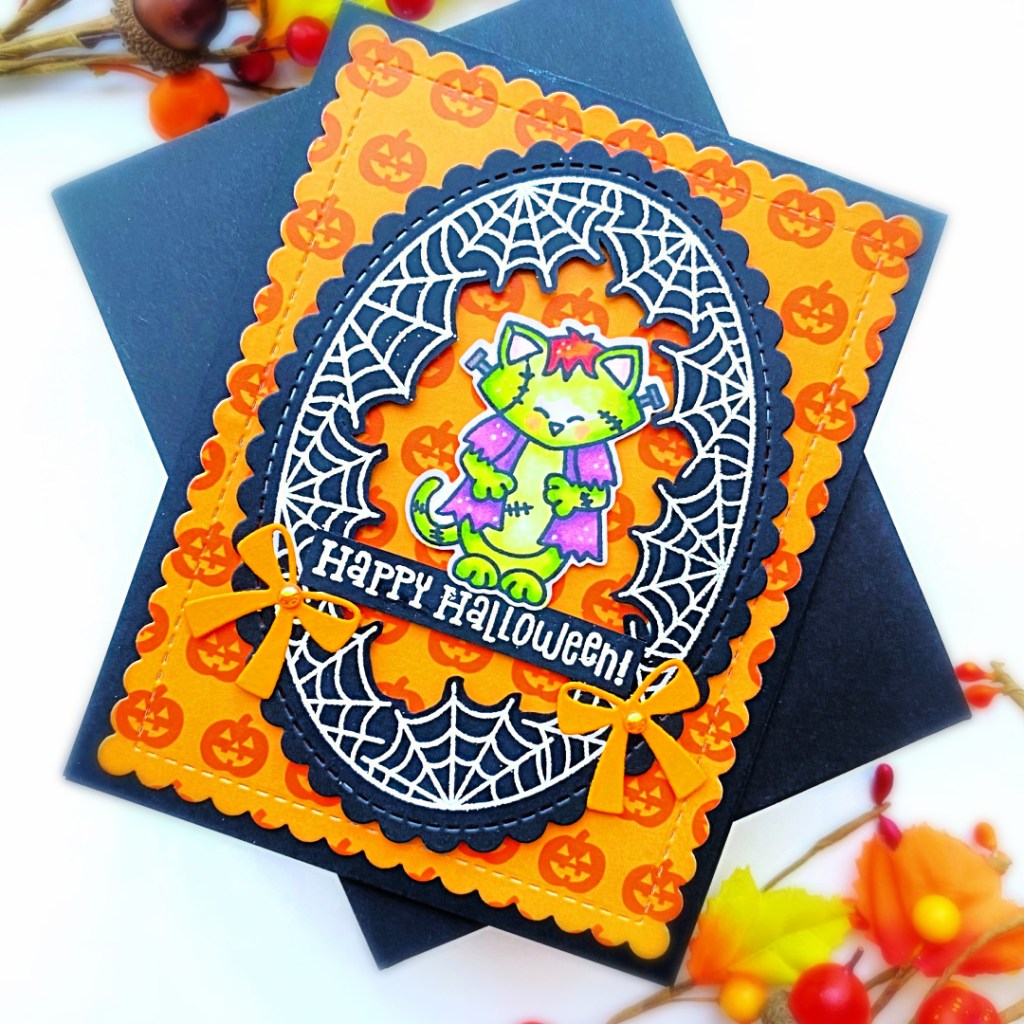
Looking back now, I think I should have used a different color for the bows but I still like the way this card turned out. Here’s another look:
I hope you like this card today and got inspired. Below, you will find links to the supplies used to create this project(s). Where available, I use compensated affiliate links at no extra cost to you. Your support helps me to keep bringing you new projects and inspiration. Thank you for stopping by, and have an amazing day!
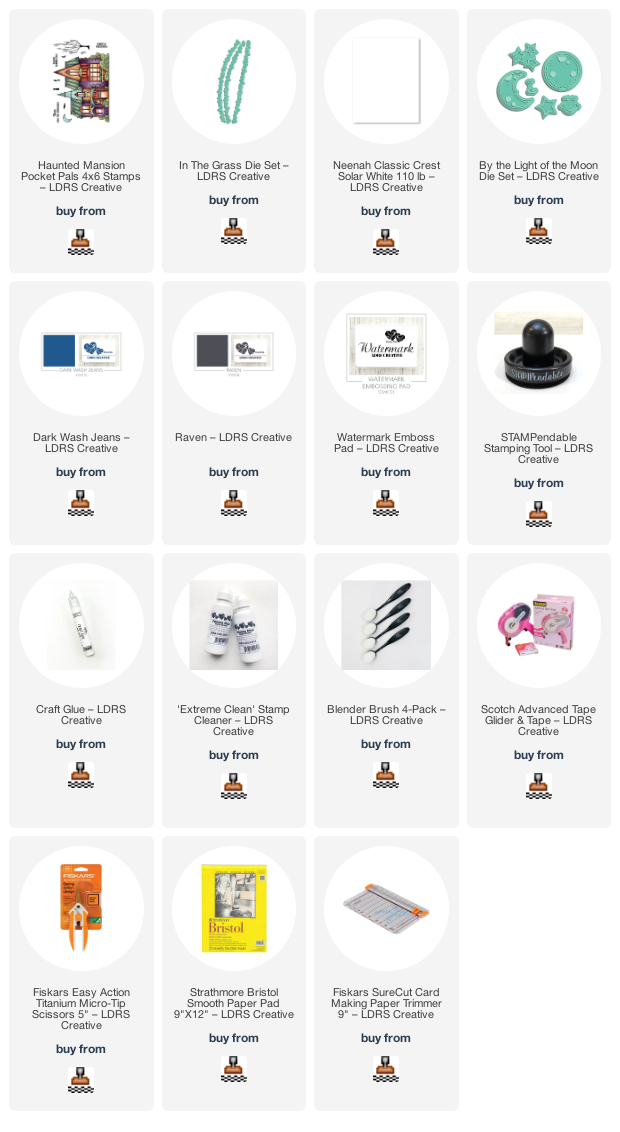
———SUPPLIES——–
I hope you like this card today and got inspired. Below, you will find links to the supplies used to create this project(s). Where available, I use compensated affiliate links at no extra cost to you. Your support helps me to keep bringing you new projects and inspiration. Thank you for stopping by, and have an amazing day!
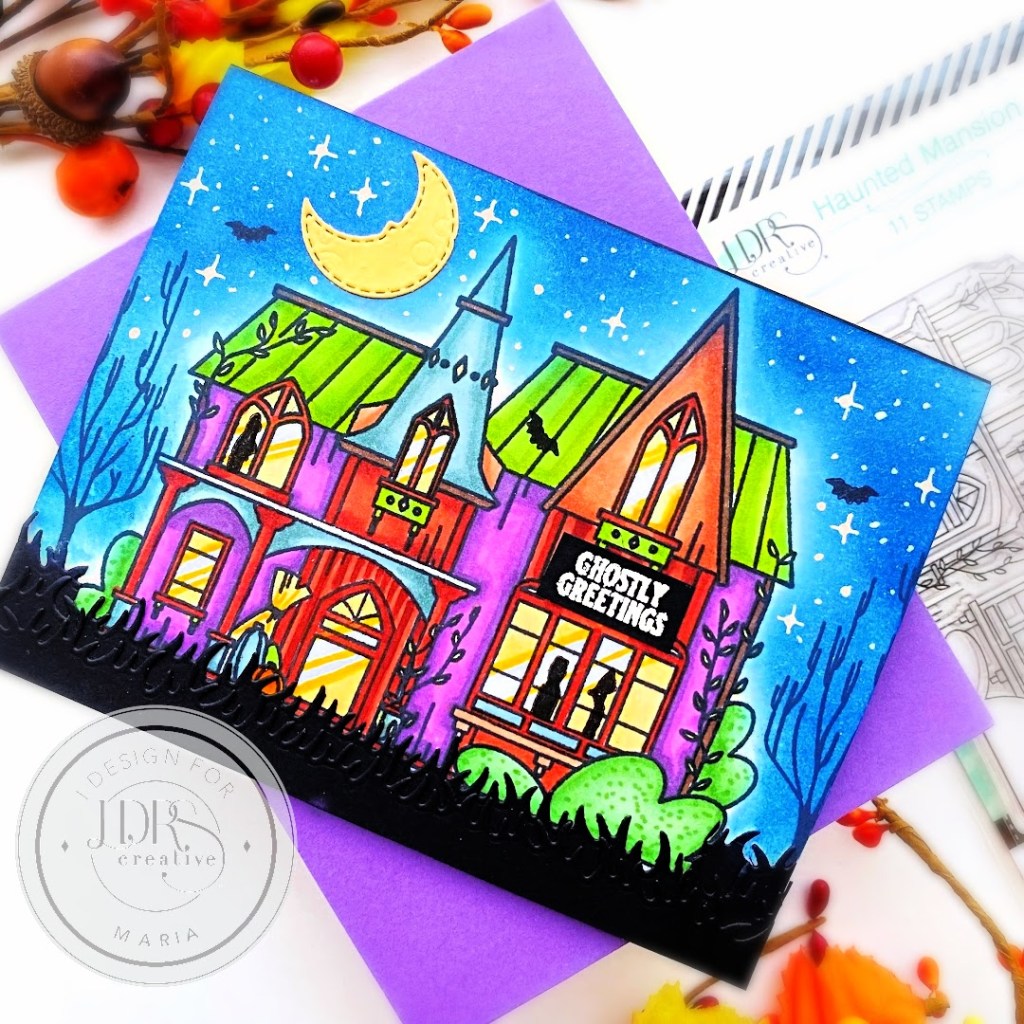
I started by stamping the Haunted Mansion image on some Neenah Solar White card stock with Raven Hybrid ink [this ink is perfect for using with either watercolor or alcohol markers]. I colored the images in with alcohol markers. My color palette was inspired by the packaging itself. I definitely LOVE that LDRS Creative gives you ideas on how to color the stamps. I wish more companies will do this with their packaging.
Next, I carefully ink-blended the background using Dark Wash Jeans Hybrid ink and some blending brush to create the night sky.
To create a spooky effect, I stamped the little “ghosty” images and the bats on the window and background with Raven Hybrid ink. I also die-cut the grass panel twice on some black card stock using the In the Grass Die Set. I adhered these on the card with liquid glue.
Now that my scene is almost finished, I decided to add the moon that I die-cut using the By the Light of the Moon Die Set. I also stamped the sentiment on some black card stock with LDRS Watermark ink. I sprinkled some White Embossing Powder and used heating tool to heat-set the sentiment. I fussy-cut the sentiment and adhered on the card.
Lastly, I used some white gel pen to add some dots and stars for added texture and interest. Here’s another look at the finished card:
I hope you like this card today and got inspired. Below, you will find links to the supplies used to create this project(s). Where available, I use compensated affiliate links at no extra cost to you. Your support helps me to keep bringing you new projects and inspiration. Thank you for stopping by, and have an amazing day!
stamp the images on some X-Press It Card Stock and color the images in with alcohol markers.
die-cut the images using the coordinating die.
use pattern paper and adhere the same on some A2-size notecard.
on some black A2-size black card stock, use stitched circle dies to die-cut the windows. Foam-mount the same to the card for added dimension.
adhere the focal images on the card with liquid glue.
stamp the sentiment on the card front with Versamark ink. Sprinkle some white embossing powder and heat-set with heating tool.
adhere some stars on the card for added interest and texture.
Tomorrow is release day! We will also have an Instagram/BLOG Hop and there are two $15 gift certificates to CC Designs up for grabs. One comment will be pulled out from the Blog commenter and one from the Instagram commenter.
It’s been a crazy day for me so far and it’s only Monday! I am currently traveling but I wanted to share with you a sneak peek of the September Release by CC Designs. For my card today, I am showcasing the Roberto Rascal’s Bats Stamp Set and Coordinating Dies.
Here’s how I made the card:
stamp the images on some X-Press It Card Stock and color the images in with alcohol markers.
die-cut the images using the coordinating die.
ink-up a panel of Strathmore Bristol Smooth white card stock using a stencils with distress oxide ink. Adhere this panel on an A2-size notecard.
use another stencil and black distress ink to add the spooky trees. Leave it to dry for about half an hour.
die-cut the hills using a die from my collection.
adhere the images on the card front with liquid glue.
stamp some bats on the background using versafine black ink.
stamp the sentiment on the card with Versamark ink.
sprinkle some white embossing powder and heat-set the sentiment with heating tool.
Aren’t those images adorable?! Stay tuned this week as we give you more sneak peeks of the September release. I will be back on September 7th to give you another peek.
We will also have an Instagram/BLOG Hop on September 9th, which is the release day and there are two $15 gift certificate to CC Designs up for grabs. One comment will be pulled out from the Blog commenter and one from the Instagram commenter.
I am a bit bummed because it’s the last day of the August reveals by Newton’s Nook Designs! Were you able to hop along with us for the first three days? Which one is your favorite so far? Remember that you have a chance to win the stamp set being revealed each day so please read through til the end of the blog post to find out more info. [Just a little important note: I know some of you had difficulties finding the comments section. If you would like to leave a comment to participate in the giveaway, the “comments section” will only be ever visible when a single post on Word Press is being viewed. Please click on this particular blog post and you will be able to leave a comment below. Thank you!]
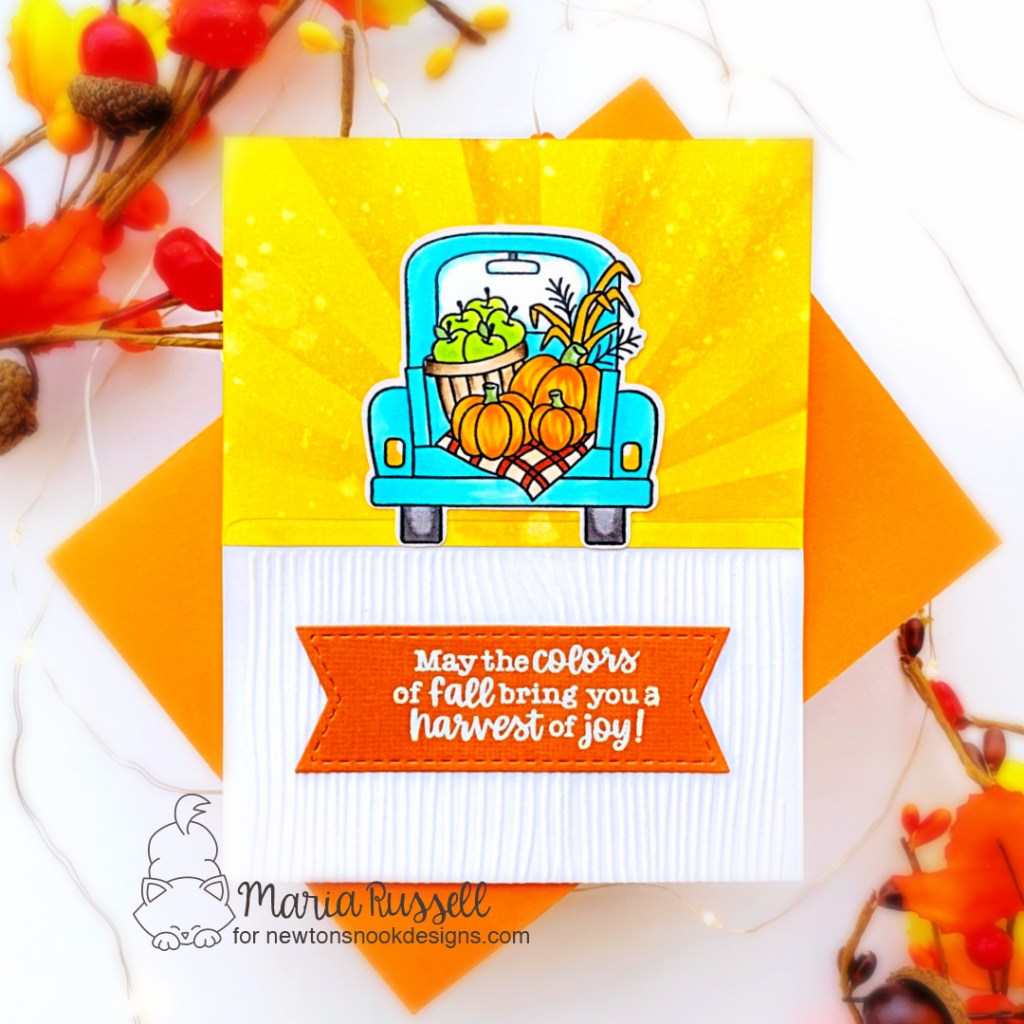
For my first project, I started by masking some Bristol smooth white card stock with masking tape and ink-blending this panel using the Sunscape Stencil and some distress oxide inks. I cut this panel and adhered on some Neenah solar white card stock with liquid glue.
I added some texture to the foreground by using some embossing folder and partially embossed the same on the die-cutting machine, then adhering it to a top folding notecard.
I finished the card design by stamping the sentiment on the banner that was die-cut from the Frames & Flags Die Set and heat-set with the heating tool. Here’s another look:
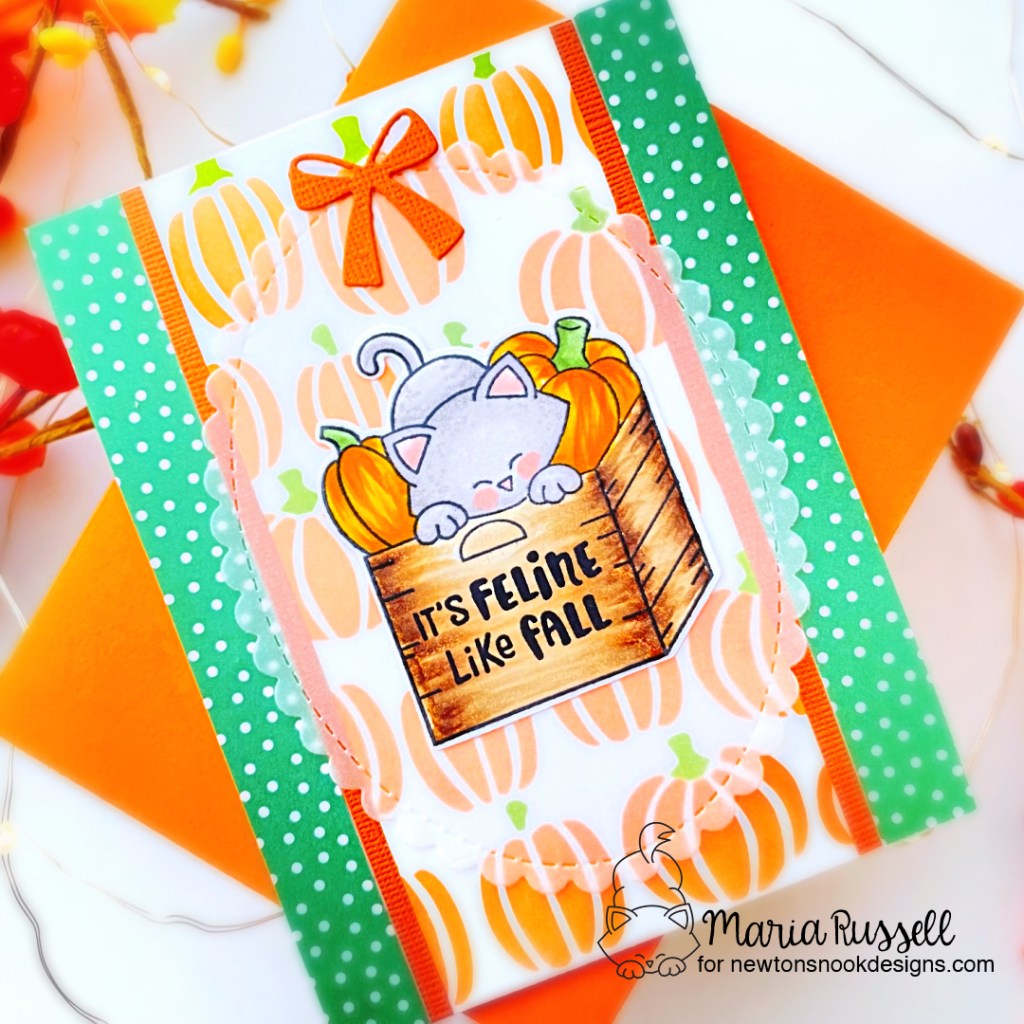
The next project is so cute and I love how this turned out. I started by temporarily taping the Jack-O-Lantern stencil no. 1 on some Neenah solar white panel. I used some orange ink and a blending brush to add the pumpkins.
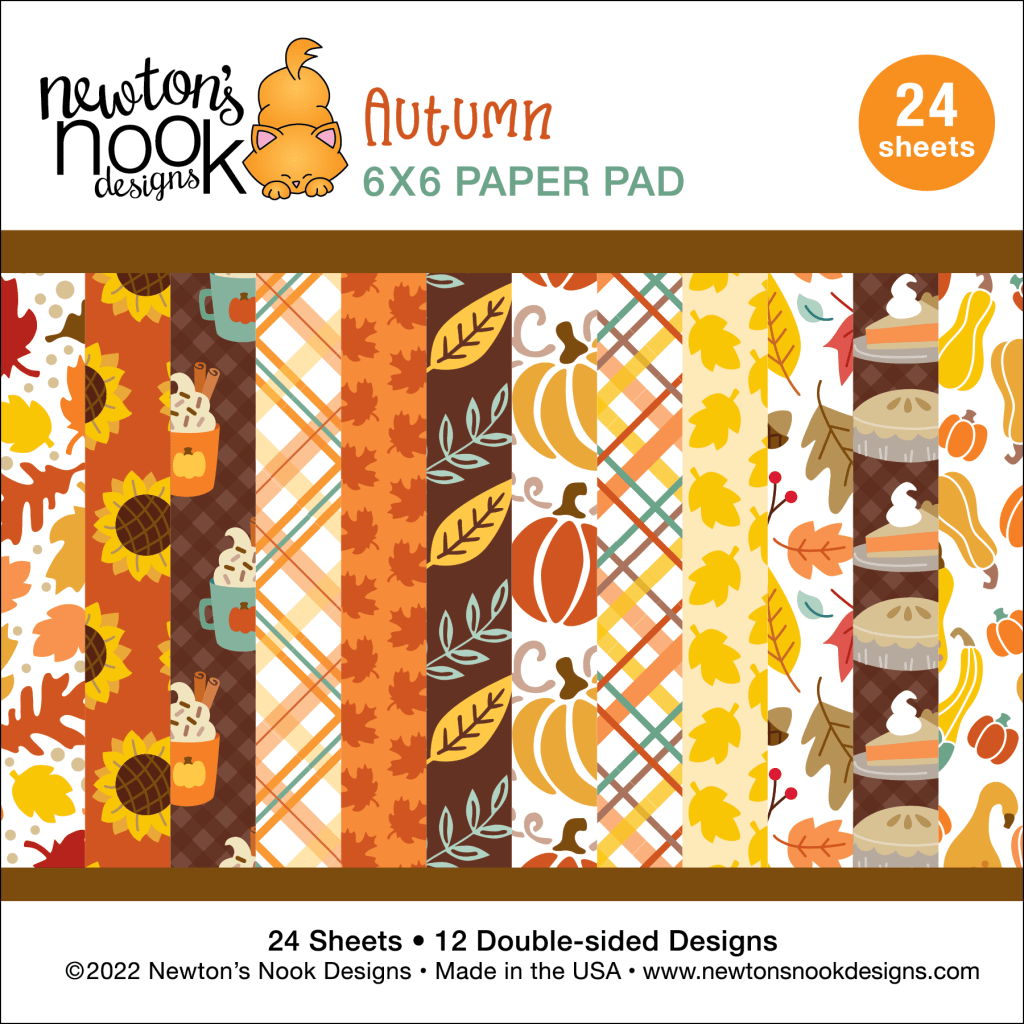
I did the same to add the pumpkin stems detail by taping Jack-O-Lantern stencil no. 2 to the panel and used some lime green dye ink with another blending brush. I removed the stencil and cut this panel and adhered on some pattern paper from the Autumn Paper Pad with liquid glue.
I needed to ground the pumpkin images from the pattern paper so I adhered two orange strips on both sides, and added the scallop vellum that was die-cut using the Oval Frames Die. The vellum somehow toned down the busy patterns of the background, don’t you think?!
I stamped the images on some Neenah solar white card stock and die-cut using the coordinating die. I colored the images with some alcohol markers and foam-mounted to the card-front for added dimension. I stamped the sentiment on the image with some black ink.
Lastly, I added the orange bow to the card to finish my design. In case you’re wondering, the bow is from the Baby Bib Die Set. Here’s another look at the card:
Would you like to win the “Harvest Haul” or the “Newton’s Crate” Stamp Set? We will choose ONE lucky winner for each stamp set!
Here’s how to win: Comment on the NND blog and Design Team blogs (see list below)! The winner will be chosen at random from the collective reveal posts. Make sure to check out each of their blogs and comment for your chance to win. You will not know which blog has been chosen so the more you comment on, the better your chances are of winning! You have until Thursday August 18th at 9pm ET to comment — winners will be announced on the blog post on Friday, August 19th.
Check out all the awesome Design Team Blogs below to enter:
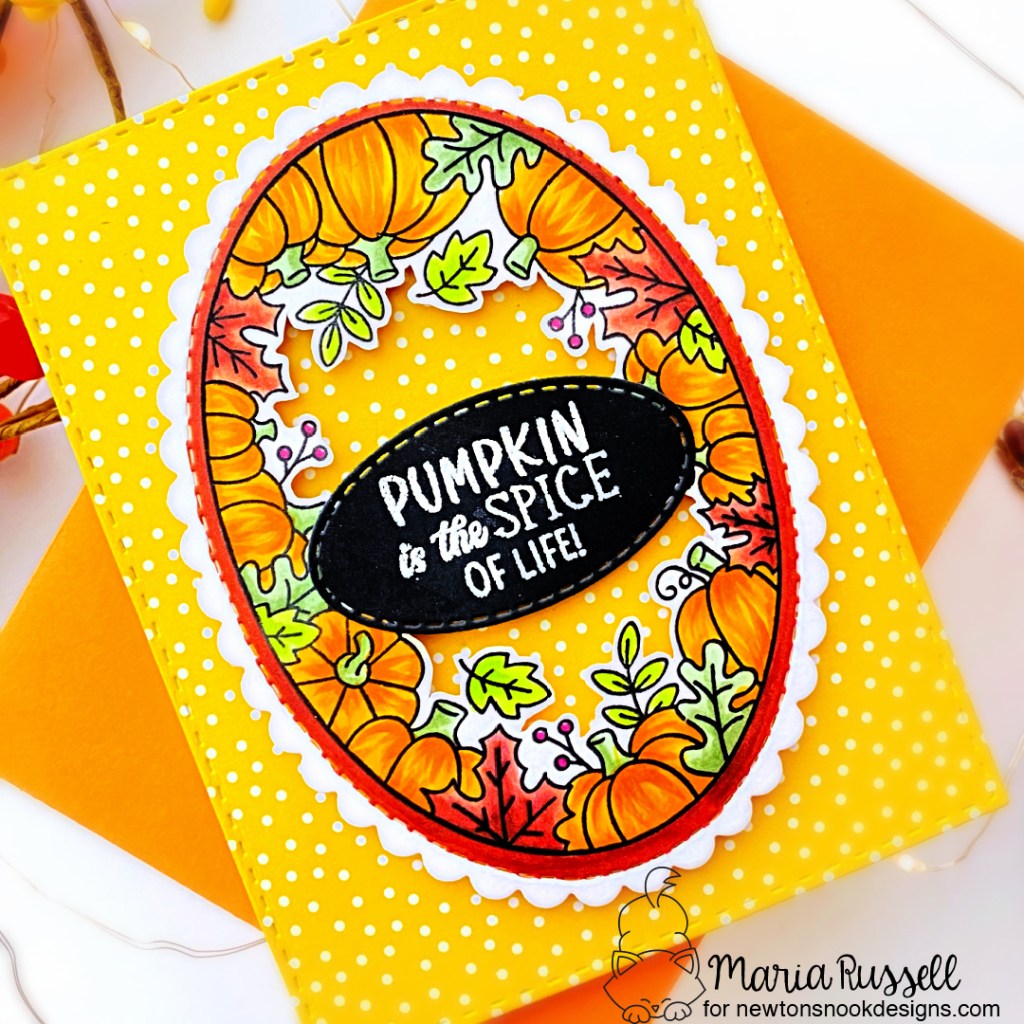
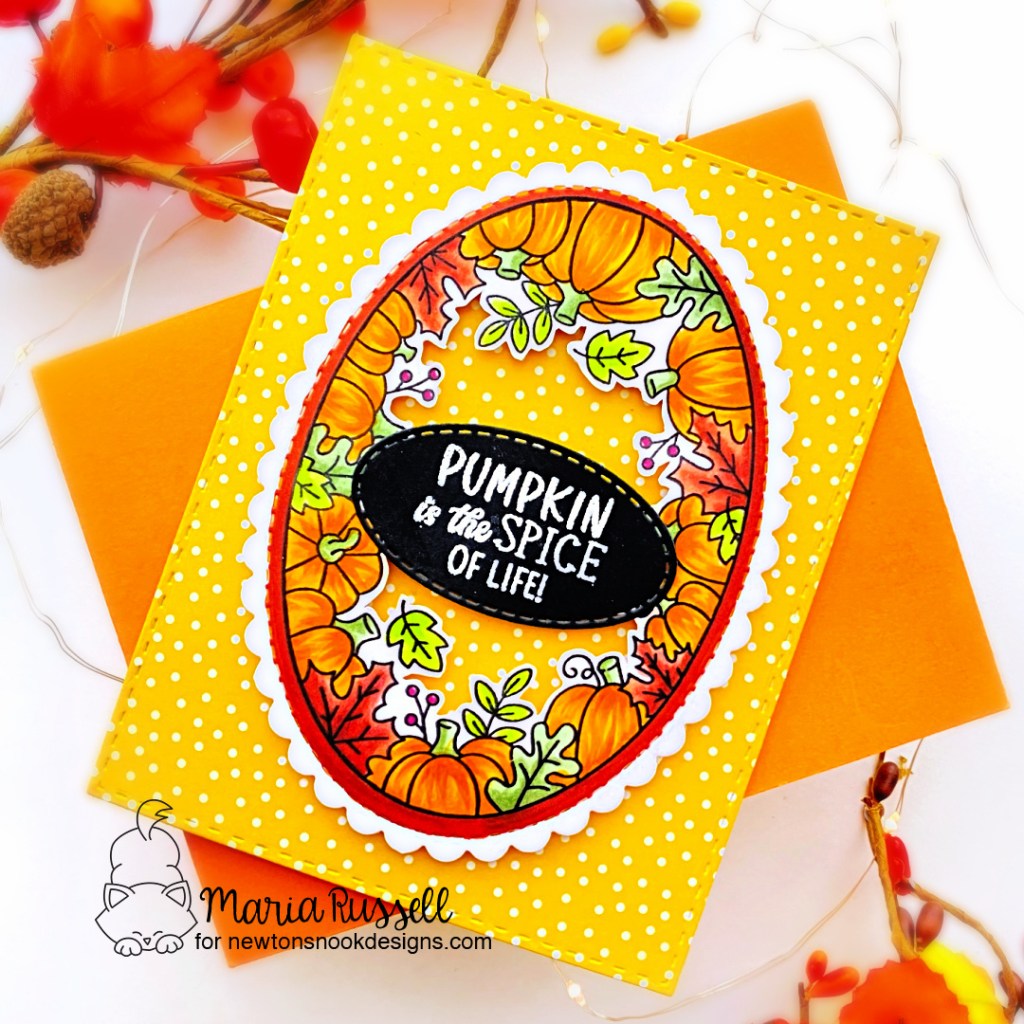
It’s Day 3 of the August release by Newton’s Nook Designs! Are you enjoying the reveals so far? Remember that you have a chance to win the stamp set being revealed each day so please read through til the end of the blog post to find out more info. [Just a little important note: I know some of you had difficulties finding the comments section. If you would like to leave a comment to participate in the giveaway, the “comments section” will only be ever visible when a single post on Word Press is being viewed. Please click on this particular blog post and you will be able to leave a comment below. Thank you!]
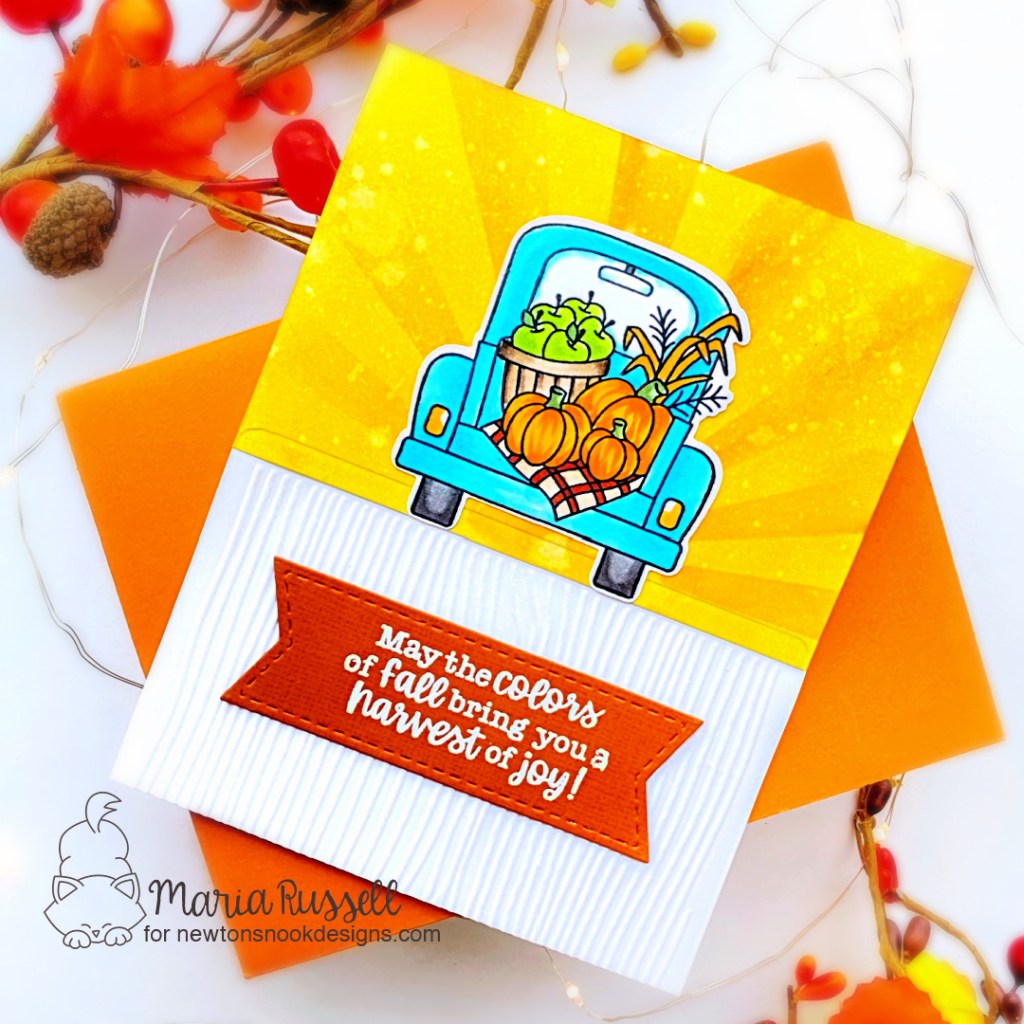
The background was created by die-cutting the Autumn Paper with a rectangle die from my collection. I adhered this panel on some A2-size, top-folding notecard.
The focal image was stamped on some Neenah solar white card stock and die-cut using the Oval Frames Die Set. I fussy-cut around the images using precision snips for added texture and interest.
Alcohol markers were used to color the pumpkins, leaves and berries, including the detailed oval on the side to ground the images [Designer tip: this somehow made the images pop against the yellow background].
I finished the card design by adding the sentiment that was heat-set with heating tool and die-cut using the smallest die from the Oval Frames Die Set.
Would you like to win the “Autumn Oval” Stamp Set? This stamp set will be given away to ONE lucky winner!
Here’s how to win: Comment on the NND blog and Design Team blogs (see list below)! The winner will be chosen at random from the collective reveal posts. Make sure to check out each of their blogs and comment for your chance to win. You will not know which blog has been chosen so the more you comment on, the better your chances are of winning! You have until Thursday August 18th at 9pm ET to comment — winners will be announced on the blog post on Friday, August 19th.
Check out all the awesome Design Team Blogs below to enter: