Hello stampers and crafters! It is the third day of the April release at Newton’s Nook Designs. You also have a chance to win each stamp set during release week so check out the details I have indicated at the end of this blog post. [Just a little important note: I know some of you had difficulties finding the comments section. If you would like to leave a comment to participate in the giveaway, the “comments section” will only be ever visible when a single post on WordPress is being viewed. Please click on this particular blog post and you will be able to leave a comment below. Thank you for understanding and I apologize for the confusion.]
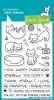
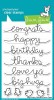
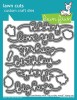
For today’s card, I am showcasing the new Simply Relative stamp set. Since the set only contains words, I used the images from yesterday’s stamp release called Lovely Blooms. This Simply Relative stamp set is so versatile you can use it all-year round. This stamp set will be available for purchase on Friday, April 14, at 8:00 a.m. CST.

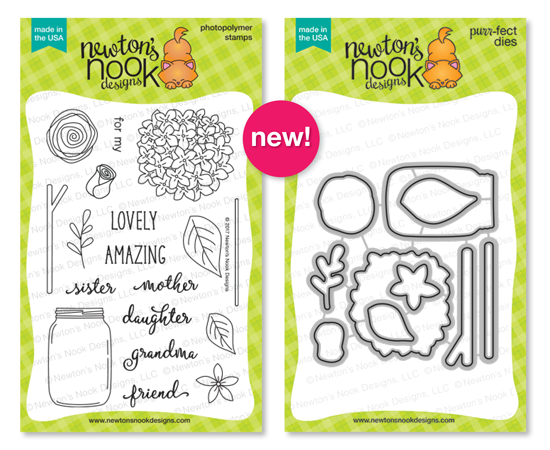
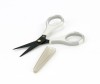
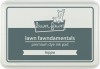
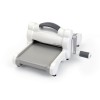
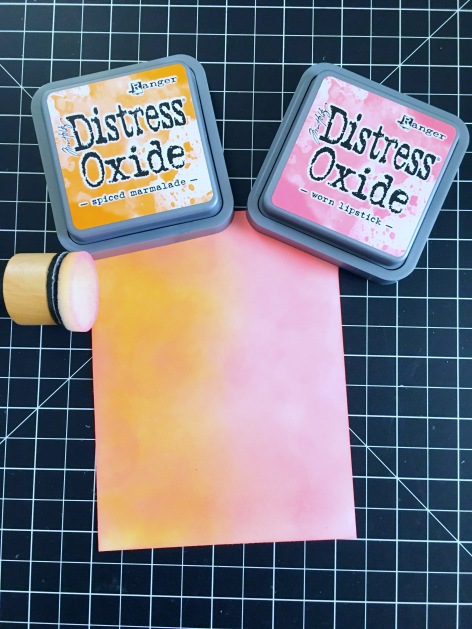
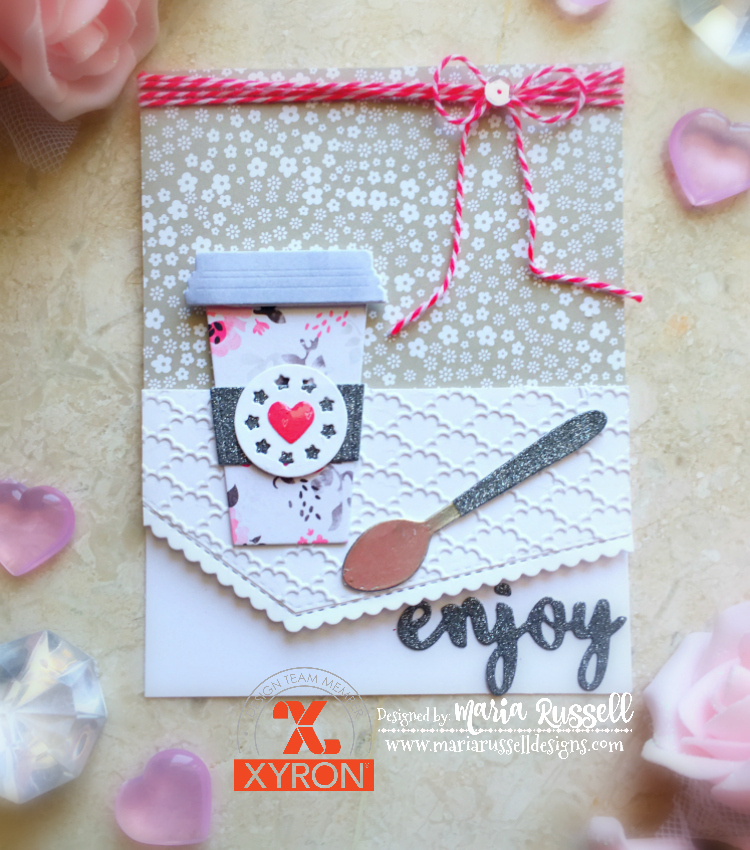
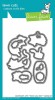
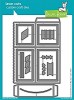
I stamped the roses, leaves and mason jar images from the lovely blooms stamp set, with my memento tuxedo black ink. Using my Copic multi-liner, I drew the little branches inside the mason jar. I colored my images with my Copic markers. I then used my precision cut scissors to fuzzy-cut the image. I wanted edge-to-edge adhesive to this image so that it adheres well to my card front so I used my Creative Station Lite.

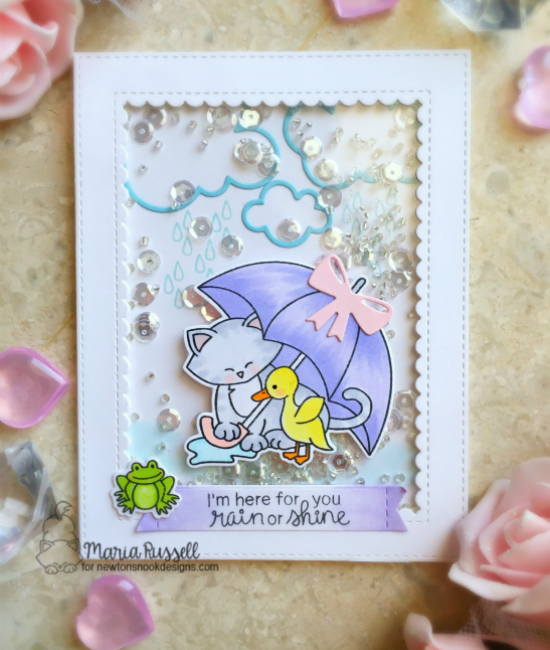
Here’s my card:

Would you like to win the “Simply Relative” Stamp Set? This set will be given away to ONE lucky winner! Here’s how to win:
Comment on the NND blog and Design Team blogs (see list below)! The winner will be chosen at random from the collective reveal posts. Make sure to check out each of their blogs and comment for your chance to win. You will not know which blog has been chosen so the more you comment on the better your chances are of winning! You have until Thursday, April 13th at 9pm CST to comment — winners will be announced on the blog post on Friday, April 14th.
Check out all the awesome Design Team Blogs below to enter the giveaway:
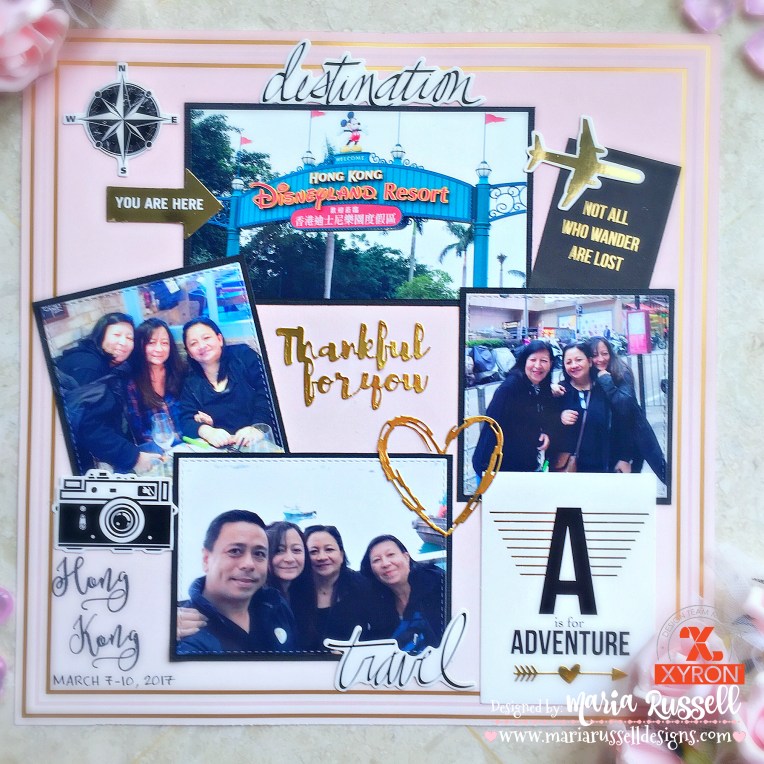
Maria Russell (you are here)
———SUPPLIES———-
(Supplies used were listed and linked from different suppliers for availability. Some affiliate links may have been used AT NO ADDITIONAL COST TO YOU)