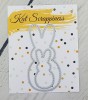
Hello crafters and stampers! I am super excited to share with you today this simple D.I.Y. Easter Banner to decorate your home. This is very easy to put together and you can create multiples to decorate your mantle or any room in your house.
I will keep this blog post short because I have a process video for you below. I have also listed and linked the supplies I have used. I hope you like it and got inspired. Happy crafting!
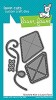
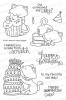
Here are the two cards. They are very simple and can be easily mass-produced. I will keep this blog post short as I am sharing a process video below. I have listed and linked the supplies that I have used. Thanks for stopping by and have an amazing day!
If you haven’t watched the YouTube video tutorial on how I made these treat boxes, I have linked the video below. It is very easy and you can create a decent-size treat bag using these tag dies. They are so versatile you can create a ton of projects with these dies, for any occasion. Here is the video tutorial:
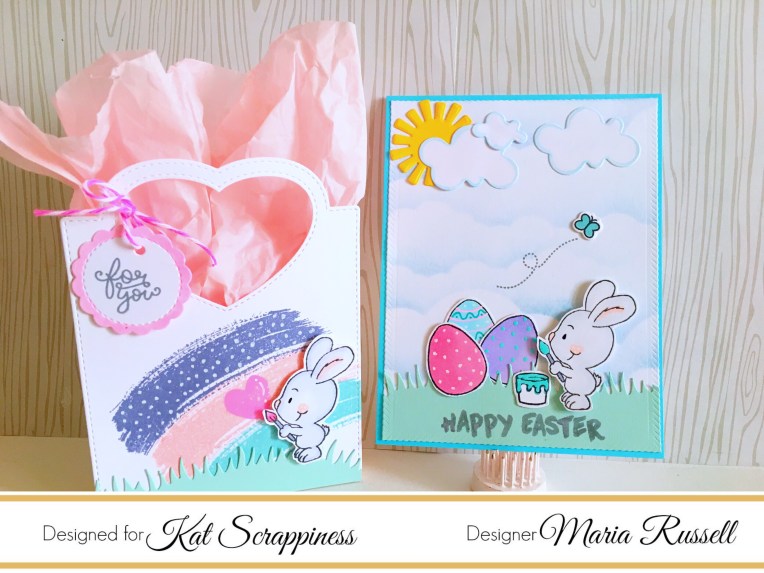
For the treat bag, I started out by die-cutting the tags twice and stamped my images on the tag. I highlighted the rainbow with my white gel pen. Before assembling the treat bag, I die-cut a grass border hills die. It is important to do this step first before assembling the bag.
I stamped my bunny images on Neenah solar white card stock and colored him in with my Copic markers. I adhered my bunny to the treat bag.
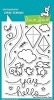
Using my favorite Lawn Fawn Tiny Tag Saying stamp set and Tiny Tag Dies, I stamped the sentiment on the tag, and attached it on the treat bag with my pink and white twine. Hear is the treat bag:
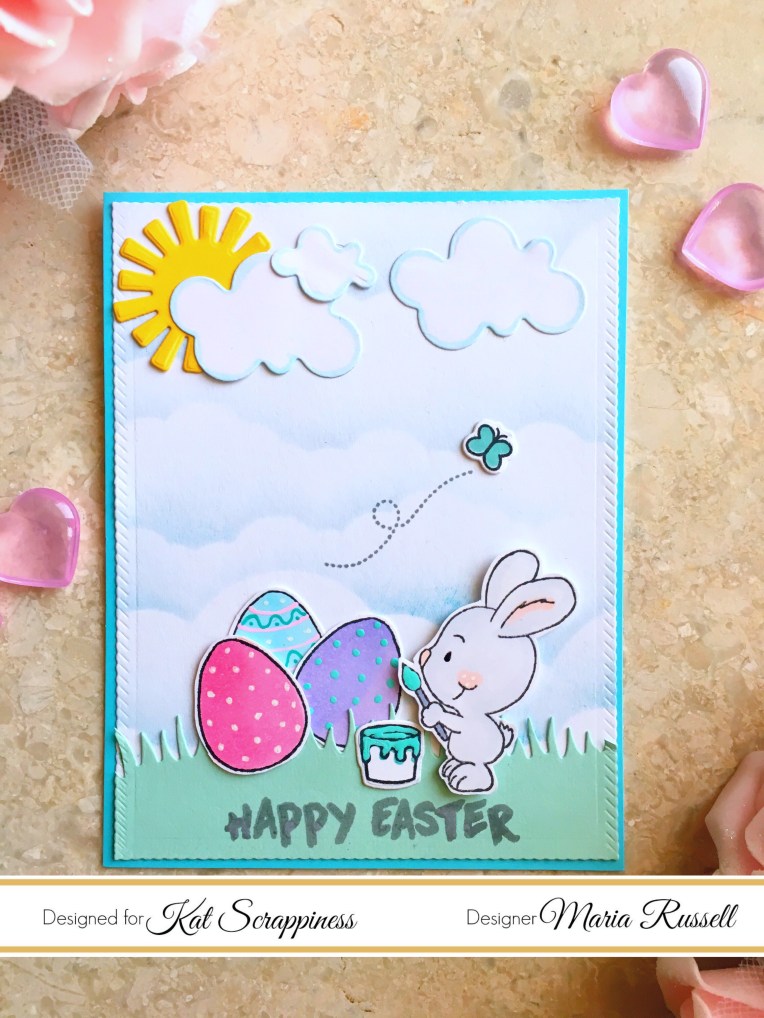
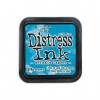
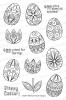
For the card, I started out by die-cutting my front panel using the largest of the stitched rope nested rectangle dies. I sponged the “clouds” using my lawn Fawn Clouds Border Dies, with Tim Holtz Broken China distress Ink.
I die-cut another grass border die and adhered it on my front panel. I stamped the eggs on Neenah Solar White card stock and colored them in with my Copic markers. I also used my Sakura Gel pens to add some details to the eggs.
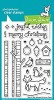
To finish off my design, I adhered all of the stamped images and die-cuts on the front panel of my card. Using a blue card base, I adhered the front panel to my card base using my all-time favorite Xyron Mega Tape Runner. Here is the card:
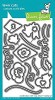
Here are the two projects:
I hope you got inspired today. Please check out all the new items at Kat Scrappiness online store before they sold out again. The supplies I have used are listed and linked below. Have an amazing day!
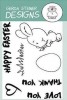
Hello stampers and crafters! I hope you’re having a great day so far. Thanks for joining me today. I am back to share with you some Easter cards that I have made ages ago. I forgot how I loved making interactive cards. For the Easter cards you see below, I have made a ton of them back when I first started paper crafting. I didn’t have enough supplies then so it is really more fun for me to re-create them now. These cards can be easily mass-produced! They are so simple!
I started out by die-cutting my white card stock and patterned papers using my oval dies. I also die-cut a ¾ inch. colored card stock and adhered it to the center of the patterned paper. To create the “cracked” look on the “egg” and to be able to open and close the card, I used my Lawn Fawn stitched scallop edge die. By doing this process, it will ensure that your patterned paper are perfectly lined up together.
Using my Xyron Teresa Collins Mega Runner adhesive, I adhered the bottom decorative patterned paper to the card base. I then used my paper punch to punch a hole on the top panel, and inserted a decorative brad so I can open and close the card.
I stamped my little chick image on Neenah solar white card stock (twice) and colored him in with my Copic markers. I fuzzy cut the images with my precision-cut scissors and used my Xyron mega tape runner again to adhere the image inside the card.
To finish off the design, I stamped my sentiments on both cards, and covered the brad with some decorative flowers. Aren’t they adorable? They are so easy to make. Even little kids will love creating these interactive Easter cards.
Here are some other spring-related cards that I designed before and recreated for this blog post using my Xyron tape Runner and Sticker Maker. I hope I have given you some inspiration to create some cute Easter and spring cards. Happy crafting!
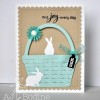
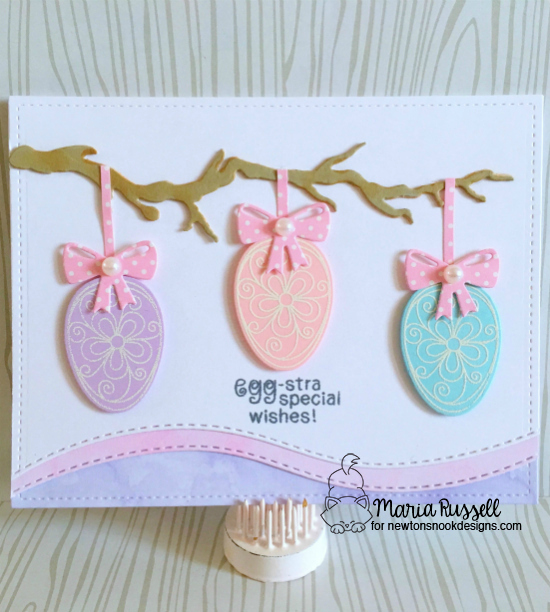
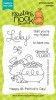
Hello my crafty friends! I am back today to share with you an Easter card that I have made (with a process video below). In the video, I have also shared the February release of stamps and dies by Newton’s Nook, including all of the other projects I have made.
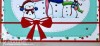
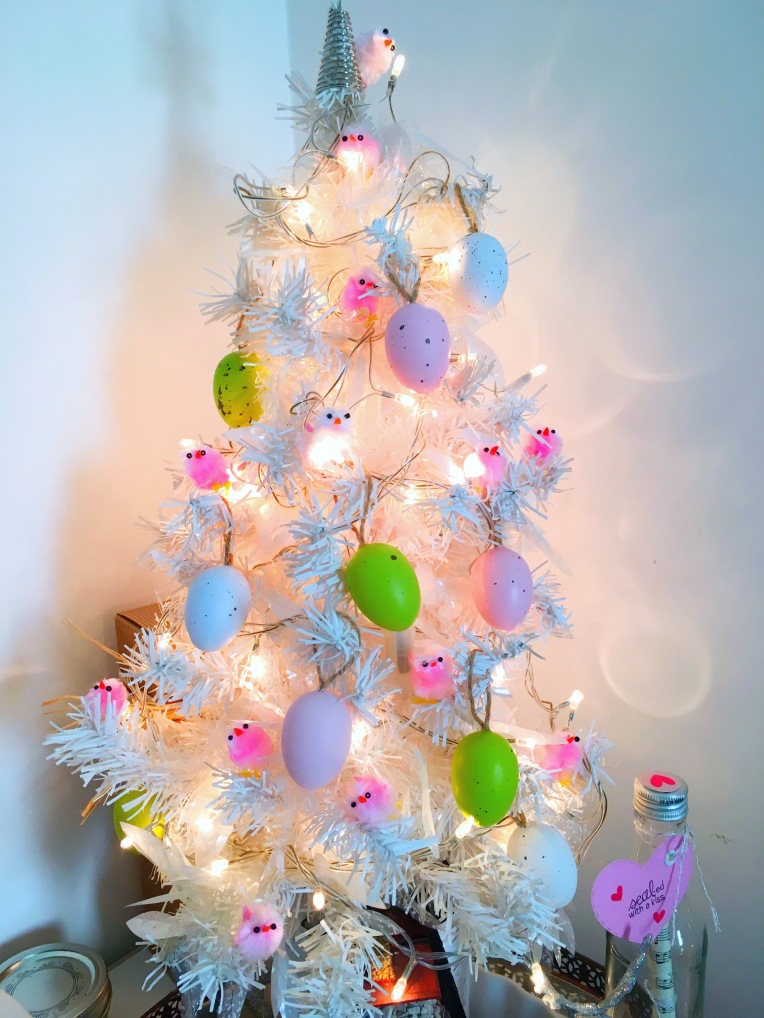
You might think it’s strange that the Easter eggs on my card below look like a tree ornament, right? Let me tell you the inspiration for this. I have a small tree in my craft room that I decorate for every holiday. Easter is no exception. I love decorating my craft space and this tiny tree give a nice glow in the evening when I’m crafting and it makes me happy. Here’s the photo:
I will not post a step-by-step instruction this time but if you would like to see how I made the card, I have a link of this video below. Supplies I have used are also listed and linked. Have an amazing week and happy crafting!