Hello all! I hope you all had a great week. Happy Saturday! My Canon camera finally gave up on me so while I am waiting for the replacement (it takes 3 to 4 weeks to get to me now since I am overseas), I will be sharing some projects on the blog with you instead.
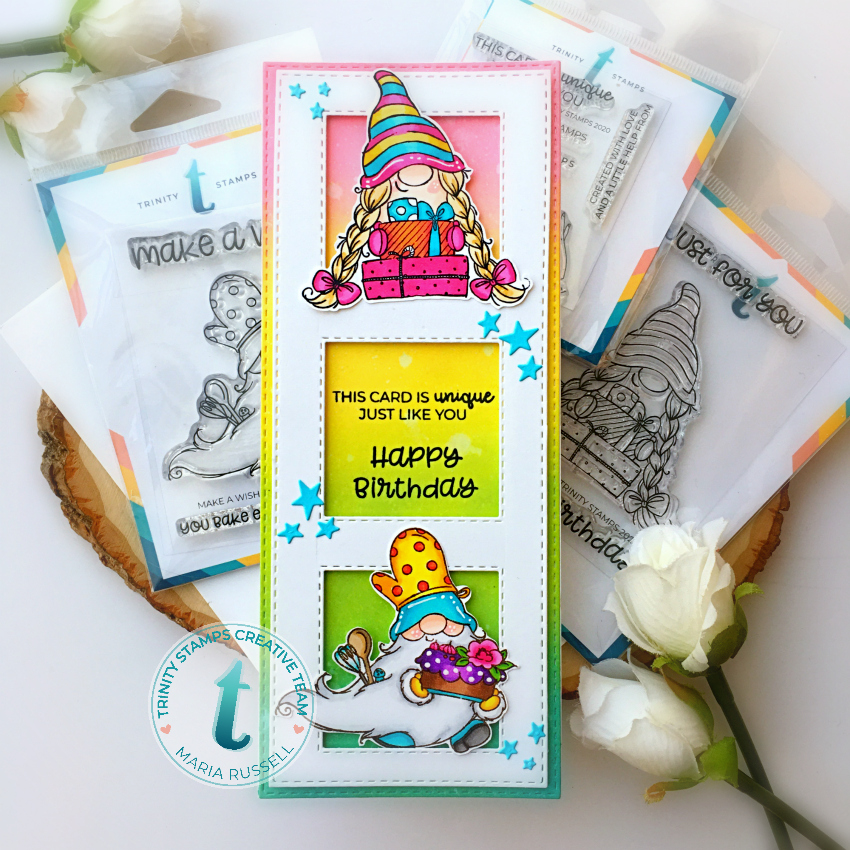
I started by using the biggest die from the Stitched Card Panels & Windows die set to die cut some Bristol smooth white card stock. I ink-blended this panel with some distress oxide inks with the Trinity Blending Buddy brushes and used my paintbrush and to flick some water on this panel for added texture. I picked the excess water with some paper towel.
I die-cut some Neenah solar white card stock using the windows panel die. I foam-mounted this piece on the ink-blended background for added dimension.
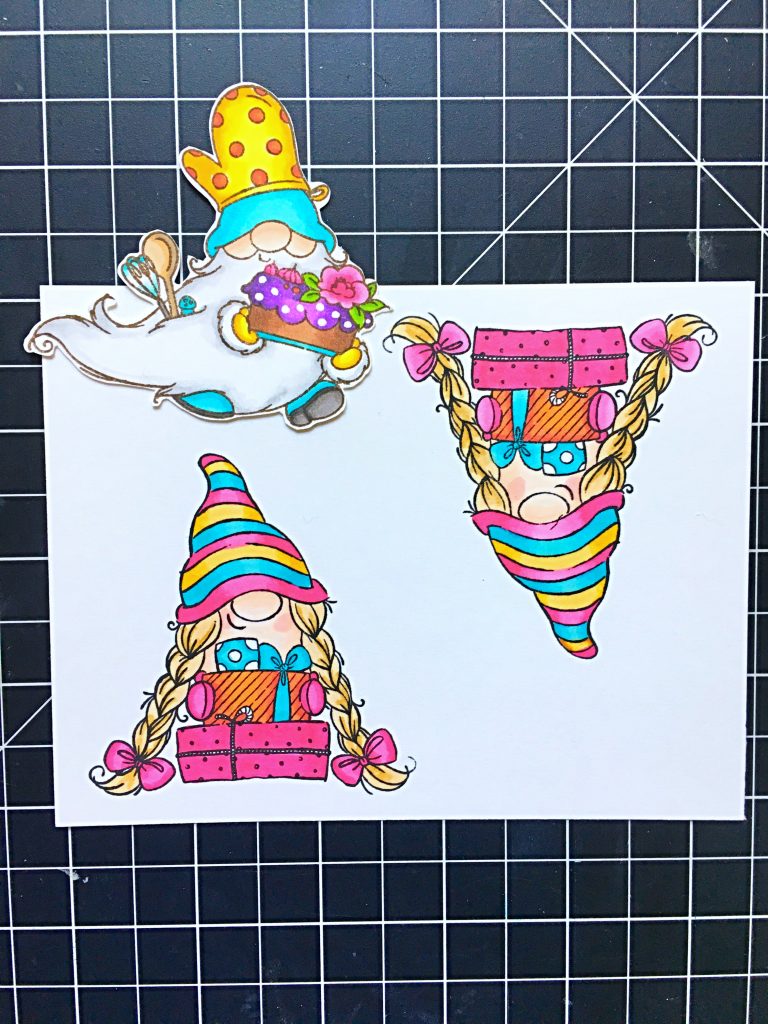
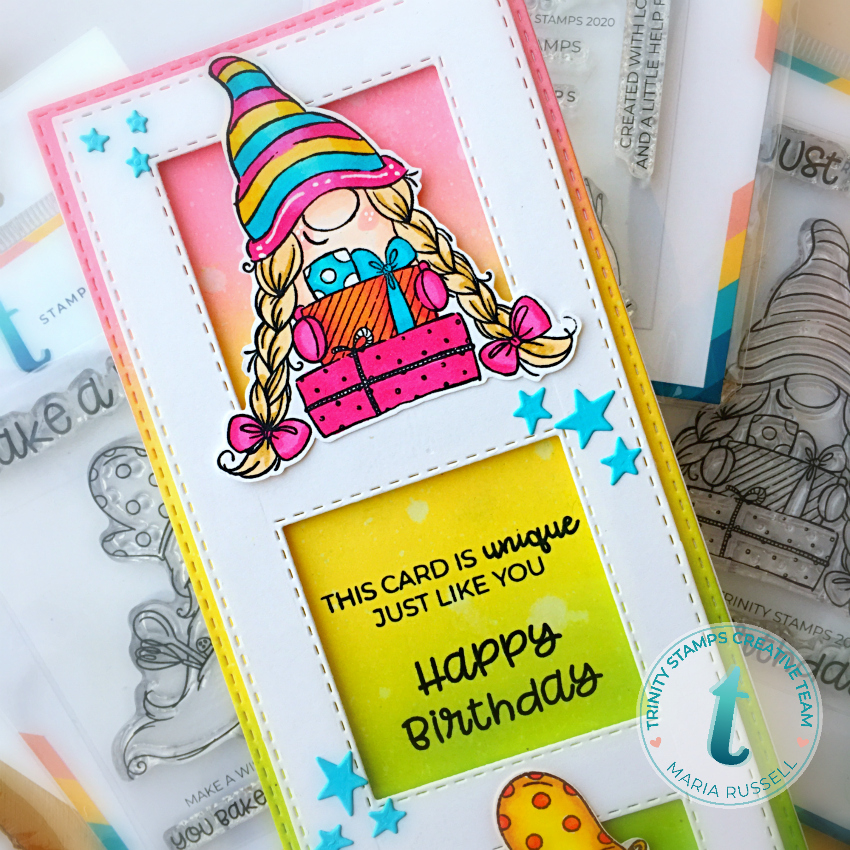
I stamped and colored the images on some Neenah solar white card stock and used my Spectrum Noir Tri-Blend markers to color the images in. Since I didn’t get the coordinating dies, I used my precision snips to fussy-cut the images. I foam mounted them onto the window panel for added dimension.
I love coloring my images with bright colors!
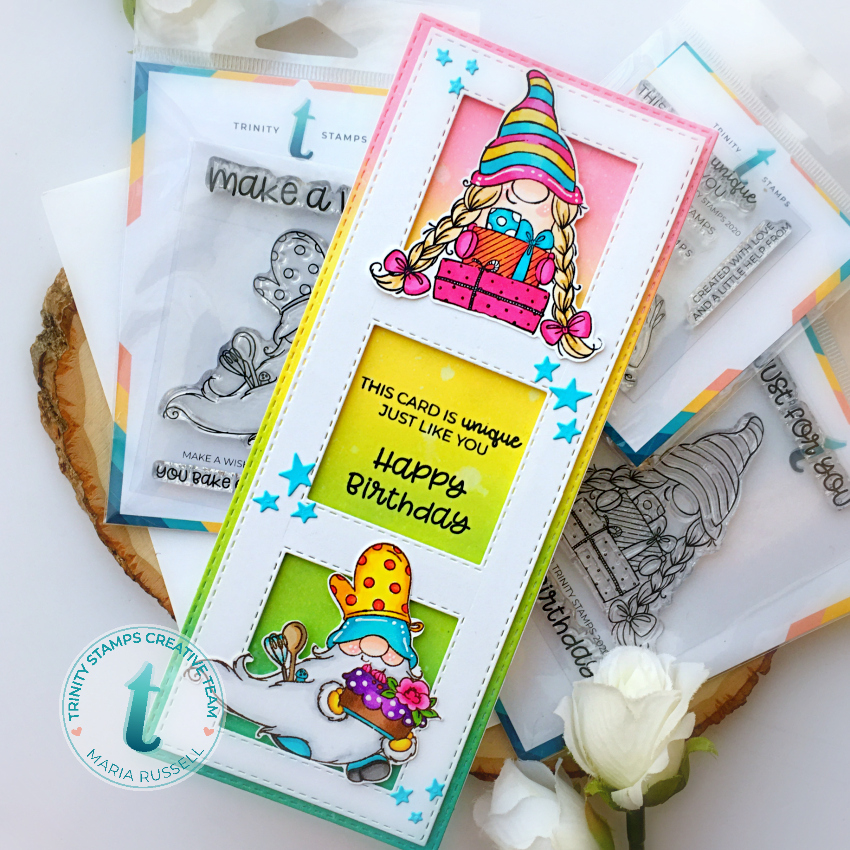
For added texture, I die-cut the stars from the Serious Celebration die set and adhered them on the card with some liquid glue. I adhered the colored panel on an 8 1/2 by 7 inches slimline card base. Here’s a closer look:
CAS-ual Fridays Stampsis this weekend’s sponsor for Crafting of Hue and we are celebrating with a SALE and a GIVEAWAY!. Starting today through July 12, 2020, all Stencils are only $5.00. You can also use my coupon code below to get an additional 15% off your order. Cas-ual Fridays is also giving away a $50 shopping code to ONE lucky commenter! All you have to do is leave a comment on all the hop stop (line up listed below) to be eligible to win. The winner will be announced on the CAS-ual Friday Blogon Tuesday, July 14th.
Don’t forget to check out the clearance section because everything there is only $0.99!
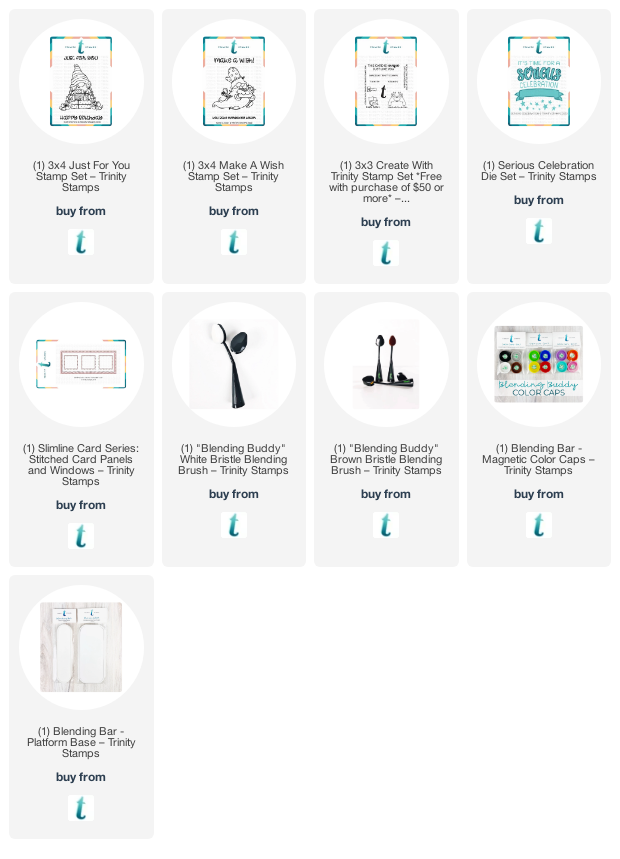
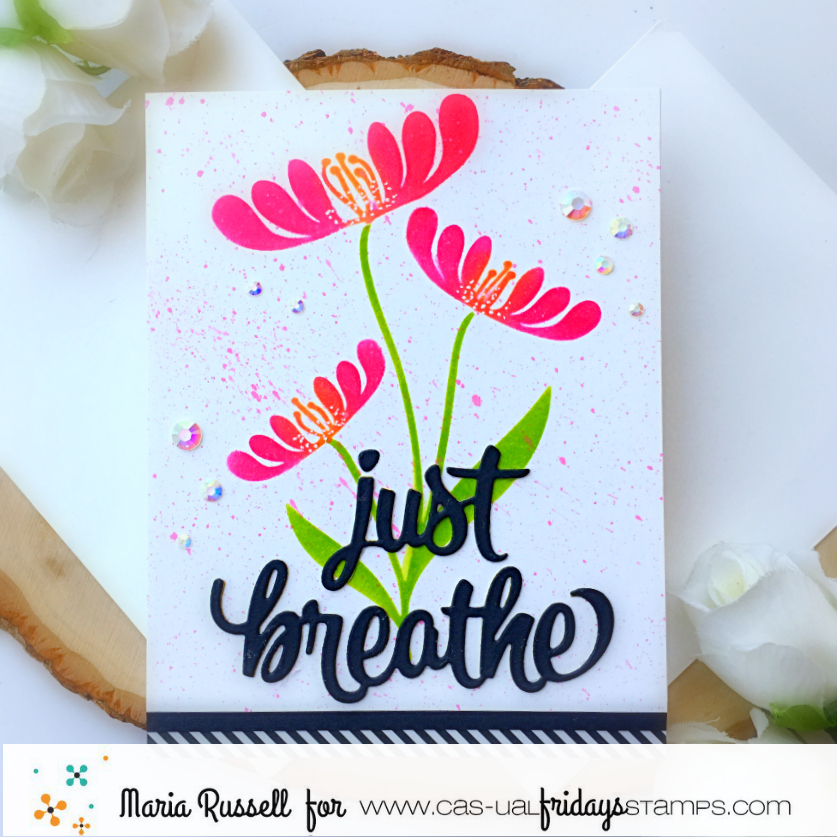
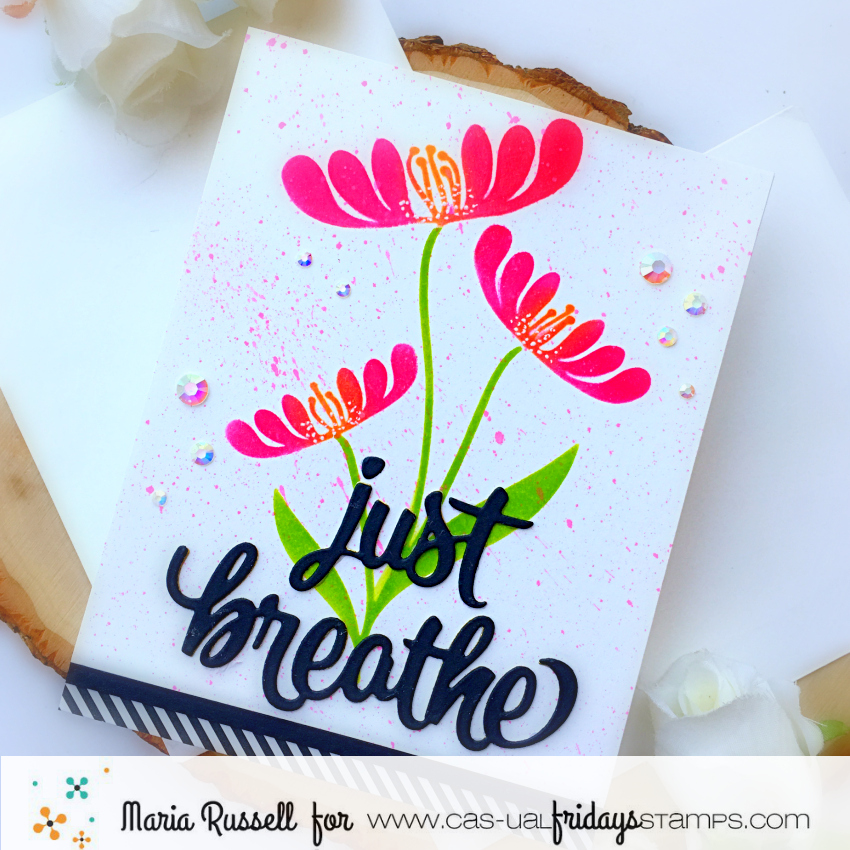
Now back to my project! Don’t you just love stencils? They are so versatile and can be used in many different ways to create your projects. For my card today, I am showcasing the Blossom Bubble stencil with the Just Breathe Fri-dies.
I used the Blossom Bubble stencil, mini sponge daubers and some hybrid inks to create my focal image. I used my paint brush and some distress oxide inks and splatter some color on my card for added texture.
I cut down my card panel to 5 inches and adhered this piece on some A2 size card base. I added the black strip at the bottom with the black & white patterned paper. I also used my white gel pen to add more texture on the center of each the flower.
To finish my design, I adhered some Crystal Clear Jewels with some liquid glue. Easy, peasy! Here’s another look:
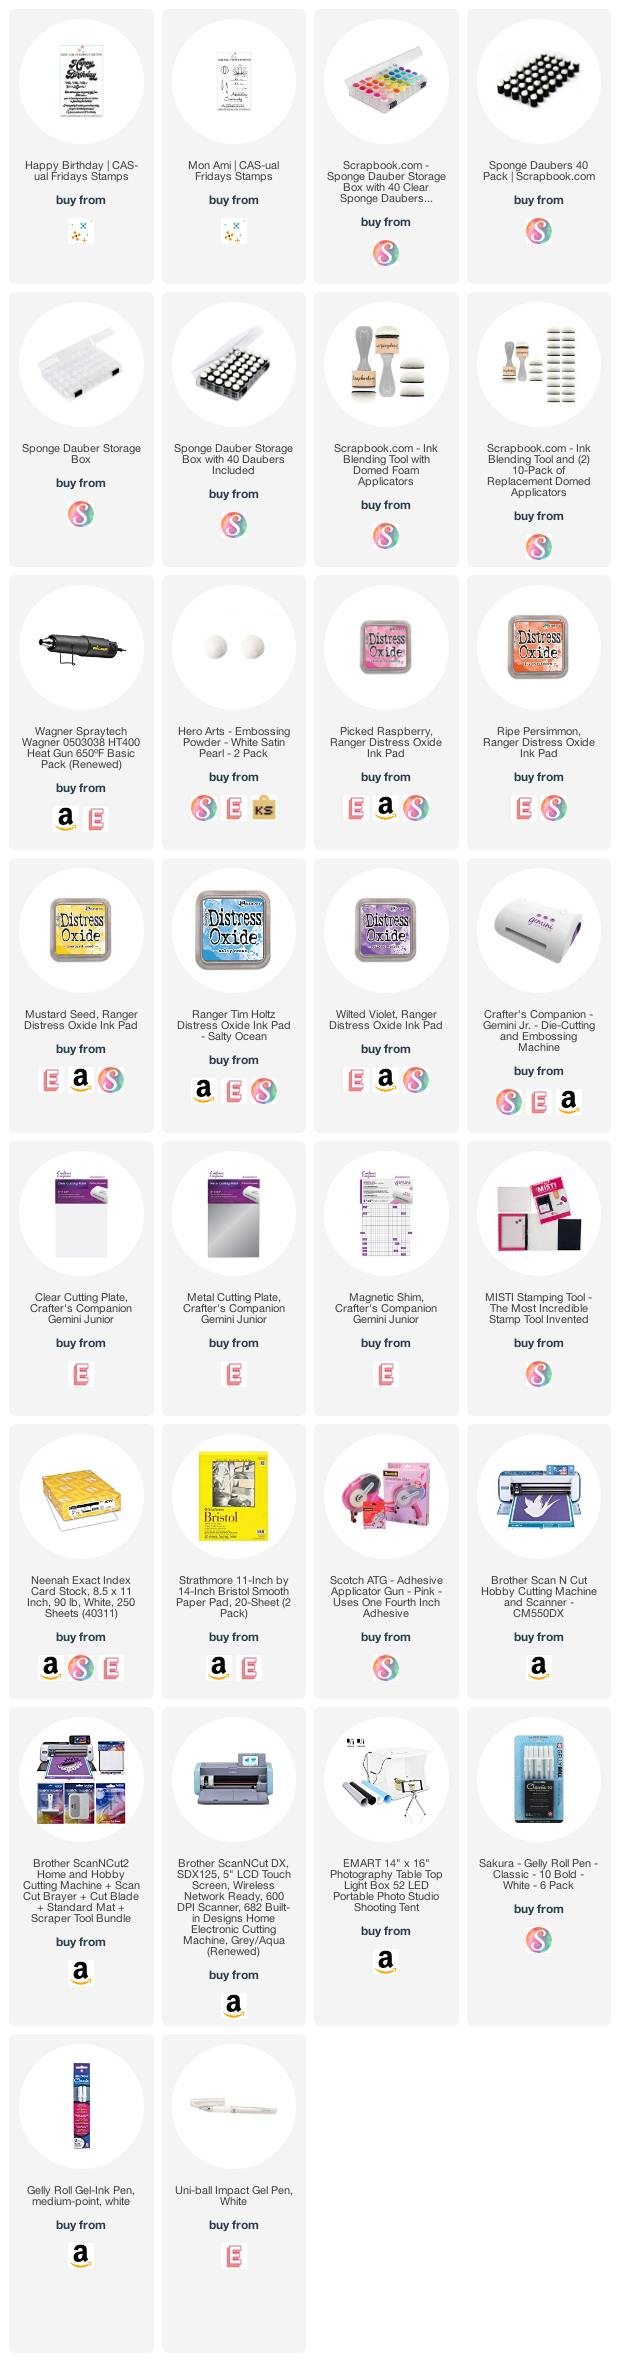
I hope you got inspired today. The supplies I use are listed and linked below. Thanks for stopping by!
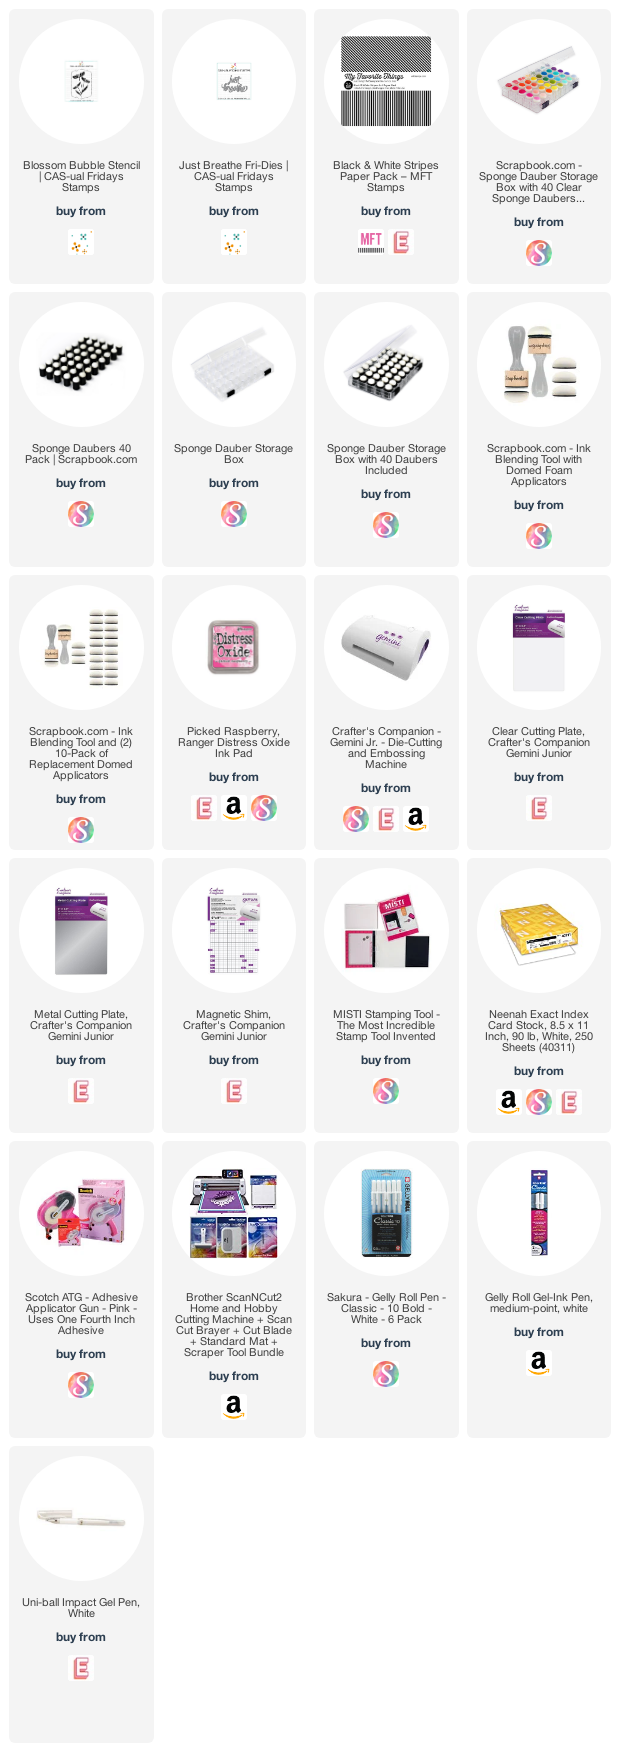
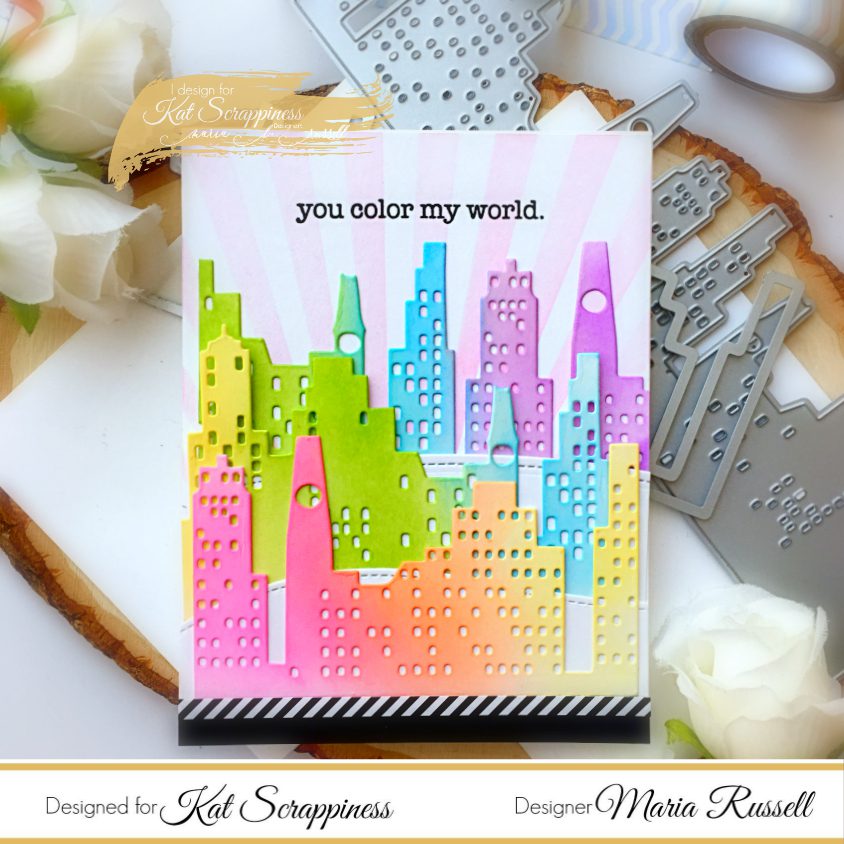
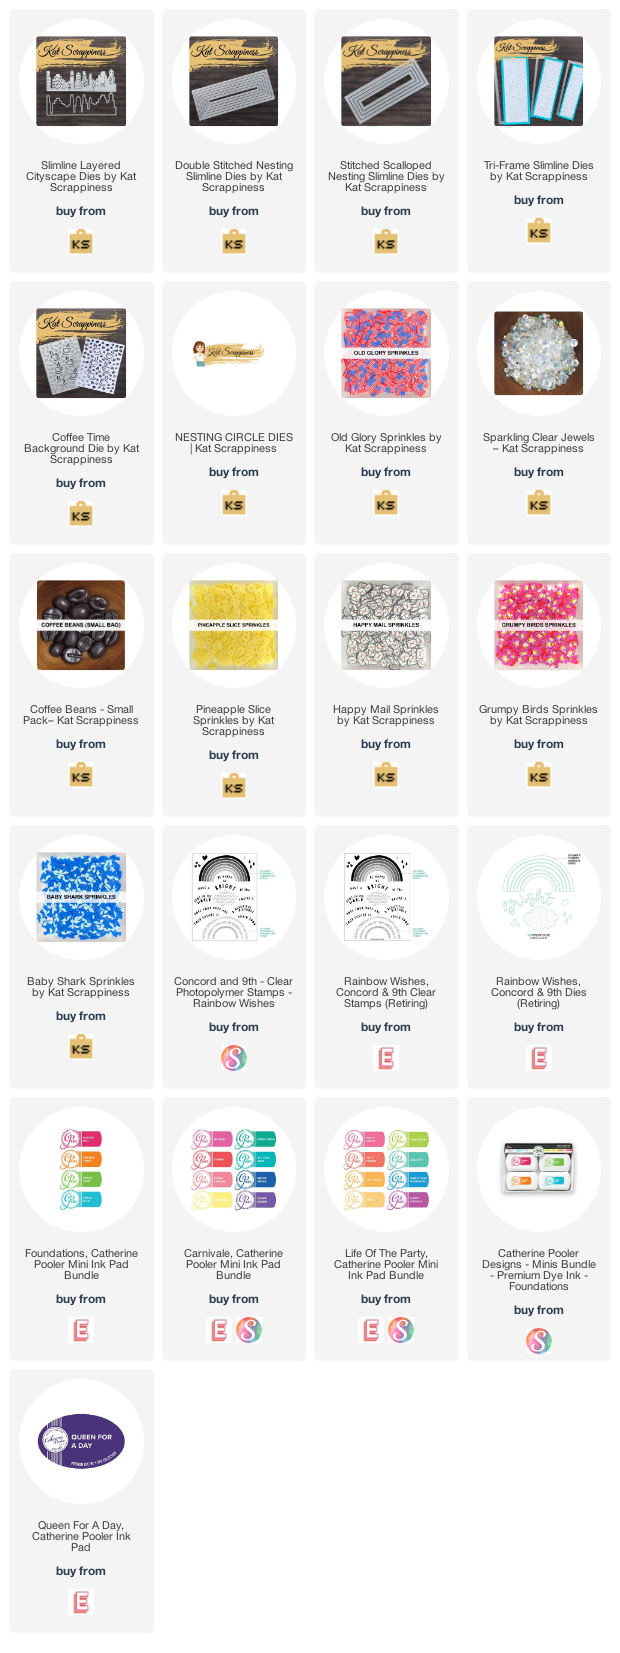
I have a special post today as we reveal some new slimline dies, background cover plate and stamp sets from Kat Scrappiness. These new dies are AMAZING and definitely cheaper than what’s available out there in the market! You need to hurry and order them soon before they sell out!
There is also a GIVEAWAY for today and tomorrow at the KS Blog so if you would like to participate, head on over to the blog post (click here) and leave a comment there for a chance to win a $25 gift card that you can spend to get anything you want from the shop!
Before I show you the products, I just want you all to know that Kat Scrappinessis also having a 4th of July weekend “SITEWIDE” sale (excludes Slimline products). Use the coupon code (FREEDOM) to get 15% off your entire order.
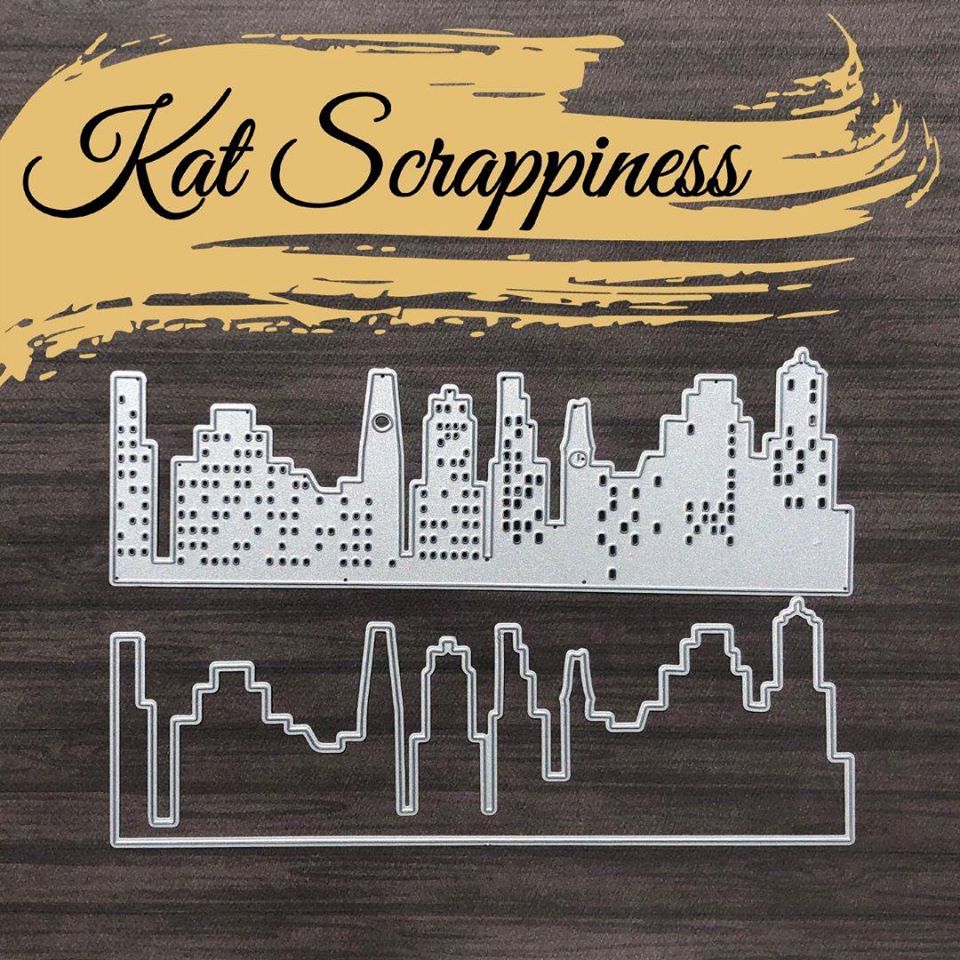
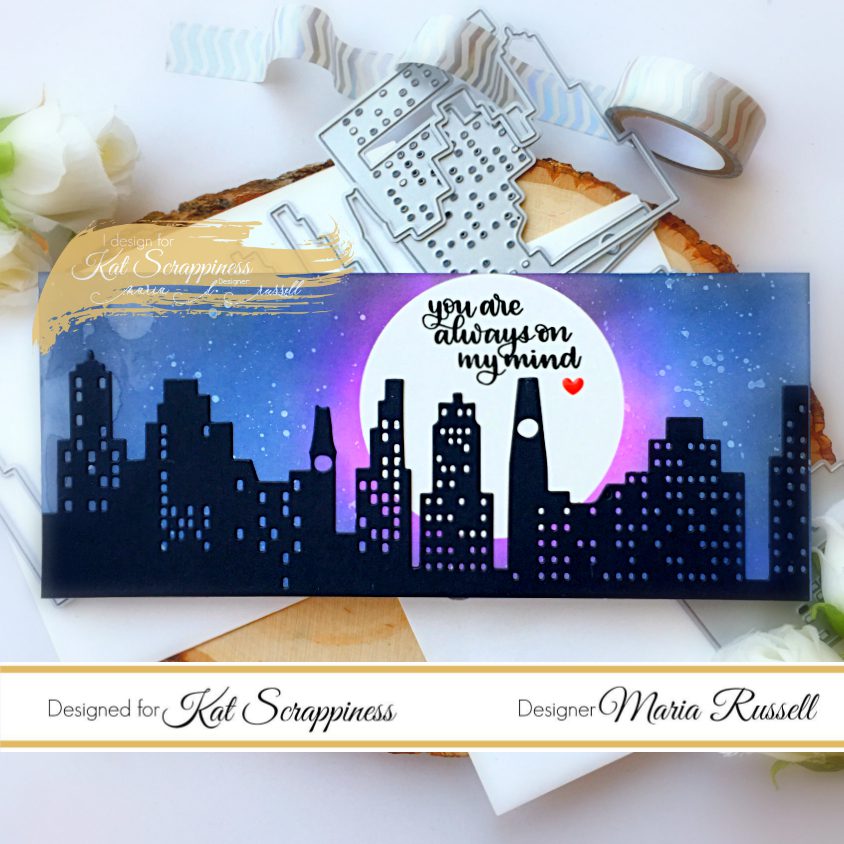
To make my first card, I created the background by die-cutting masking paper using the Nesting Circle dies. I ink-blended a Bristol smooth panel with Chipped Sapphire, Faded Jeans, Wilted Violet and Black Soot. I used a paintbrush to flick some water on the colored panel and dabbed it with paper towel to dry. Removing the mask revealed the full moon. I used the Cityscape slimline die to die-cut it in black and kept it simple by adhering it to the colored panel with liquid glue.
I finished the design by stamping the sentiment with Versafine Onyx black ink and added an enamel heart. Here’s a closer look:
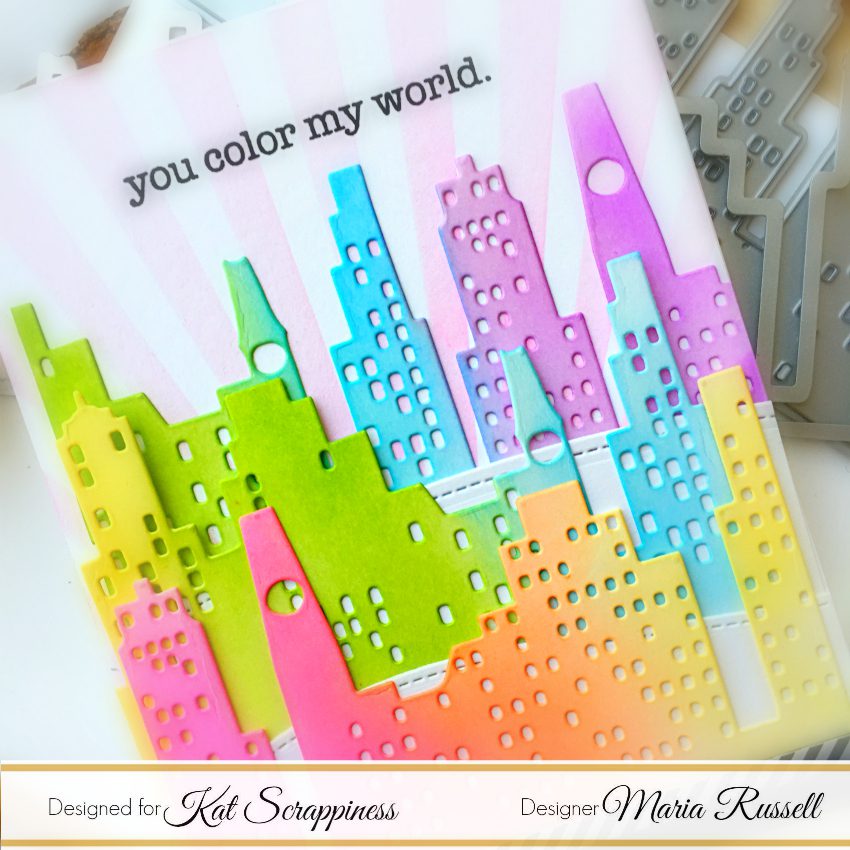
For my second card, I wanted to showcase the Cityscape slimline die on an A2 size card to show versatility, die-cutting it a couple of times with some Bristol smooth white card stock and inking them up with some distress oxide inks in rainbow order.
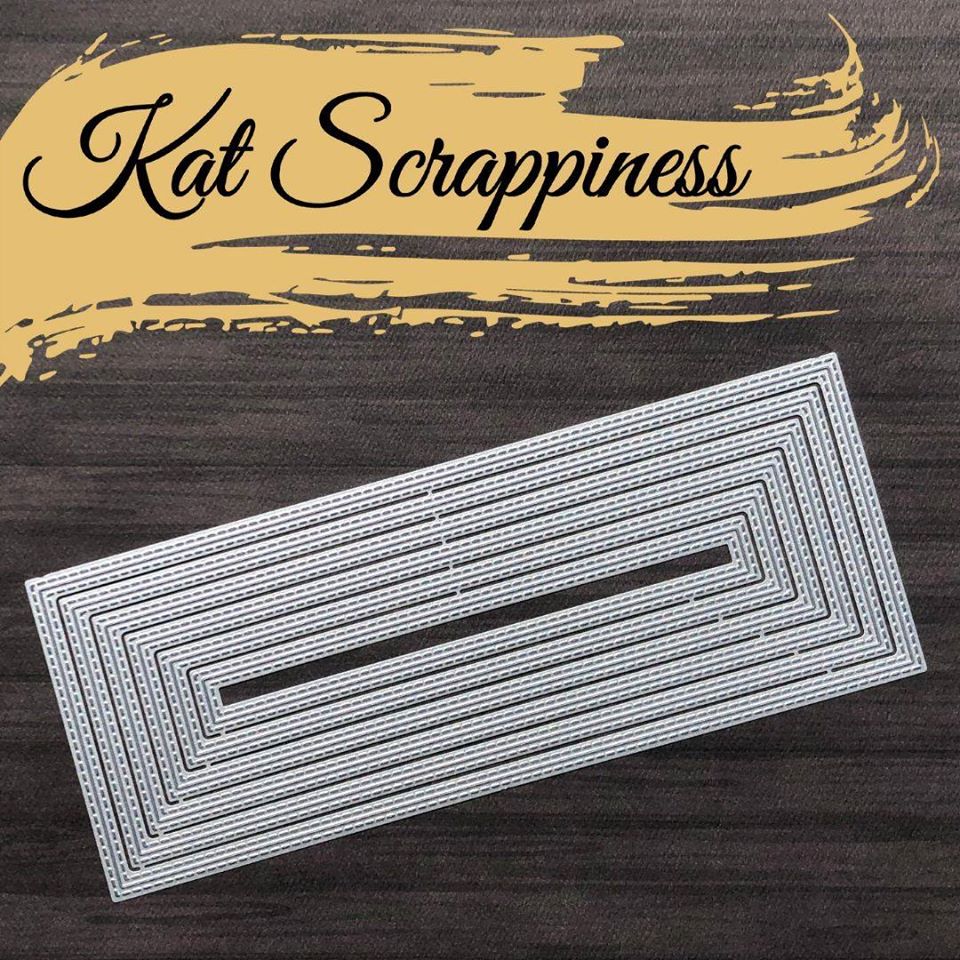
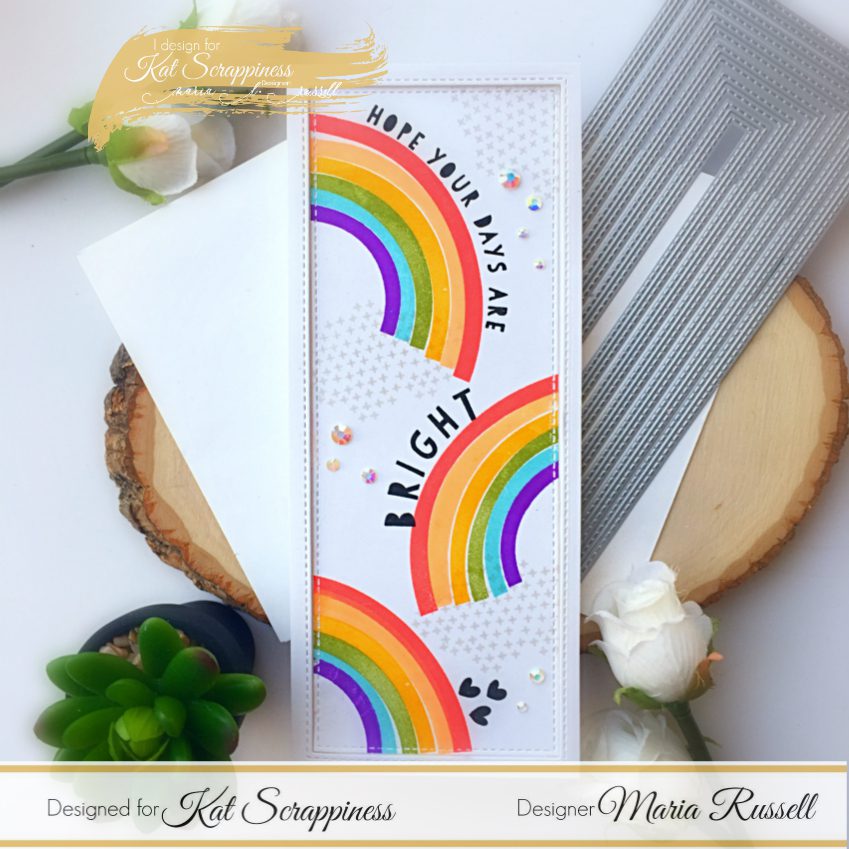
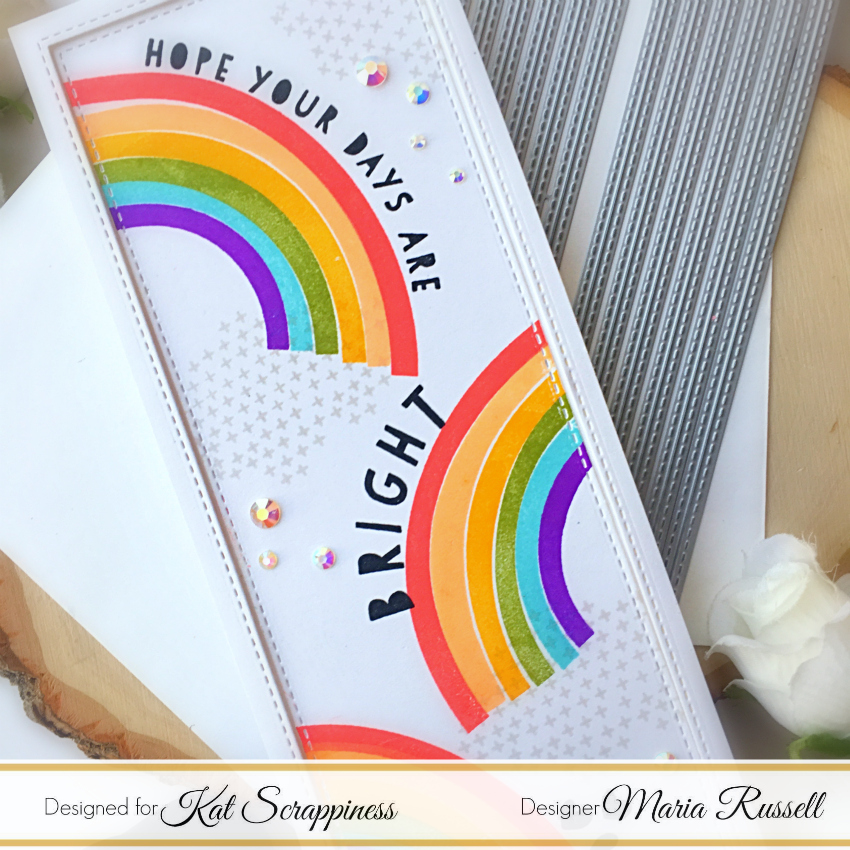
I went for a simple card for my third sample for you. I die-cut the panel using the Double-Stitched Nesting Slimline diesand stamped the rainbows and other images a few times on the card. The new Catherine Pooler inks are my favorite!
The frame was foam-mounted for added dimension and to finish the design, I added some Sparkling clear jewels. They are my favorite to use for cards!
Here’s a closer look:
I hope I have given you some card-making/stamping inspiration today. The supplies I use are listed and linked below. Thanks for stopping by and happy stamping!
Place the metal key chain on a piece of plain copy paper and trace the outline using a pencil to determine the area that you have to work on.
Helpful tip: By tracing the outline, you’ll be able to center your design onto your blank.
Step 2.
Mount your stamp on an acrylic block (or stamping tool) and stamp the image on the copy paper using Artesprix Sublimation Ink Pad. Repeat this process for the rest of the images that you need to use for your key chain.
I used a stamping tool to stamp the images three times to create a good impression.
Step 3.
Next, color your stamp design using your Iron-on-Ink sublimation markers. I used the Artesprix Original, Gnomie Botanical, and Pastel Sublimation Markers to color my images. The colors may look a little muted at first.
Using Artesprix Heat Tape, tape your blank down to your design. If you are using the Artesprix Heat Press, you only need one on each side to hold it down. If you are using an iron, you will need more. Sometimes the iron will cause the image to slip and you will get a ghost image. [Only use Artesprix Heat Tape on the outer edge of the design (not over it).]
Step 6.
Now, it is time for a sublimation sandwich. Cut two pieces of Protective Paper to cover your project on the top and bottom. Make sure that your design is facing up. Place it inside the Heat Press and close the machine.
Step 7.
The Heat Press will beep indicating that your project is finished! While wearing protective gloves, lift the handle and take your project out. Place it on top of the project mat and wait for about 20 minutes to cool down.
Step 8.
Gently remove the paper to reveal the design.
Step 9.
Repeat the process mentioned above and create another design.
I absolutely LOVE how both projects turned out!
If you like this DIY key chain, consider checking out some of the design team’s DIY on the blog. Here is another cute key chain project by Ivy
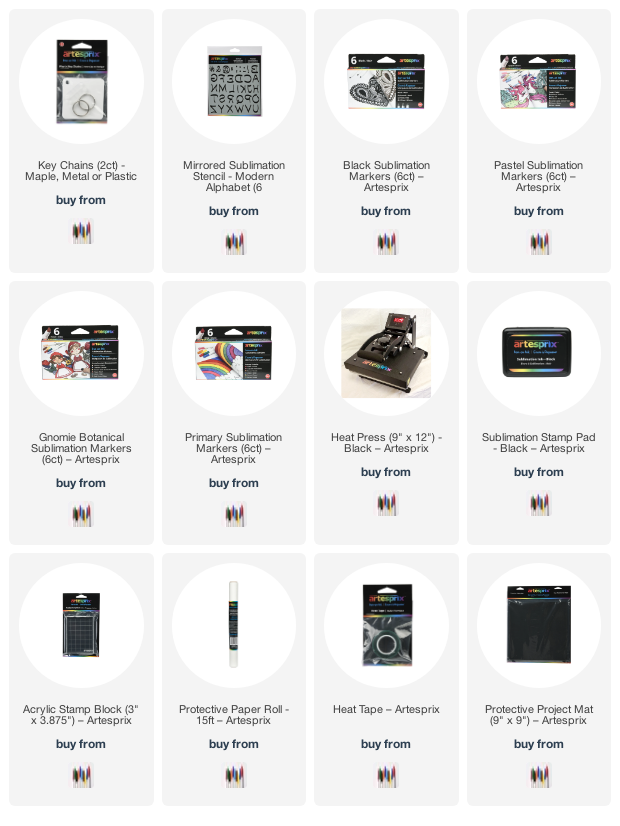
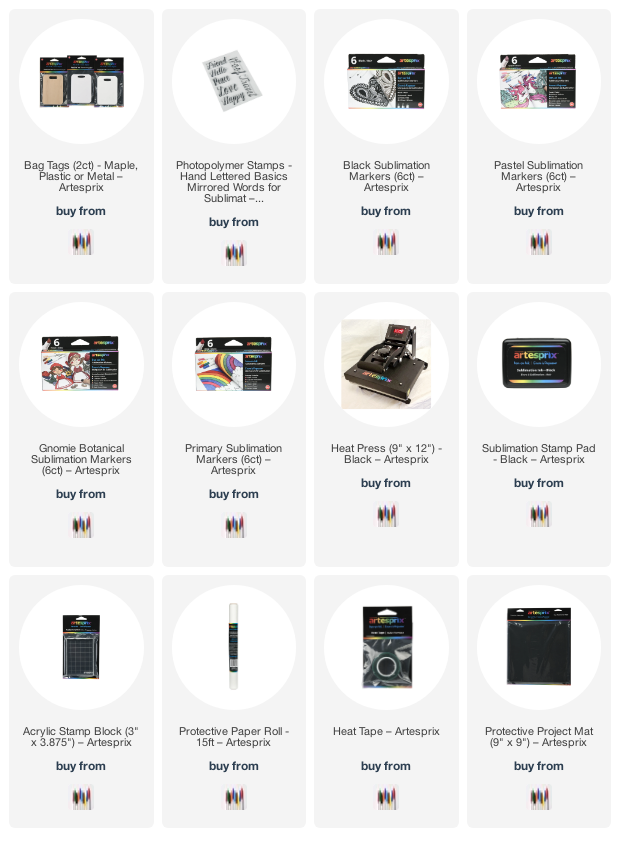
You will find all the blanks and other supplies available for purchase on the Artespix website. I have also listed and linked them below. Thank you for stopping by and happy crafting!
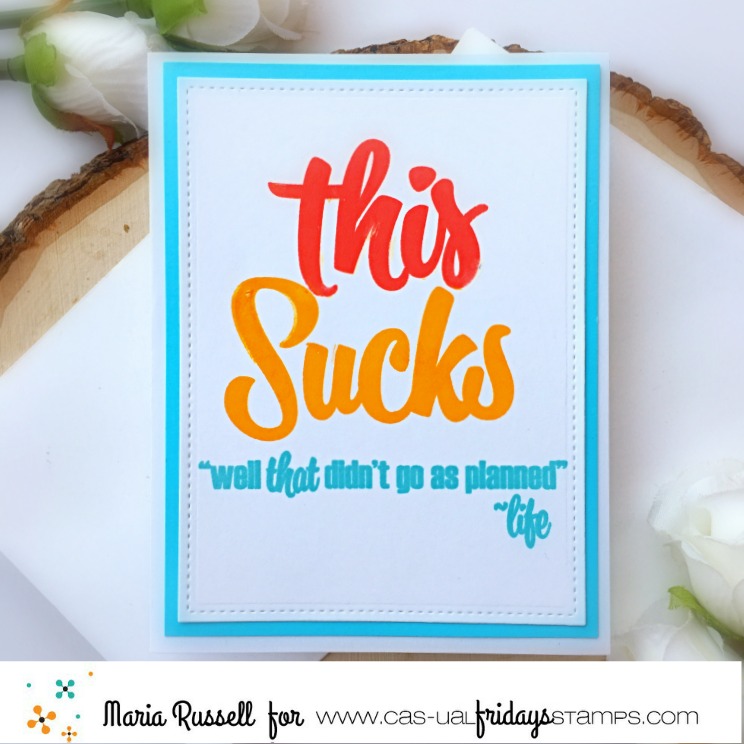
Hello my crafty friends! Maria here on the blog with you, with 3 simple cards that you can mass-produce, showcasing the This Sucks stamp set.
I have been receiving some requests to do simple cards with no “image-coloring” or “die-cutting” and thought that this stamp set would be perfect for the cards. Besides, I think almost every sentiment on this stamp set is basically what I feel these days! Here’s an example:
First card – we were supposed to travel and see my mom and siblings for a family reunion. We were also supposed to travel back to Egypt for a nice vacation with my daughter. Both things didn’t happen because of the “it shall not be named” virus!
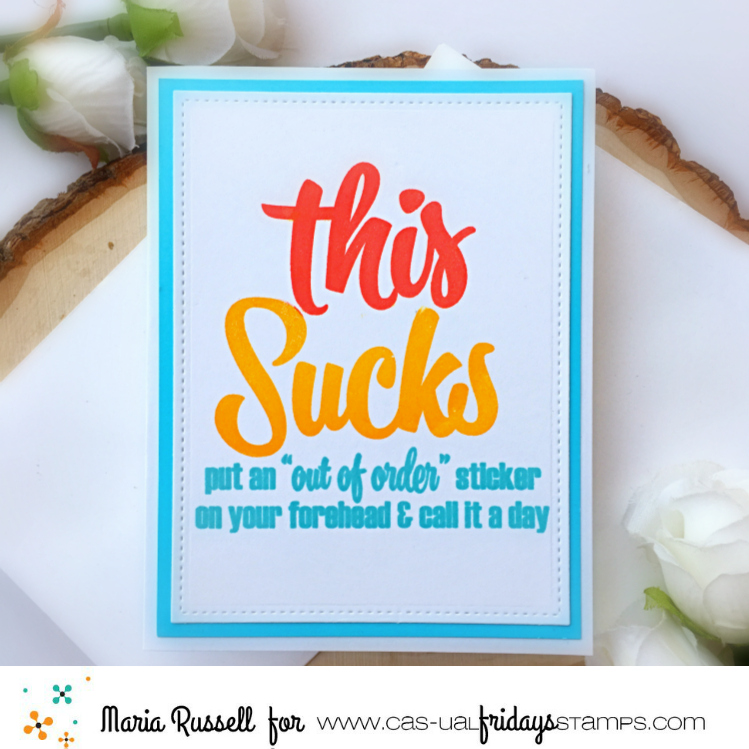
Second card – I think I lost my crafting mojo so it has been difficult to craft these days. I am just not feeling inspired. I must have made a ton of cards this month that I just put in the trash! They just weren’t good enough. Sometimes, I will just give up and call it a day!
Third card – a lot of my design team packages are stuck in New York for a few weeks now. The only reason I receive from the shipper is that everything will be delayed because of the current virus. There is no timeline on when they will ever get here and it is adding to my misery. It’s hard to craft when you don’t have the things you need to complete a lot of projects. I don’t even know if swearing helps because I have been doing a lot of those and it’s starting to scare my cat! haha!
Those are my cards today. I apologize for being Miss Debbie Downer but I just really hope things will get back to normal soon. I’m sure the rest of you feels the same way.
I hope you like the cards. Please don’t forget to use my coupon code “MARIASENTME” to get 15% off your order. Thanks for stopping by and happy stamping!
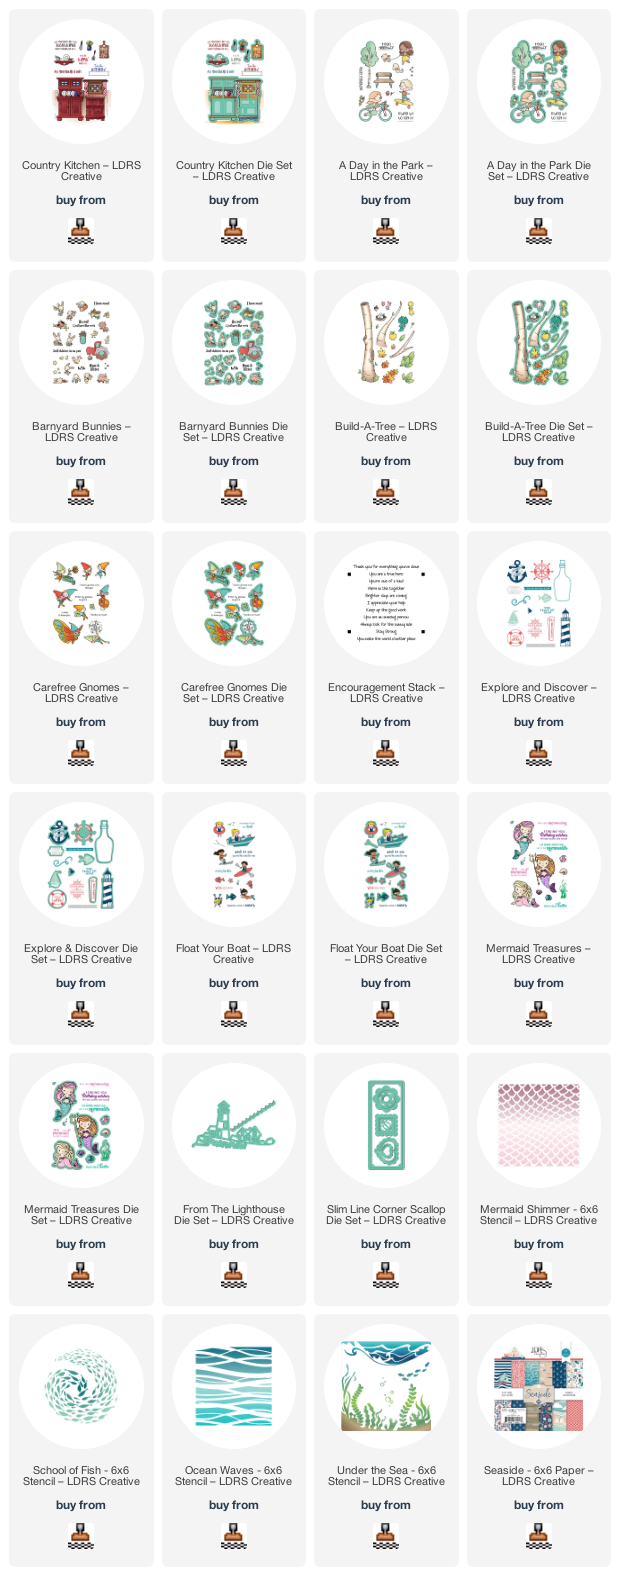
Hello my crafty friends! The new SUMMER COLLECTION byLDRS Creative is now available at the shop and we are celebrating it with a bang giving you a discount code “SRJ10” for 10% off at the shop (valid until midnight, eastern time of June 26).
I couldn’t even pace myself when I saw this release and I honestly cannot even pick a favorite. For my card today, I am showcasing the Country Kitchen stamp set.
I am not a one-layer card kind of girl but this stamp set is so amazing, it doesn’t even need anything else.
To begin, I stamped the images with Raven Hybrid ink and colored the images in with my Spectrum Noir alcohol markers.
I used my Copic black multi-liner and t-ruler to draw the floorboards, coloring it after with some light gray alcohol markers to create dimension between the kitchen wall and floors. I used my white gel pen and drew some lines to the kitchen cabinets for added texture and details to make it look like glass.
I hope I have given you some inspiration with the Country Kitchen stamp set. I have listed and linked all the stamps, dies and stencils available at the LDRS Creative if you’re interested. Order now and avail the discount. Thanks for stopping by and happy stamping!
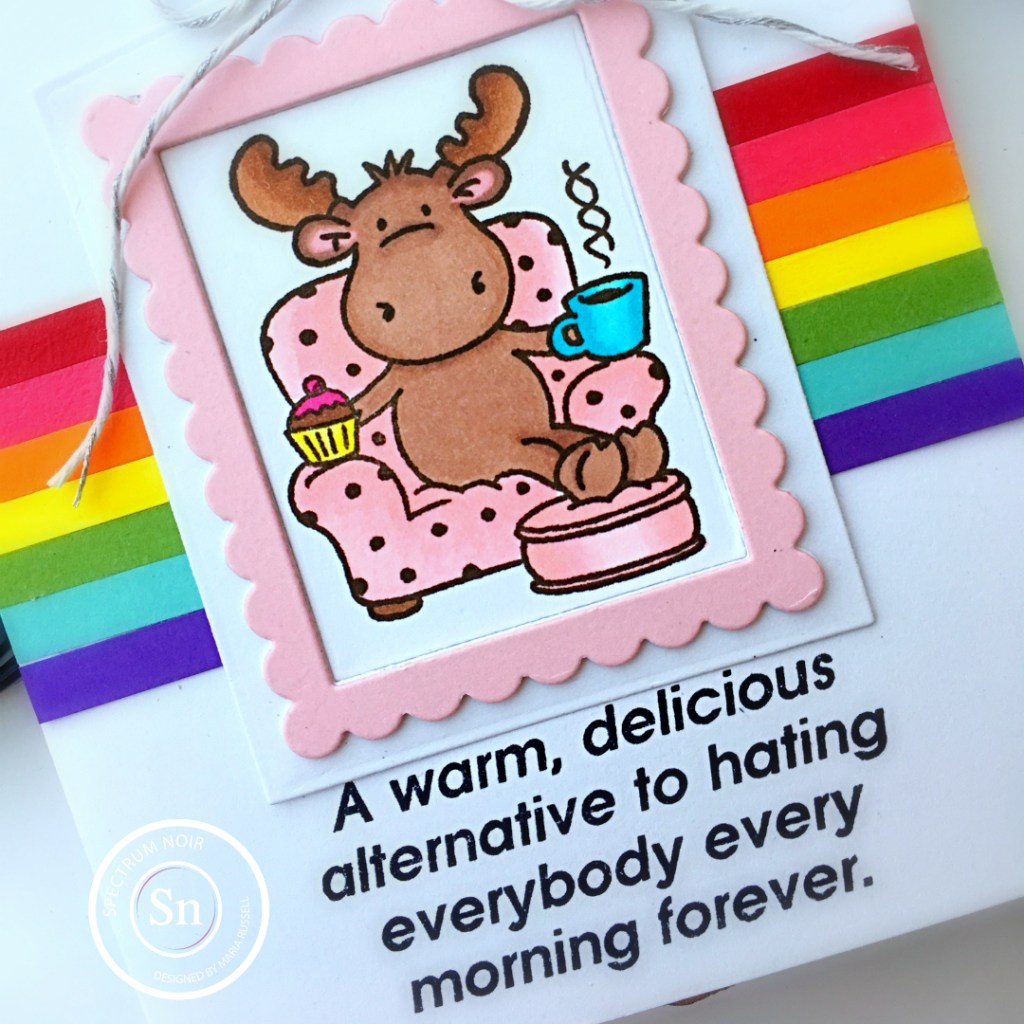
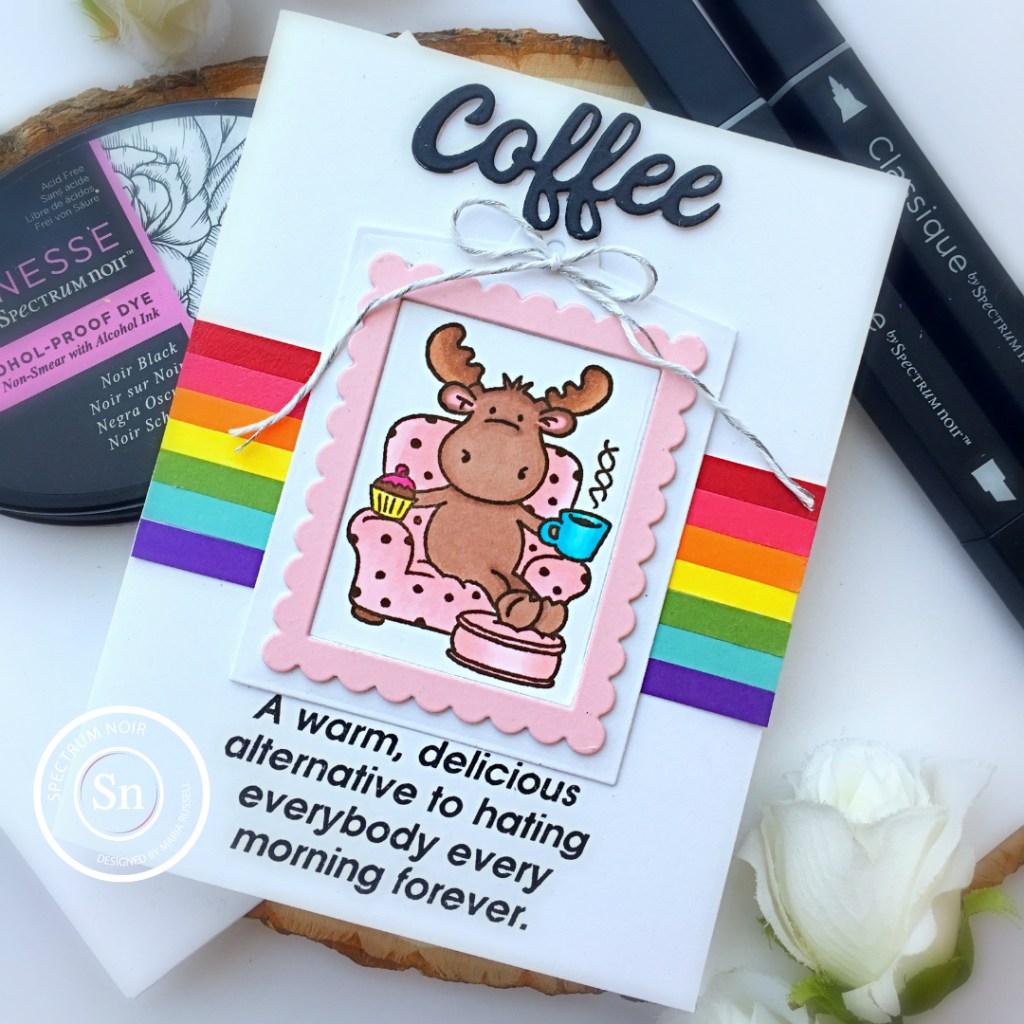
Next, I used the Trendy Tag Die-namics to die-cut the tag and the frame. I also used this die to die-cut my image.
Since I basically wanted a simple background with cheerful colors, I cut a bunch of strips from my scrap card stock in rainbow order. I adhered the pieces on some A2-size card base.
I adhered the tag with my tape runner. I also added the bow with some liquid glue for added texture.
In honor of Michele’s son, who turned 21 yesterday the 21% off sale continues today until 6 pm (mountain time) only. You can also use my coupon code below for an additional 15% off so that’s HUGE! Hurry up and order your favorites now!
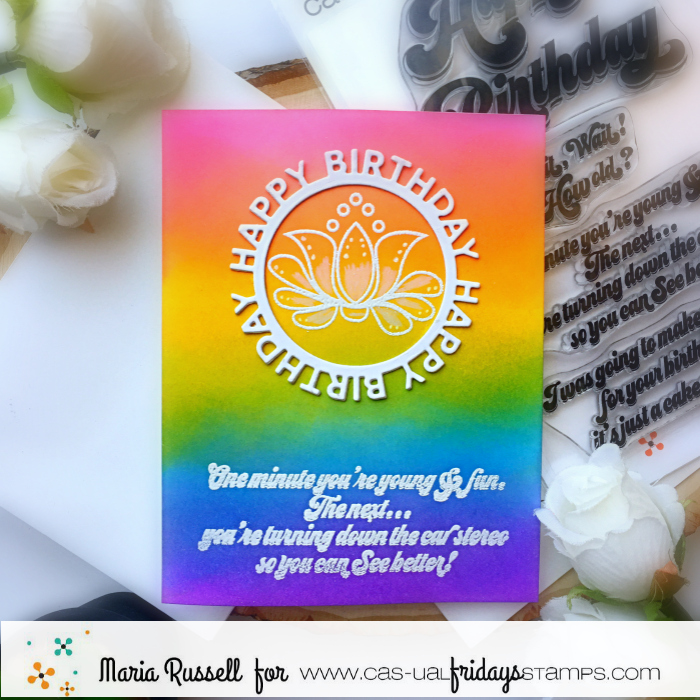
I started by ink-blending an A2 size panel of Bristol smooth white card stock with some distress oxide inks. I waited for about half an hour for this card panel to dry.
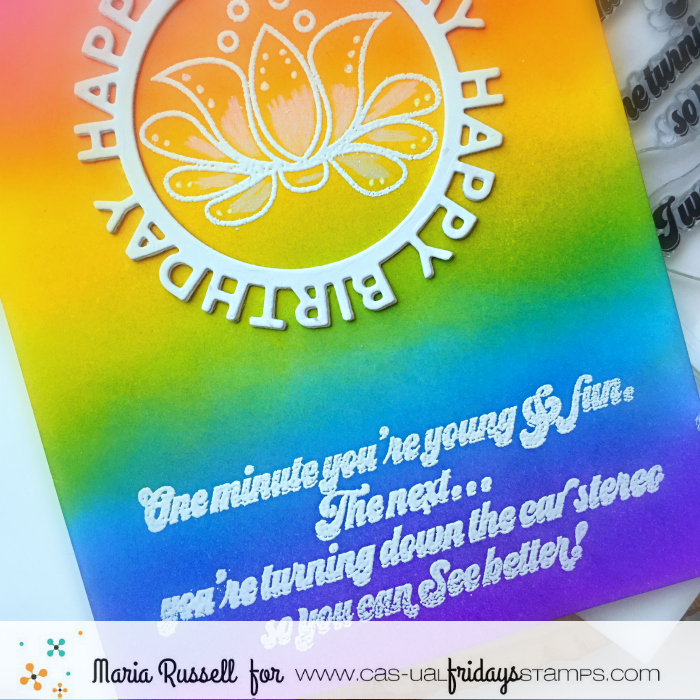
I used my stamping tool and stamped the flower image and the sentiment with Versamark ink. I sprinkled some white embossing powder and heat-set with my heating tool.
I used my white color pencil and Sakura white gel pen to add more texture and details to the flower.
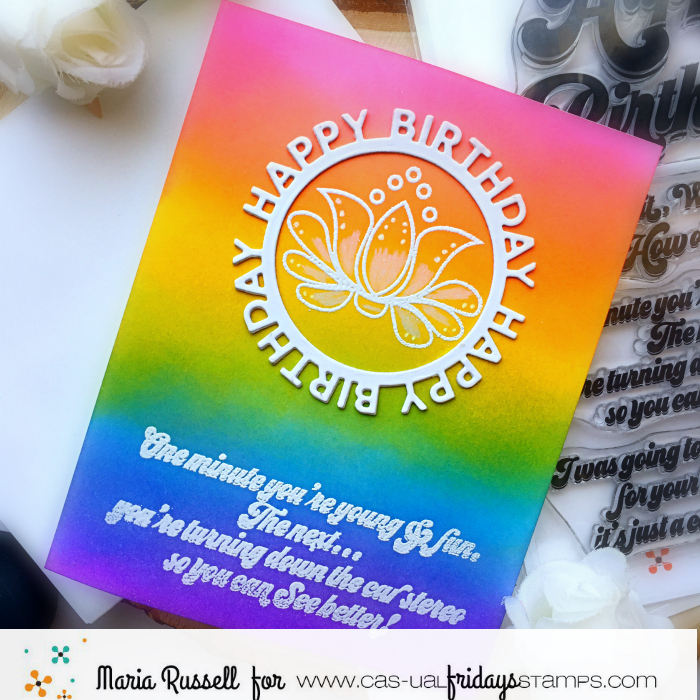
I finished my design by die-cutting the circle Happy Birthday sentiment using a die from my stash and adhered it on the card.
Isn’t that sentiment so funny? I must have done that a couple of times already while I was driving my car, haha!
Don’t forget to use my coupon code below for 15% off your order. You can use this coupon on top of the sale. Thanks for stopping by and happy stamping!
Hello my crafty peeps! I am back today to share another fun project using Sublimation markers to create your own Bag Tags!
I am also sharing a process video to share some tips on how to get a clear impression of your images. The first Bag Tag that I made turned out cute but I had some bleeding issues with my marker. I created a second one to show you the difference between the two bag tags.
First, place the bookmark on a piece of plain copy paper and trace the outline using a pencil. This will then determine the area that you have to work with. Don’t worry about the pencil lines because this will not transfer to your bag tag.
Step 2.
Mount your stamp on an acrylic block (or stamping tool) and stamp the image on the copy paper using Artesprix Sublimation Ink Pad. Repeat this process for the rest of the images that you need to use for your bookmark.
Helpful TIP No. 1: Stamp the sentiment first and trace using the Fine Point Sublimation Marker in Black before coloring the image. Use a heating tool to speed up the drying process before coloring everything to avoid bleeding on your images.
Step 3.
Next, color your stamp design using your Iron-on-Ink sublimation markers. I used the Artesprix Original, Gnomie Botanical and Pastel Sublimation Markers to color my images. Don’t worry if the color looks a little muted, it will come to life when the heat is applied to your project.
Step 4.
Take your Bag Tag and place it against the ink. Use the Artesprix Heat Tape and tape it down so your design doesn’t shift. If you are using the Artesprix Heat Press, you only need one on each side to hold it down. If you are using an iron, you will need more. Sometimes the iron will cause the image to slip and you will get a ghost image. [Only use Artesprix Heat Tape on the outer edge of the design (not over it).]
If using an Artesprix Heat Press, set the temperature to 400 degrees F and timer to 45 seconds. If using a dry iron, set to linen or highest setting. [For a home iron, set to linen and “no steam.” Note: The holes in your home iron do not allow the heat to pass through evenly.]
Step 5.
Now, it is time for a sublimation sandwich. Cut two pieces of Artesprix Protective Paper to cover your project on the top and bottom. Place it inside the Heat Press and close the machine. You’ll want your Artesprix Project Mat handy because your project will be hot, and you don’t want it to damage your work space.
Step 6.
When the Heat Press beeps, this indicates that your project is ready. Pull the handle up and use protective gloves or oven mitts to protect your hands before taking the project out. Place it on top of the project mat and wait for about 20 minutes to cool down.
Step 7.
Gently remove the paper from the Bag Tag to reveal the design.
As you can see, I didn’t get a good impression on the sentiment for the first bag tag. The second one looks a lot better.
For the Bag Tag on the right, I stamped the sentiment first and traced it on the other side. I also used my heating tool to make sure that the sentiment is dry before I colored the entire background and the images. Here’s a closer look at the second tag.
I love being able to stamp or draw and color my designs on a plain piece of paper and transfer onto a blank to create a unique DIY project!
Helpful TIP no. 2 – If you are using an image printed out using your laser printer (traced using your sublimation marker), make sure to use the heat tape to “cover” any image or marks that you don’t want to get transferred onto your blank. I didn’t realize this until I heat press the tag. Take a look at the photo below:
For Tag No. 2, I used the Photopolymer Stamps – Hand Lettered Basics for the back of the Bag Tag.
The back of the second tag is what’s shown on the right in the photo below:
I absolutely LOVE the second tag. I am quite happy how it turned out and I think it looks really cute! I am planning on adding some iridescent gem stones to cover the bubbles and make it look 3D. For that, I think I will have to use a strong adhesive like E-6000. I will let you know how it turned out.
Here’s my process video:
You can FOLLOW this tutorial to create more than just Bag Tags. You will find all the blanks available for purchase on the Artespix website. The supplies are also listed and linked below. Thank you for stopping by and happy crafting!