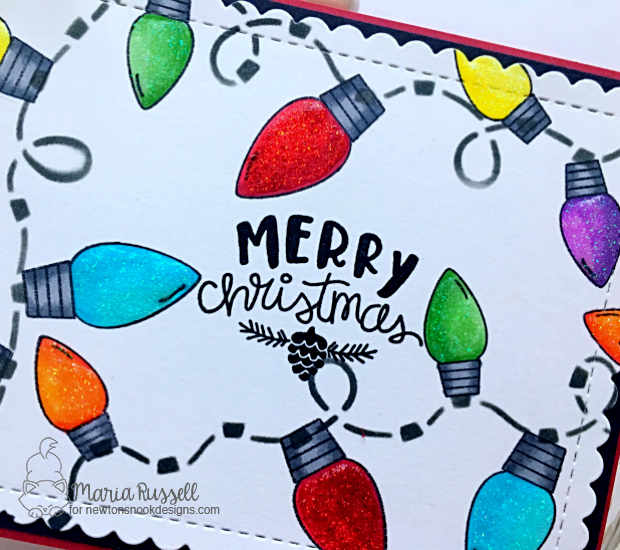
Hello my crafty friends! I am back today to share with you yet another Christmas card showcasing a lot of products from the October release by Newton’s Nook Designs. I just really love the versatility of the stamp sets, dies and stencils by Newton’s Nook. If you are like me, I like to mix and match my stamp sets and dies to create a unique card.
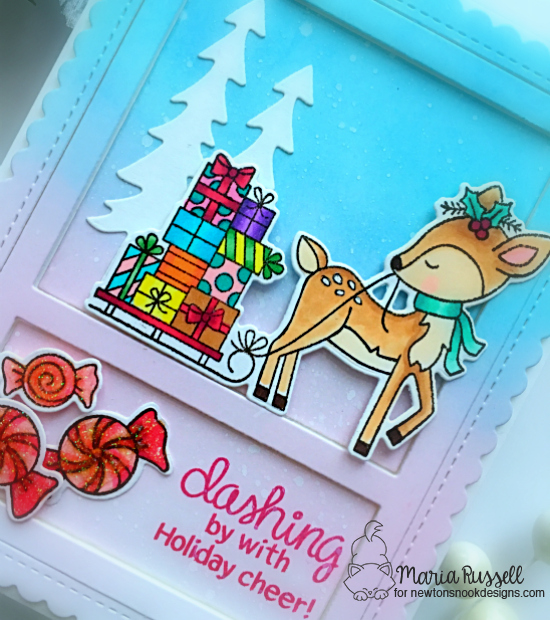
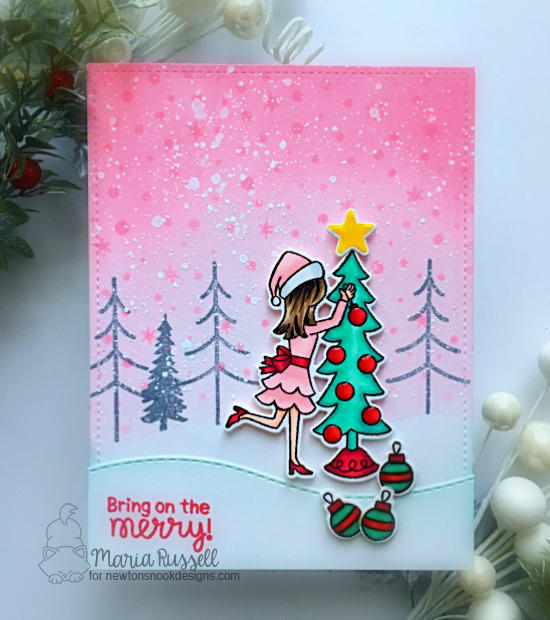
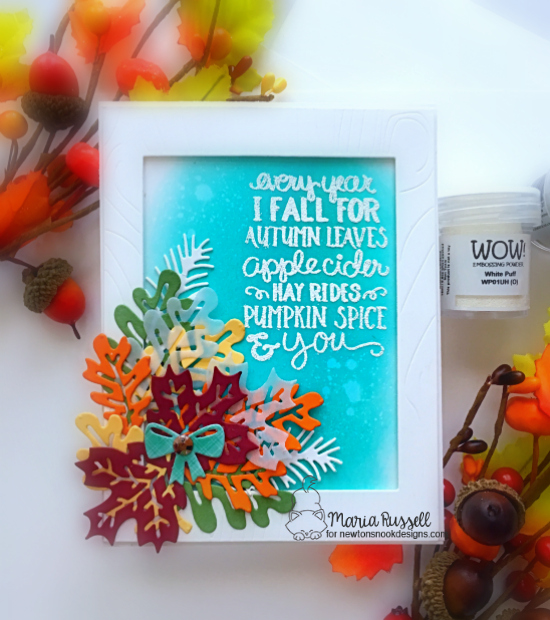
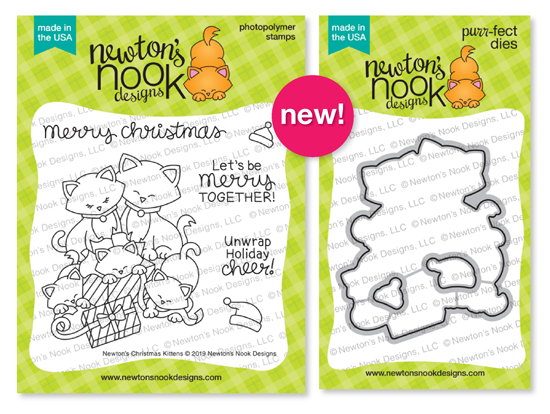
For my project today, I am featuring the Festive Fawns stamp set and coordinating dies for my main focal point. The sentiment is from the Newton’s Christmas Kittens stamp set and the presents are from the Christmas Trimmings stamp set.
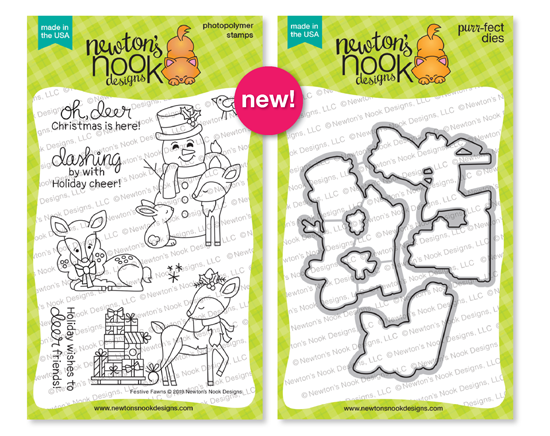
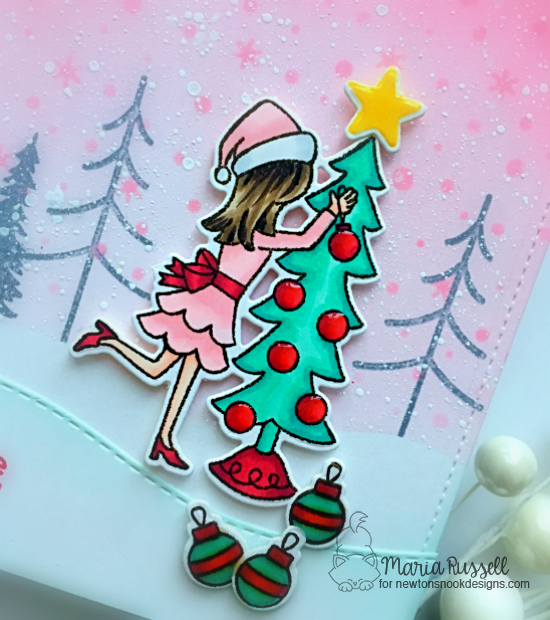
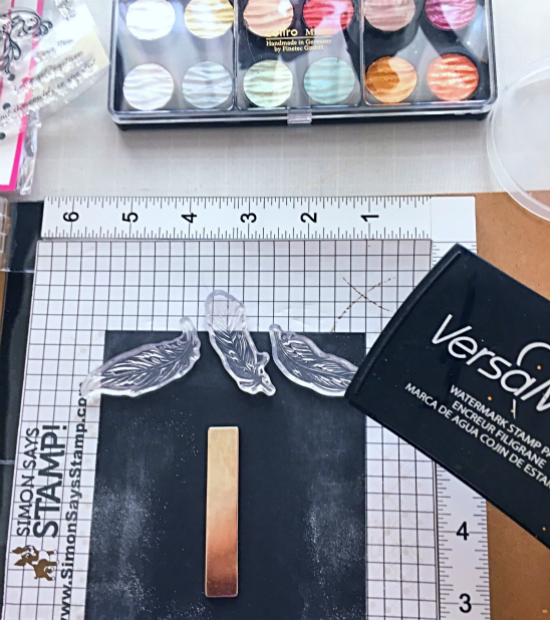
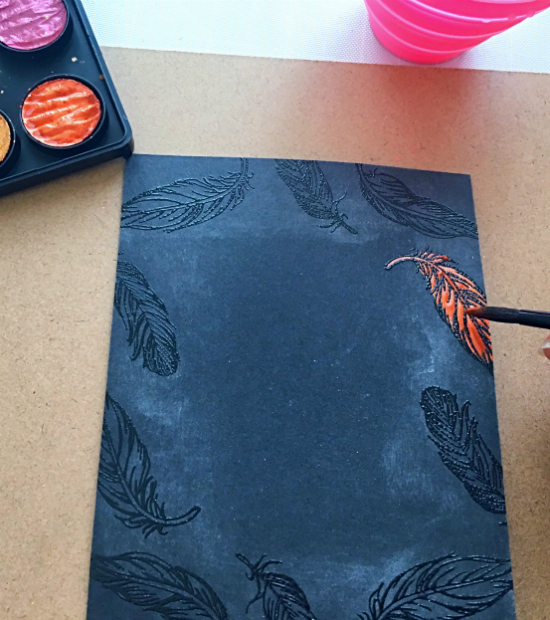
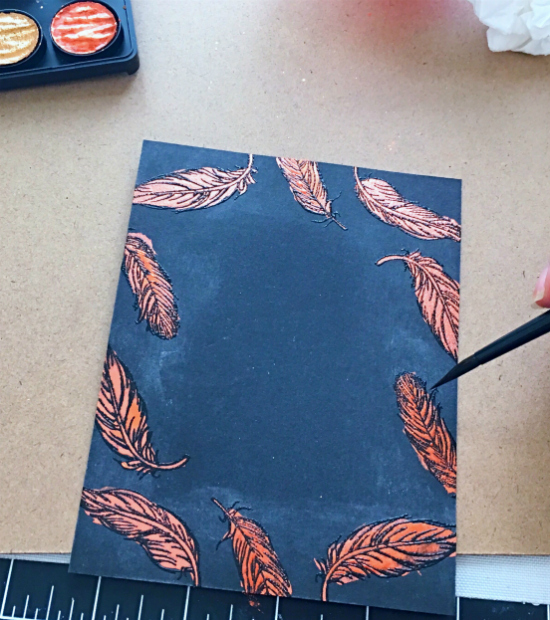
I started by stamping my image on some Neenah solar white card stock and colored them in with my alcohol markers. I die-cut the image using the coordinating dies.
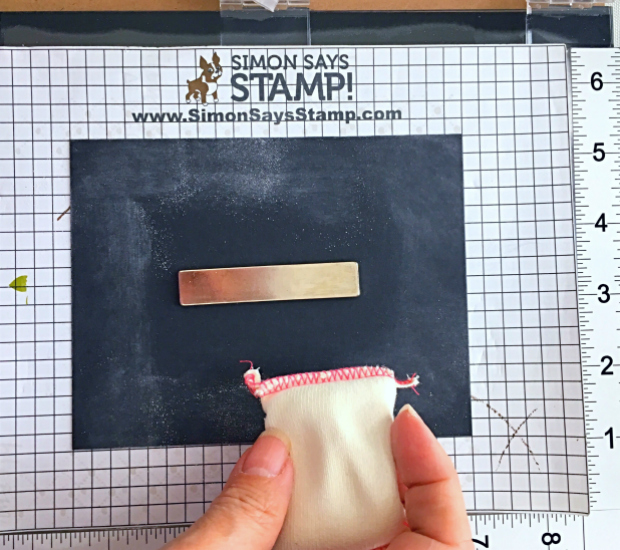
To create my background, I inked up some Bristol smooth white card stock using distress oxide inks and my mini ink blending tools. I used Blueprint Sketch, Chipped Sapphire and Black Soot. To create more texture and interest, I used some White Copic paint and smooshed a little bit of it on my acrylic block and watered it down so that I can splatter some paint onto my colored background. This will create the look of snow! I left this piece to dry for about half an hour.
To build up my scene, I die-cut the birch trees using the Forest Scene Builder dies, the bow from the Pines & Holly die set and the snowbank using the Land Border dies. Now that I have all of the elements that I needed, I started to build my scene.
I adhered the birch trees first with some liquid adhesive and added the first snowbank. I adhered another birch tree and added the other layer of snowbank. I also added the red bows for a festive look!
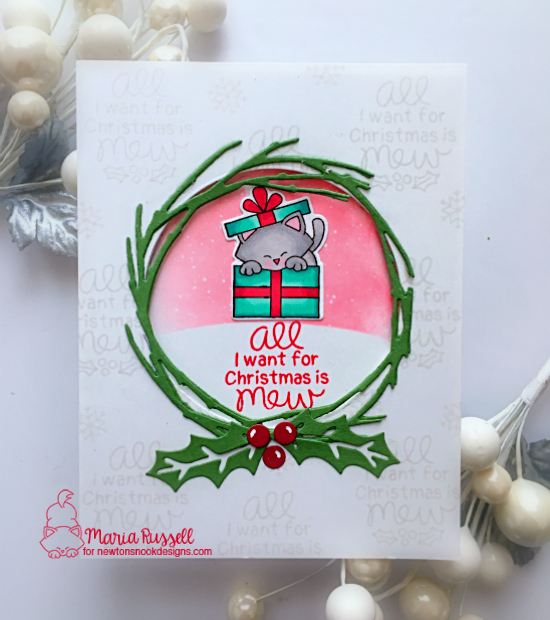
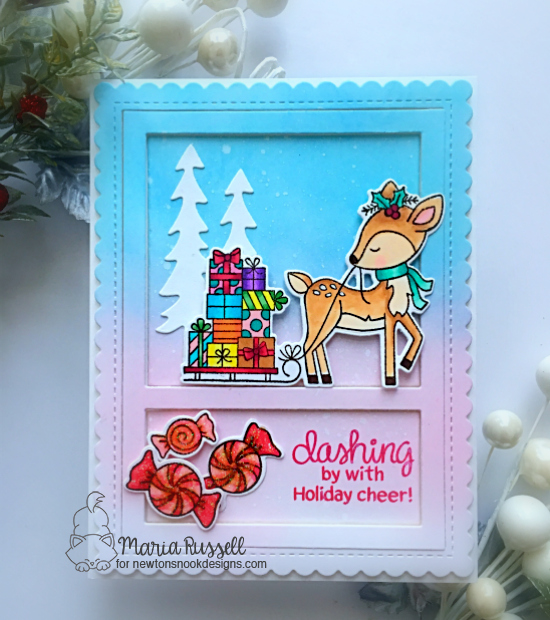
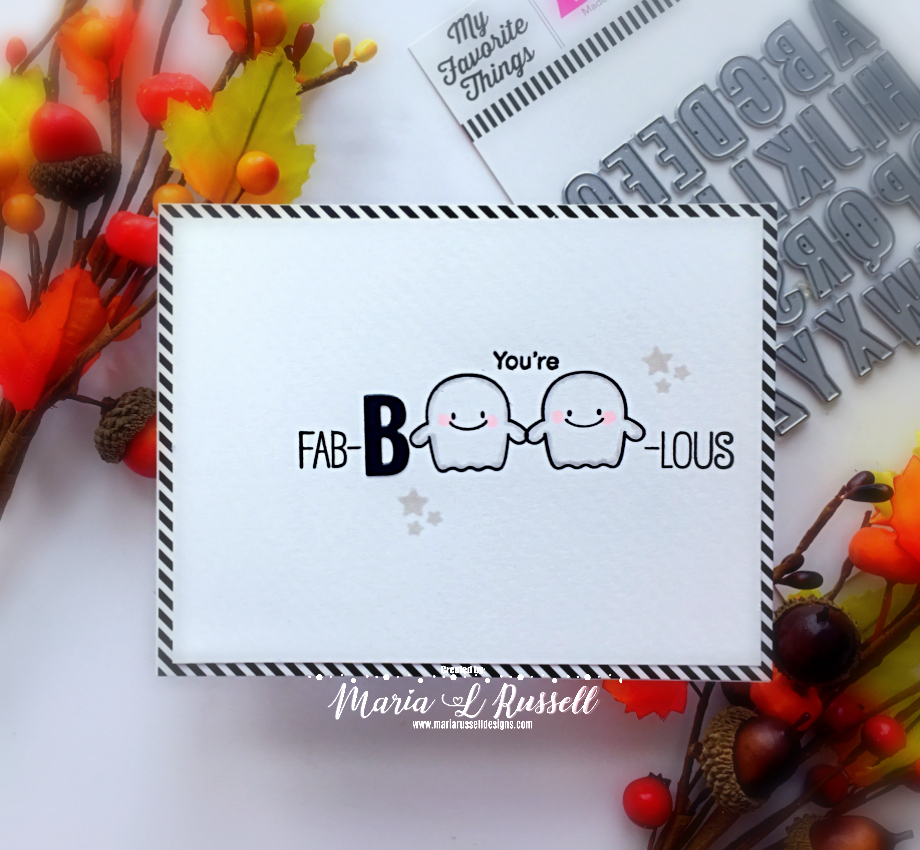
Lastly, I adhered my focal image and also added the Christmas presents and the peppermints. To finish my design, I stamped the sentiment using some lobster ink from the Christmas Trimmings stamp set. Here’s my card.

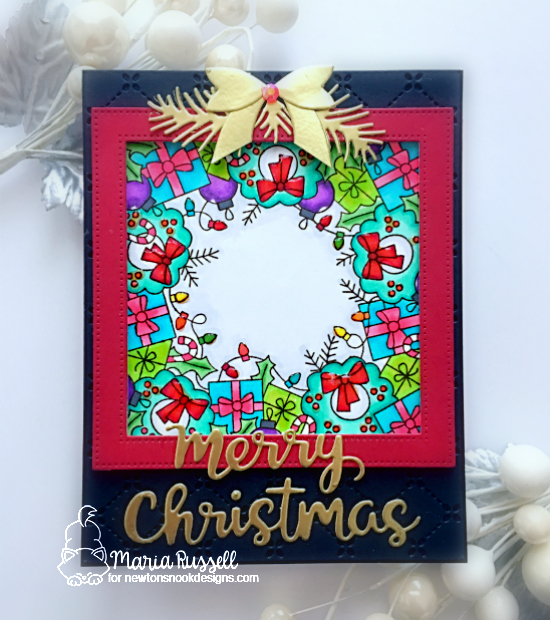
I love the simplicity of this card. The dark background and the red bows just made the images pop! Here’s a closer look:

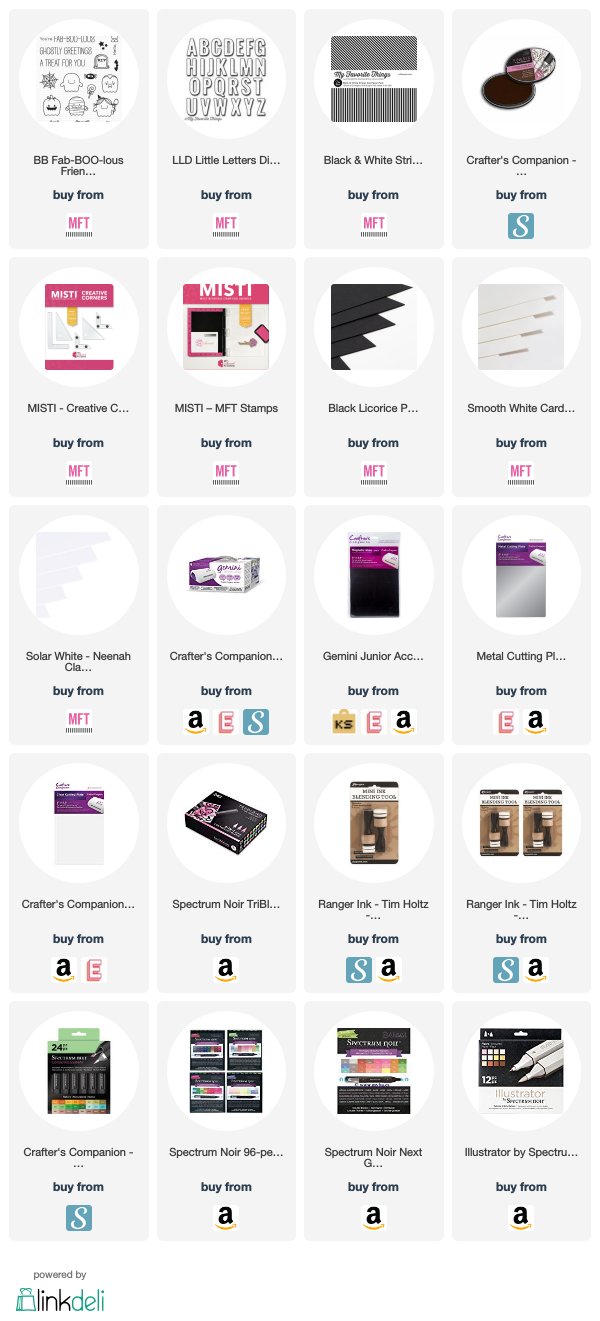
I hope you like my card today and got inspired. The supplies I used are listed and linked below. Have an amazing week and happy stamping!
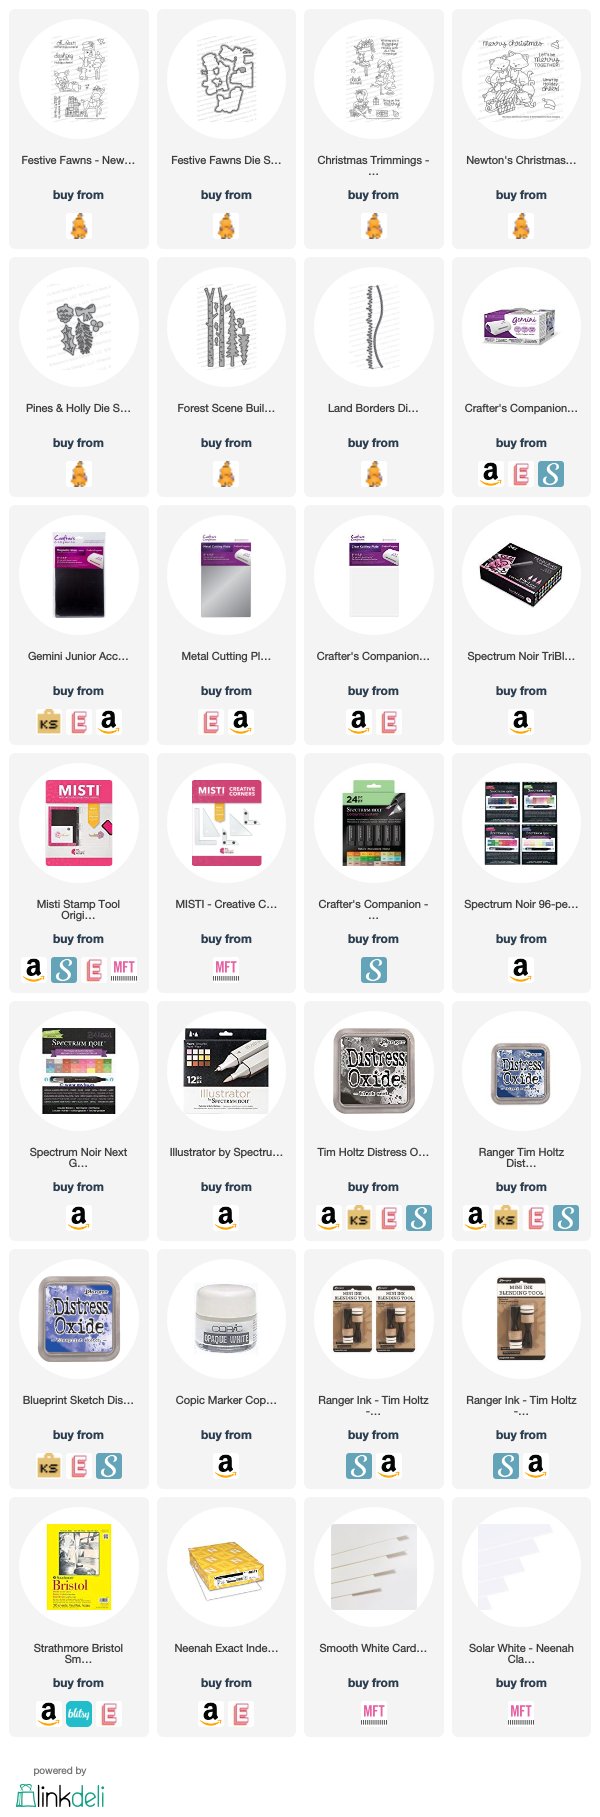
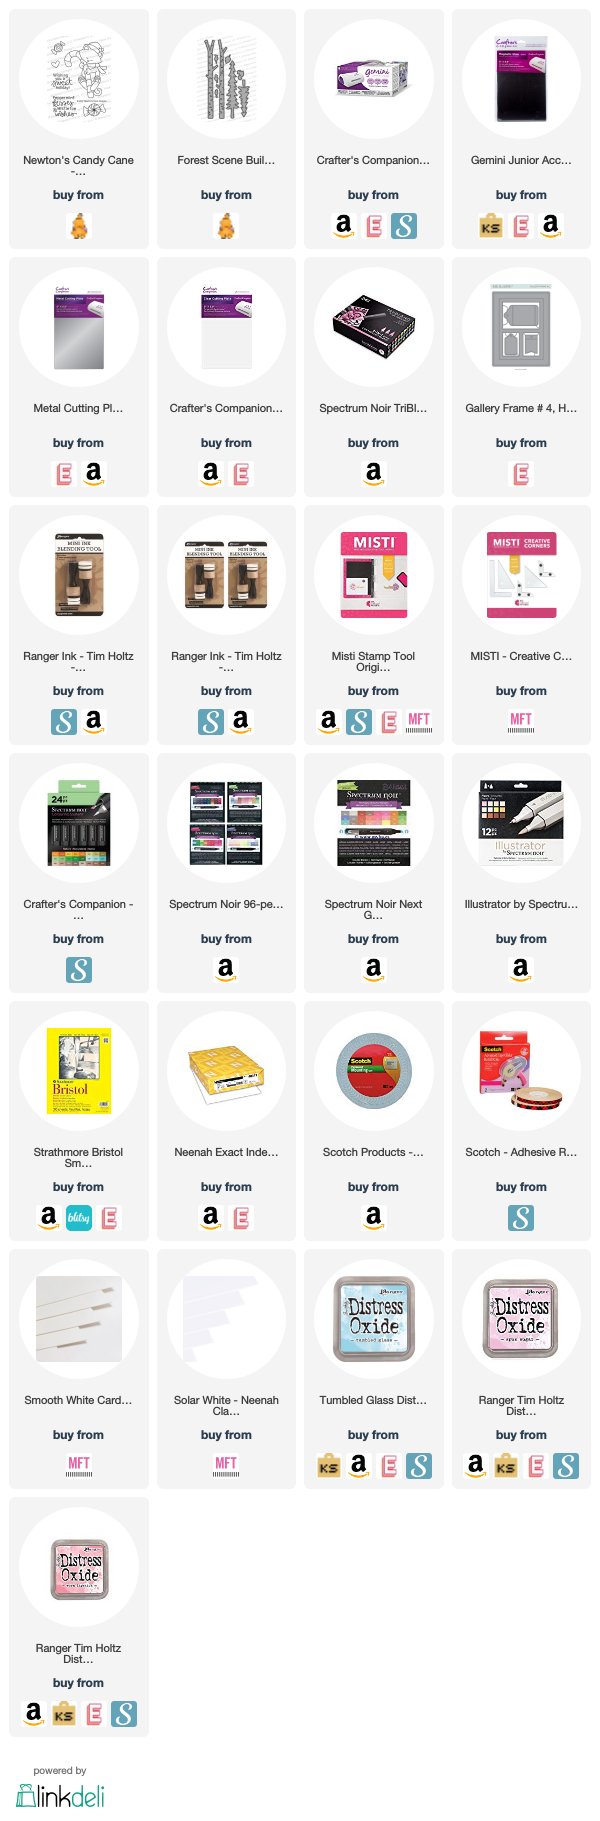
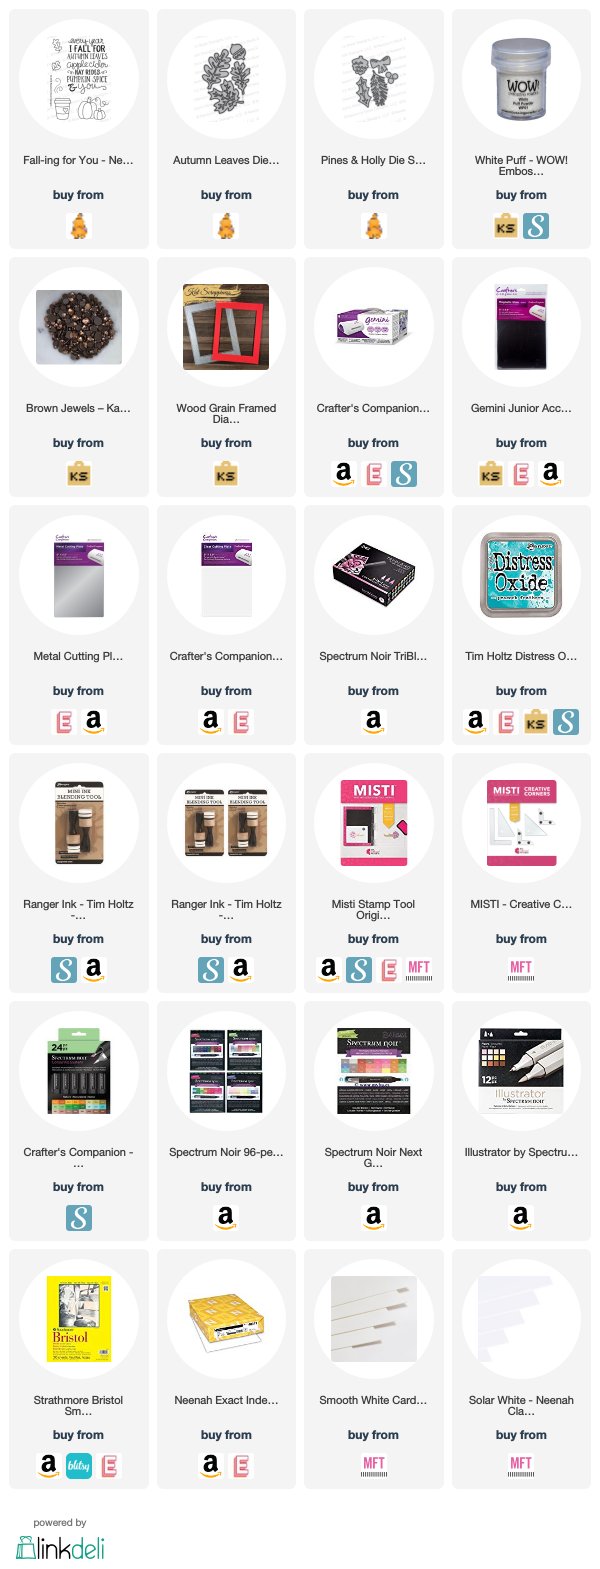
————-SUPPLIES———–