Happy Valentine’s Day Card with Cas-ual Fridays

Hello CFS fans! Maria here on the blog with you today, sharing a Valentine’s Day shaker card, showcasing the Hearts A2 Panel Fri-die and the sentiment is from the Love Notes stamp set.

To begin, I started off ink-blending a rainbow background on Bristol smooth white card stock with Distress Oxide inks in Mustard Seed, Ripe Persimmon, Worn Lipstick, Peacock Feathers and Seedless Preserves.

I die-cut my ink-blended panel with the Hearts A2 Panel Fri-die.  I adhered some acetate sheet on this piece and added foam adhesive to create my shaker panel.

I added some rainbow confetti dots as my shaker element and adhered the panel on top of an A2-size black card base.

I stamped the sentiment on a black strip with versamark ink and sprinkled some white embossing powder.  I used my heating tool to heat emboss the sentiment and adhered this piece on my card with my tape runner.  Here’s what it looks like:

The black background just made the rainbow panel pop.  Here’s a closer look:

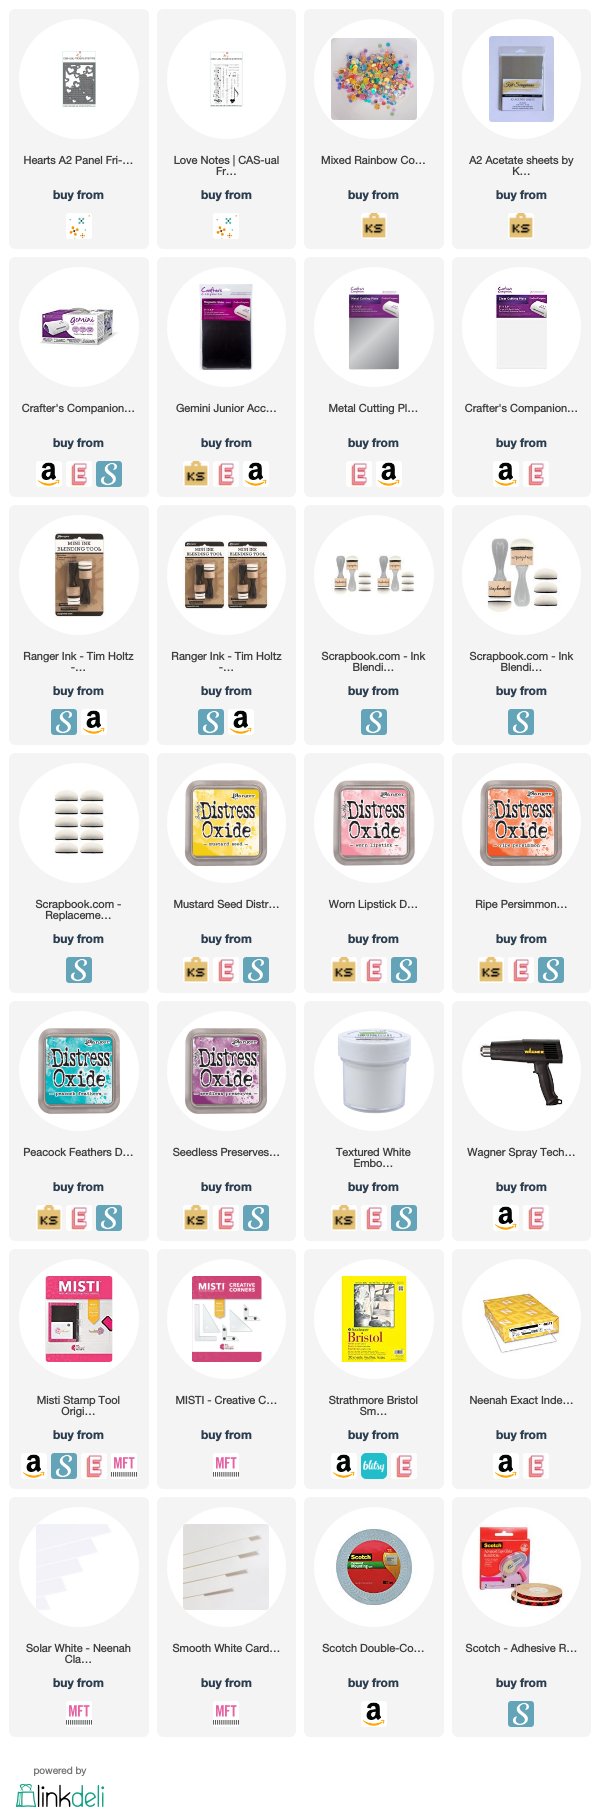
I hope you like my project today.  The supplies I used are listed and linked below.  Please use my coupon code below for an additional 15% off your order at Cas-ual Fridays.  Thanks for stopping by and happy stamping!

—————SUPPLIES——————

Life Is Tough But So Are You with Newton’s Nook Designs

Hello Newton’s Nook fans!  I hope you all had a great holiday with your loved ones!  I sure enjoyed having spent Christmas and New Year’s with my family.  Quality time with my husband and children is one of the things I cherish that nurtures my soul.  I needed a break from all of my DT responsibilities  and so grateful that I got to do it this year.


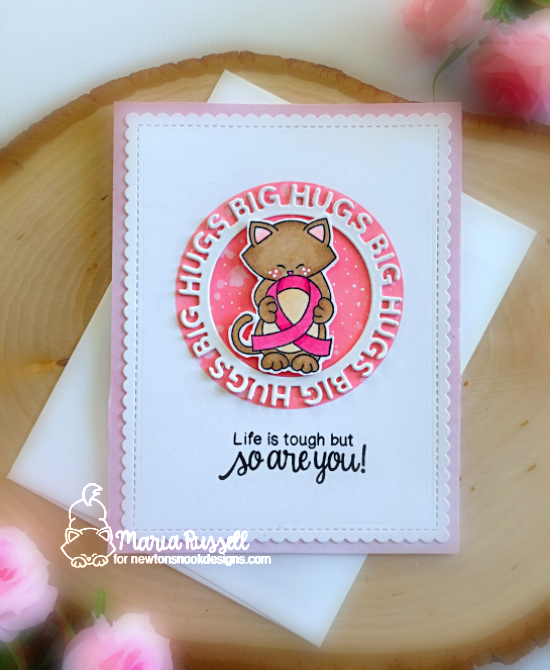
One of my friends was recently diagnosed with breast cancer and she is currently going through chemo.  Thank God they were able to detect it at an early stage.  However, going through chemo is taking its toll on her tiny frame that she is starting to feel really depressed.  I wanted to cheer her up by creating this card today, showcasing the Newton’s Support stamp set.


I started by creating my own mask by die-cutting a circle on some 110 lb card stock with my circle die.  I used washi tape to temporarily adhere this piece on some Bristol smooth white card stock.  I used my blending brush and Worn Lipstick distress oxide ink to ink up my card stock.  I splattered some water on the card stock and dabbed it with my paper towel to dry.


I stamped my image on some Neenah solar white card stock and colored the image with my alcohol markers.  Since this set didn’t have a coordinating die, I used my cutter-bee scissors to fussy-cut the image.  I also die-cut the “big hugs” circle twice, using a die from my stash and adhered them together with some liquid adhesive.


I adhered the ink-blended background on some pink card base and also adhered the “big hugs” die-cut with some liquid adhesive.  I foam-mounted my colored image in the middle of the circle.  Lastly, I stamped my sentiment using Versafine Onyx black ink.  Here’s what it looks like:


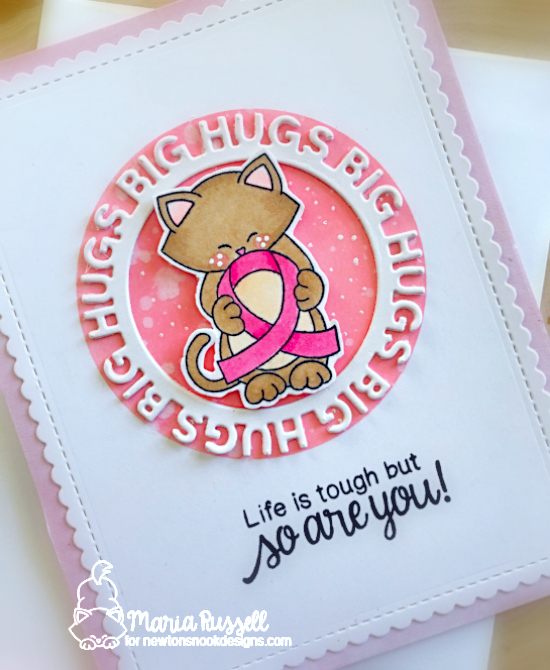
My friend also LOVES cats so this stamp set is perfect to use for my card today.  Here’s a closer look:


I hope you like my card today.  The supplies I used are listed and linked below.  Thank you so much for stopping by today and happy stamping!


———–SUPPLIES————


Handmade Christmas with Newton’s Nook Designs

Hello my crafty friends.  It’s a double-whammy kind of day for me at Newton’s Nook Designs.  I not only have this blog post, but there is also an exclusive Designer Nook’s newsletter where I featured another project today.  The Designer Nook newsletter is only available for subscribers so if you haven’t signed up for that, please head on over to the Newton’s Nook Blog.

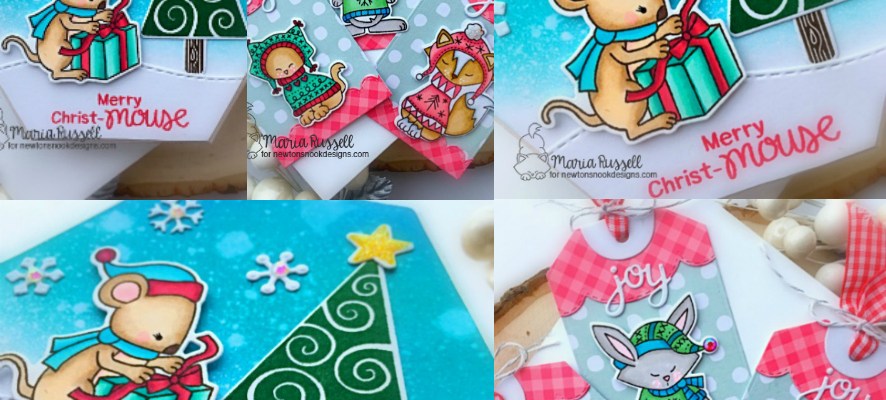
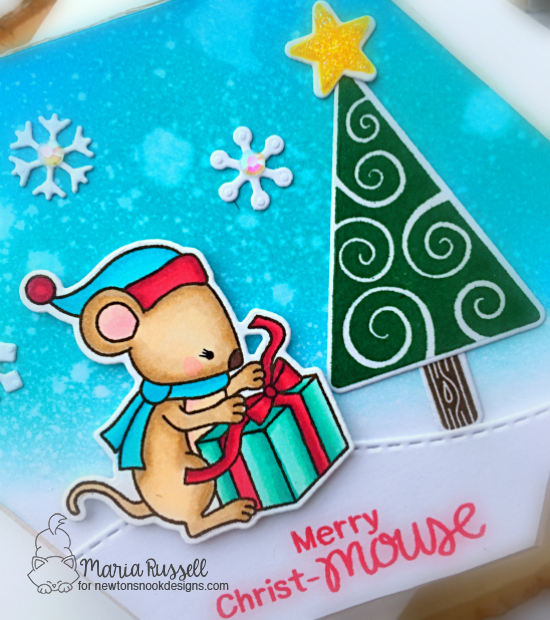
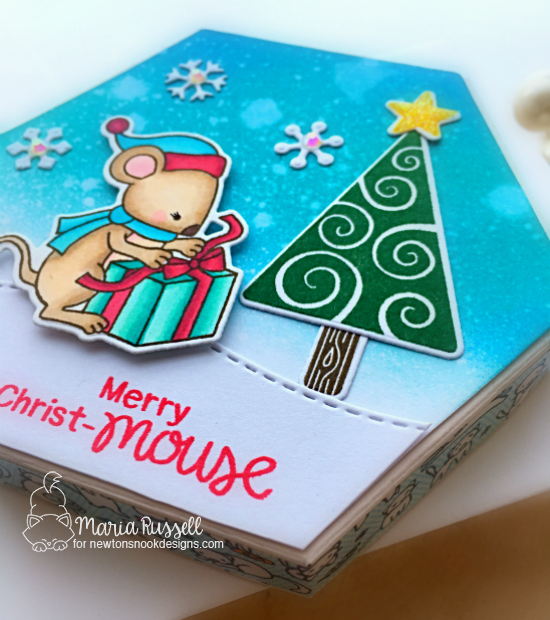
For my projects today, I am showcasing the Naughty or Mice stamp set, Naughty or Mice die set, Festive Forest stamp set and Festive Forest die set,  Sweater Weather stamp set and sweater weather die set, with the Fancy Edges die set.  We all have our stash of stamps and dies and making some handmade gift boxes and tags is what I always love to do during the holidays.

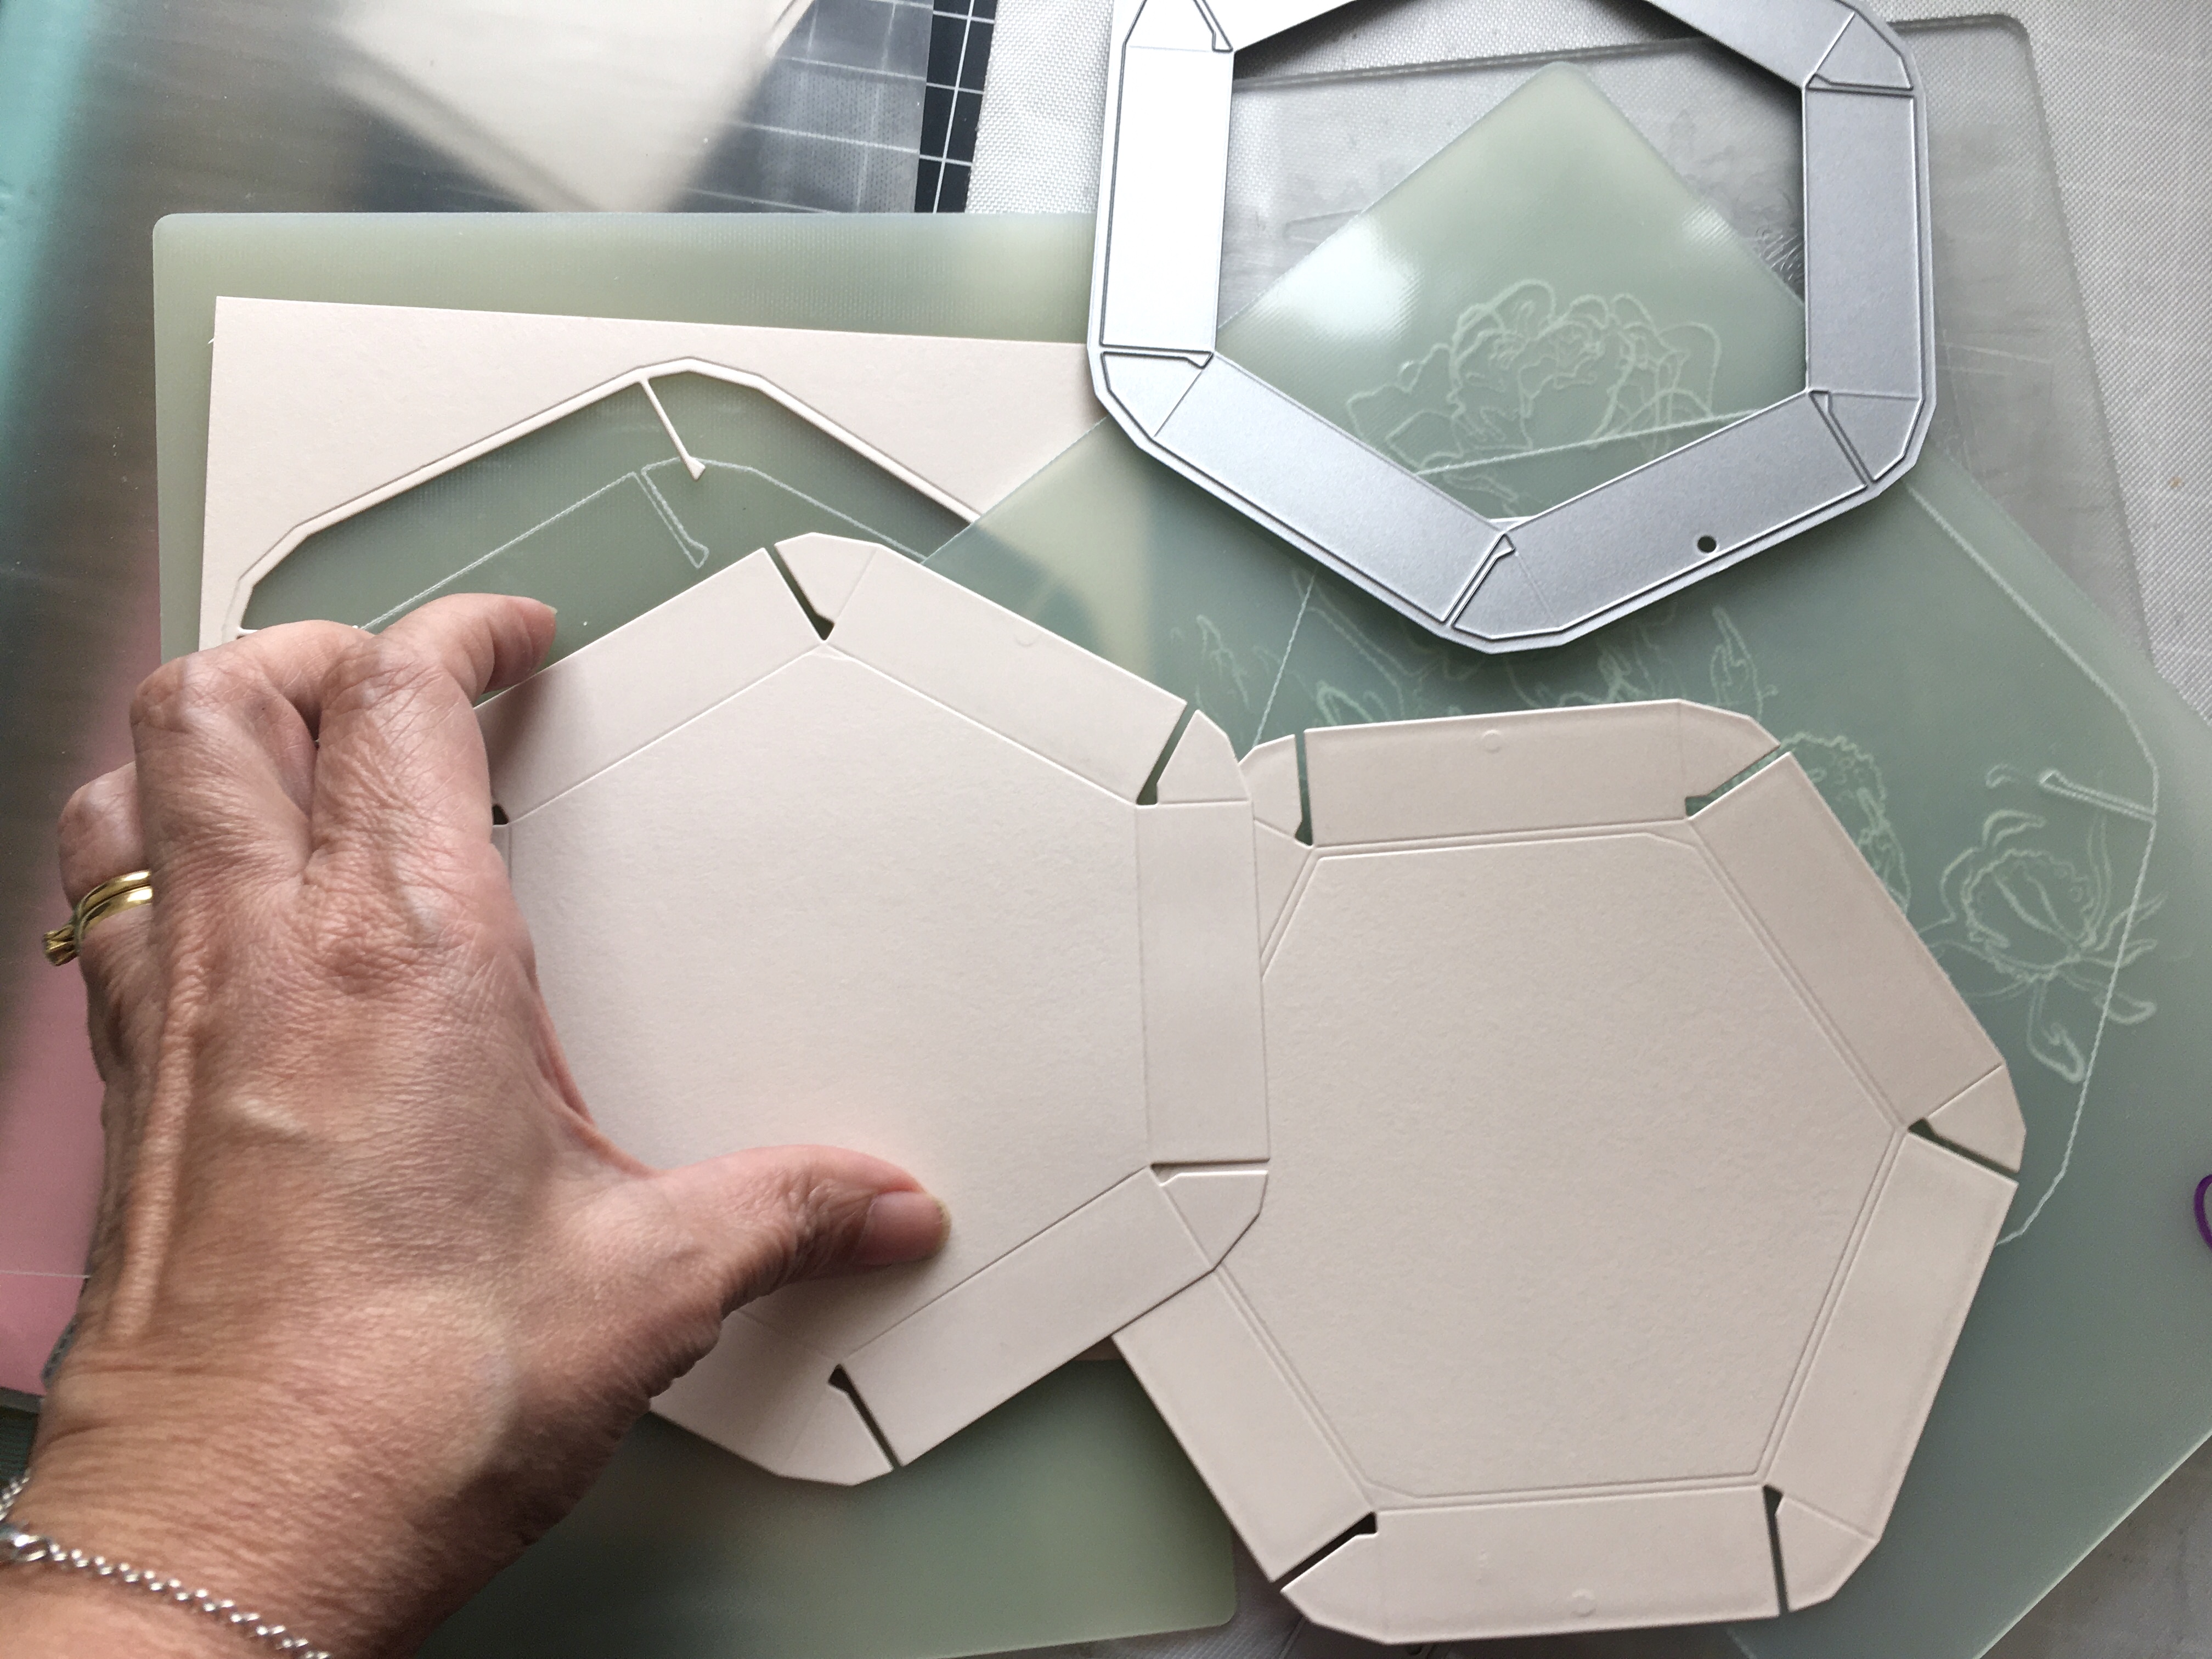
For my Hexagon gift box, I started by die-cutting the box with a die from my stash.  I used liquid glue to assemble the box.  I would not recommend doing this if you are mass-producing but for the special people in your life, I think it’s wonderful to create something unique and special during the holidays.


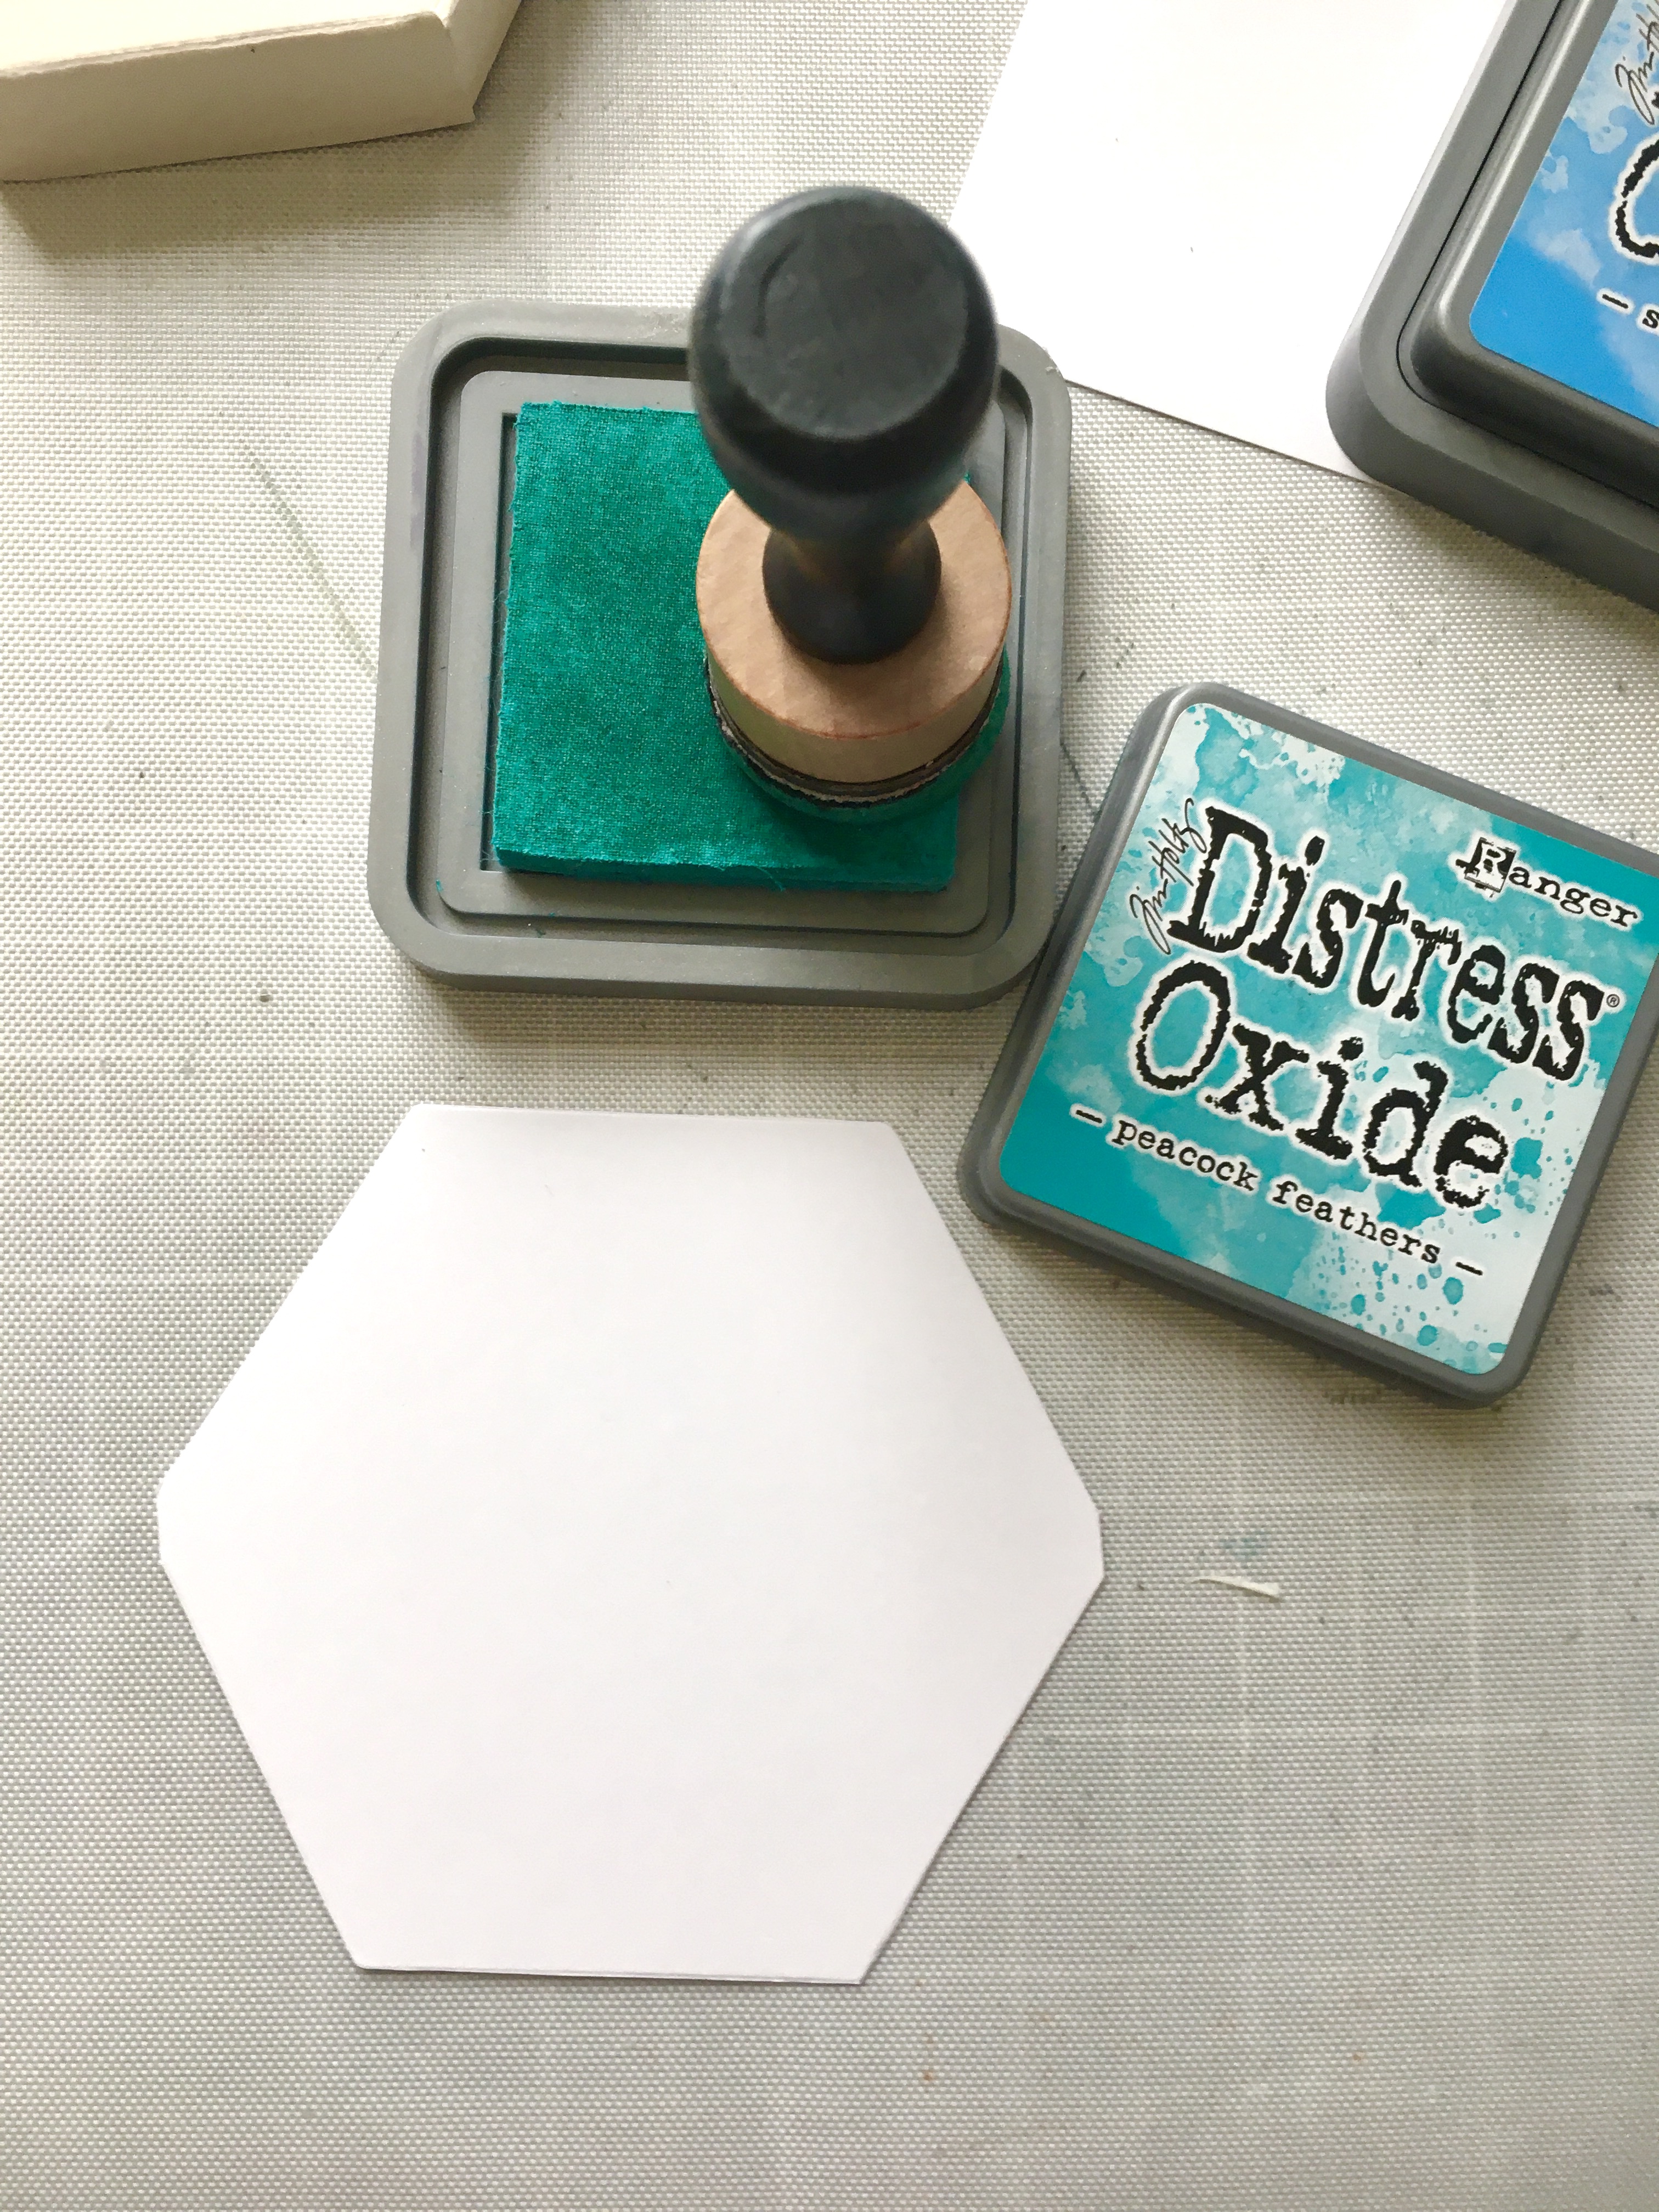
I also die-cut another piece of the hexagon with some Bristol smooth white card stock and used my cutter-bee scissors to cut out the piece.  To create my scene, I ink-blended the background with some Salty Ocean and Peacock Feathers distress oxide inks.  These are my favorite color-combo to create a blue sky.


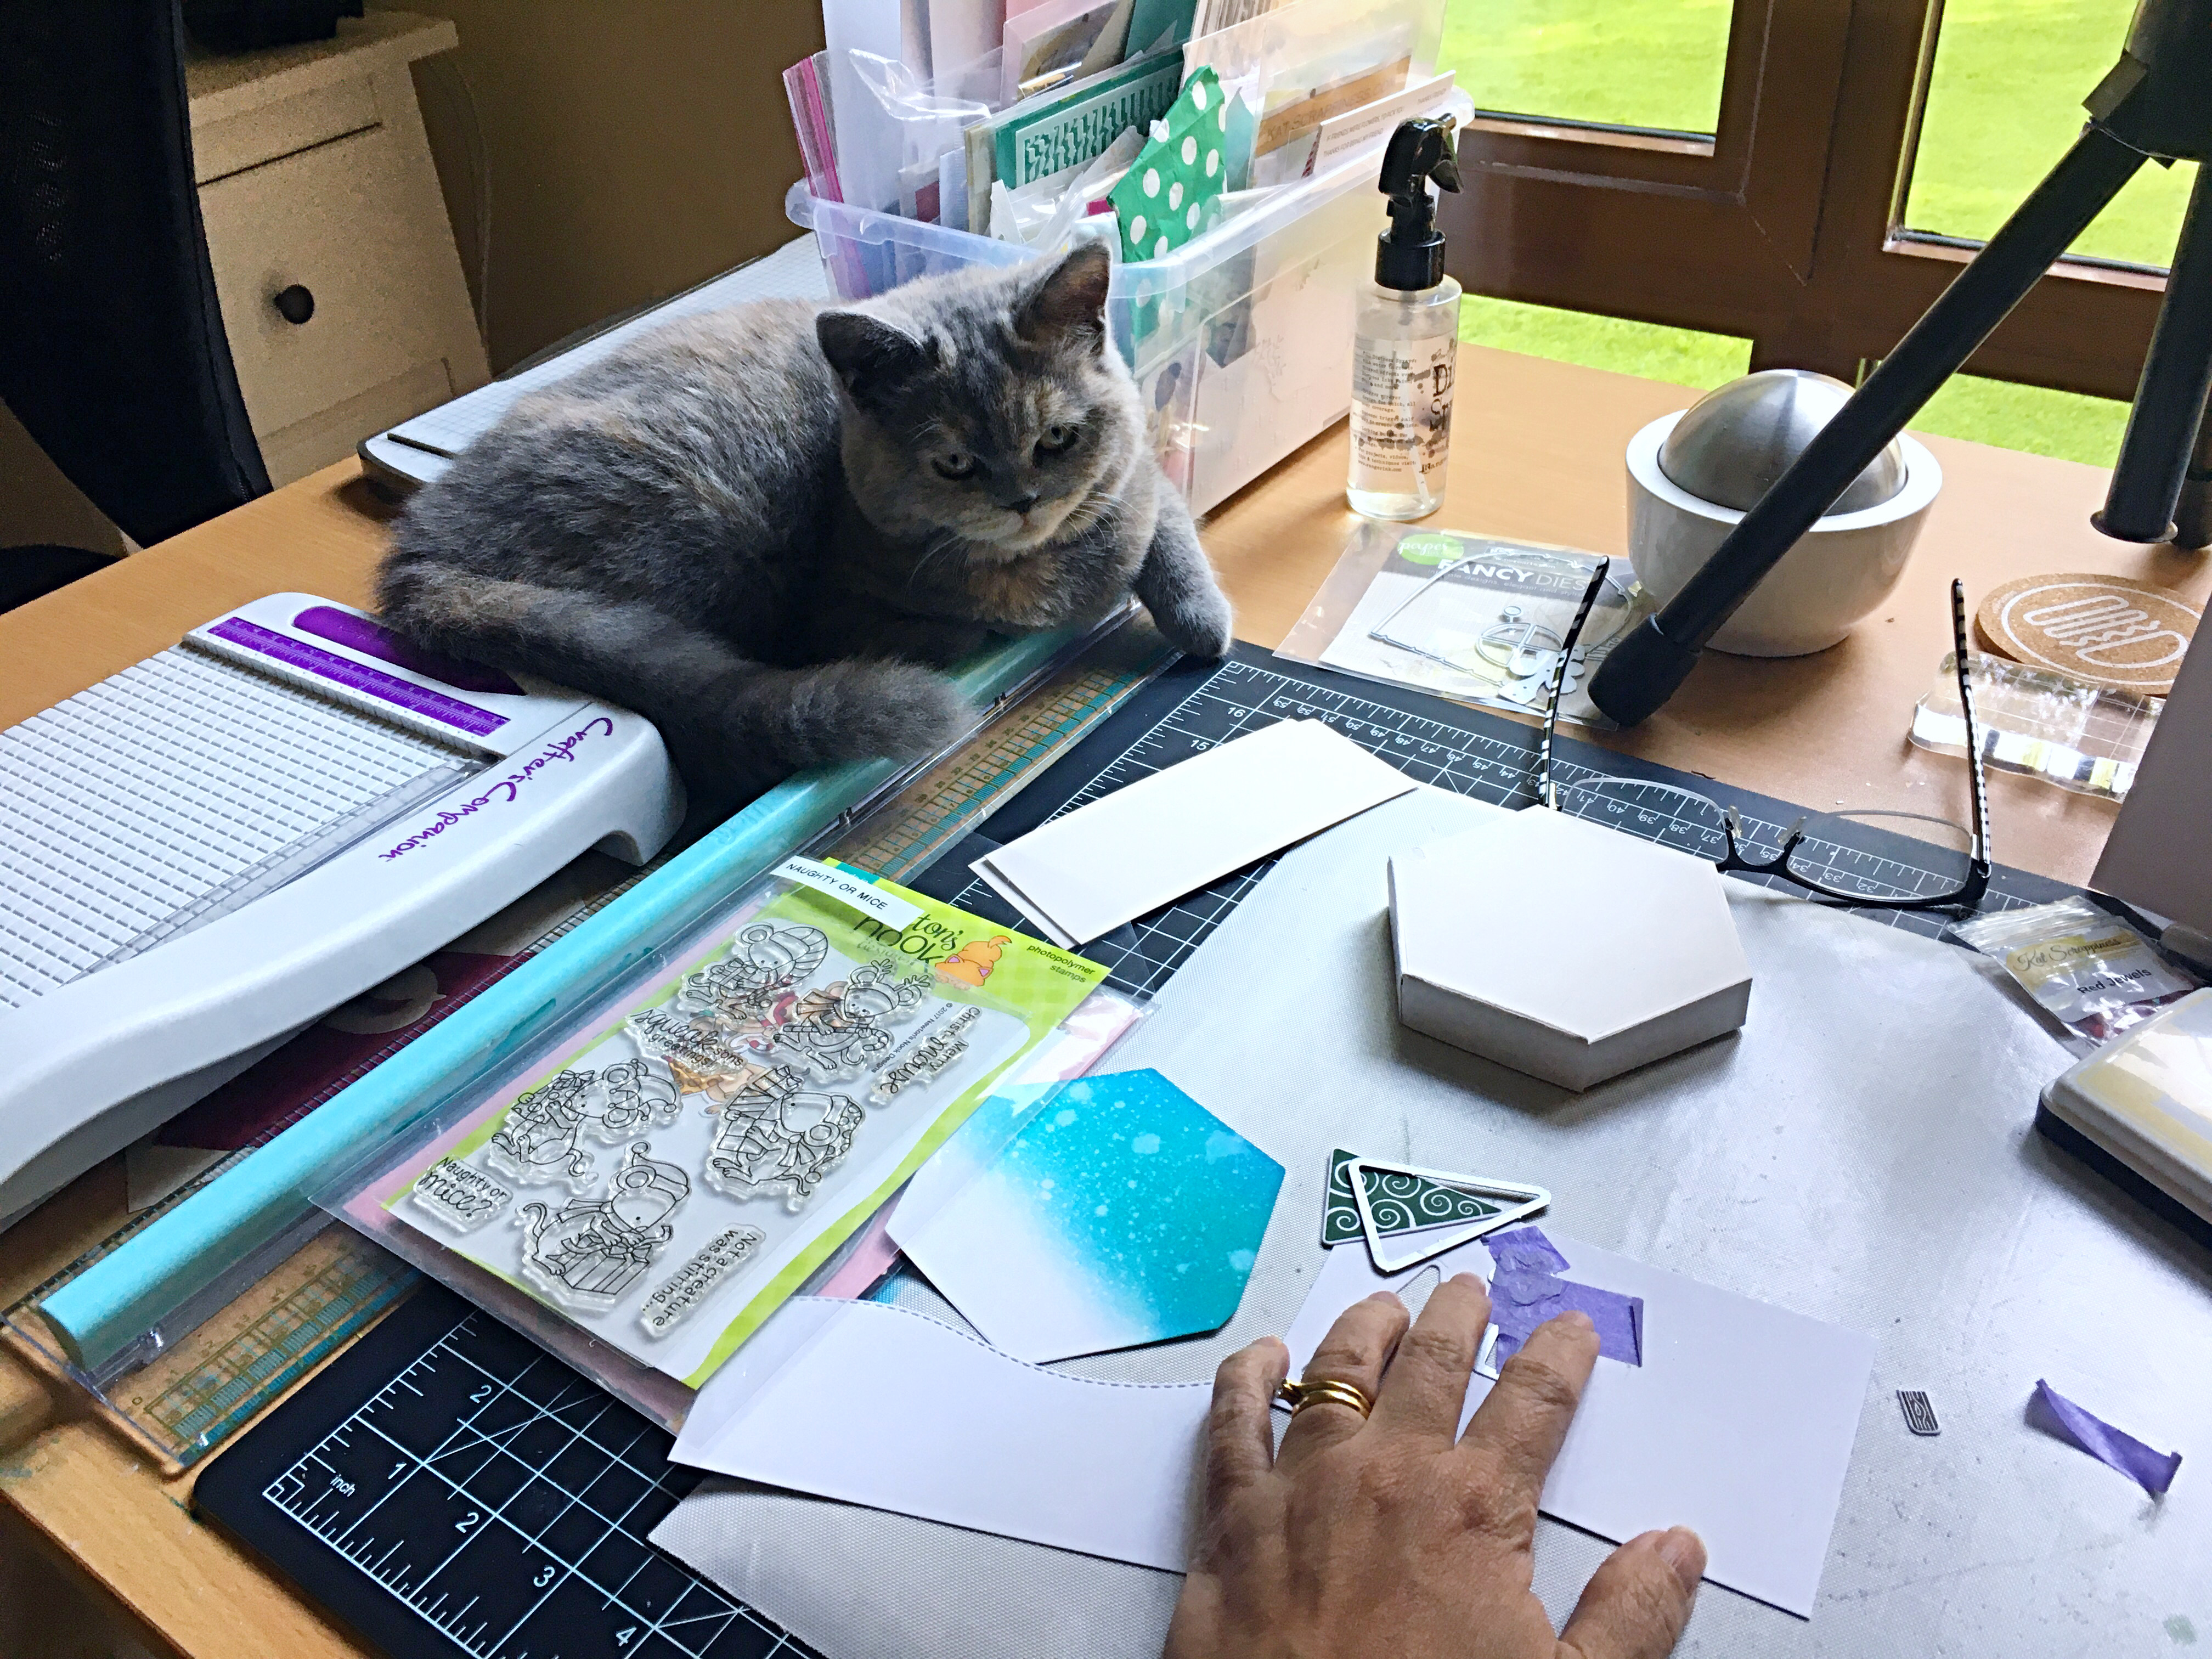
I stamped my images on some Neenah solar white card stock and used the coordinating dies to die-cut the images.  Before adhering the focal image to the box, I stamped my sentiment using some Red Lobster ink.  Here’s a photo of my cat Phoebe supervising me and making sure I was doing it right!  She loves crafting with me during the day.


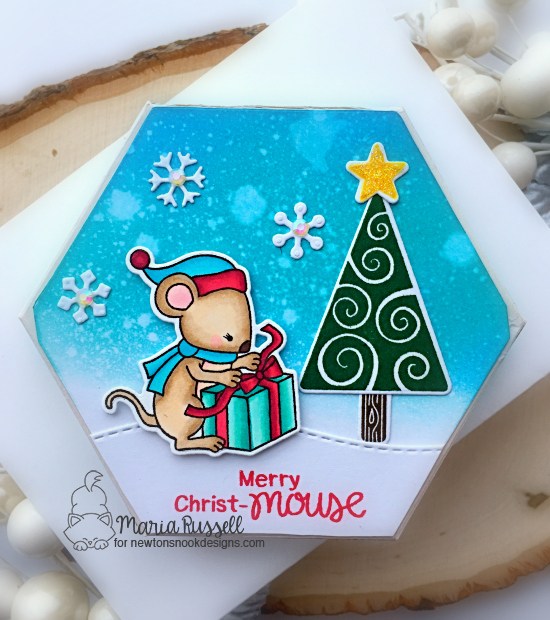
I adhered the focal image to my box.  Here’s what it looks like:


To finish my design, I added some crystal lacquer to the star and also adhered some snowflakes to adorn my scene.  Here’s a closer look:


I LOVE being able to create special gift boxes and tags with the supplies I have on hand.   I also added some cute Washi tape on the side of the box for some stability.  Doesn’t it look so unique?


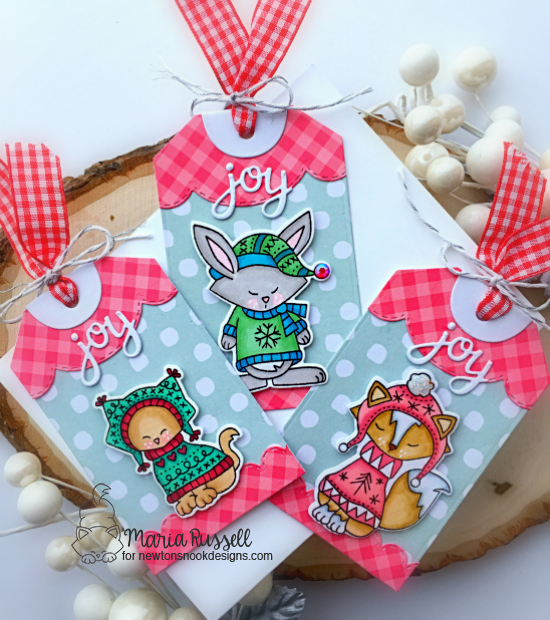
For my second project, I wanted to create some Christmas tags to go with my presents this year.  I used the Fancy Edges Tag die set and the Sweater weather stamp set.  Here are my tags:


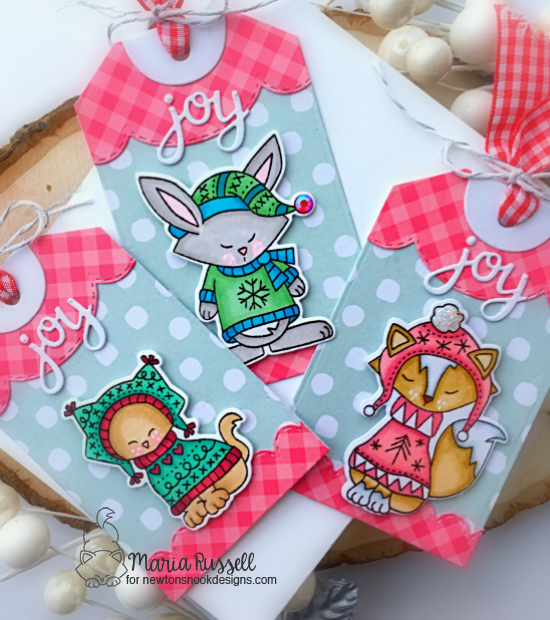
For more texture and dimension, I added some crystal lacquer and jewels to adorn the tags.  Here’s a closer look:


I hope I inspired you today to create handmade gift boxes, cards and tags for the holidays.  Thank you for stopping by my blog.  The supplies I used are listed and linked below.  Have an amazing week and happy stamping!

———–SUPPLIES————


https://linkdeli.com/widget.js?1559654439292

3 Holiday Cards & Black Friday Sale You Don’t Want to Miss!!!!

Hello Cas-ual Fridays fans! HAPPY BLACK FRIDAY!  I hope you all had an amazing time celebrating Thanksgiving with your loved ones yesterday.

Today is the start of the wonderful season for shoppers, also known as Black Friday!  Yay!  We have some amazing deals for you that you wouldn’t want to miss!  See details at the end of this blog post.

I have three cards for you today.  For my first card, I am showcasing the Stay Strong 3×4 stamp set.

Holidays can be really stressful for a lot of us!  Sometimes, you just want to sit down, relax and enjoy a cup of java!  This Stay Strong 3×4 stamp set has all the perfect sentiments you’ll need to create a cute card and cheer someone up.

For my card below, I also showcased the Coffee Cup Fri-Dies.

For more details about my card including supplies used, please visit my Blog, Maria Russell Designs.

I really like how this card turned out.  I added some crystal lacquer and chocolate sprinkles on the whipped cream for more texture & dimension.  Here’s a closer look:

For my second project, I am showcasing the Snow Angel stamp set.  If you spend $55 today (after discounts and including shipping), you will receive this stamp set for free!

I also used the Flakey A2 Panel Fri-Die and created a shaker card.

Isn’t she a cutie?  Here’s a little close-up:

For my third card, I also used the Snow Fri-Dies and created this pop-up gift card holder.  If you pull the tab, it reveals the sentiment and the gift card.

Here’s a closer look:

Which one is your favorite?  I think mine is the shaker card!

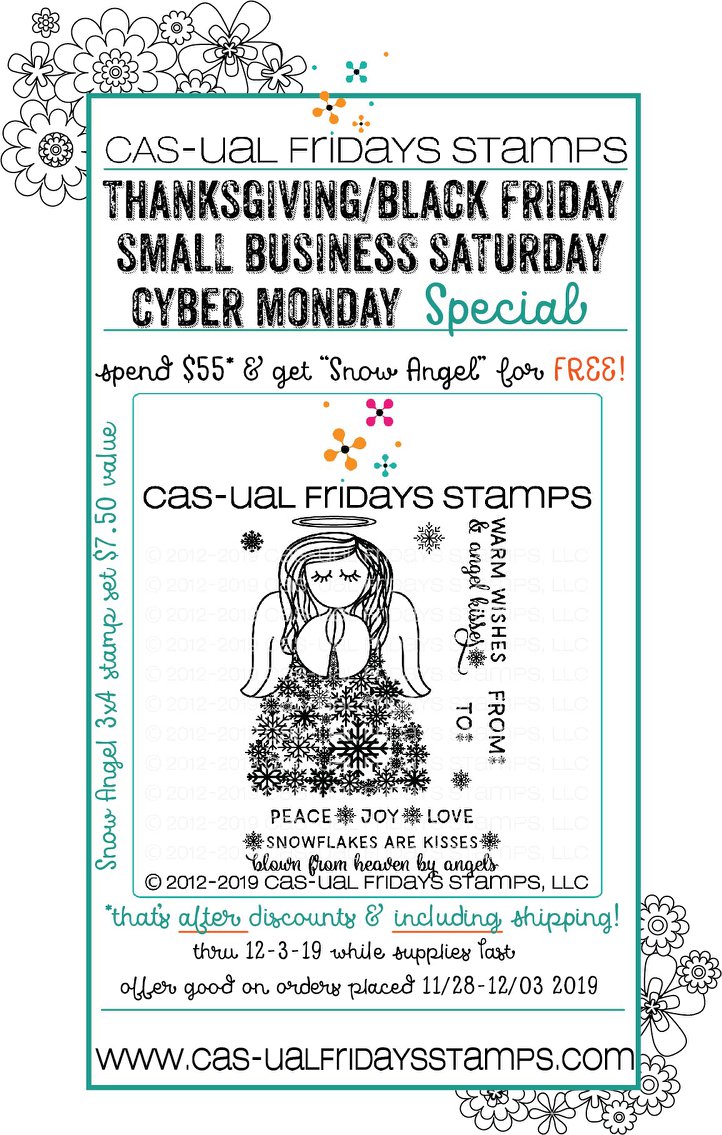
Are you ready to find out about the HUGE discounts?  See graphic below:

On top of this sale, you can also use my coupon code (MariaSentMe) for an additional 15% off!  What are you waiting for?  Shop, shop, shop!  The supplies I used are listed and linked below. Thanks so much for stopping by and Happy stamping!


———–SUPPLIES———–


Newton’s Nook November Release Day 4 – Frosty Folks


I always get a bit bummed because it is the last day of the November release.  I hope you guys were able to check out the first three days as we showcased the new stencil, stamps and dies.  Which one is your favorite so far??  You also have a chance to win each stamp set during release week so check out the details I have indicated at the end of this blog post.  [Just a little important note:  I know some of you had difficulties finding the comments section.  If you would like to leave a comment to participate in the giveaway, the “comments section” will only be ever visible when a single post on Word Press is being viewed. Please click on this particular blog post and you will be able to leave a comment below.  Thank you!]  


For today’s release, the design team is showcasing the Frosty Folks stamp set and coordinating dies.


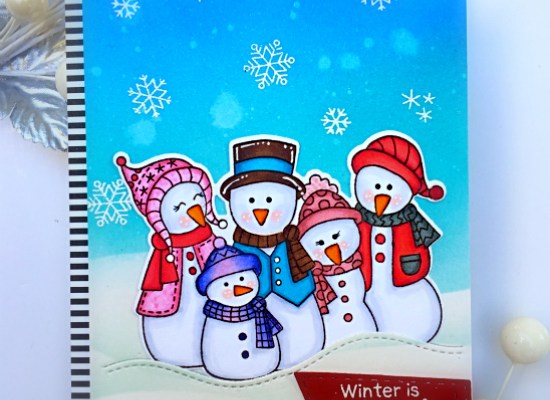
To begin, I stamped my images on some Neenah solar white card stock and colored them in with my alcohol markers.  I die-cut the images using the coordinating dies.


I ink-blended an A2-size piece of some Bristol smooth white card stock with some distress oxide inks.  I also used the Hills and Grass stencil to create my snowbanks.


I sprayed some water on the colored background and dabbed it with some paper towel to dry and used my guillotine to cut about a 1/4 inch of this background.  I used a border die to partially die cut the snow so I can tuck my image to the foreground.


I adhered some black & white patterned paper on an A-2 size side-fold card base and also adhered the colored panel.    I foam-mounted my focal image on the card.  I also stamped the sentiment on a red banner die-cut and adhered this piece with some foam adhesive.


To finish my design, I stamped the snowflakes with Versamark ink and sprinkled some white embossing powder.  I heat-set the snowflakes using my Wagner heating tool.  Here’s a closer look:


Would you like to win the “Frosty Folks” Stamp Set?  This stamp set will be given away to ONE lucky winner!  Here’s how to win:


Comment on the NND blog and Design Team blogs (see list below)! The winner will be chosen at random from the collective reveal posts. Make sure to check out each of their blogs and comment for your chance to win. You will not know which blog has been chosen so the more you comment on the better your chances are of winning! You have until Thursday November 14th at 9pm EST to comment  — winners will be announced on the blog post on Friday, November 15th.


Check out all the awesome Design Team Blogs below to enter:

Newton’s Nook Designs

Holly Endress

Ellen Haxelmans

Larissa Heskett

Samantha Mann

Zsofia Molnar

Naki Rager

Maria Russell

Andrea Shell

Tatiana Trafimovich


————SUPPLIES—————


Newton’s Nook November Release Day 3 – Penguin Pile and Let It Snow


It is the third day of the November reveals by Newton’s Nook Designs.   I hope you were able to check the first two days of the reveal.  Which one is your favorite so far??  You also have a chance to win each stamp set during release week so check out the details I have indicated at the end of this blog post.  [Just a little important note:  I know some of you had difficulties finding the comments section.  If you would like to leave a comment to participate in the giveaway, the “comments section” will only be ever visible when a single post on Word Press is being viewed. Please click on this particular blog post and you will be able to leave a comment below.  Thank you!]  


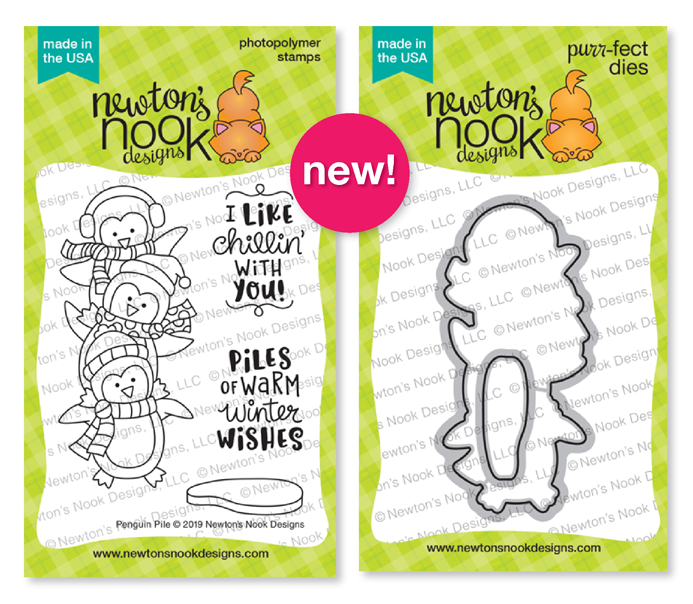
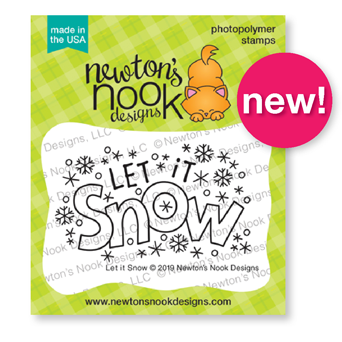
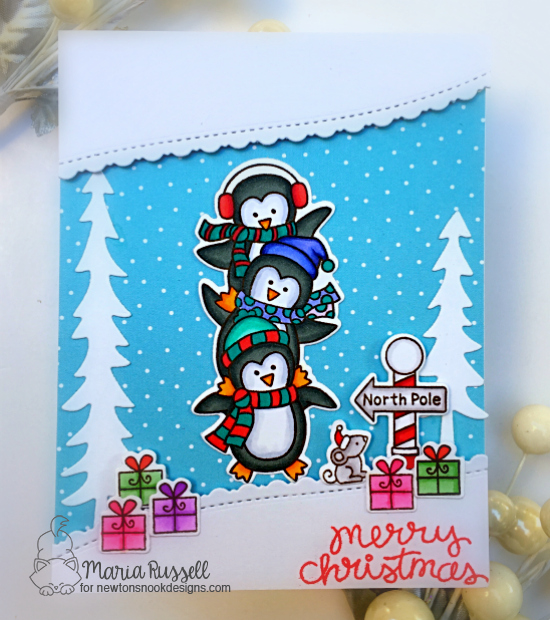
For today’s release, the design team is showcasing the Penguin Pile stamp set and coordinating die.


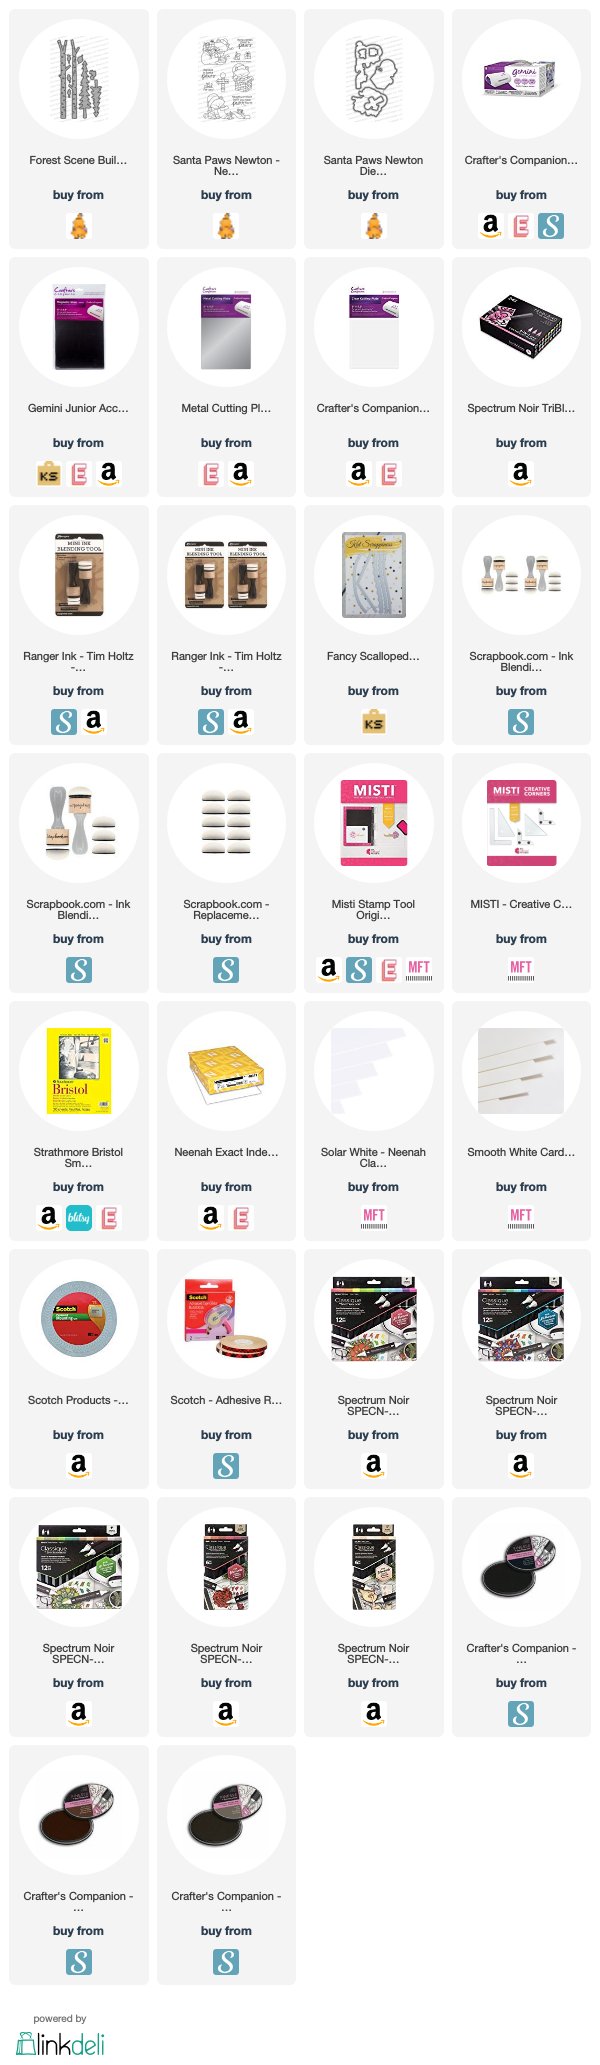
For my project today, I am also showcasing the Forest Builder die set and the Santa Paws Newton stamp set and coordinating dies.


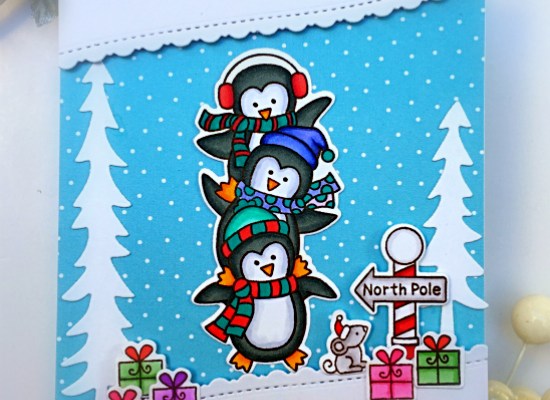
I stamped my images on some Neenah solar white card stock. and colored them in with my alcohol markers.  I die-cut the images using the coordinating dies, along with the trees using the Forest builder die set.


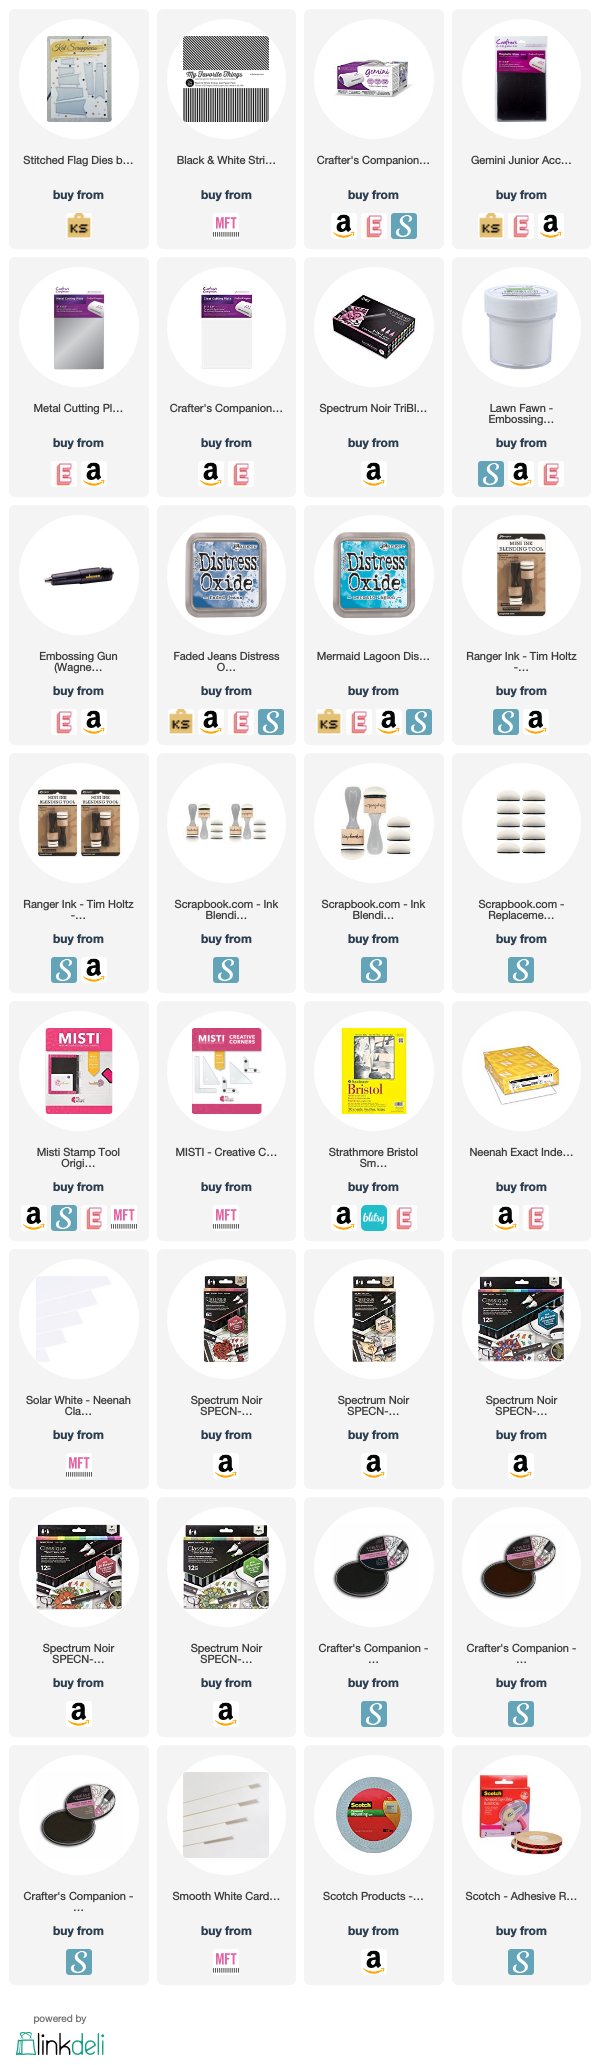
I used a border die from my stash to create the white scallop borders, and foam-mounted both panels on some patterned paper.  I adhered the trees with some liquid glue and also adhered the rest of the images to create my scene, finishing my design by stamping the sentiment in Lobster ink.


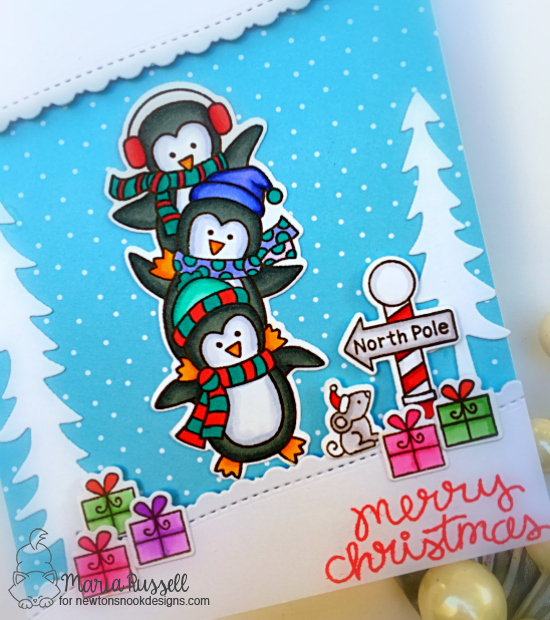
I really LOVE how this card turned out.  The pile of penguins are so cute and the colorful presents with the little mouse just added the perfect touch to create my wintery scene.  Here’s a closer look:


Would you like to win the “Penguin Pile” Stamp Set? This stamp set will be given away to ONE lucky winner!  Here’s how to win:


Comment on the NND blog and Design Team blogs (see list below)! The winner will be chosen at random from the collective reveal posts. Make sure to check out each of their blogs and comment for your chance to win. You will not know which blog has been chosen so the more you comment on the better your chances are of winning! You have until Thursday November 14th at 9pm EST to comment  — winners will be announced on the blog post on Friday, November 15th.


Check out all the awesome Design Team Blogs below to enter:

Newton’s Nook Designs

Holly Endress

Ellen Haxelmans

Larissa Heskett

Samantha Mann

Zsofia Molnar

Naki Rager

Maria Russell

Andrea Shell

Tatiana Trafimovich


————SUPPLIES—————


Newton’s Nook Designs November Release Day 2 – Newton’s Toboggan & Mountains Stencil


It is the second day of the November reveals by Newton’s Nook Designs.   I hope you were able to check out yesterday’s reveal.  You also have a chance to win each stamp set during release week so check out the details I have indicated at the end of this blog post.  [Just a little important note:  I know some of you had difficulties finding the comments section.  If you would like to leave a comment to participate in the giveaway, the “comments section” will only be ever visible when a single post on Word Press is being viewed. Please click on this particular blog post and you will be able to leave a comment below.  Thank you!]  


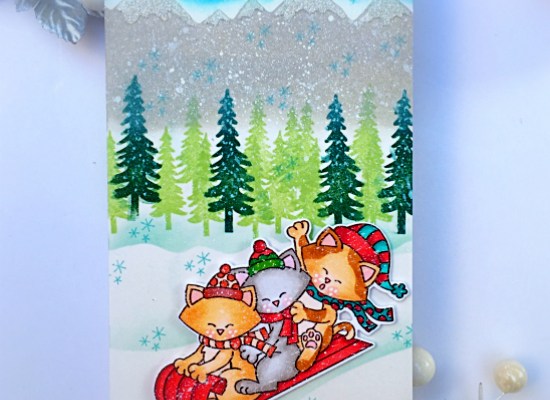
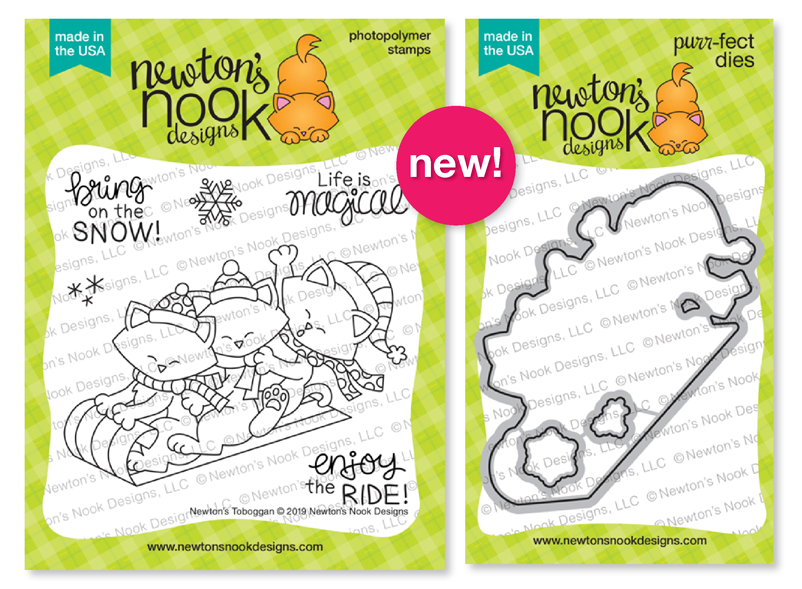
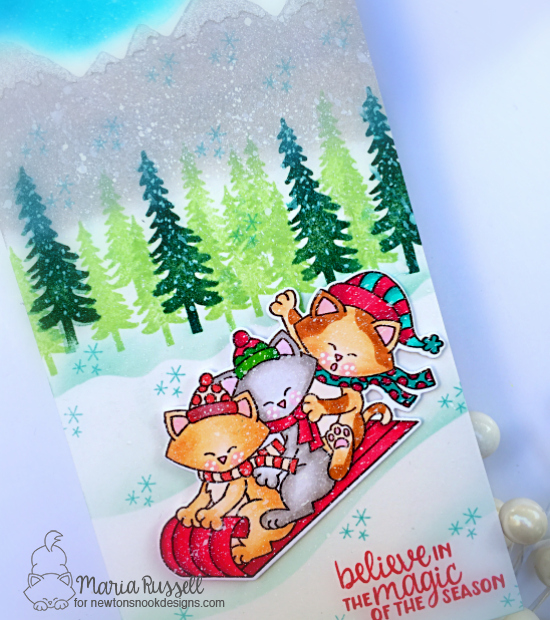
For today’s release, the design team is showcasing the Newton’s Toboggan stamp set and coordinating dies with the Mountains Stencil.


To begin, I stamped my image on some Neenah solar white card stock.   I colored the images in with my Spectrum Noir Alcohol markers and die-cut the image using the coordinating dies.


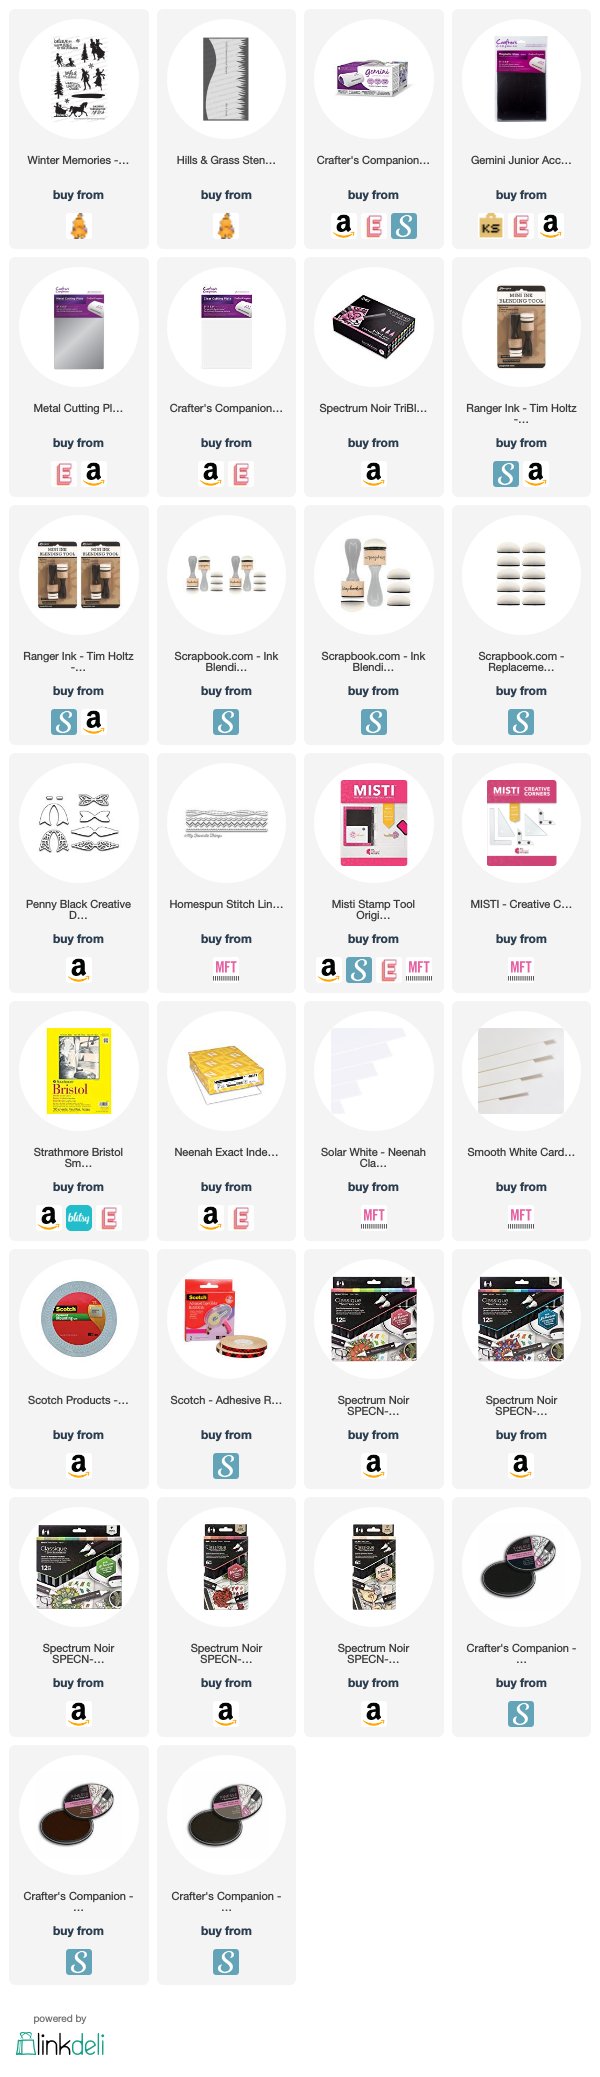
I cut some Bristol smooth white card stock measuring 4 1/4 X 8 1/2.  I ink-blended my background with some distress oxide ink.  I also used the Mountains Stencil to create my snowy-mountains on the background.  I used Gina K Glitz Glitter Gel in White to create the snow and set this piece aside for about half an hour until it dried.  I adhered this piece on a 4 1/4 x 8 1/2 slimline card base.


I stamped the trees using the Winter Memories stamp set with some Noble Fir and Celery Stick inks.  I used the Hills and Grass stencil to create my snowbank and adhered my focal image on the foreground.


I used some white Copic Opaque paint to splatter it all over my card to create the snowy look for added texture, and stamped the snowflakes using some Mermaid ink.


Lastly, I stamped the sentiment from the winter Memories stamp set with some Lobster ink.


I know you can’t really tell on the photo but the Glitz Glitter Gel that I added really made the snow pop!  It’s so pretty in real life.  Here’s a closer look:


Would you like to win the “Newton’s Toboggan” Stamp Set? This stamp set will be given away to ONE lucky winner!  Here’s how to win:


Comment on the NND blog and Design Team blogs (see list below)! The winner will be chosen at random from the collective reveal posts. Make sure to check out each of their blogs and comment for your chance to win. You will not know which blog has been chosen so the more you comment on the better your chances are of winning! You have until Thursday November 14th at 9pm EST to comment  — winners will be announced on the blog post on Friday, November 15th.


Check out all the awesome Design Team Blogs below to enter:

Newton’s Nook Designs

Holly Endress

Ellen Haxelmans

Larissa Heskett

Samantha Mann

Zsofia Molnar

Naki Rager

Maria Russell

Andrea Shell

Tatiana Trafimovich


————SUPPLIES—————


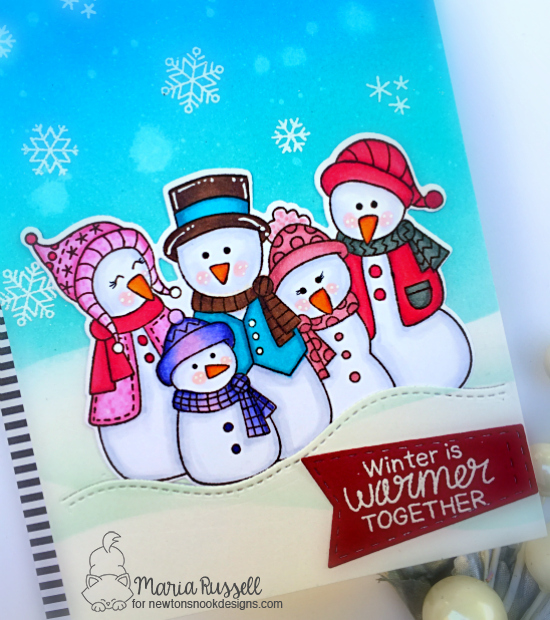
Newton’s Nook November Release Day 1 – Snowman Party


It is that time of the month where the entire design team get so excited to show off the new stamps, dies and stencils by Newton’s Nook Designs.  You also have a chance to win the stamp set being revealed each day so please read through til the end of the blog post to find out more info.  [Just a little important note:  I know some of you had difficulties finding the comments section.  If you would like to leave a comment to participate in the giveaway, the “comments section” will only be ever visible when a single post on Word Press is being viewed. Please click on this particular blog post and you will be able to leave a comment below.  Thank you!]  


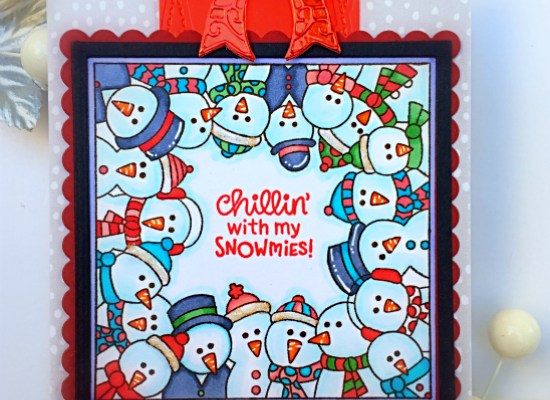
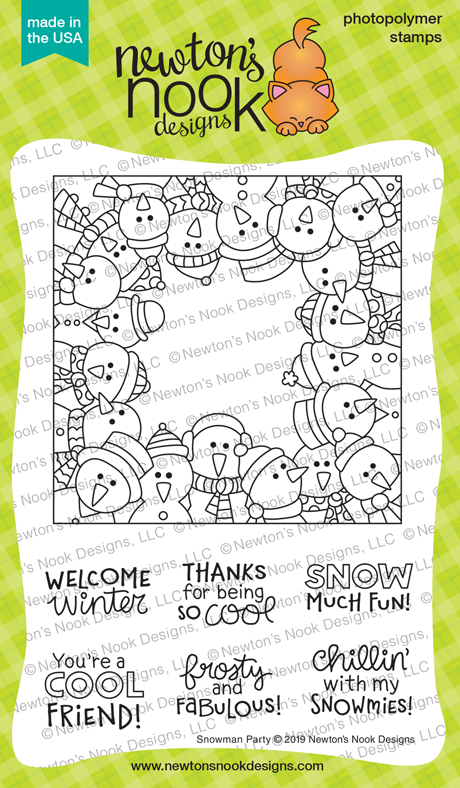
For the first day of the reveals, we are showcasing the Snowman Party stamp set.  This stamp set will also go perfectly well with the Frames Squared Die.


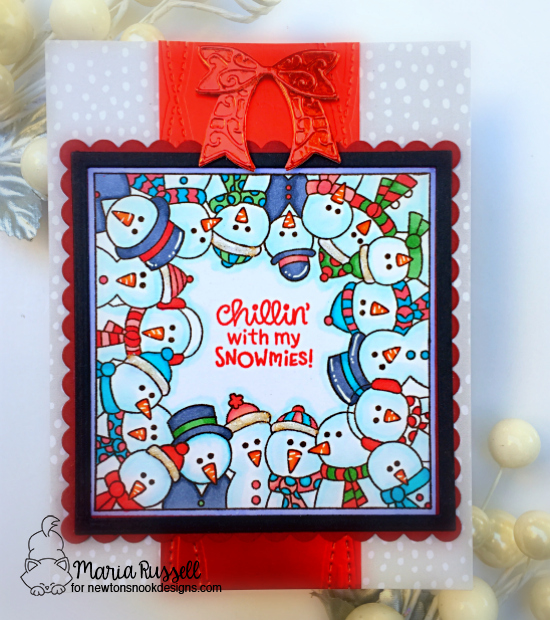
To begin, I started by stamping my image on some Neenah solar white card stock.  I colored my images in with the Spectrum Noir Classique alcohol markers and cut the image using a square die from my stash.


I die-cut the red square scallop and black square frame using the Frames Squared Die and another square die from my stash.  I also die-cut the rest of the elements that I needed to finish my card.   Here’s what it looks like:


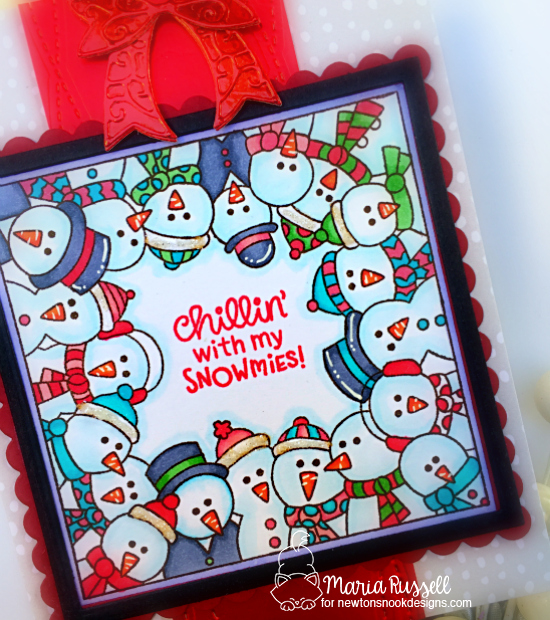
I was going to do a square card but I really like how this one turned out.  I finished my design by adding Nuvo Crystal drops in Snow Blizzard and also used my white gel pen for some added texture and dimension.  Here’s a closer look:


Would you like to win the “Snowman Party” Stamp Set? This stamp set will be given away to ONE lucky winner!  Here’s how to win:


Comment on the NND blog and Design Team blogs (see list below)! The winner will be chosen at random from the collective reveal posts. Make sure to check out each of their blogs and comment for your chance to win. You will not know which blog has been chosen so the more you comment on the better your chances are of winning! You have until Thursday November 14th at 9pm EST to comment  — winners will be announced on the blog post on Friday, November 15th.


Check out all the awesome Design Team Blogs below to enter:

Newton’s Nook Designs

Holly Endress

Ellen Haxelmans

Larissa Heskett

Samantha Mann

Zsofia Molnar

Naki Rager

Maria Russell

Andrea Shell

Tatiana Trafimovich


————SUPPLIES—————


Easy Christmas Cards with Therm-O-Web

I am super excited to share today’s post because I am guest-designing for Therm-O-Web!   I was approached by the beautiful Julia Sandvoss and she had sent me some awesome Therm-O-Web (“TOW”) products to try.  Let me just say…. WOW!  I am completely blown away by these products!  Stay tuned in the next few weeks as I will have some process videos of some of the products that I got to play with, including my new favorite, the Deco Foil Metallix Gel.


Before I proceed with my projects, I’d like to take this opportunity to thank Julia Sandvoss and Therm-O-Web for sending me all the wonderful products that I got to play with today , and will be using in the next few weeks!  You guys are amazing and I love your products!


For my projects, I am showcasing the Deco Foil Metallix Gel in White Pearl, Deco Foil Flock Transfer Sheet in Blue Sky, the Brutus Monroe for TOW Designer Toner Sheets in Peppermint, Brutus Monroe for TOW Foil transfer Sheet in Red Static, Pixie Spray and the Deco Foil Stencil Pal.  The stamps I am showcasing are Newton’s Nook Designs Cup of Cocoa stamp set and coordinating dies with the Santa Paws Newton stamp set and coordinating dies.


Here’s a step-by-step instruction on how I made my first card:


  • Stamp the images on Neenah solar white card stock and color them in with Spectrum Noir alcohol markers.  Die-cut the images using the coordinating dies and Die cut an A2 size piece of some blue card stock.


  • Use some Pixie Spray to spray the back of the stencil so that it doesn’t shift while you’re working on your project.  This pixie spray is a must-have for any stamper!).  I don’t think I can live without this anymore.  It makes stenciling so much easier.


  • Use a palette knife to apply some Deco Foil Metallix Gel on the Stencil Pal.


  • By doing so, the gel will be applied to your project smoothly; and you will be able to put the excess gel back in the pot.
  • Apply the gel on your project.


  • This is what it looks like when you take the stencil off.  The Stencil Pal applied an even coating on my project!  This is also the first time I used the Deco Foil Metallix Gel in White Pearl.  I am so impress with the creamy and soft consistency of the gel.  I will be buying more for sure!


  • Die-cut the rest of the elements needed to assemble the card.  Stamp the sentiment on the banner strip using some Lawn Fawn Lobster ink.


Here’s my first card:


I wish you can see this card in person.  The Deco Foil Metallix Gel in White Pearl is so shiny and I really love the added texture and dimension it gave my card.  This card is also going to be shared as my entry to the Fall/Winter Coffee Lovers Blog Hop.  Here’s a closer look:


For my second card, I am showcasing the amazing Deco Foil Transfer Sheet in Red Static and the Brutus Monroe Designer Toner Sheet in Peppermint.


  • Stamp the images on some Neenah solar white card stock.  Color the images in with Alcohol markers and die-cut using the coordinating dies.
  • Cut an A2 size piece of the designer toner sheet.  I also cut the Deco Foil Transfer Sheet in Red Static, just slightly bigger than the toner sheet.


  • Insert the pieces together inside your transfer sheet and run it through your laminator.
  • Here’s what it looks like when you remove the foil.  I just LOVE seeing this process:


  • Die-cut the rest of the elements needed for the card.  I used the new Flock Transfer Sheet in Blue Sky.  These new flock transfer sheets are a must-have for any paper crafter.  You can easily die-cut it, stamp on it, use adhesive sheets to transfer the flock to your card stock, or you can emboss it.  Wow!  they are truly amazing!


  • Assemble the card.
  • Finish the design by stamping the sentiment directly onto the flock transfer sheet.


Here’s my second card:


I absolutely LOVE the added texture of the Deco Foil Flock Transfer sheet!  Here’s a closer look:


As mentioned earlier, please stay tuned for some process videos of Therm-O-Web projects that I will be sharing in the next few weeks on my YoUTube channel and on this blog.  I hope you like my projects today.  The supplies I used are listed and linked below.   I hope you have a wonderful day and happy crafting!


———-SUPPLIES———–