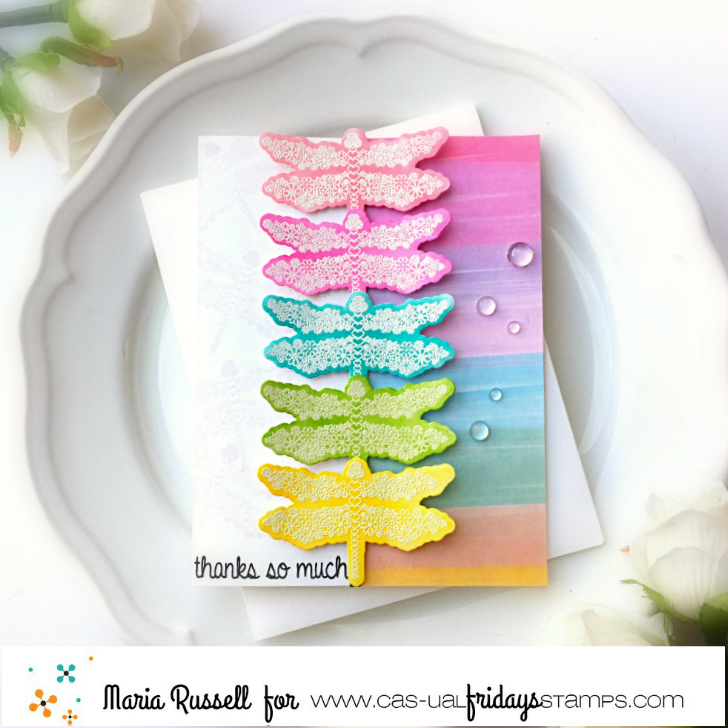
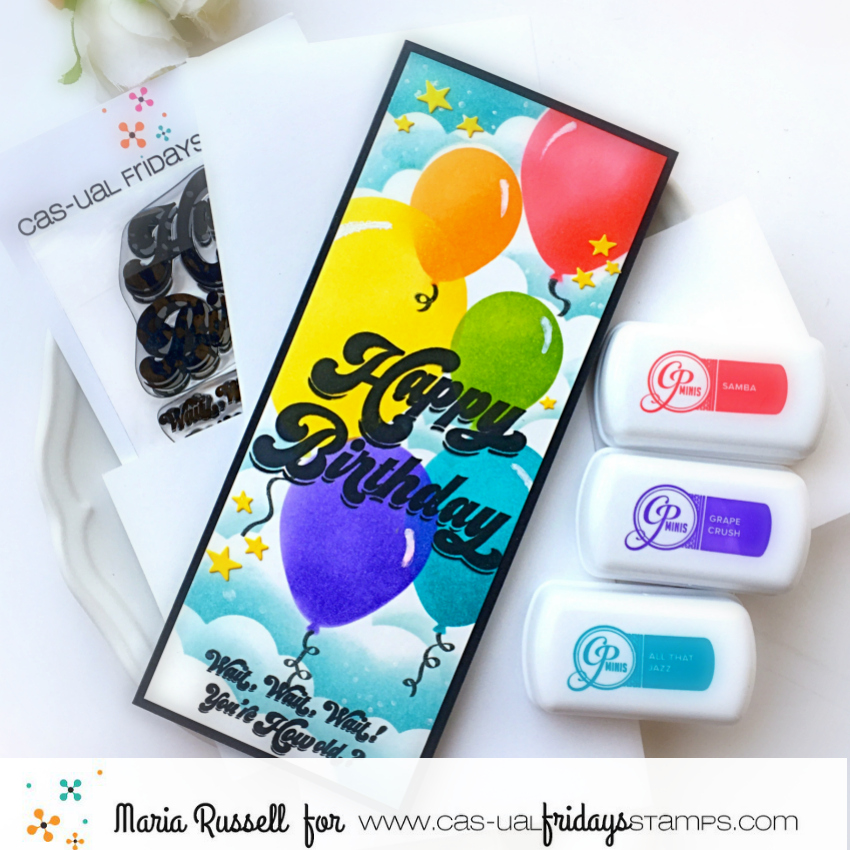
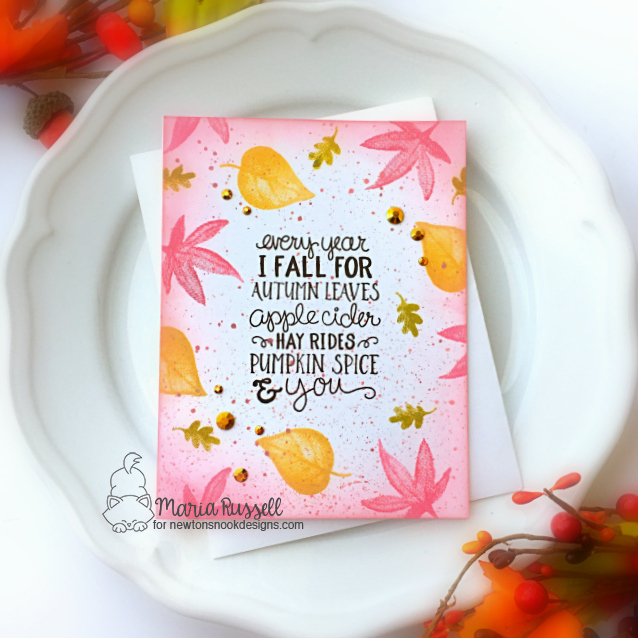
Hello my crafty friends! I’m back today with Newton’s Nook with an Autumn-themed card, showcasing the Autumn Mice stamp set & coordinating dies.
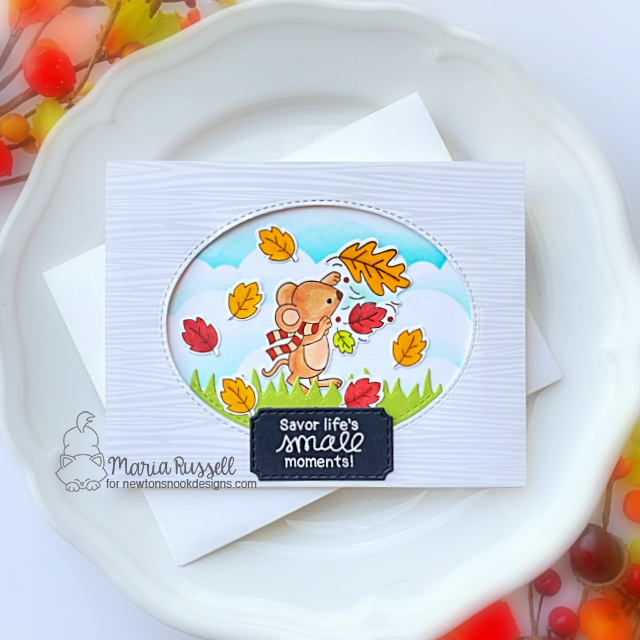
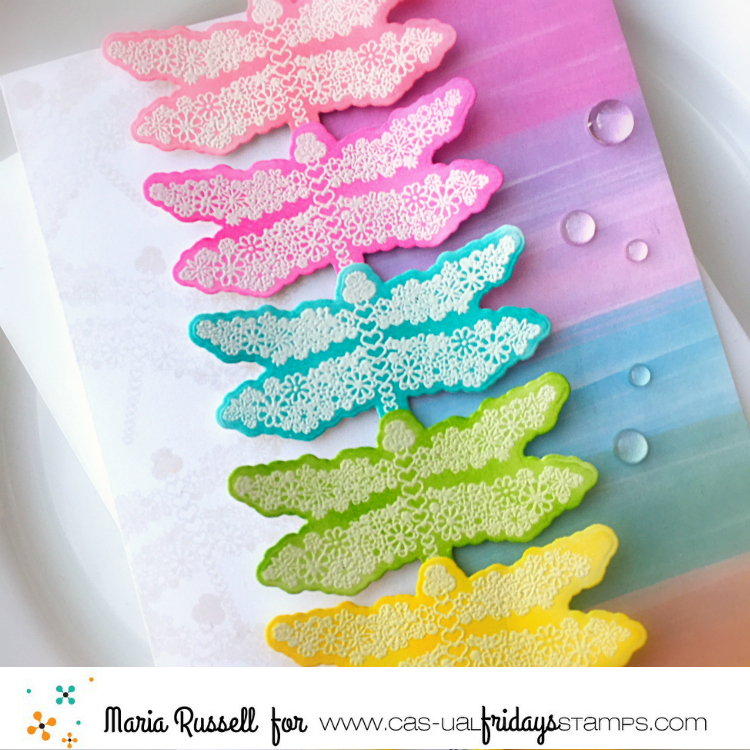
To begin, I stamped my images on some Neenah solar white card stock. I colored the images in with my alcohol markers and used the coordinating dies to cut them out.
The background sky was created by inking up a panel of Bristol smooth white card stock with the Clouds stencil and Peacock Feathers distress oxide ink. Next, I adhered some gray patterned paper on Neenah solar white and used an oval die from my collection to cut the window. I foam-mounted this on the colored panel to create some dimension.
I used the same oval die to die-cut some green card stock, then used the Land Border Die Set to die-cut the grass. I adhered this onto the foreground with liquid glue. I also adhered my focal image with more leaves to create my scene.
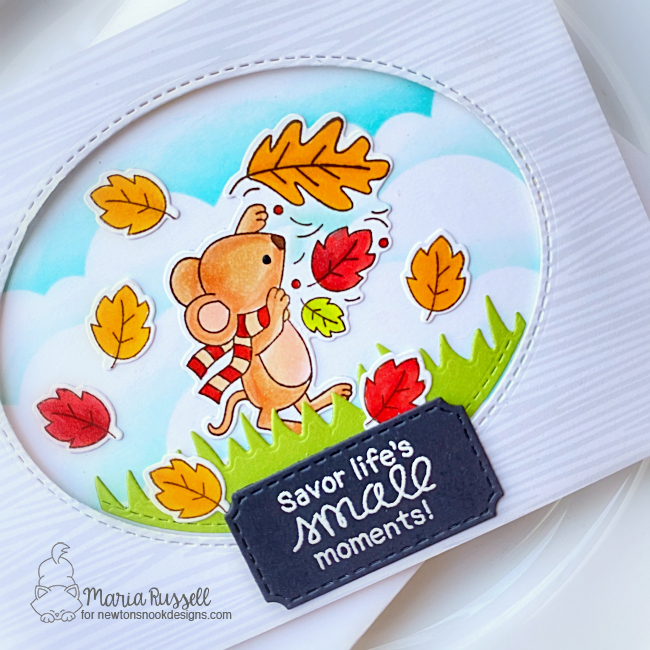
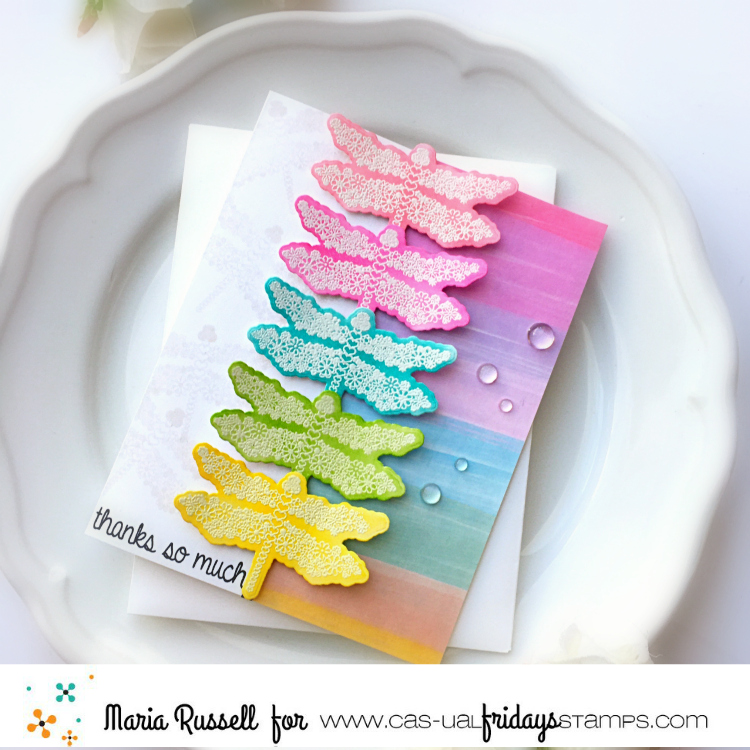
I finished my design by adding the sentiment created using the smallest die from the Framework die set. Here’s another look:

Stay tuned next week for the October release by Newton’s Nook. It is going to be epic!
I hope you like my card today. The supplies I use are listed and linked below. Thanks for stopping by!
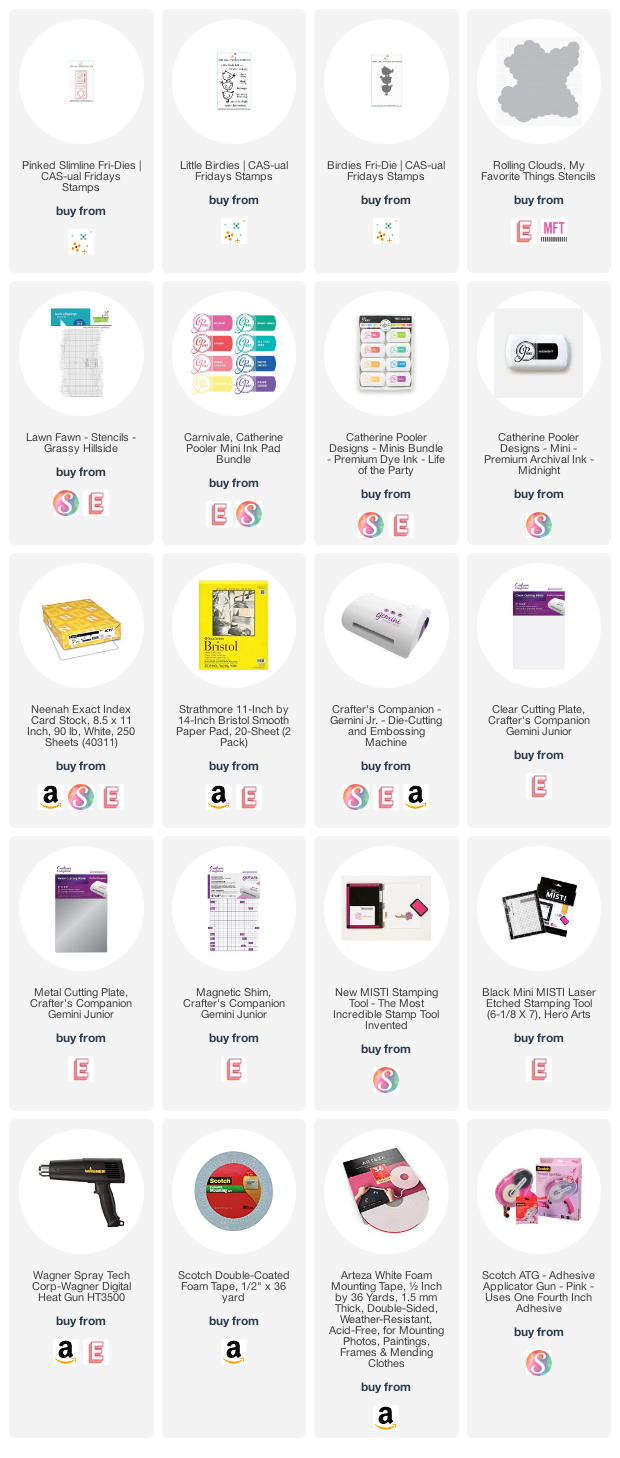
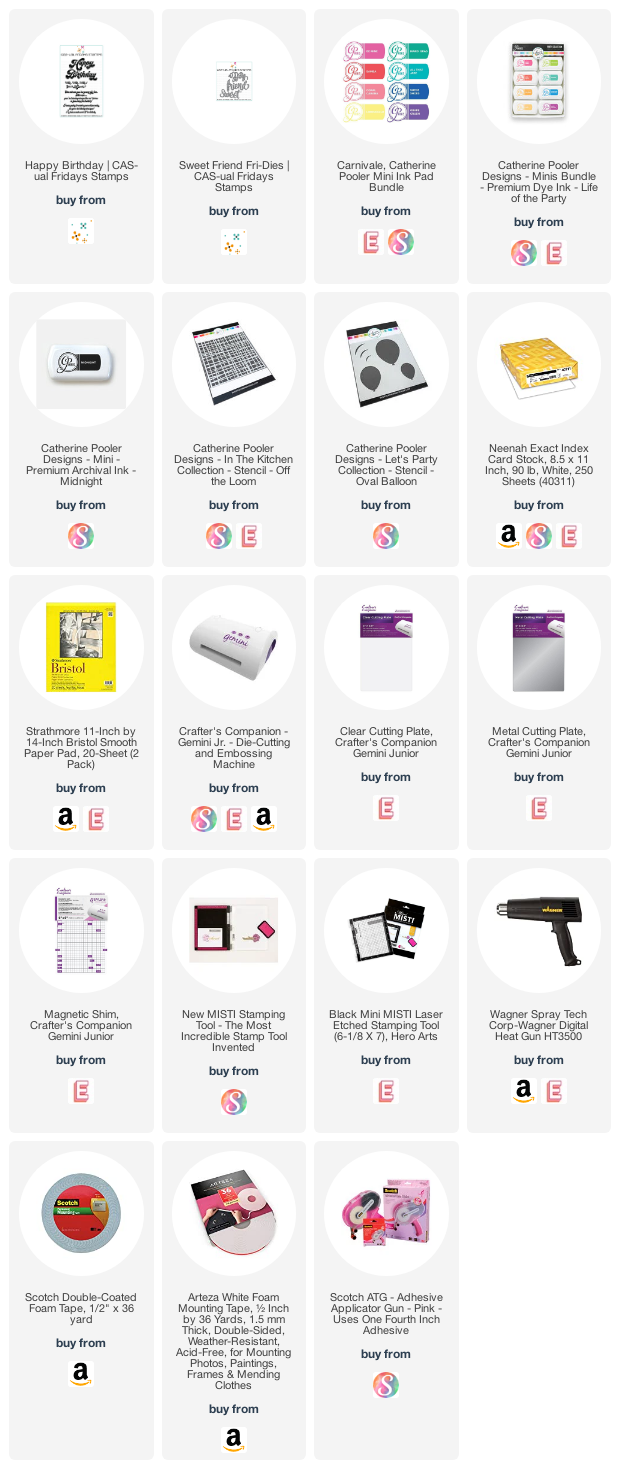
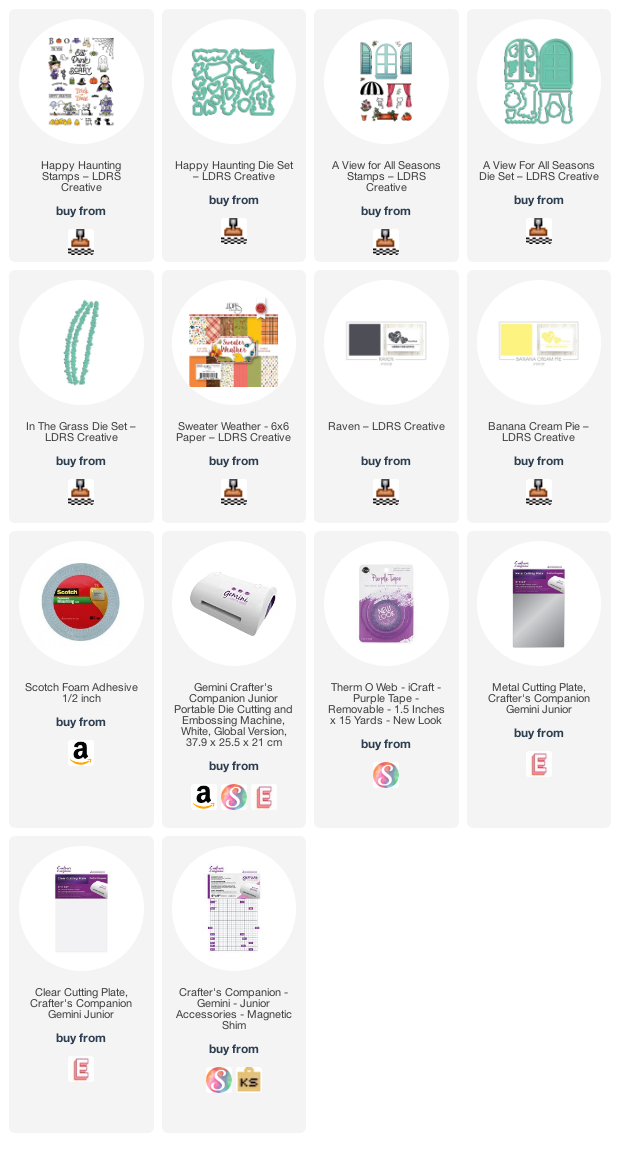
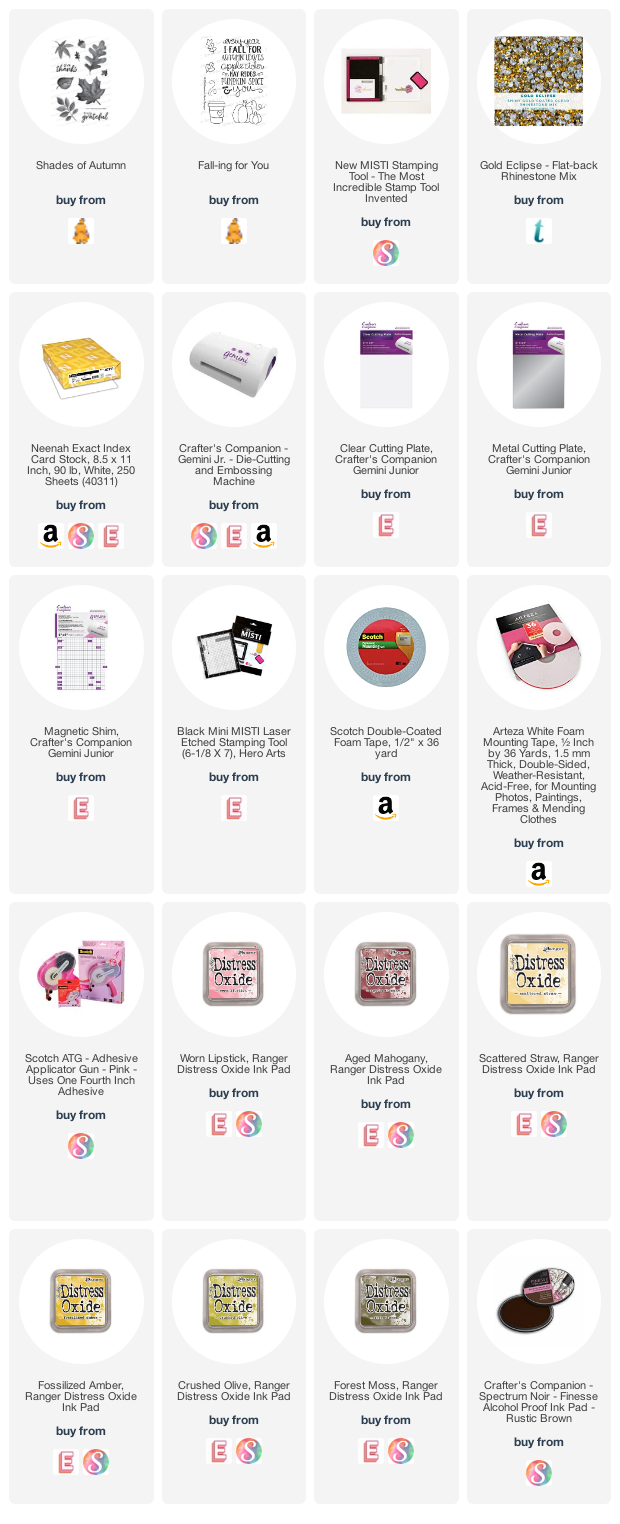
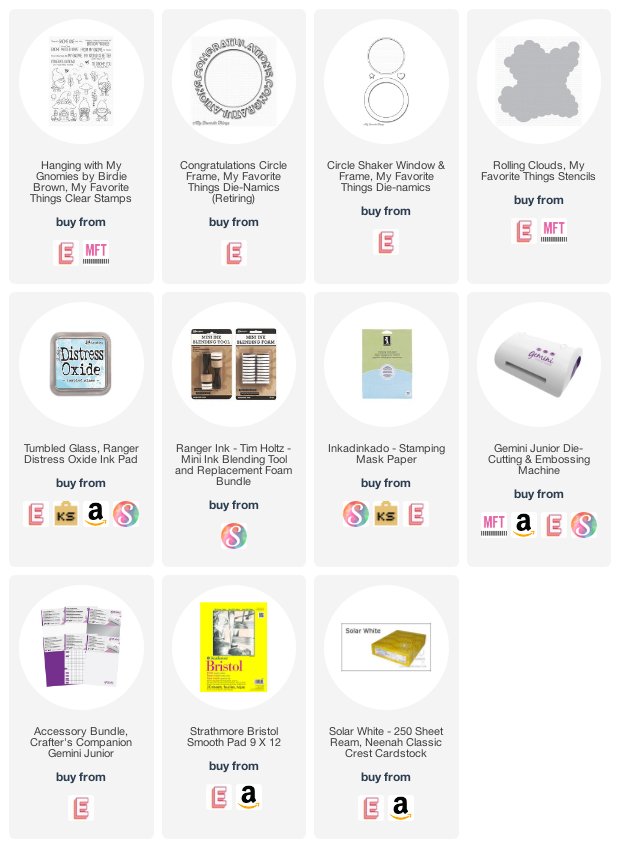
———–SUPPLIES————