I am a bit bummed because it is the last day of the reveals by Newton’s Nook Designs. I hope you were able to check out the last three days of the release. You also have a chance to win the stamp set being revealed each day so please read through til the end of the blog post to find out more info. [Just a little important note: I know some of you had difficulties finding the comments section. If you would like to leave a comment to participate in the giveaway, the “comments section” will only be ever visible when a single post on Word Press is being viewed. Please click on this particular blog post and you will be able to leave a comment below. Thank you!]
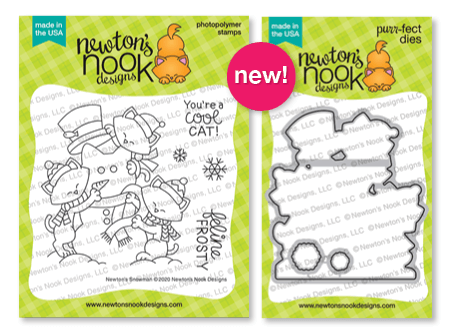
For Day 4, we are showcasing with the Newton’s Snowman stamp set and coordinating dies with the (mini) Happy New Year Stamp Set.
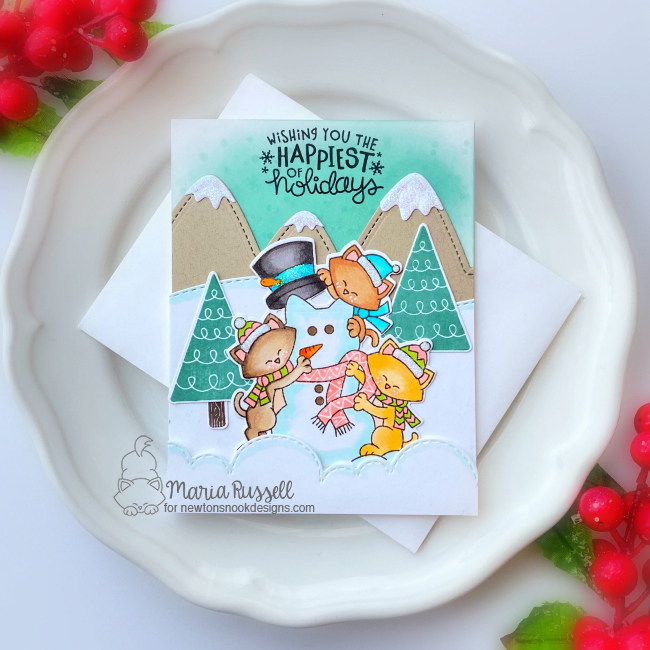
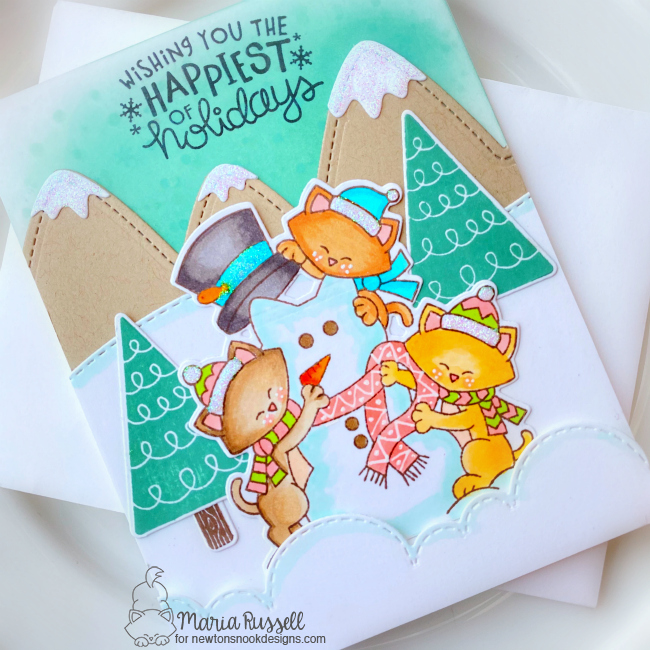
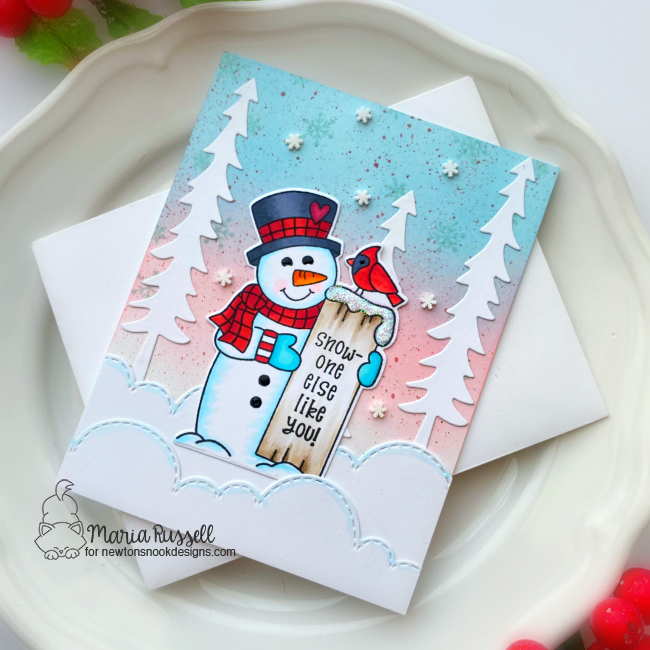
To make my first card, I started by inking up this panel with some Evergreen Bough distress oxide ink.I used the Petite Snow stencil to add texture to the background.
I stamped the image with some Rich Cocoa Memento ink and colored the images in with alcohol markers. I used the coordinating die to die-cut the image. I also stamped the trees from the Festive Forest stamp set and used the coordinating dies to cut them out.
I die-cut the mountains and snow using a die set from my collection and some Neenah Desert Storm and White glitter card stock. I adhered this onto my colored background with my ATG gun.
The snowbanks were die-cut using the Sky Border and Land Border dies. I used my BG Copic markers to add a little bit of color and adhered them onto the card panel with my ATG gun and foam adhesive.
Next, I adhered the trees and my focal image with some liquid glue.
I finished my card design by using my white gel pen and draw some lines and dots to the Snowman’s scarf and also used some Stardust Stickles for added texture. Here’s another look:
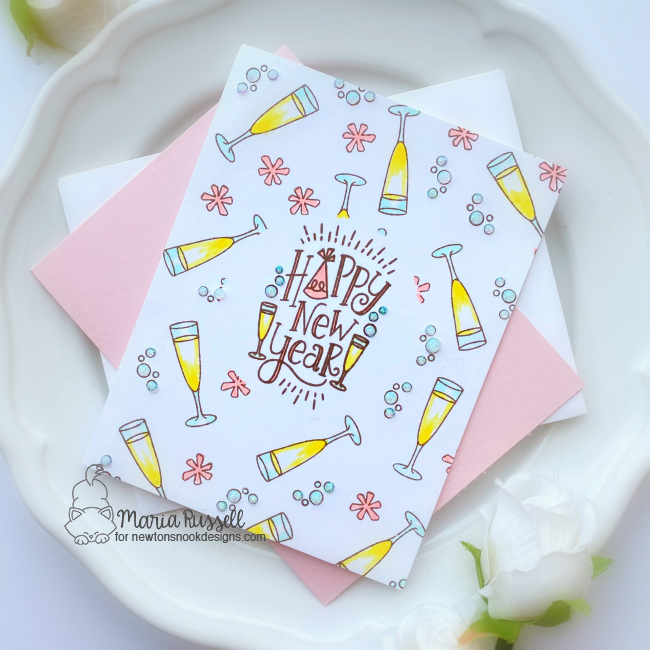
My next card is very simple. I used the circle die from the Circle Frames die set to die-cut some masking paper. I adhered this onto my A2-size card panel and started stamping the champagne glasses and other images from the Newton’s New Year stamp set. I used some alcohol markers to color the images in.
I gently removed the mask and stamped the Happy New Year sentiment with Memento Rich Cocoa ink, and used the same alcohol markers to color them in.
I finished my design by adhering this colored panel to an A2 size note card and added some Stardust Stickles to the bubbles for more texture. Here’s another look:
Would you like to win the “Newton’s Snowman” Stamp Set? This stamp set will be given away to ONE lucky winner!
Here’s how to win: Comment on the NND blog and Design Team blogs (see list below)! The winner will be chosen at random from the collective reveal posts. Make sure to check out each of their blogs and comment for your chance to win. You will not know which blog has been chosen so the more you comment on the better your chances are of winning! You have until Thursday, November 19th at 9pm EST to comment — winners will be announced on the blog post on Friday, November 20th.
Check out all the awesome Design Team Blogs below to enter:
Newton’s Nook Designs
Ellen Haxelmans
Larissa Heskett
Samantha Mann
Zsofia Molnar
Maria Russell
Andrea Shell
Tatiana Trafimovich
Amy Tsuruta
Amanda Wilcox
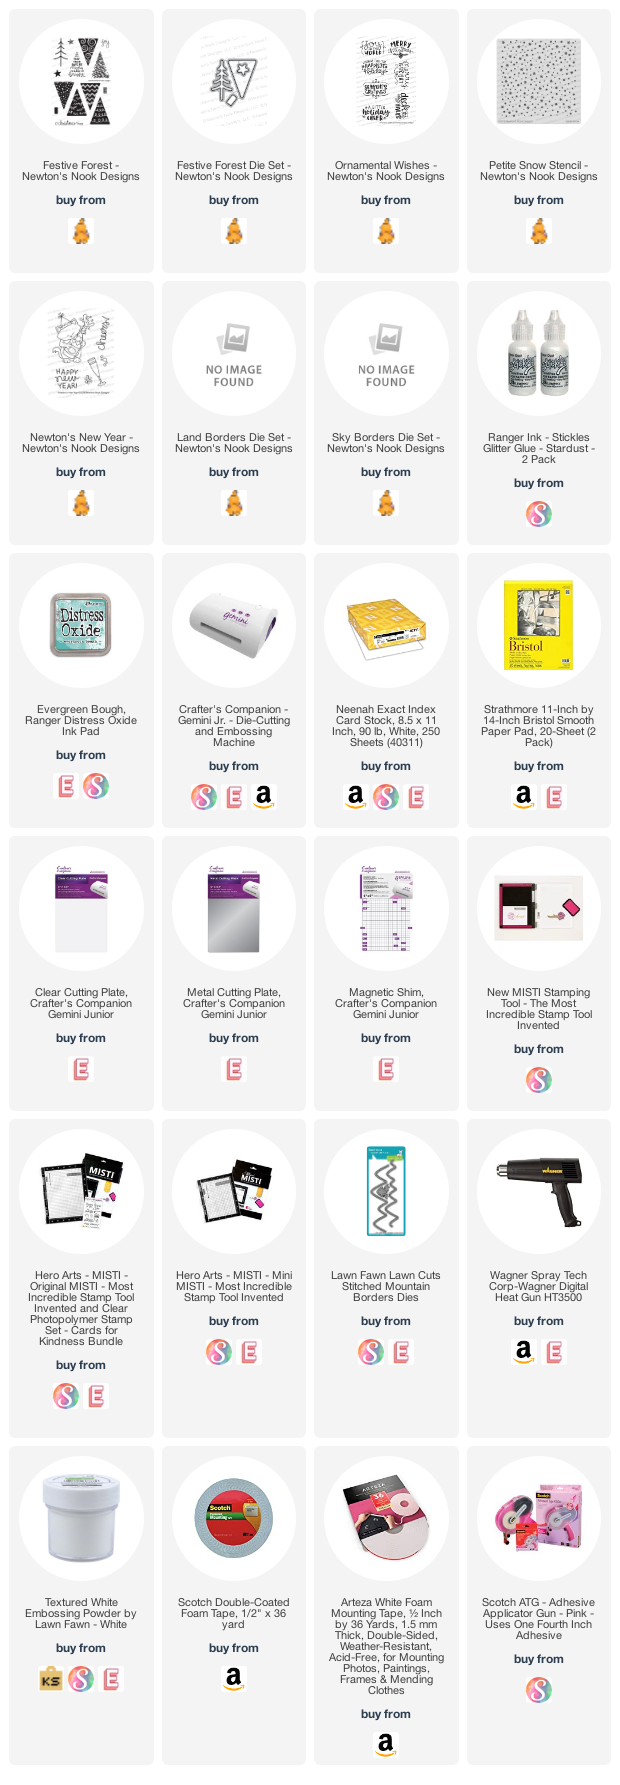
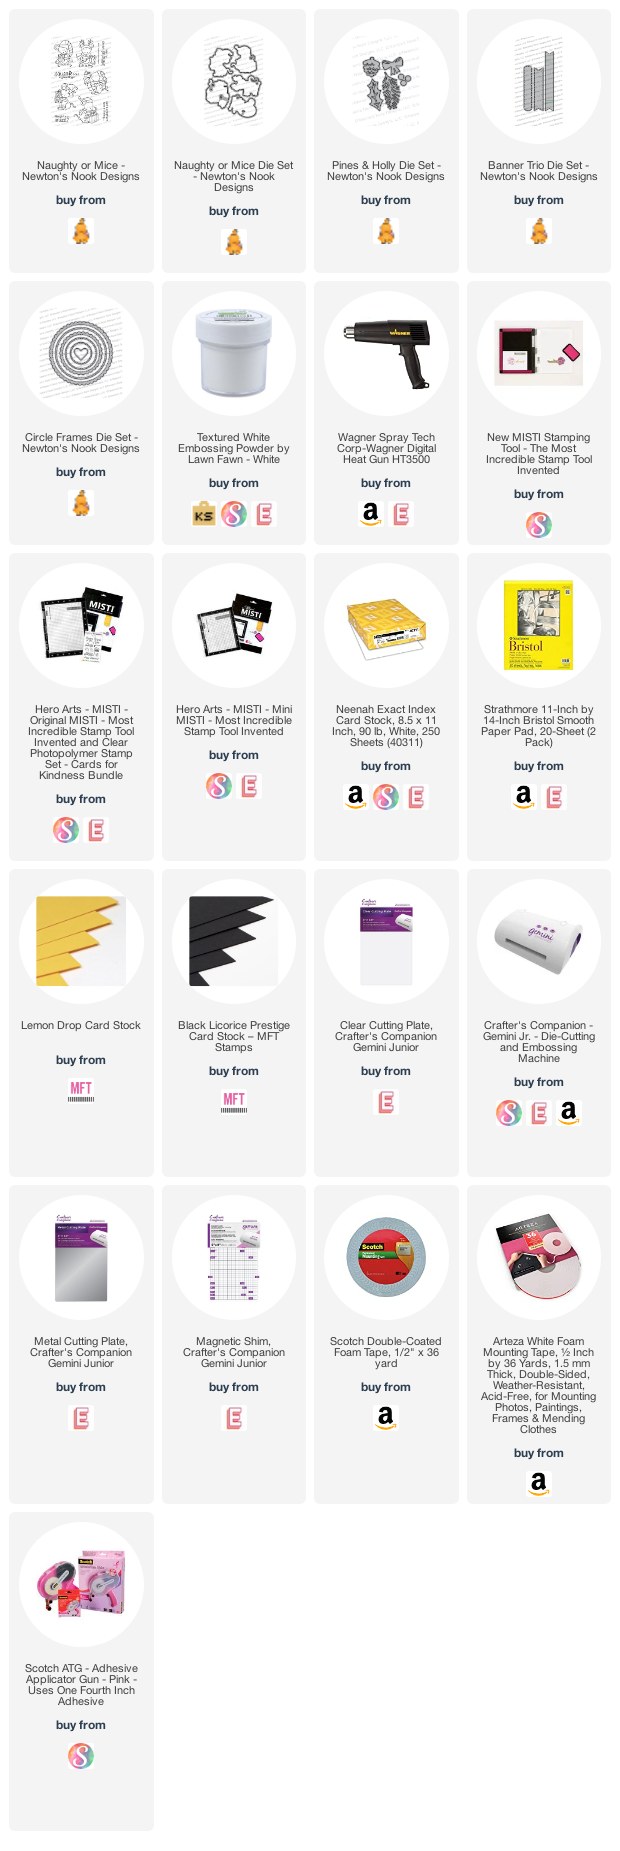
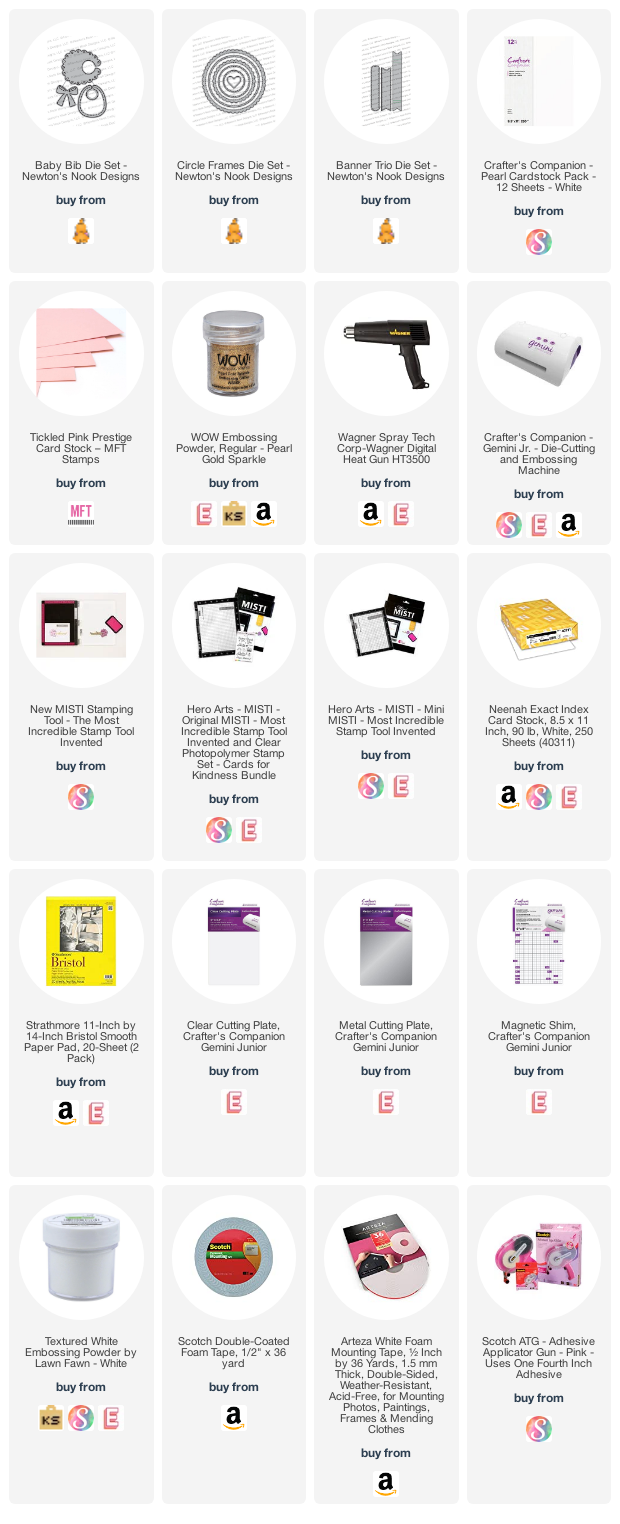
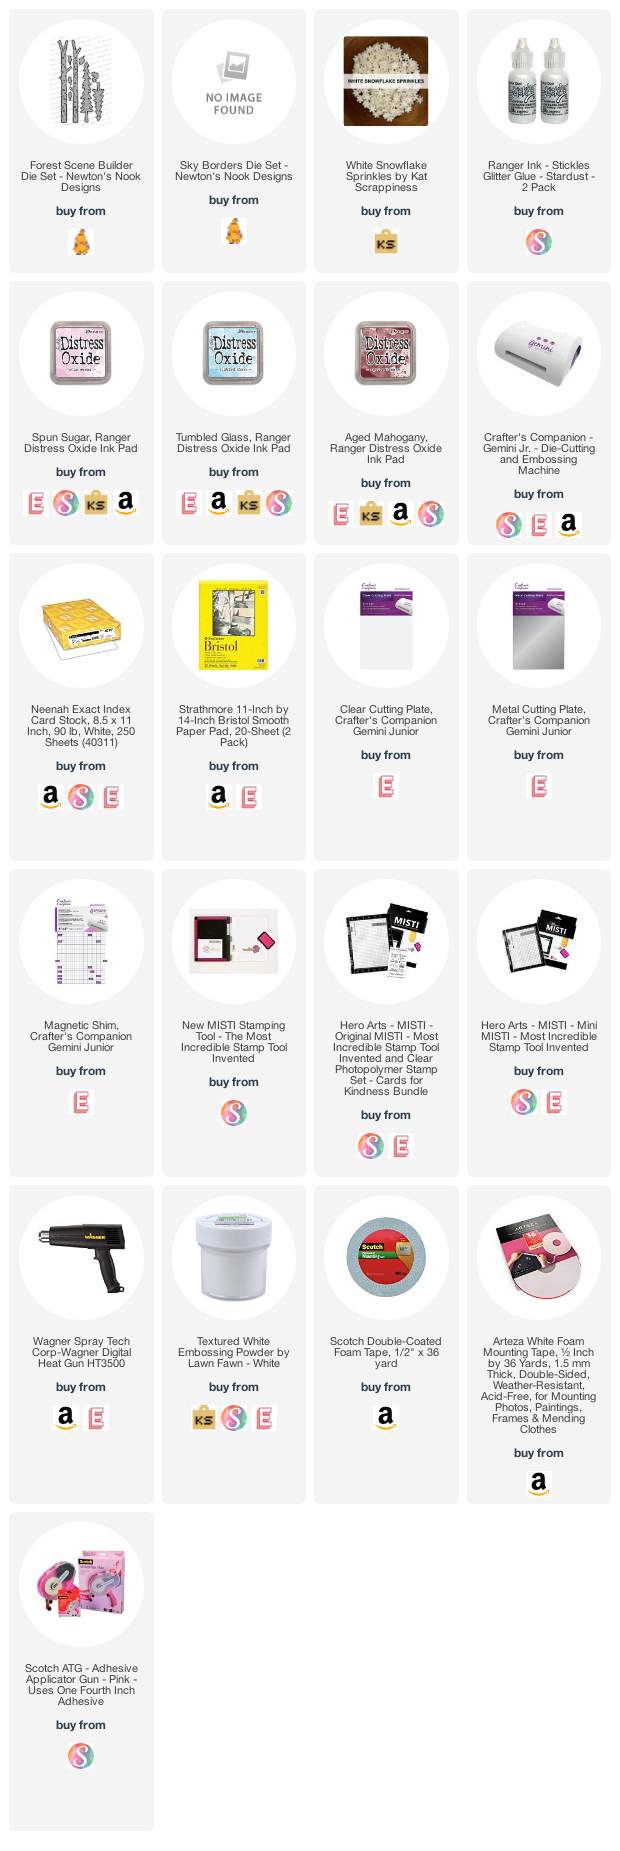
———-SUPPLIES———