The Newton’s Nook Design Team is hopping along today to share some Sweet Treats – just in time for Valentines day! Make sure to scroll down at the bottom of this post to see the whole list, and hop along and comment for a chance to win!
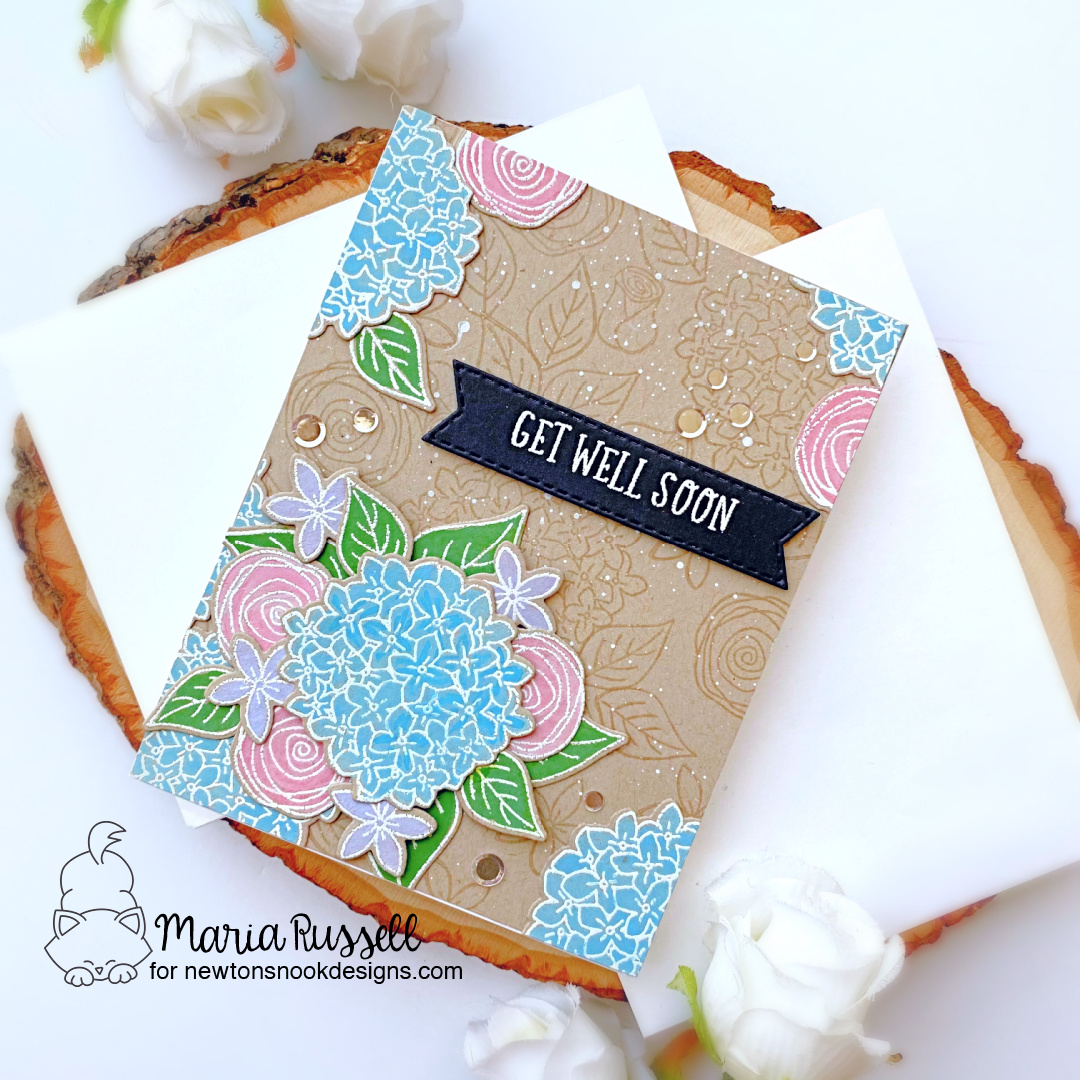
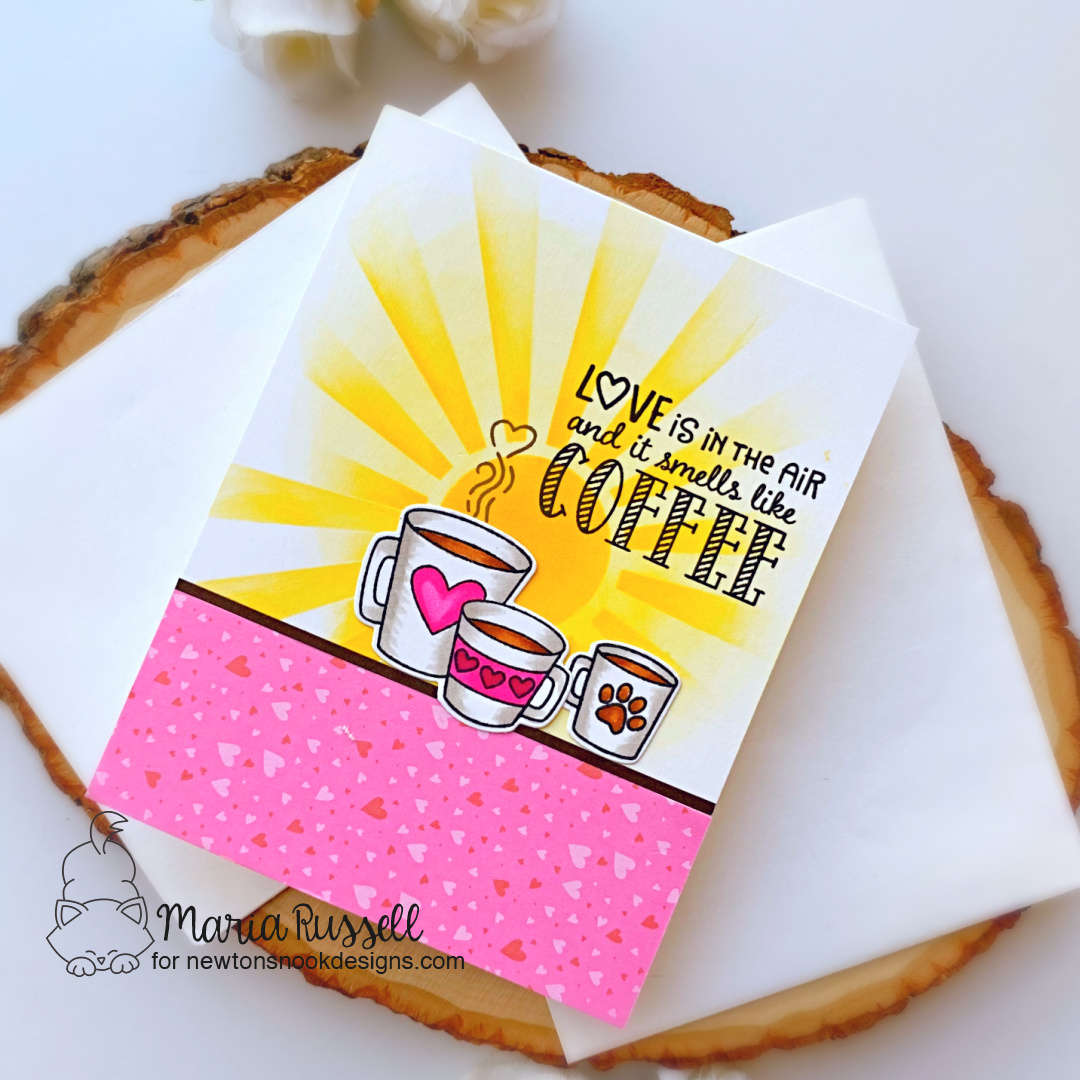
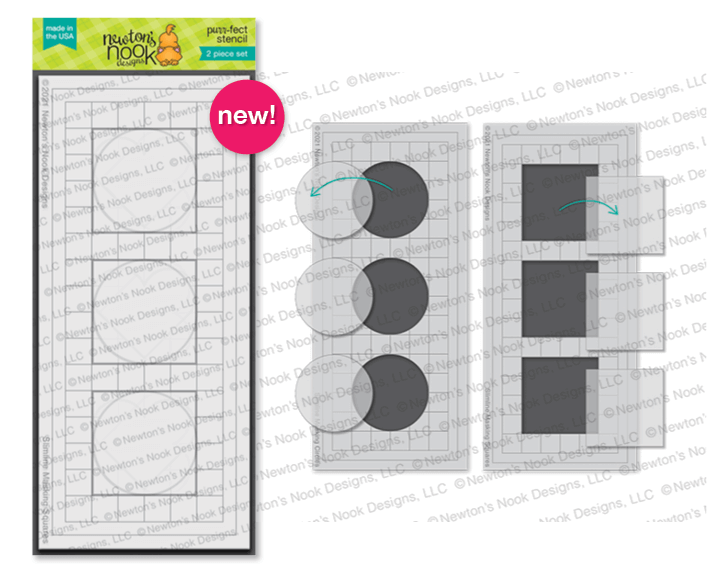
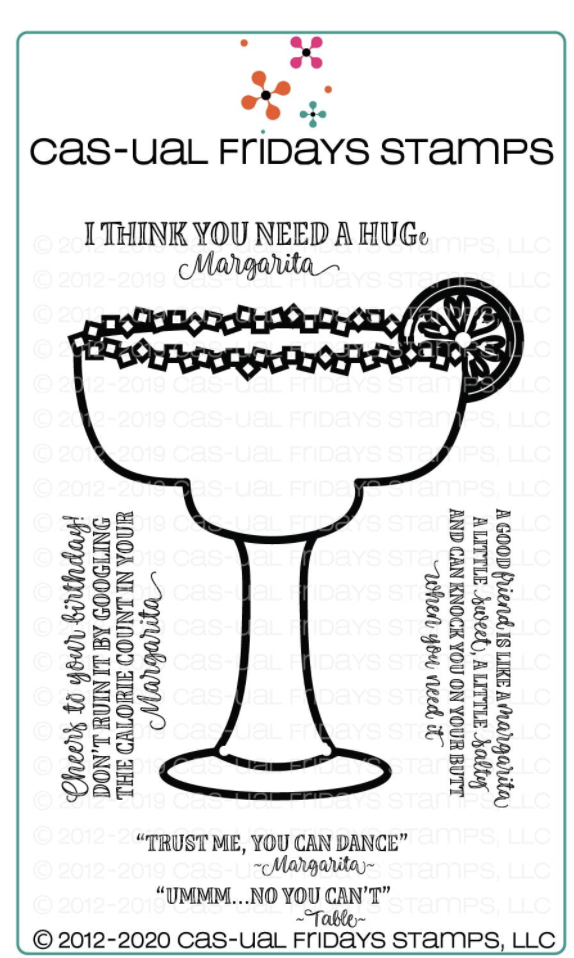
For my project today, I am showcasing the Heartfelt Love stamp set, along with the Banner Trio Die and Heart Frames die set.
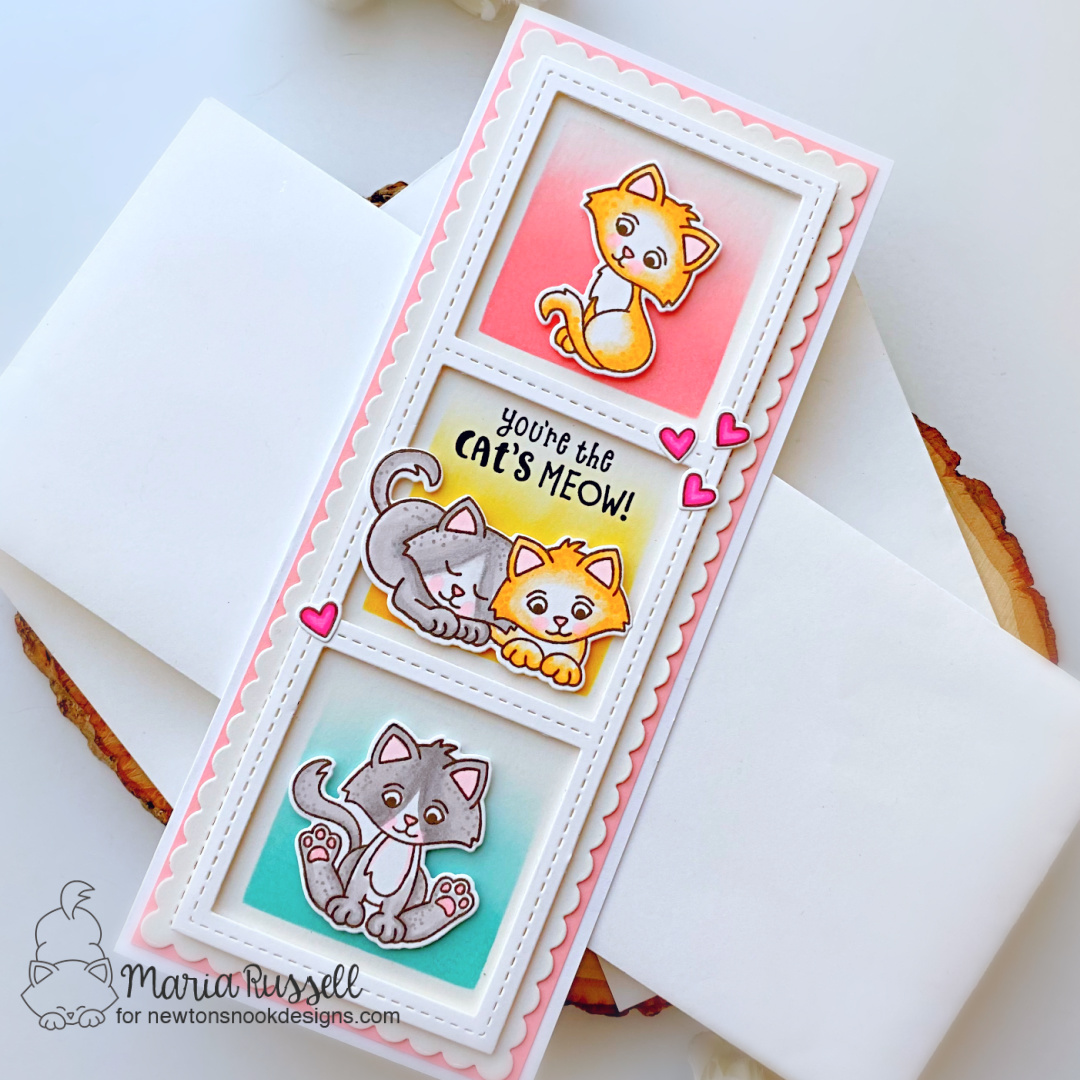
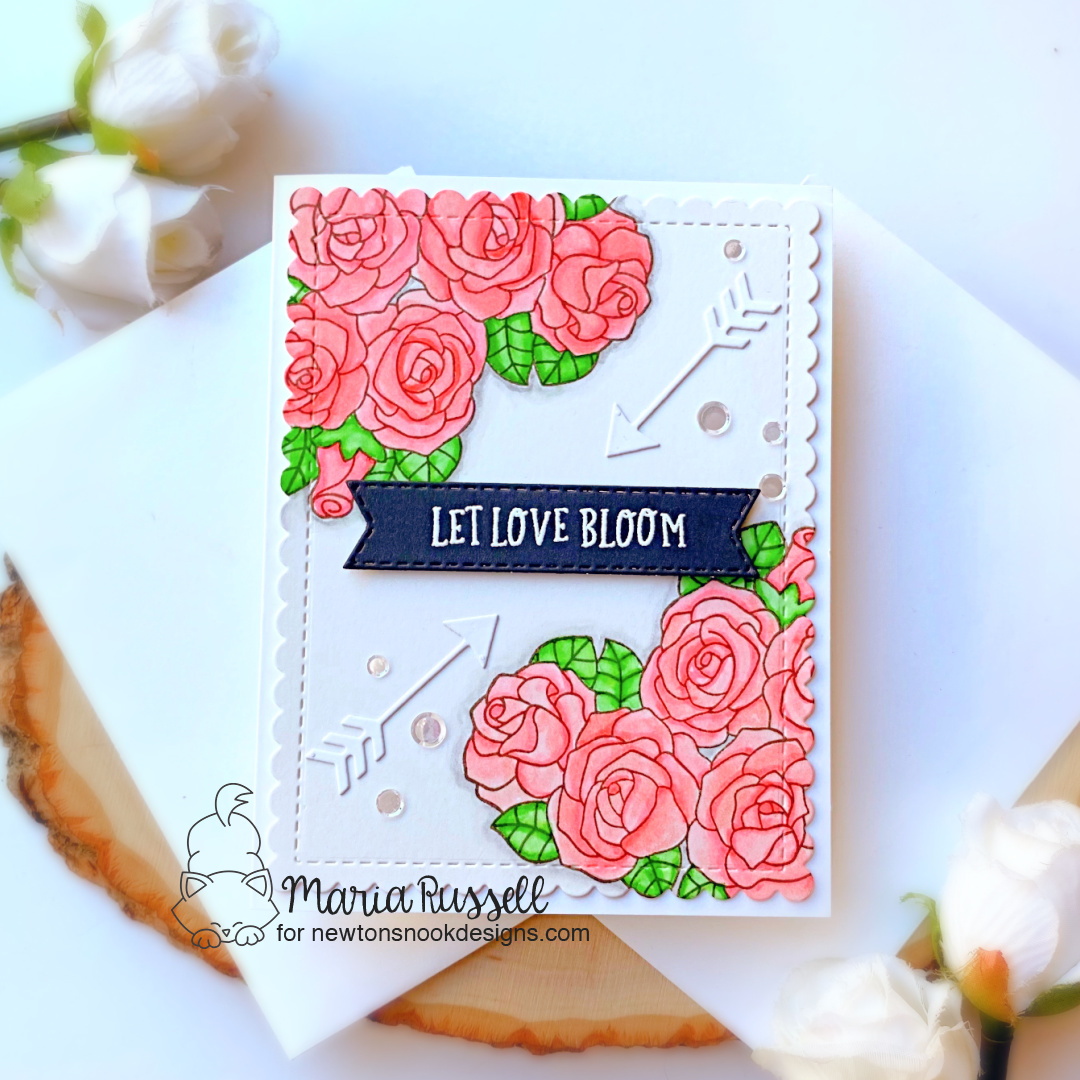
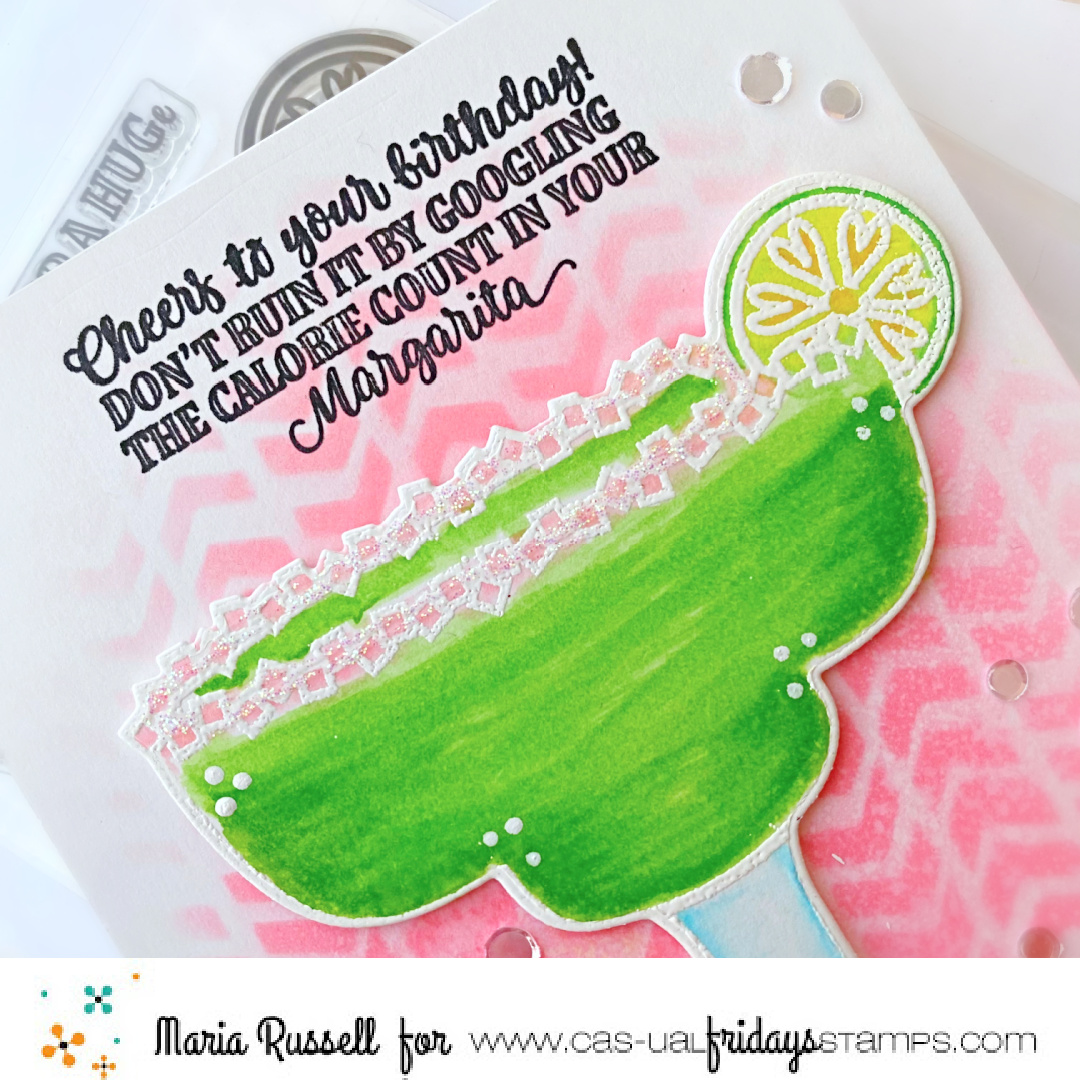
To begin, I stamped my image on some Neenah solar white card stock and colored the images in with my Spectrum Noir TriBlend markers. I die-cut the image that I colored using the scallop die from the Heart Frames die set.

To turn the die-cut into a tag, I used my Crop-A-Dile to punch a hole in the middle. I inserted the eyelet and used my Crop-A-Dile again to set the eyelet and finish the tag.
I want a bigger treat holder this year to house my husband’s special treat. I used a recycled glass jar that I washed in my dishwasher. I added some pink shredded paper at the bottom for added color and texture. Next, I poured the whole bag of Reese’s pieces (my husband’s favorite chocolate) inside the jar. The glass jar is big enough to hold all of the chocolates inside. I added more shredded paper on top and closed the jar with the lid. I cut some red felt to cover the top of the jar and used some red and white twine to hold it shut. I inserted my tag and created a loop, then finished it with a bow. I also die-cut some arrows to decorate the top of the jar and adhered them with liquid glue.
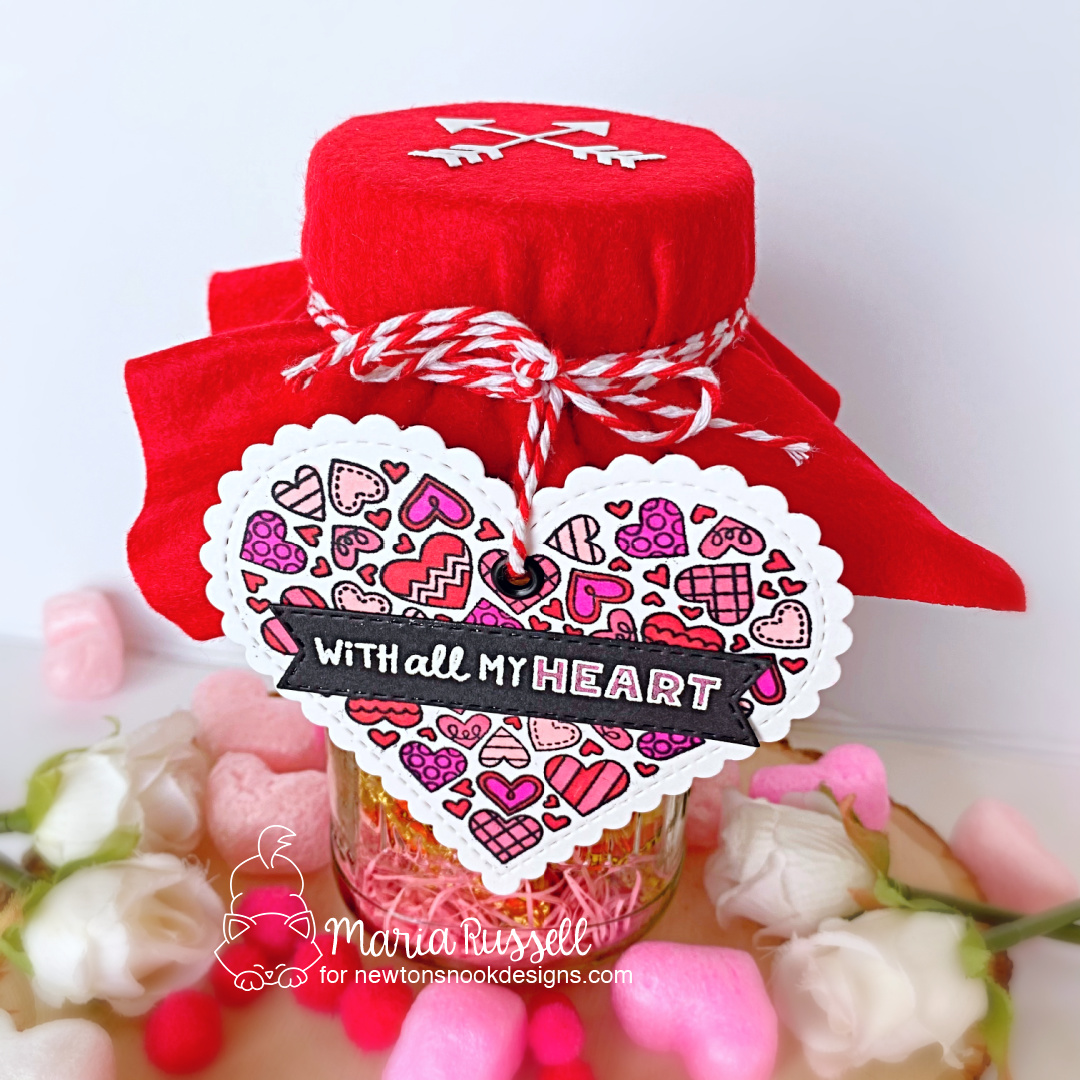
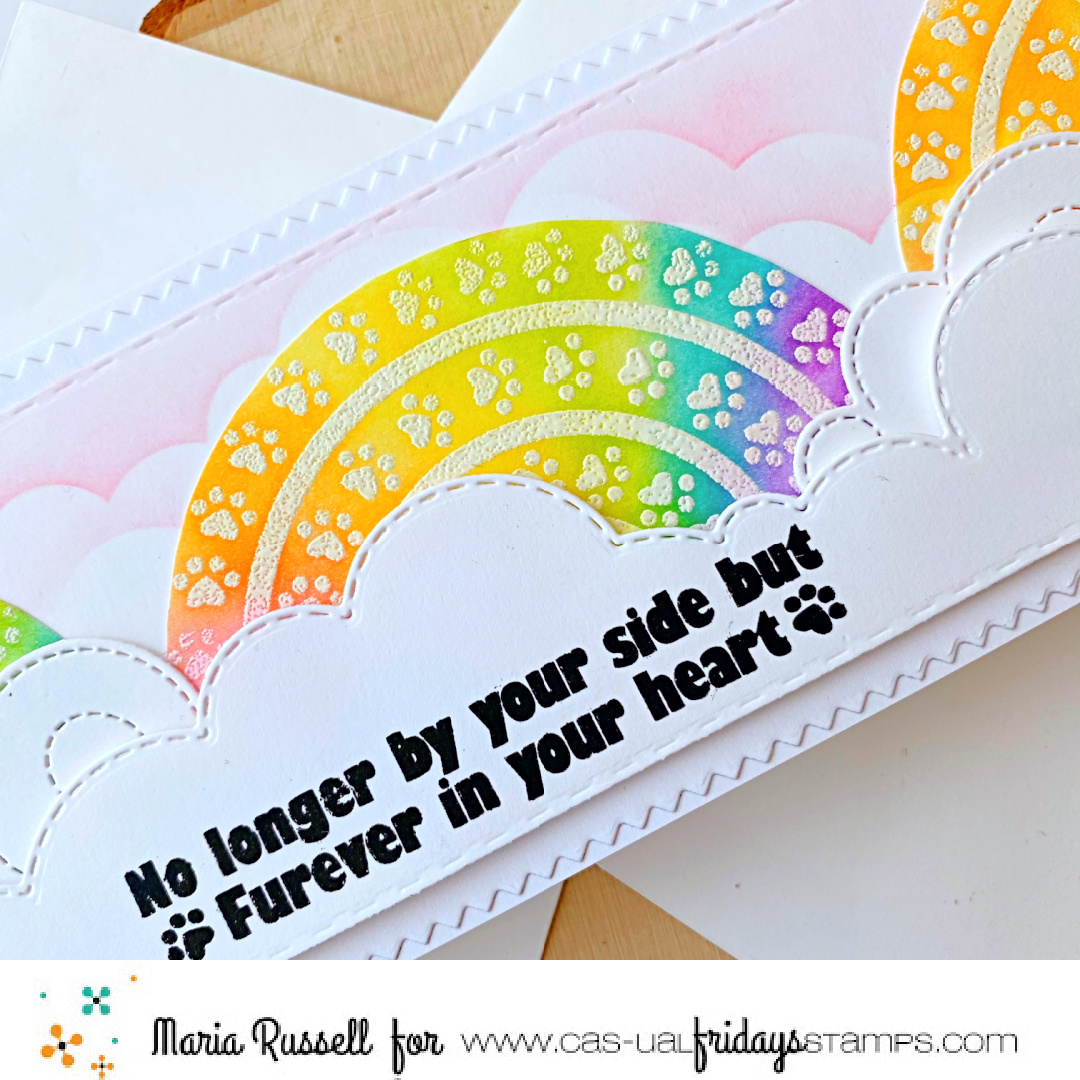
To finish my tag design, I die-cut some black card stock using the Banner Trio die. I stamped the sentiment on this piece and sprinkled some white embossing powder. I used my heating tool to heat-set the sentiment and waited for this piece to cool for a few seconds. To add more texture to the the sentiment, I used my Spectrum Noir Glittered Pens to add color to the word “HEART”. Here’s another look:

I’ve always loved recycling glass jars and this treat holder turned out so cute with just a few supplies from my collection, and stamps & dies from Newton’s Nook Designs! My hubby is going to LOVE this! Don’t forget to join us and hop along to win one of the prizes. Full details about the hop is indicated below. I have also listed and linked the supplies I use. Thanks for joining me today!
Sweet Treats Blog Hop Giveaway!
Would you like to win a $25 store credit to Newton’s Nook Designs online shop? We are giving them out to TWO lucky winners!
Here’s how to win:
Comment on the NND blog and Design Team blogs (see list below)! The winner will be chosen at random from the collective reveal posts. Make sure to check out each of their blogs and comment for your chance to win. You will not know which blog has been chosen so the more you comment on the better your chances are of winning! You have until Monday, February 8th at 9pm EST to comment — winners will be announced on the NND blog on Tuesday, February 9th.
Check out all the awesome Design Team Blogs below to enter:
Newton’s Nook Designs
Ellen Haxelmans
Tina Herbeck
Larissa Heskett
Samantha Mann
Zsofia Molnar
Maria Russell (you are here)
Farhana Sarker
Tina Smith
Tatiana Trafimovich
Samantha VanArnhem
Amanda Wilcox
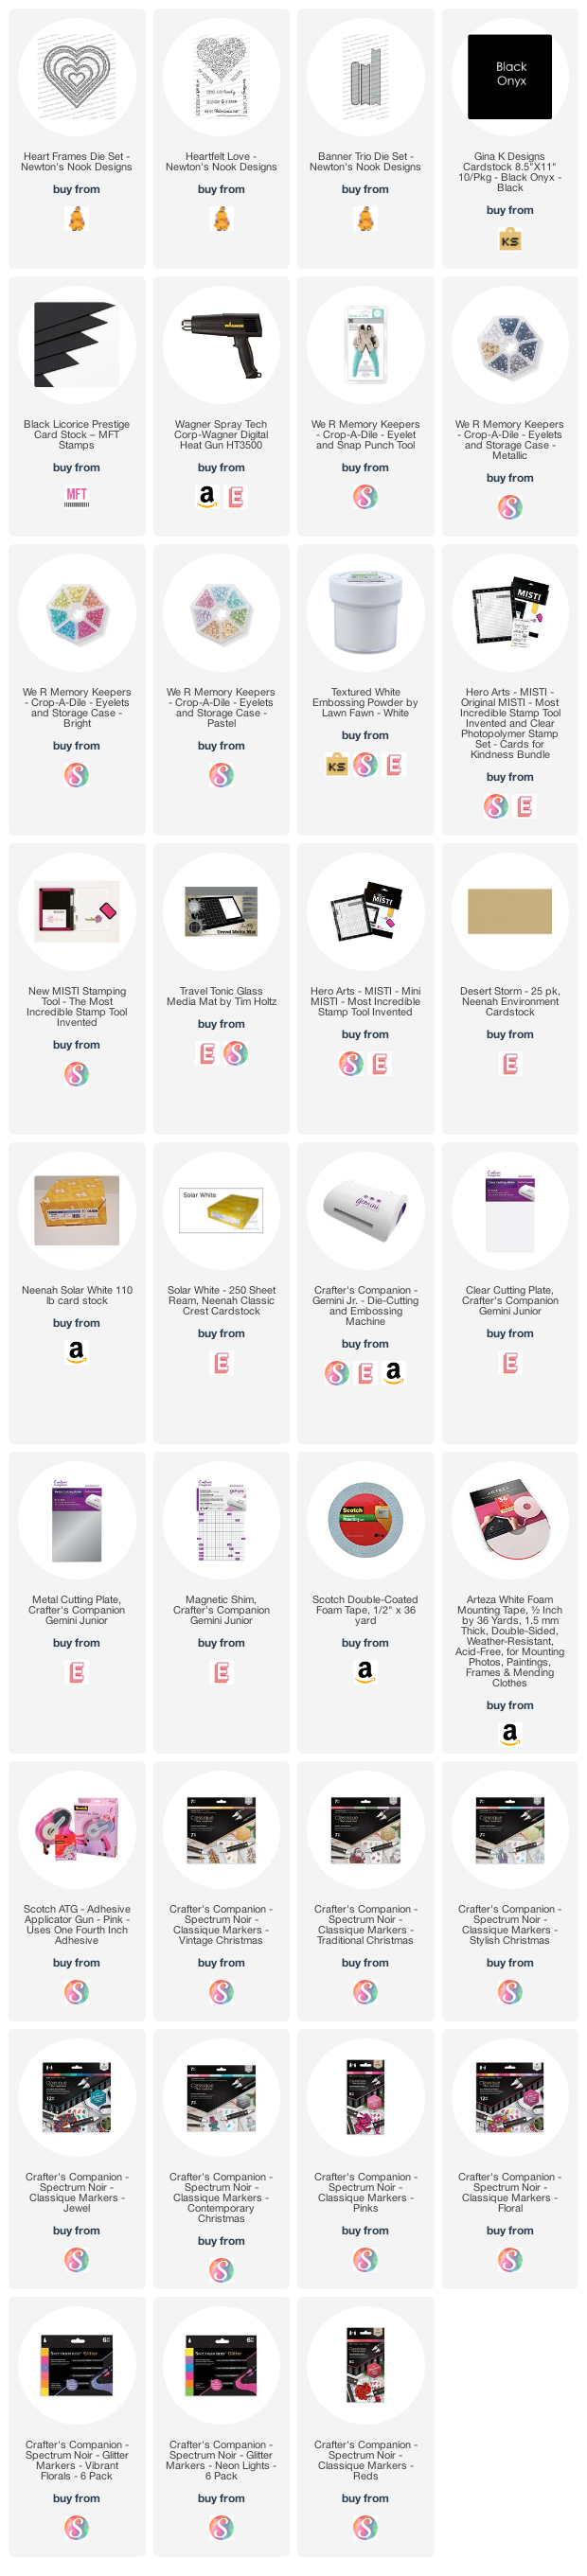
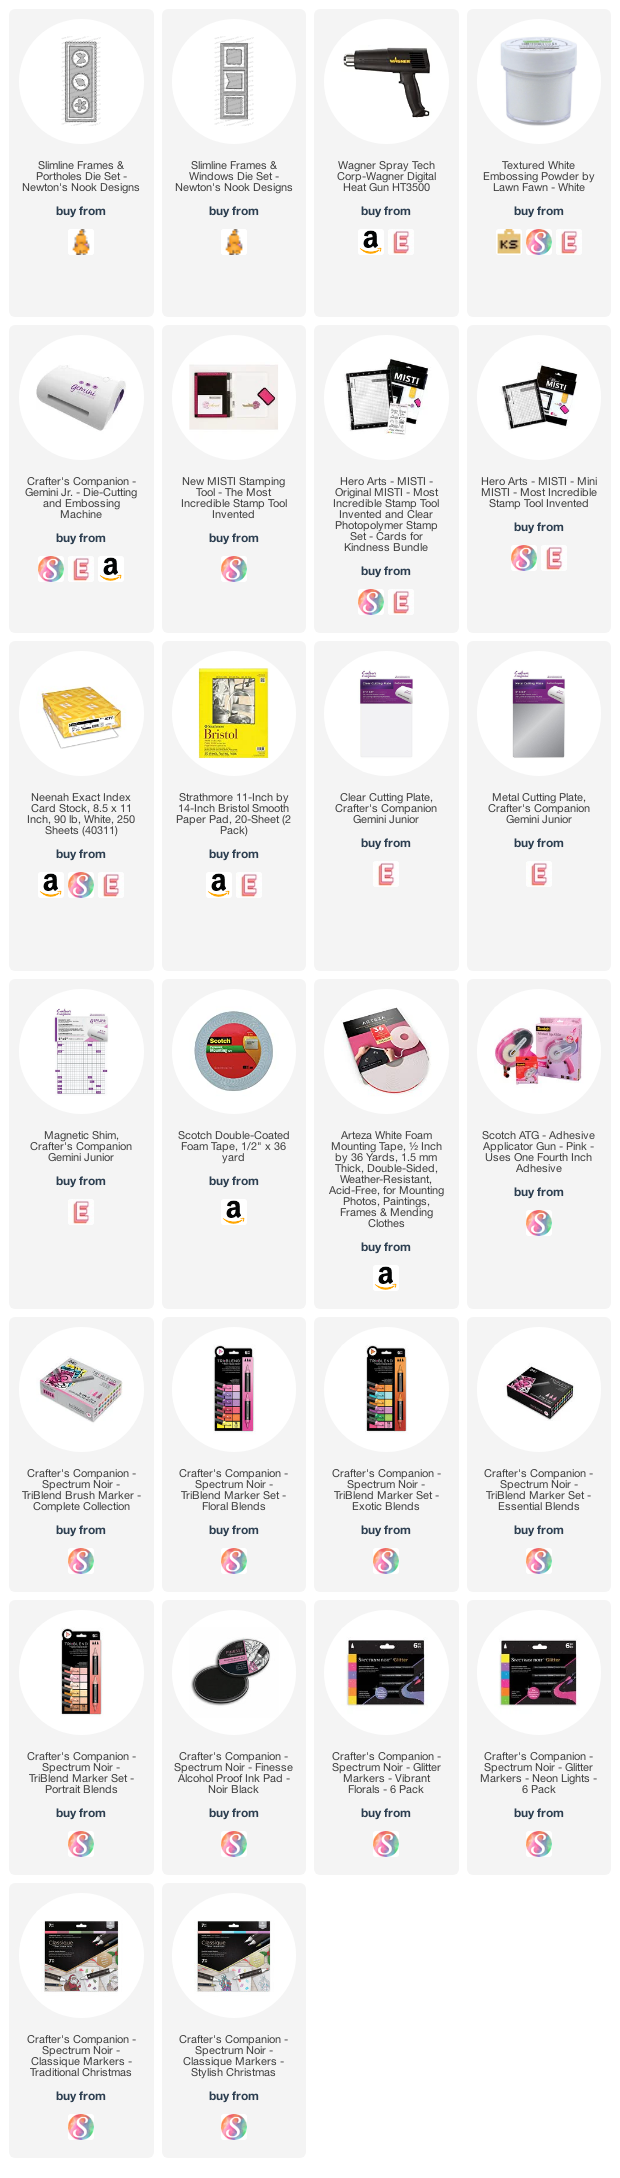
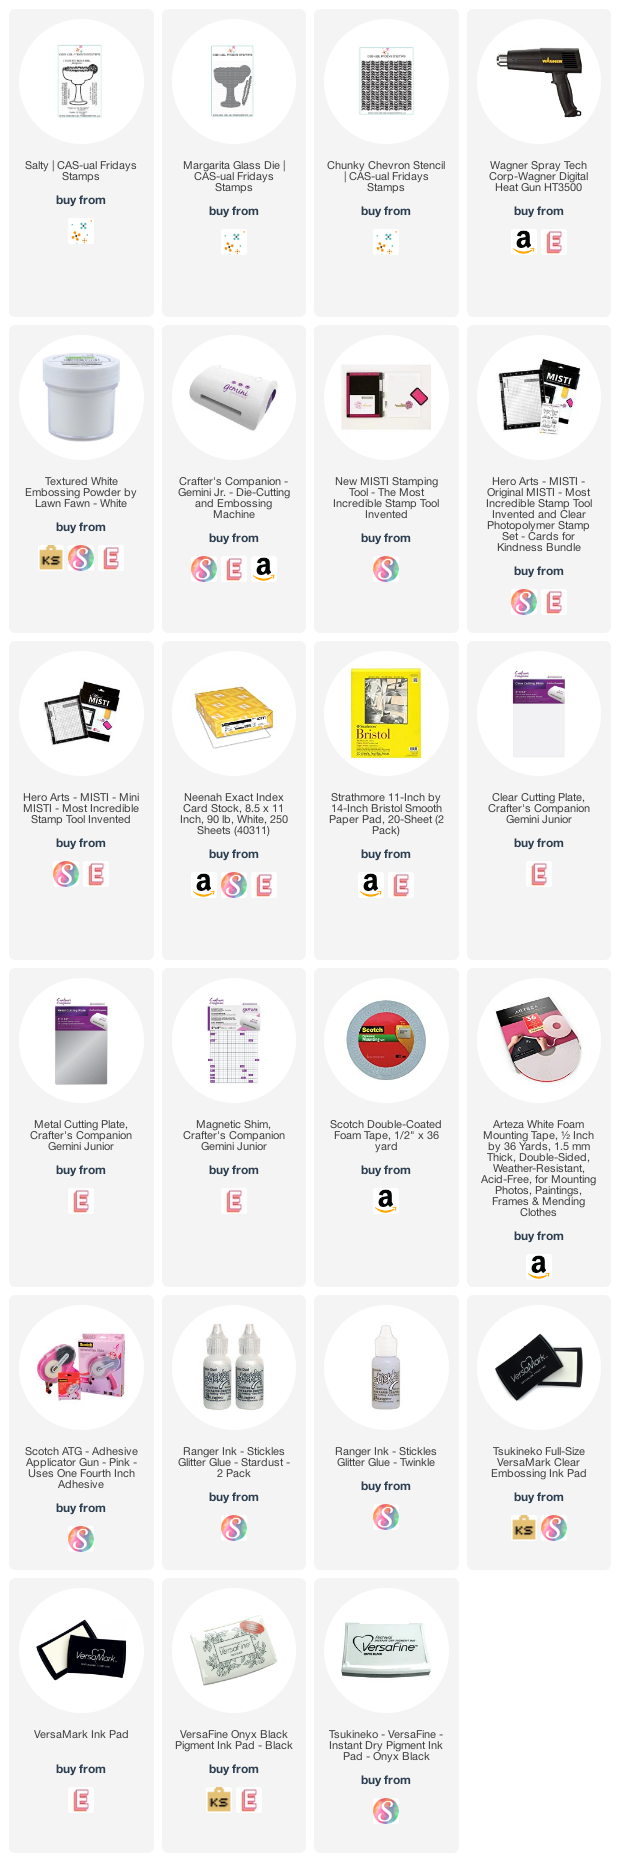
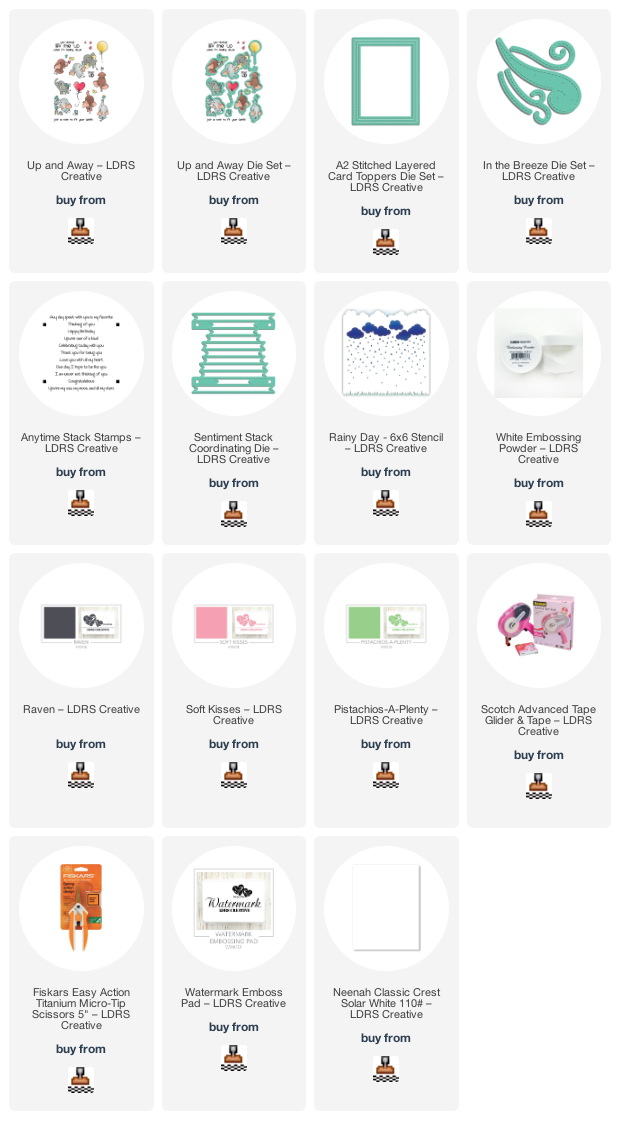
————-SUPPLIES————-