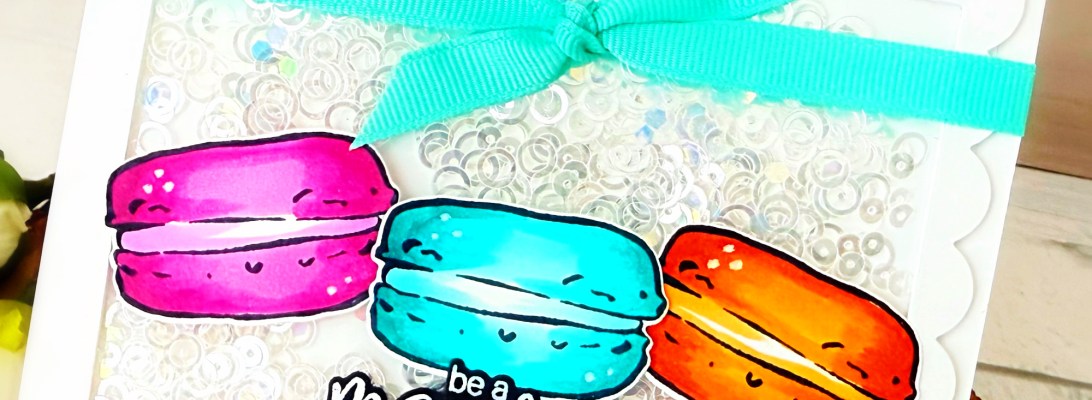
Be a Macaron In A Cookie-Cutter World!

Hello everyone!   Is anyone else feeling “blah” about the weather?  It has been raining here in Florida, and the humidity kicked in full, uncomfortable mode!  I wanted to create a cheerful, shaker-card, showcasing the Macarons Stamps Set and Coordinating Dies bundle.
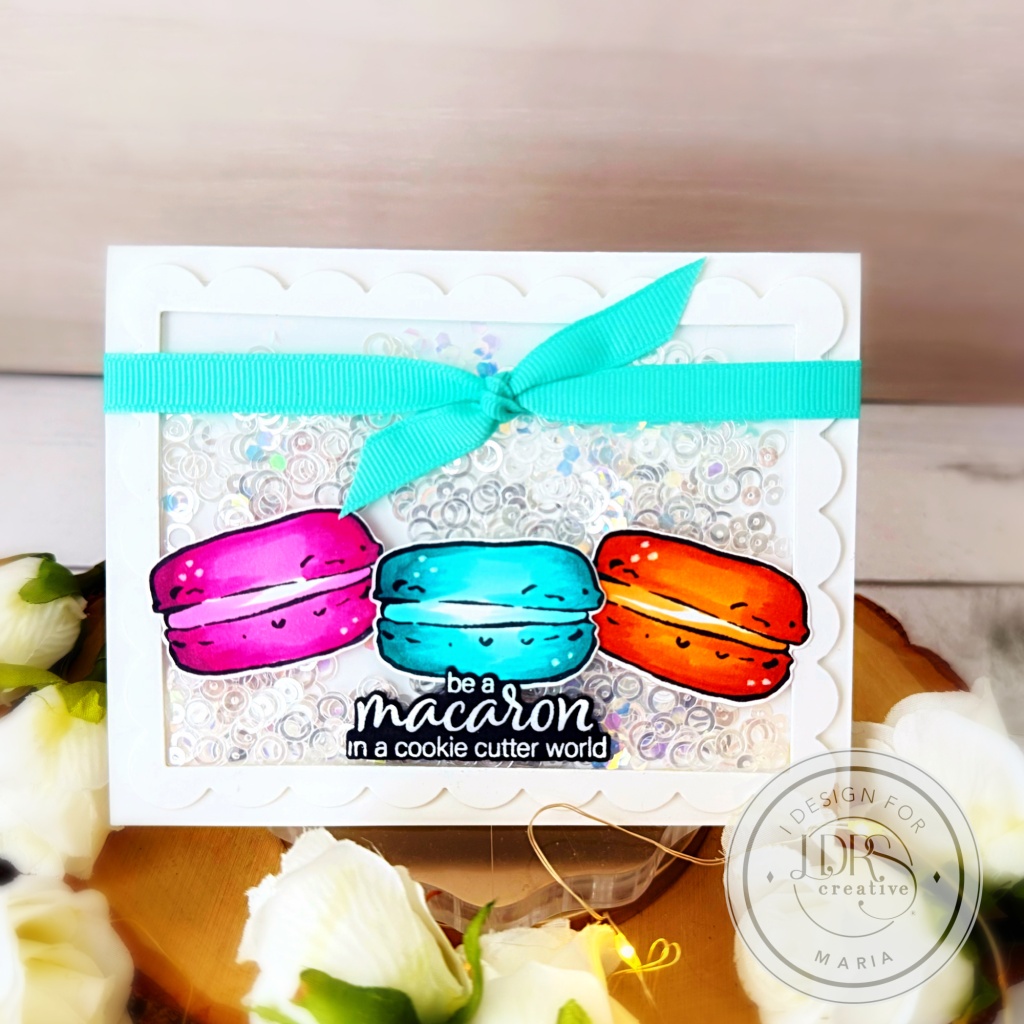
The images were stamped on Neenah Solar White card stock with Raven Hybrid ink and colored with alcohol markers.  I die-cut the images using the Macarons Coordinating Die and set them aside while I prepared the shaker card.

The scallop frame was created using the Mixed Scallop Rectangle Die, with the A2 Diagonal Stitched Layered Card Topper.  I adhered the acetate sheet and added foam adhesive to create the well.  I used iridescent sequins for my shaker element and adhered the frame to an A2-size top-folding notecard.  I added the colored images using liquid glue.
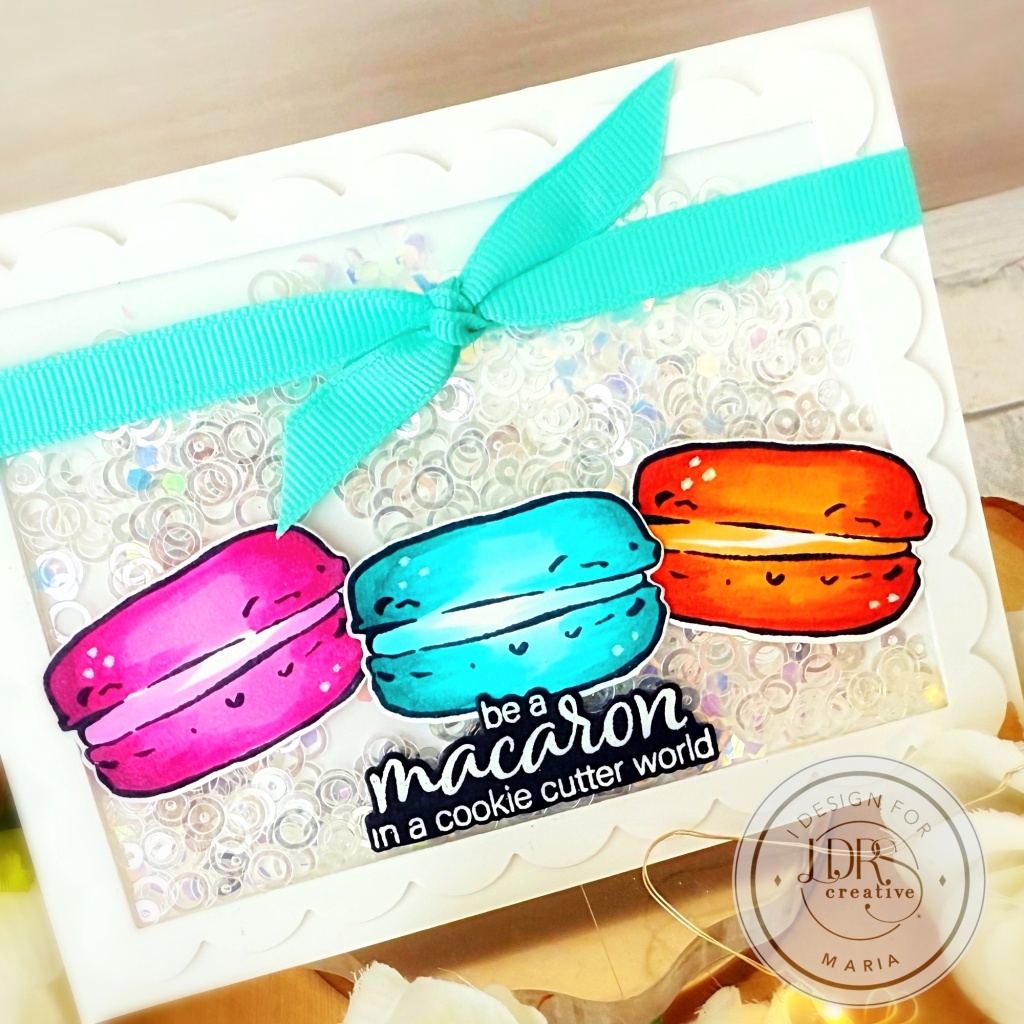
The sentiment was stamped and heat-embossed with White embossing powder and adhered in the center of the card.  Lastly, I added the blue satin bow to finish the design.  Here’s another look:
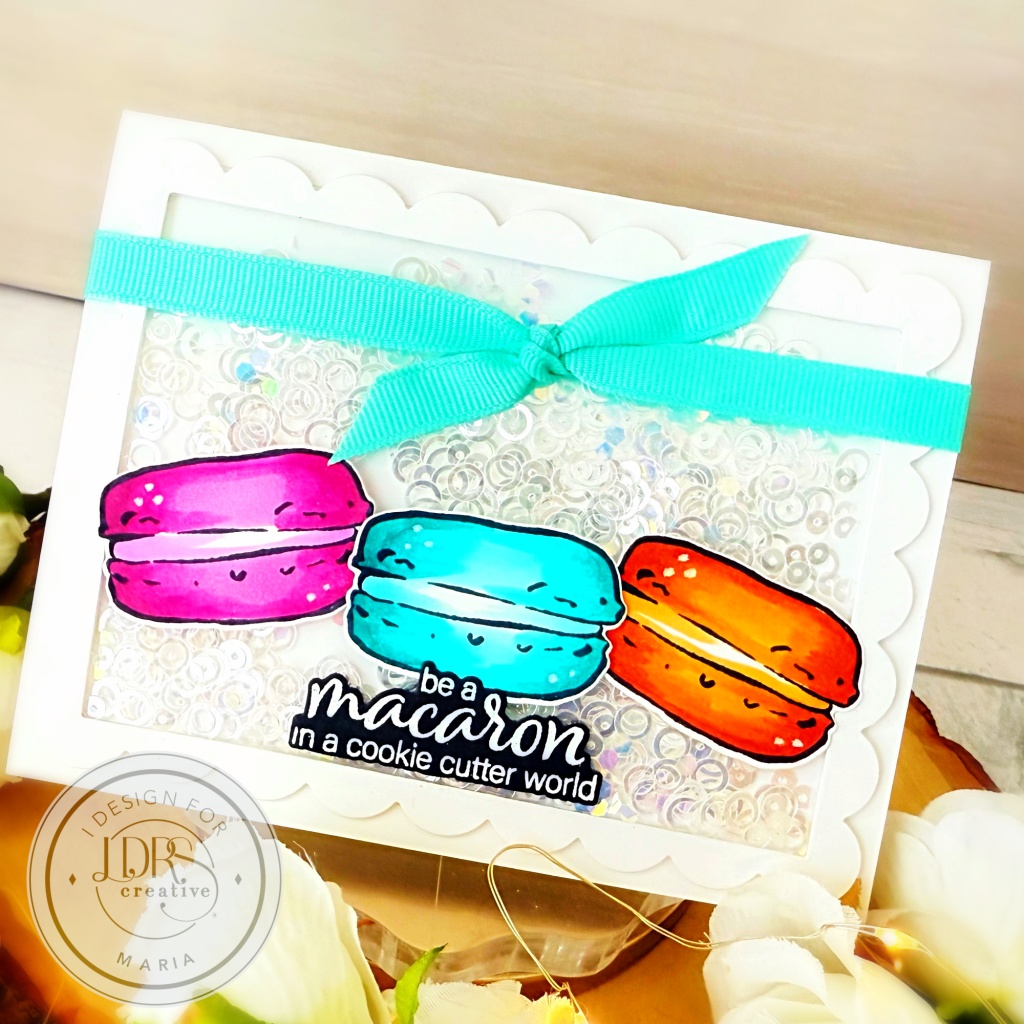
I hope you like this shaker card today.  Thanks for stopping by and have a great week ahead!
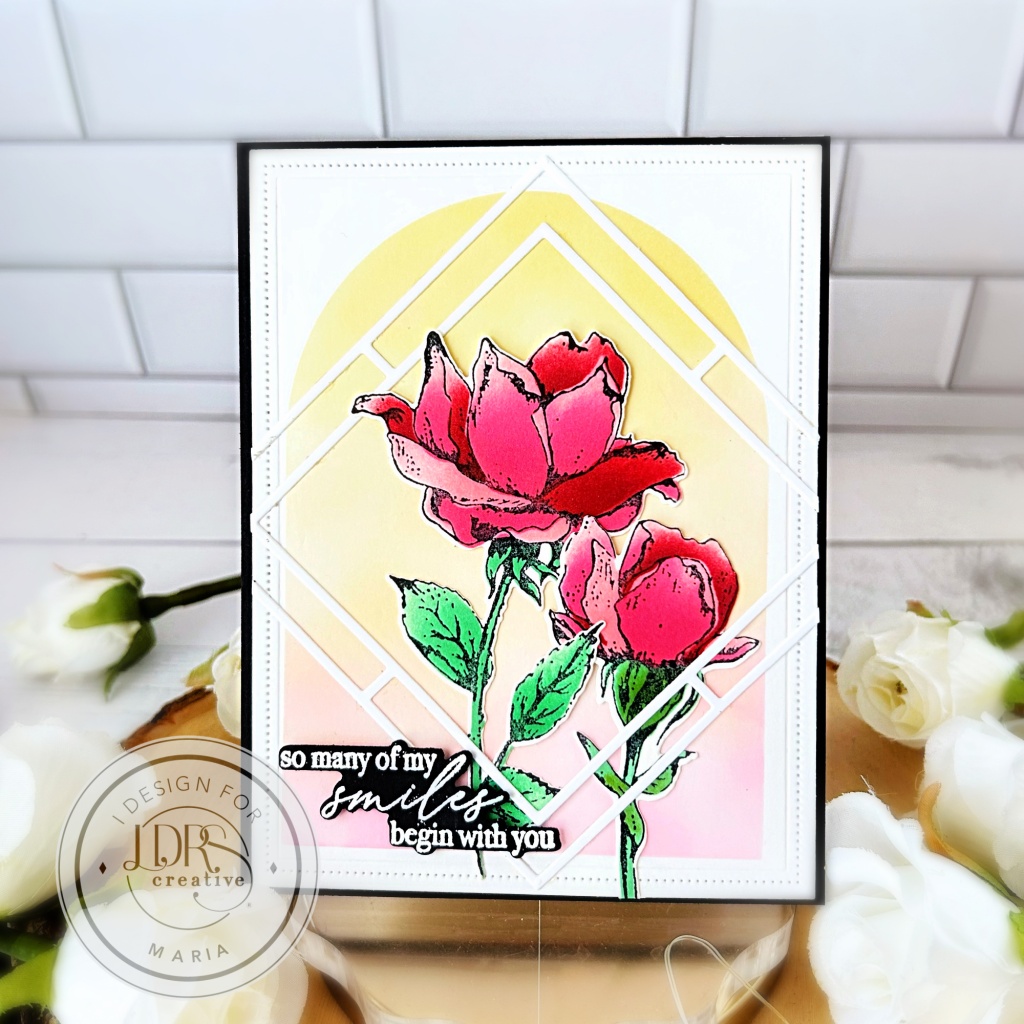
So Many of My Smiles Begin With You

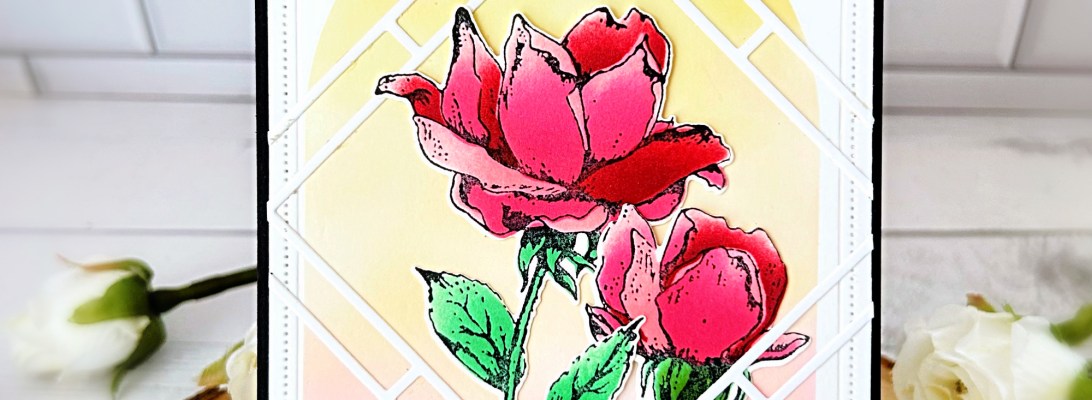
Hello everyone! In today’s post, I want to share a card with a lot of texture and details!  I am showcasing the Velvet Petals Impress-ion Press + Foil Plates, with the Velvet Petals Layering Stencils and the Velvet Petals Coordinating Dies.

I started to die-cut the card front using the Pinpoint Rectangle Die set.    I wanted to add some color to the background and used the Arches Spotlight Stencil.  I mixed Banana Cream Pie, Peachy Keen, and Pink Tutu Hybrid inks.  

Next, I used the Velvet Petals Impress-ion Press + Foil Plates with the BetterPress Plates to stamp an impression on the watercolor cardstock with Raven Hybrid ink.  Coloring the images was very easy using the Velvet Petals Layering Stencils with Scarlet Rose, Lipstick Jungle, Soft Kisses, and Pistachios-A-Plenty Hybrid inks.

To add more texture, I die-cut the square white frame using the Floating Squares Die set.  I adhered the colored roses, then added the floating white square with liquid glue.  The background was then foam-mounted to the card base for more dimension and finished by adding the sentiment!  Here’s another look:

I LOVE how this project turned out, and I hope you do as well.  Thanks for stopping by and have an amazing day!

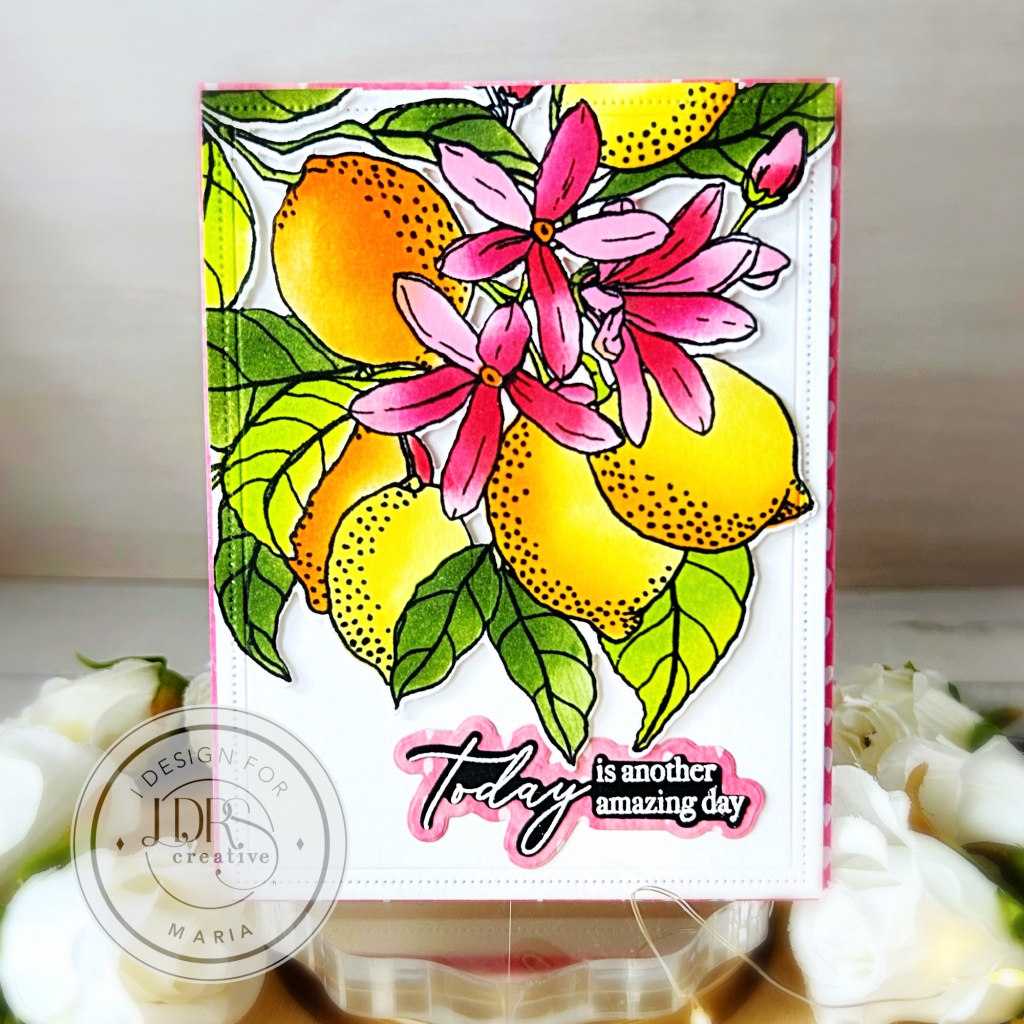
Today Is Another Amazing Day with LDRS Creative

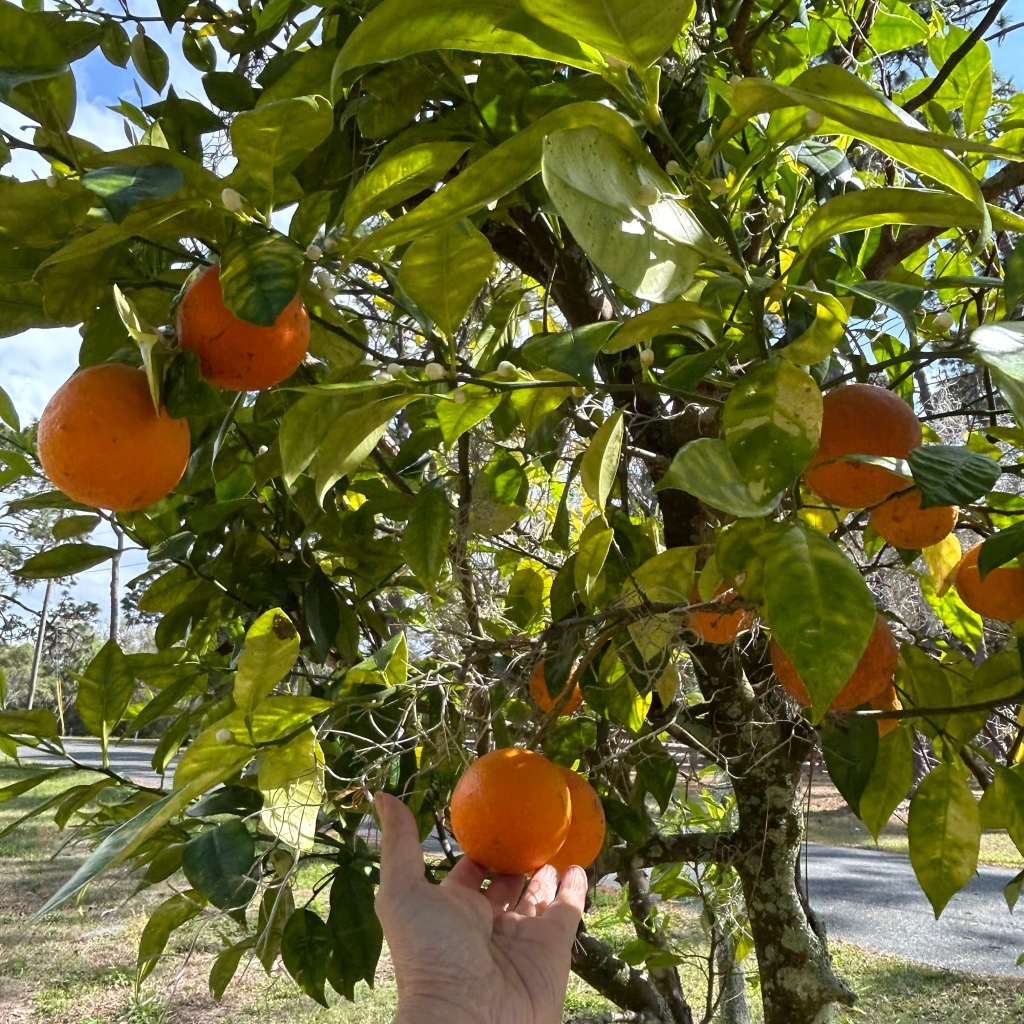
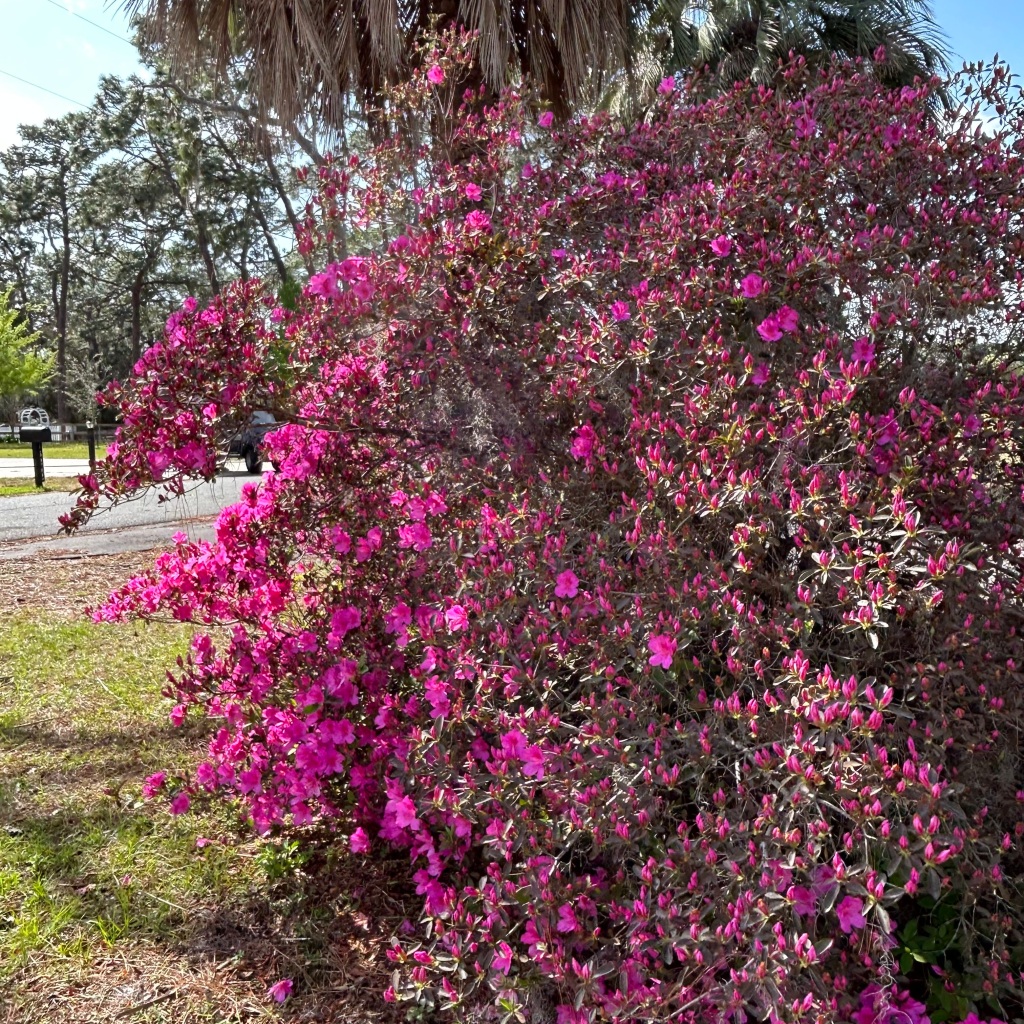
Spring has sprung here in Florida, and I enjoy looking at all the beautiful flowers in my yard!  The citrus trees have also bloomed, and I can finally harvest some of the oranges and lemons from the garden!  This is my inspiration for today’s post.

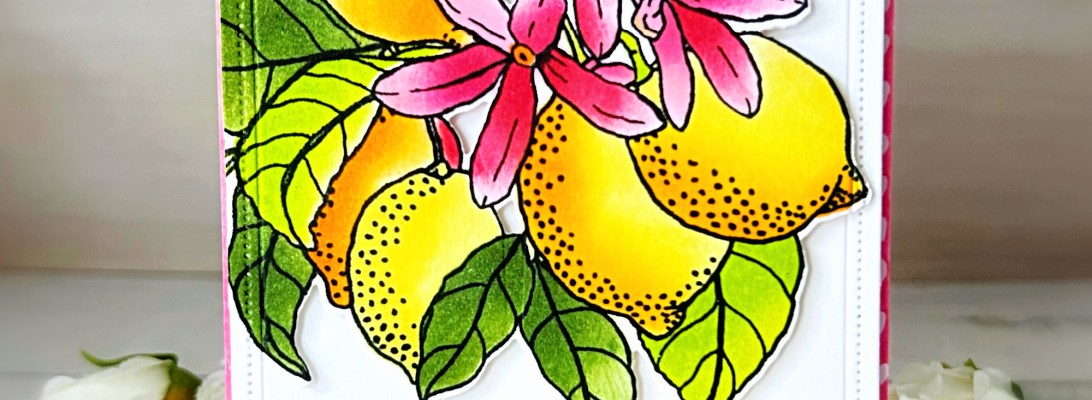
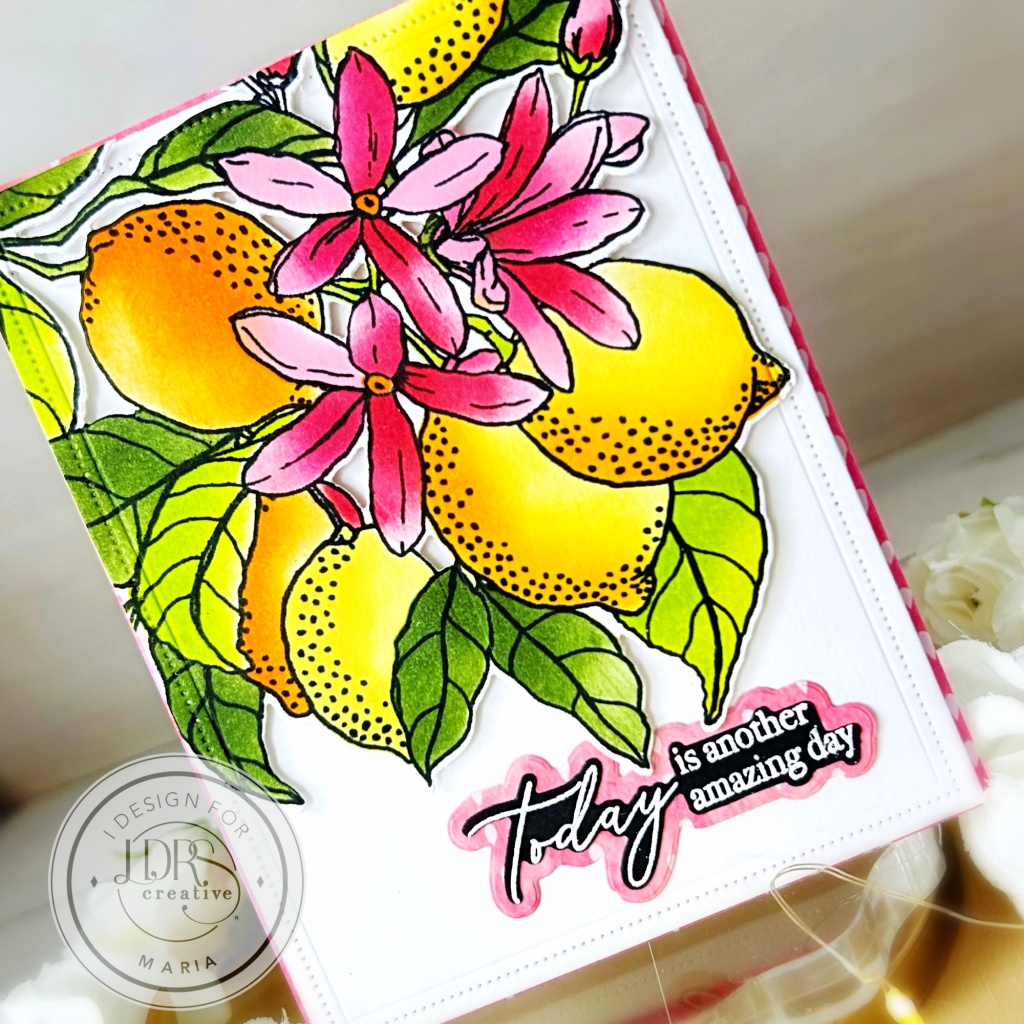
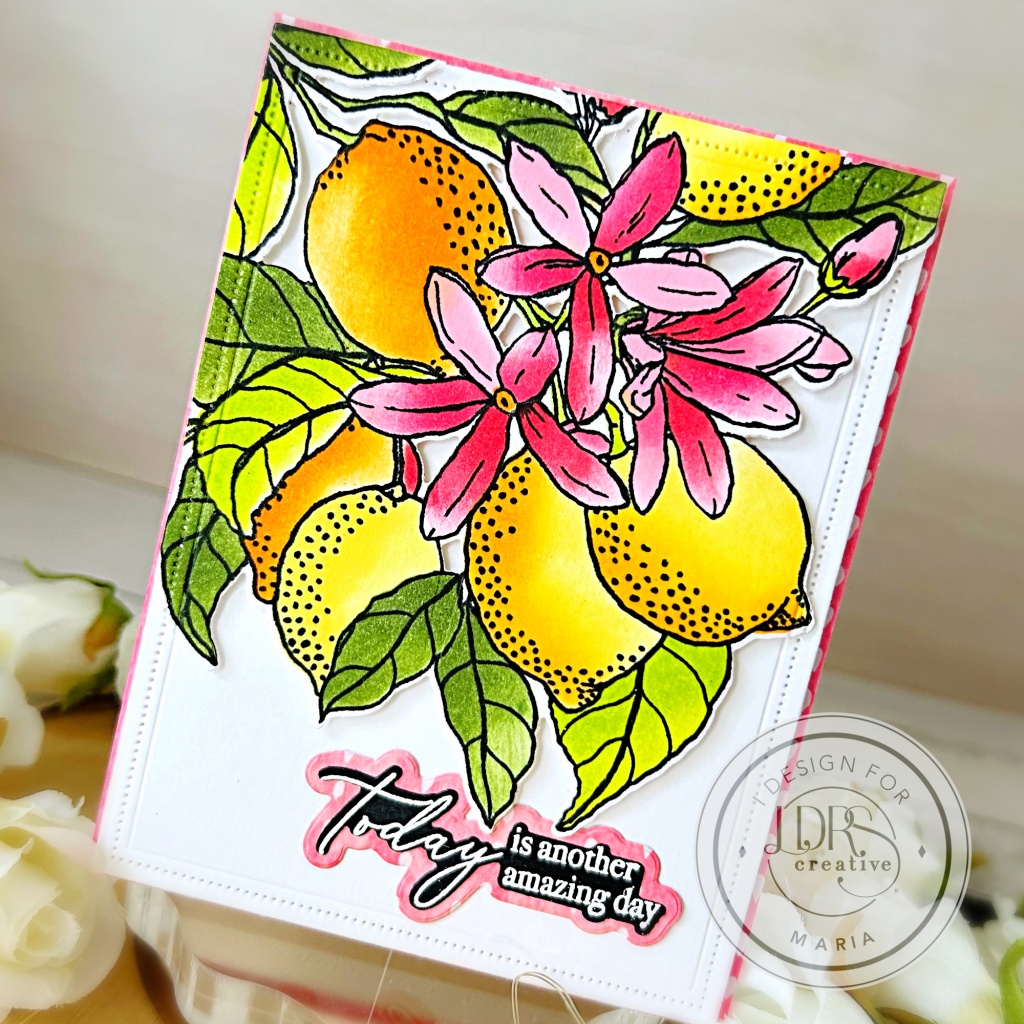
For my card today, I am showcasing the Fruit Tree 5×7 Stamp Set, which includes the Fruit Tree Coordinating Dies, Fruit Tree Layering Stencils, and the Pinpoint Rectangle Die.

I stamped the image on Neenah Solar White cardstock using Raven Hybrid Ink.  I placed stencil number 1 from the Fruit Tree Layering Stencils onto the image and started inking them up with LDRS Hybrid inks.

What is truly helpful for me is the Stencil Layering Guide that is included in the Fruit Tree Layering Stencils packaging.  It not only provided me with instructions on how to use the stencil, but it also suggested different colors of the hybrid inks.  For reference, I used the following inks: Kiss Me Red,  Pink Tutu, Lipstrick Jungle, Evergreen, Key-Lime Pie, Banana Cream Pie, and In Your Face Orange.

I used the Fruit Tree Coordinating Dies to die-cut the image.  Since I knew I was going to use the Pinpoint Rectangle Die as my card background, I used the same die to cut the colored image, as well as die-cut another white card stock. 

To ground the image, I adhered the patterned paper from the One Fine Day collection on an A2-size notecard.  To add dimension, I foam-mounted the image onto the white card stock and adhered to the card with liquid glue.  Lastly, the sentiment was stamped and heat-embossed and added to the card to finish the design.  Here’s another look at the finished card:

I hope you like my project.  Have an amazing day, and happy crafting!

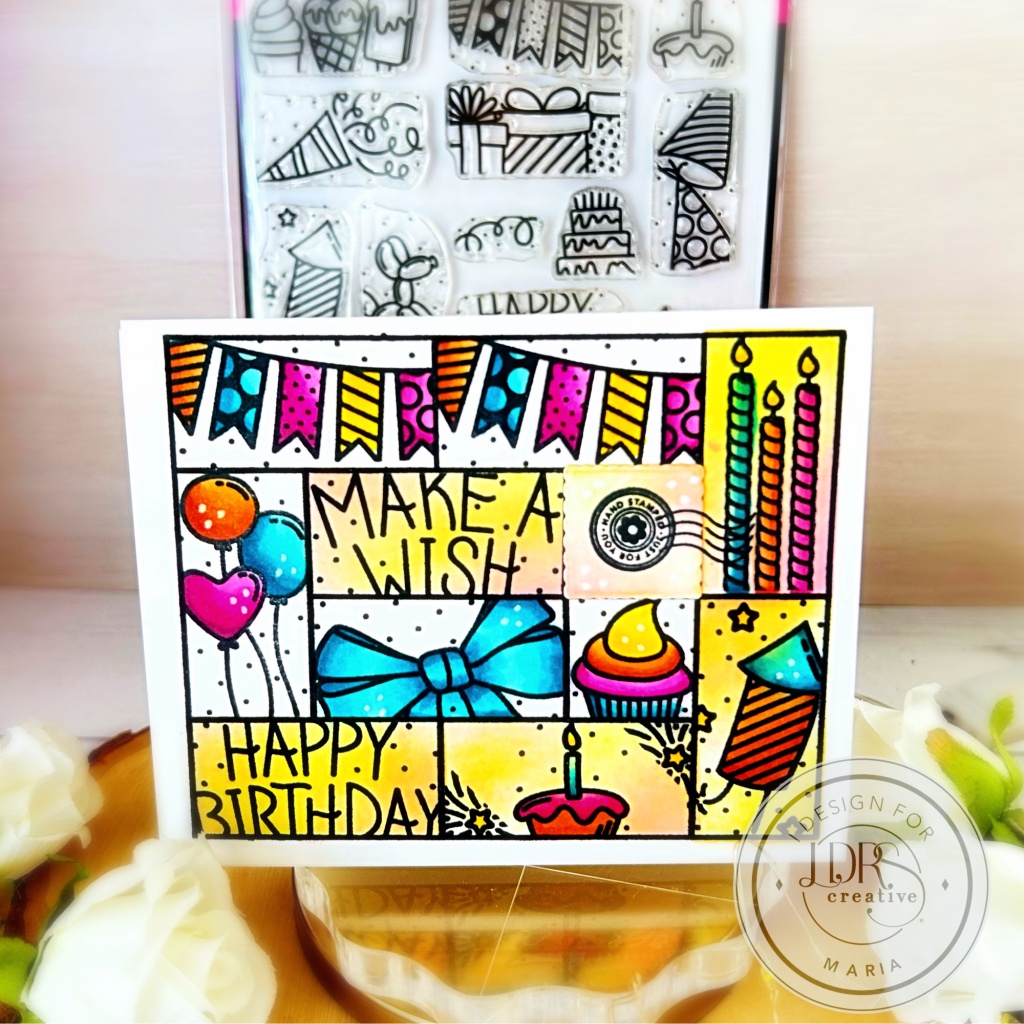
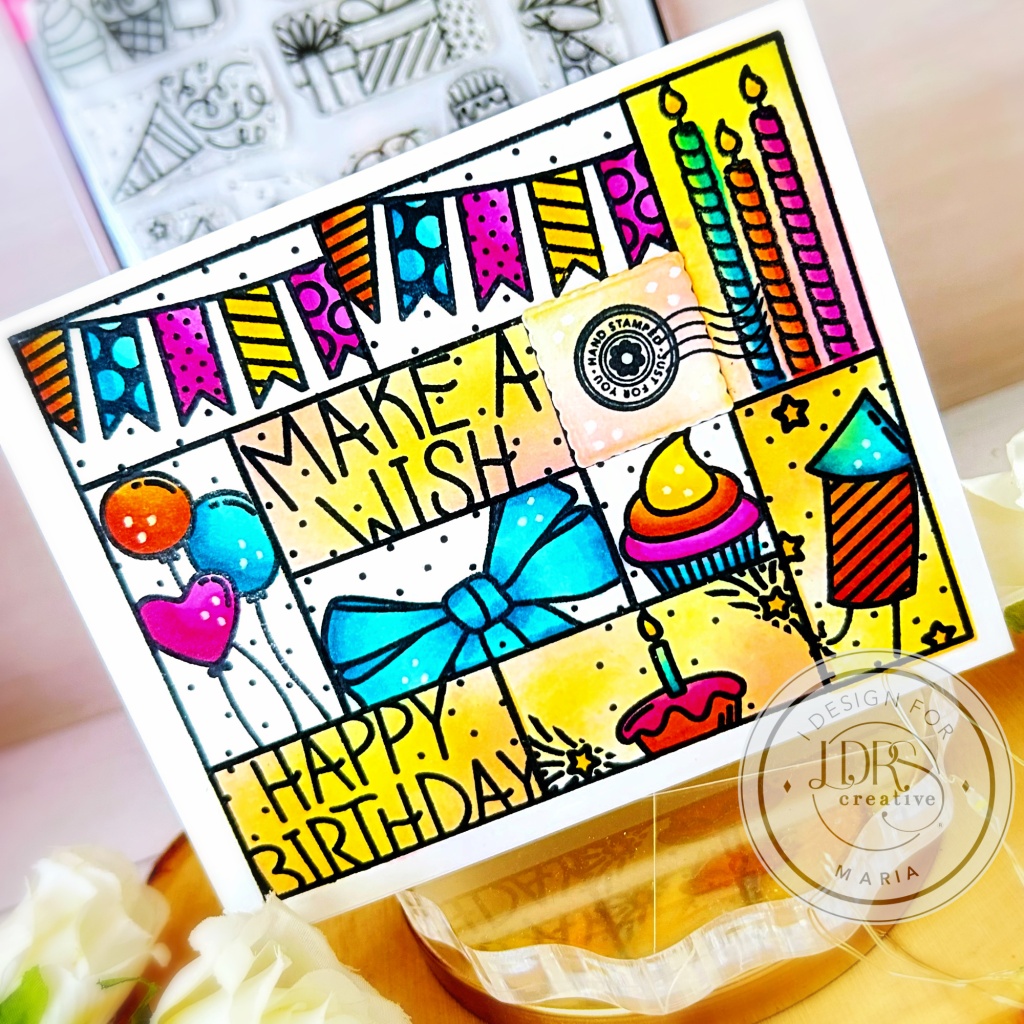
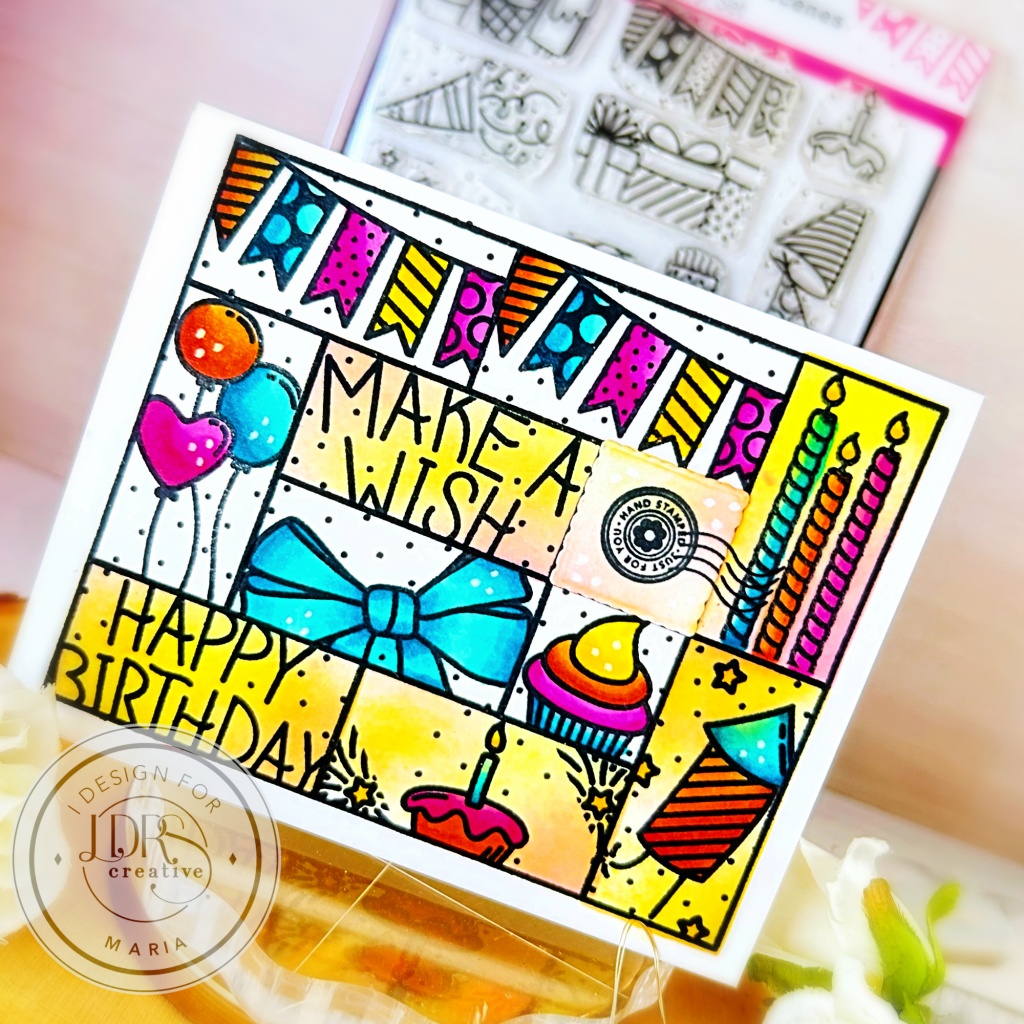
A Simple Happy Birthday Card with LDRS Creative

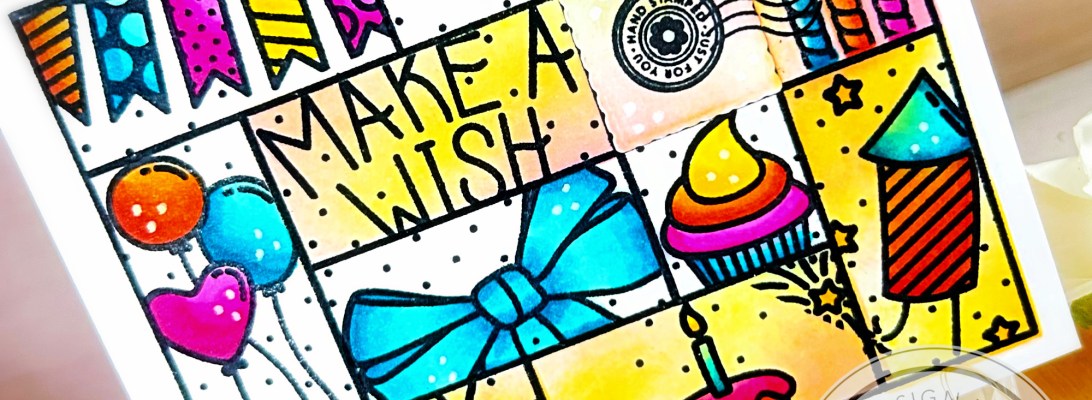
Hello everyone! I’m back with you today sharing this straightforward card, showcasing the beautiful Birthday Puzzle Scenes 6×8 Stamp Set the Puzzle Frames Stamp, and Puzzle Mask Stencil.

I began by stamping the Puzzle Frames Stamp on white cardstock with Raven Hybrid ink.  Using the Birthday Puzzle Scenes 6×8 Stamp Set, I chose a few cute images and stamped each inside the block.

I wanted this birthday card to be very colorful so I chose bright blue, orange, yellow, and pink markers!  I used the Puzzle Mask Stencil with a few blending brushes to add some color to the blocks.  For reference, I used Pink Tutu and Banana Cream Pie hybrid inks.

The final step was to add a little “stamp” on the card.  I die-cut the square using the Nested Postage Collage Die and stamped the image from the Here Comes The Sun Postage Collage Stamp Set.

I hope you like my project today.  Thanks for stopping by, and happy crafting!

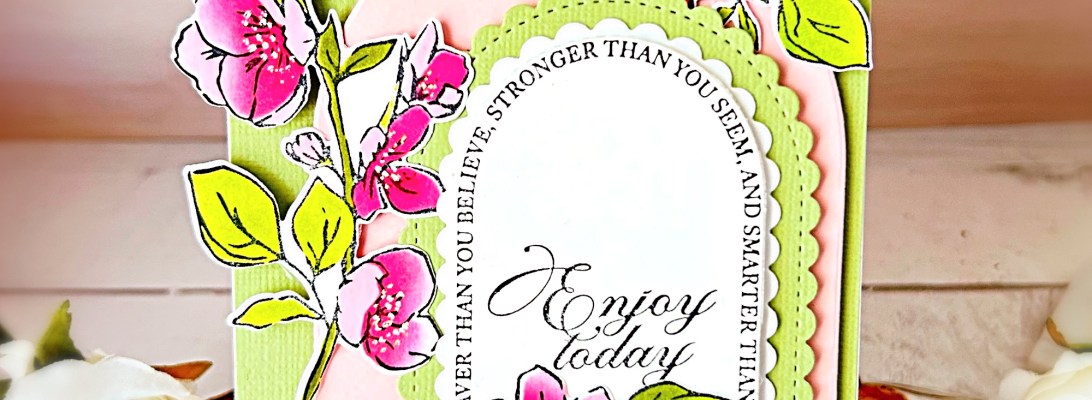
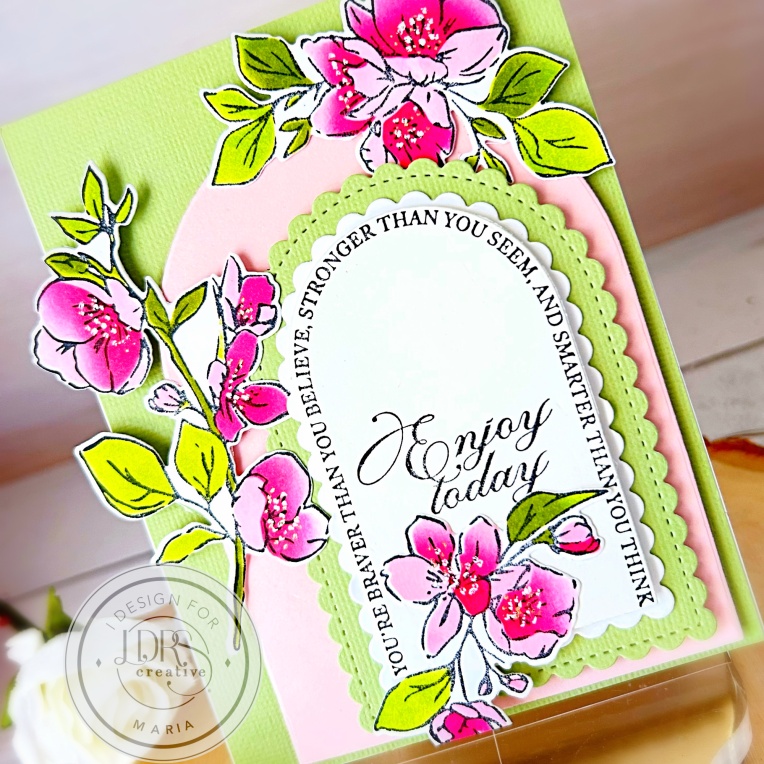
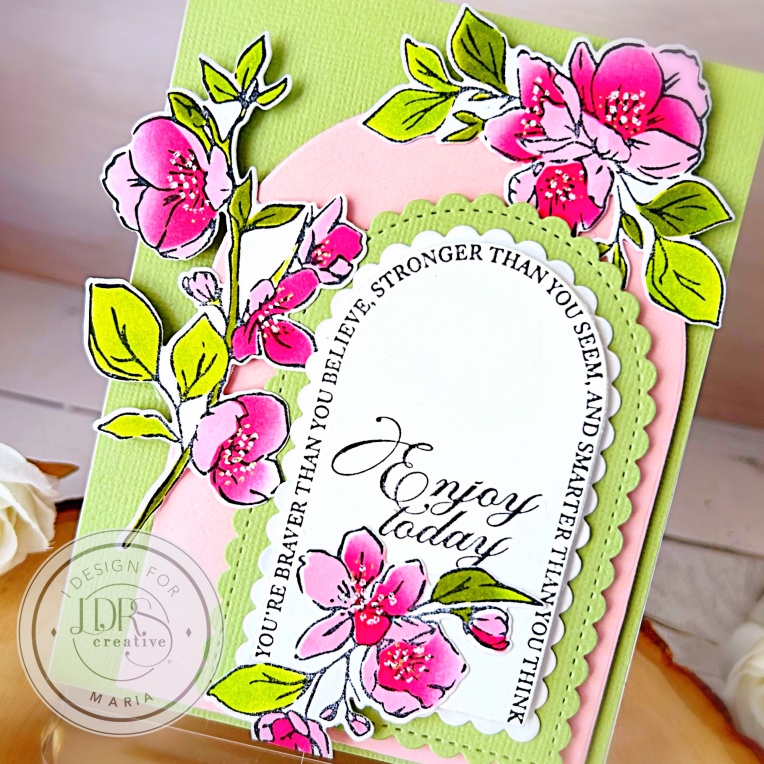
An Elegant Card Featuring Apple Blossom Swag Bundle by LDRS Creative

Hello everyone and Happy 2025! I hope you are all doing well! I want to start the new year by creating more projects and giving you a lot of content this year!

I always run out of all-occasion handmade cards and that’s because I send them to friends all the time!  I was looking at the new LDRS collection and the Apple Blossom Swag Bundle is just the right combo to create this beautiful card below.

I started by placing the Apple Blossom Swag Impress-ion Press + Foil Plates on the BetterPress platform and inking them with Raven Hybrid ink.  I run the BetterPress platform through the die-cutting machine to get a nice impression.

Next, I used the Apple Blossom Swag Stencil to color the images.  I love that I don’t have to be an expert when it comes to coloring because the stencils made it very easy for me to layer the colors and add dimension.  For reference, I used Pink Tutu, Lipstick Jungle, Prickly Pear Perfection, and Olive Branch hybrid inks.

Once I finished coloring the images, I used the Apple Blossom Swag Coordinating Dies to cut them out.  The final step was to get the sentiment stamped and die-cut.  I used the Arch Builder Impress-ion Press + Foill Dies with Raven Hybrid ink, followed by die-cutting the same using the Arches Die.

Finally, assembling the card was very easy by layering the Stitched Scallop and Arches dies with foam adhesive for dimension and stability.  Here’s another look at the card.

I hope you like this card as much as I do!  Thanks for stopping by, and happy crafting!

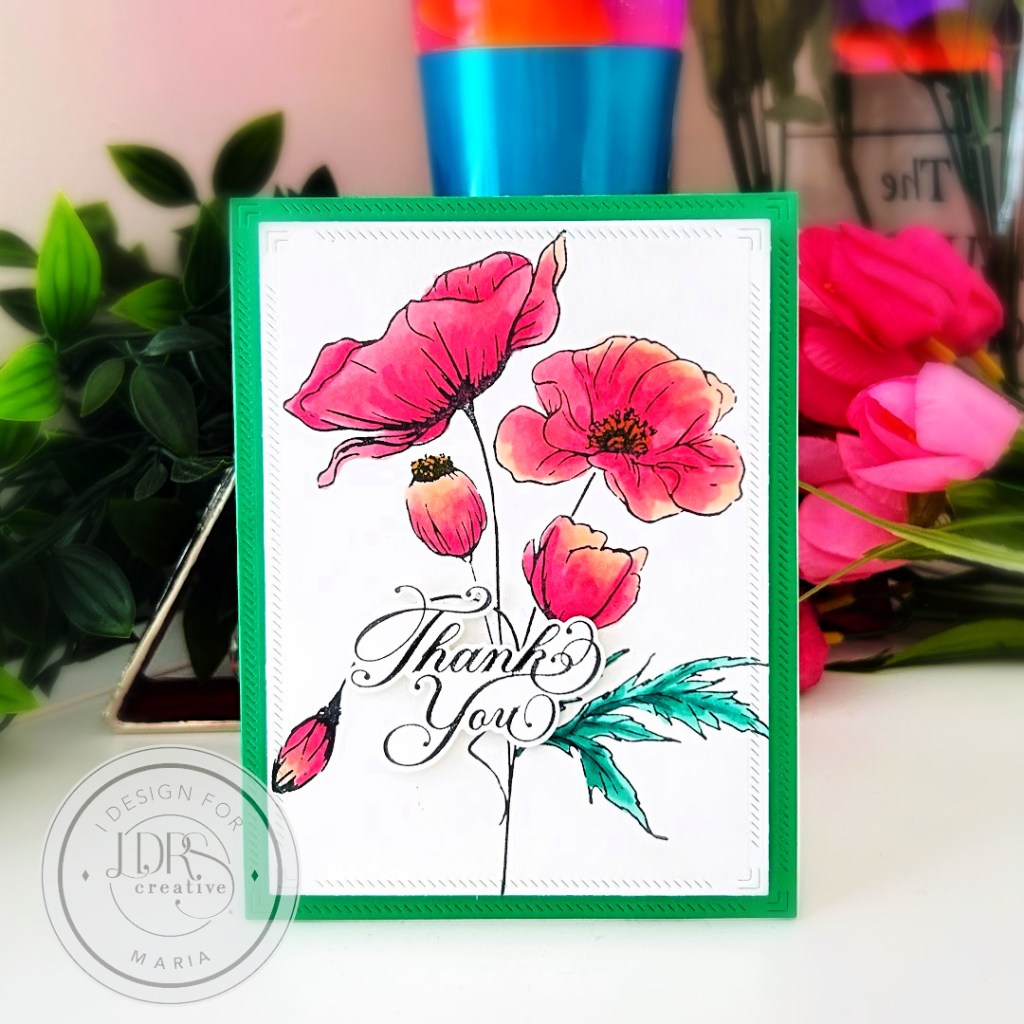
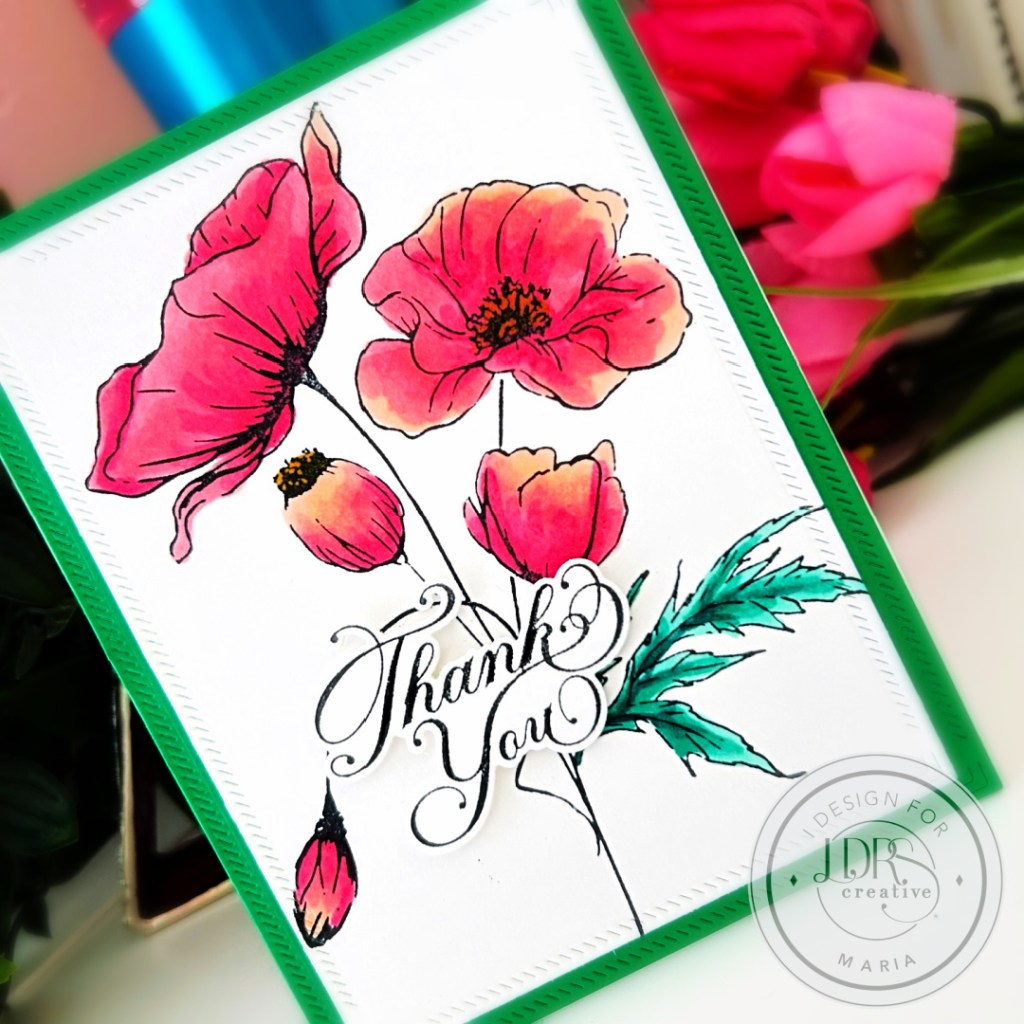
Thank You Card with LDRS Creative’s Summer Release

The LDRS Creative Summer Collection is here and it’s AMAZING! You guys really need to check it out!

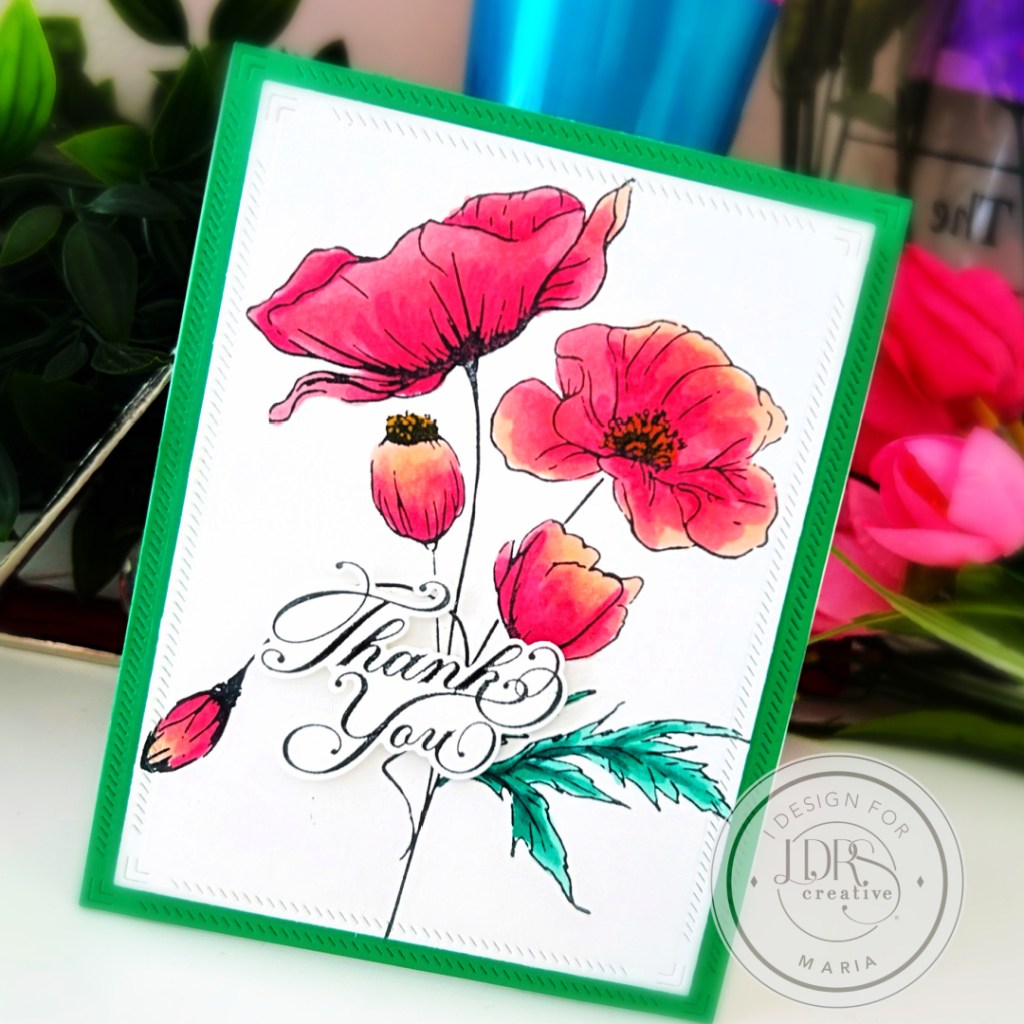
I always have a stack of thank you cards in my stash so that if I ever need one, it’s all ready to go!  My card today is showcasing my favorites from the Summer Collection by LDRS. If you are interested, here are the products I used today:

Delicate Stems Press + Foil Plates

Arches Thank You Impress-ion Press + Foil Plate

A2 Diagonal Stitched Layered Card Toppers

The Delicate Stems Press + Foil Plates has a matching stencil (product sold separately or you can purchase the set) so you can easily color the image.  However, I did not use the coordinating stencil at this time as I wanted to use my alcohol markers to color the images.  I have been staying indoors quite a lot lately (it’s very hot in Florida right now) so coloring images is my favorite thing to do to pass the time.

I hope I’ve given you some inspiration today!  Thanks for stopping by!

A Magical New Release by Kat Scrappiness, Inc.

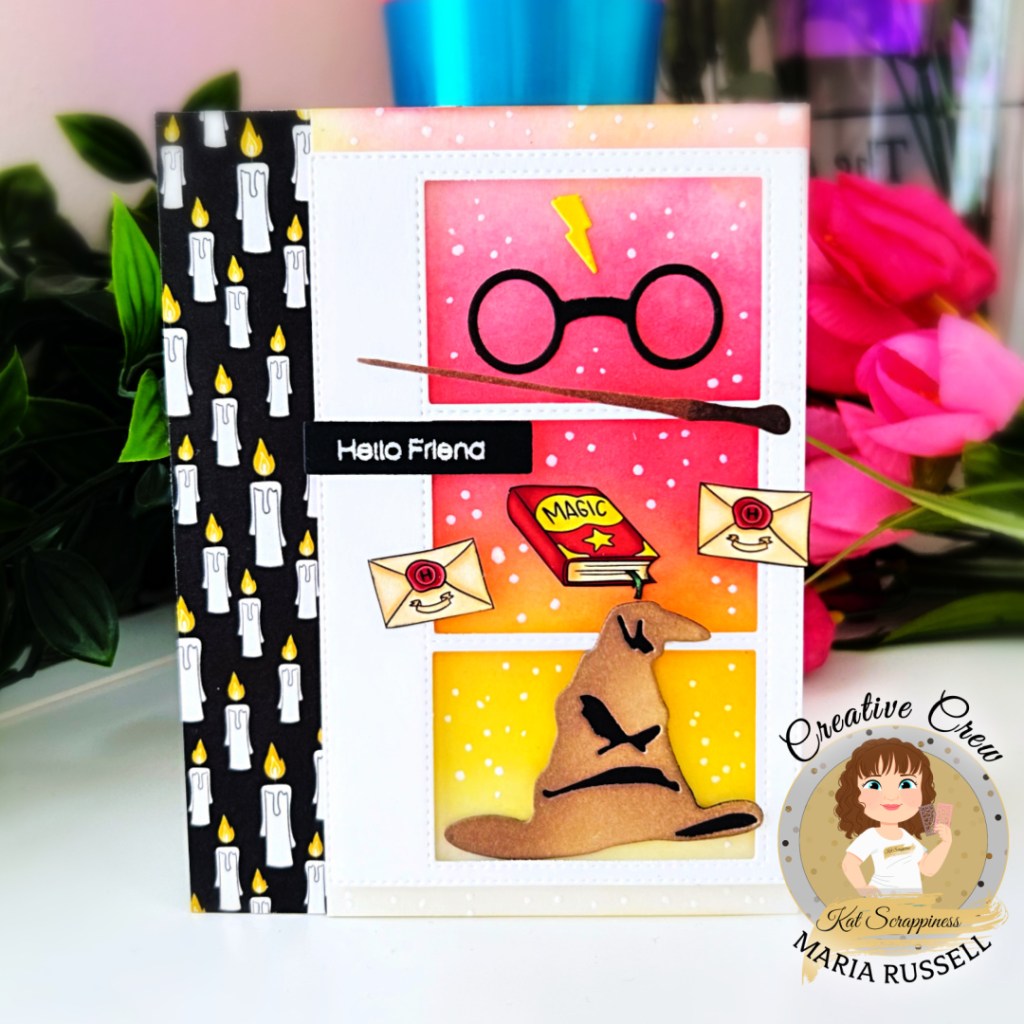
Hello and welcome to the Kat Scrappiness, Inc.‘s new release!!!! I have a very simple, yet super cute card featuring the Magical Quokkas with my new favorite dies called Wizarding Provisions Craft Dies!

Starting by inking up a panel of some Bristol smooth white card stock with Distress oxide inks and adhering the same to some A2-size top-folding card base. I cut a strip of patterned paper from the Magical Quokka 6×6 paper pad to add a little contrast to the colorful background.

To showcase the new products, I die-cut the white frame with the Crafter’s Essentials 1 die set with the Wizarding Provisions Craft Dies. I ink-blended the sorting hat with distress oxide ink and adhered the frame with foam-adhesive for added dimension.

Next, I adhered the Magical Quokka Ephemera to the frame and finished the design with the sentiment from the Simple Sentiment Stamp and die set.


I cannot get over how super cute this new release is! I hope you like this project as much as I do. The supplies I used are listed and linked within the context of this blog post. Thanks for stopping by!

Happy Memorial Day Weekend!

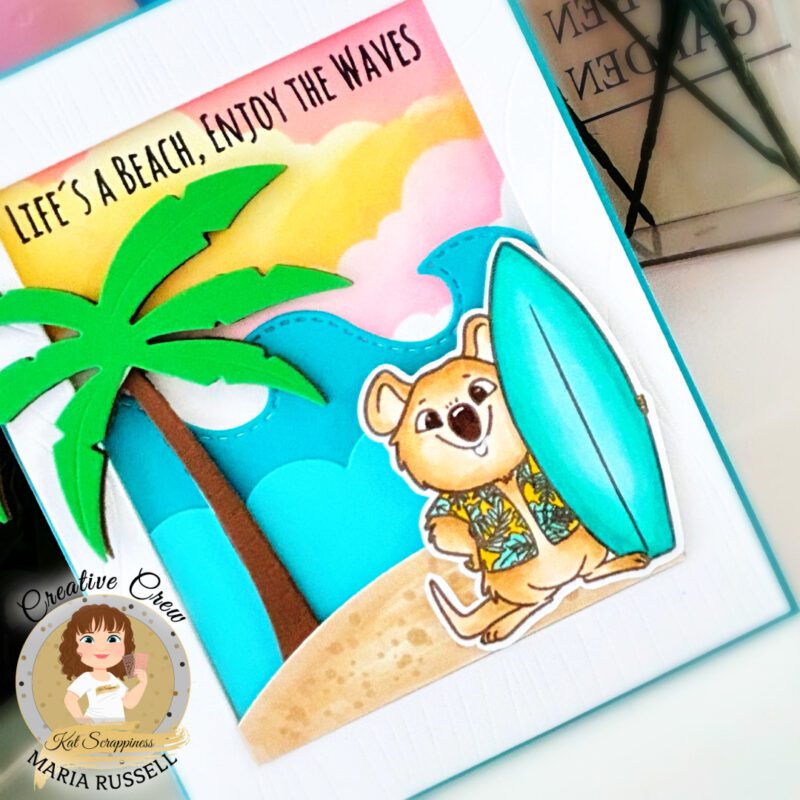
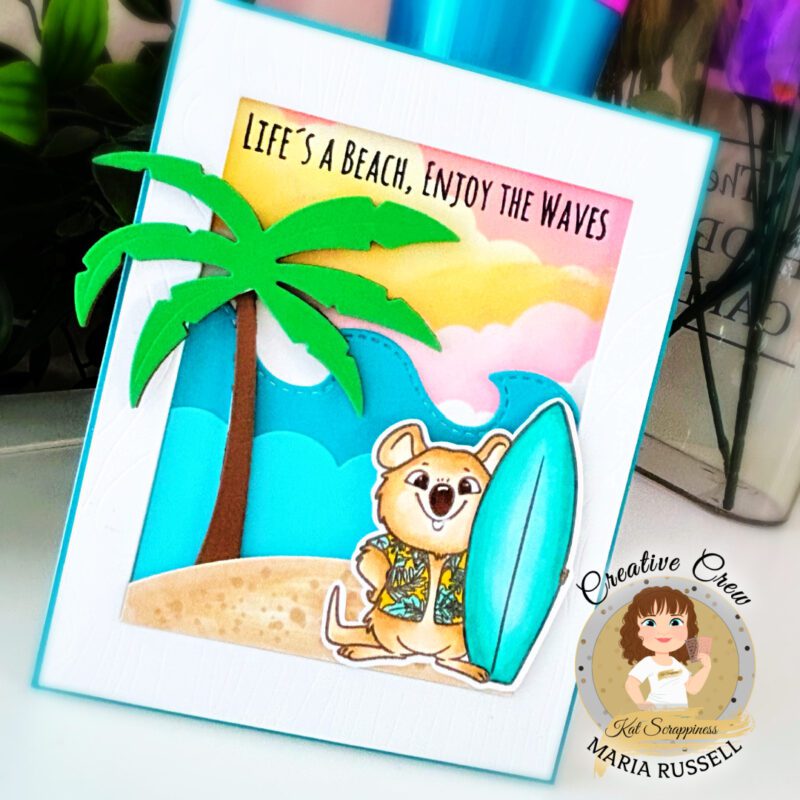
Hello and Happy Memorial Day weekend, my friends! I have a cute summer-theme card for you today featuring Kat Scrappiness, Inc. products.

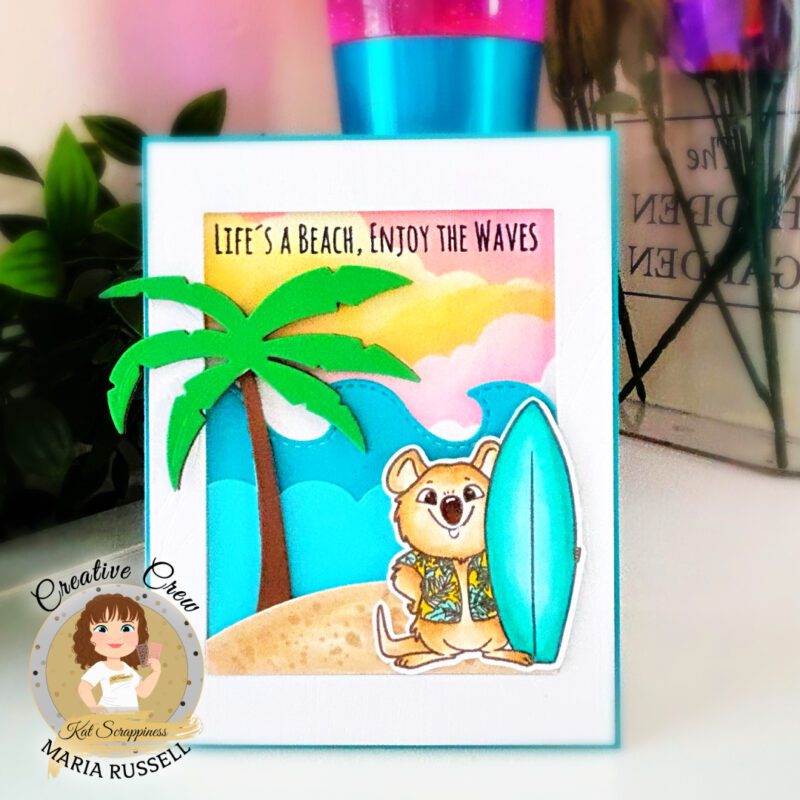
For today’s post, I am showcasing the Summer Quokka Stamp Set, along with Scene Builder Stencil, A2 Stitched Wave Dies, Tropical Island Getaway Dies and the Wood Grain Frame Cut Die.

I inked up a panel of some Bristol Smooth White card stock using the Scene Builder Stencil and some Distress Oxide inks.  I used the Wood Grain Frame Cut Die to die-cut the white frame, along with a few colored card stock that I later on used to die-cut the waves with the A2 Stitched Wave Dies.

Creating the beach scene came together really fast since I’ve already die-cut the frame and the waves.  Adhering the frame onto a blue card base using some foam adhesive to give it some dimension, then adding the waves with liquid glue.

I added the sand dune and the palm tree on the card front using the  Tropical Island Getaway Dies with foam adhesive to make everything look cohesive. I added the cute Quokka from the Summer Quokka Stamp Set that I previously colored using Copic markers. Lastly, I stamped the sentiment with some black ink. Easy Peasy! Here’s another look:

Is anyone in the mood to go to the beach this weekend?! I hope you celebrate Memorial Day not just being with family, but remembering all the heroes who served our country! After all, this country is the “home of the free, because of the brave!“.

The supplies I used are linked within the context of this post.  Thanks for stopping by!

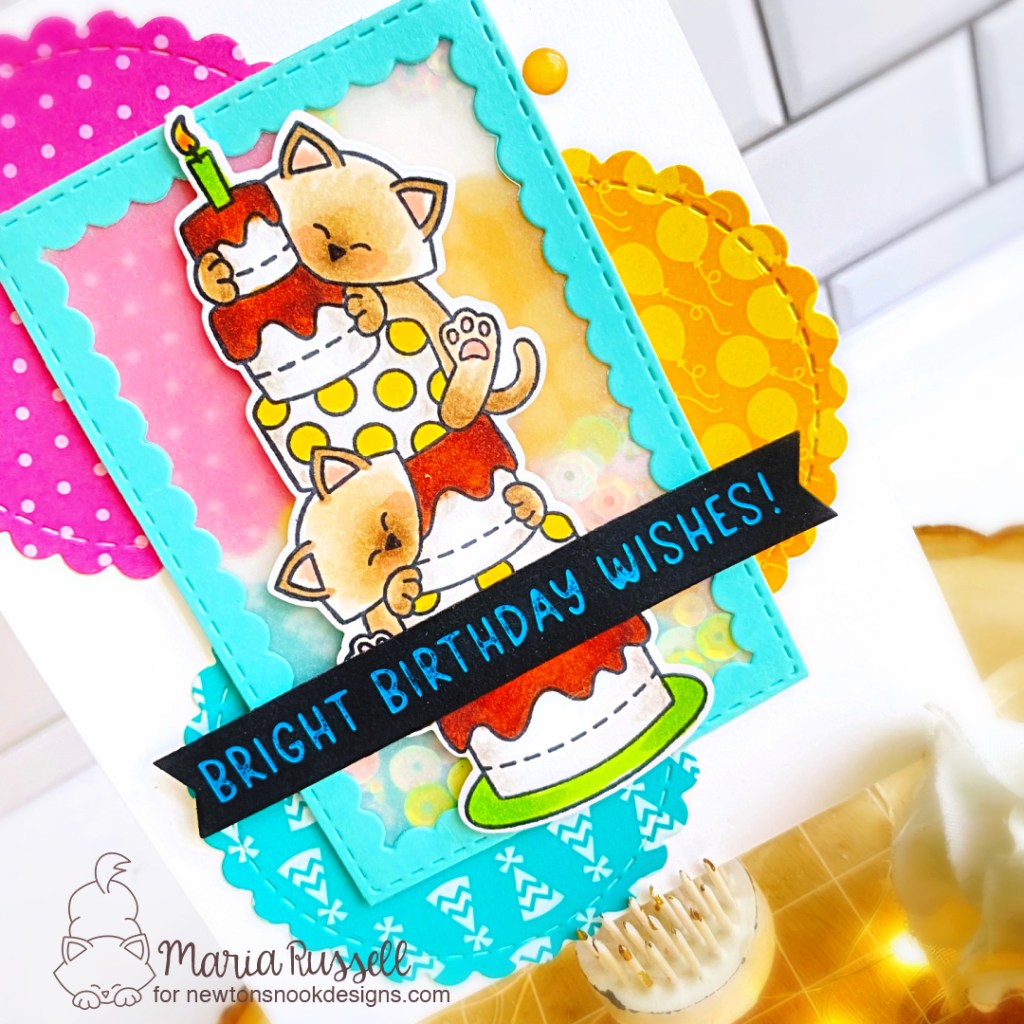
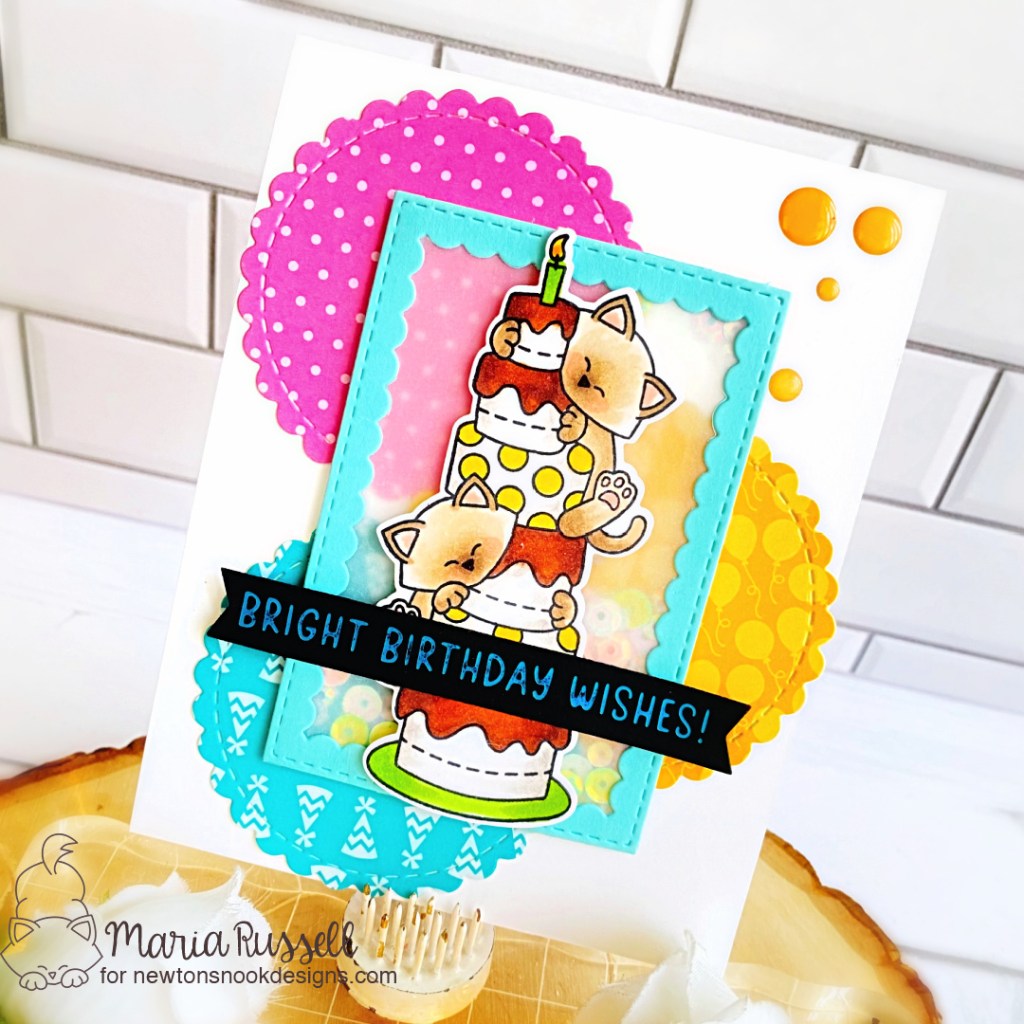
Bright Birthday Wishes Card with Newton’s Nook Designs

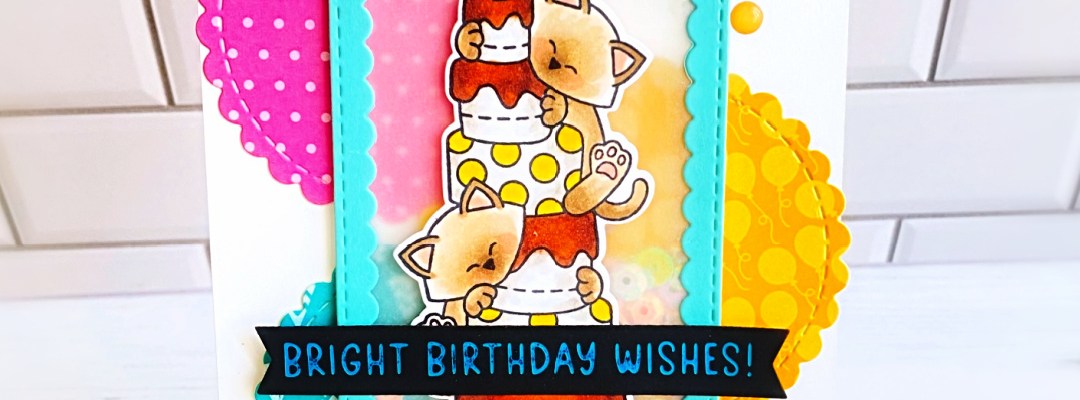
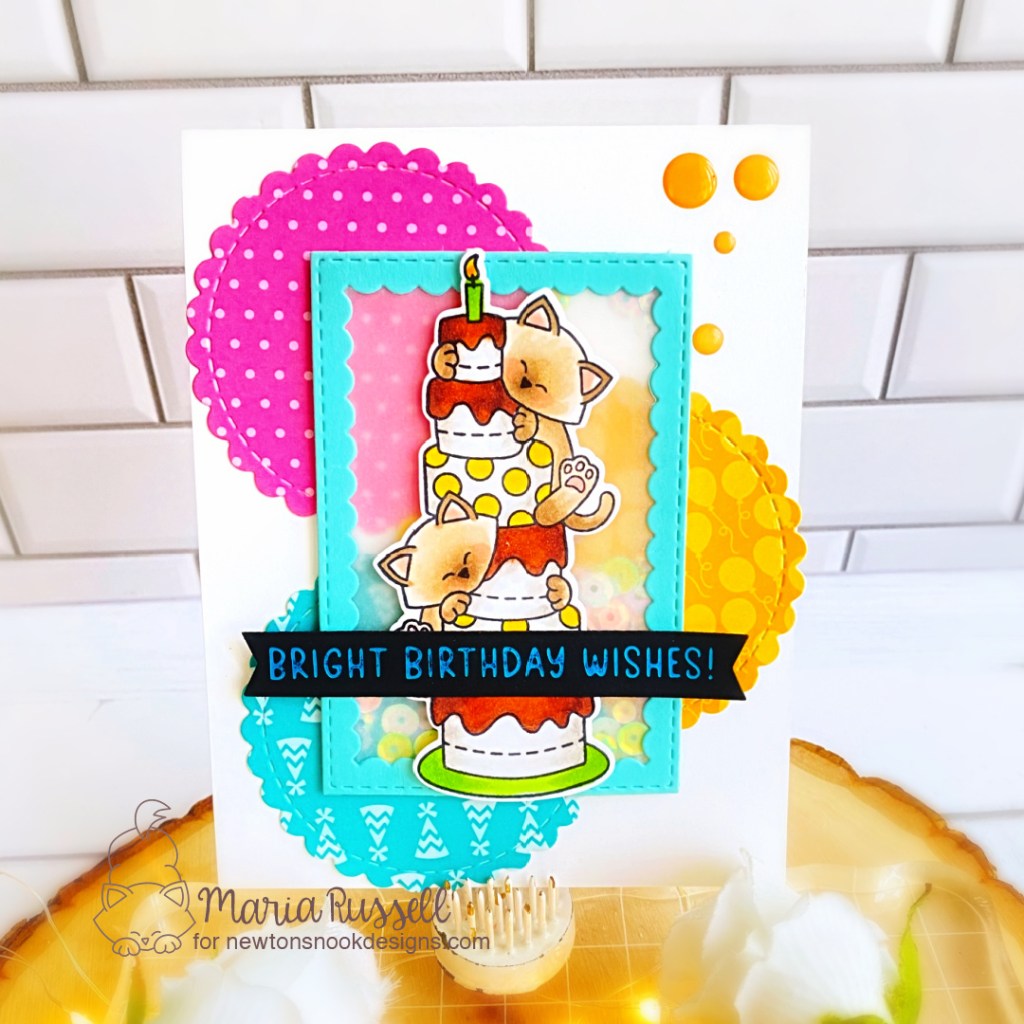
I have been building up my stash of birthday cards and today’s project features the recently released Newton’s Birthday Delights Stamp Set + Coordinating Dies along with the Bright Sentiments Hot Foil Plate and Banner Duo Die Set by Newton’s Nook Designs.

Here’s how I made this card:

  • die-cut some pattern paper that compliments the color of the stamp images using the smaller scallop die from the Circle Frames Die Set. Adhere the scallops on the notecard with tape runner.
  • die-cut the rectangle frame using the small reverse scallop frame from the Framework Die Set and add some vellum to diffuse the busy pattern behind. Use sequins for the shaker element and foam-mount this panel on the foreground.
  • adhere the image on the card with foam adhesive for added dimension.
  • adhere the sentiment with foam and liquid adhesive.
  • finish the design by adding some yellow enamel dots.

I hope you like this card today and got inspired. The supplies I used are highlighted and linked within the context of this blog post. Where available, I use compensated affiliate links at no extra cost to you. Your support helps me to keep bringing you new projects and inspiration. Thank you for stopping by, and have an amazing day!