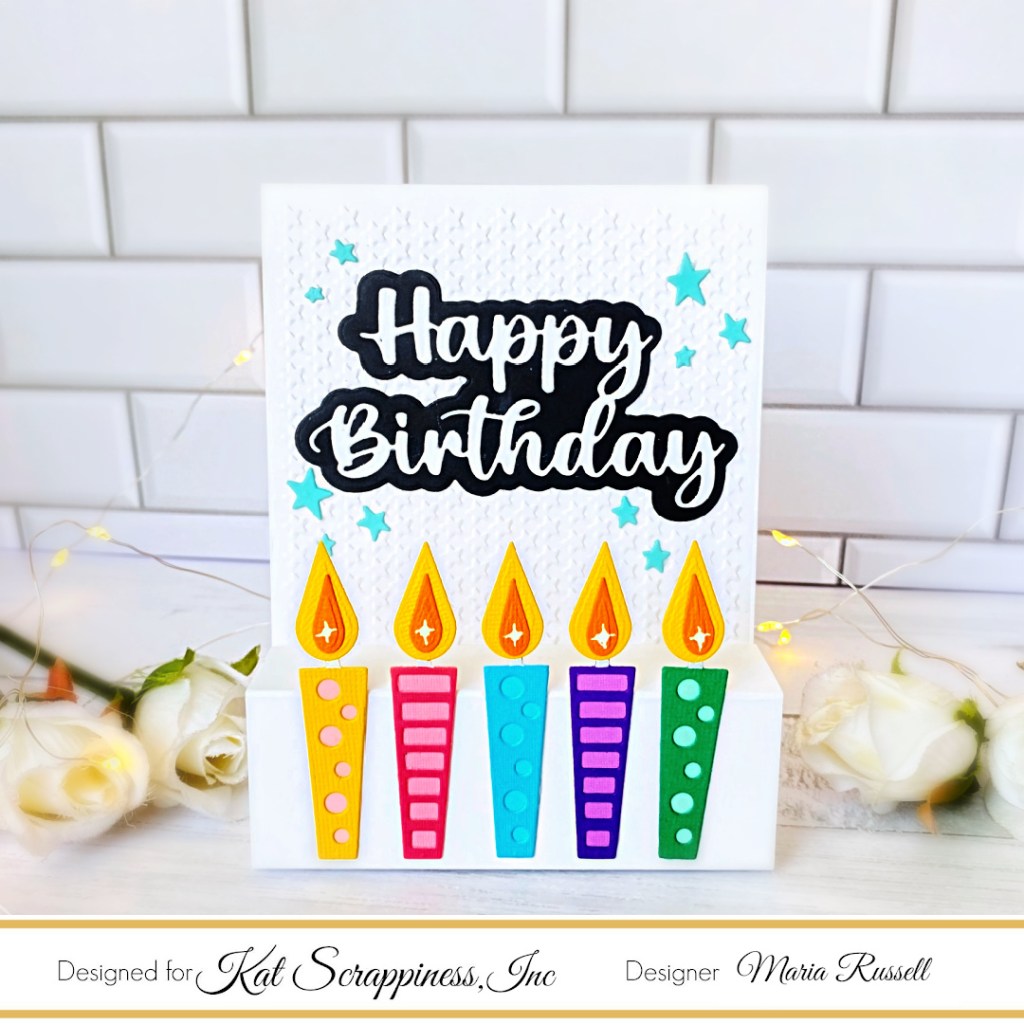
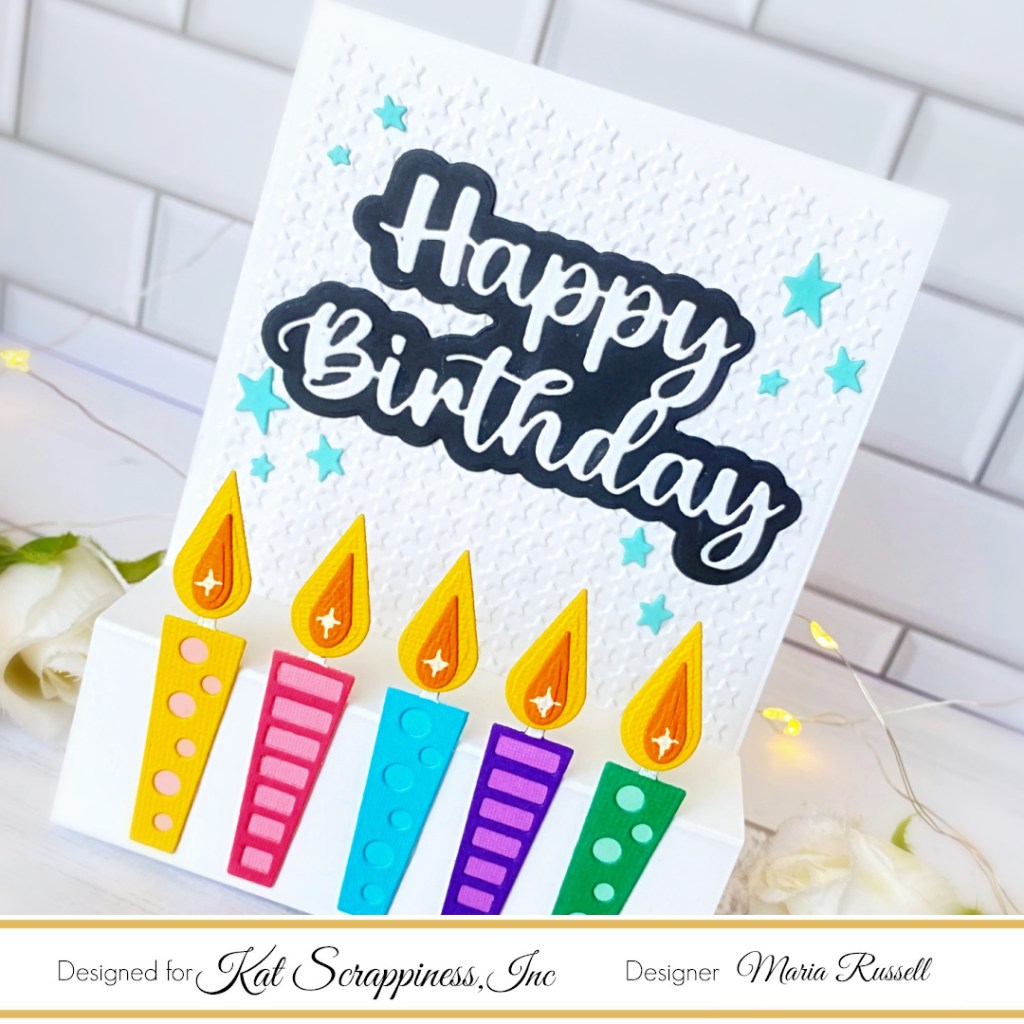
Dry-emboss an A2-size panel using an embossing folder from your stash. Adhere this panel on an A2-size notecard.
Prepare the pop-up feature by following Jennifer McGuire’s tutorial, cutting some white card stock measuring 4 1/4 x 5. Score the card stock at 3/4, 1 3/4. 3 1/4 and 4 1/4. Adhere this panel on the front of the card.
Adhere the candles on the pop-up panel with liquid glue.
Use white gel pen to draw some starbursts to the candle’s flame for added texture.
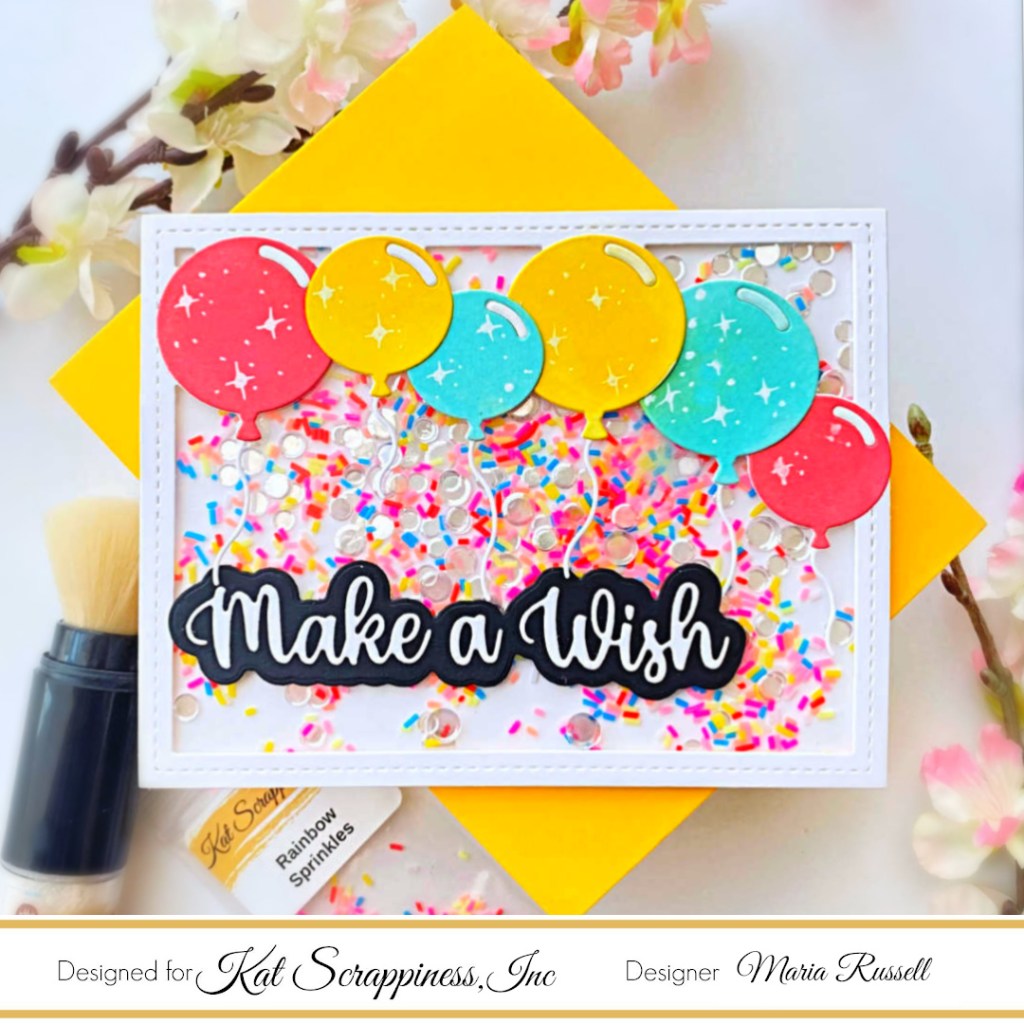
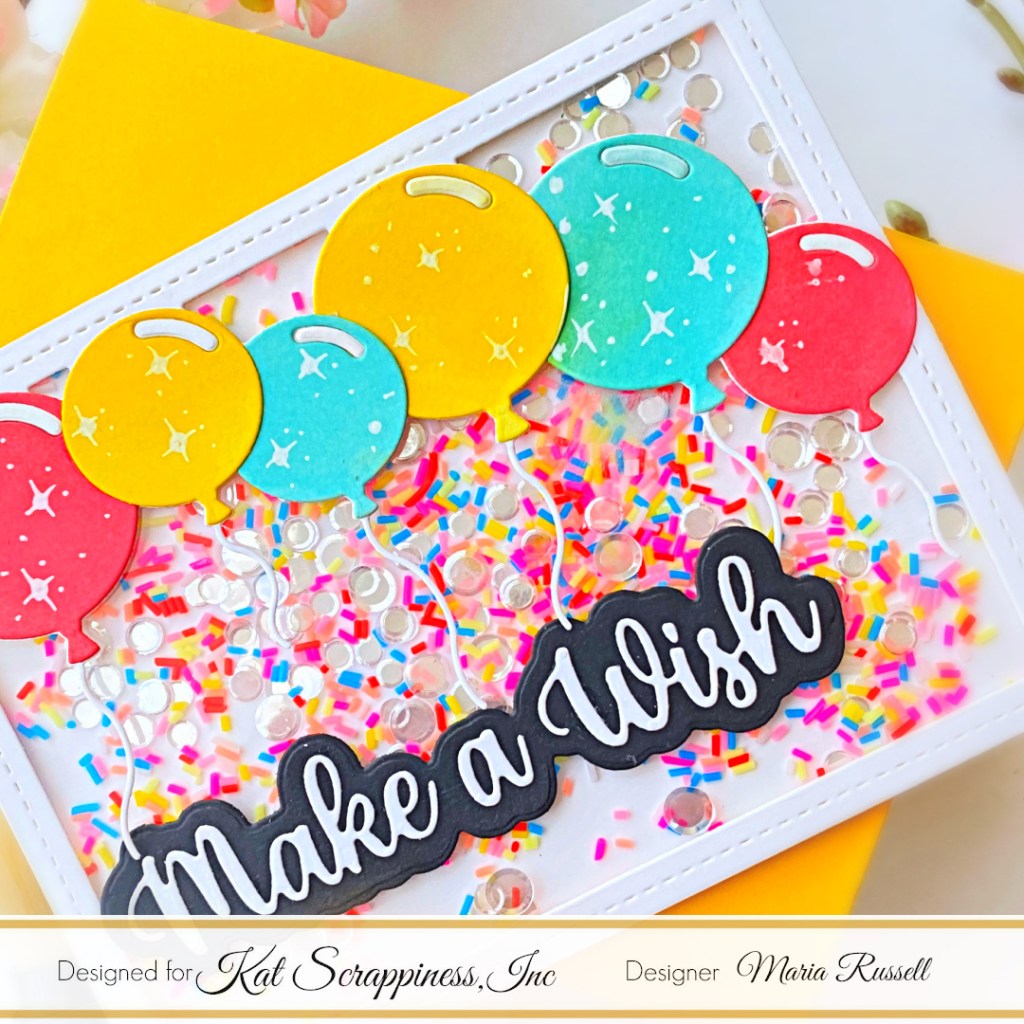
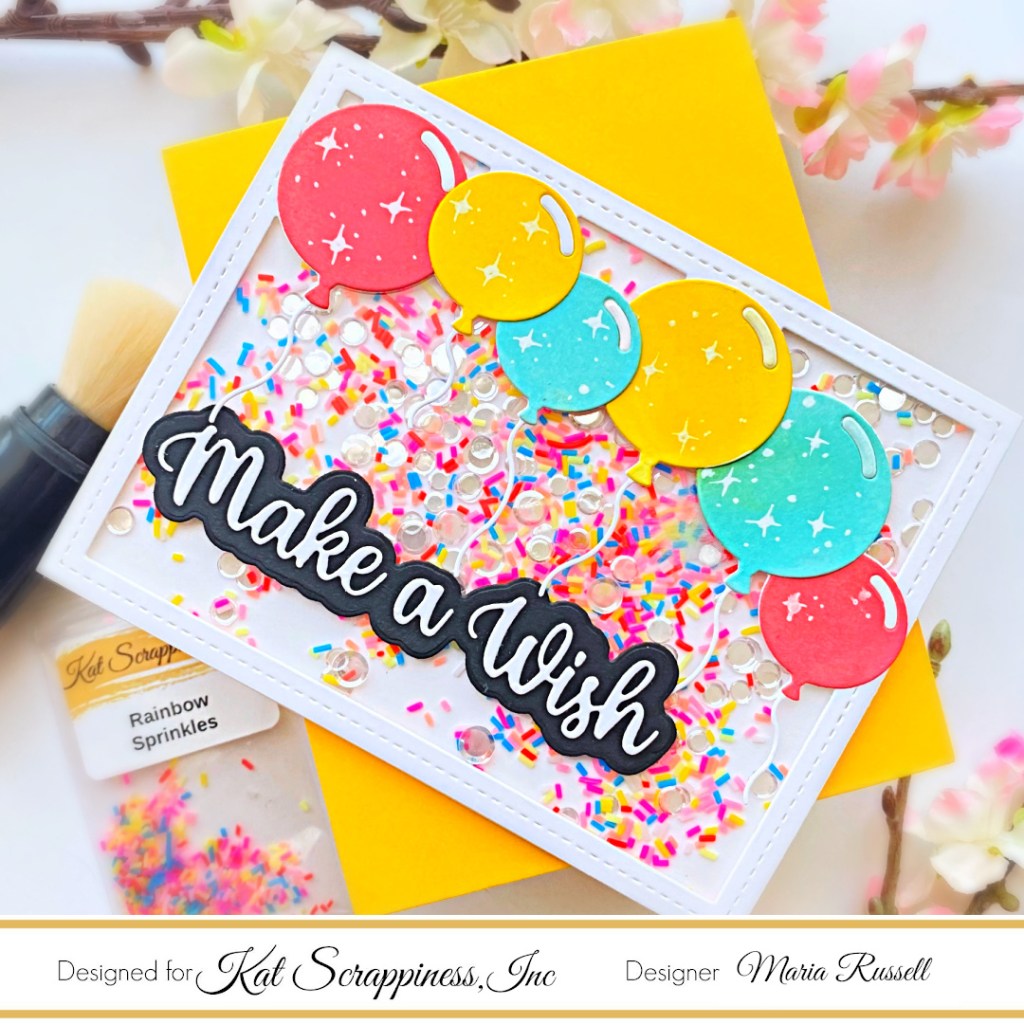
I started by die-cutting the cover panel using the Layered Balloon Coverplate Die on some Neenah solar white card stock. I also die cut the balloons included in the Layered Balloon Coverplate Die set on some Bristol smooth white card stock and used some distress oxide ink to ink-blend the die-cuts.
I adhere the balloons with liquid glue and created a shaker well, by adding acetate sheet to the back of the die-cut panel and foam adhesive. I used the rainbow sprinkles as my shaker element and adhered the panel on some A2 size notecard.
I die-cut the words Make A Wish on some white and black card stock and added to the focal panel with liquid glue. I finished my card design by adding some stars and dots to the balloons using white gel pen.
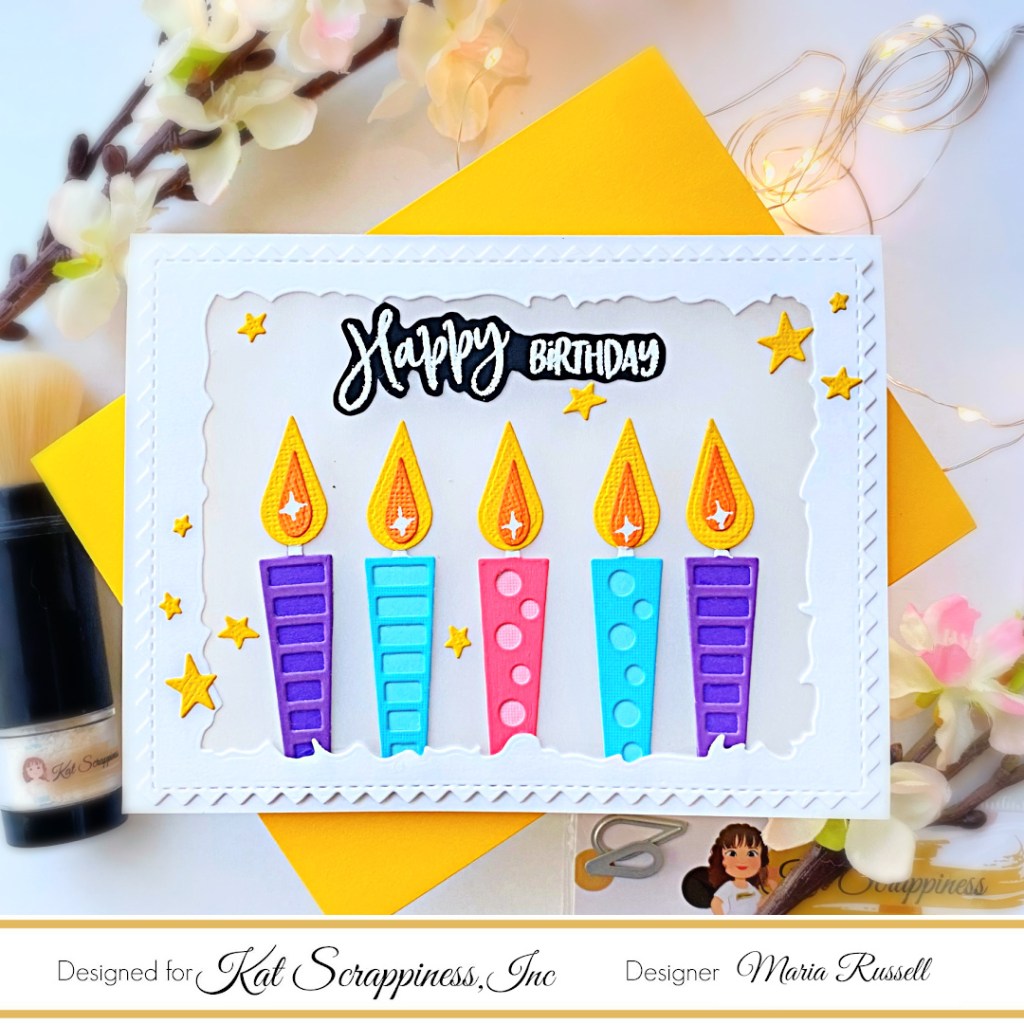
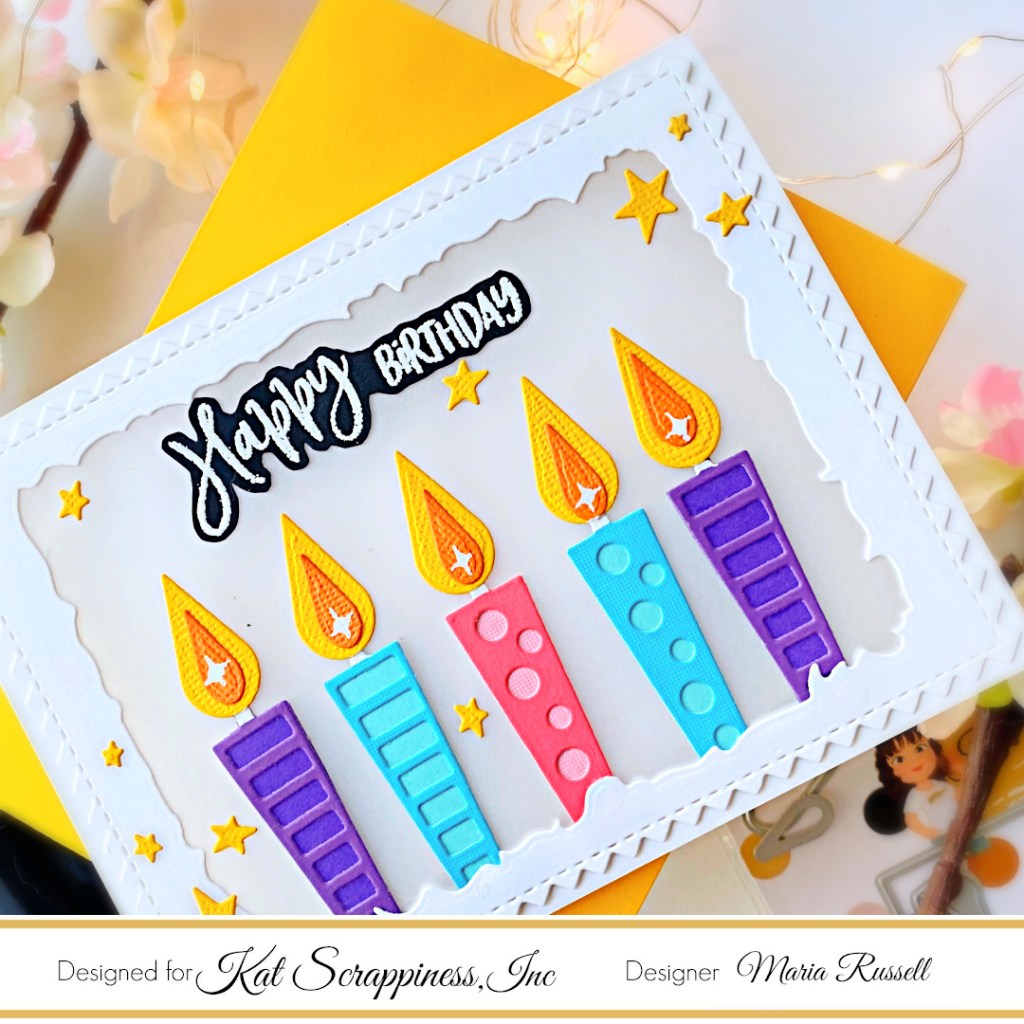
I die-cut the Zig Zag Rectangle Die on some Neenah solar white card stock and used the Distressed Edge Rectangle Dies to cut the window. I also used the same Distressed Edge Rectangle Die to cut the notecard so that when I adhered both panels together, it would create the window. I added some acetate sheet on the back.
The candles were die-cut in different colors or card stock and adhered together with liquid glue. I finished the design by adding the sentiment and yellow stars for interest and texture.
I hope you like my cards today. The supplies I used are listed and linked below. Thanks for stopping by!
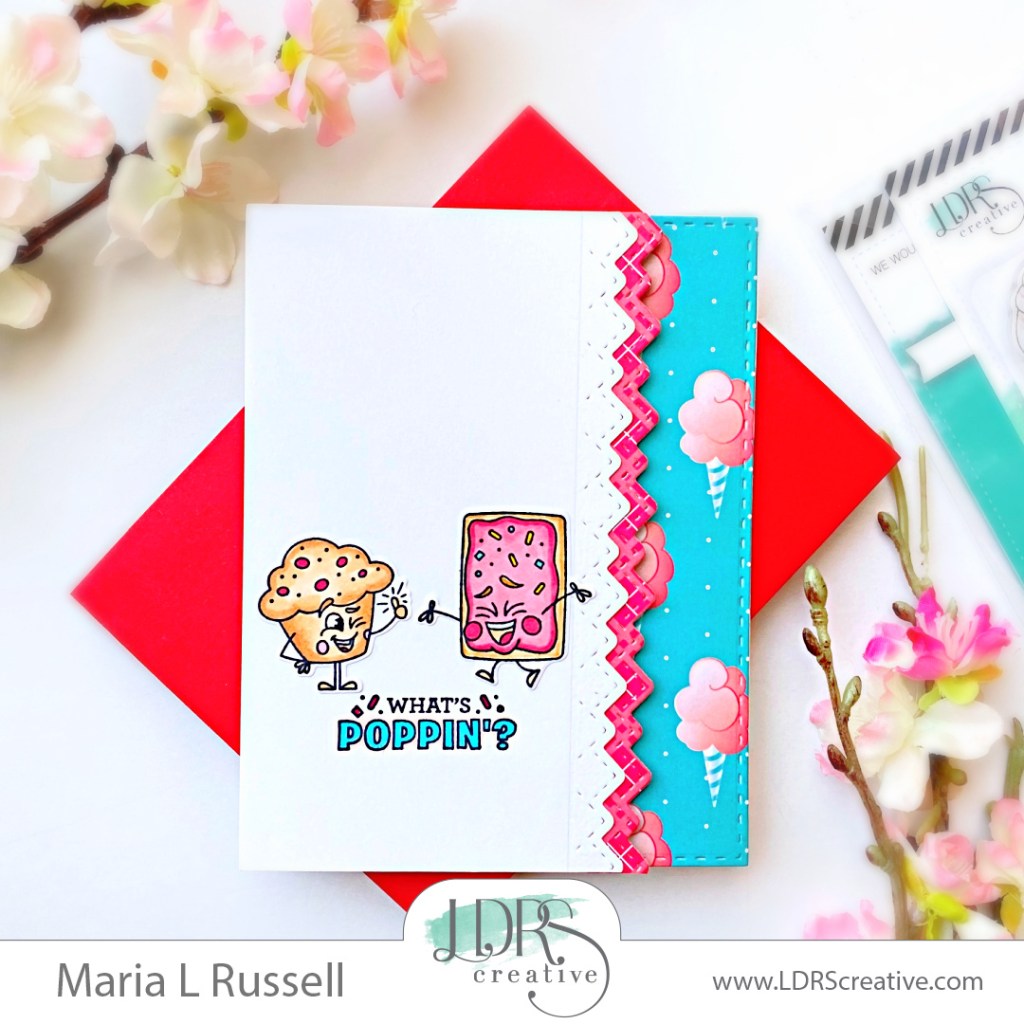
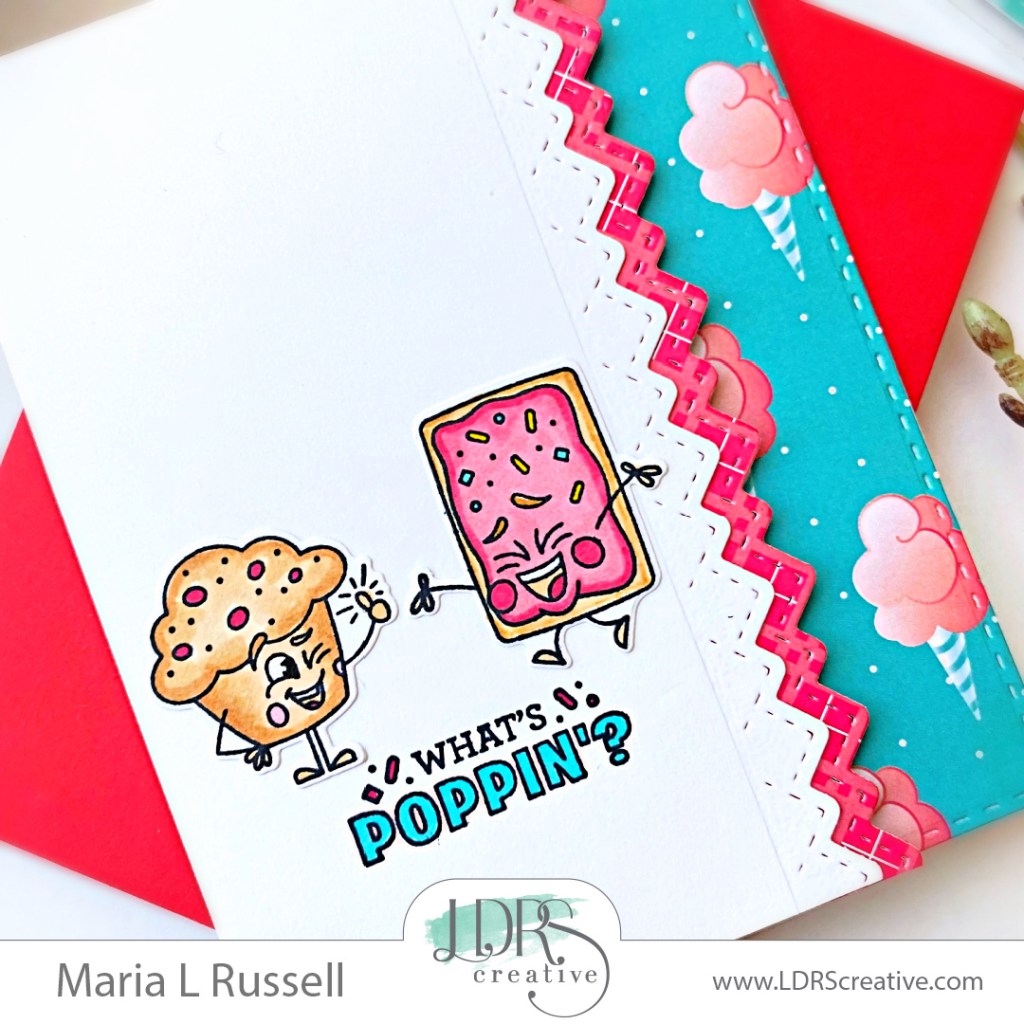
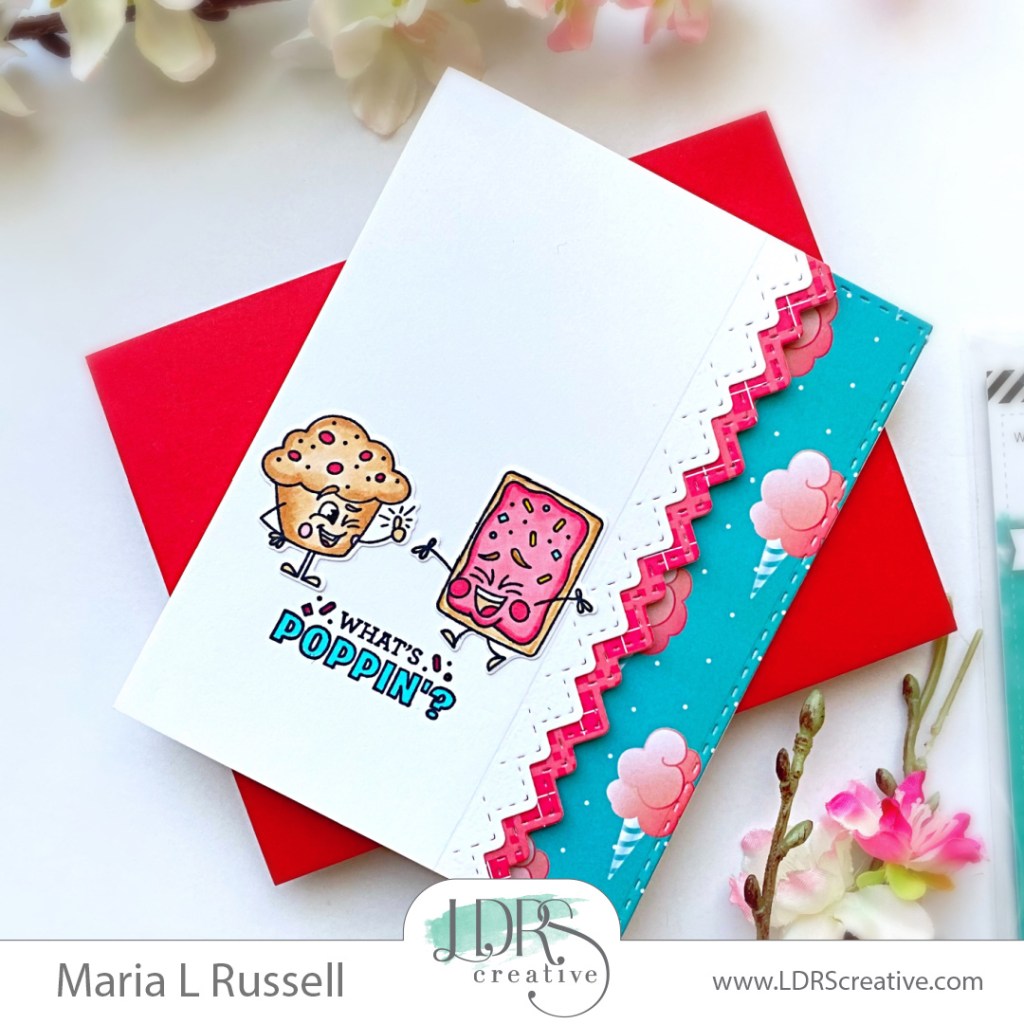
Hello and welcome back! I am so excited to also be featured on the LDRS Creative Blog today, sharing TWO adorable cards, showcasing the Pastry Pals Craft Kit along with the Candy Counter 6×6 Double-Side Paper Pack. I don’t know about you but when I saw this kit, I knew I just had to have it! The images are too cute and you can use this kit all-year round. The possibilities are endless!
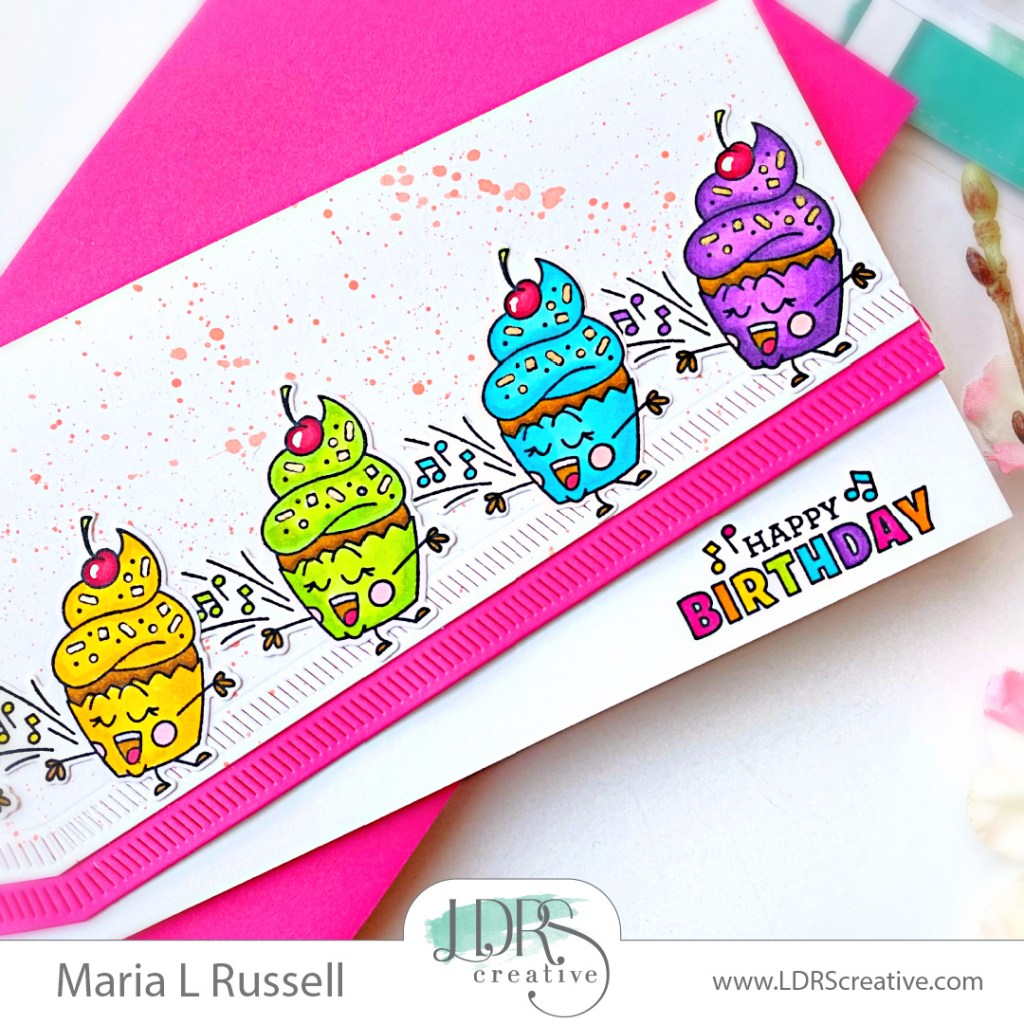
I started by stamping the images from the Pastry Pals Stamp Set on some Neenah solar white card stock with Raven Hybrid Ink. I used my Stampendable Stamping Tool to get a nice impression of the images. I colored the images in with alcohol markers and die-cut them all out using the coordinating dies. Next, I die-cut the slimline panels a few times using the Offset Slimline Stack-ables Die Set included in the kit with white and dark pink card stock. I also used my pastel watercolor set to flick some colors on the card panel for added texture and interest.
I adhered the pink frame on the white card panel and foam-mounted both on a slimline card base for added dimension. I then lined up the images and evenly spaced them while adhering one-by-one with liquid glue. I finished my design by stamping the sentiment with Raven Hybrid Ink and coloring the letters using the same color of markers that I used for the cupcakes. I also used some gold gel pen for the sprinkles!
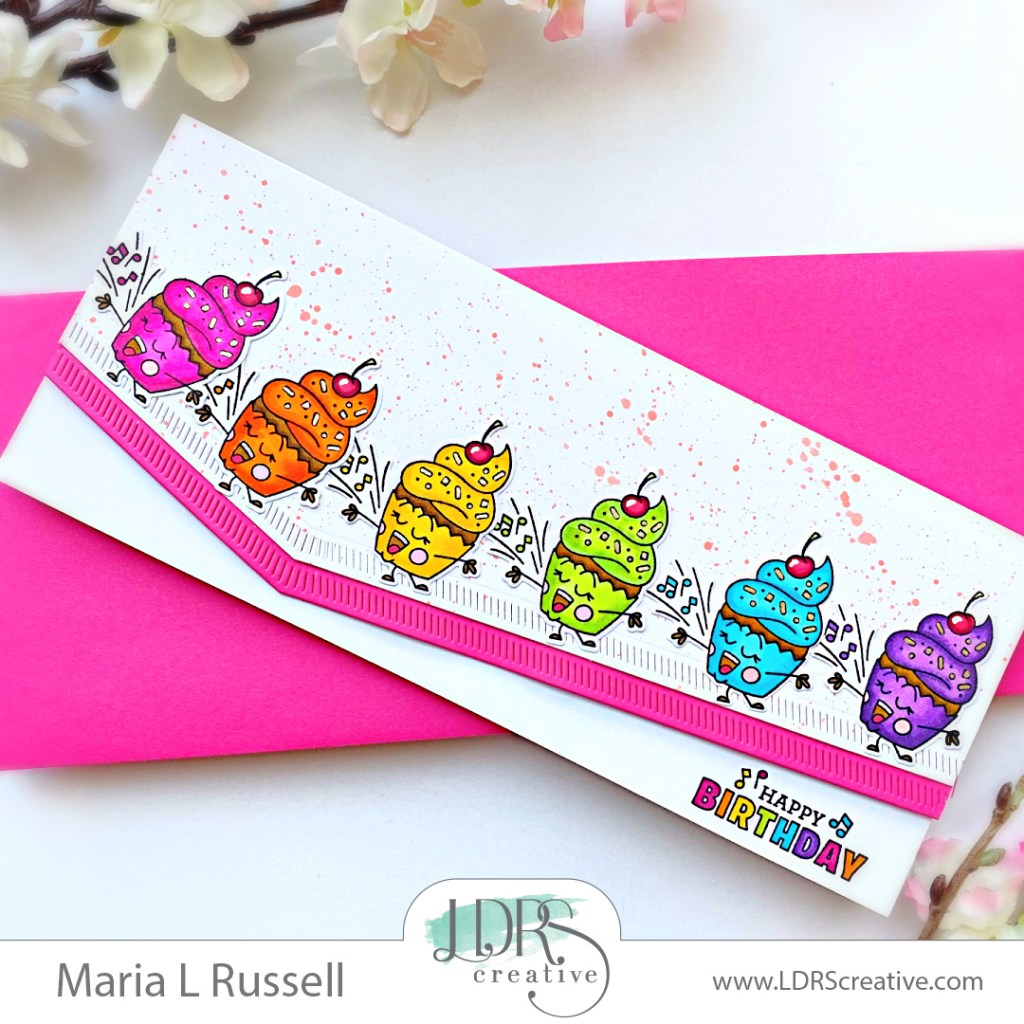
Since I colored a lot of images from the Pastry Pals Craft Kit, I decided to make another card.
Next, I foam-mounted the focal panel for added dimension and adhered the images with liquid glue. I finished the design by stamping the sentiment with some Raven Hybrid Ink and colored the letters with alcohol markers.
Aren’t these images adorable?! I am pretty sure this Pastry Pals Craft Kit will sell out soon just like the rest of the other kits so grab them now before they are gone! I hope you like my cards today and got inspired! The supplies I used are listed and linked below. Thanks for stopping by, and happy stamping!
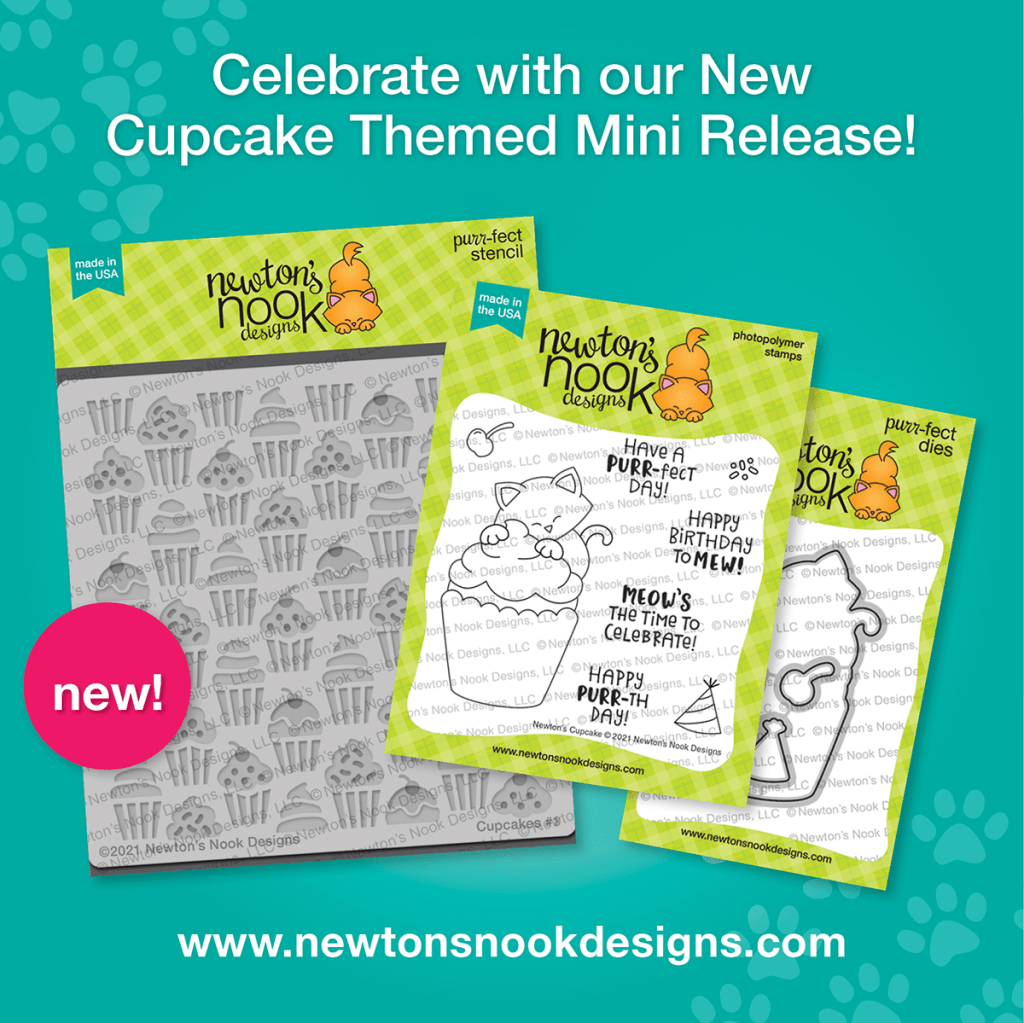
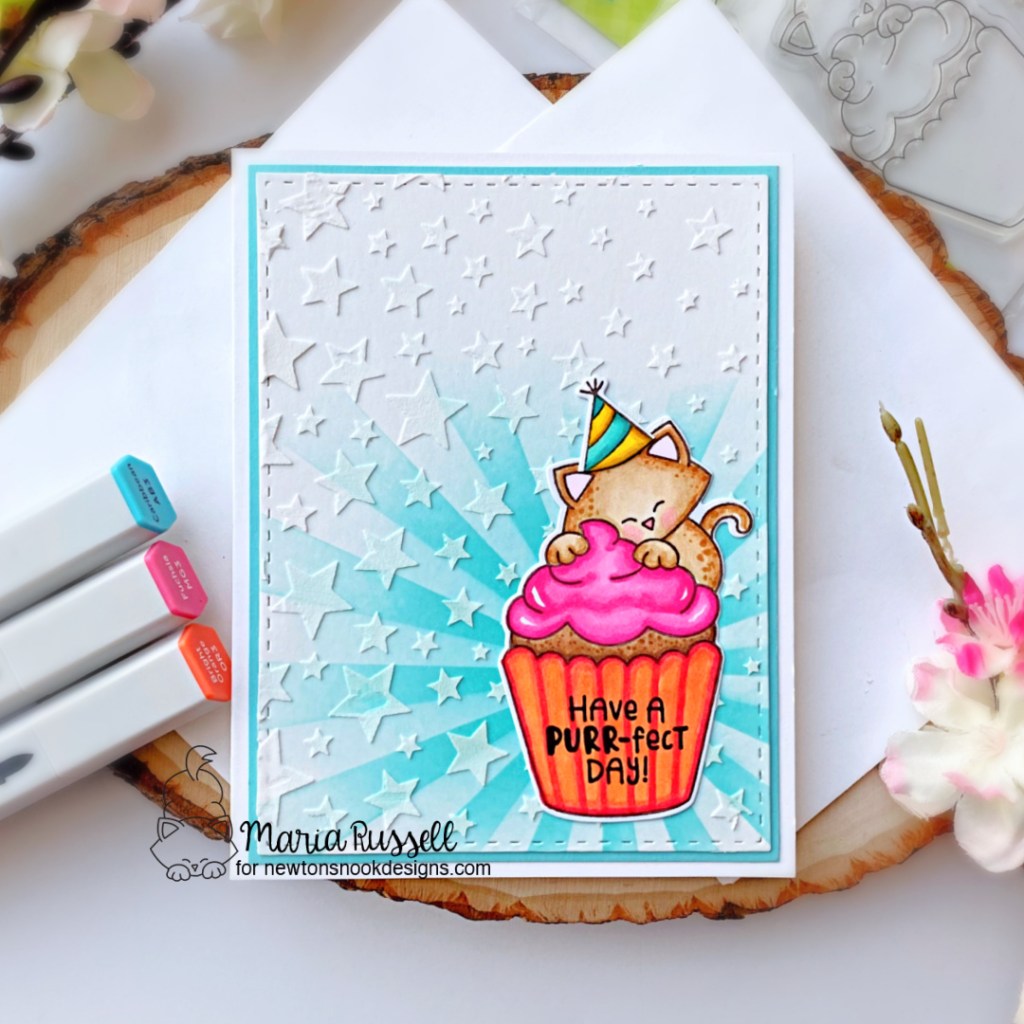
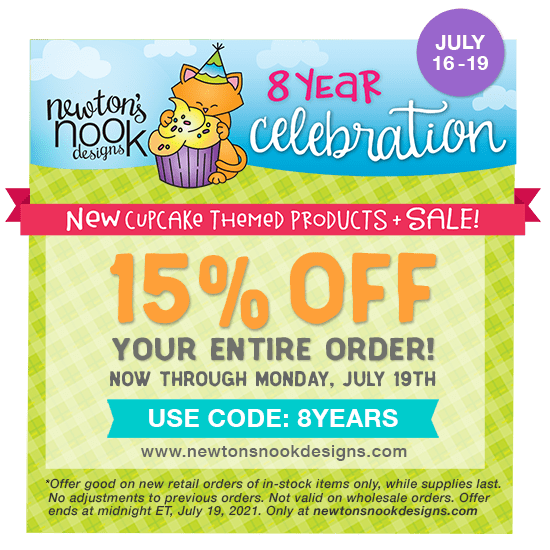
Today I am excited to be part of the 8-year anniversary celebration with Newton’s Nook Designs! To celebrate this awesome milestone, Newton’s Nook Designs has released adorable new cupcake themed products, which I will be sharing on my projects today. THERE ARE PRIZES TOO! Read all the way to the end of this post to find out how you can win! YAY!
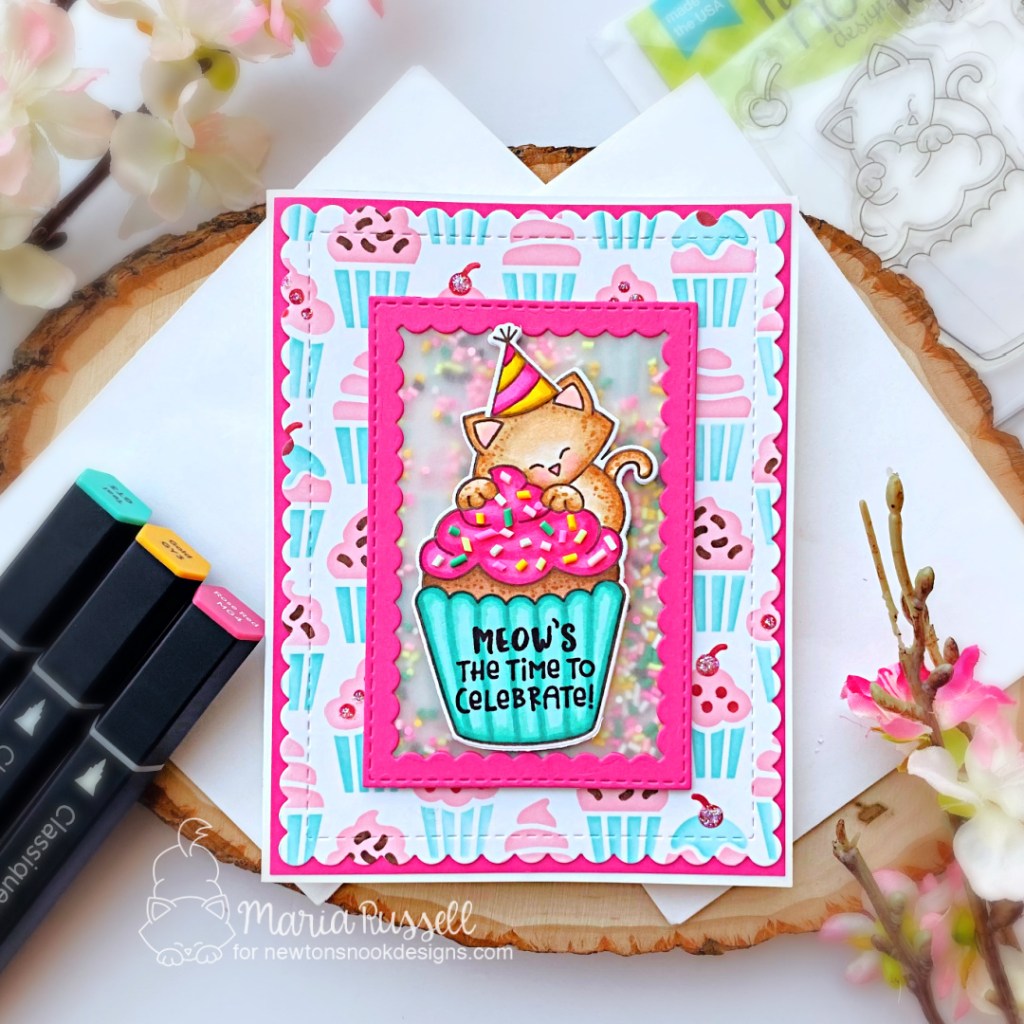
I stamped the images twice on some Neenah solar white card stock with some Memento Rich Cocoa ink. I colored the images in with Spectrum Noir alcohol markers and used the coordinating die to die-cut both images.
Next, the scallop die from the Frames & Flags die set was die-cut with some Bristol smooth white card stock. I ink-blended this panel using the Cupcakes Layering stencils with different colors of dye inks. I set this panel aside to let it dry while I work on my focal point.
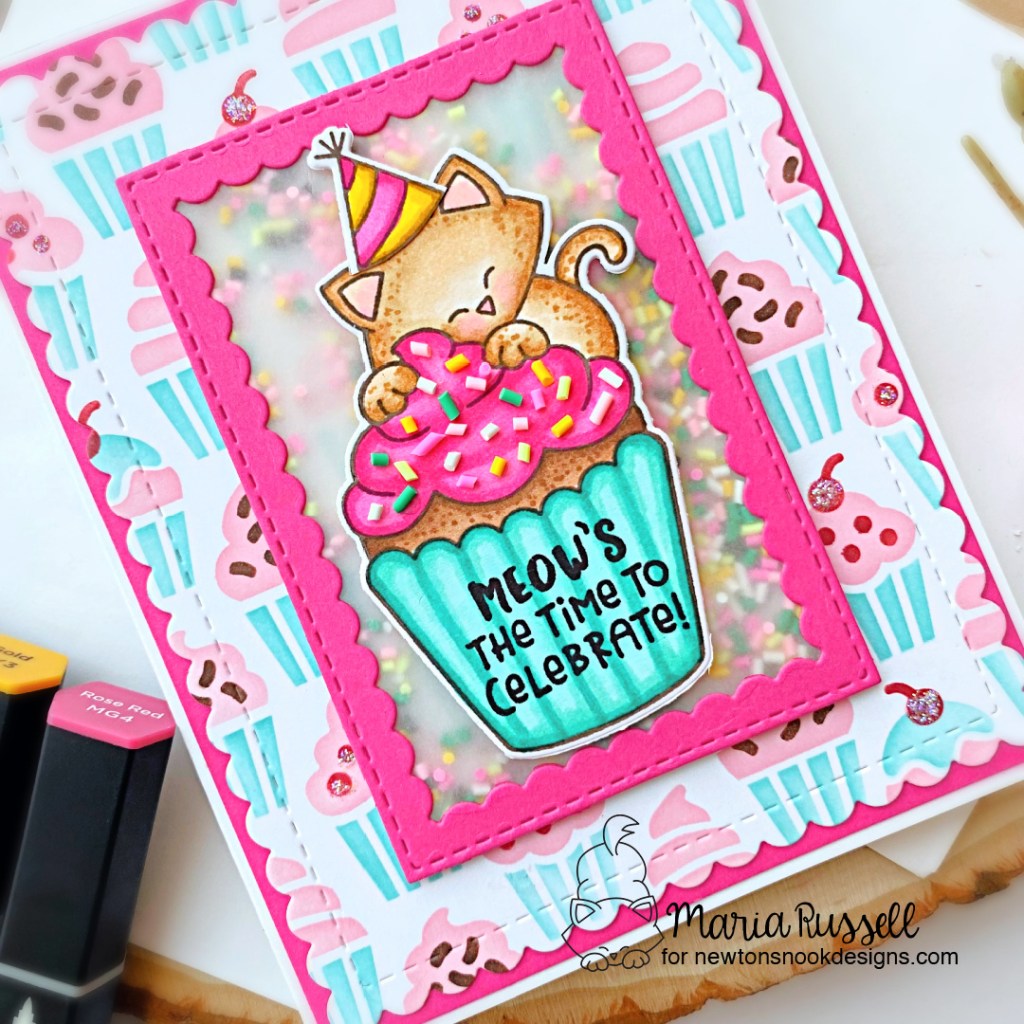
I used the reverse scallop die from the Framework Die Set to die-cut some hot-pink card stock. Since this is a birthday card, I wanted to add some fun elements to this to add the shaker components. I adhered some vellum on the reverse scallop die-cut and added some foam adhesive to create the well. I added some sprinkles as my shaker element and adhered this on the ink-blended panel.
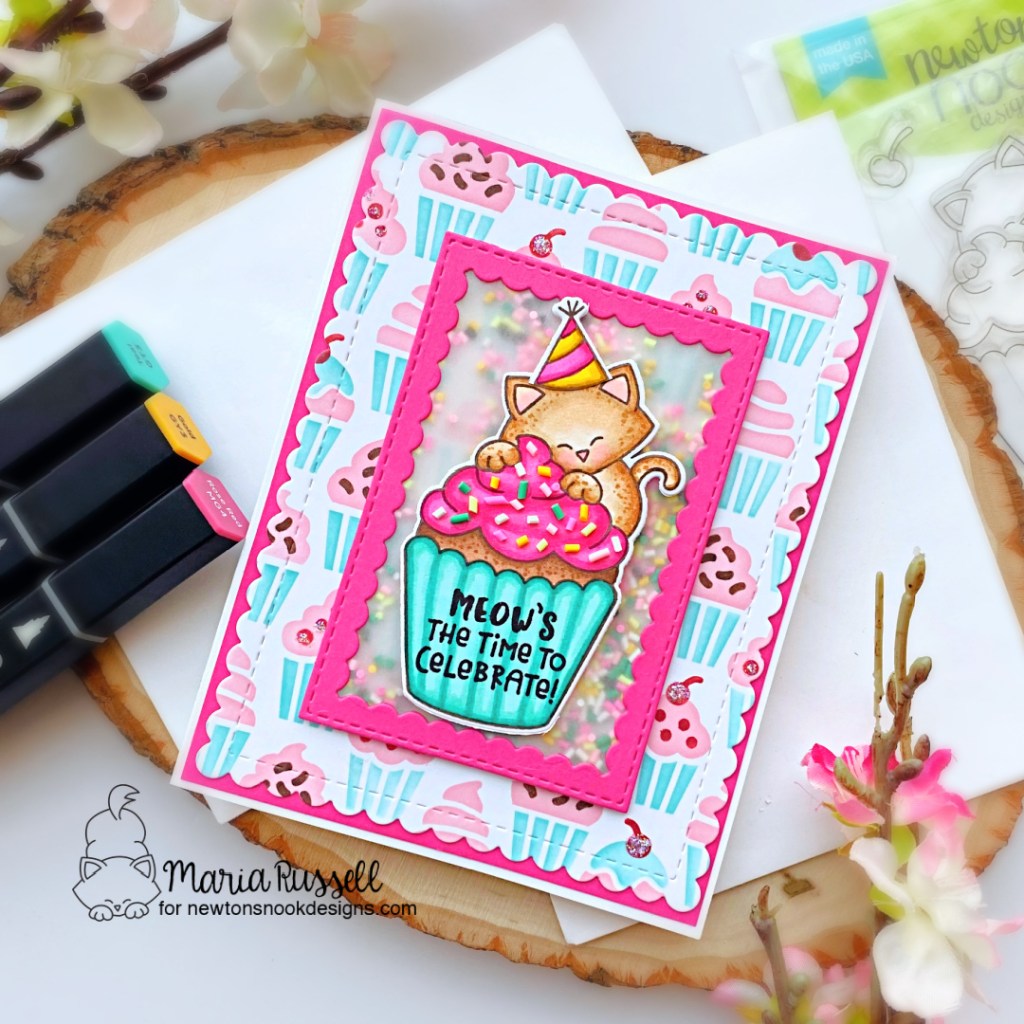
I matted the focal background panel on another pink card stock before adhering to an A2 size white notecard. I finished my design by adhering the colored image on the card. For added dimension, I adhered the sprinkles on the frosting with some liquid glue. Here’s another look:
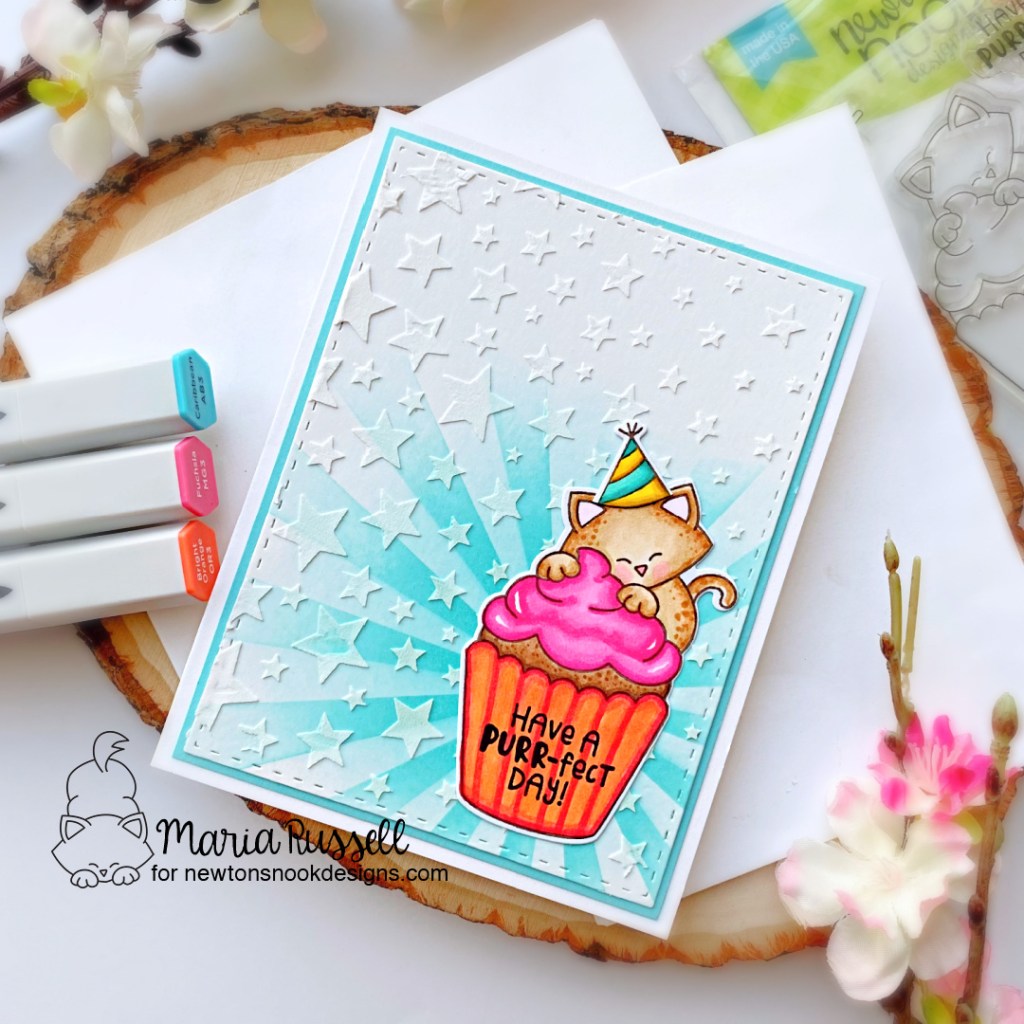
The second card is a lot easier since I already had another colored image to use. The focal panel was made by using the Sunscape Stencil with some dye ink. I used the Cascading Stars Stencil with some texture paste to add texture and dimension to this panel. I set this aside to let it dry for about half an hour.
Once the panel was dry, I matted this onto some blue card stock before adhering to an A-2 size note card.
I finished the card design by using my white gel pen to add some details to the frosting and adhered the image with liquid glue.
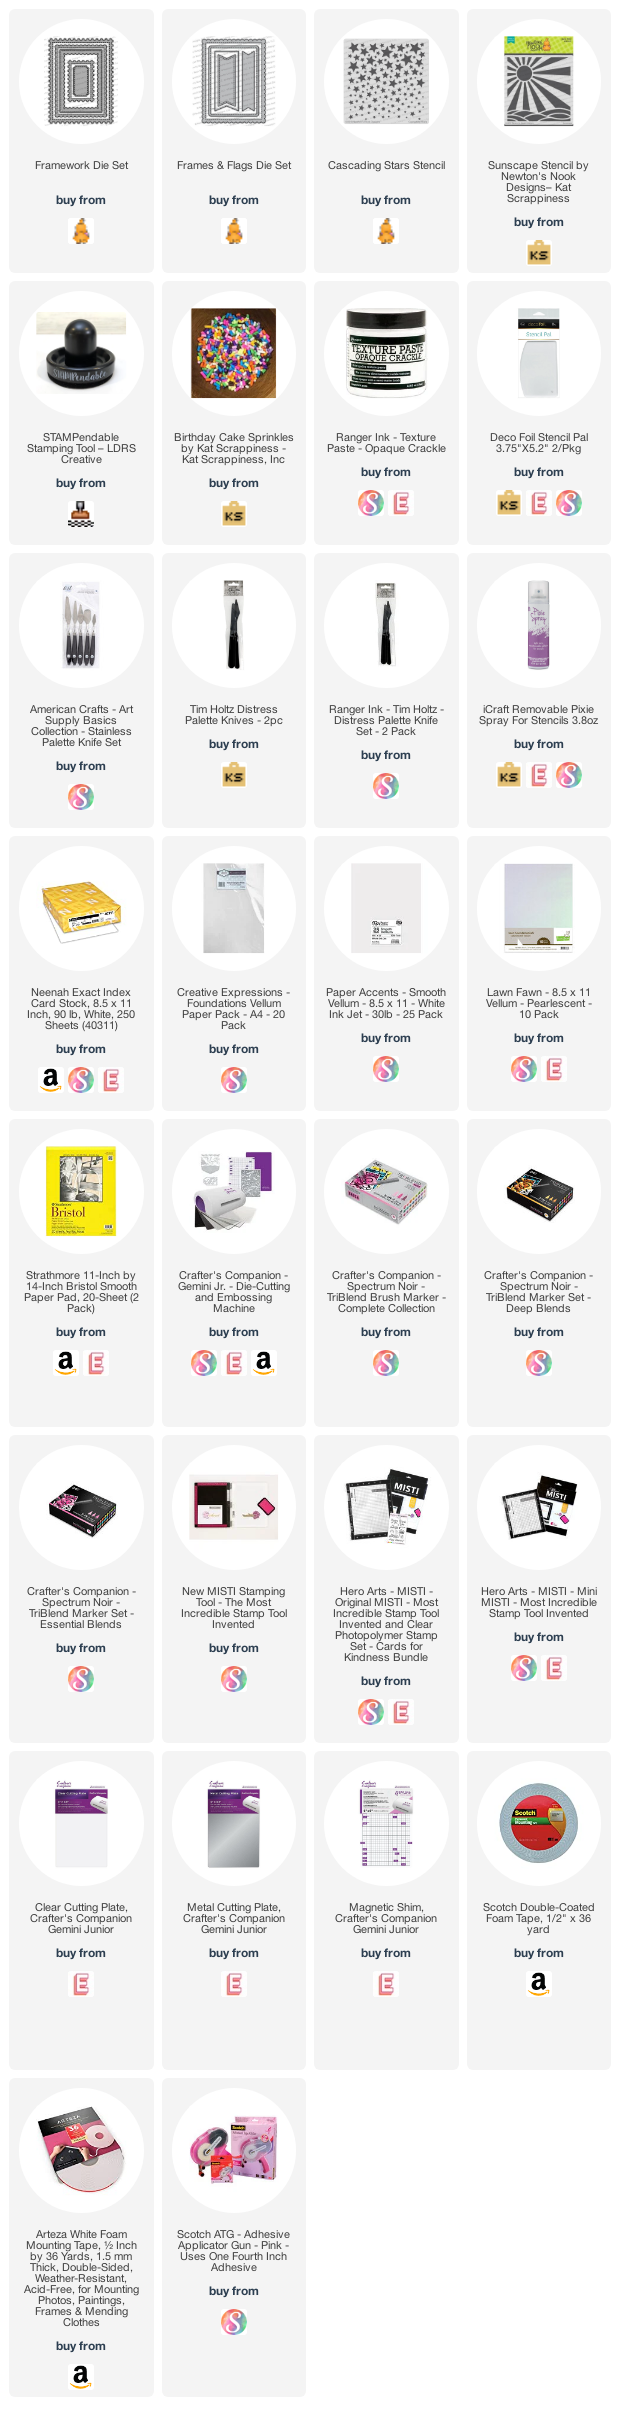
I hope you like the cards I made today. The supplies I used are listed and linked below. Don’t forget to use the coupon code “8YEARS” to get 15% off your order.
Would you like to win a $50 store credit to the Newton’s Nook Designs Online Shop?We will chooseTWO lucky winners!Here’s how to win:
Comment on the NND blog and Design Team blogs! (see list below) Thewinner will be chosen at random from the collective posts. Make sure to check out each of their blogs and comment for your chance to win. You will not know which blog has been chosen so the more you comment on the better your chances are of winning! You have until Monday, July 19th at 9pm ET to comment –> winners will be announced on the blog post on Tuesday, July 20th.
Check out all the awesome Design Team Blogs below to enter:
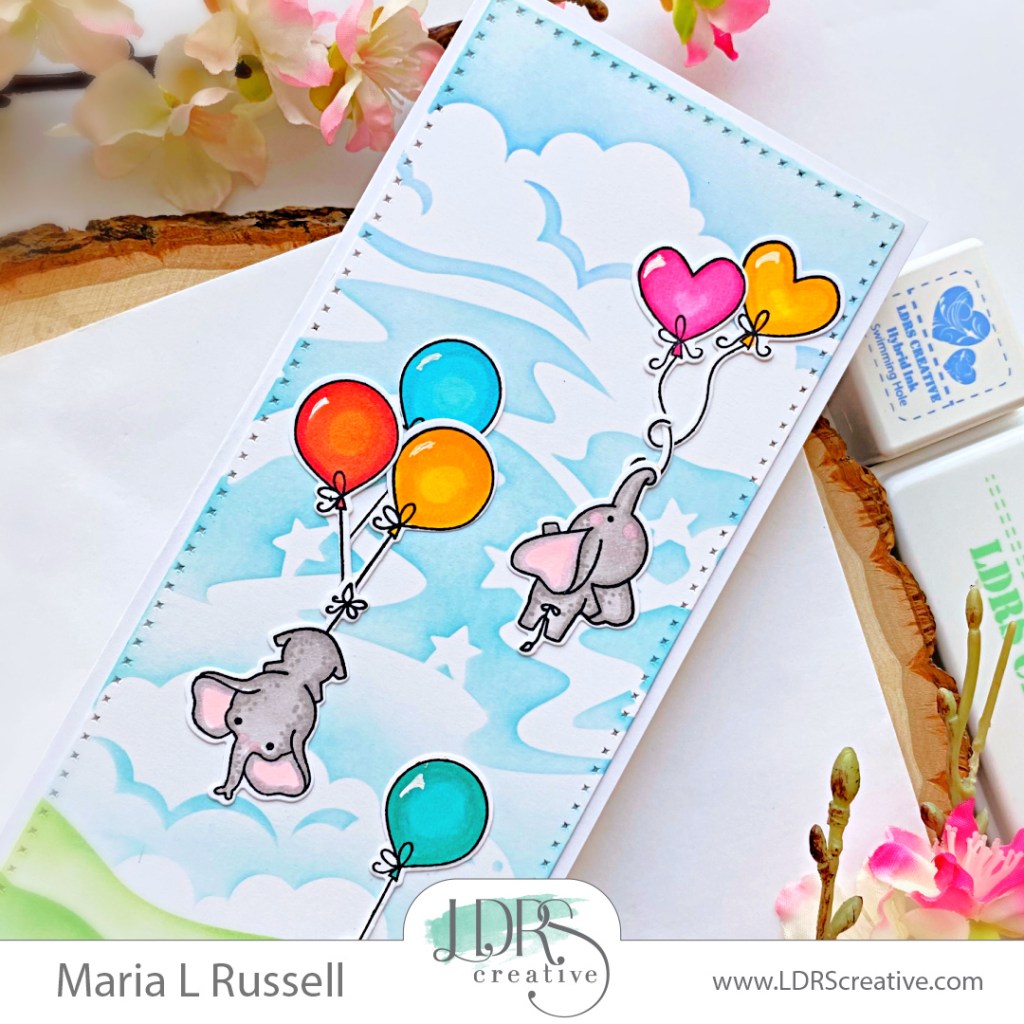
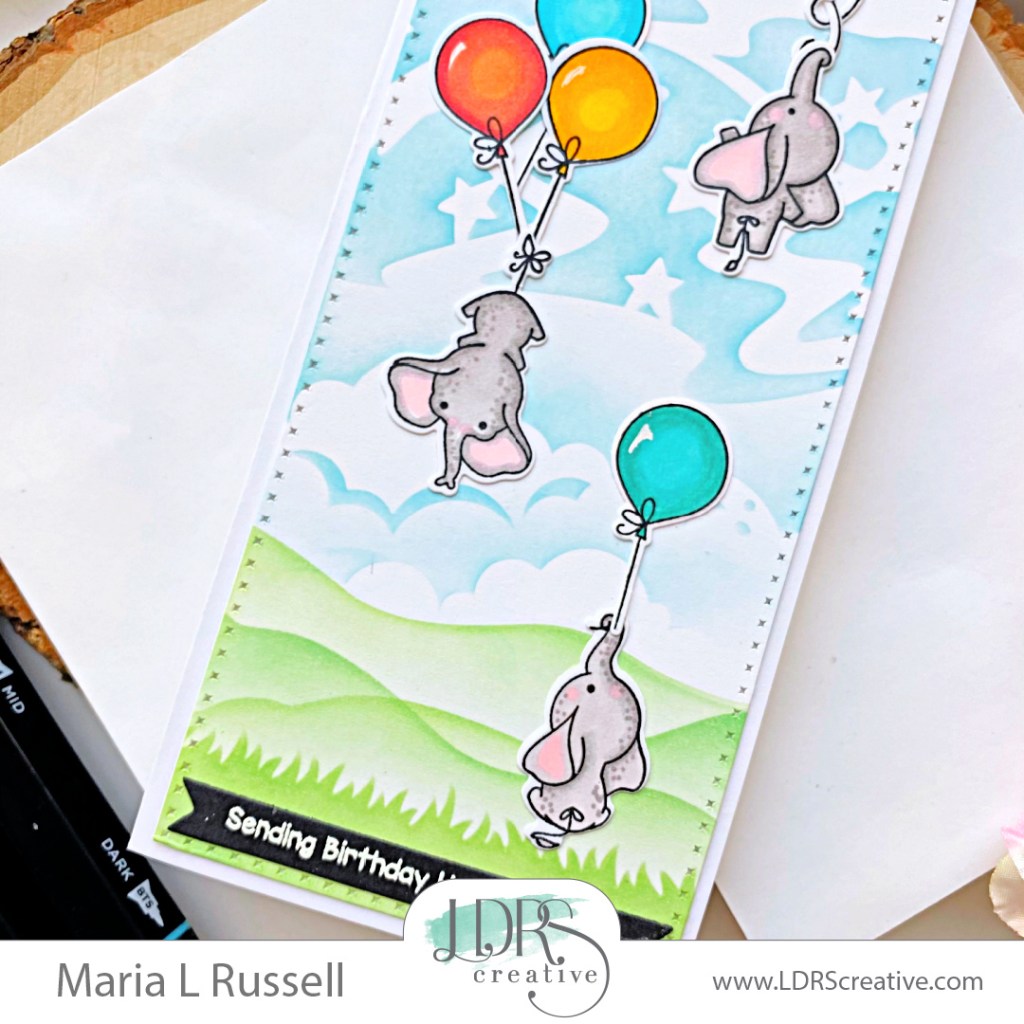
I am back today to bring you another inspiration, showcasing some new and older stamp sets and dies by LDRS Creative. Lately, it seems like I’m always running out of birthday cards so I decided to create one to add to my stash of cards.
Next, I stamped the images from the Up & Away Stamp Set with Raven Hybrid Ink and colored them in with alcohol markers. I used the Up & Away coordinating dies to die-cut them out. I adhered the images on the focal panel with liquid glue, as I didn’t think it needed any dimension.
I adhered the sentiment onto the card, and added this focal panel on some White Slimline card base. Finishing the card design, I added more interest to the balloons using white gel pen. Here’s another look:
I love the colorful balloons and the cute little elephants flying up, up & away! The magical sky just added that whimsical touch to the overall card design.
I hope you like this card as much as I do. The supplies I use are listed and linked below. Thanks for stopping by and have an amazing day!
All good things must come to an end! This is my last post as a member of the Ink Squad and as I bid farewell to one of the most amazing lady boss, Michele, I also would like to take this opportunity to say thank you to everyone! You’ve all been so amazingly supportive of me. Thank you for allowing me to express my creativity through your beautiful designs. Even though this is my last post as a DT member, you will still see me use CAS-ual Fridays‘ products here on my blog, Maria Russell Designs.
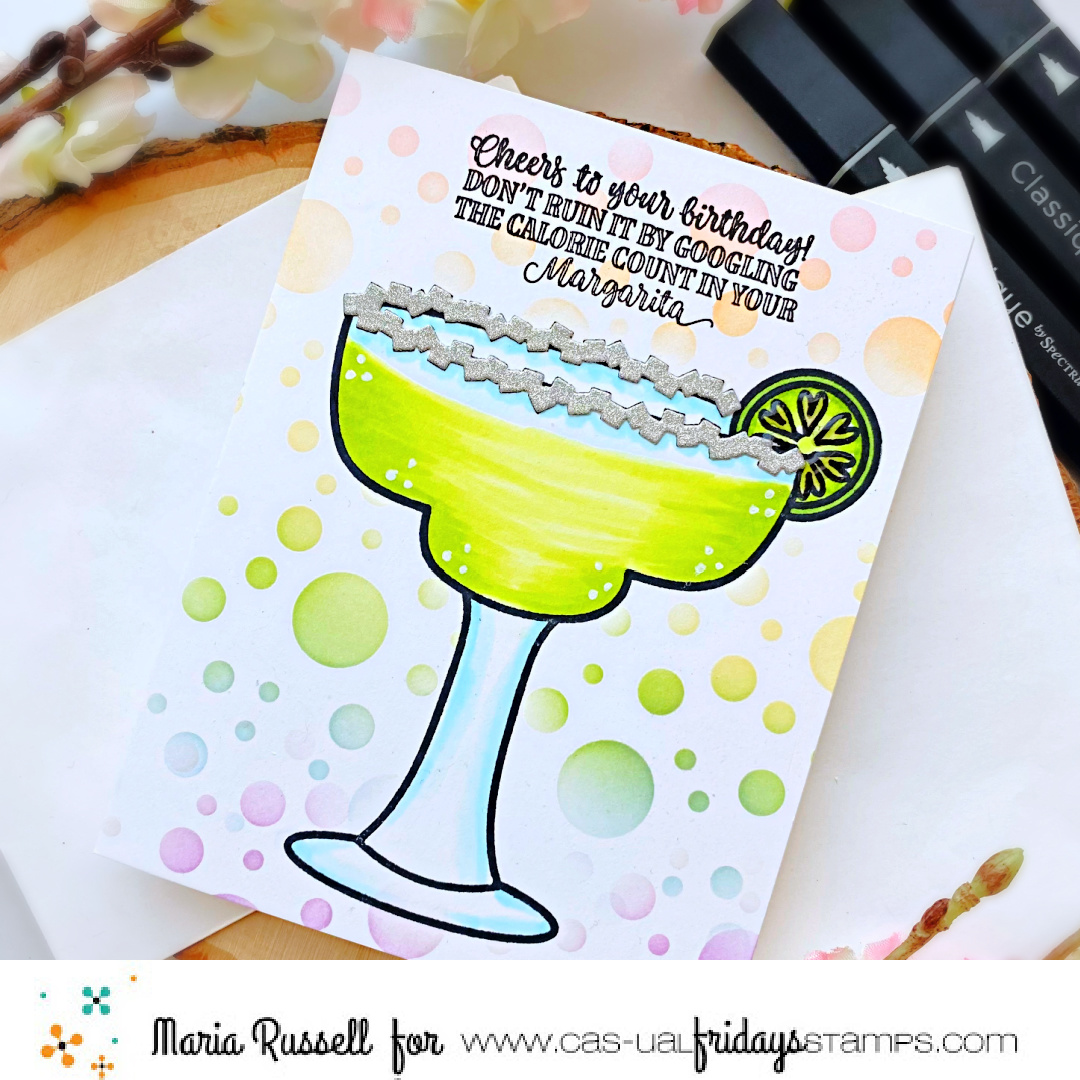
With this in mind, I picked some of my all-time favorite CFS products and created a birthday card today.
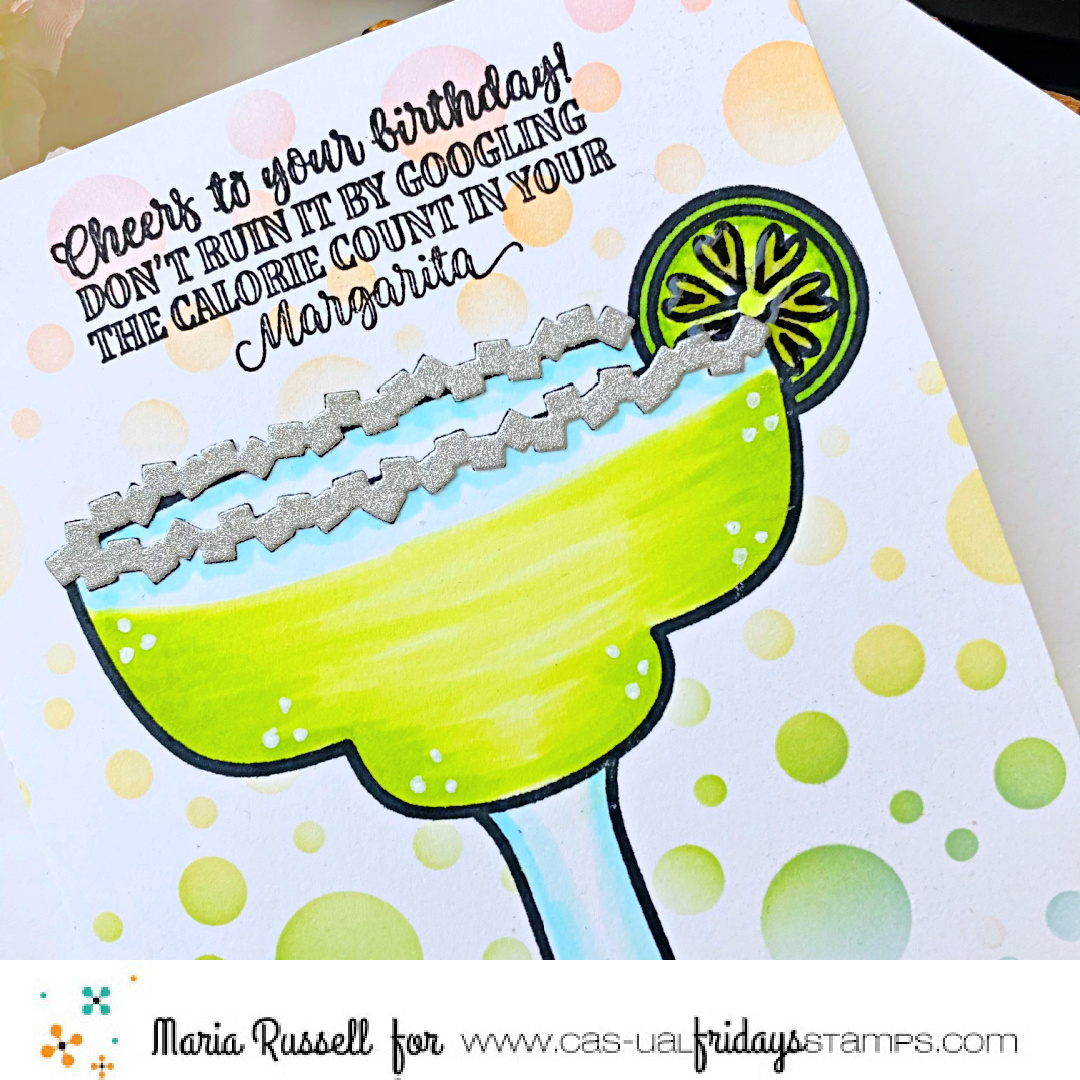
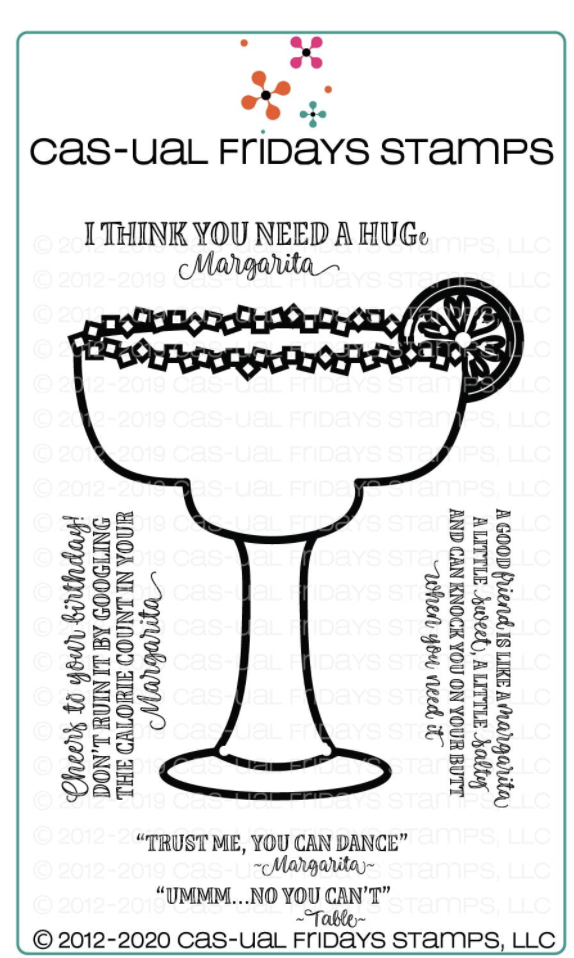
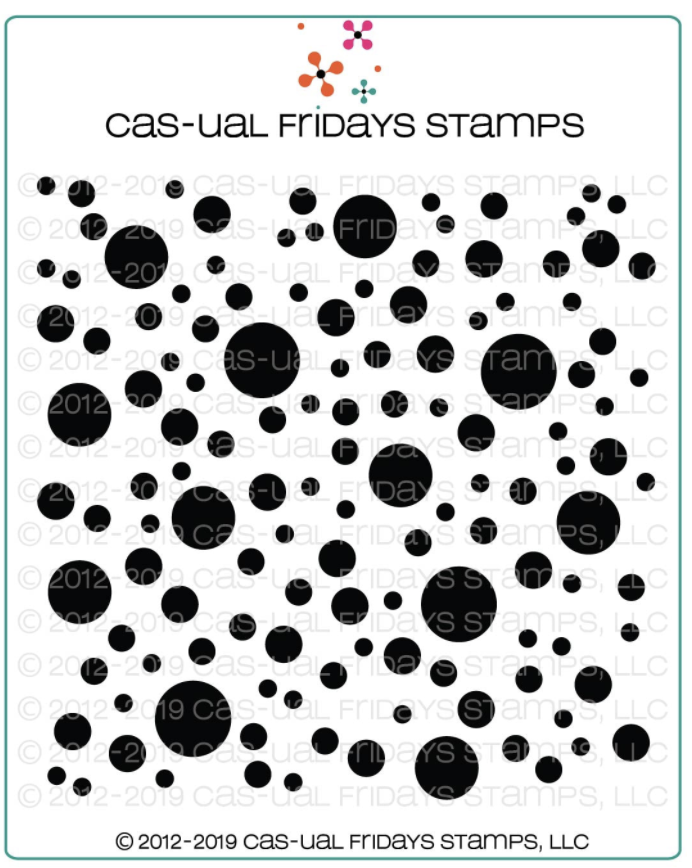
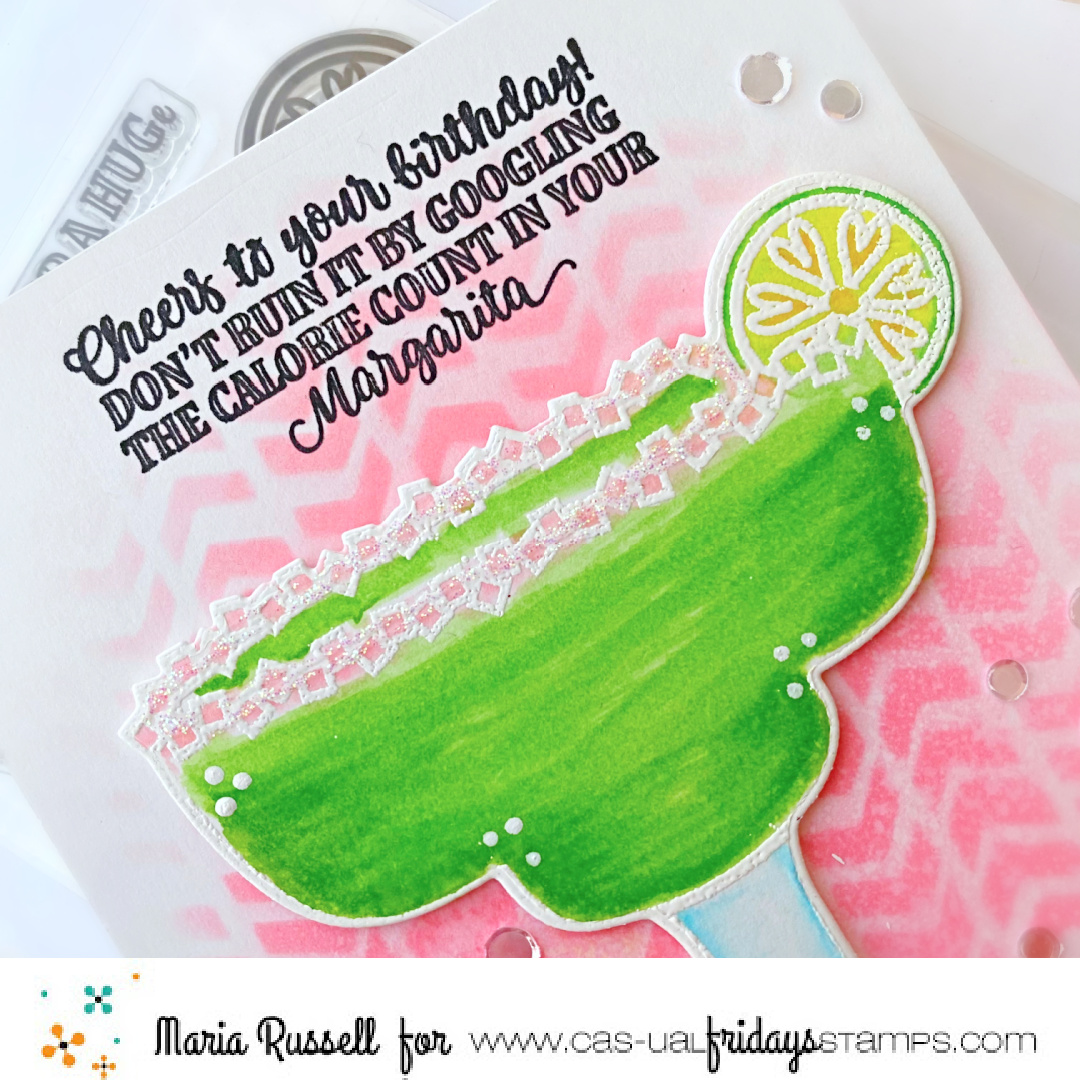
This is simple, really! I started by stamping the margarita glass on some Neenah solar white card stock with Spectrum Noir Finesse ink in Black. I colored the image in with Spectrum Noir Classique markers. I added the “bubbles” using the Bubbly Stencil with some dye inks and blending brushes.
The “salt” on the glass was created by using the die from the Margarita Glass die with some white glitter card stock. Let me point out that if you have the Salty stamp set, you really need to get the coordinating dies! The die perfectly cut out the “salt” and adds interest and texture to the card design. Check out the close-up photo below:
I finished my design by adding Glossy Accents to the lime, and stamped the sentiment with Versafine Onyx black ink. I also used my white gel pen to draw white dots for added texture on the glass. Here’s another look:
Here are the supplies:
Don’t forget, you can still use my coupon code below for an additional 15% off your order! Isn’t Michele amazing?!
Thanks for stopping by! See you on the “inter-web” and lots of love to everyone!
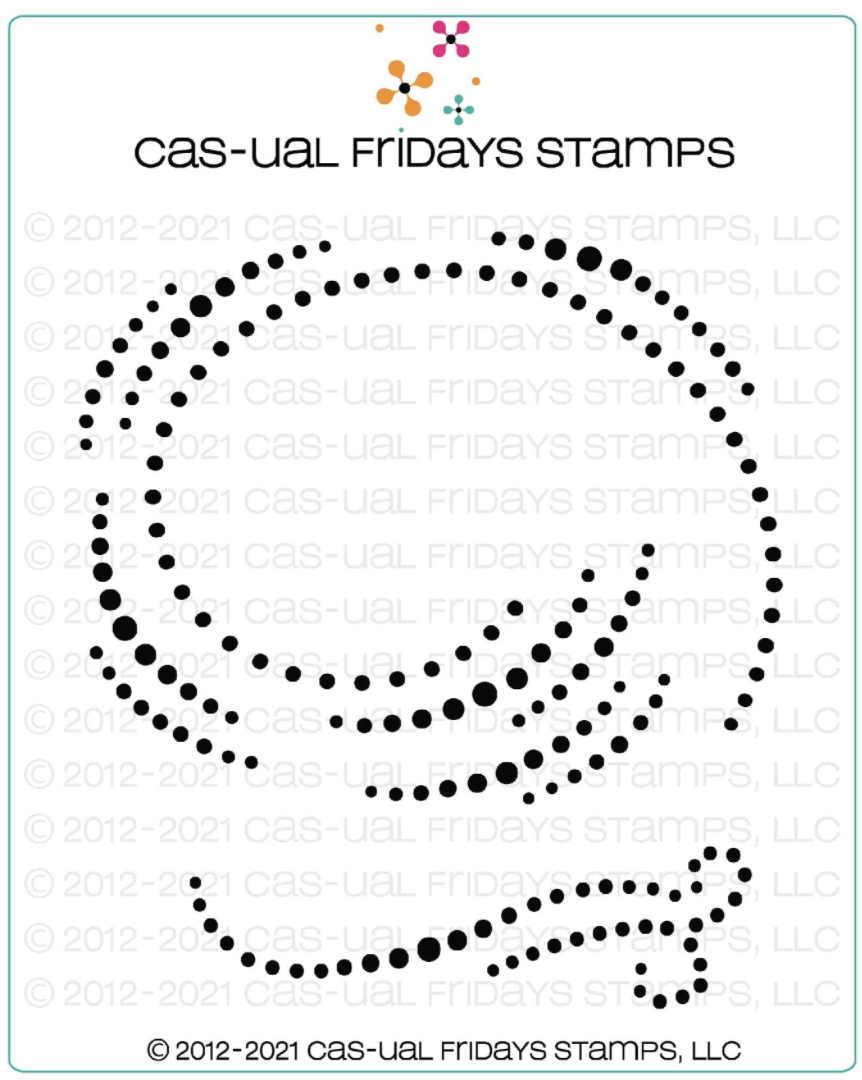
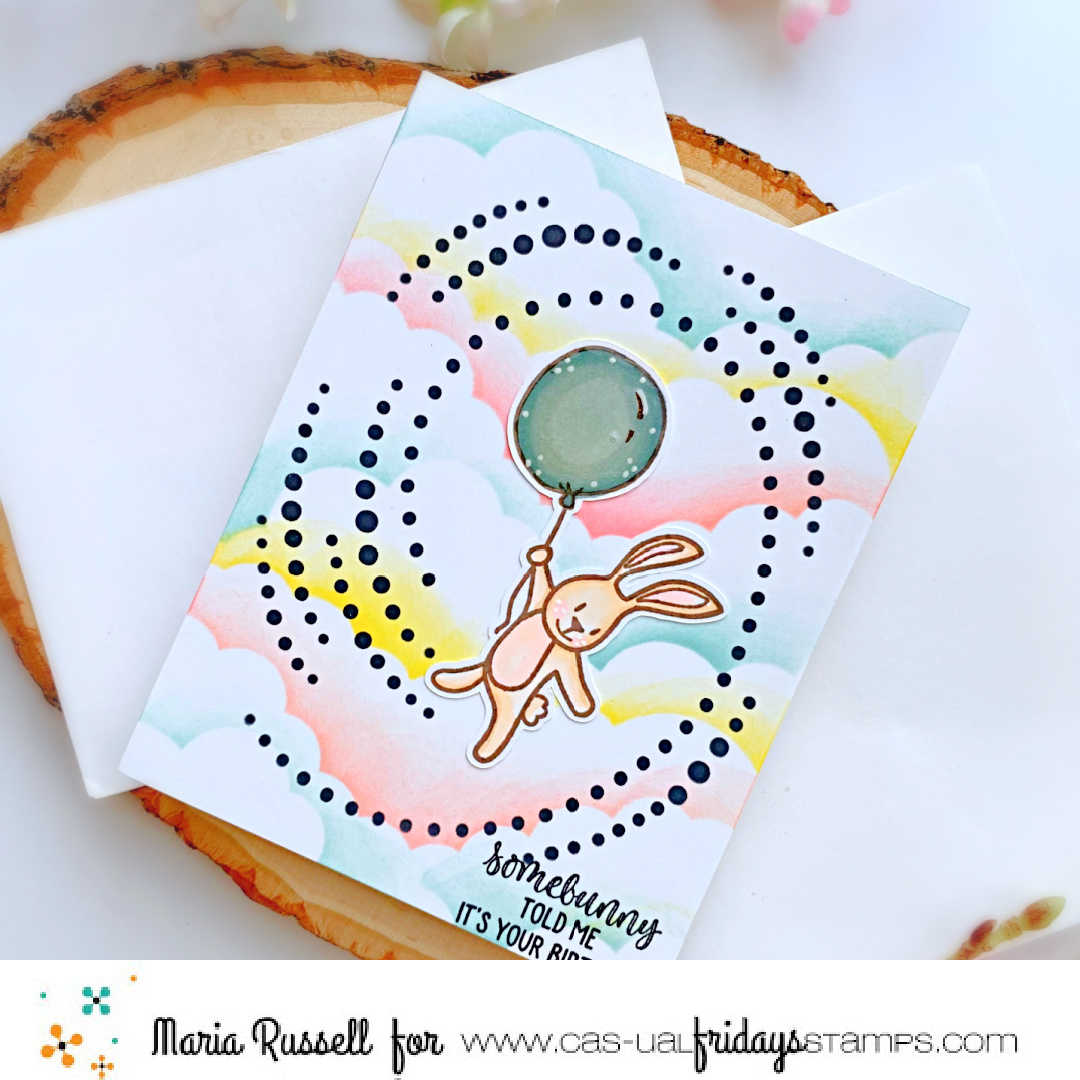
Hello Cas-ual Fridays fans! It’s the last day of the March release and the design team is showcasing the Swirls Stencil.
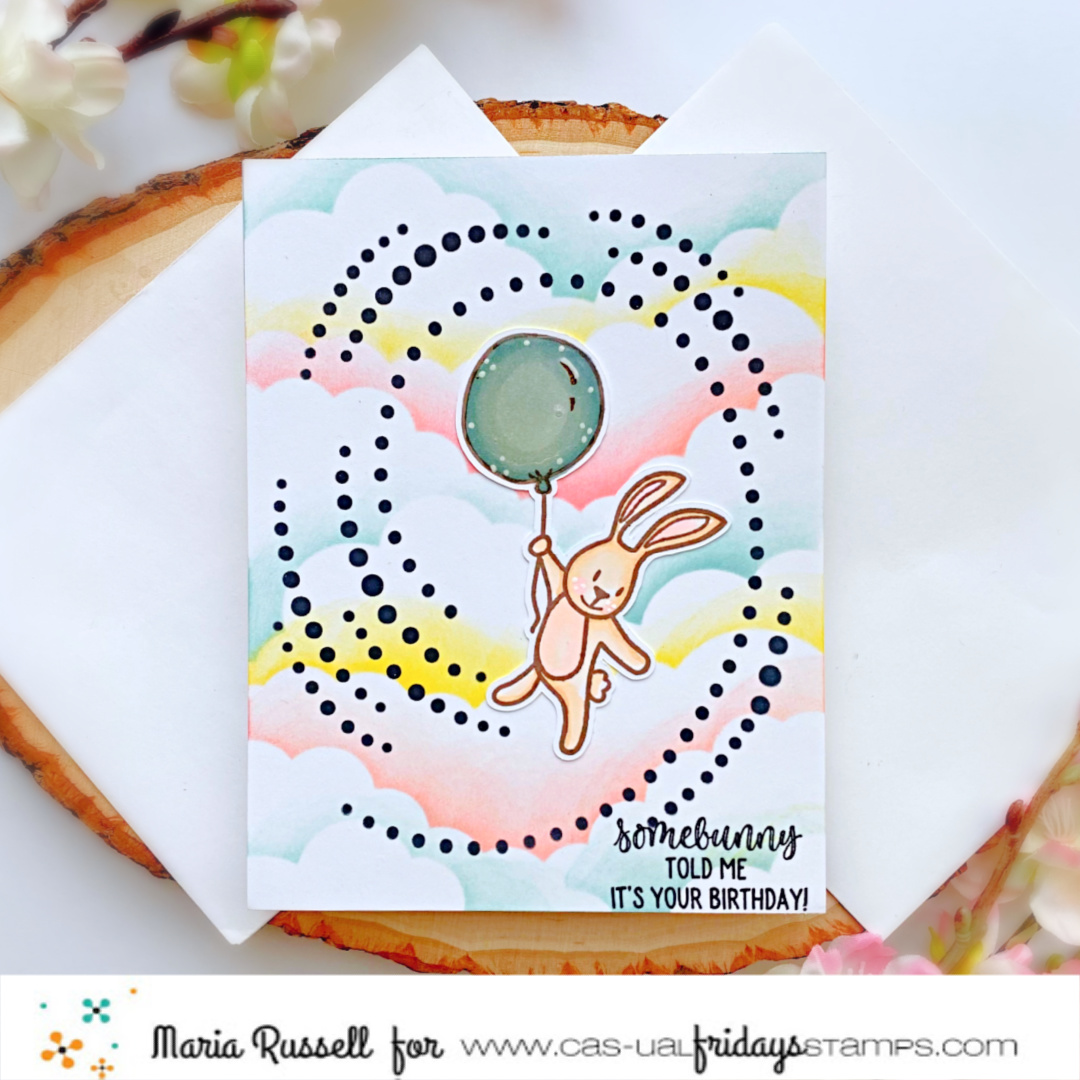
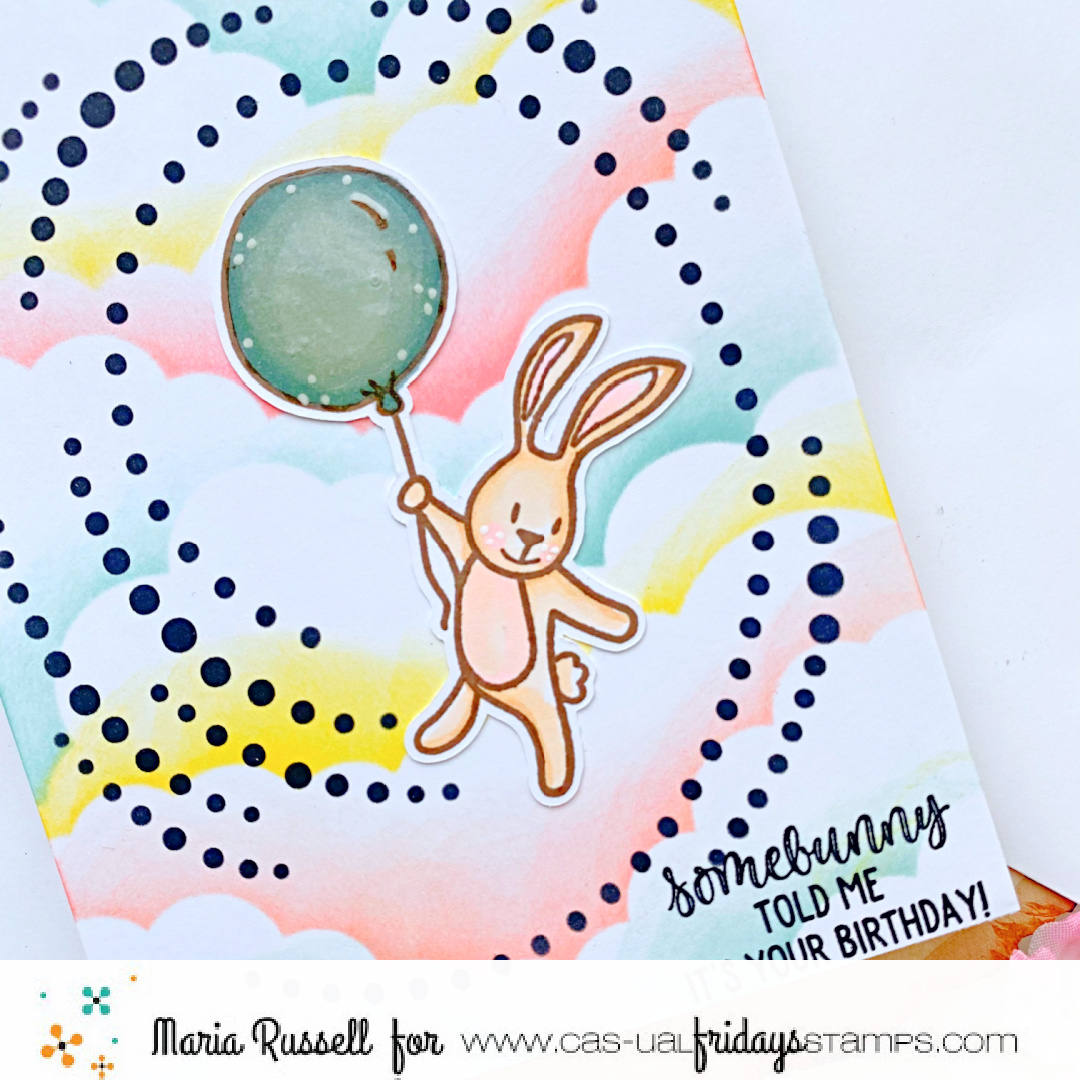
To make my card, I used a clouds stencil from my collection to ink up some Bristol Smooth white card stock using Worn Lipstick, Mustard Seed and Speckled Egg distress oxide inks. I stamped my image from the Somebunny Stamp set and used my precision snips to fussy-cut the image. I used glossy accents for added texture to the balloon. I set this aside to dry for about half an hour.
Using the new Swirls Stencil and some Black Soot Distress Ink, I used my ink blending tool to add the black dots to frame my image. I LOVE this new stencil so much because it is so versatile and can be used in so many different ways to add details to your paper crafting projects.
Next, I adhered the image on the colored panel with liquid glue.
I finished my card design by stamping the sentiment with some Versafine Onyx black ink. Here’s another look:
I hope you all enjoyed the new release and got inspired by the entire design team. CAS-ual Fridays is giving away a prize bundle. Don’t forget to leave a comment on the CAS-ual Fridays release blog post. Winner will be announced on Saturday, March 13, 2021.
The entire release is available for purchase at the shop. Use my coupon code below for 15% off your order.
The supplies I use are listed and linked below. Thanks for stopping by and happy stamping!
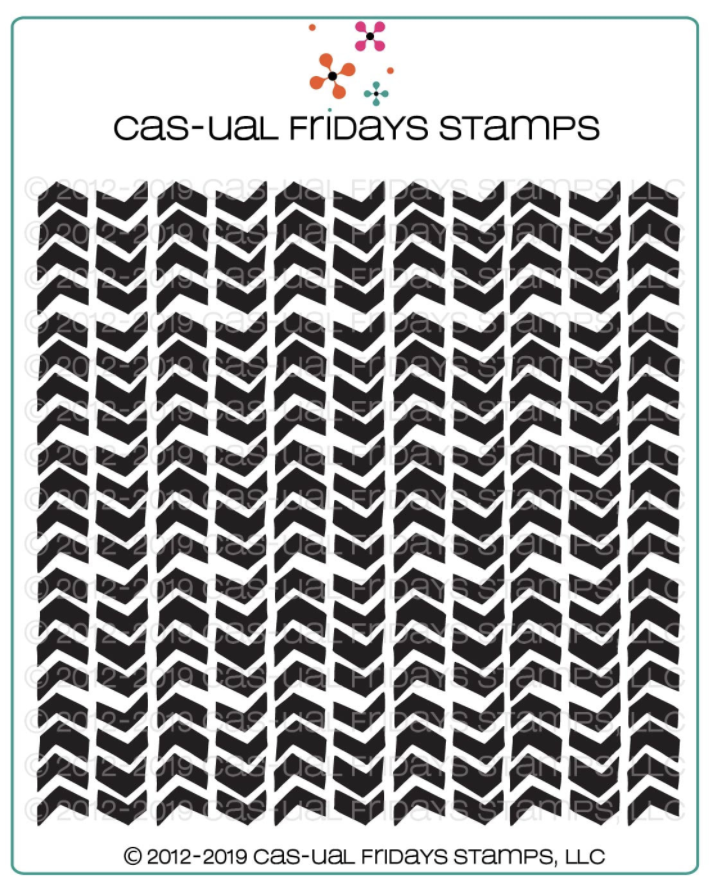
Hello my crafty friends! I’m back on the blog today for Cas-ual Fridays Stamps sharing a fun birthday card, showcasing one of my favorite stamp set from the latest release, called Salty Stamp Set along with the Margarita Glass Die and Chunky Chevron 6×6 Stencil.
I started by stamping the Margarita glass image on some Bristol smooth white card stock with Versamark ink. I sprinkled some white embossing powder and heat-set with my heating tool. I colored the image in using my Zig Clean Real Brush Markers then used the coordinating die to die-cut it out.
For added texture, the background was made by using the Chunky Chevron 6×6 stencil on some Bristol smooth A2-size panel with Worn Lipstick distress oxide ink. I used my distress sprayer to add more depth and texture to the background. I foam-mounted the focal image onto the colored panel and added some white dots to the image using my gel pen.
I adhered my focal panel on some A2-size notecard with my tape runner. I put this panel back to my Misti stamping tool and stamped the sentiment with Versafine Onyx black ink. For more texture, I used some Stardust stickles to add some glittery shine on the “salt”.
I finished my design by adding some iridescent sequins to the background. Here’s another look:
This stamp set is so versatile and definitely a must-have for any stamper, like me! The supplies I use are listed and linked below.
Please don’t forget to use my coupon code for 15% off your order. Thanks for stopping by!
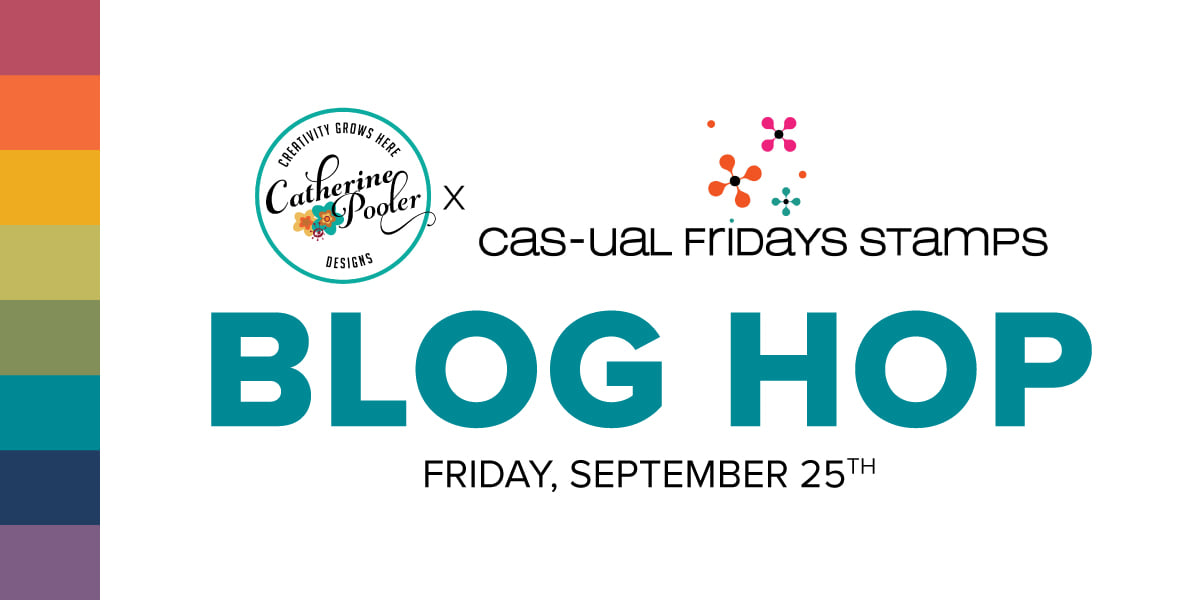
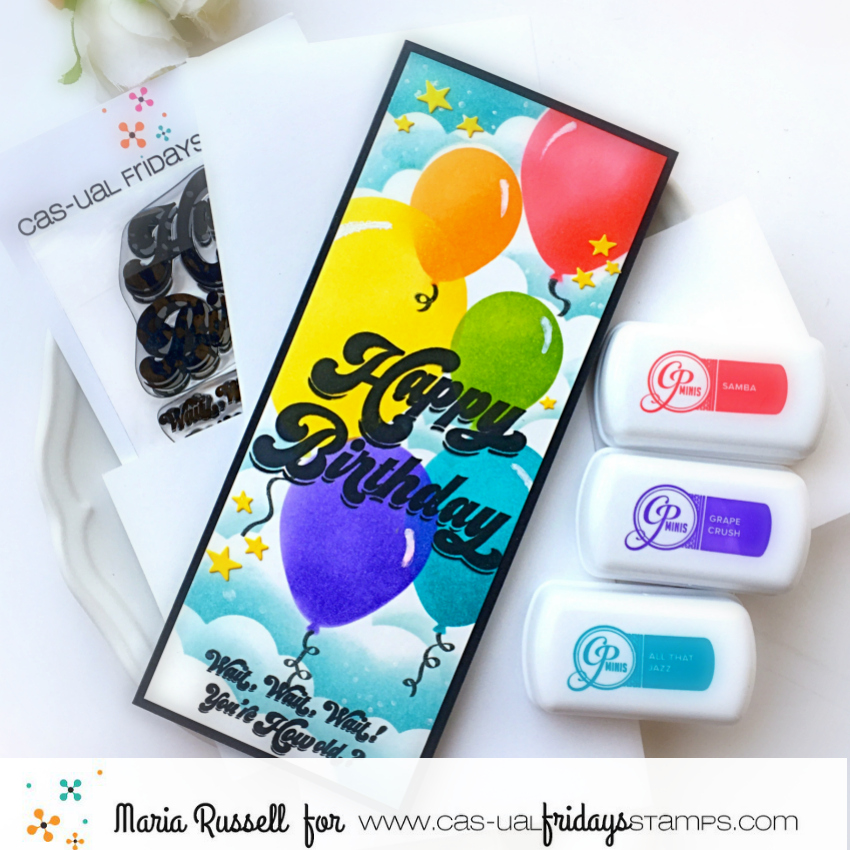
Hello and welcome to the Catherine Pooler and CAS-ual Fridays Collaboration weekend! I am so pleased to participate in this amazing blog hop! Both companies are giving away a $30 Gift Certificate to the shop and the winners will be announced on each company’s blog post on Tuesday, September 29th.
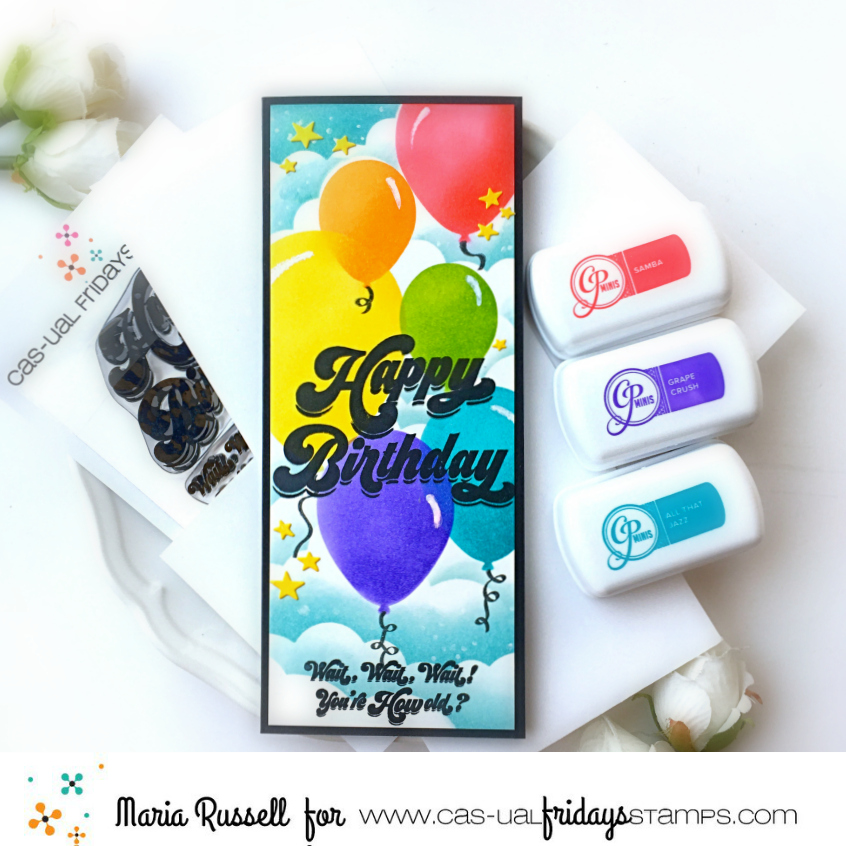
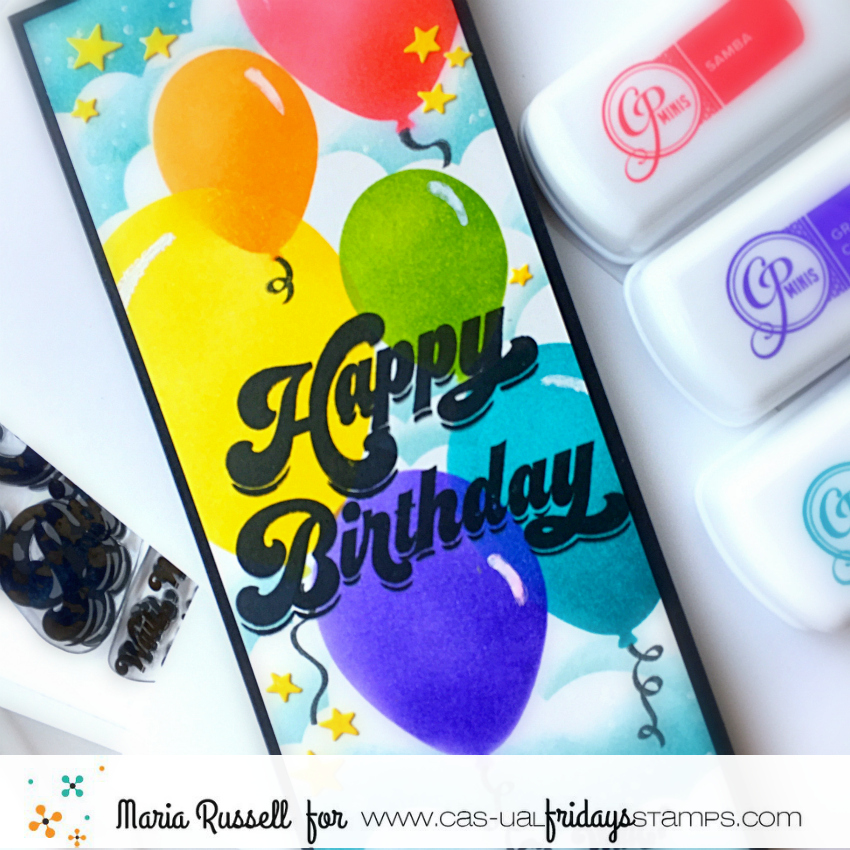
For my first card, I started by using the CP Oval Balloon stencil and inked up the balloons using CP Mini inks in Samba, Tiara, Lime Rickey, Grape Crush and All that Jazz. I also used a stencil from my collection to add the clouds with All That Jazz ink.
To finish my design, I die-cut some yellow stars using a die from my collection. Here’s another look:
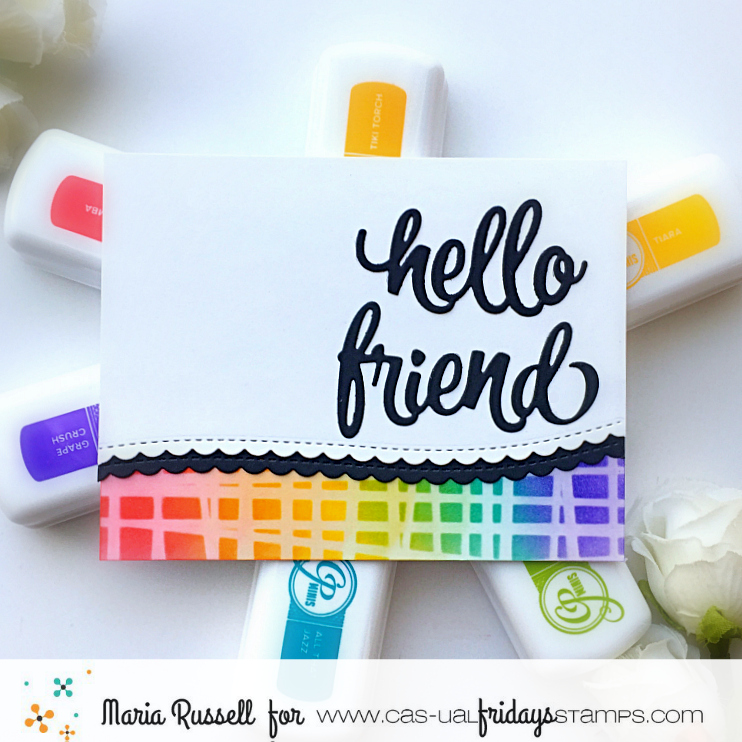
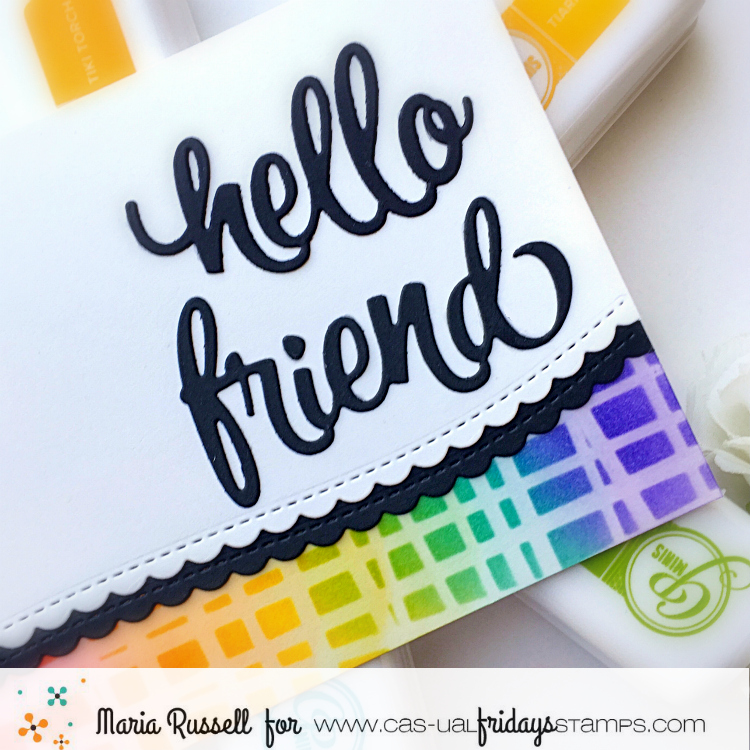
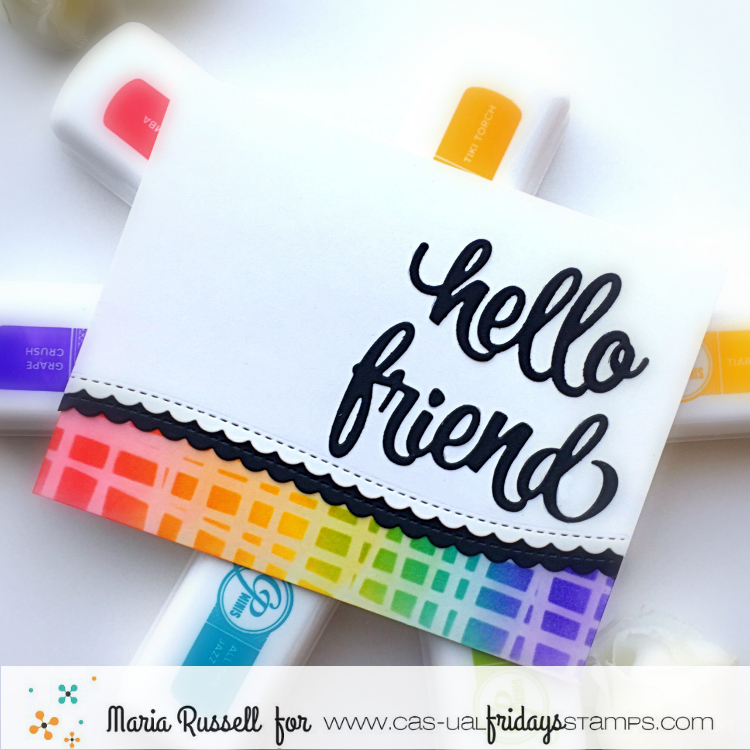
For my second card, I inked up an A-2 size panel of Bristol smooth white card stock using the CP Off the Loom Stencil and CP Mini inks in Samba, Tiara, Lime Rickey, Grape Crush and All that Jazz. These inks are so juicy and wonderful to blend to create a seamless, colorful background.
I adhered this panel on an A2-size top-fold card base. Next, I die-cut some Neenah solar white and black card stock using a die from my collection. I adhered both pieces on the card with my tape runner.
I finished my card design by die-cutting the “hello friend” using the Sweet Friend fri-dies and adhering it onto the card with liquid glue. Here’s another look:
I am so in-love with these Catherine Pooler inks that I purchased more of them to complete my CP mini ink collection!
I hope you like my cards today! The supplies I use are listed and linked below. Don’t forget to leave a comment on each stop for a chance to win one of the (2) $30 Gift Certificates by both companies today. Thanks for stopping by and happy stamping!