Hi There Hop Stuff! with Cas-ual Fridays

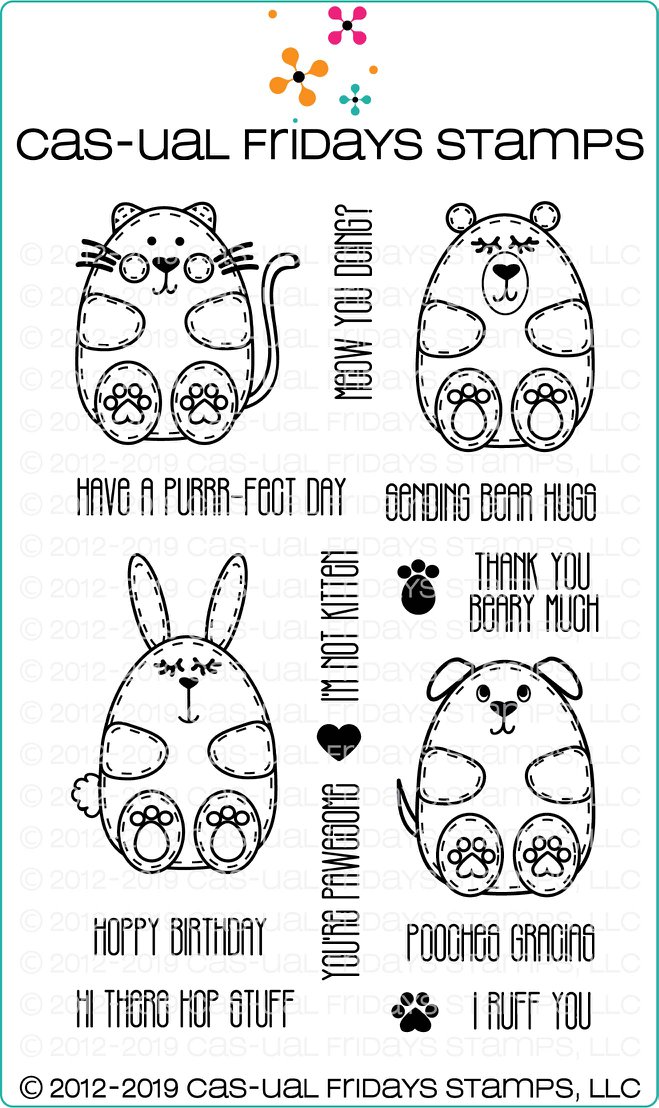
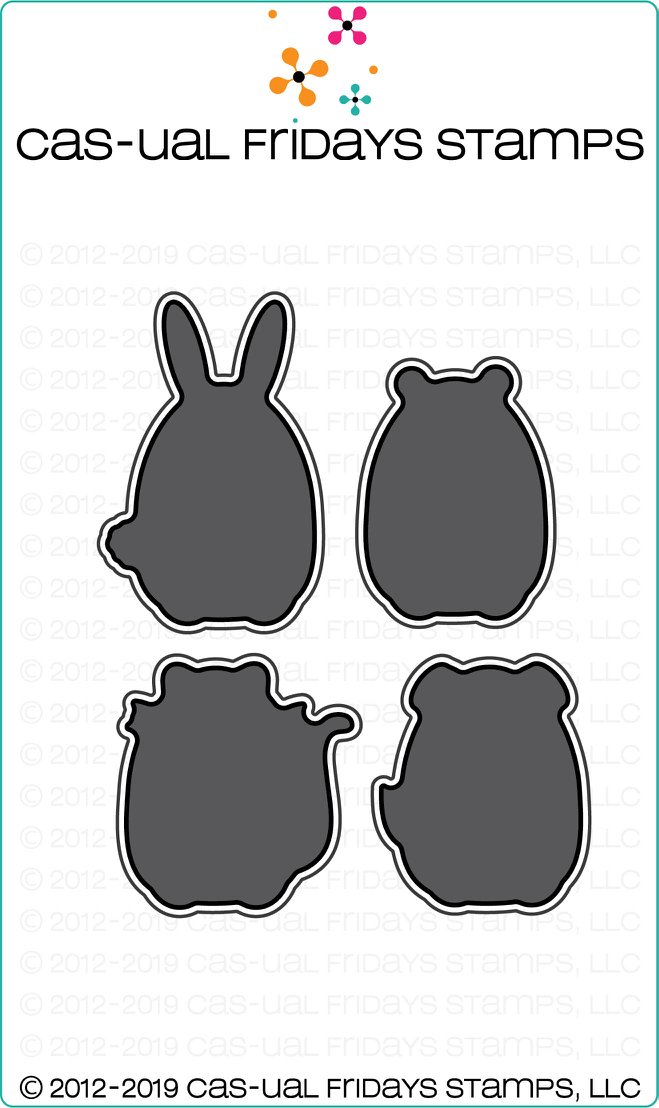
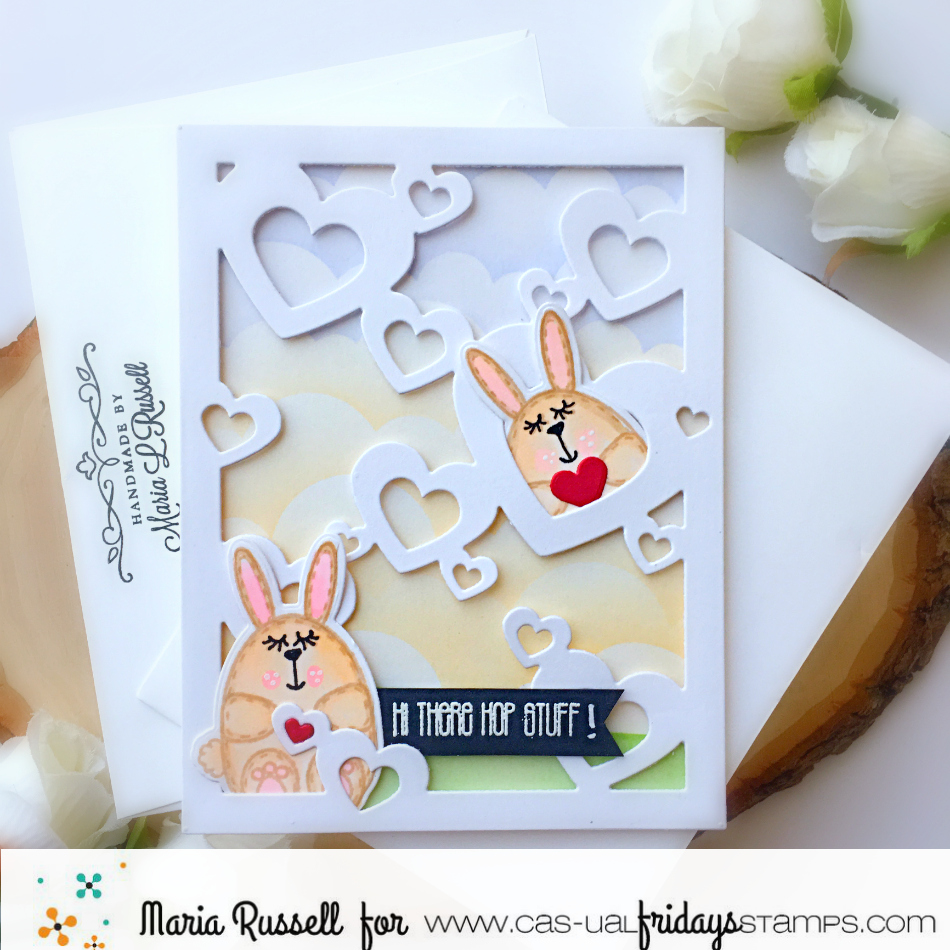
Happy Tuesday!  I’m back for Cas-ual Fridays Stamps  today with this fun card, showcasing the Little Huggables stamp set and Little Critters fri-die with the Hearts A2 Panel fri-die.


I started by stamping the bunnies on Neenah solar white card stock with Desert Sand Memento Ink.  I colored the images with my alcohol markers and die cut using the coordinating dies.


I ink-blended an A2 size panel of Bristol smooth white card stock and used some clouds and hills stencil to create the background.  I die-cut the A2 Hearts Panel die with some white card stock and foam-mounted this panel.  I carefully inserted the bunnies and adhered using foam adhesive.


Lastly, I die-cut some hearts and stamped the sentiment on some black strip of card stock and adhered to the card.  Here’s a closer look:


This card turned out so cute.  I hope you got inspired today.  Please don’t forget to use my coupon code below to get 15% off your order.  Have an amazing day!


Retiring Sets with Newton’s Nook Designs


Did you see that Newton’s Nook Designs is having a retiring sale on their website?  It’s time to make room for new products so they are retiring select designs!  These designs are available at up to 40% off while supplies last so hurry to get your favorites before they’re gone for good!


All throughout this week, the NND Design Team will be sharing inspiration using some of our favorite products from the retiring list!  Check out what I created today and don’t forget to check the NND Blog each day this week for more fun inspiration!



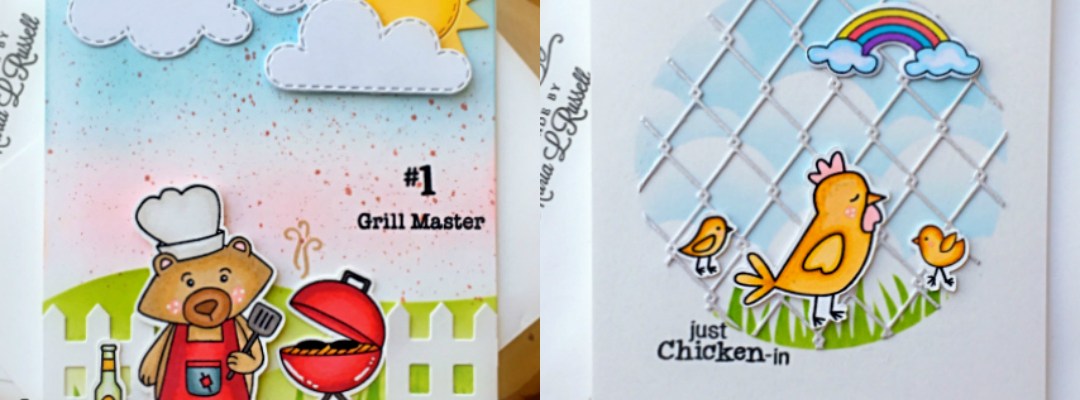
For my projects today, I am showcasing the Winston’s BBQ and Chicken Scratches stamp sets.


I started by stamping my images from both retiring sets on Neenah solar white card stock.  I colored the images in with my Spectrum Noir alcohol markers.  I fussy-cut the images using precision snips.


I ink-blended an A2 size panel with some Tumbled Glass and SpuN Sugar distress oxide inks.  I smooshed some Aged Mahogany on an acrylic block and added some water then used my watercolor brush to splatter some speckles on ink-blended background.  I used the Hills & Grass stencil to add more depth and dimension to this piece.


To create my scene, I die-cut some colored and white card stock using the Sky Scene Builder die set, the Fence die set and the Land Borders die set.  Once I had all of the elements that I needed, I assembled the card.  Here’s what it looks like:


I finished my design by stamping the “smoke” using Desert Sand Memento ink and the #1 Grill Master sentiment with Versafine Onyx Black ink.  I also added some glossy accents to the beer bottle for added texture and dimension.  Here’s a closer look:


My second card is really simple.  I created a D.I.Y stencil using a circle die from my stash.  I temporarily taped this piece with some purple tape on some Bristol smooth white card stock, then used the Clouds Stencil and Hills & Grass stencil to add the clouds and grass.


I used a die from my stash to die-cut the chicken wire, then used the same circle die to match the background.  I adhered this onto the ink-blended panel with some liquid glue, and also adhered the colored images on the card.  I cut this panel and adhered on an A2 size card base.


To finish my design, I added some black & white stripes patterned paper as well as a strip of black card stock.  Here’s what it looks like:
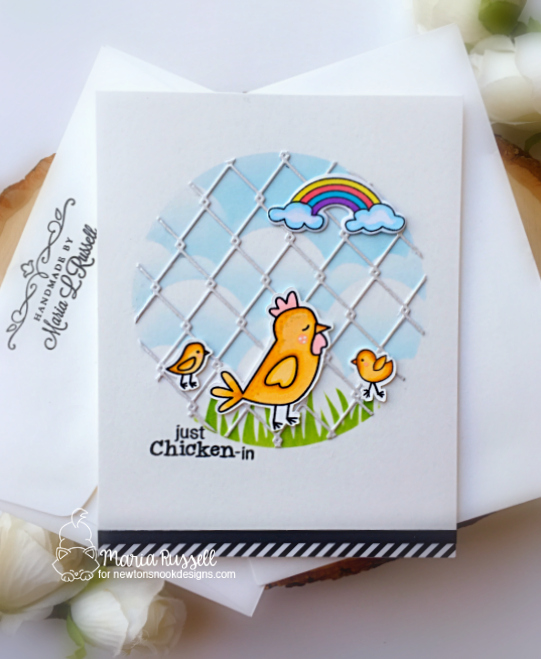


I forgot to mention that the rainbow and clouds image is from the Believe in Unicorns stamp set (don’t worry, this set IS NOT retiring, haha!).  Here’s a closer look:


I hope you like my projects today and got inspired.  The supplies I used are listed and linked below.  Don’t forget to check out the Retiring Products Category by Newton’s Nook to see what is going away and grab your favorites now before they are gone for goodHere is a direct link to the retiring products page: http://www.newtonsnookdesigns.com/retiring-products/.


————–SUPPLIES————-


Creating Simple Backgrounds with Spectrum Noir Harmony Inks [A Step-By-Step Tutorial]

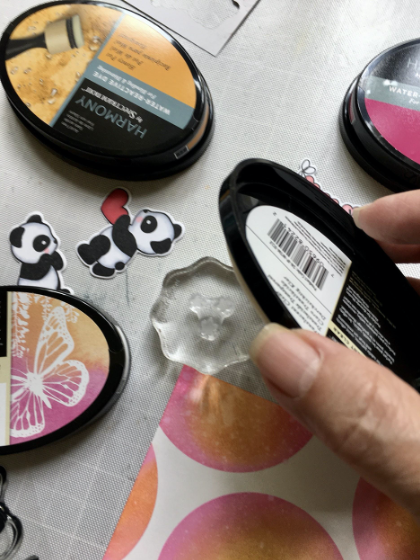
It’s National Panda Day and I am celebrating by sharing this cute card, showcasing Spectrum Noir (Water-reactive) Harmony Inks, SN Classique Markers, SN Watermark Ink, SN Alcohol Proof Dye Ink, and Panda Play stamp and die set by LDRS Creative.


Here’s how to make the card:


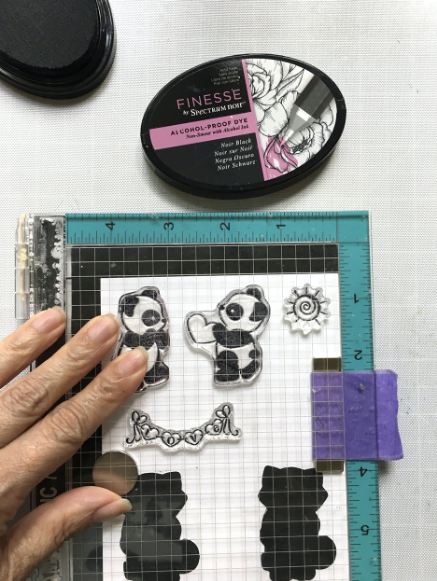
Stamp the images using Spectrum Noir Alcohol Proof Ink in Black.


Color the images in using Spectrum Noir Classique markers.

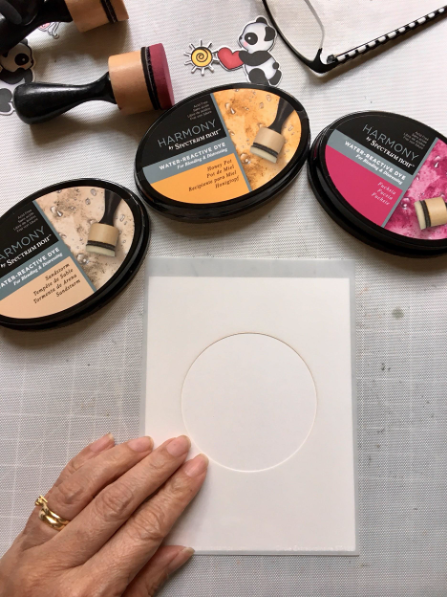
Use SN Water Reactive inks with foam blending tools and a stencil to add color to the background.

Repeat these steps and make sure they are evenly spaced-out.

Use SN Watermark ink to stamp the stars. Sprinkle some embossing powder and heat set with heating tool.

Use SN watermark ink again to stamp the sentiments on some black card stock. Sprinkle some white embossing powder, then heat-set with heating tool.

Use coordinating die to die-cut the sentiments.

Adhere the images with some foam adhesive and adhere the sentiment using liquid glue.

Finish the design by adding some white dots using some white gel pen. Add glossy accents to the big red heart and the heart banner.


Here’s another look at the card:


I just LOVE creating a colorful background for my card by using the SN water reactive inks.  They are so easy to blend and the results you get are fantastic.  Here’s a little close-up:


I hope you like my project today.  The supplies I used are listed and linked below.  Thanks for stopping by and have an amazing day!


Spectrum Noir Deep Blend TriBlend Markers – Baby Yoda Card

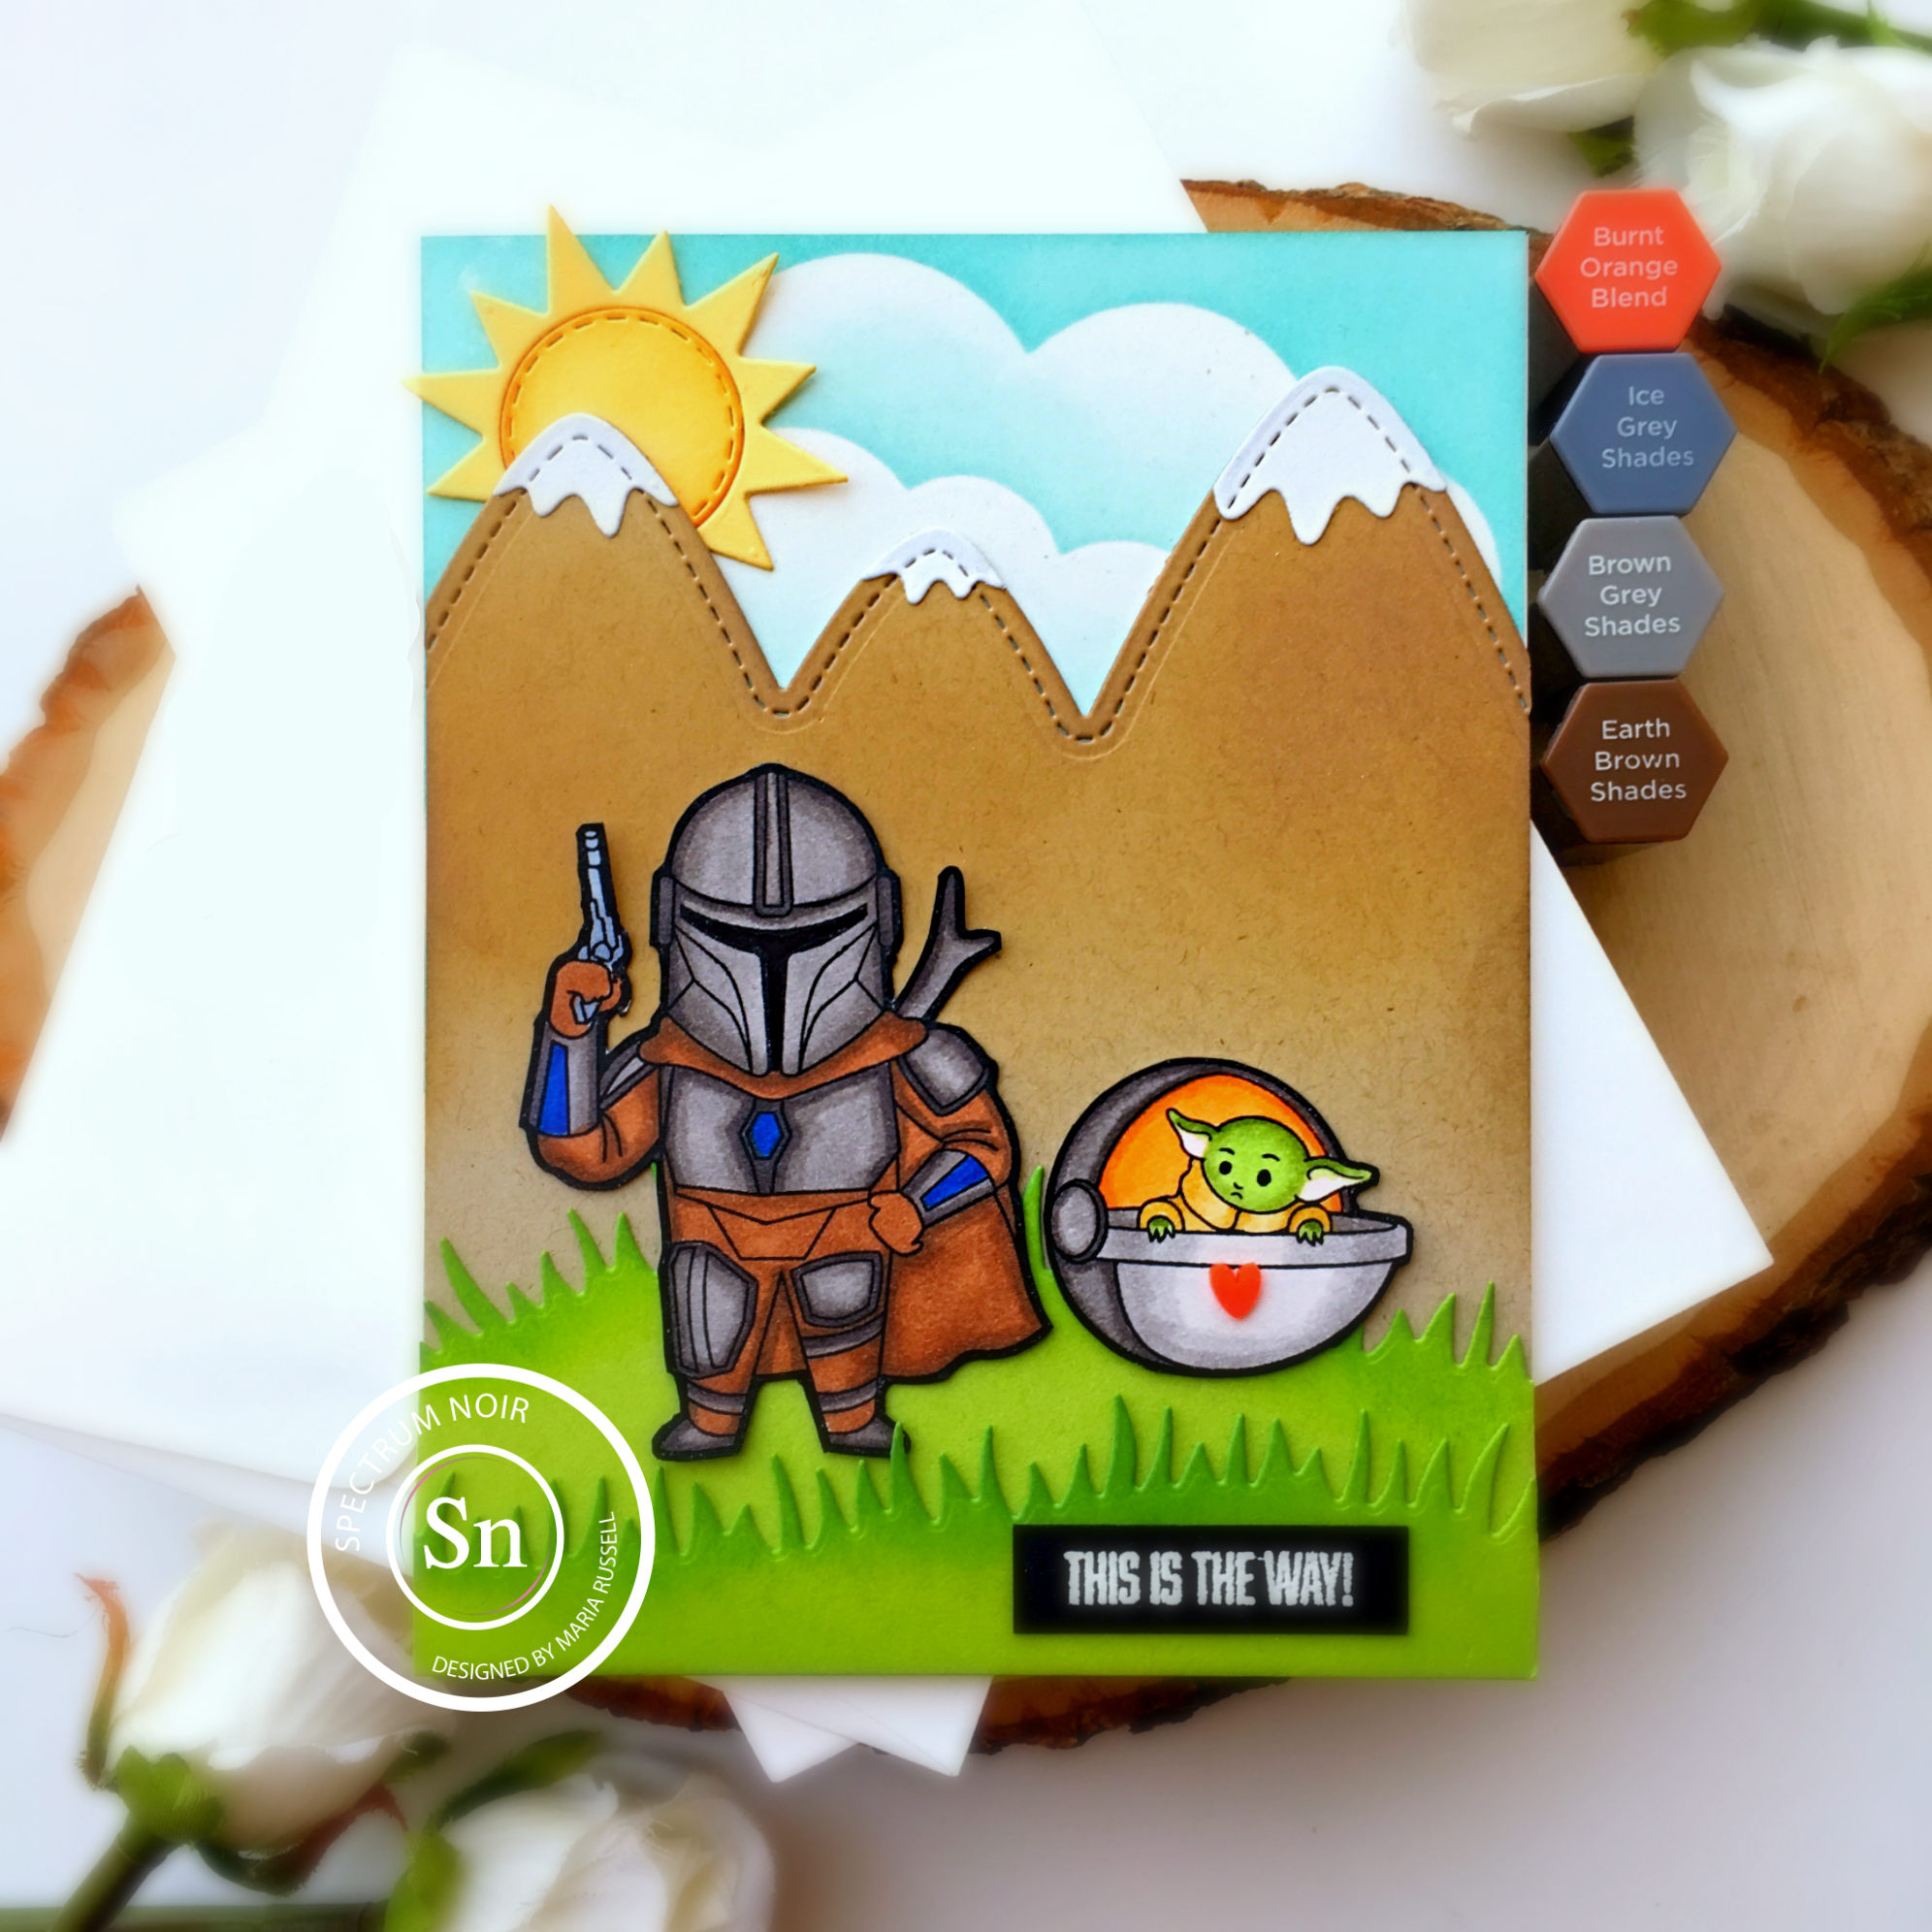
Hello Spectrum Noir fans!  I am so excited to share today’s card with you, showcasing the latest Spectrum Noir Deep Blends TriBlend Markers.

I have always loved the Spectrum Noir essential blends so when the deep blends came out, I knew I just had to have it.  TriBlend markers are my favorite markers and the new deep blends did not disappoint!  I love them so much that I wish they would come out with more sets!  They are AMAZING!

Here’s how to make the card:

Stamp the images with Spectrum Noir Alcohol Proof Dye Ink in Black on some Neenah solar white card stock.


Color the images in with some Spectrum Noir Deep Blend TriBlend markers. I used earth brown, ice grey, brown grey, burnt orange shades.  I also used the essential blends in vintage blue, golden yellow and citrus green.  For the pink shades, I used the pale pink blends.

Fussy cut the images using precision snips.

Ink blend the background panel using some dye inks and clouds stencil.

Use dies to die-cut the rest of the elements needed to create the scene.

Assemble the card.

Here’s what the card looks like:

I absolutely LOVE the new TriBlend markers!  I cannot stress enough how they changed my ability to color images.  They really do blend like butter!  Here’s a closer look of the card:

I hope you enjoy this tutorial today.  The supplies I used are listed and linked below.  Thanks for stopping by and happy coloring!

———-SUPPLIES————


Humorous Card with Cas-ual Fridays Stamps

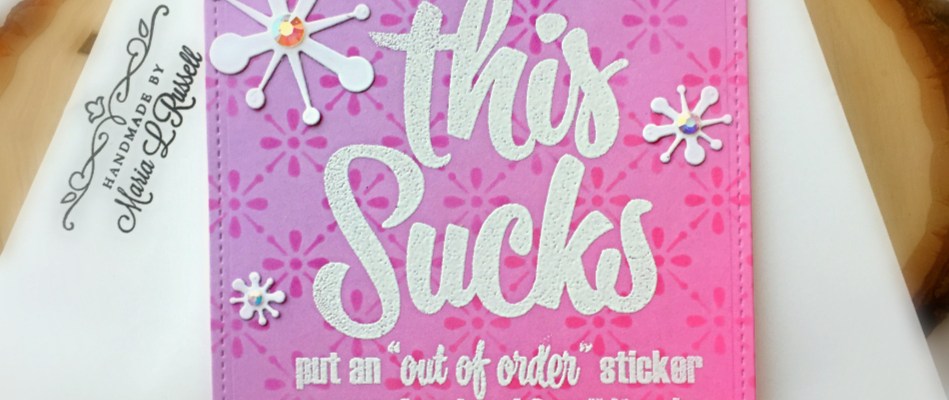
Back today with Cas-ual Fridays Stamps sharing this humorous card, showcasing the 4×6 This Sucks stamp set with the Tin Roof Stencil and Jumping Jacks Fri-Dies.

To begin, I used a patterned paper from my stash and stuck this panel on my mat with some removable tape.  I used Picked Raspberry and Wilted Violet distress oxide inks with the Tin Roof stencil to add more interest to the background.  I set this piece aside to dry for about half an hour.

I used my powder bag to remove static on the card panel and stamped the sentiment with Versamark ink.  I sprinkled white embossing powder and heat-set this piece with my heating tool.  I adhered this panel on an A2 size side-fold card base.

I die-cut two decorative borders using a die from my stash and foam-mounted the pieces on my card.  I finished my design by die-cutting the Jumping Jacks Fri-Dies on some white card stock and adhered them with liquid glue.  I added some iridescent jewels to further adorn the card.  Here’s what it looks like:

This card will definitely cheer someone who is having a bad day!

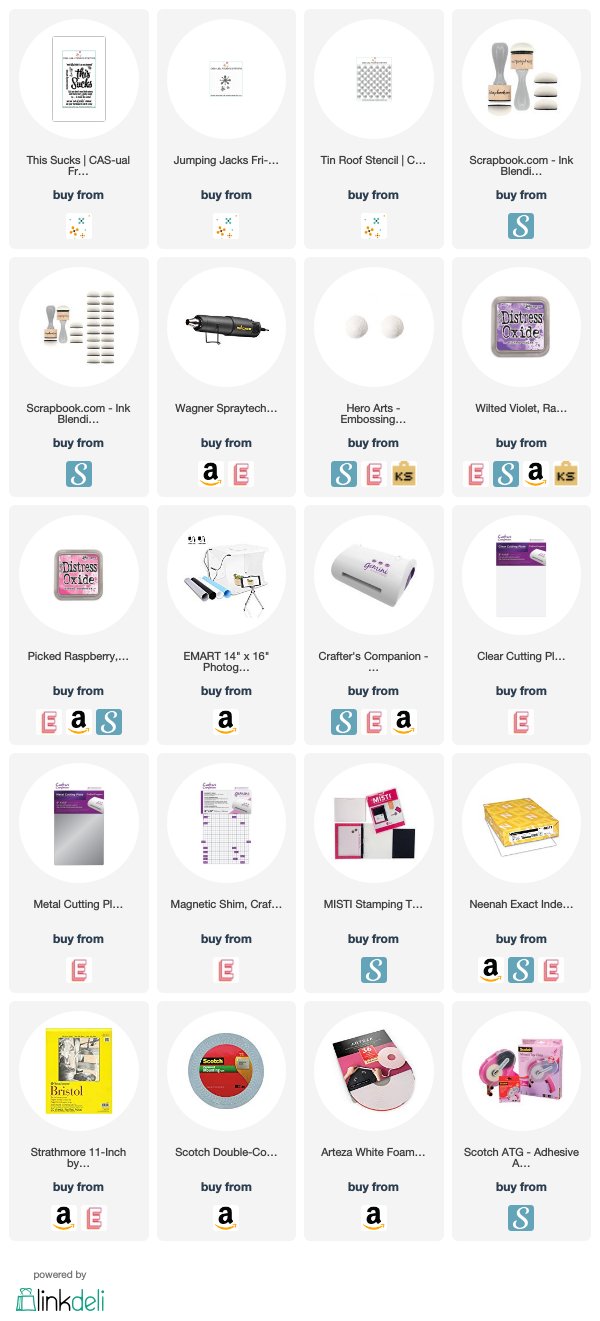
I hope you like my project today and got inspired.  The supplies I used are listed and linked below.  Please don’t forget to use my coupon code below to get 15% off your order.  Have and amazing day and happy stamping!

————–SUPPLIES————–


Magic Is Something You Create with Trinity Stamps

Hello Trinity Stamps fans!  I hope everyone’s having a great Saturday!  It’s the weekend and time for some design team inspiration.

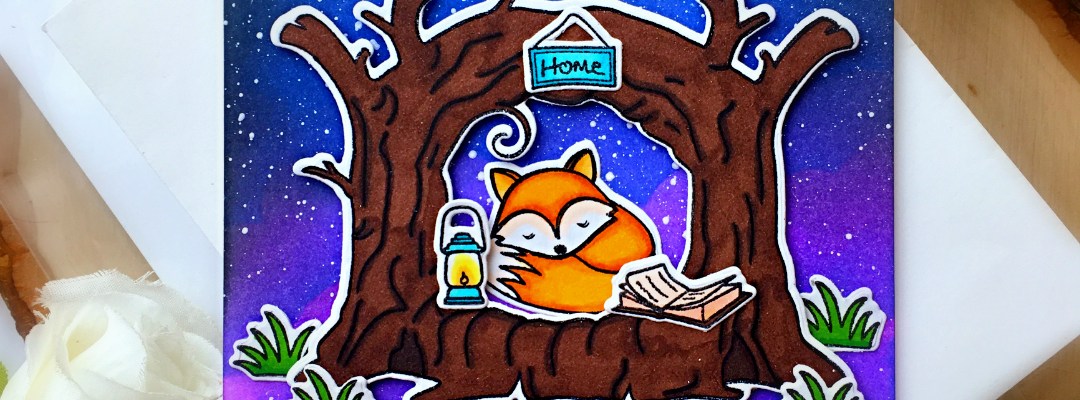
For my card today, I am showcasing the 4×8 Sleepy Hollow stamp set and coordinating die set with the 4×6 Magical Sentiments stamp set.

To begin, I stamped as many images as possible on some white card stock and colored them in with alcohol markers.

I die-cut the images using the coordinating dies.  I like to keep the rest of the stamped images inside the stamp envelope so that I can use it for future projects.

I ink-blended a panel of Bristol smooth white card stock using Distress oxide inks and the “Blending Buddy” Brown Bristle blending brushes.

I also used a clouds stencil from my stash to add more depth and dimension to my background.  I used some white Copic paint and my water color brush to splatter some white paint on the background.

I wanted my scene to look like it’s a starry night!  I set this aside to let it dry.

Once the panel was dry, I stamped the sentiment with some Versamark ink and sprinkled some white embossing powder, then heat-set using my heating tool.

I foam-mounted the tree and some of the grass on the card, and adhered the rest of the images with liquid adhesive.

I absolutely LOVE how this card turned out.  This reminds me of camping under the stars with my hubby and children.  I cannot wait to camp with my family again.  Here’s a closer look:

I hope you like my card and got inspired today.  The supplies I used are listed and linked below.  Thanks for stopping by and happy stamping!

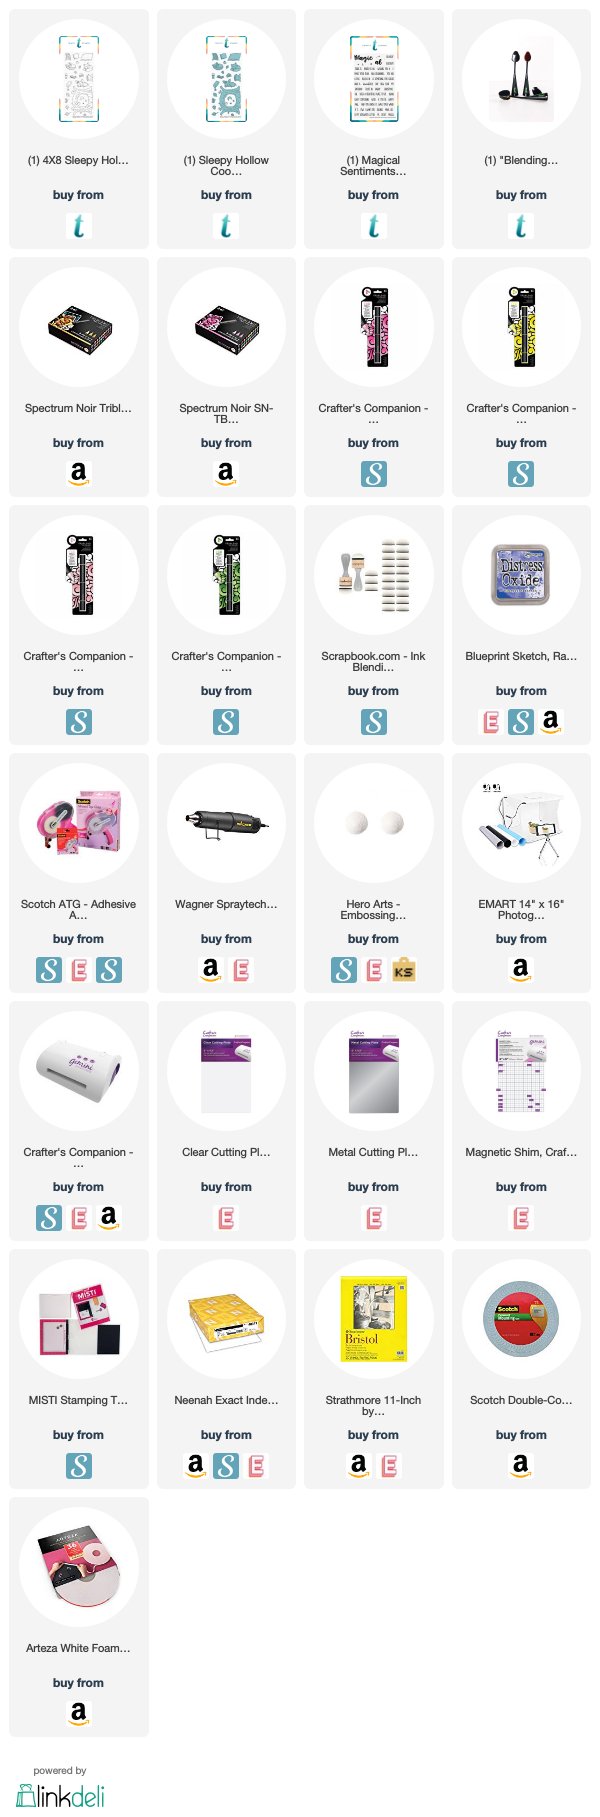
————SUPPLIES———-


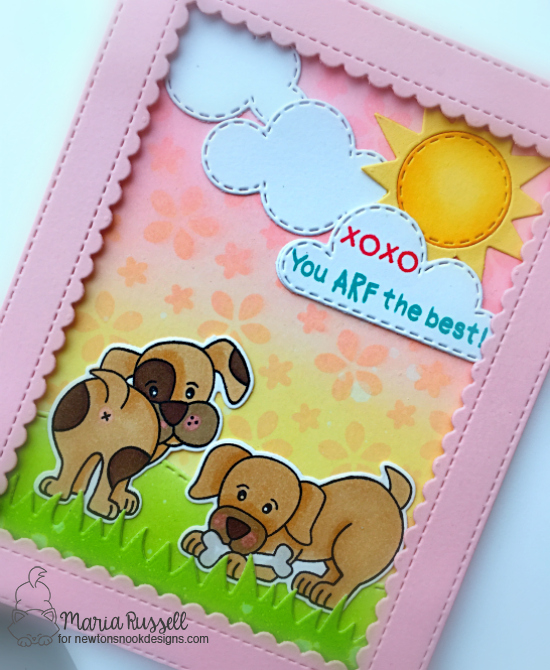
XOXO You Arf The Best with Newton’s Nook Designs

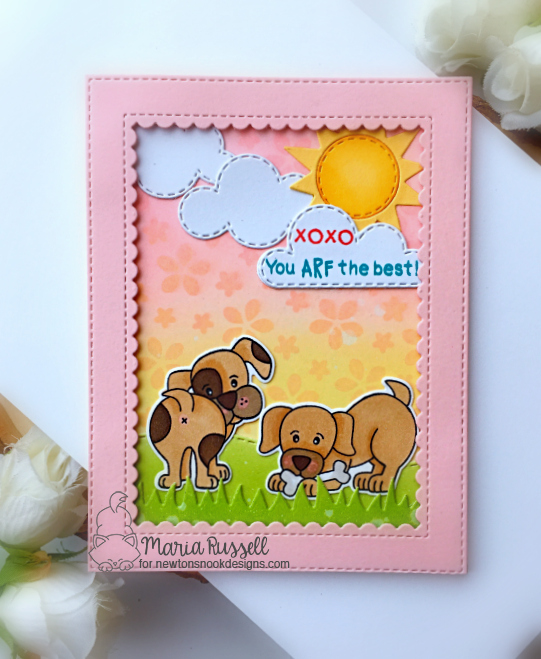
Hello Newton’s Nook fans!  I hope you are having a great week!  Have you checked out the February release last week by NND?  I am back today for more design team inspiration featuring the new Sky Scene Builder die set and Petite Flowers stencil along with the Puppy Playtime stamp set and land borders die set.

To begin, I stamped my dog images from the Puppy Playtime stamp set and I colored the images in with my Spectrum Noir alcohol markers.  I die-cut the images using the coordinating dies.

My colored background panel was ink-blended using Worn Lipstick and mustard Seed distress oxide inks.  I used the Petite Flowers stencil to add more texture to the background.  I adhered this panel to an A2 size card base.

To create my scene, I die-cut the hill and grass pieces with some Bristol smooth white card stock and inked up the pieces with Mowed Lawn distress oxide ink.  The clouds and sun were die-cut using the new Sky Scene Builder die set.  I also die-cut the frame with some pink card stock using a die from my stash.  Now that I have all of the pieces that I needed, I started to assemble the card.


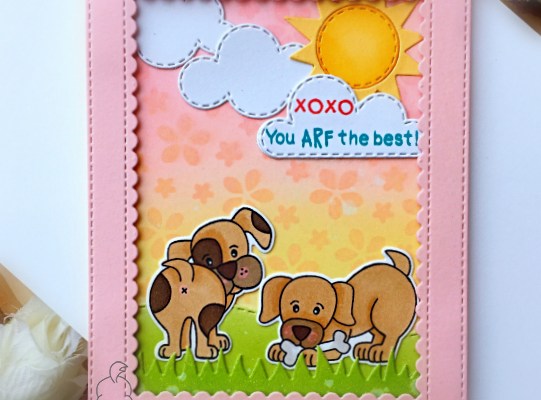
To finish my design, I stamped the sentiment on the clouds with Lobster Ink and Peacock Feathers distress oxide ink.  I also used my black glazed pen to add more depth and dimension to the dogs’ eyes.  Here’s a closer look:


I hope you like my card today.  The supplies I used are listed and linked below.  Check out Newton’s Nook Designs Blog, Instagram and Facebook fan group for more design team inspiration.  Thanks for stopping by today and happy stamping!


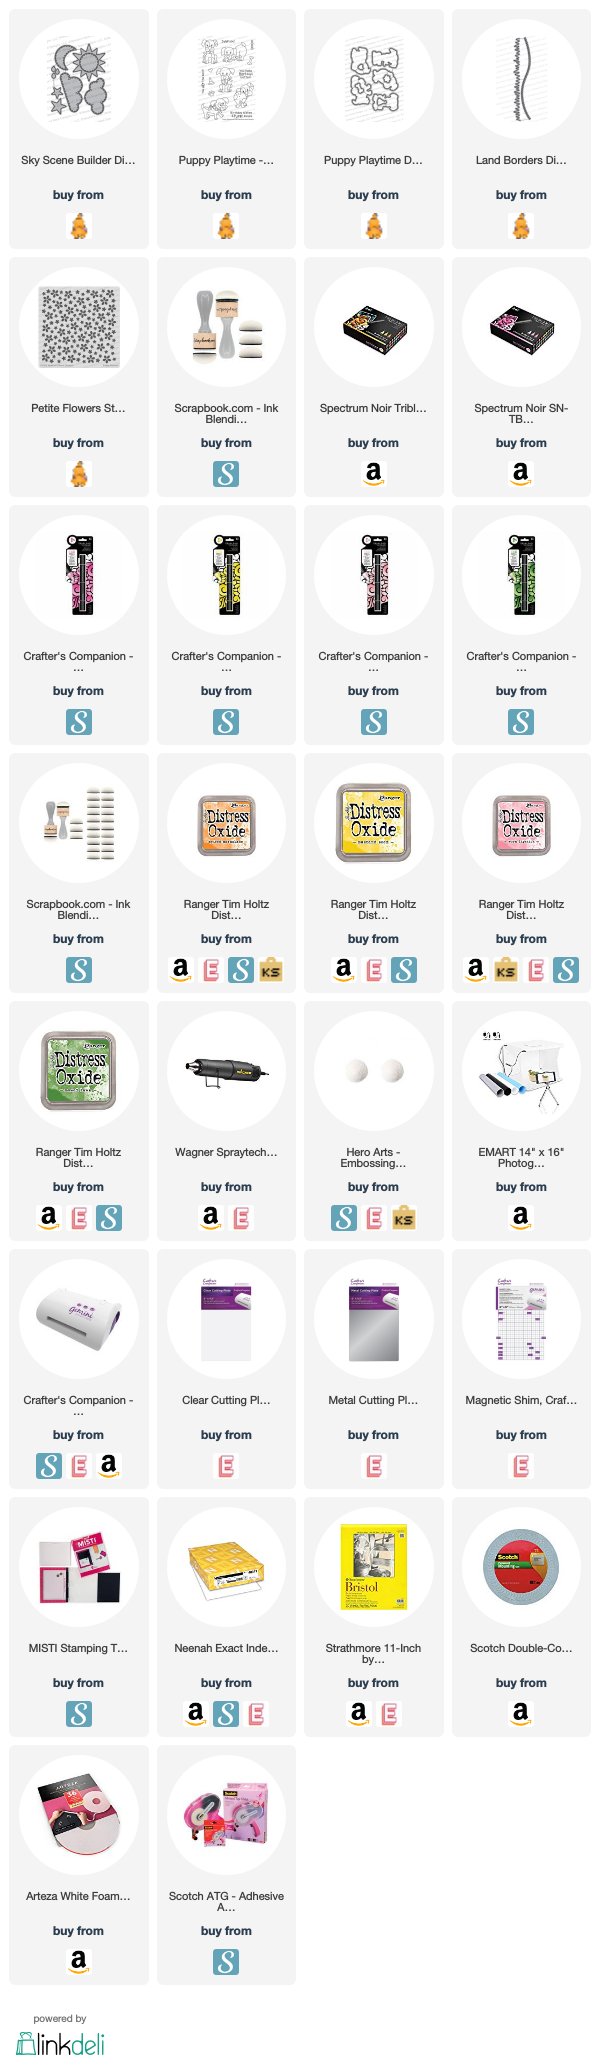
————SUPPLIES————

Crafting of Hue Sponsorship with Cas-ual Fridays – Celebrate Life

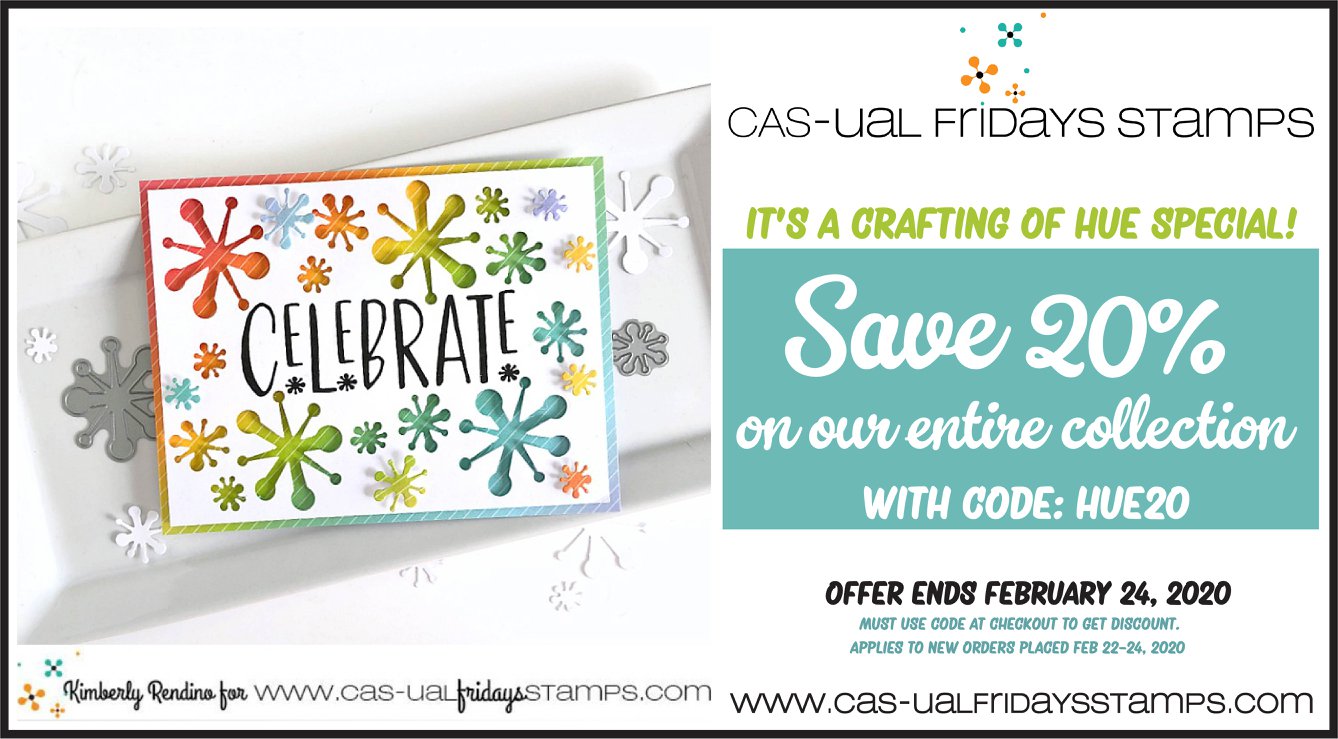
Hello everyone!  I’m super excited to share today’s post!  Cas-ual Fridays Ink Squad is celebrating with  a 20% off the entire collection (using coupon code: HUE20) at the shop and we are this week’s sponsor for Crafting of Hue.


This weekend’s theme is all about “CELEBRATION” and my project today is about “Celebrating Life“.   I have a friend who is going through so much pain lately and this card is for her.  I want her to know that “life is beautiful” and even though it seems that her world is surrounded by darkness, there’s always light at the end of the tunnel.


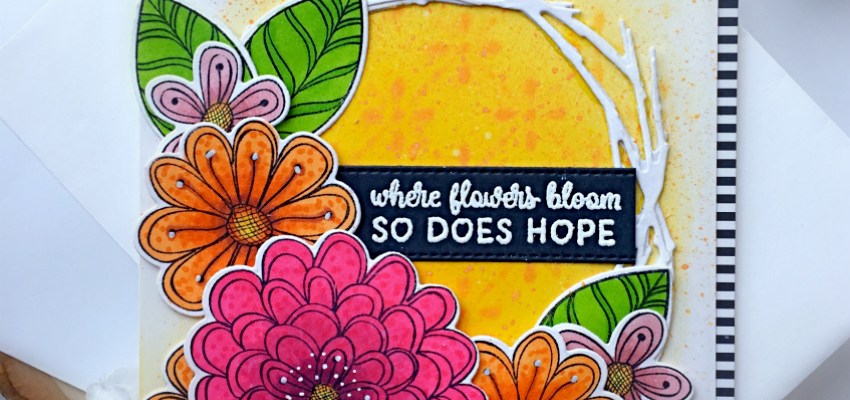
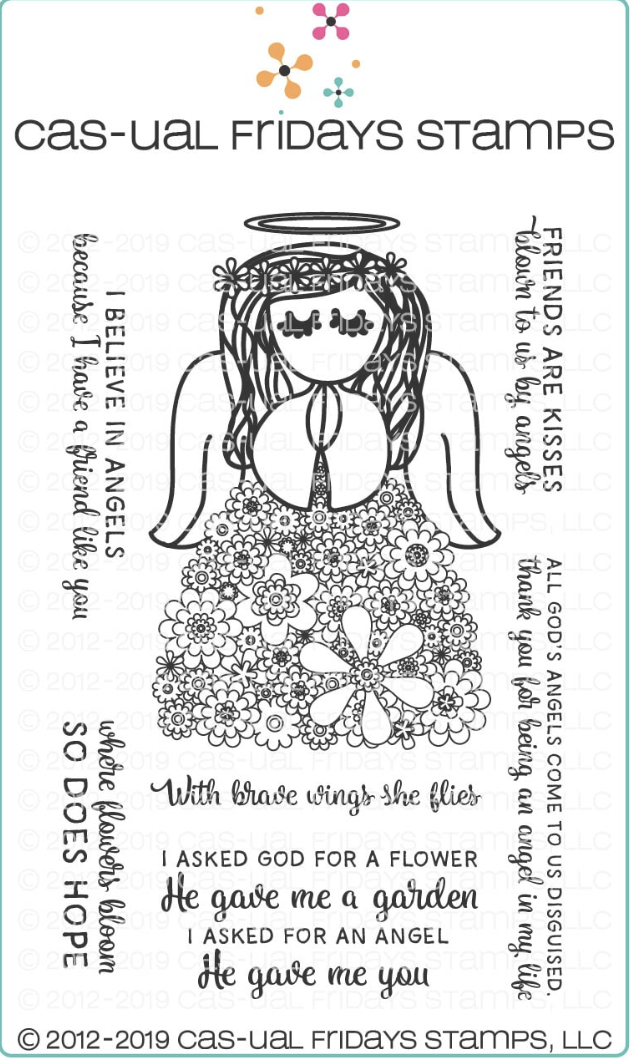
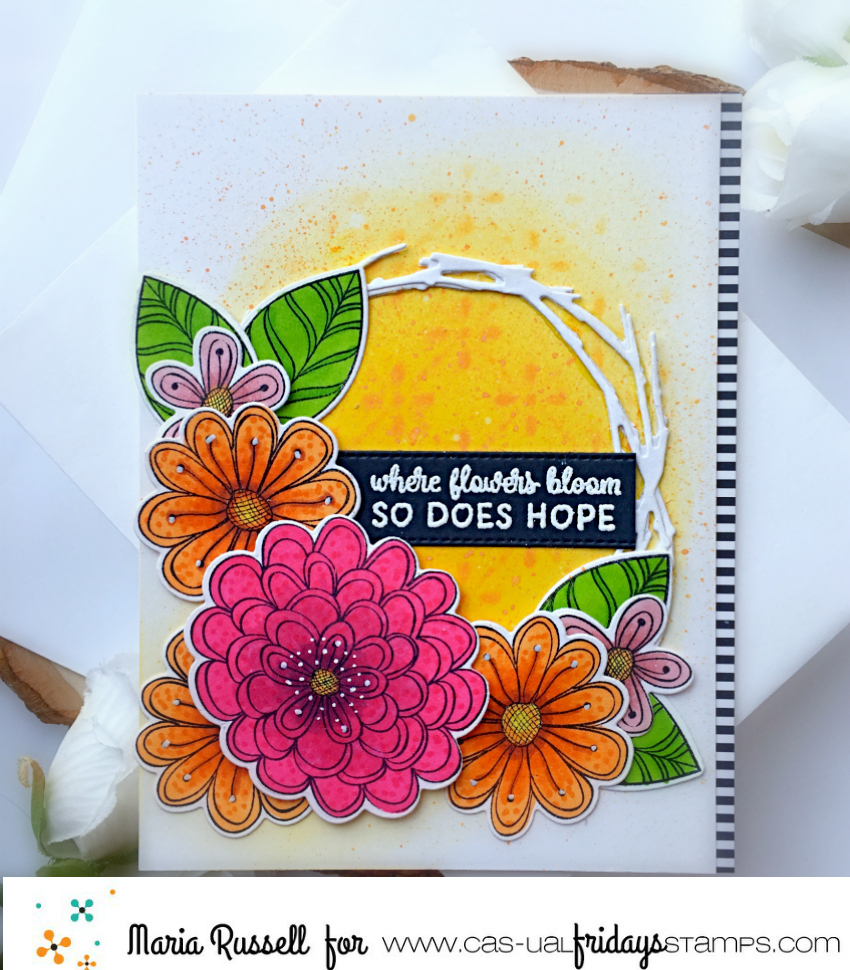
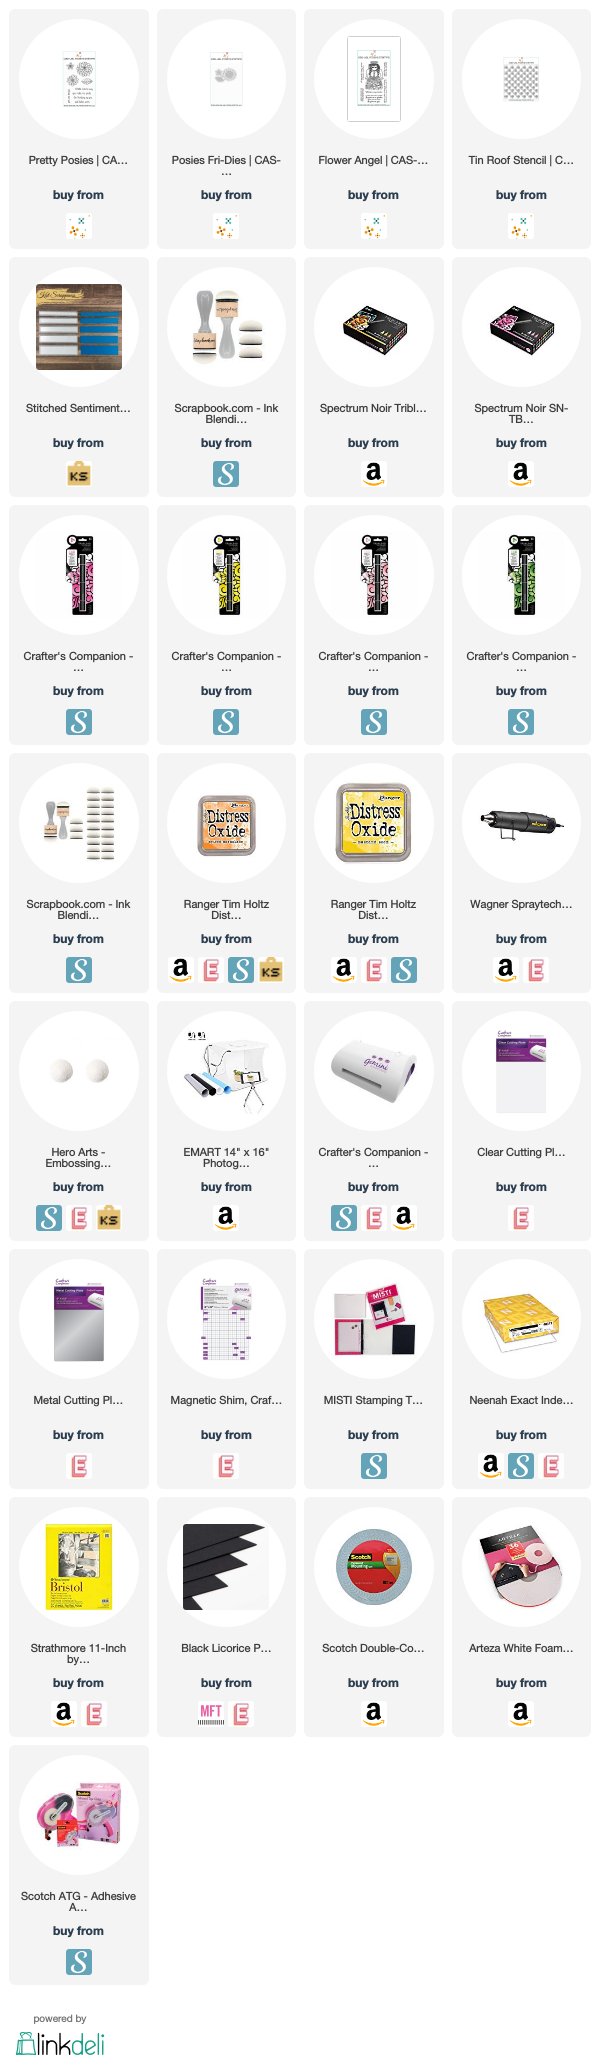
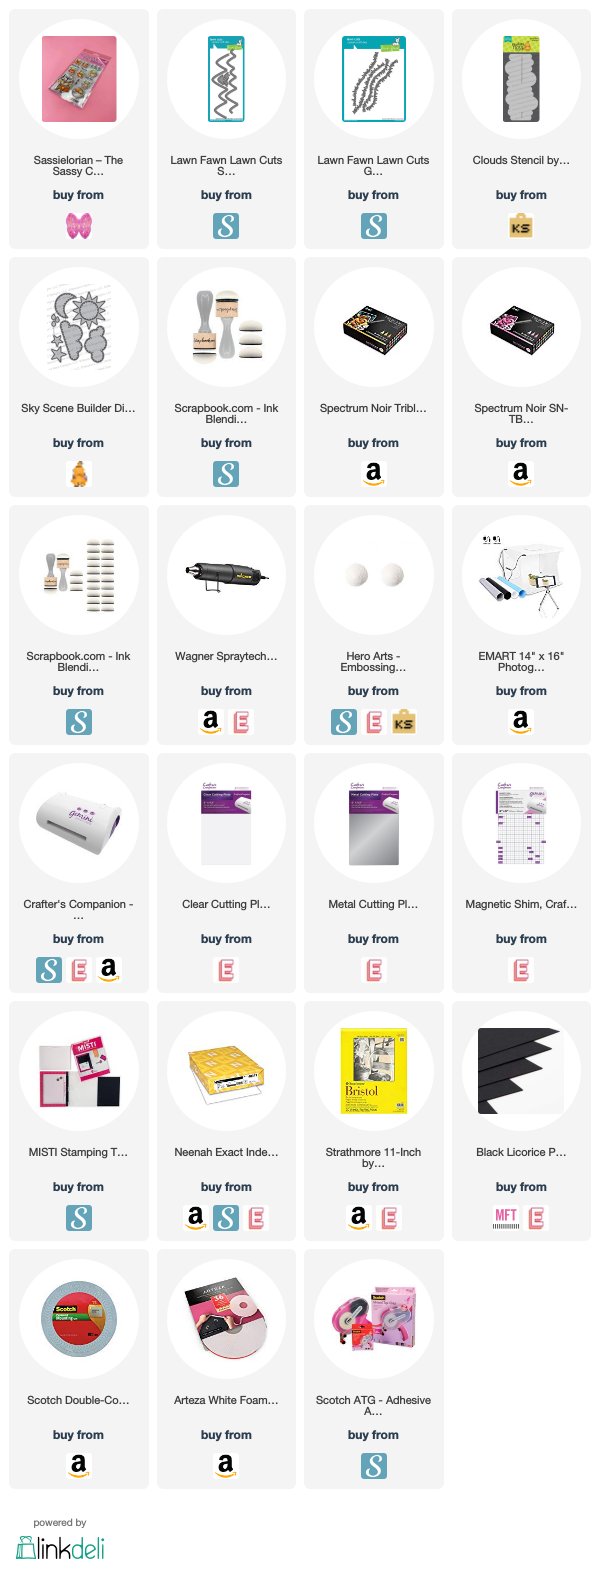
For my card today, I am showcasing the Tin Roof stencilPretty Posies stamp set, Posies Fri-Dies and the sentiment is from the Flower Angel stamp set.


To make my card, I started by stamping my images on Neenah solar white card stock and colored the images in with my Spectrum Noir alcohol markers.  I use the Posies fri-dies to die-cut the images.


I cut an A2 size piece of Bristol smooth white card stock and inked up this panel with Mustard Seed and Spiced Marmalade distress oxide ink.  I used the Tin Roof stencil and Spiced Marmalade ink to create more texture for my background.  I smooshed the ink pad onto an acrylic block and added some water, then used my watercolor brush to add droplets to this panel.  I then wiped it with my paper towel and set it aside to dry.


I die-cut the white wreath using a die from my stash and adhered this piece on my colored background.  I added the flowers with foam and liquid adhesive and put this piece back on to my paper trimmer and trimmed about an eighth of an inch.   I added this panel to an A2 size card base.


To ground the bold images and balance it out, I added a strip of black and white patterned paper.


I stamped the sentiment on a strip of black card stock and sprinkled some white embossing powder then heat-set with my heating tool.  I adhered this piece in the middle using my tape runner.  Here’s my card:


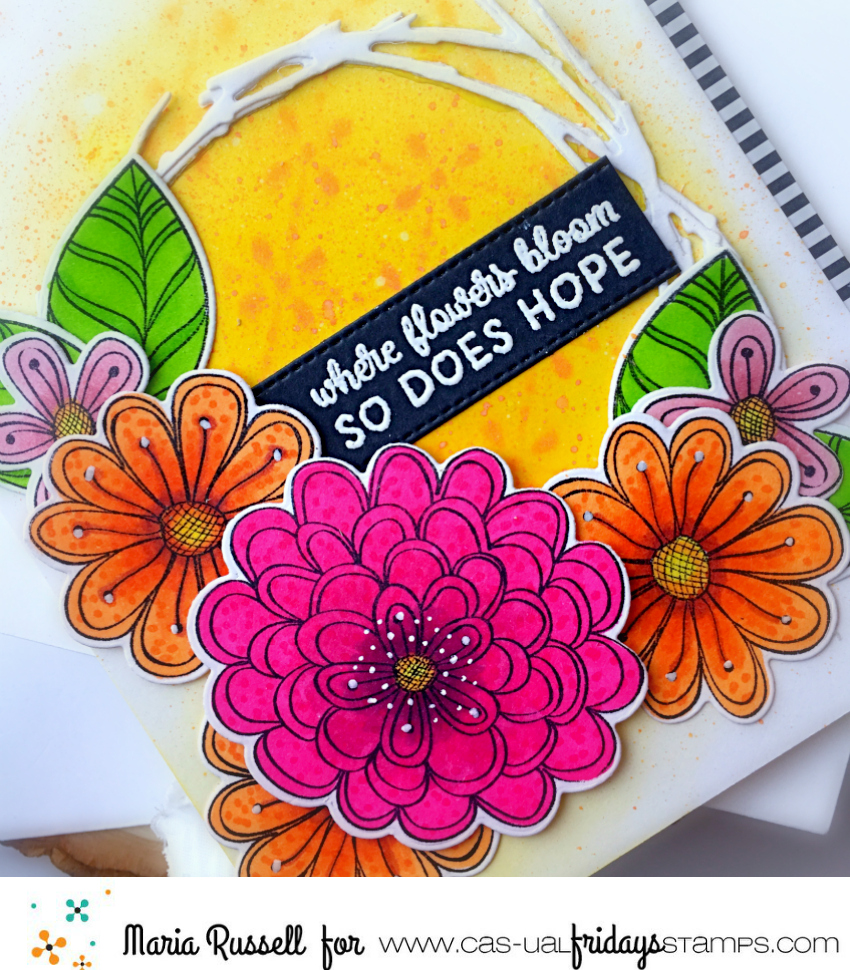
To finish my design, I used my white gel pen and drew some white dots on the images for added texture and dimension.  Here’s a closer look:


I hope you like my card today.  The supplies I used are listed and linked below.  Thanks for stopping by and have a great weekend!


———-S U P P L I E S———


Newton’s Nook February Release Day 4 – Easter Lily & Hello Spring


I always get a bit bummed because it is the last day of the reveals.  Were you able to hop along with us for the first three days?  You also have a chance to win each stamp set during release week so check out the details I have indicated at the end of this blog post.  [Just a little important note:  I know some of you had difficulties finding the comments section.  If you would like to leave a comment to participate in the giveaway, the “comments section” will only be ever visible when a single post on Word Press is being viewed. Please click on this particular blog post and you will be able to leave a comment below.  Thank you!]  


For today’s reveal, we are showcasing two mini stamp sets –> the Easter Lily with its coordinating die and the Hello Spring stamp set.


For my first card, I stamped the images twice on some Neenah solar white card stock and colored the images in with my Spectrum Noir TriBlend markers.  I die-cut the images with the coordinating dies.


To create my background panel, I die-cut the scallop from the Frames & Flags die set.   I temporarily lined up the lilies on this piece and stamped the leaves and dots from the Happy Little Thoughts stamp set.  I really LOVE mixing and matching some old and new stamp sets to create my cards.  I adhered this panel on an A2 size card base.


The lilies on the card were adhered with some liquid and foam adhesive.  This creates more depth and dimension on layered images.


I die-cut the banner from the Frames & Flags die set and the “hello” sentiment is using a die from my stash.  I adhered these pieces on my card.  I also added some crystal clear gem stones to finish my design.  Here’s a closer look:


For my second card, I cut some Bristol smooth white crd stock.  I used Dried Marigold, Picked Raspberry and Seedless preserves to ink up this panel.  I used the new Petite Flowers stencil (revealed on Monday) with some white textured paste to add more texture to the colored panel.  I love the white flowers agains the colorful background.  I set this piece aside to dry.


I stamped and colored my image using the Hello Spring stamp set.  Since this stamp set did not come with a coordinating die, I used my Honey Bee scissors to fussy cut them out.


I cut some Neenah solar white card stock and used the fourth die from the Frames Squared die set to create my window.  I adhered some acetate sheet to this piece and foam adhesive to create my shaker well.   I added some iridescent flower sequins as my shaker element and adhered the shaker panel to my colored background.  The image was then adhered with some liquid glue.


To finish my design, I added the pink bow from the new Baby Bibs die set.   Here’s a closer look:


Have you enjoyed looking at all of the projects this week?  To be honest I can’t even pick a favorite because I love them all!


Would you like to win the “Easter Lily” or the “Hello Spring” Stamp Set? We will choose ONE lucky winner for each stamp set!


Here’s how to win: Comment on the NND blog and Design Team blogs (see list below)! The winner will be chosen at random from the collective reveal posts. Make sure to check out each of their blogs and comment for your chance to win. You will not know which blog has been chosen so the more you comment on the better your chances are of winning! You have until Thursday February 20th at 9pm EST to comment  — winners will be announced on the blog post on Friday, February 21st.


Check out all the awesome Design Team Blogs below to enter:

Newton’s Nook Designs

Ellen Haxelmans

Larissa Heskett

Samantha Mann

Zsofia Molnar

Naki Rager

Maria Russell

Andrea Shell

Tina Smith

Tatiana Trafimovich

Amanda Wilcox

————SUPPLIES—————