Spread Joy Not Germs Blog Hop with Cas-ual Fridays


Hello hoppers!  I have the pleasure in being a stop on the “#Spread Joy Not Germsblog hop initiated by Catherine Pooler  and Alexandra of The Hedgehog Hollow.  You should have arrived here from Kerys Sharrock’s blog, and your next stop is Wendy Nicola Jackson’s blog.   If you ever get lost along the way, just stop by Catherine Pooler’s blog or The Hedgehog Hollow.  There are lots of prizes to be given away so please read at the end of the blog post to see how you can participate and be eligible to win!


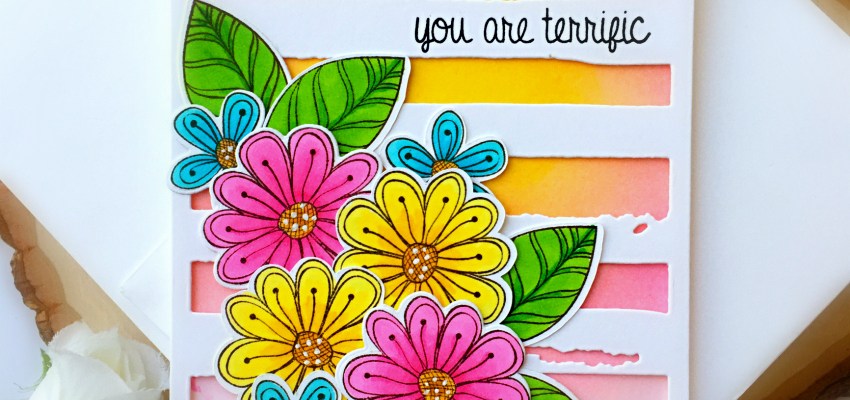
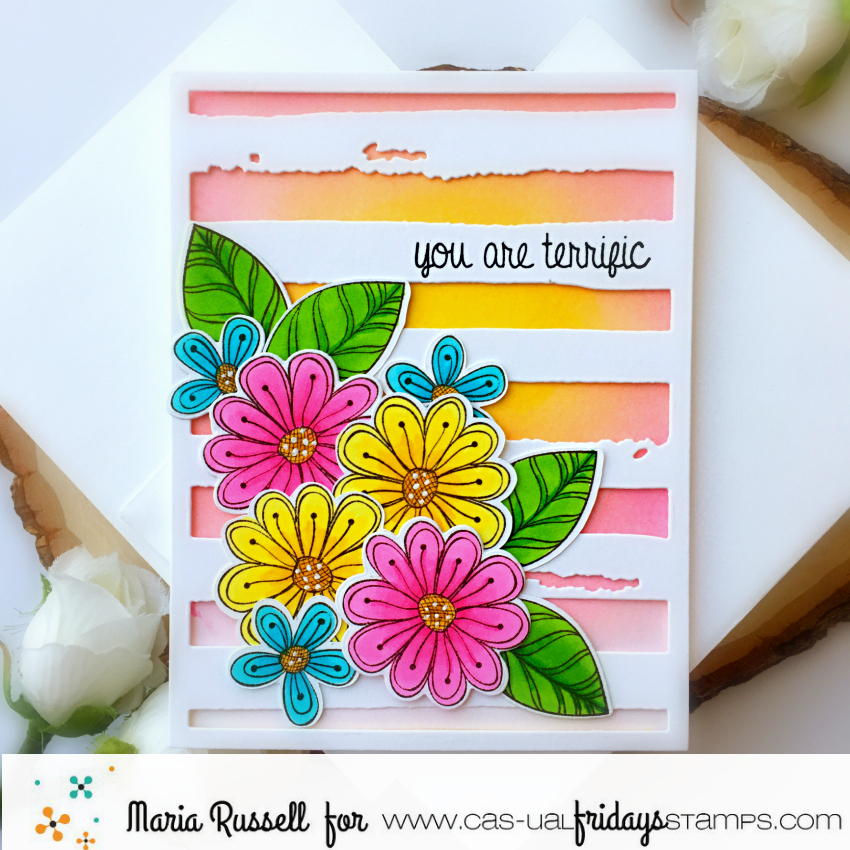
For my card today, I am showcasing the Pretty Posies stamp set and Posies fri-dies by CAS-ual Fridays stamps.


To begin, I stamped my images on some Neenah solar white card stock and colored them in with Spectrum Noir alcohol markers.  I die-cut the images using the coordinating dies.


I ink-blended an A2-size panel of Bristol smooth white card stock with some distress oxide inks.  I adhered this panel on a white side-fold card base.


I die-cut some white card stock using a watercolor striped background coverplate and foam-mounted this piece on the colored background.  I also adhered the flowers with foam and liquid adhesive.
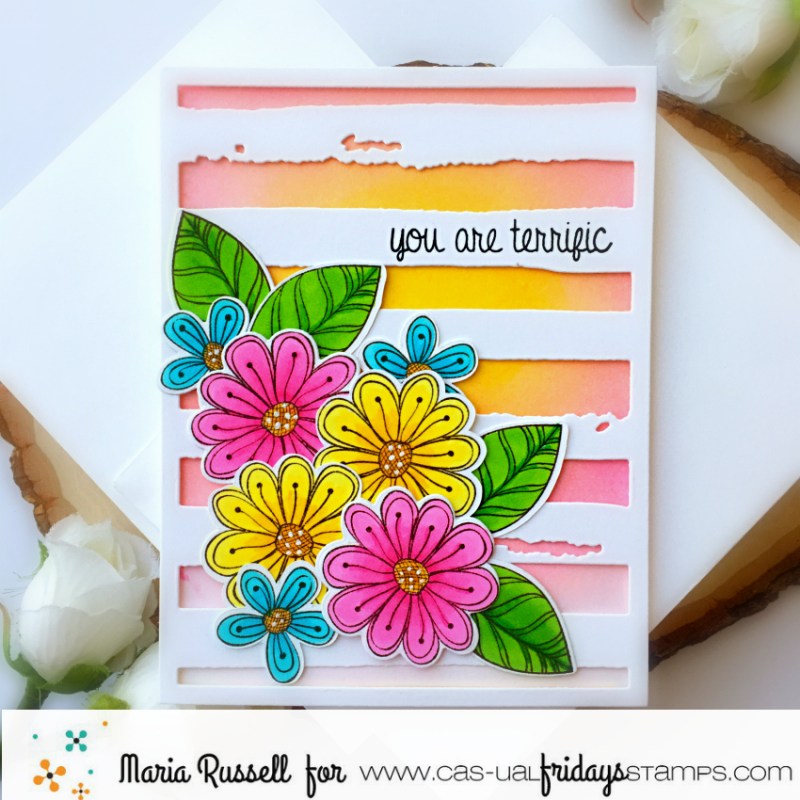


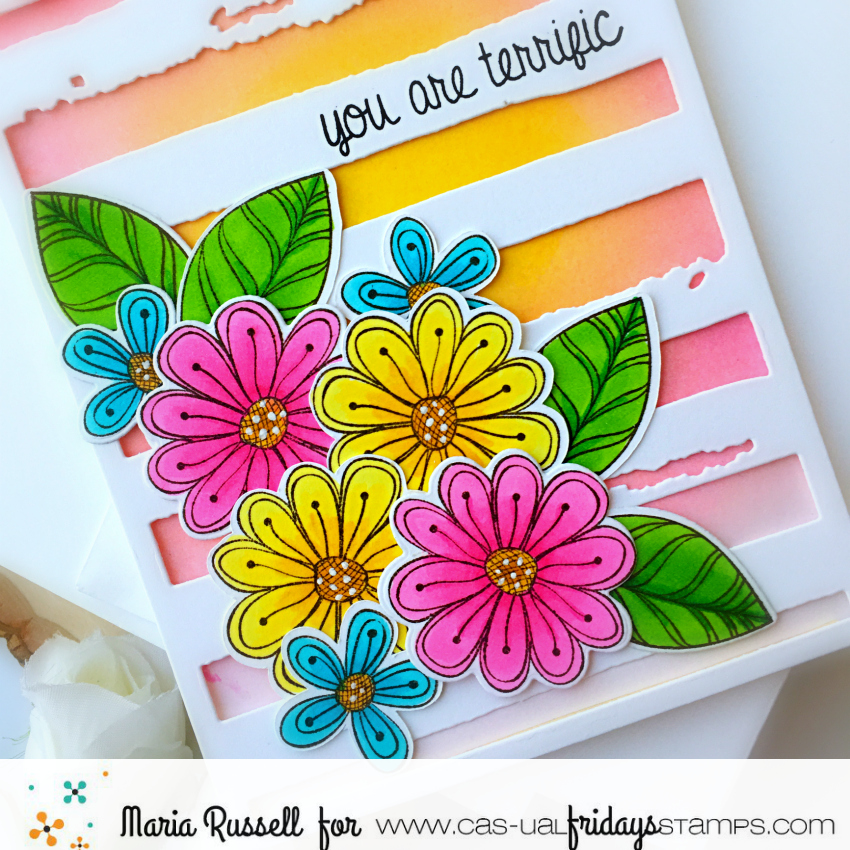
I finished my design by stamping the sentiment with Versafine Onyx black ink and added white dots in the center of the flowers using my Sakura gelli-roll pen.   Here’s a closer look at the card:
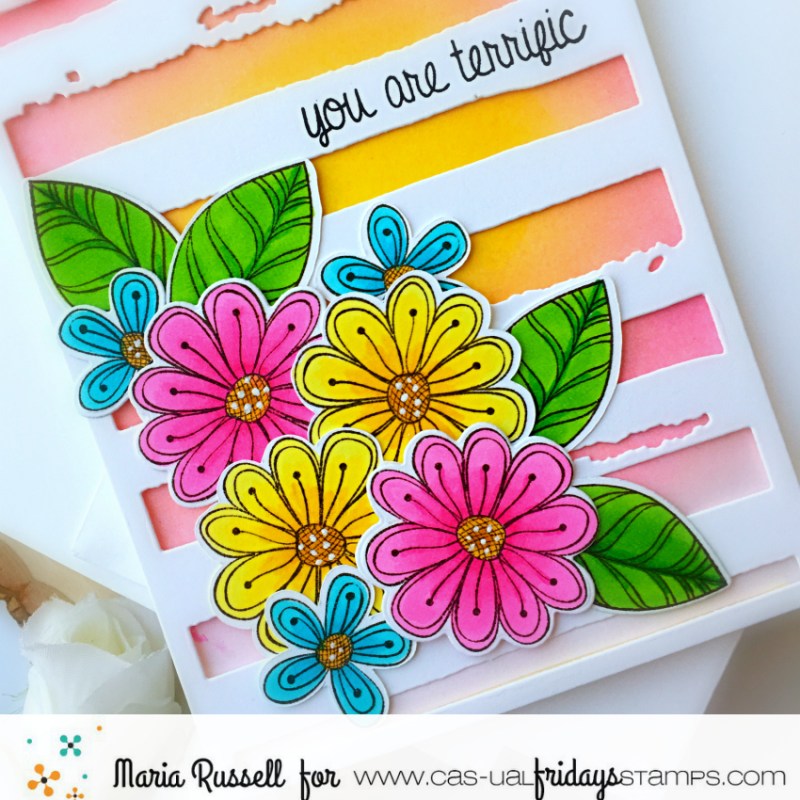


The Pretty Posies stamp set is one of my favorites from CAS-ual Fridays.  They are so easy to color.  Here’s another look:


PRIZES
We have 31 Sponsors!!  
The prizes will be randomly drawn from all the blogs and all the comments. Leave as many comments on as many blogs as you can!  Some of the companies are not only giving away prizes but also offering discounts and freebies.  This info will be found on the sponsor’s blogs so KEEP HOPPING!  
 
Deadline to enter to leave a comment is April 24 for prizes. Winners will be announced on Monday, April 27 on Catherine Pooler ‘s and Alexandra’s blogs
Sponsor and Prize List:
Catherine Pooler Designs – $20 Gift Certificate on each of the Brand Ambassadors’ blogs 
Hedgehog Hollow – one month free sub to the box with free us shipping
Artesprix – Getting Started Kit
Beacon – Product gift bag 
Brutus Monroe – $50 GC
CAS-ual Fridays – Win the new release – over $80 value
Dina Kowal – Two $10 gift codes to Dina Kowal Creative
Dress My Craft – $35 gift certificate
Ellen Hutson – $35 Gift Certificate
Greeting Farm -$25 Gift Certificate
Heffy Doodle – £35 voucher for the store
iCrafter – $20 Gift Certificate 
Ink on 3 – $35 Gift Certificate
Joy Claire – $25 Gift Certificate
Miss Ink Stamps -$25 Gift Certificate
Pear Blossom Press -$25 gift certificate
Paper Sweeties – $50 Gift Certificate
Polka Dot Orchard- $20 Gift Certificate
Pink and Main – $25 Gift Certificate
Rabbit Hole Designs – $10.00 gift code on each DT members blogs
Sassy and Crafty Stamps – $35 Gift Certificate
STAMPlorations – $25 gift code on the STAMPlorations blog + $10 gift code on each designer blogs.
Taylored Expressions – $50 Gift Certificate
Trinity Stamps– $25 Gift Certificate
The Ton – $20 Gift Certificate (stamps, dies, ink or sequins)
Unity – two $25 Gift Certificates 
Whimsy Stamps – $15 GC on each of their Creative Team team blogs
WOW! Embossing Powder – two gift vouchers £30 UK or Europe & $30 for US winner
Xyron – Mega Runner, Refill & 1.5 inch sticker maker, refill
You’re Next Stamp – $25 Gift Certificate
Send Uplifting Smiles Blog Hop with Newton’s Nook Designs

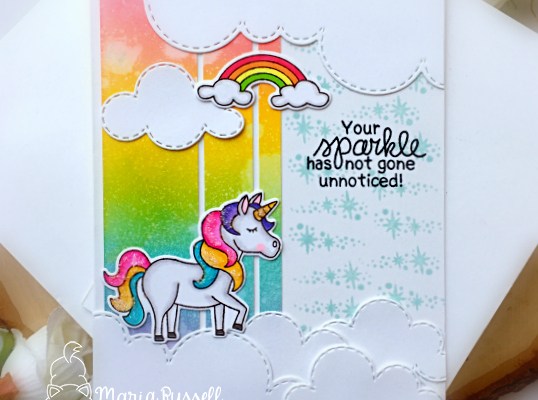
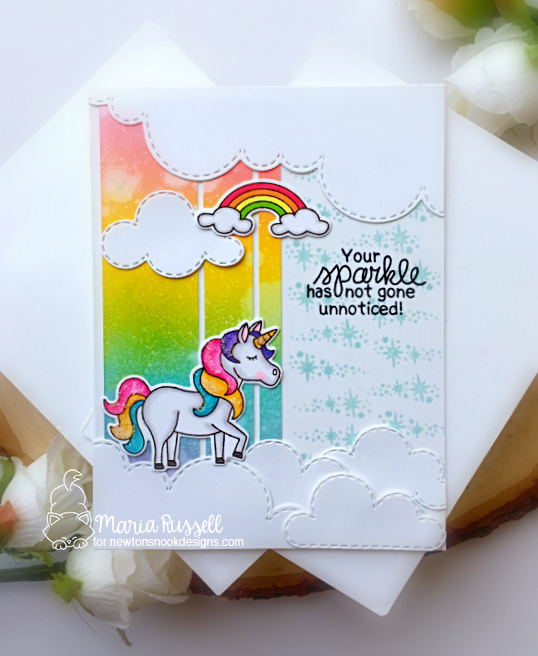
Let’s spread smiles with a Send Uplifting Smiles Blog Hop!  The goal of this hop is to inspire everyone and help brighten your mood while many of us are staying home or practicing social distancing due to the coronavirus. During this uncertain time, we want to encourage everyone to create cards to send to those they care about and spread smiles!  For my porject today, I am showcasing the Believe in Unicorns stamp set and Believe in Unicorns die set, with the Sky Borders die set and Sky Scene builder dies.
 

To begin, I stamped my images on some Neenah solar white card stock and colored them in with my Spectrum Noir classique markers.  I die-cut the images using the coordinating dies.  
 

I die-cut the clouds using the Sky Border and Sky Scene builder dies.  


I ink-blended an A2 size panel of Bristol smooth white card stock with some distress oxide inks and cut them into strips.  I adhered them on an A2 size card base with liquid glue.   I stamped the stars with dots using some light blue dye ink and foam-mounted the clouds.  I also added some of the smaller clouds with liquid glue.


I adhered my focal image on the card and added stickles to the unicorn’s mane and tail


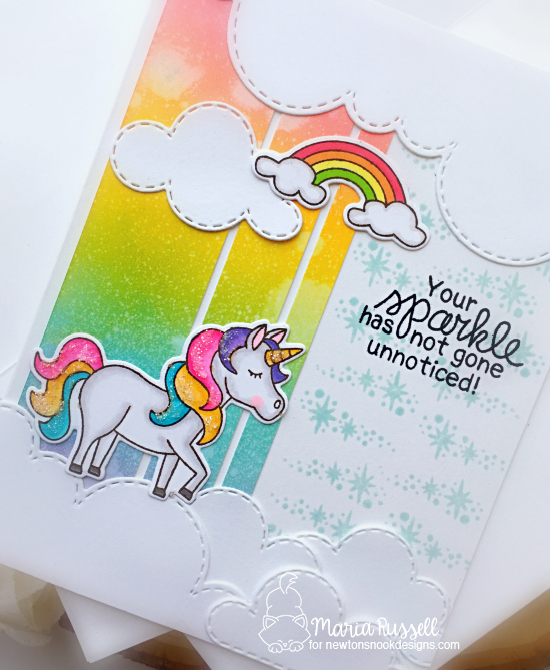
Lastly, I stamped the sentiment with some Versafine Onyx black ink.  This card is going to my friend who loves unicorns.   Here’s a closer look:


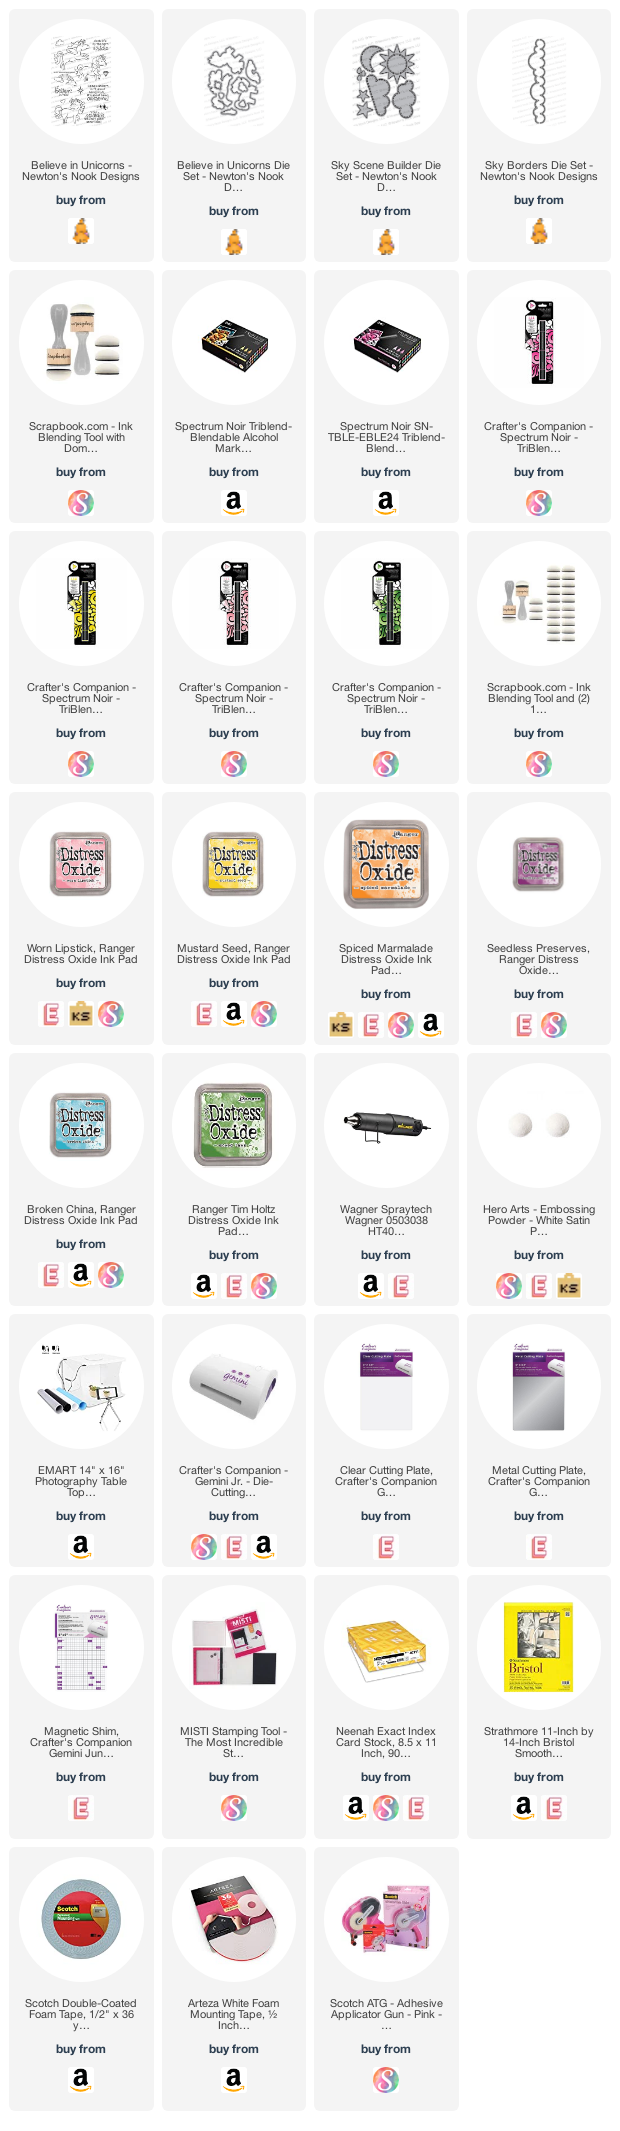
Did you get inspired?  What will you create?  Newton’s Nook Designs is having a sale this weekend too so you can stock up on your favorites to make some cards today!  Check out their shop at www.newtonsnookdesigns.com for details!  I also listed and linked the supplies below.
 

Send Uplifting Smiles Hop Giveaway!


Would you like to win a $25 store credit to Newton’s Nook Designs online shop?  We are giving them out to TWO lucky winners!

Here’s how to win:


Comment on the NND blog and Design Team blogs (see list below)!  The winner will be chosen at random from the collective reveal posts.  Make sure to check out each of their blogs and comment for your chance to win. You will not know which blog has been chosen so the more you comment on the better your chances are of winning!  You have until Monday, April 20th at 9pm EST to commentwinners will be announced on the blog post on Tuesday, April 21st.


Check out all the awesome Design Team Blogs below to enter:


Coloring with Spectrum Noir Illustrator Markers

Hello my crafty peeps!  I hope everyone’s doing well.  I am back today to inspire you to do some coloring using your Spectrum Noir Artist Illustrator Markers.   Coloring images for me is very therapeutic and having the right markers and card stock makes it more fun! 


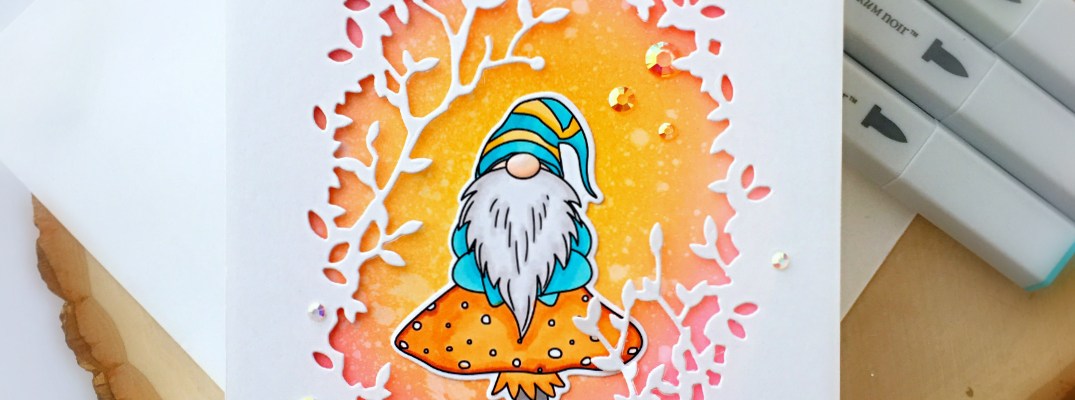
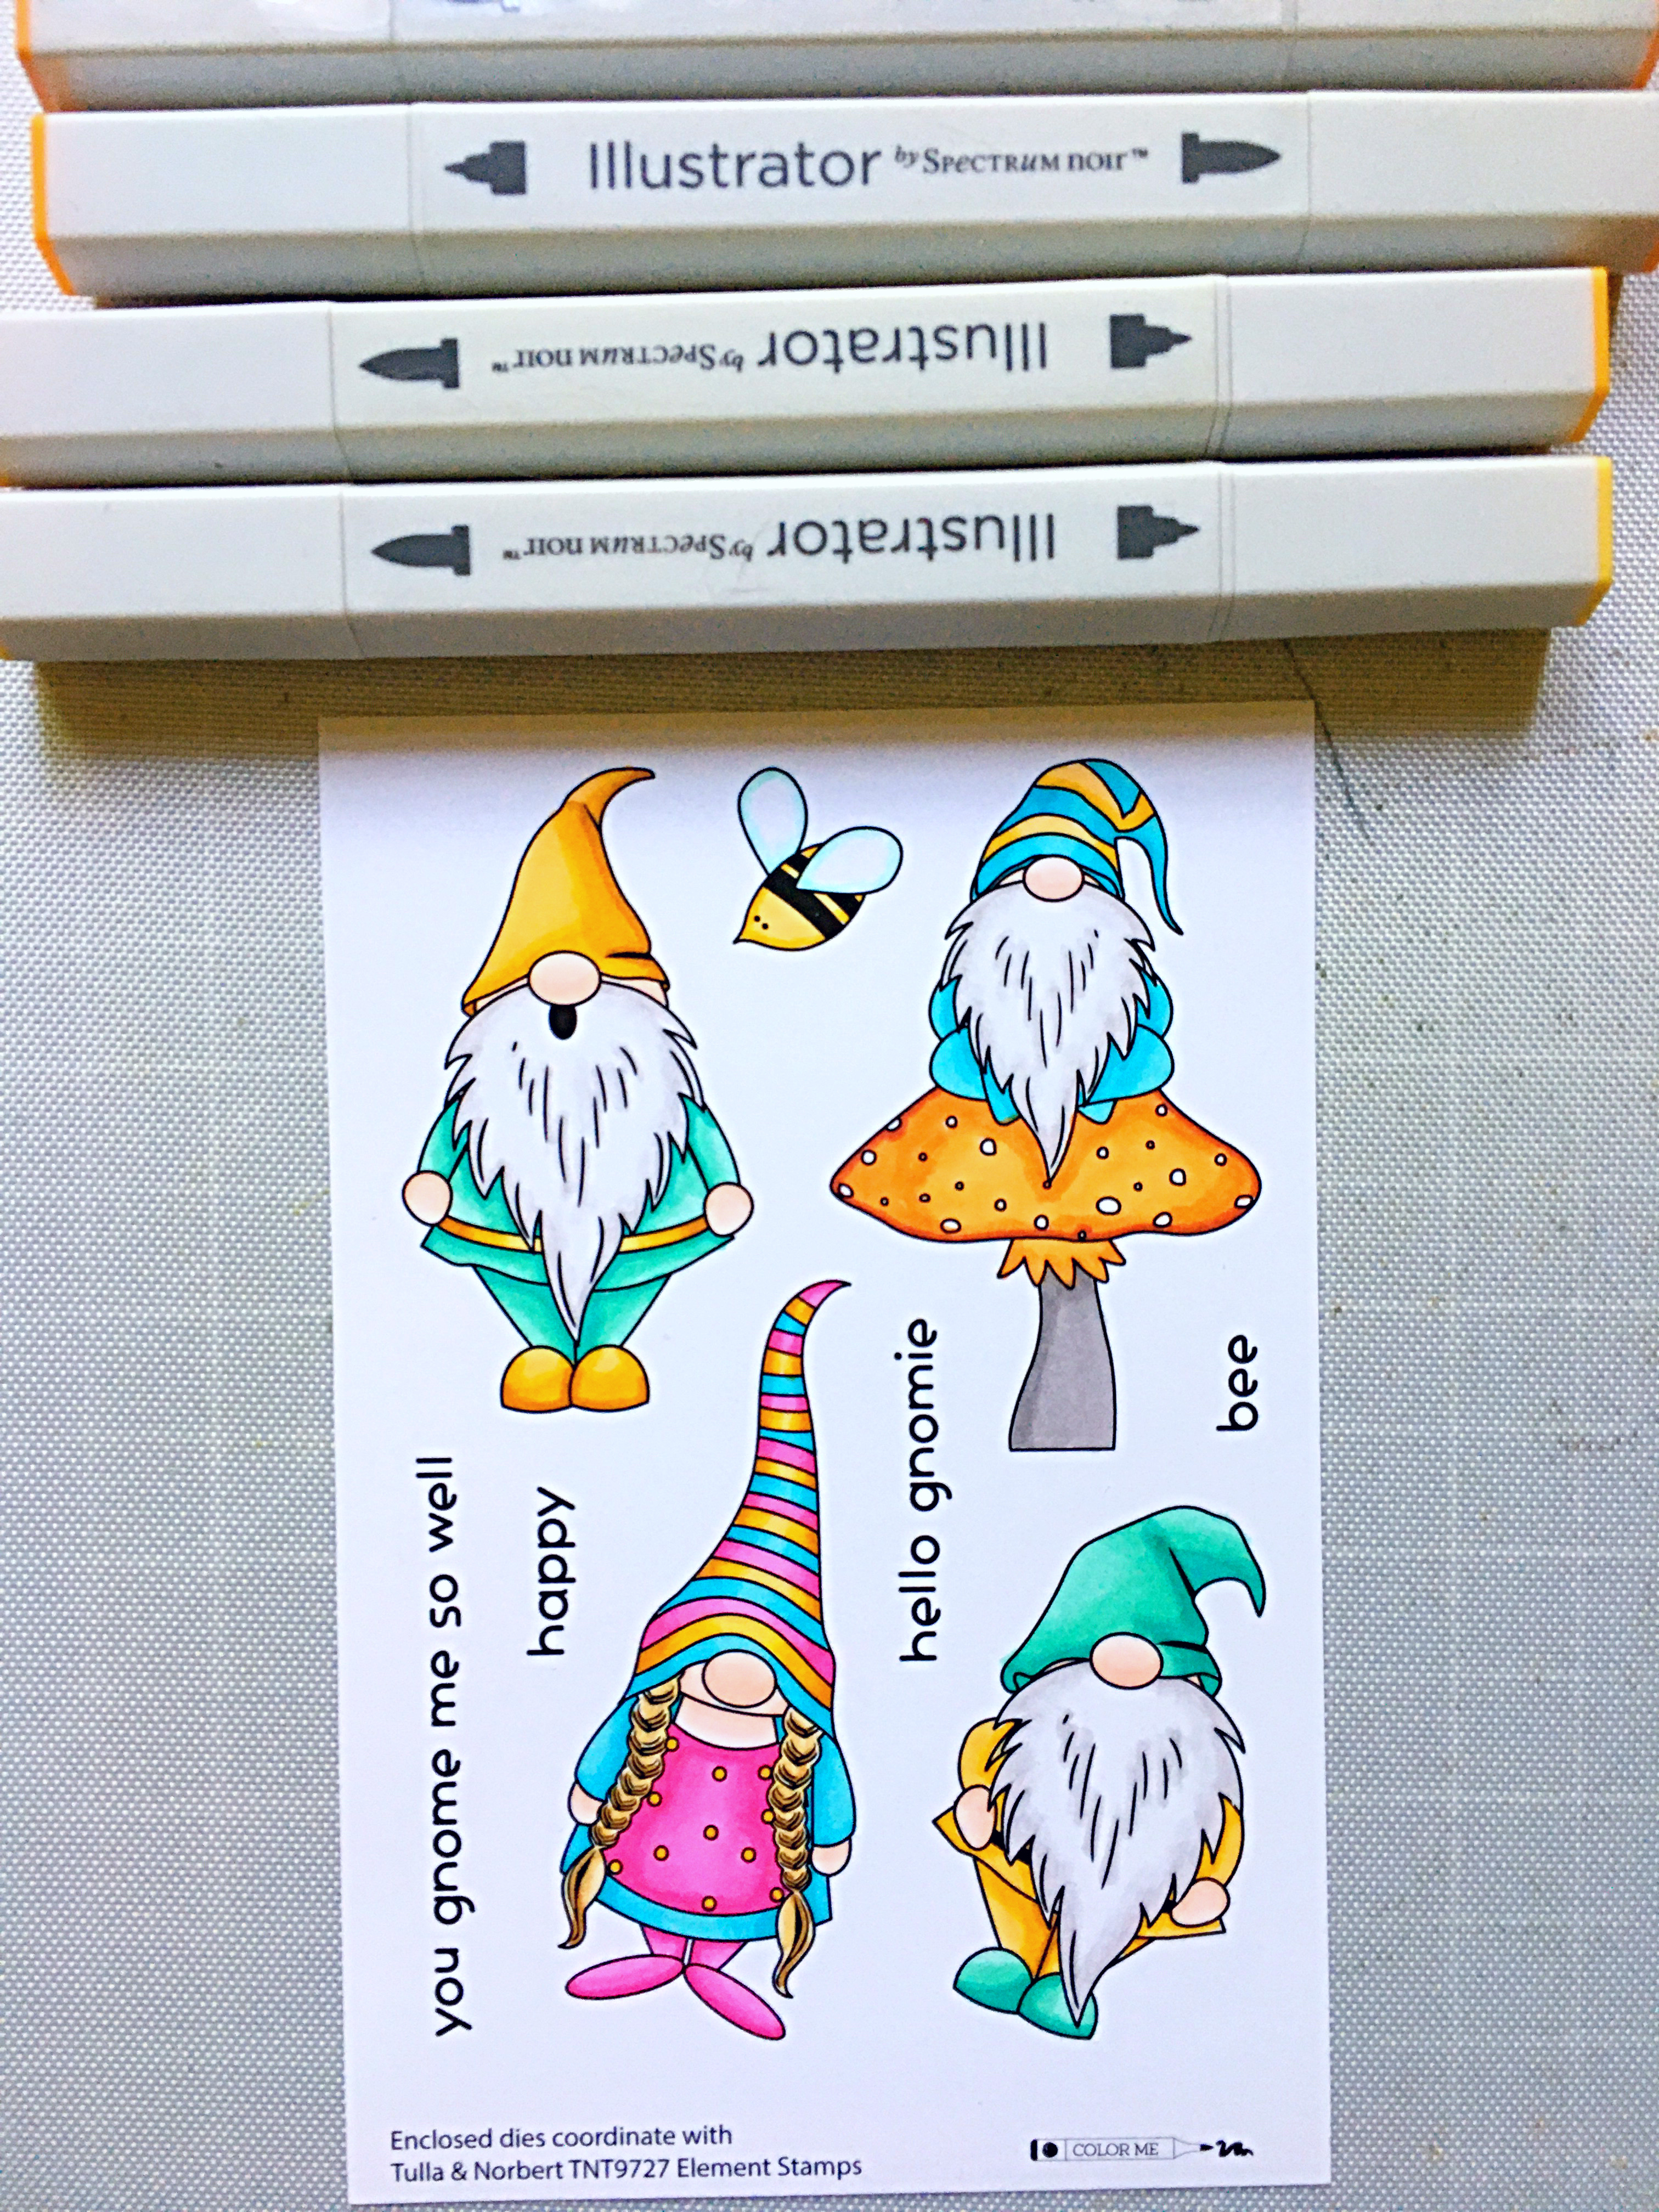
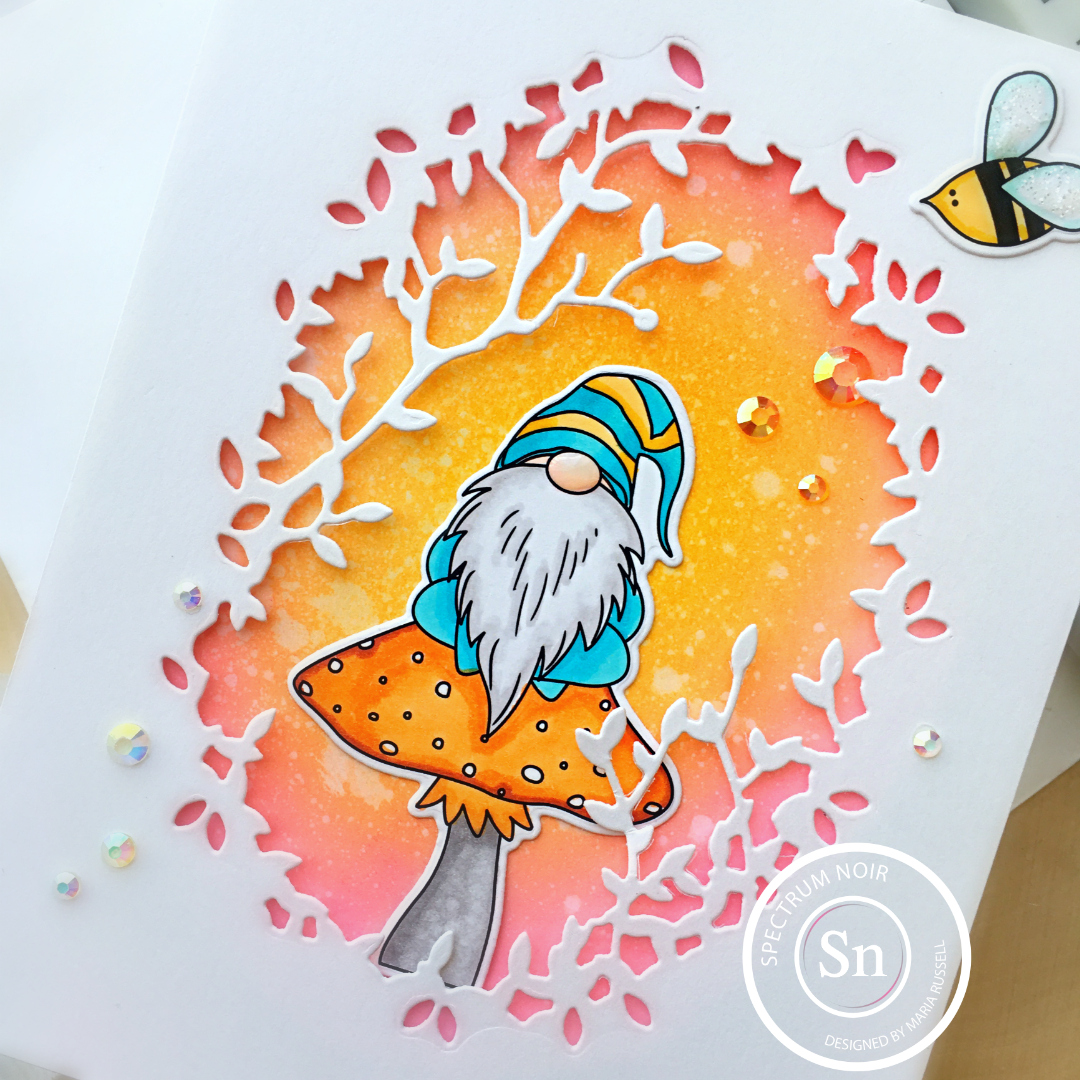
For my project today, I am showcasing the SN Artist Markers and SN Harmony Water Reactive Inks.  The stamp and die set that I am featuring today is called Tulla and Norbert Stamp and die set collection by Photo Play Paper.


Begin by stamping images on Spectrum Noir Premium Ultra Smooth card stock using SN Alcohol Proof Dye Ink in Black.  Color images using Spectrum Noir Illustrator markers and die-cut using the coordinating dies.   


Here are the colors I used for the Gnome sitting on top of the mushroom:

BeardBG1, BG2 and Blender

Hat and ClothesBT3, BT4, BT5 and GB1, GB3 and GB5

MushroomOR1, OR2, OR3 and BG5, BG6, BG7 and Blender

BeeCT2, CT3, GY3 and WingsIB1 and Blender


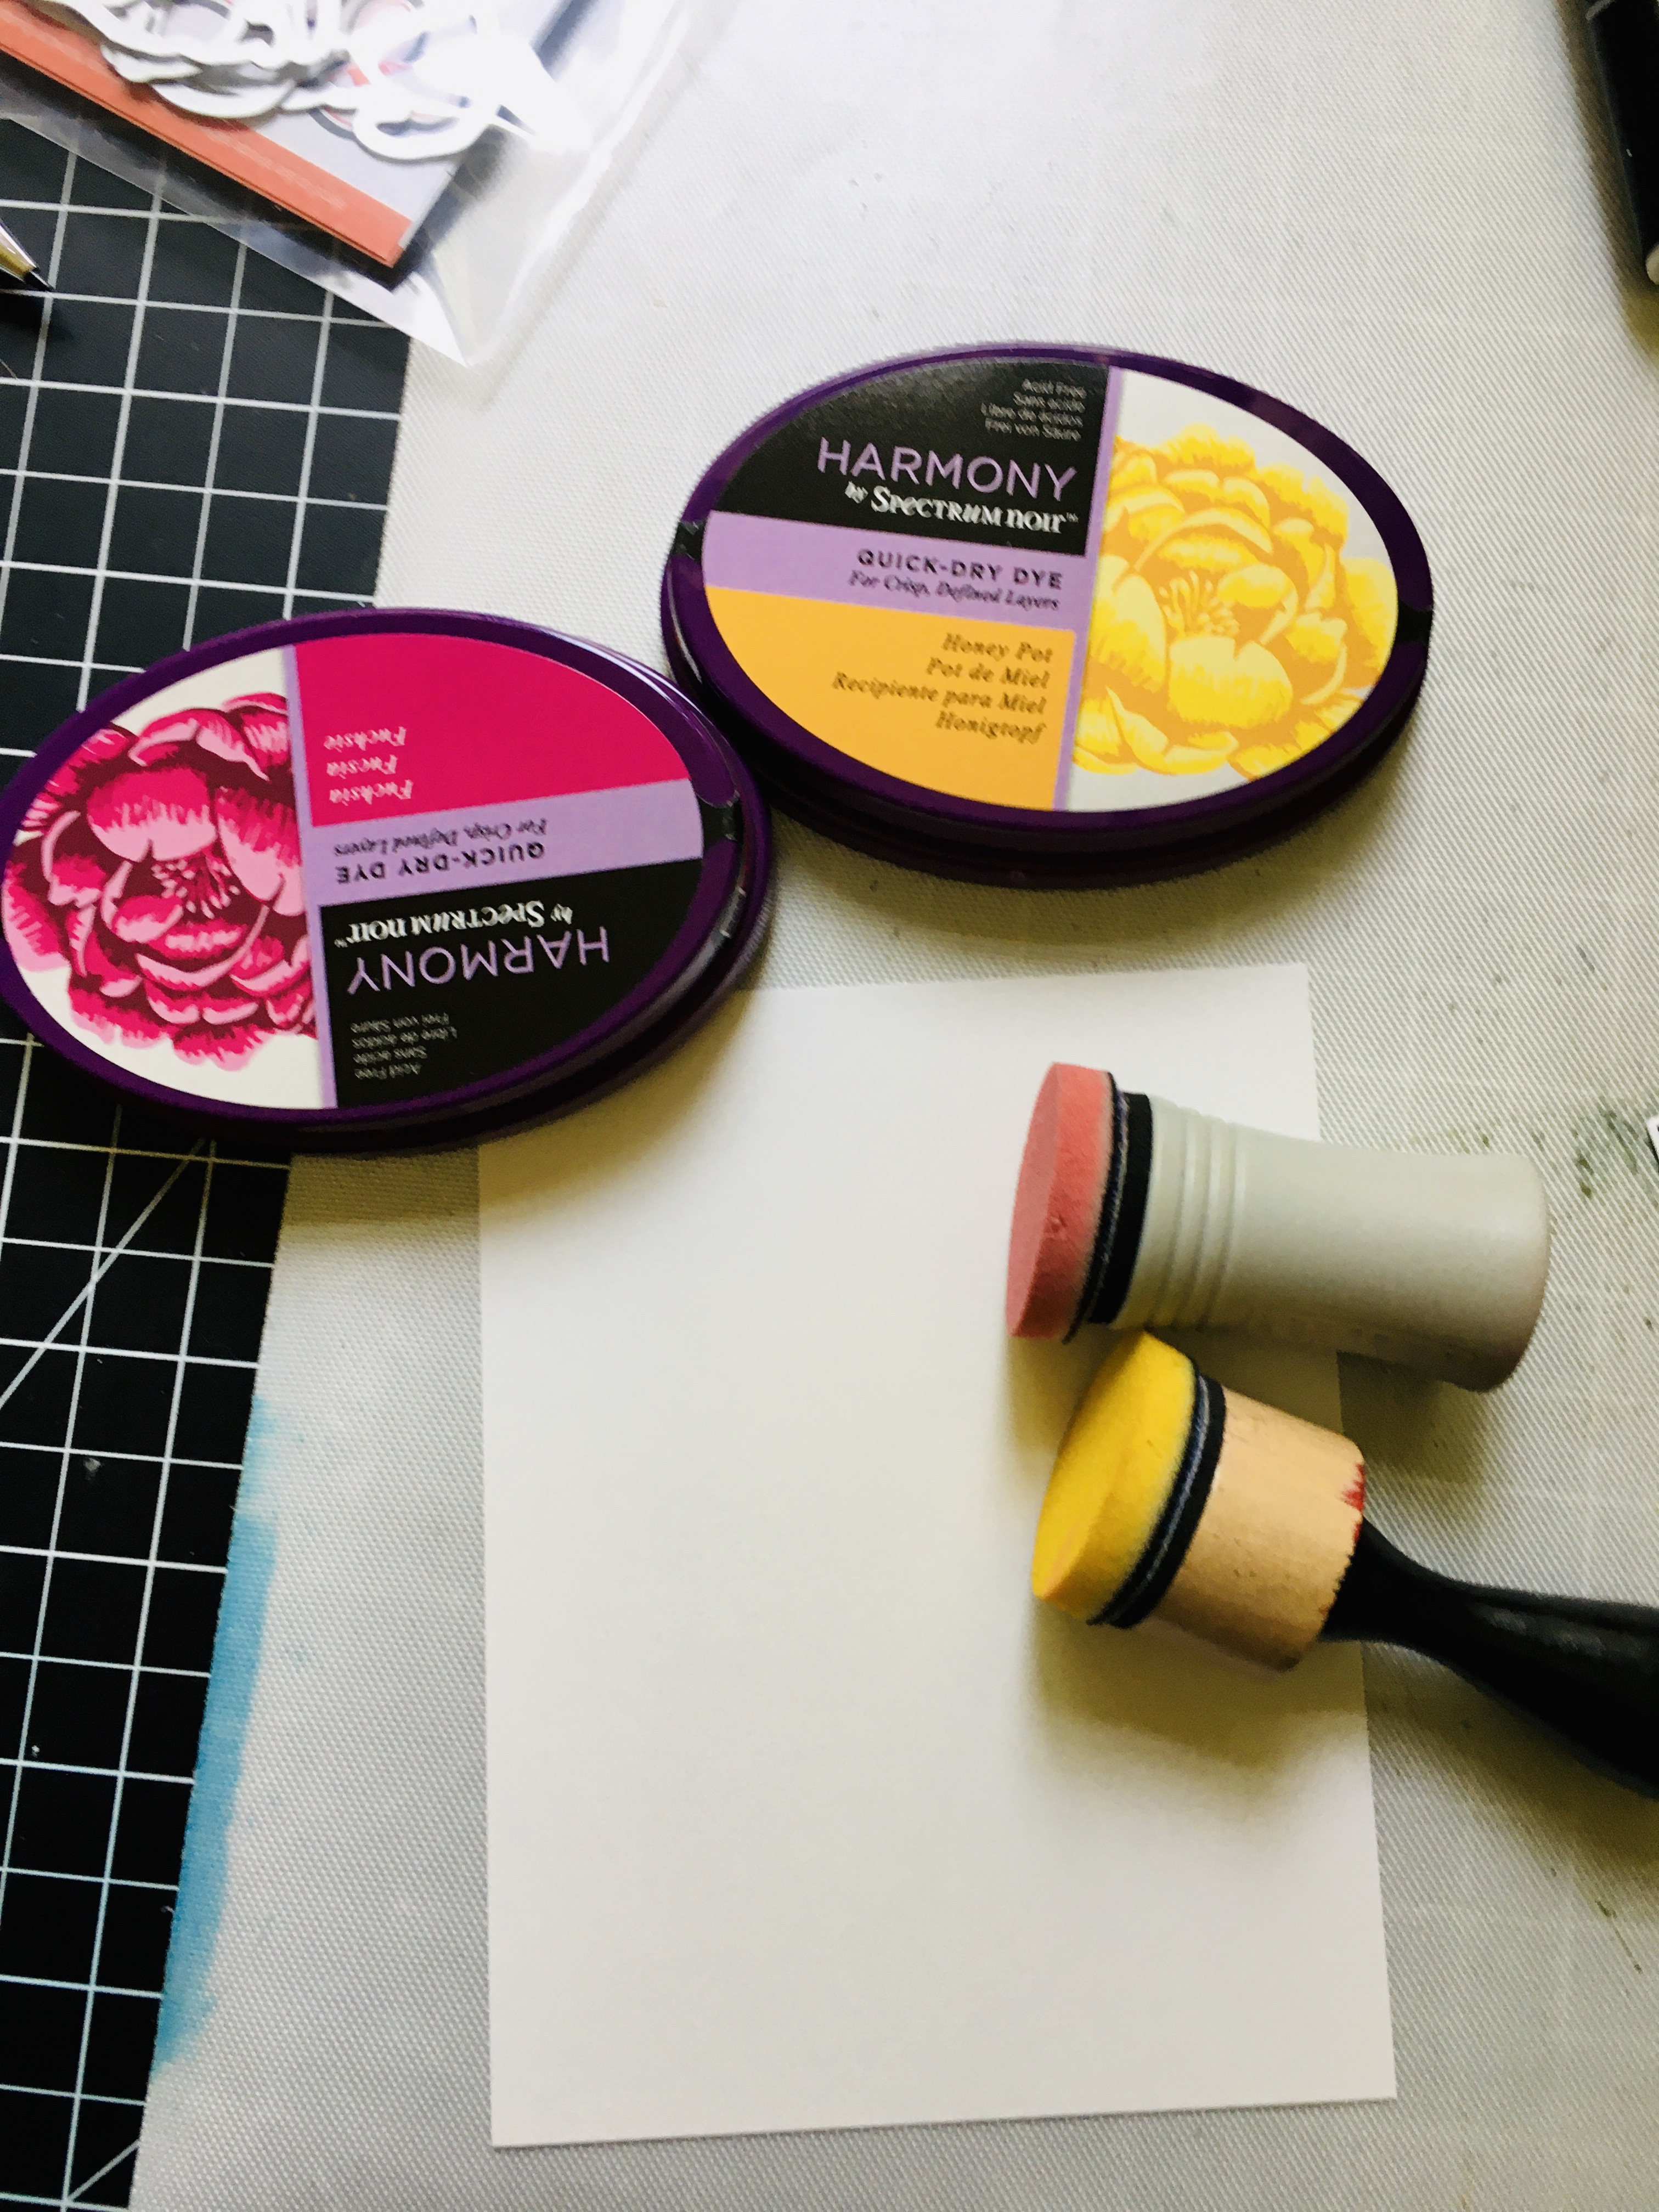
Die-cut an A2 size piece of Bristol Smooth white card stock and ink-blend this panel using SN Water Reactive inks in Fuchsia and Honey Pot.


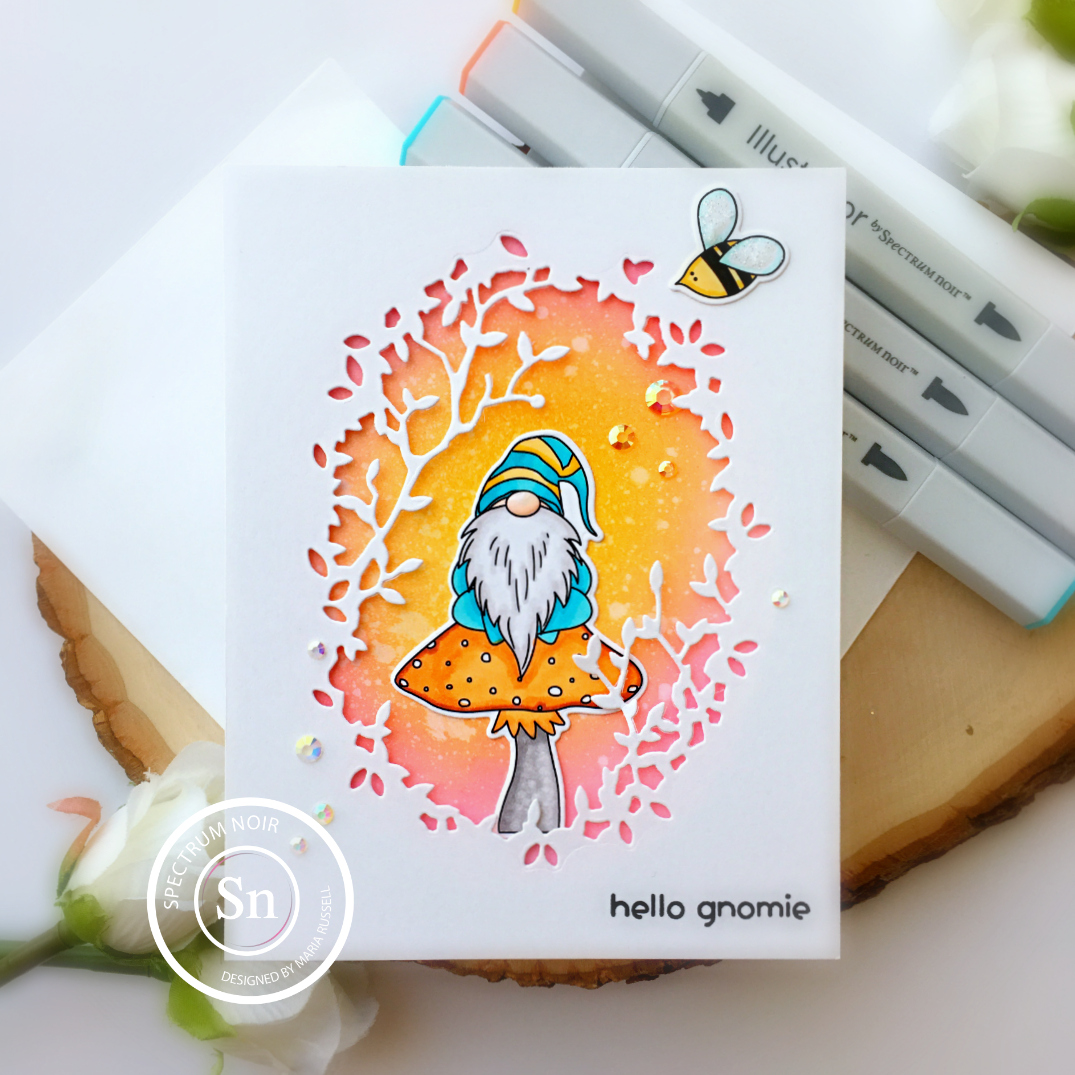
Die-cut the rest of the elements needed to create the card.   Adhere the die-cut panel on the ink-blended background with foam adhesive.  Adhere the main focal image in the middle with liquid glue.


Stamp the sentiment using Spectrum Noir Finesse ink in Black. 


Finish the design by adding some crystal jewels.  Add “stickles” to the bee’s wings and glossy accents to the Gnome’s nose.


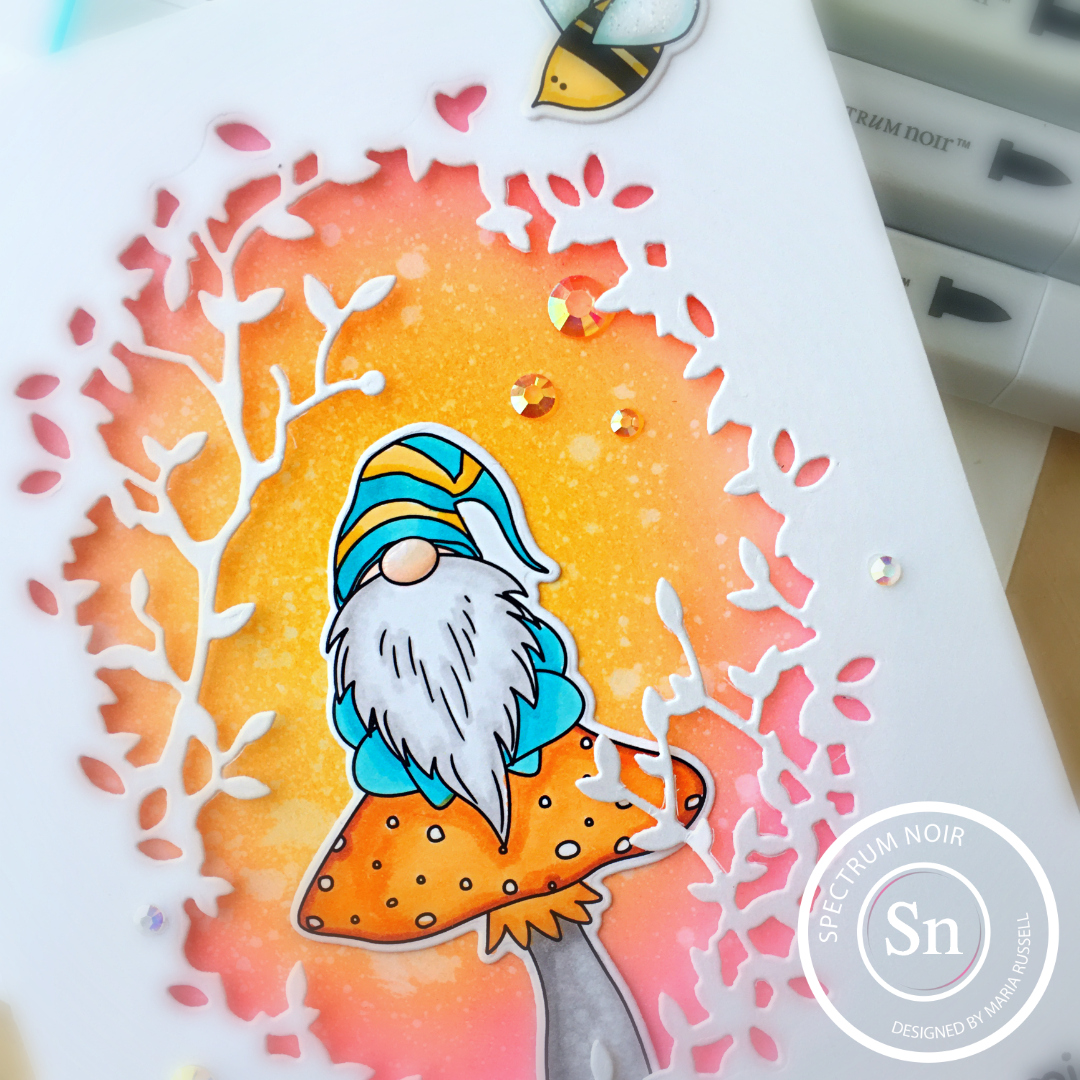
I really LOVE how this card turned out.  Here’s another look:


I hope you got inspired today.  The supplies I used are listed and linked below.  Thanks for stopping by and happy coloring!


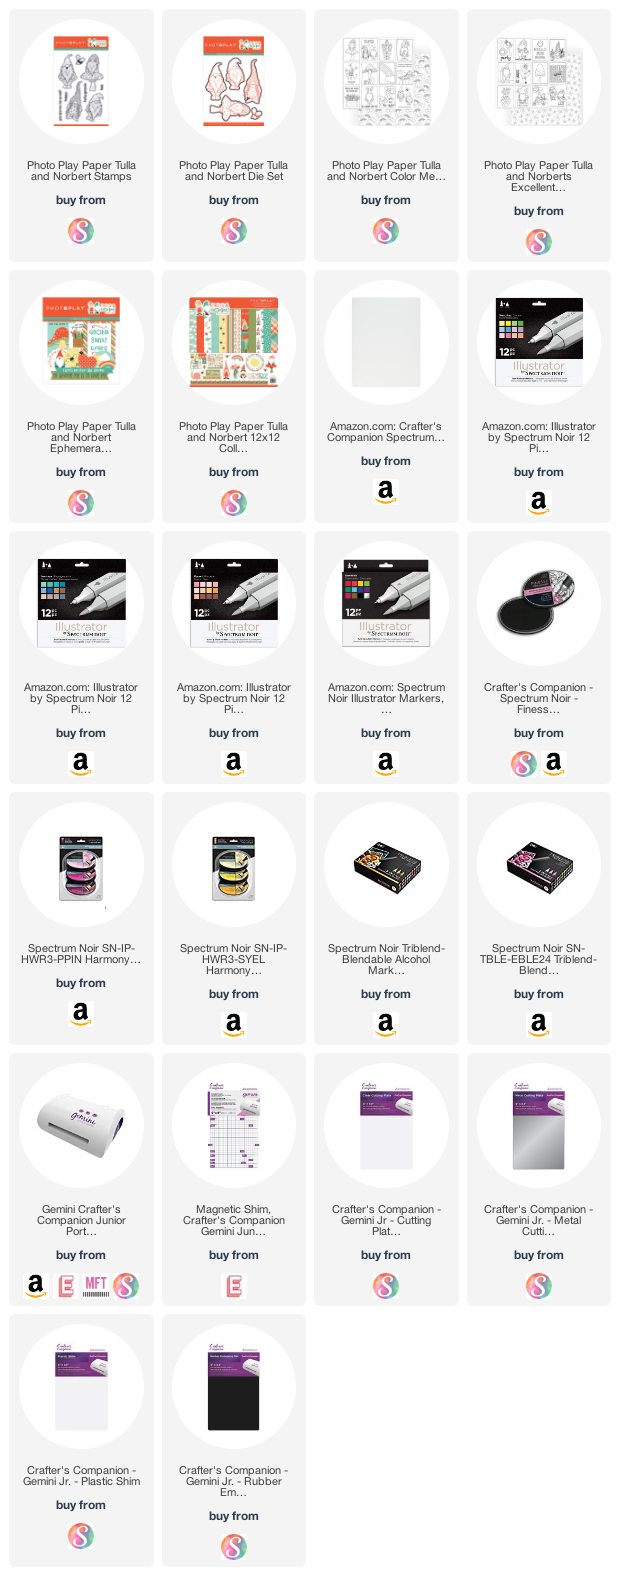
———–SUPPLIES————

Wishing You A Magical Birthday with Cas-ual Fridays

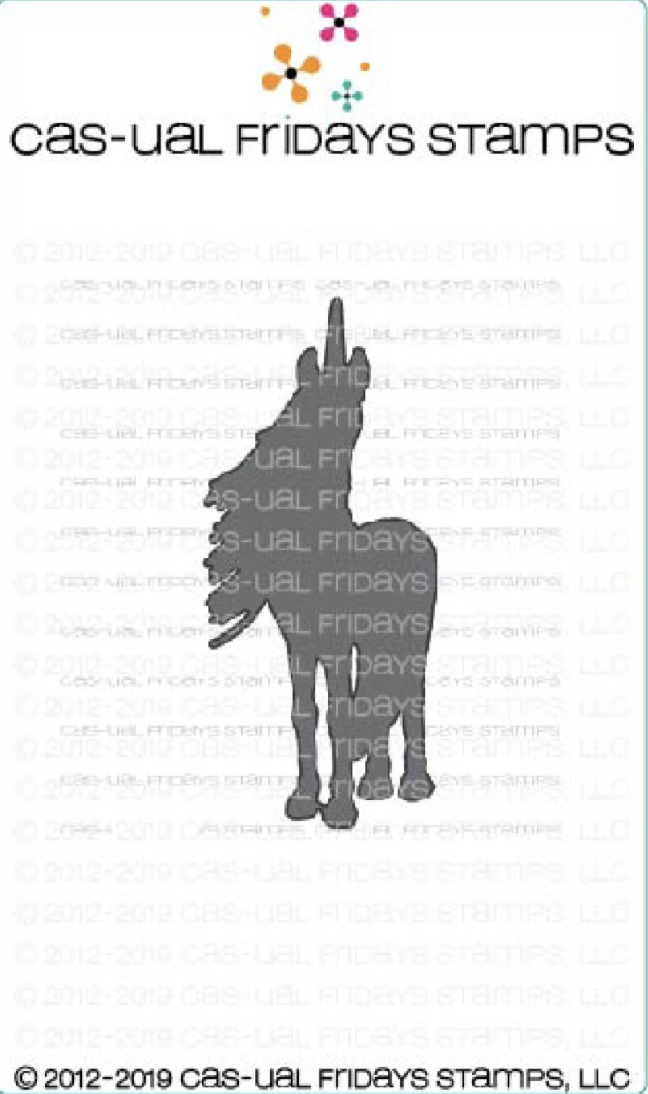
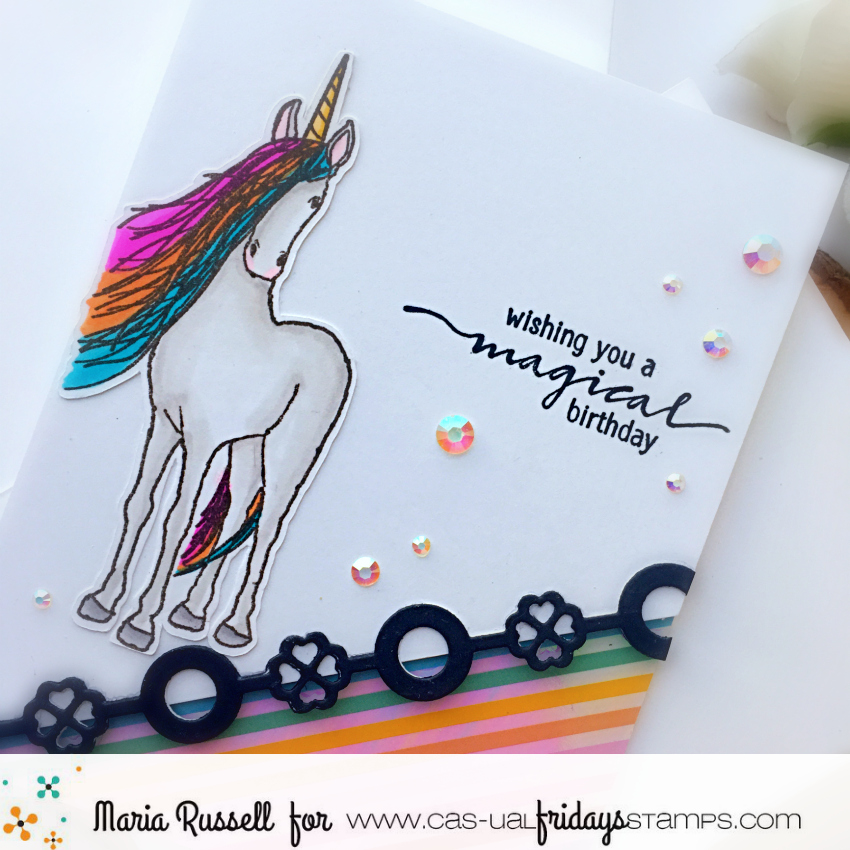
I hope everyone’s doing well!  I’m sharing a simple birthday card today showcasing the Be a Unicorn stamp set with the Unicorn Fri-Die.


I stamped the image with Spectrum Noir Alcohol Proof Ink in Brown.  I colored the image in with my Spectrum Noir TriBlend markers and used the Unicorn Fri-Die to die-cut the image.


I cut an A2 size Neenah solar white card stock on an angle and foam-mounted this piece on an A2 size card base.  I added the rainbow patterned paper.


The black decorative border was die-cut using a retired border die from Cas-ual Fridays but you can use any other border die to add to your card.


I finished my design by stamping the sentiment with Versafine Onyx black in and added some crystal jewels.  Here’s a closer look:


I hope you like my card today.  Please visit the Cas-ual Friday online store and check out the clearance section now reduced to 75% off, as well as check out the new release.  You can also use my coupon code below for an additional 15% off your order.


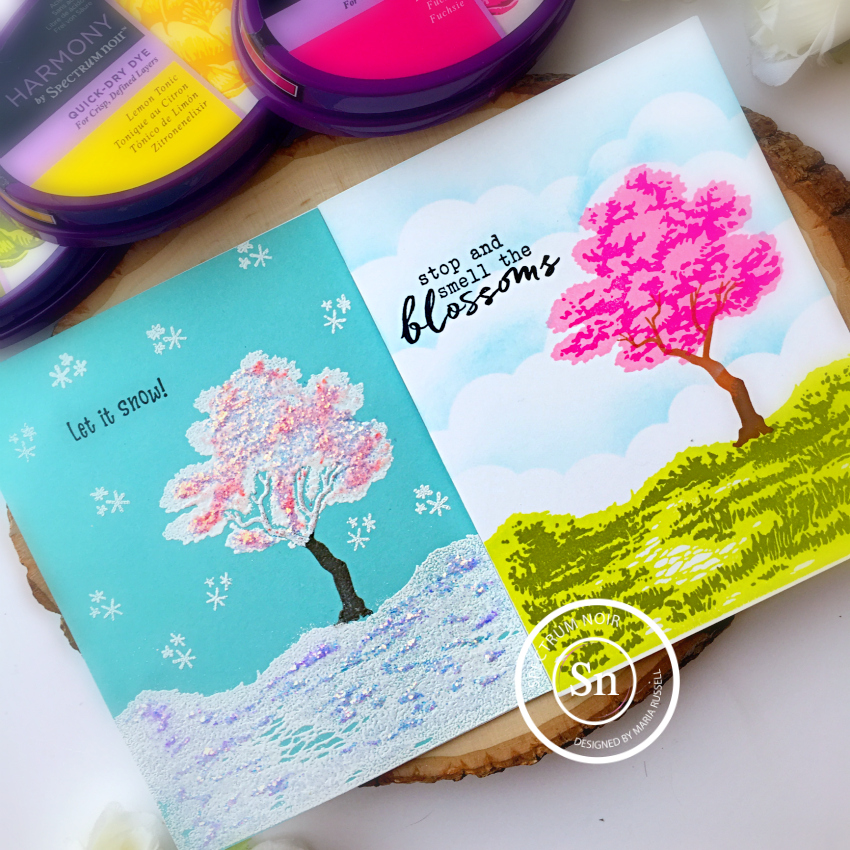
4 Seasons Card – Stamp Layering with Spectrum Noir Harmony Quick Dry Inks

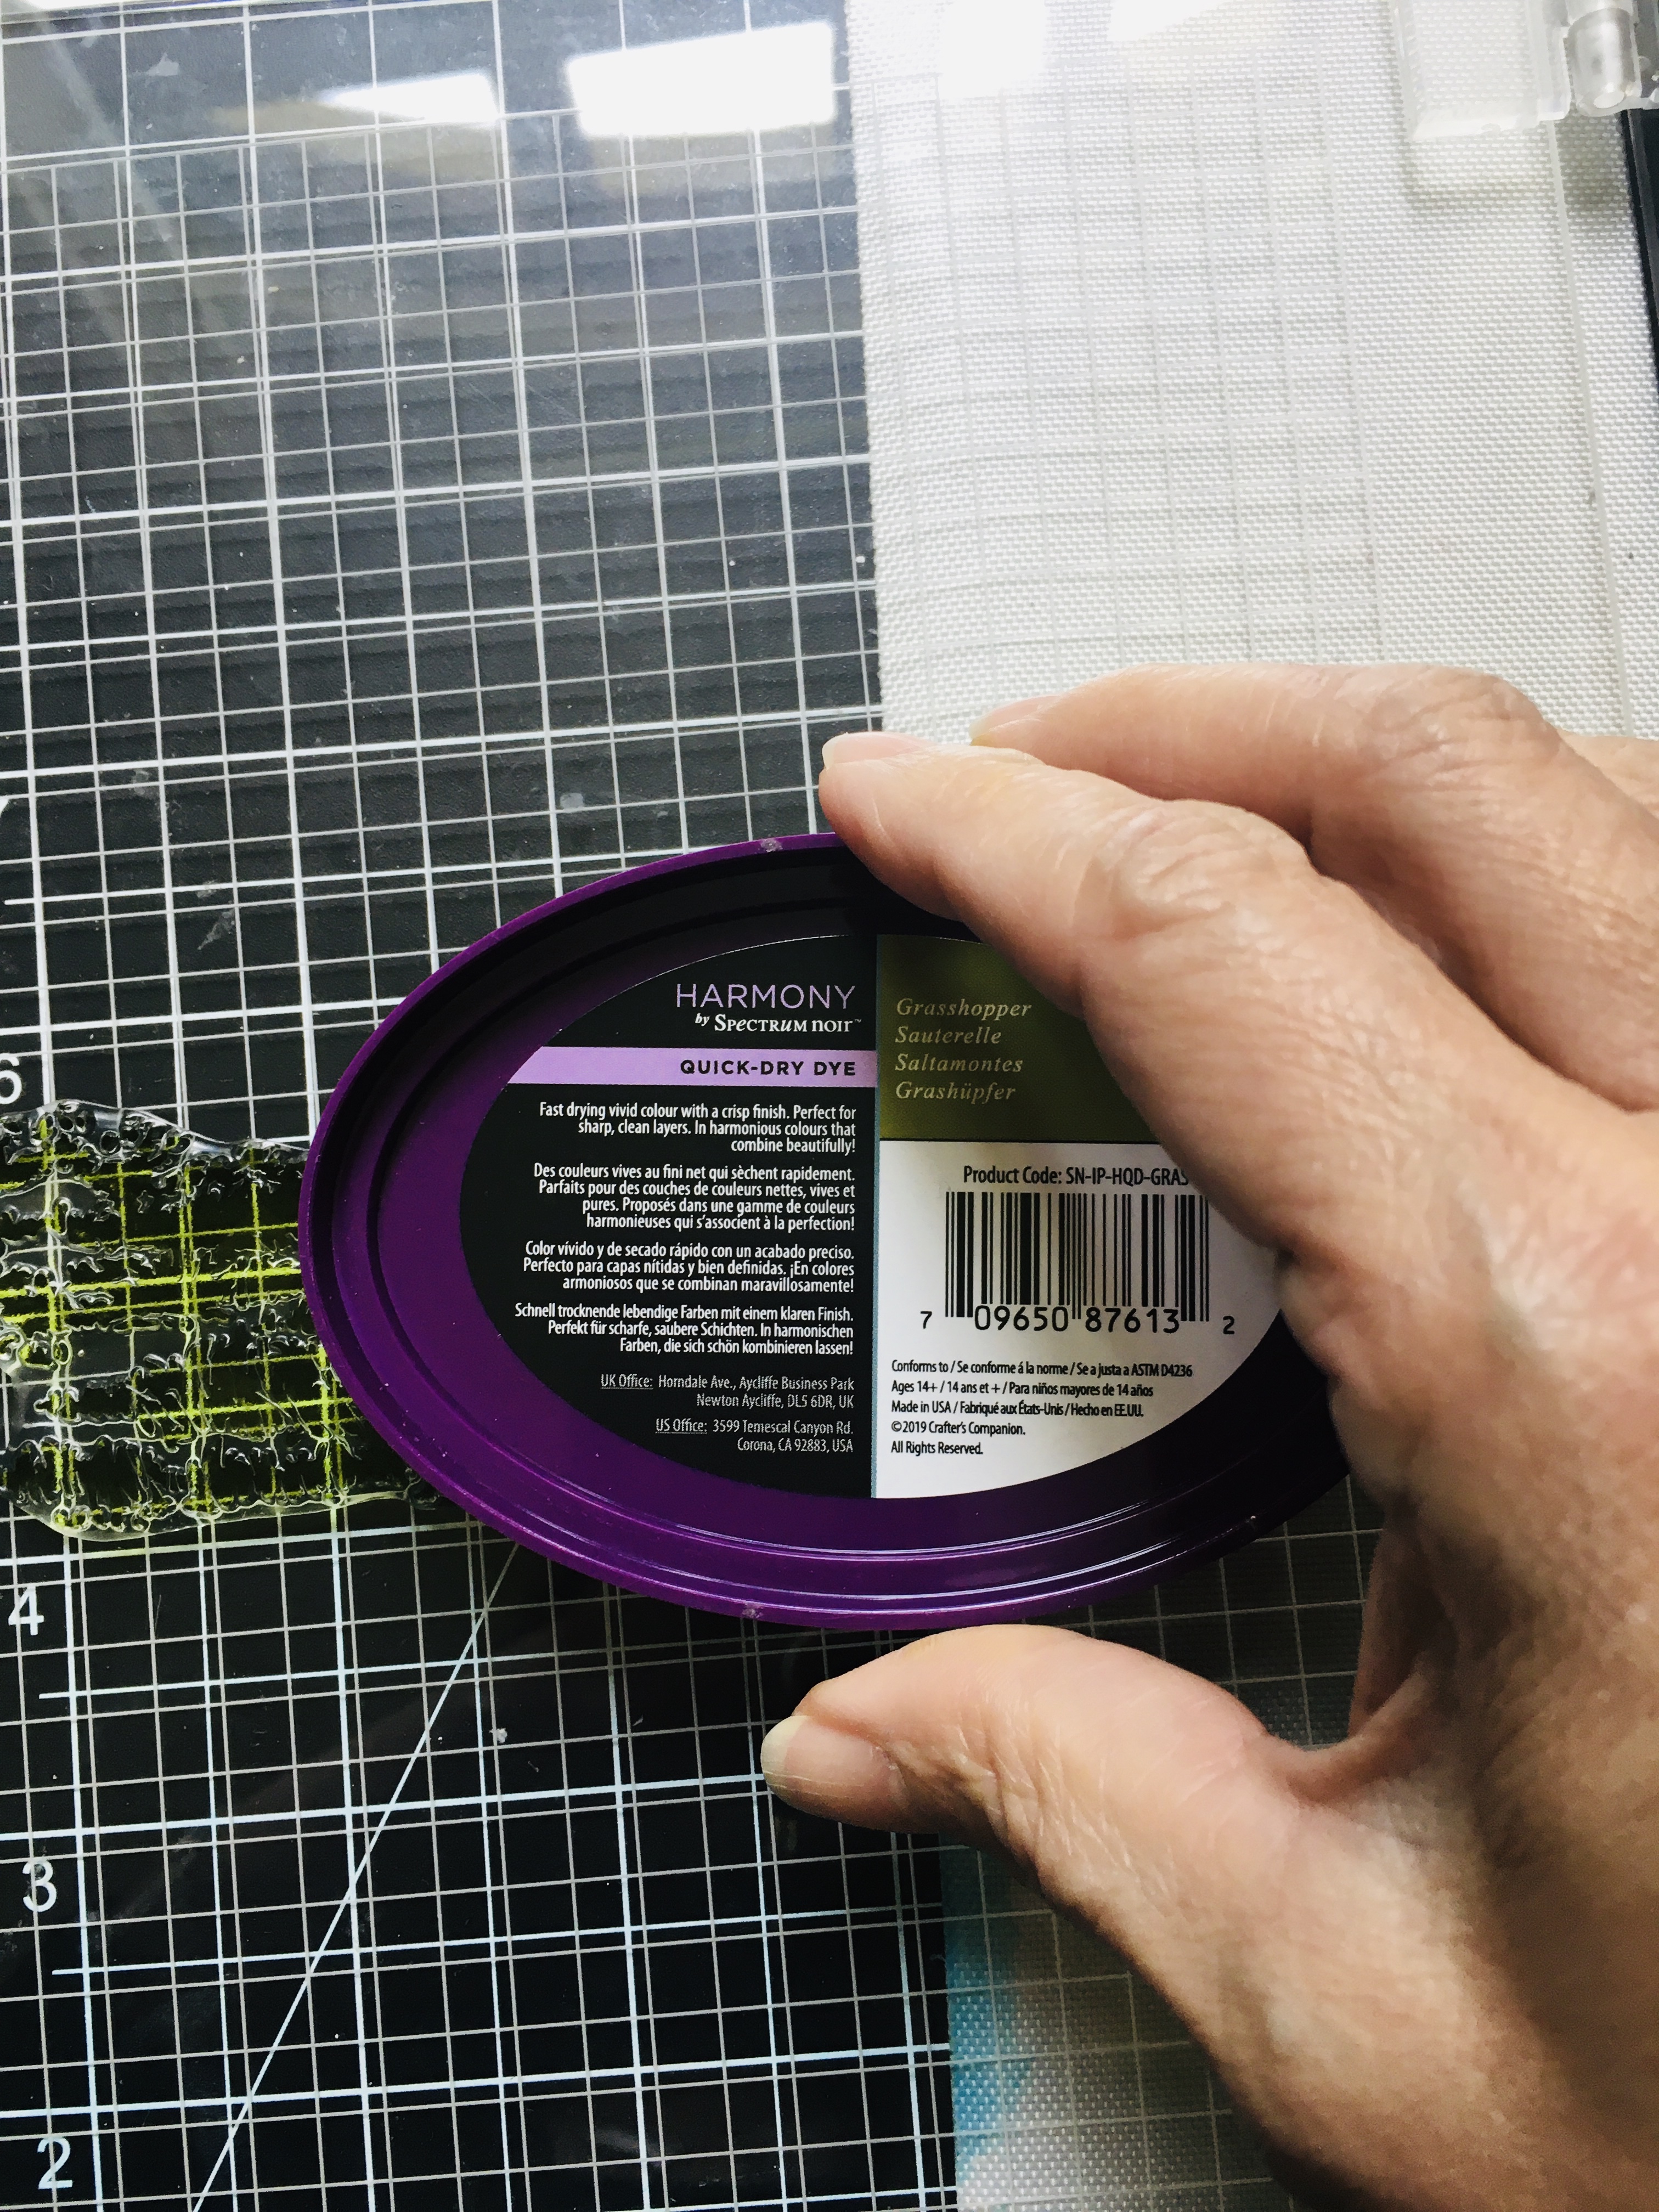
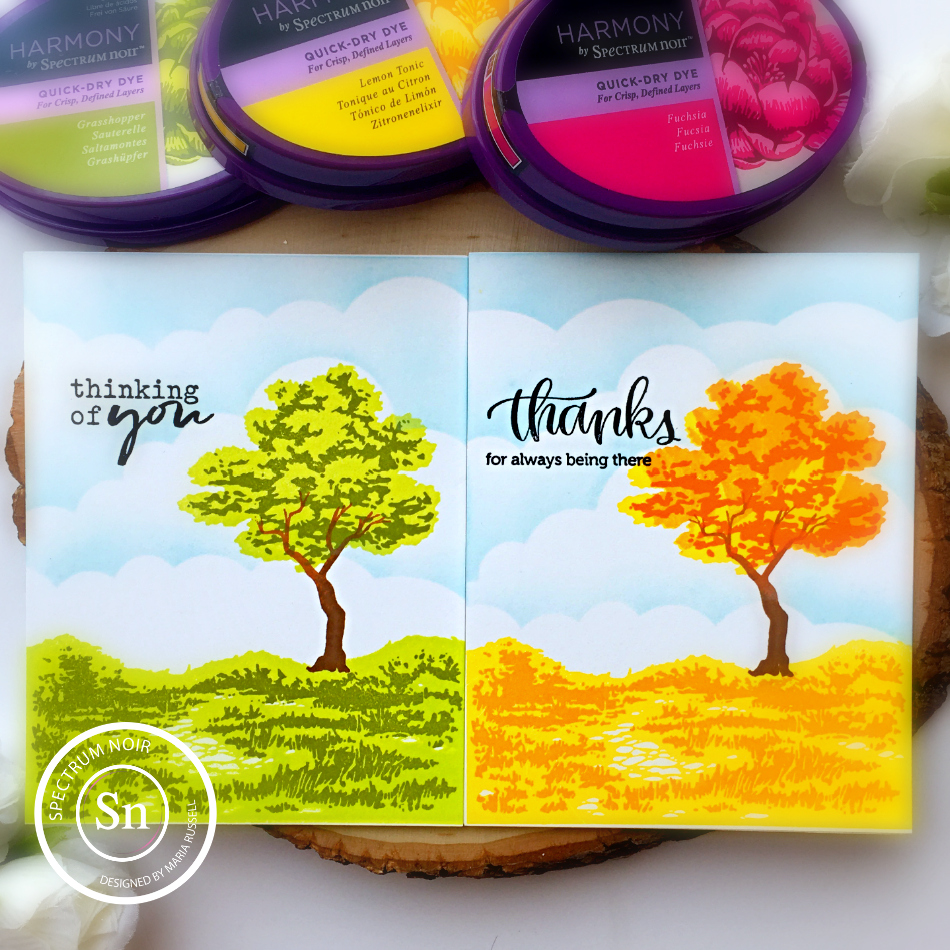
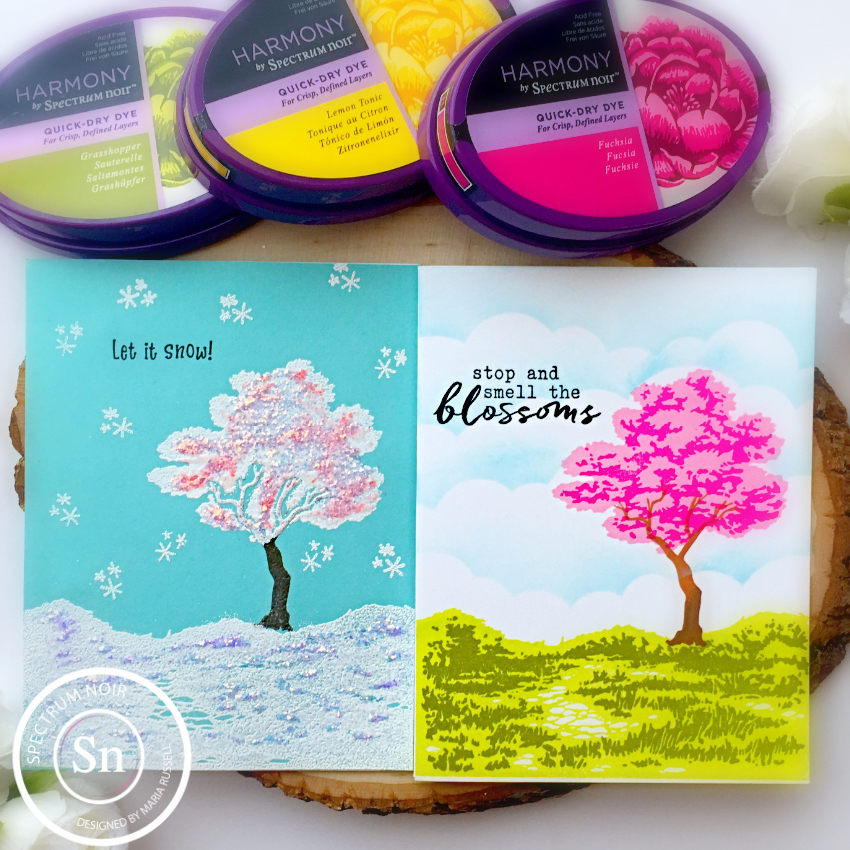
Hello Spectrum Noir fans!  Since we are all social-distancing and mostly at home, I thought I’d share some very simple cards today with “stamp layering”, showcasing my favorite dye inks – the Spectrum Noir Harmony Quick Dry Dye Inks in Lemon Tonic, Honey Pot, Orange, Oasis, Pink Tulip, Fuchsia, Friar Brown, Seal Brown, Spring Meadow, Grasshopper
and the SN Translucent Ink (Watermark).


The stamp set I used is the Cherry Blossom Layering stamp set by Hero Arts.  Even though the stamp set I used is limited edition, I will be linking some layering stamp sets that you can use with the same technique that I am showing you today in the supplies list below.


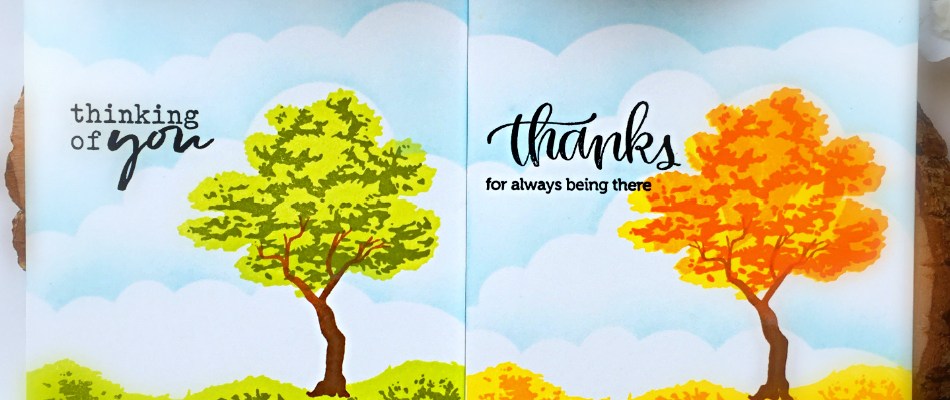
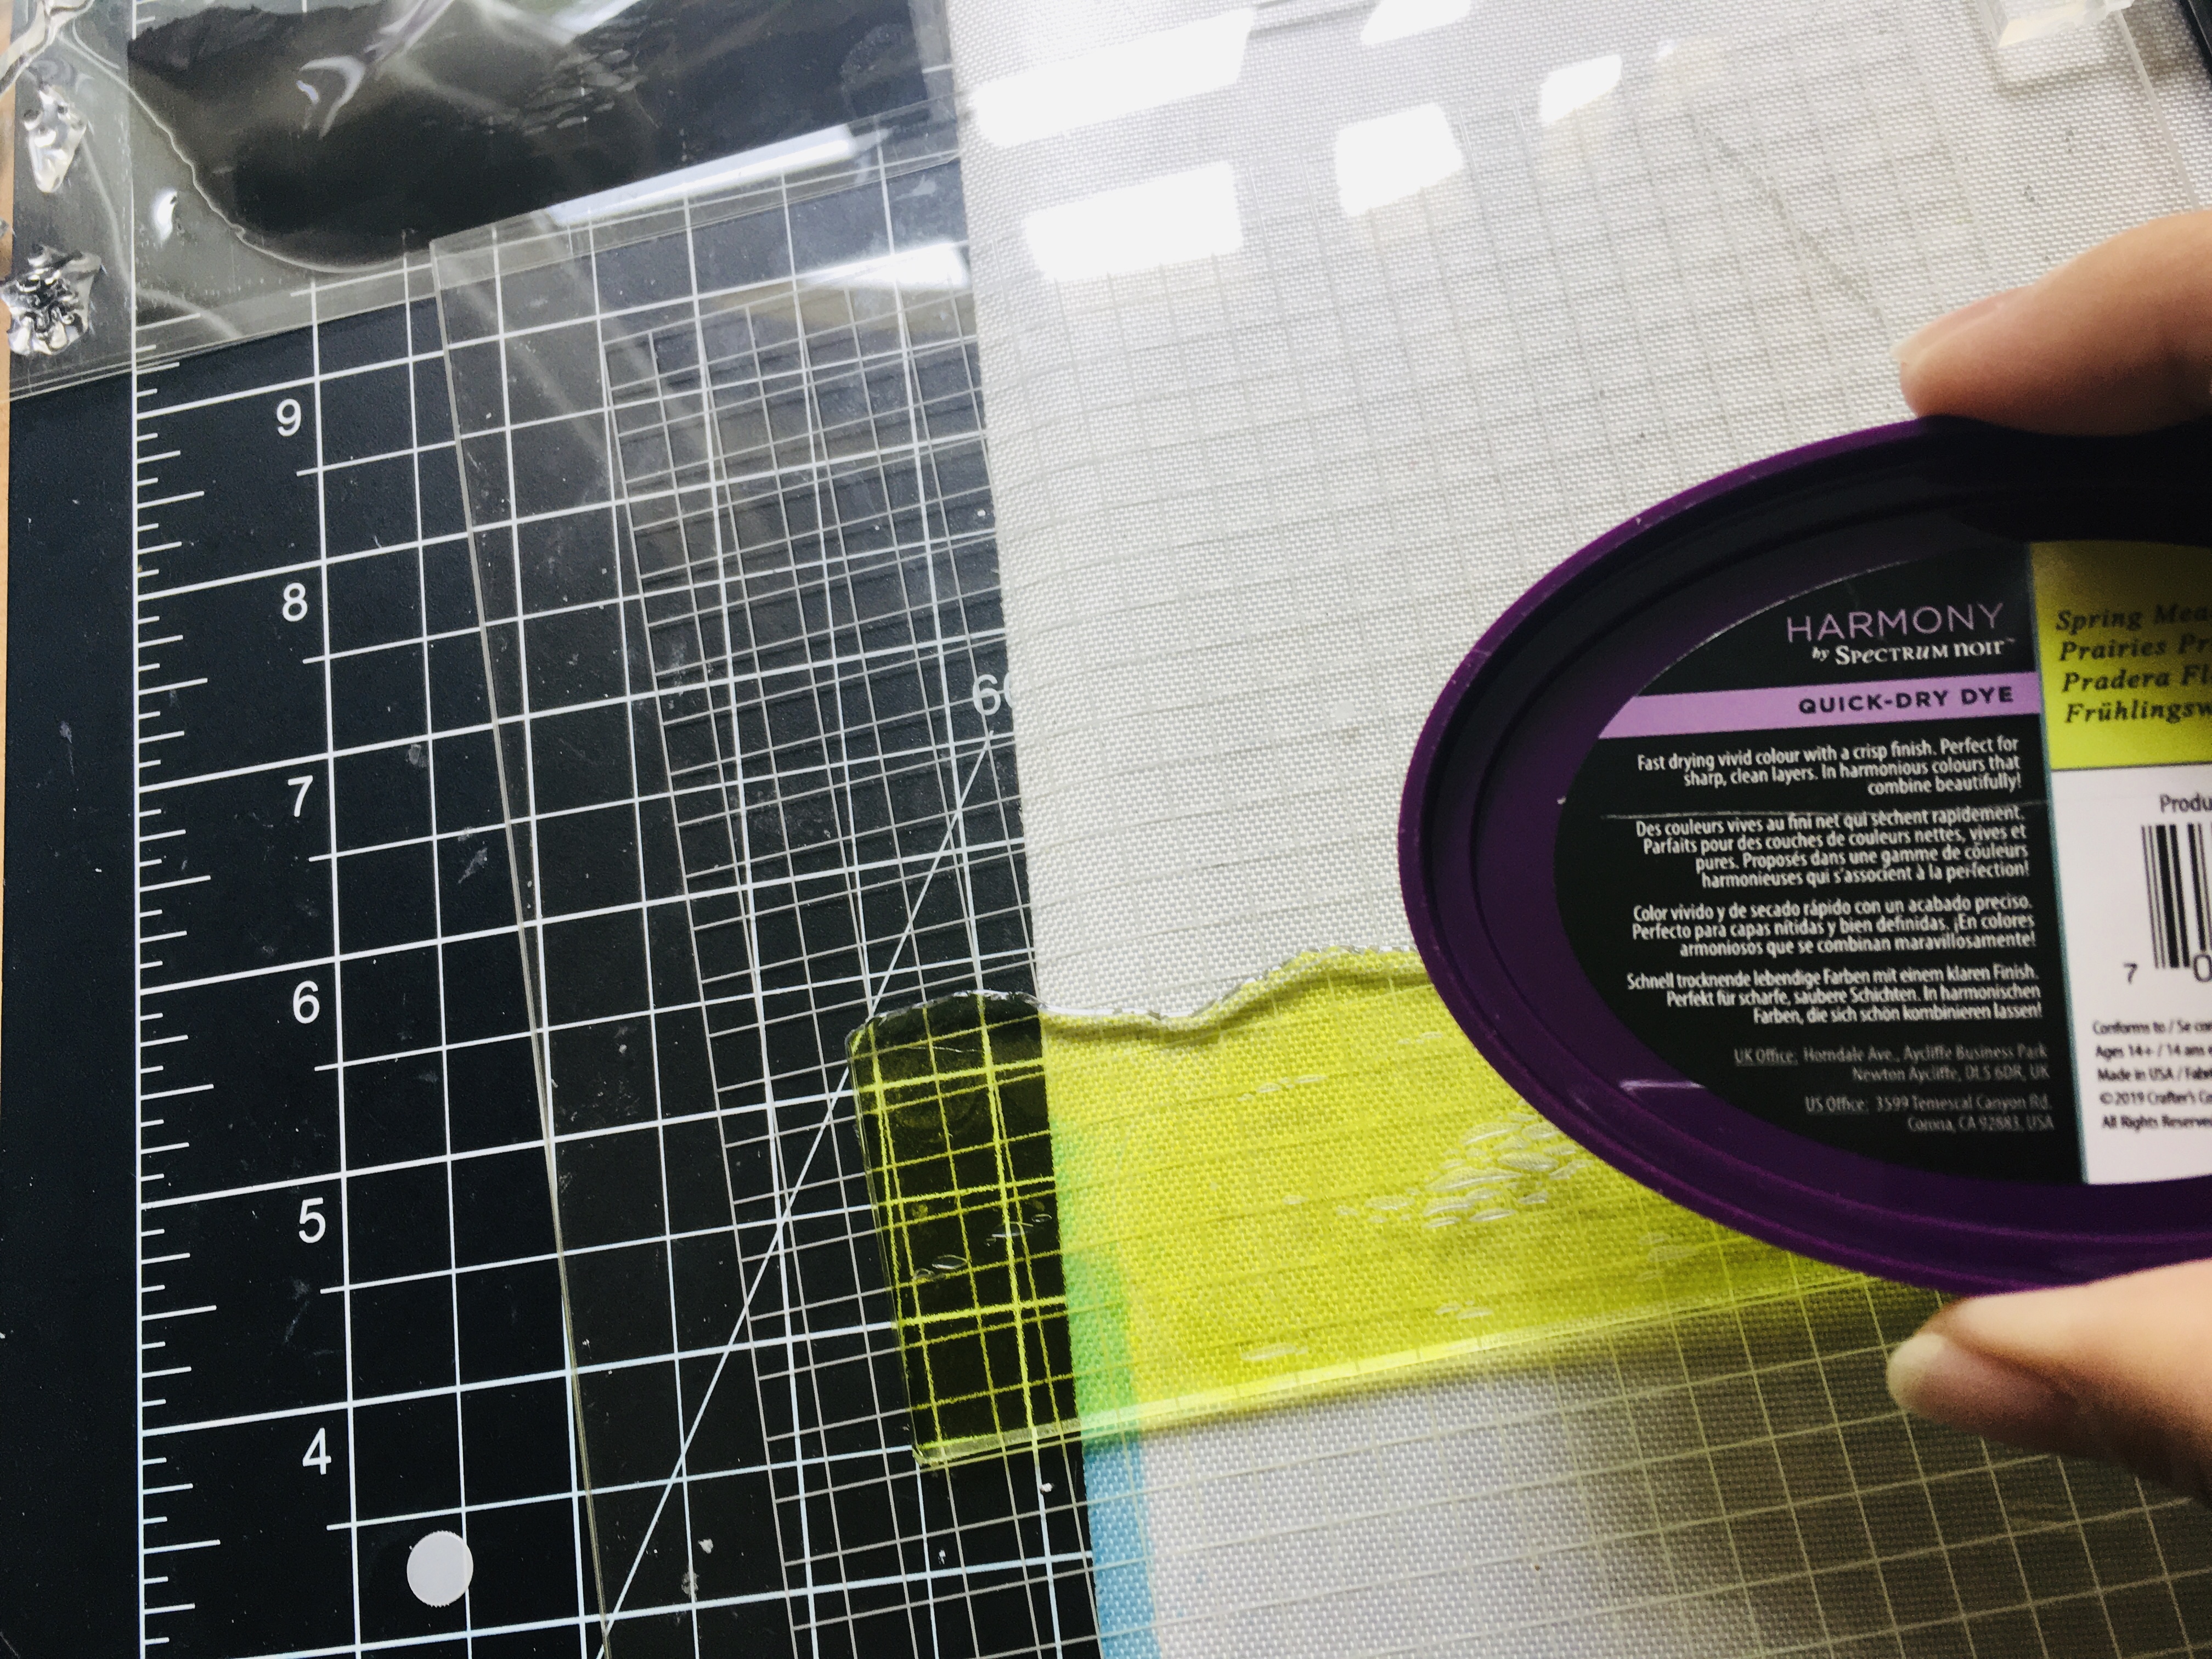
I wanted to create 4 cards to represent each season.  Start by stamping the grass with Spring Meadow Dye ink.


Stamp the second grass layer with a darker ink.  In this case, I used the Grasshopper dye ink.  I did the same for the “fall” card but using Lemon Tonic, Honey Pot and Orange.


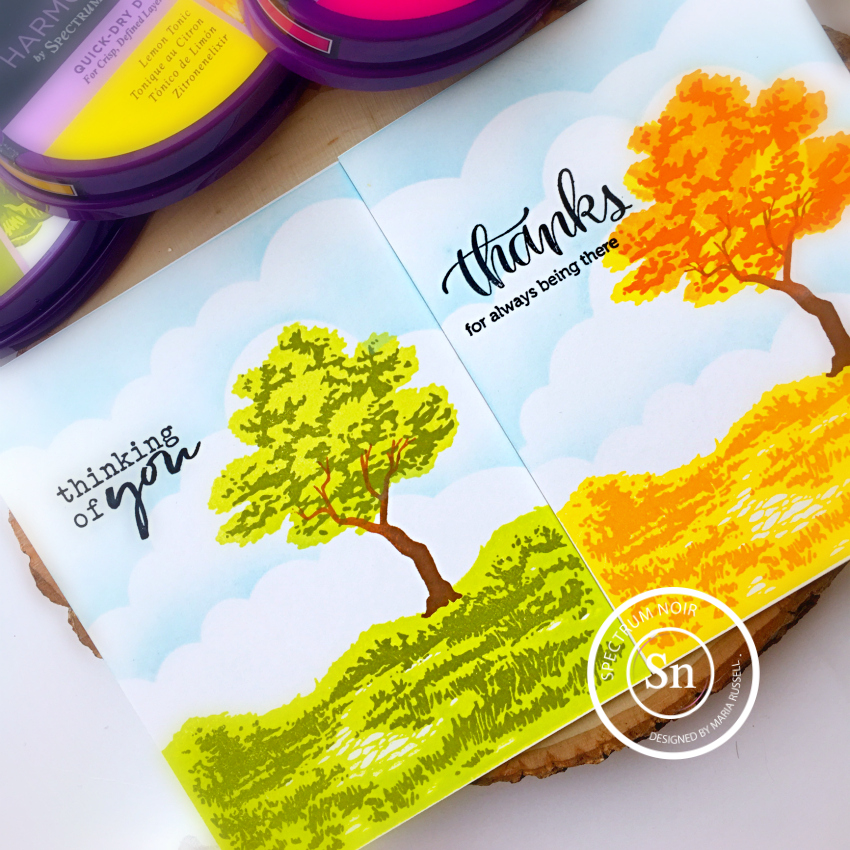
Here’s what the Summer and Fall cards look like:


For the “winter” card, I used the SN Watermark ink and sprinkled some white embossing powder then heat-set with my heating tool.


I love the simplicity of these cards and they are very easy to mass-produce.  Here’s a closer look:


I hope you like these simple cards I showed you today.  Even though the stamp set I used is limited edition, I will be linking a couple of layering stamps in the supplies list below.  Thanks for stopping by and have an amazing day!


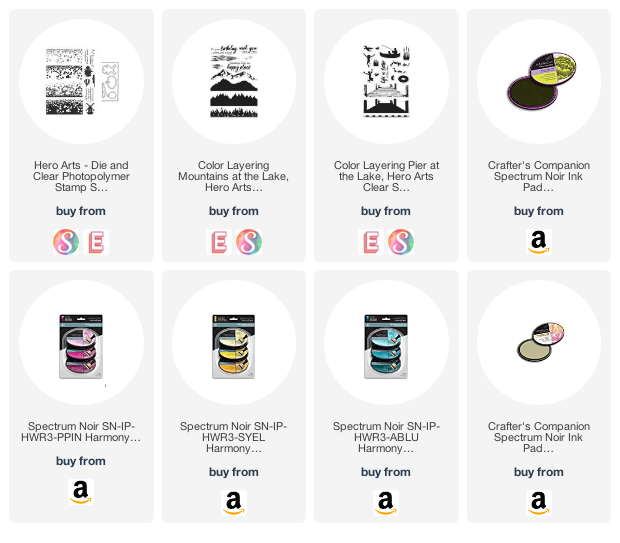
———–SUPPLIES———–

Mice Cards with Trinity Stamps

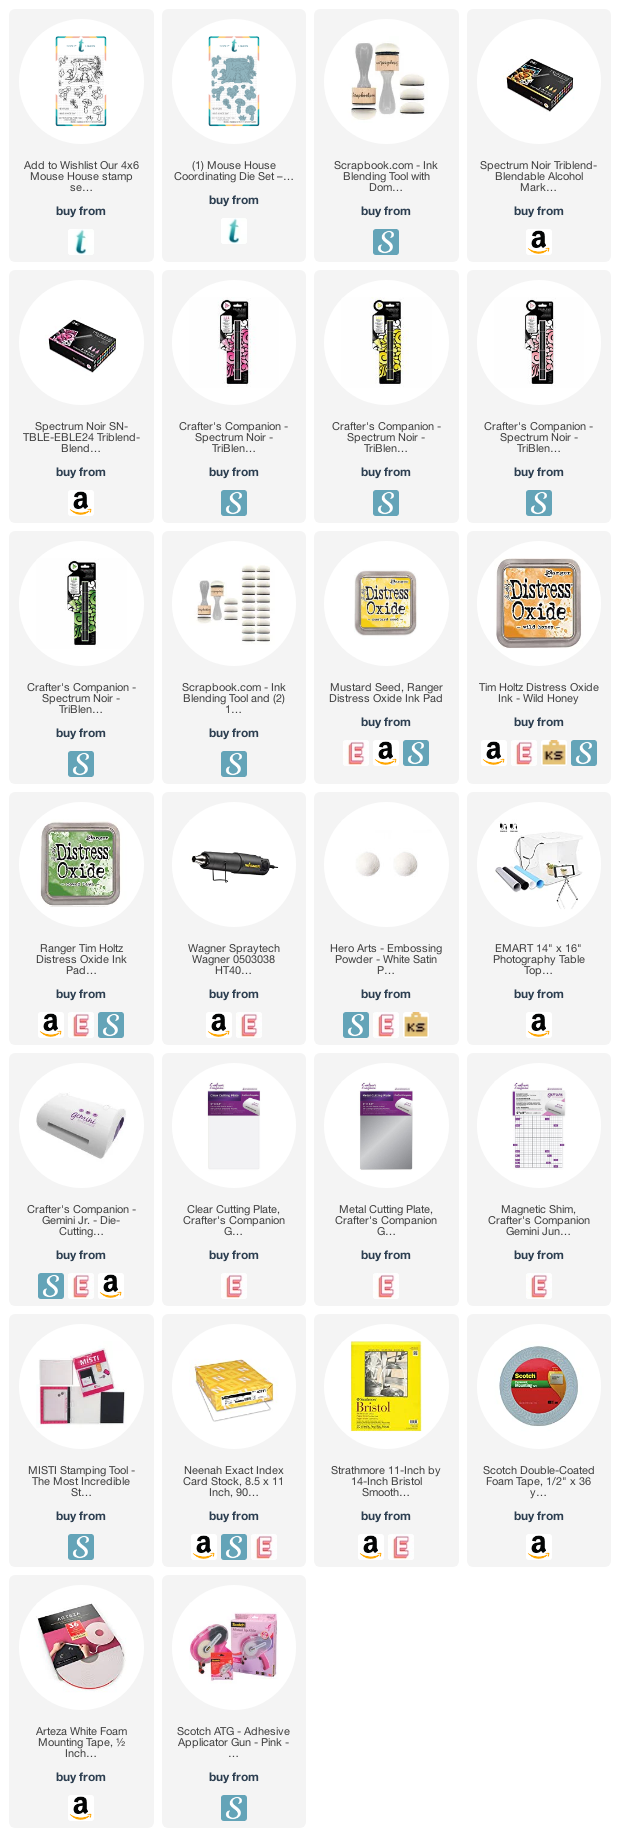
Hello my crafty friends!  I’m back today for Trinity Stamps sharing two cute cards, showcasing the 4×6 Mouse House stamp set and Mouse House coordinating dies, with the Slimline Card Series: Scenic Border die set, and the Blending Buddy brush.


To begin, I stamped the images on some Neenah solar white card stock and colored them in with my alcohol markers.  I used the coordinating dies to die-cut the images.


To make my first card, I ink-blended some Bristol smooth white card stock with some distress oxide ink and used the Blending Buddy brushes to blend the colors.  I used some circle dies from my stash to die-cut some holes on this card stock.  I foam-mounted the piece on an A2 size card base, cutting the excess.  I adhered the mice with some liquid adhesive.


I finished my design by stamping the sentiment on some black card stock and heat-setting with white embossing powder, and adding some red hearts.  Here’s a closer look:


For my second card, I also ink-blended my background and used a stencil from my stash to add the sun-rays.  I die-cut two grass panels using the Slimline Scenic Borders die set.  I also die-cut the rest of the elements that I needed to create my scene.


The sentiment was stamped with Versamark ink and heat-set with my heating tool. I used my black gel pen to add more dimension to the mice.  I also added the clouds to finish my design.  Here’s a closer look:


I hope you like my cards today and got inspired.  Thanks for joining me, and happy stamping!


———SUPPLIES———-

Hoppy Spring with Newton’s Nook Designs

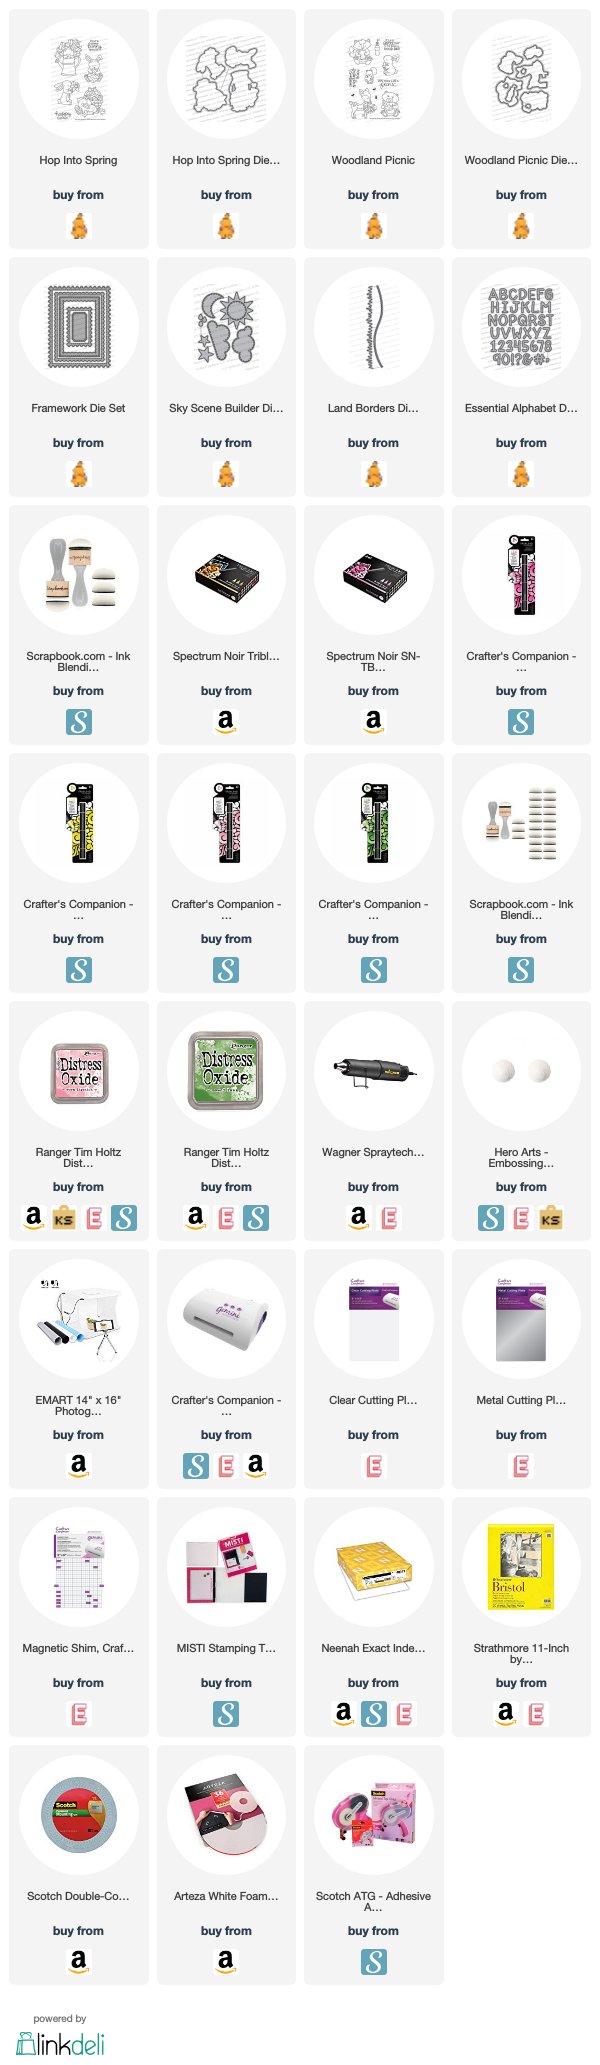
Hoppy spring!  I know things are so scary for all of us at the moment and creating cards is the one thing that calms my soul.  Without this hobby, I’d probably go nuts!  My husband and I are currently stuck overseas and we are not allowed to go anywhere (or fly home)!  I am sure a lot of you are in the same situation so let us all pray and hope that this pandemic will go away soon!  This is why I decided to share some cheerful shaker card today, showcasing the Hop into Spring stamp set and coordinating dies, with the Framework die set, Woodland Picnic stamp set and coordinating dies, Sky Scene builder dies, Land Border die set and the Essential Alphabet dies.   


To make my shaker card, I started by die-cutting some Bristol smooth white card stock using the biggest die from the Framework die set.  I ink-blended this panel with Picked Raspberry, Worn Lipstick and Spun Sugar distress oxide inks.  I used my distress sprayer to spray some water on this panel and dabbed it with my paper towel to dry.  I used a stitched circle die from my stash to die-cut the colored panel to create my window and adhered this piece on an embossed white card stock.  I also used the same circle die to die-cut the grass using the Land Borders die.


I stamped the two bunnies from the Hop Into Spring and Woodland Picnic stamp sets on some Neenah solar white card stock and colored them in with my alcohol markers.  I used the coordinating dies to die-cut the images.


To create my scene, I used the Sky Builder die set to die cut the sun ad clouds and the word “SPRING” using the Essential Alphabet die set.  Now that I have all of the elements I needed, I started to assemble my card.


I added some acetate sheet on my ink-blended panel and foam adhesive to create my well. I adhered the grass and clouds with some liquid adhesive. I added some iridescent hearts as my shaker element.


I used “Press N Seal” to line up the letters on my card and adhered them using some liquid glue.


I stamped the word “hoppy”  with Versafine Onyx Black ink and finished my design by adding white dots to the flower using my white gel pen.  Here’s a closer look:


I hope I have inspired you to create something beautiful today!  The supplies I used are listed and linked below.  thanks for stopping by and happy stamping!


———-SUPPLIES———–

Uplifting Cards | Up & Away | LDRS Creative

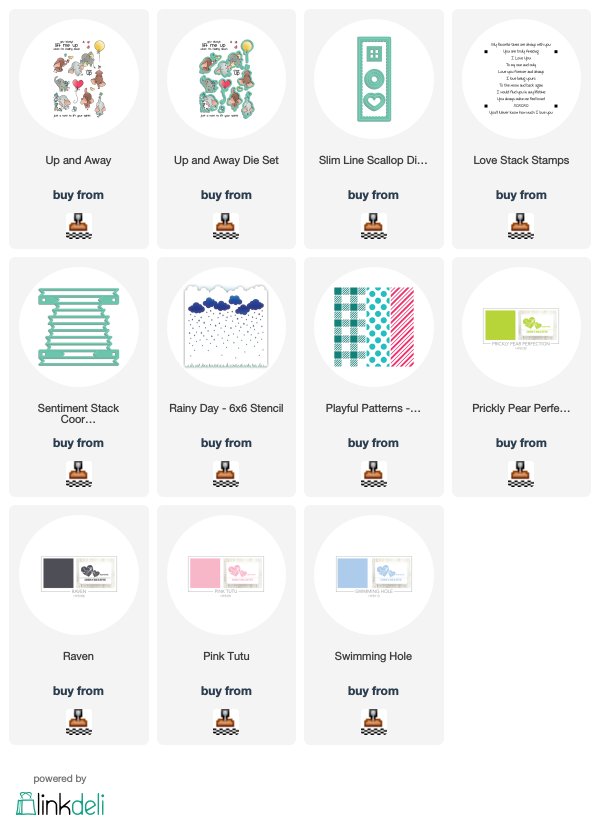
Hello LDRS fans!  Maria Russell here with you and I am so excited to share my first post for LDRS Creative!  For today’s cards, I am showcasing the Up & Away stamp set and coordinating dies with the Slim Line Scallop die, the Love Stack stamp setSentiment Stack coordinating die, Rainy Day stencil, and Playful Patterns stencil.  I also used the Raven,  Prickly Pear PerfectionPink Tutu and Swimming Hole hybrid inks.  They are amazing!


Before I proceed with my post, don’t forget that LDRS Creative is offering a special discount valid until midnight (EST) of March 31, 2020.  Please use coupon code “CRAFTATHOME” for 15% off on your entire order (no minimum purchase required).


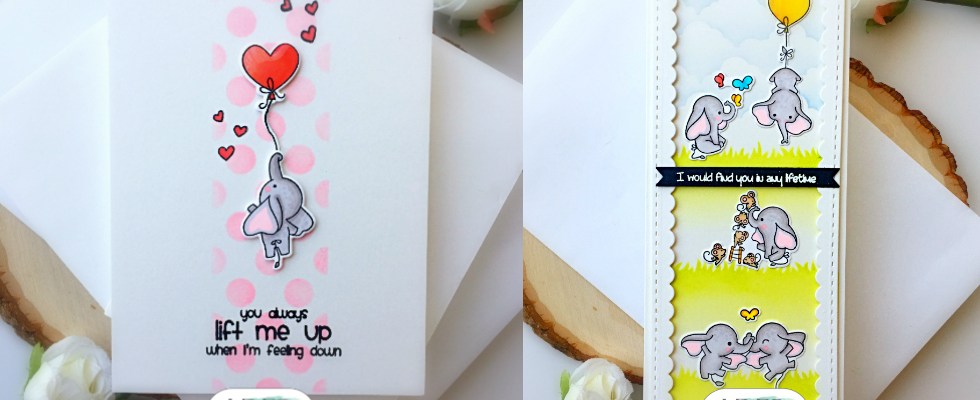
The first card was ink-blended using the Playful Patterns stencil and Pink Tutu hybrid ink.  I wanted a subtle background against the cute elephant being carried away by the balloon.  The sentiment and the hearts were stamped using some Raven hybrid ink.  Here’s a closer look:


I love the images and sentiments from the Up & Away stamp set.  I think we all need these type of cards in our stash to cheer someone up, who is having a bad day!


For my second card, I cut a panel of Bristol measuring 8 1/2 x 3 1/2.  I ink-blended this panel using the Rainy Day stencil to create the grass with Prickly Pear Perfection hybrid ink.  For the clouds, I used the Swimming Hole hybrid ink.


The scallop border was die-cut using one of my favorite dies, the Slim Line Scallop die set.  This set contains 8 dies that you can use to create your cards.

The sentiment came from the Love Stack stamp set and die-cut using the Sentiment Stack coordinating die.  I love that this die cuts out a bunch of sentiments in one go!  Such a brilliant design!


 I also have a process video of my cards today if you’re interested.


I hope I have given you some inspiration to create something beautiful today!   Thank you for stopping by and have a wonderful day!  Happy stamping!


———-SUPPLIES———–

Congratulations! You Got Rescued! with Cas-ual Fridays


Cas-ual Fridays Stamps is having a Crafting of Hue special and we are celebrating with a 20% off on our entire critter collection.  You can also use my coupon code mentioned at the end of this post for an additional §15% off your order! 


For my card today, I am showcasing one of my favorite stamp set called Nate & Friday.


I started by ink-blending some Bristol smooth white card stock with distress oxide inks.  I sprayed this panel using my distress sprayer and dried it with some paper towel for added texture.


I stamped my image on some Neenah solar white card stock and fussy-cut using my precision snips.  I also die-cut the Congratulations circle frame die-namics on some 110 lb card stock four times and adhered with liquid glue for more dimension.  I adhered this piece on my colored background and foam-mounted my image in the middle.


I adhered the colored panel on an A2 size card base and stamped the sentiment with some Versafine Onyx black ink.  


To finish my design, I added some sparkling clear jewels.  Here’s a little close-up:


I hope you like my card today and got inspired.  The supplies I used will be listed and linked below.  Please use my coupon code for an additional 15% off your order!  Have an amazing weekend and happy stamping!


———-SUPPLIES———