
So easy to make for any occasion. Took an inspiration from Pinterest but made it my own style.
Author: marialrussell
Blooms and Butterflies Color Challenge No. 17

I was so excited to join this challenge because I basically had all the card stock that was required. I must admit, however, that this challenge was quite difficult for me because my least favorite color of all time is bright yellow. I decided to use Daffodil Delight as my card base. I had the whole week trying here and there to come up with a good design and it wasn’t easy. So this is what I finally put together. I hope you like the card.
Materials Used for this Card:
Daffodil Delight – 5 1/2 x 4 1/4 (Item No. 119683)
Pumpkin Pie – 5 3/8 x 4 1/8 (Item No. 105117)
Early Espresso – 5 1/4 x 4 (Item No. 119686)
2 Paper Die-cuts from the Thankful Tablescape Kit (Item No. 133463)
2 leaves using Vellum Card Stock (Item No.101856) heat-embossed using
Gold Embossing Powder (Item No. 109129) with the
Magnificent Maple Stamp Set (Item No. 131868)
Early Espresso Classic Stampin Pad – 126974
Pumpkin Pie Classic Stampin Pad – Item No. 126945 (to sponge the leaves
and give it more color)
Wood grain Embossing folder
Antique Brad (Item No. 117273)
Tombow multi-adhesive glue (Item No. 110755)
Best of Autumn Stamp Set for my sentiment (Item No.134390)
Whisper White Card Stock
Gold Embossing Powder (Item No. 109129)
Linen Thread also from the Thankful Tablescape Kit
Treat Basket For Your Little Ghouls & Goblins
This is a cute little project that you guys can make for your kids; or give as gifts to adults. I was trying to use up the Halloween designer series paper that I acquired over the summer. I will be making a lot of these cute little baskets to give to my daughter’s friends at school, and some of her teachers.
The materials I used are:
Card Stock – cut a 6 x 6
Designer Series Paper – you need 6 pieces measuring 1 7/8 x 1 7/8
Basket handle (Wisteria Wonder card stock) – 1 piece cut at 3/4 inch X 8 inches
Decorative paper (spiderweb) basic black card stock cut at – 1 inch. by 8 inches
Decorative Scallop circle card stock punched at 2 inches
Witch stamped on 1 1/2 inch. circle
Halloween Hello Stamp Set – Stampin Up – Item No. 131721
Decorative Label Punch – Stampin Up – Item No. 120907
Sticky Strip
Adhesive
You should put Hershey’s kisses or Chocolate covered raisins to make it look like “witch poop”. The sentiment reads:
THEIR BROOMS FLY SO FAST
THEY DIP AND THEY SWOOP
BUT IF THEY GET SCARED
THEY LEAVE YOU WITCH POOP!
HAPPY CRAFTING!
Halloween Card – Flying Witch
This card was inspired by a fellow demonstrator, Tami White. Although our cards are done differently, the design is the same. I thought of sharing this because the card is so easy to make – plus it is very unique in a way because this is not the typical orange and black Halloween colors. I really love this card and I hope you do as well.
Spooky Halloween Easel Card
I wanted to make a card that does not involve using a Big Shot. Since I still don’t have a Big Shot (not getting it until this Christmas), I thought of making this card by just using a punch and vellum to create a “window”. It turned out really cute! This card is so unique that the person you give it to will absolutely be thrilled! I gave it to a friend and she was so pleased that she wanted me to film a video tutorial so she can make a couple for her son’s teachers, and use it to decorate her table. I found my LED tea light from the Dollar store. You can get two pieces for a dollar and this card will be a great gift and pretty inexpensive. You can make these for any occasion just by changing the image, the color of the card stock and the sentiment.
Materials used:
(All measurements in “Inches”)
Card Base:
Basic Black Cardstock – Item No. 121045
(Size used here on this video is: 5 ½ x 4 1/4)
Frame:
Whisper White Card Stock – Item No. 100730
(Cut at 5 3/8 x 4 1/8)
Basic Black Card Stock – (cut at 5 ¼ X 4)
Vellum Card Stock for the Window: cut at 2 ½ X 4 inches (you can trim this later)
Inside of the Card – Witches Brew Designer Series Paper (Pack comes 12 sheets in 12 x 12 – double-sided print – it’s really beautiful!) – Item No. 132185
Best of Halloween Stamp Set – Item No. 134381 (used the Owl and the trick-or-treat stamps)
Decorative Label Punch – Item No. 120907
Stampin Dimensionals – 104430
Join Stampin’ Up and Become a Demonstrator for only $25
Join Stampin’ Up! for just $25!!!
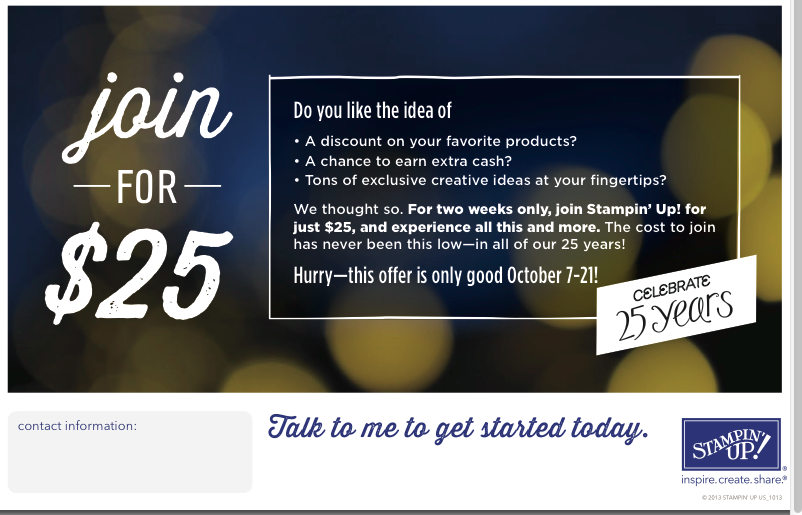
Dates: October 7-21, 2013
What You Need To Know:
- During this offer, only the special $25 starter kit will be available; the regular $99 starter kit will not be available. The $25 Starter Kit includes
- $26.95 worth of Stampin’ Up! product (it must be more than $25, but not more than $26.95 before tax)
- Business pack which includes
- A box of annual catalogs
- A package of the current seasonal catalog
- Getting Started DVD
- Starter Kit Business Brick
- Customer postcards
- Benefits of Joining Stampin’ Up! – Please click on the links above to know more about the benefits
- Do You Need A Catalog – If so, please send me an email and I’ll be happy to drop one in the mail ASAP
- Have Questions about becoming a Demonstrator, please click the link above or email me and I’ll be happy to give you more information
- Ready To Join – Please click on “JOIN MY TEAM” above. This offer is only good for two weeks, so take advantage of it right away!
Also:
- As a new Demonstrator, you’ll get an extra 10 percent discount on your first order of $150 or more when you place an order in the first 45 days of being a demonstrator, you can use the money you saved on the $25 starter kit to get 30 percent off your first order of Stampin’ Up! goodies!
- You will also get two FREE months of Demonstrator Business Web Services (DBWS).
Please contact me if you’re interested, or click on the links above to take you to my Stampin Up website.
Blooms & Butterflies Color Challenge No. 15


I had so much fun making this card. This is my very first participation for the Blooms and Butterflies Color Challenge – and this is Color Challenge No. 15.
I am a new Stampin Up Independent Demonstrator and still trying to increase my collection of Stampin Up products – from card stock, to DSPs, punches and stamp sets. Since I didn’t have any Wild Wasabi card stock, I had to replace it with Gumball Green. I apologize if this is quite a disappointment to some of you. Please know that I live overseas 10 months out of the year, and it is not very easy for me to get the supplies delivered to me overseas. I either have to get it shipped here (which cost a fortune), or hoard my supplies every time I have the chance to go back home in Orlando. Anyway, I hope you like the card.
The materials I used are as follows:
Card Base:
Wisteria Wonder – 4 1/4 X 5 1/2
Elegant Eggplant – 4 1/8 x 5 1/4
Replaced the Wild Wasabi with Gumball Green – 4 x 5 1/8
Stamps Used:
Mixed Bunch – Stamped on Elegant Eggplant and Wisteria Wonder
Happy Day – Heat Embossed using Stampin’ Up!’s Silver Embossing Powder
Punches Used:
Punch Blossom
1 inch Circle Punch
Extra Large and Large Oval Punches to create the Bow (I cut the ovals in half and adhered it to the base)
Other Supplies Used:
Basic Pearl to accent the Bow
Stampin Dimensionals
Tombo Glue
Black Staz On
Versamark Ink
Trick or Treat Card
Frankenstein and Ghost TicTac Treat Holder
I had so much fun making these tictac treat holders. I used the decorative label punch and the owl builder punch.
 Maria Russell Designs