Inky Paws Challenge #41 – Newton’s Nook Designs

There’s a new Inky Paws Challenge on the blog (http://www.inkypawschallenge.com) and this time it is a color challenge, using Mint, Light Pink, Yellow and White. I absolutely adore pastel colors so I decided to participate in this challenge!

Here is the inspiration photo:

nndinkypaws41

I started out by die-cutting my Neenah Solar White card stock and distressed my background using Spun Sugar and Scattered Straw distress inks.  I splattered white paint all over my background using my white opaque paint.

I stamped my image showcasing NND’s Sweater Weather stamp set and colored her in with my Copic markers.  Using the same mint Copic marker, I colored my card stock and used my “love” script die to die-cut the pet sentiment, and stamped “you” from the tag sampler stamp set.

I used my Xyron sticker maker to adhere the “love” sentiment on my card.  I always use my sticker maker to adhere intricate dies.

Here is my card:

nndinkypaws41a

For more information about the color challenge, please visit http://www.inkypawschallenge.com. You have two weeks to join.  Winner will get a $10 gift code for the Newton’s Nook Designs shop.

The supplies that I have used for today’s card are listed and linked below if you are interested. Have an amazing day!

———SUPPLIES———-

Newton’s Nook Designs February Release – Day 1 – Newton’s Pot of Gold & Land Borders Die

nnd_feb17_releaseicon

Hello stampers and crafters. I am super excited because it is the first day of the February release at Newton’s Nook Designs. You also have a chance to win each stamp set during release week so check out the details I have indicated at the end of this blog post.

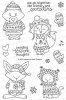
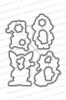
I have created a St. Patrick’s Day card and a small treat bag to go with my card, showcasing the Newton’s Pot of Gold stamp set and the amazing Land Borders Die.


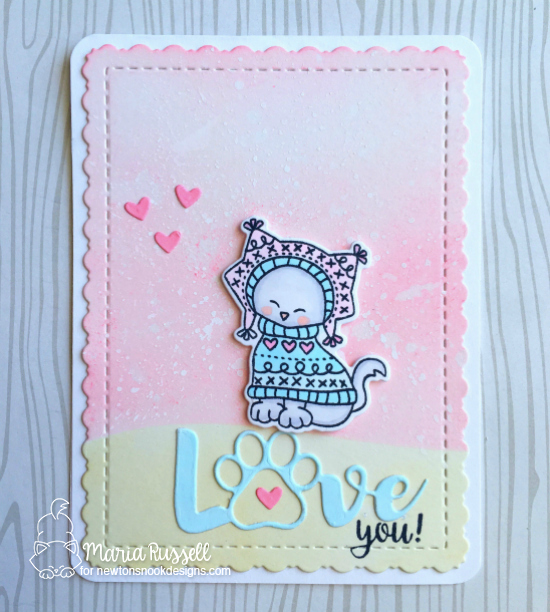
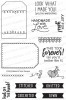
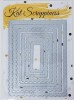
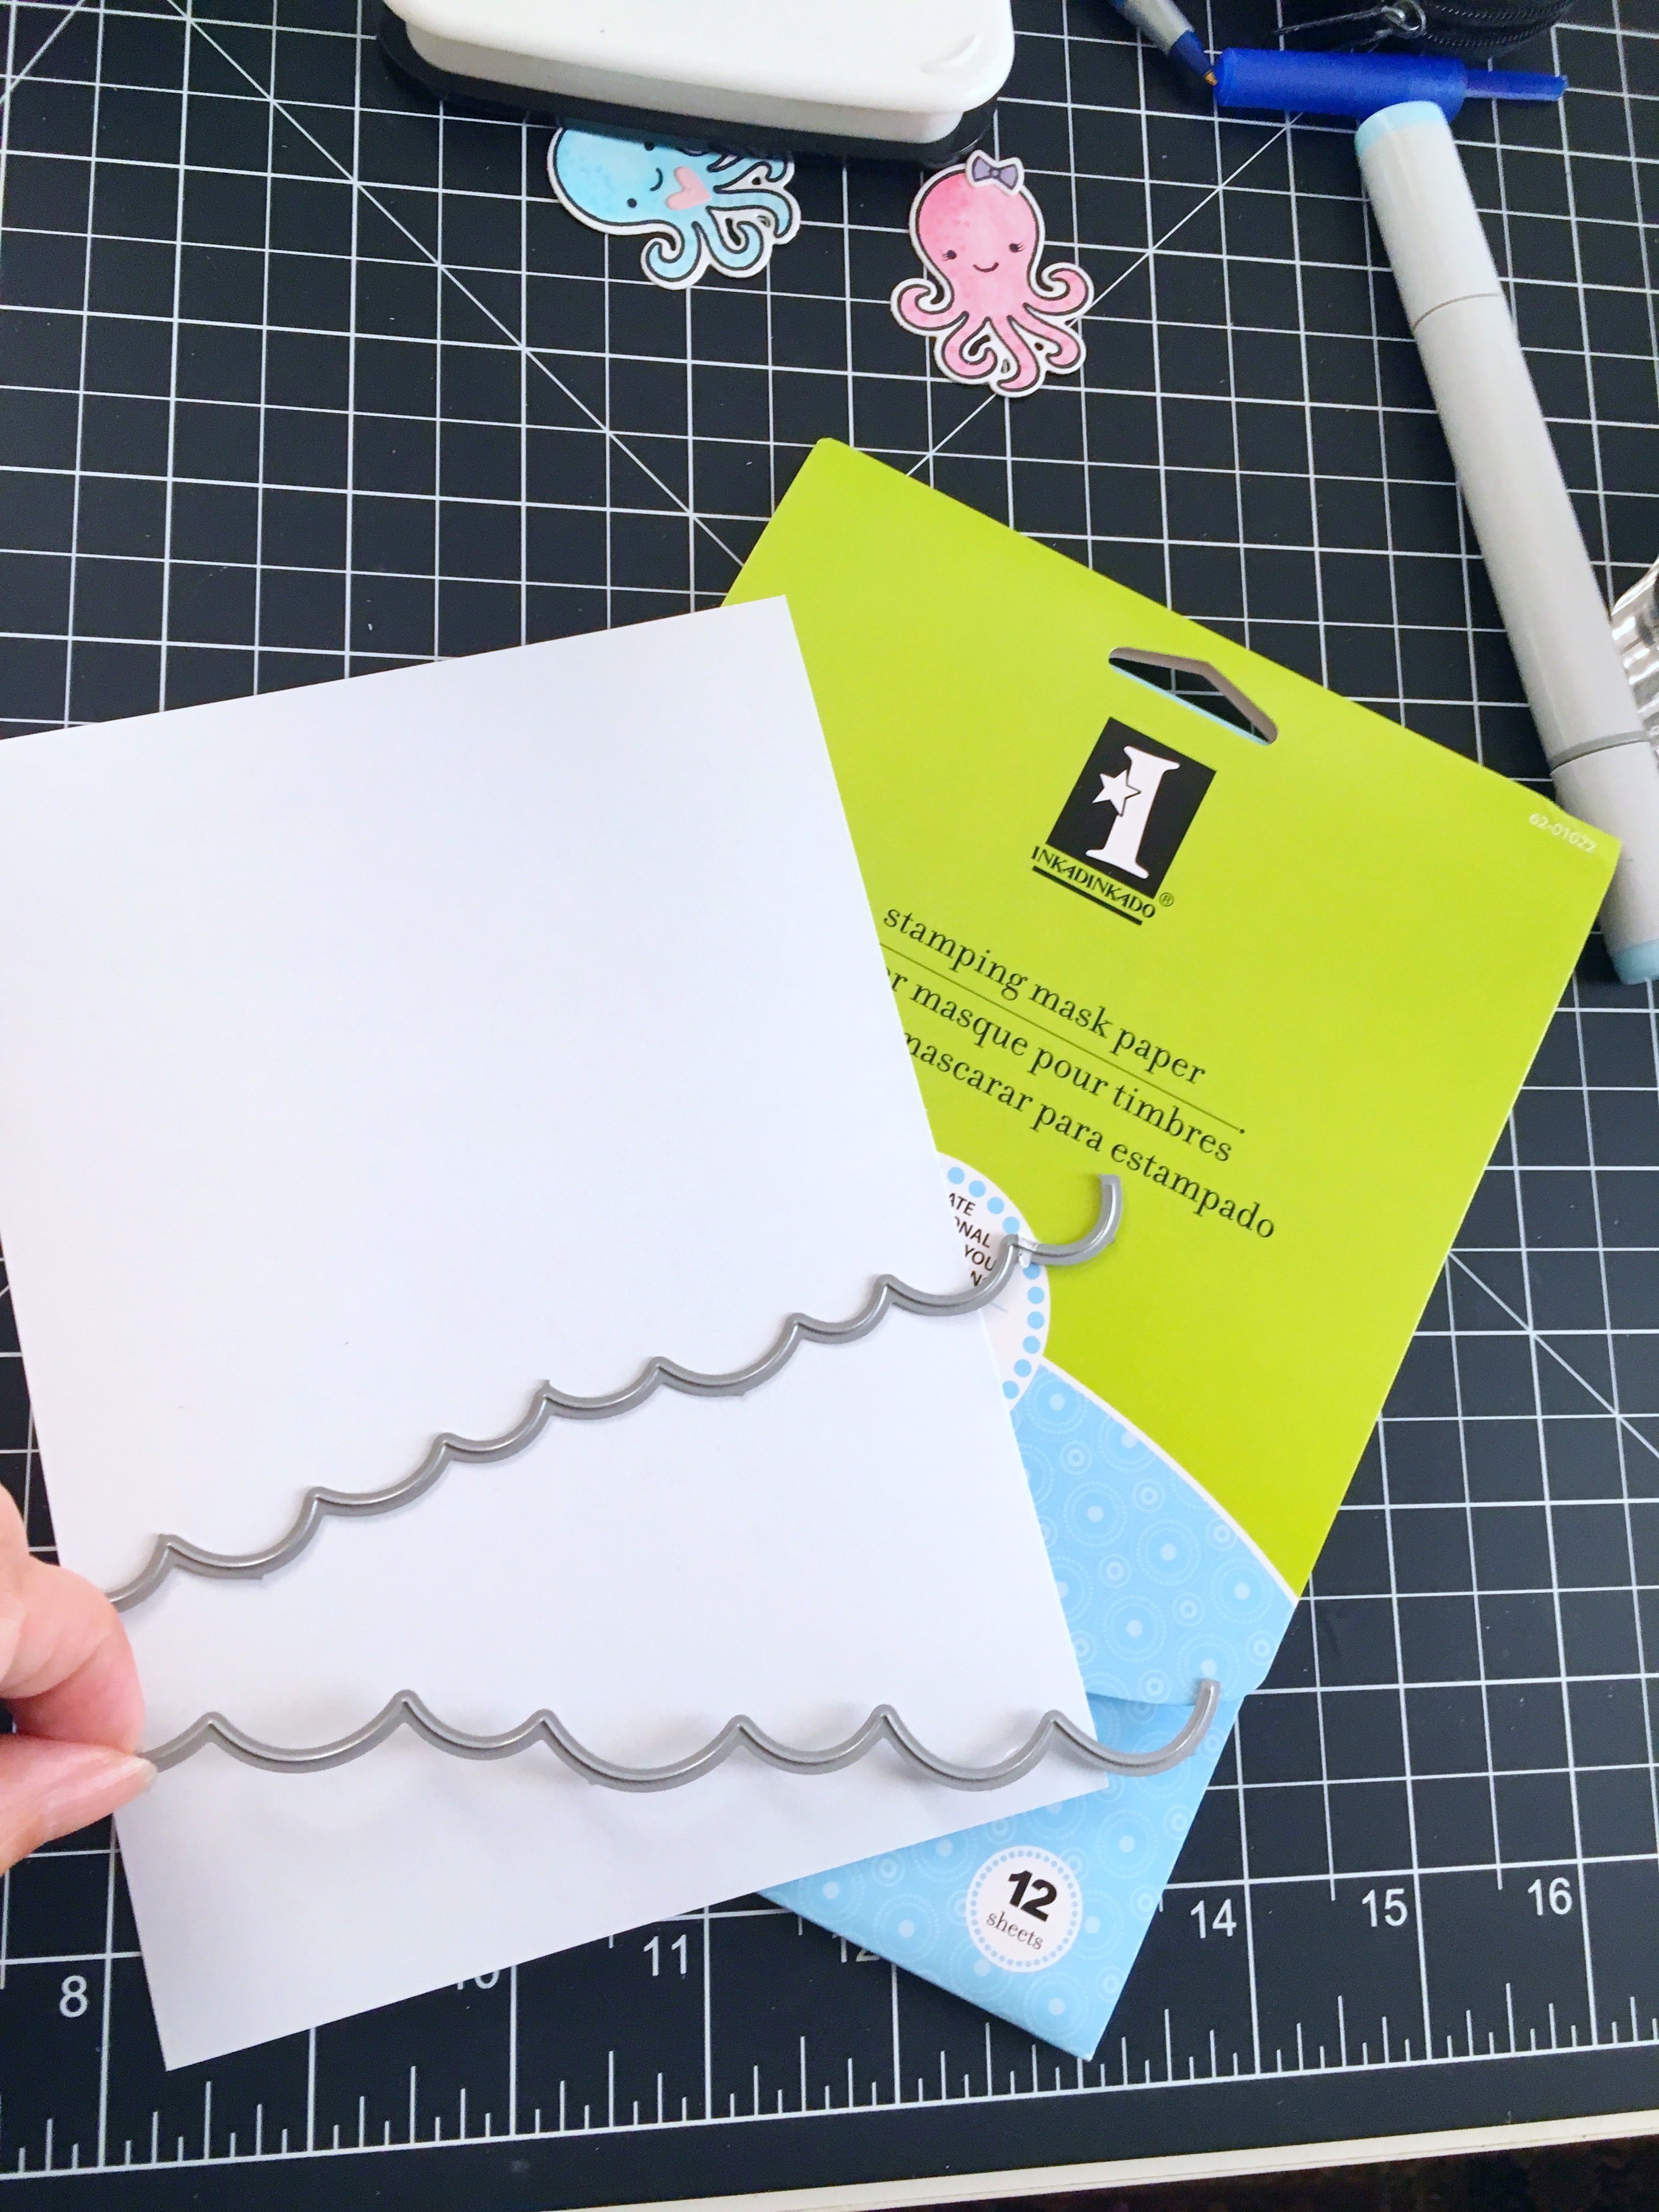
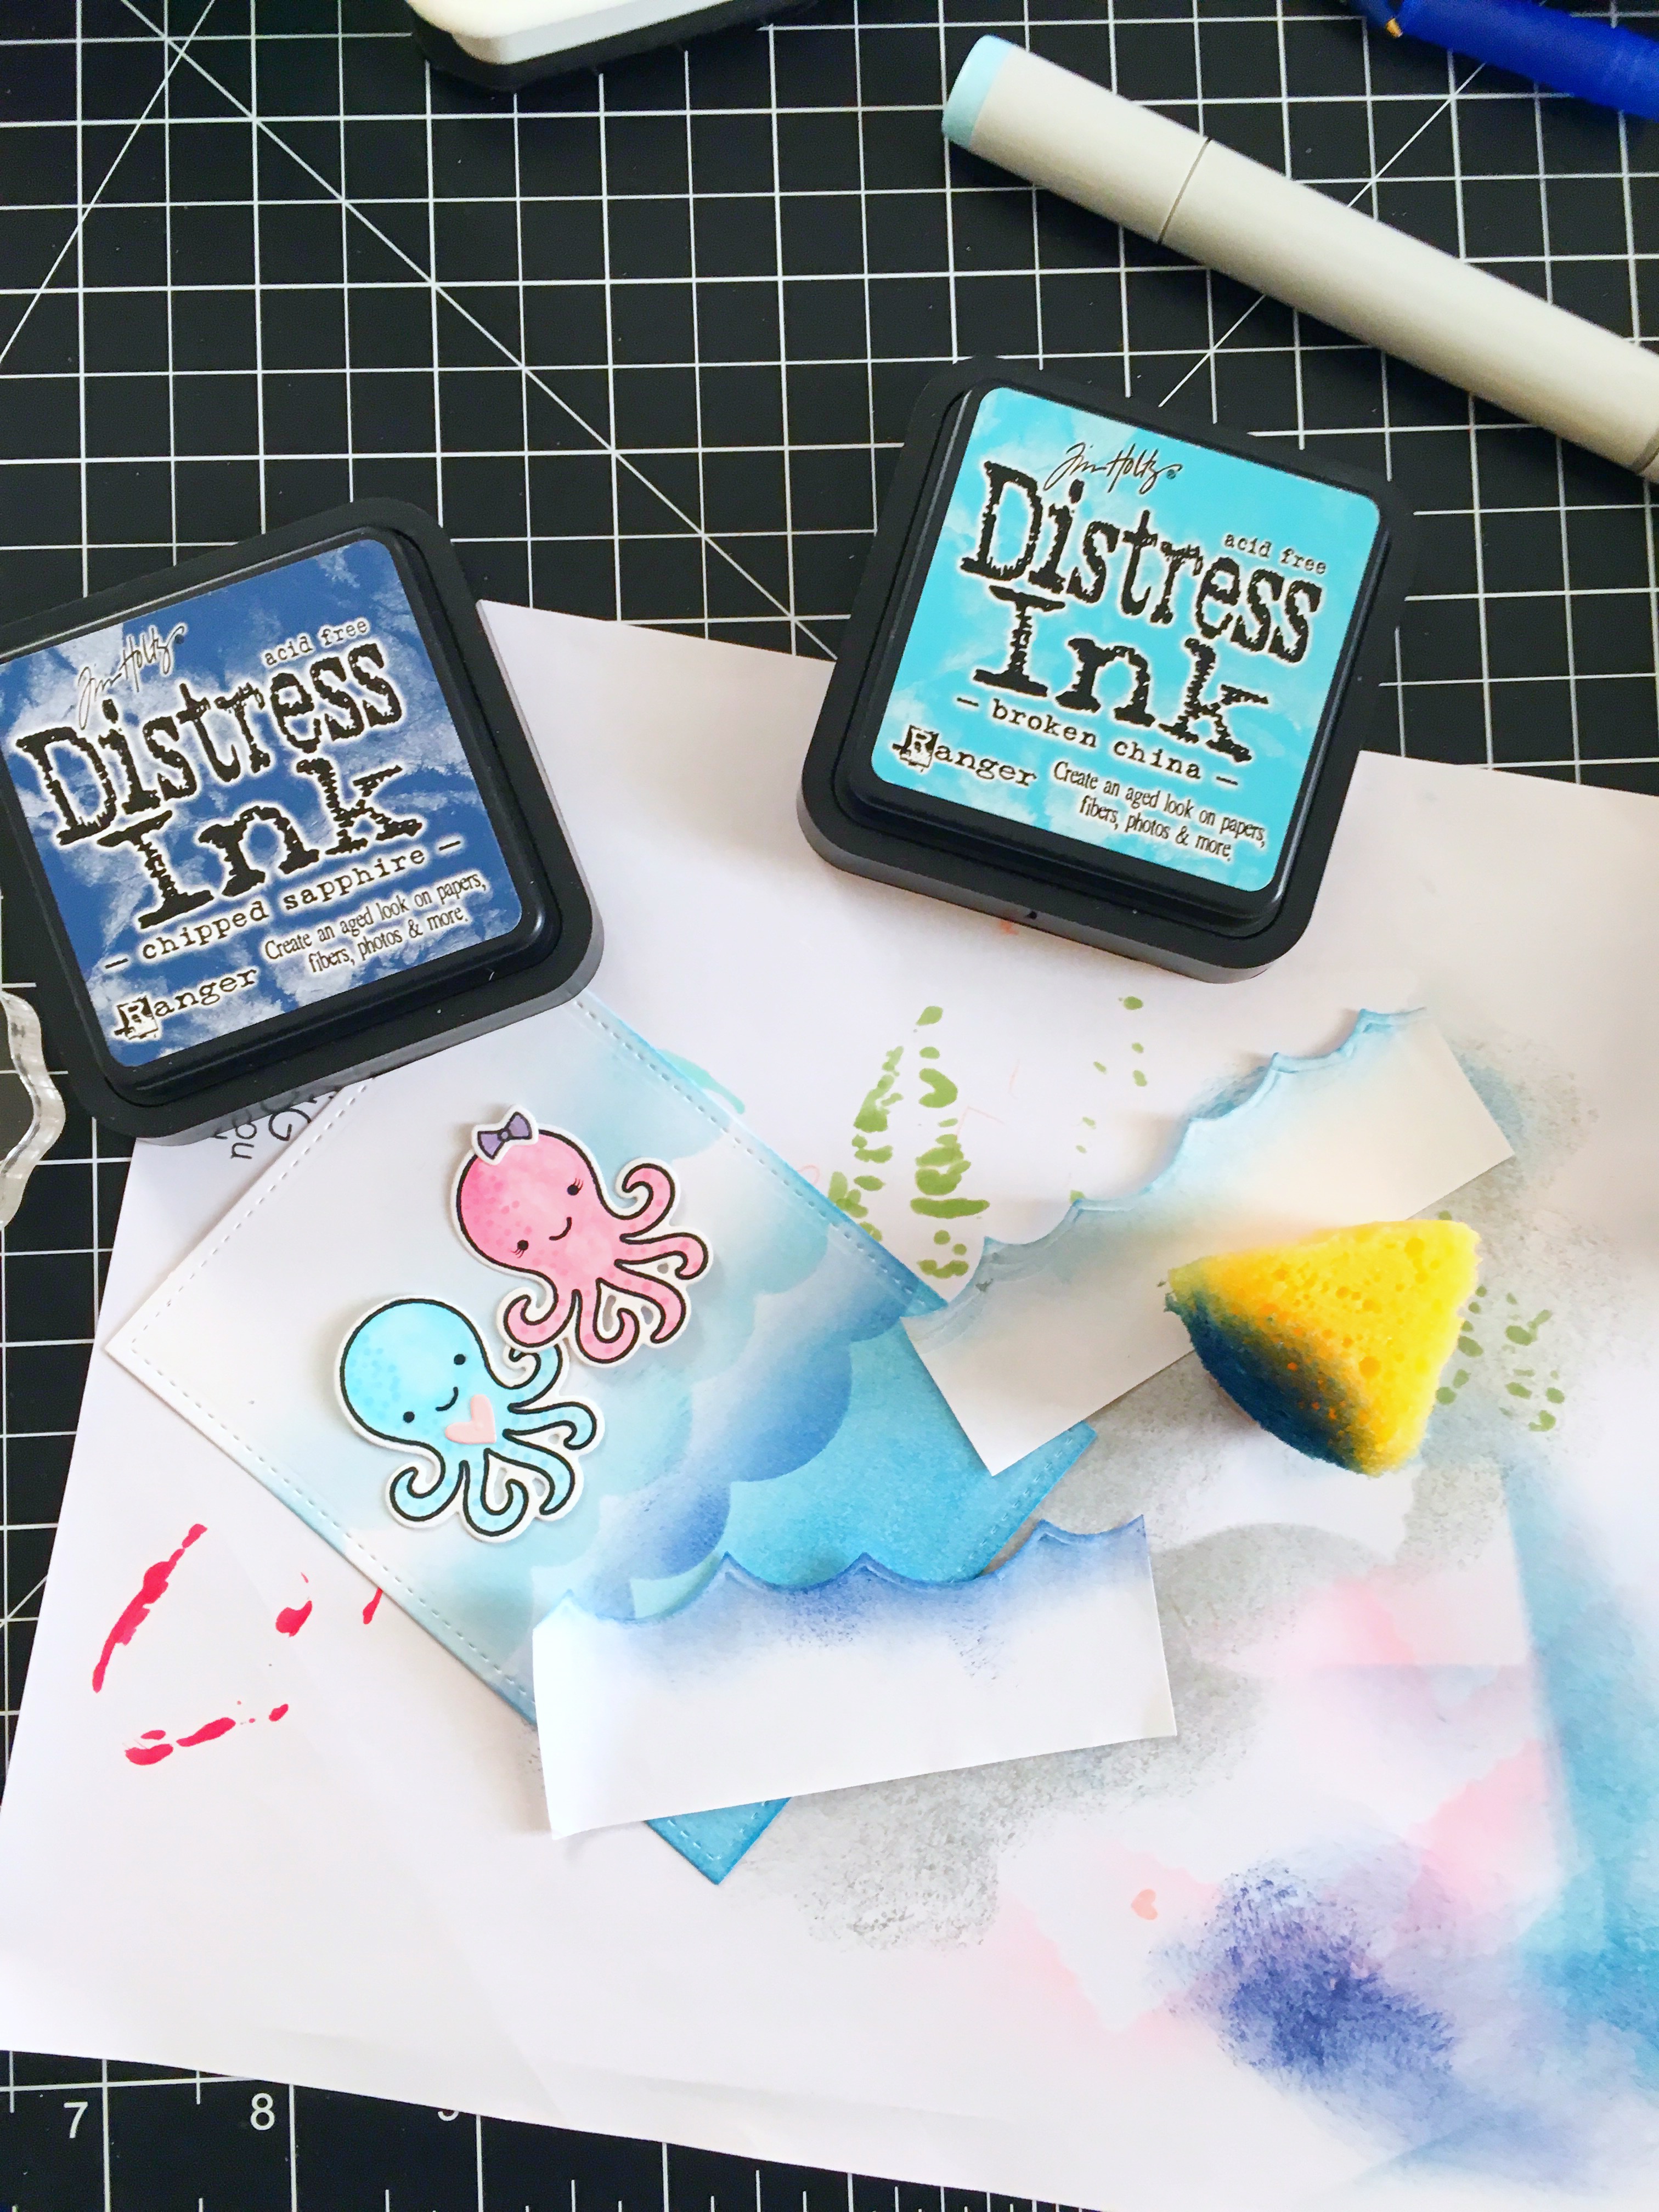
I started out by stamping my images on Strathmore Watercolor Paper with my Simon Says Stamp Intense Black Ink. I colored the images with my new Derwent watercolor pencils, and fuzzy cut my images with my honeybee precision cut scissors. I die-cut the hill and the grass border with the new Land Borders Die set.  To create the “rainbow” effect on my card, I used my pastel craft paint and paintbrush, swiping the paint across the card stock. Once the paint was dry to the touch, I used a smaller paintbrush to draw the heart on the rainbow.


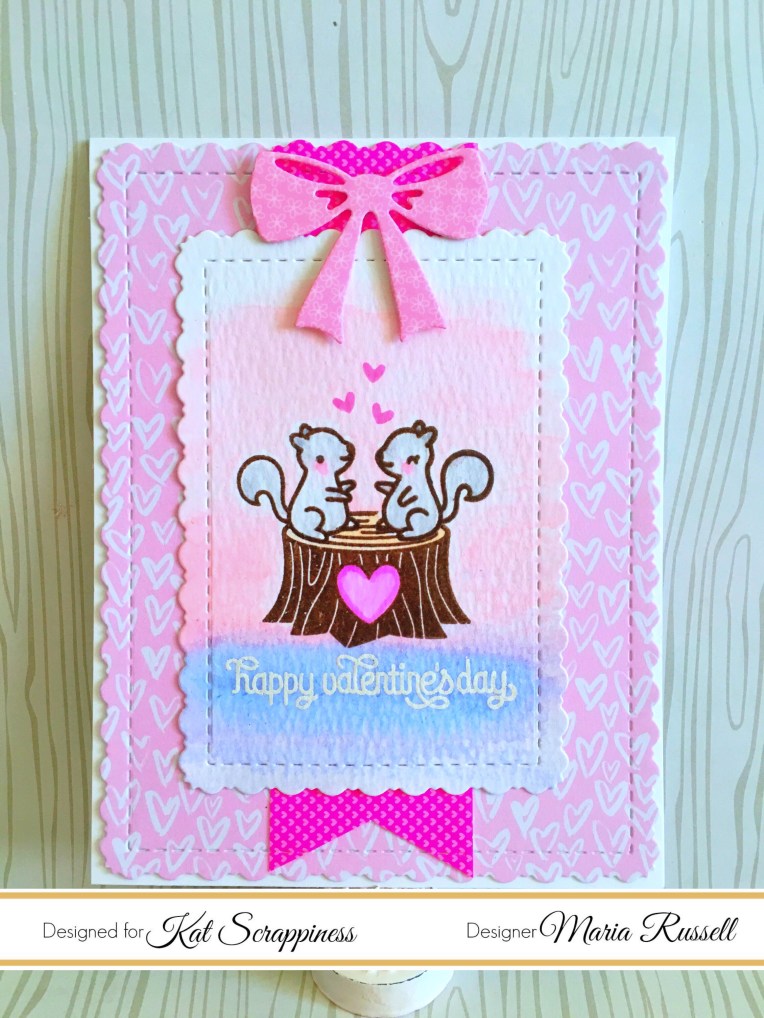
Before I adhered the colored images on my card panel, I stamped the background with the shamrock image included in the stamp set, adding some pink hearts to create my own patterned paper. I finished the design by adding the sentiment “Lucky that You’re My Friend” and used my white gel pen to add some dots on the rainbow.  Here’s my card:


nndpotofgold


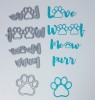
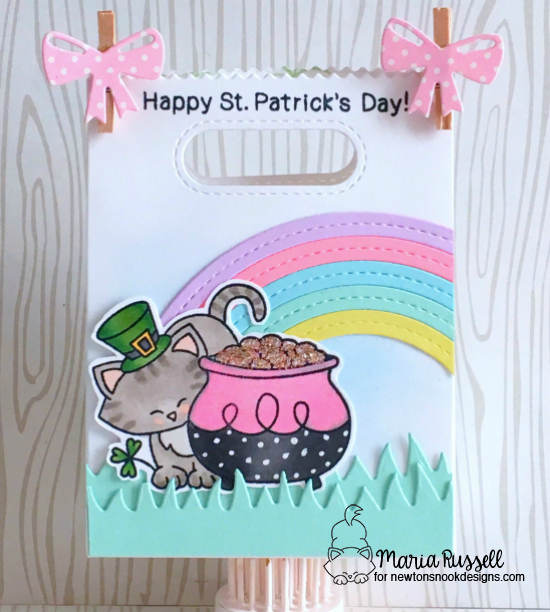
For the treat bag, I colored the other image with my Copic markers and added gold stickles to the Pot of Gold. I die-cut a rainbow with pastel colored card stock, and also die-cut the grass with the new Land Borders Die. I adhered all of my décor pieces to the treat bag. To finish the design and to be able to close the bag, I die-cut two small bows with the Pines and Holly die-set and adhered these bows on tiny clothespins.  Here’s the treat bag:


nndpotofgold2


What do you guys think? I hope you like my card and the treat bag. This Newton’s Pot of Gold stamp set and Land Border dies will be available for purchase on Friday, February 17, at 8:00 a.m. CST.

Would you like to win the “Newton’s Pot of Gold” Stamp Set? This set will be given away to ONE lucky winner!

Here’s how to win:

Comment on the NND blog and Design Team blogs (see list below)! The winner will be chosen at random from the collective reveal posts. Make sure to check out each of their blogs and comment for your chance to win. You will not know which blog has been chosen so the more you comment on the better your chances are of winning! You have until Thursday February 16th at 9pm CST to comment — winners will be announced on the blog post on Friday, February 17th.


Check out all the awesome Design Team Blogs below to enter:

Newton’s Nook Designs

Amanda Bodine

Holly Endress

Ellen Haxelmans

Larissa Heskett

Samantha Mann

Juliana Michaels

Naki Rager

Maria Russell (you are here)

Jennifer Timko

Tatiana Trafimovich


Valentine’s Day Card

Hello everyone! I’m back today to share with you a cute Valentine’s Card, showcasing products available at Kat Scrappiness, i.e. stamp sets by Lawn Fawn – Love Letters, Cheery Christmas and Mom & Me stamp sets, Stitched Fancy Scalloped Rectangle Dies, Inkadinkado masking paper and Gina Marie Designs ribbon bow dies. I apologize that I don’t have a process video today as I am currently traveling for a few days.

I wanted to create a very simple card with some masking technique.  I started out by die-cutting my watercolor card stock using the stitched fancy scalloped die. I stamped my two squirrels on Inkadinkado masking paper and fuzzy cut them with my precision scissors.

Using my stamping tool, I laid out my scene and stamped my squirrels twice with Versafine vintage sepia pigment ink.  I heat-set it with some clear embossing powder.  Using the mask I created, I covered the squirrels so I can stamp the wood stump on top of the squirrel. Removing the mask, I also set the tree stump with clear embossing powder.

I colored the images using my Zig clean color real brush markers.  I used my heating tool to dry them out a little, and covered the images with my mask.

I smudged some spun sugar and shaded lilac distress inks on a clear acrylic block, sprayed it with water, and used my flat watercolor brush to carefully start brushing the color onto the paper.  [Since the images are already covered with my masking paper, I was not afraid to do this technique.] I removed the mask and set it aside to dry.

I finished off the design by using a patterned paper by Crate Paper design, and die-cut a bow using a ribbon bow die by Gina Marie Designs.

Here is the final card:

img_3703

I hope you got inspired today. The supplies I have used are listed and linked below.  Thanks for stopping by and have an amazing day!

———SUPPLIES——–

You Octopi My Heart

Hello crafters! It’s Maria Russell here with you again today to share with you a cute Valentine’s card, showcasing the Stitched Fancy Scalloped Rectangle Dies, Stitched Rectangle Dies, Lawn Fawn Octopi My Heart stamp set and dies, and a LOT of products available now at Kat Scrappiness.


I wanted to record a process video earlier to show you how I made this shaker card but I am still recovering from laryngitis and it was so hard for me to talk and craft at the same time. I apologize if I don’t have a process video for you today.


I started out by die-cutting my shaker panel using the new Stitched Fancy Scalloped Rectangle Dies, with the Stitched Rectangle dies. I also used my acetate sheet to adhere to the panel to create the window for my shaker card. I stamped my images on Neenah solar white card stock and colored my Octopi with my Copic markers. I also stamped the coral images from an older Lawn Fawn Mermaid For You stamp set. I die-cut the images using the coordinating dies.


img_3461


I wanted to color my card stock using the stitched wave border dies to create some waves, so I used the Inkadinkado Masking paper to cut out my mask. I used my distress inks to color the background. I splattered some water using my watercolor brush to create “bubbles”. Somehow it didn’t look like I had enough bubbles so I used my Copic White Opaque paint and splattered some white paint all over my background. This made it look more realistic!

img_3460 img_3459


I finished off the design of the card by using some beautiful sequin mixes from Kat Scrappiness for my shaker element. I used 6mm Metallic Grape, 6mm Sparkling Snow Sequin Mix, White Diamond Sequin Mix and some green seed beads I had from my stash.


Here is my card:

img_3458

I hope you got inspired today.  Thank you so much for stopping by.  Have an amazing day!

———–SUPPLIES——————–

https://static.inlinkz.com/ppr.js

Winter Scene Christmas Card

Is everyone ready for Christmas? To tell you the truth, I’m not. This year, I am way behind the shopping and all the other things that I need to do before Christmas. The only thing I was able to do last weekend was to at least take the fall décor down and put the Christmas décor up. I am waiting for my kids to arrive so we can all decorate the tree. But enough about my procrastination!

I was listening to some Christmas music today and got inspired to create this Winter Scene Christmas card, showcasing the Winter House Scene Die and Merry Christmas script die by Gina Marie Designs, available at Kat Scrappiness. This die is a must-have! You can easily mass-produce the card below. I promise you, it’s really easy. Please watch the process video below to see how I made the card.

final-23

Here’s the process video:


I hope you got inspired today. Supplies are listed and linked below in case you are interested to purchase them.

Have a wonderful day!


Screen/Panel Card

I am so happy to be chosen as one of the many talented monthly contributors for Diecut Crazy Magazine and this screen panel card below, is my first project submission. Our theme for the month of July is “Summer”. I have to admit that I was just a bit perplexed. I didn’t have any stamp sets with a summer theme. The majority of my dies are for Halloween, fall, Christmas and spring. I had to look back at some of my past projects and for some reason I couldn’t find any inspiration that would perfectly describe summer.

Processed with Moldiv IMG_4437 IMG_4438 IMG_4439 IMG_4440

In my opinion, summer is all about spending quality time with my husband and kids, traveling around, barbecues, loving the longer daylight, playing with pinwheels, kites, picking flowers, bird-watching and just generally enjoying the great outdoors! So I decided to capture these moments and showcase it through this Screen/Panel Card. The sentiment that I used for this card is exactly what summer is all about ~ it doesn’t have to be perfect to be WONDERFUL!

Supplies and Tools I used:

Screen/Panel Card – 6 x 12 Card Stock (on the 12-inch side, score at 3 inches, 6 and 9). This will create the screen.

All Four Panels (Card Stock)

Bottom Layer: 2 3/4″ x 4 1/2″
Middle Layer: 2 1/2″ x 4 1/4″
Top Layer: 2 1/4″ x 4″

Stamp Sets – Perfect Pennants Stamp set, For the Birds Stamp set, Sweetie Pie Stamp set

Pinwheel sizzlit die
Decorative Punch (I used this punch to create the “legs” of the screen)
Petite petals punch
Banner Punch
Spellbinders Cherry Blossom Die
Fanciful Wings embosslits
Banners Framelits Dies
Grass Die (taken from the Garden Bench Pop it Ups Die)
Rhinestones
Brown Embossing Powder
Copic Markers
Bahama Breeze Memento Ink
Victorian Velvet Distress Ink
Xyron Sticker Maker (I used this to adhere the branch and grass die cuts to my project ~ it makes my life a lot easier!)
Glue dots and stampin dimensionals

Blog: http://www.mariarusselldesigns.wordpress.com
Facebook: http://www.facebook.com/mariarusselldesigns
YouTube Channel: http://www.youtube.com/rprmlr772