You Are My Happy Ending by Jessica Lynn Original

JLOHappyEndingGraphic


Today I am showcasing a new stamp set by www.jessicalynnoriginal.com called You Are My Happy Ending Pirate Kids 4 x 4 stamp set.  Here’s what the stamp set looks like:

JLOHEnding

Since I didn’t receive the physical stamp set in time for the launch, I had to work on the digital images.  I printed them off on neenah solar white card stock with my laser printer, and colored the images in with my Copic markers.  I fuzzy-cut the images with my precision cut scissors and set them aside. I stamped other images from stamp sets that I had from my collection to decorate my front panel.   Here’s my card today:

JLOHappyEndingcard

I hope you got inspired today.  Please visit www.jessicalynnoriginal.com for more cute stamps and product inspiration.  If you also would like to check the other DT projects, please click on the link below. Have a great weekend!


Jessica Lynn Original

Lisa Reynolds Bzibziak

Maria Russell (you are here)

Jeanie Ellis

Tasha RJ

Kelli Horger

Carolyn Ellenberg LaBille

 ————SUPPLIES———-


Easy Thanksgiving Crafts with Xyron

I hope you are all having a great week so far.  All week long, the Xyron Design Team will be sharing easy Fall/Thanksgiving projects on the Xyron Facebook group.  For my projects today, I am making a bunch of treat bags to give to my guests for Thanksgiving.  I also made some place card holders and decorated a bunch of LED candles to decorate my table.


If you don’t have the supplies to create the treat bag, you can definitely buy some bags from the dollar store or craft stores, and decorate them with silk fall leaves or any other fall-themed embellishments, and fill them with surprise treats for your guests.


I started out by die-cutting some American Crafts card stock using my Mama Elephant Treat Bag die.  To decorate the bag, I die-cut the pumpkin with the Mama Elephant pumpkin add-on dies.  For my sentiment, I die-cut the “Thank You” script using my Kat Scrappiness Thank you script die.


XyronThanksgiving1


I assembled the bag using my Xyron Mega Runner.  I also used the mega runner to adhere the pumpkin.  To make things easier, I used my Xyron sticker maker to adhere the tiny pieces that goes with the pumpkin, as well as the Thank You Script sentiment.  I filled my bag with some treats.


IMG_5966IMG_5967


Here’s the treat bag:


XyronThanksgiving2


Since I have some leftover leaves that I die-cut from a previous project, I decided to make some place card holders, that will hold the utensils and a note pad for my guests to write what they are thankful for this year.  Here’s what it looks like:


XyronThanksgiving3


I also decorated some LED candles to decorate my table, using my Xyron sticker maker and Mega Runner.


XyronThanksgiving4


So Much to be Thankful For Card with ClearSnap and Xyron

Hello my crafty friends! I hope you are having a great day!  I am super thrilled to share my card today.  The Xyron design team received some amazing products from ClearSnap and the team will be showing you projects this week, showcasing some ink pads by ClearSnap and adhesives by Xyron.


I started out by die-cutting some fall leaves using a die set by Lawn Fawn on Neenah solar white 110 lb. card stock and colored them in using the Color Box Cat’s Eye.  The colors I received are perfect for fall.  I dabbed the ink pad onto the card stock directly until I got some nice colors on the leaves.


I also die-cut an A2 size Neenah solar white card stock, using my Cross Stitched Rectangle Die by Kat Scrappiness.  I also used a die from my collection to die-cut the wreath.  I adhered the wreath onto my card front.


Before I adhered the leaves onto the wreath, I decided to stamp my sentiment first using my stamping tool, with the Coal Ink box.  I wanted my sentiment to look crisp and bold against the colorful fall leaves.


I run the colorful die-cut leaves with my Xyron 1.5 Inch Sticker Maker so that I can have edge-to-edge adhesive on the leaves and it will be easier to adhere them all onto my card.


IMG_5848


You can easily mass-produce this card.  I think it turned out so simple yet elegant and is perfect to give to family and friends for the Thanksgiving holiday coming up next month.


XyronClearsnap


I hope you like my card today.  For more project inspiration, please visit ClearSnap at www.clearsnap.com and also the Xyron Facebook page.  Have an amazing day!


Xyron and Paper Smooches Collaboration

Hello my crafty friends!  I am super excited because today, the Xyron Design Team is collaborating with Paper Smooches.  Thank you Paper Smooches for the goodies that you have sent us.


For my cards today, I am showcasing the Chubby Chums stamp set and the Bunny Card Die .  This set is so adorable!  Please visit www.papersmooches.com to purchase cute stamps and dies.


I started out by stamping my images on Neenah solar white card stock and colored the images in with my Copic markers.   I fuzzy-cut the images with my precision scissors.


IMG_5669


Halloween is fast-approaching and I wanted to show you that you can use any stamp set for pretty much any occasion.  I used a frame die from my stash for my little “chubbies” and used my favorite Xyron Mega Tape Runner to adhere it onto my card front.  I also used the tape runner to adhere the critters.


IMG_5671


Here’s the card:


XyronPaperSmooch1


Aren’t they adorable?  I added a cute witch’s hat to my Owl and a trick-or-treat bag to my cat.


Since I colored so many of the images I wanted to create a birthday card.  I used dies from my stash and to adhere the intricate bow on my card front, I used my Xyron 1.5 Inch Sticker Maker.  When I adhere intricate dies, I always use either my sticker maker or my Xyron Creative Station Lite.


IMG_5677


Here’s the birthday card:


XyronPaperSmooch2


Paper Smooches was very generous and also sent us the Bunny Card Die.  Here’s a little foldable treat bag that I made:


XyronPaperSmooch3


I hope you like my projects today.  Have a wonderful day!


Memo Board & Scrapbook Layout with 1Canoe2/American Crafts & Xyron

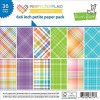
Hello my crafty friends! I am back today to share with you two projects that I recently created showcasing a collection of beautiful papers and ephemera from 1Canoe2 and American Crafts. A huge “thank you” to 1Canoe2American Crafts and Xyron for all of the amazing products we got to play with. They are extremely beautiful!

For my first project, I created a very simple (but useful) Dry-Erase Memo Board using an inexpensive frame from Ikea. Here are the items that I used:

IMG_4682

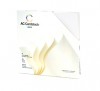
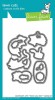
I started out by cutting the paper to fit inside the frame. I particularly chose this frame because it has a magnetic closure inside so I can change the paper/photo for each season.    To decorate the inside and the outside of the frame, I chose the word Hello, the arrow, butterfly and the flowers from the Hazelwood Collection Cork Die-cut shapes and ran it through my Xyron Creative Station Lite, using a repositionable adhesive. This is the best way to decorate a frame so that nothing is permanent and you can change the embellishments for every season.

To finish off the design, I decorated the outside of the frame using the washi tape and adhered the flowers. Here’s the first photo:

Xyron1Canoe2Proj2-2

Here’s when I wrote my note using a whiteboard marker:

Xyron1Canoe2Proj3

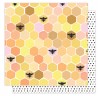
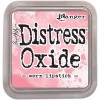
For my second project, I wanted to create a 12 x 12 page layout of my trip to The Maldives with my husband last July. I am showcasing the Sweet as Honey paper from the Hazelwood Collection, and my newly acquired Distress Oxide Inks.

IMG_4728

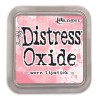
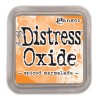
I started out by cutting pieces of the honeycomb with my precision scissors. Using a plain 12 x 12 card stock and my blending foam tool, I distressed my background with the Worn Lipstick and Spiced Marmalade distress oxide inks. I love this color combination on white background.

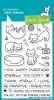
I used my watercolor brush to splatter some water on my card stock to get the distress look. Using a paper towel, I dabbed it onto the cardstock to lift the color. It turned out really beautiful! To add a little bit of whimsy and color, I used a stamp from my stash adding hot pink little dots to the distressed background.

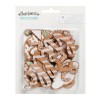
To finish my design, I adhered the honeycomb paper to my layout with my Xyron mega tape runner. I then ran the cork embellishments through my Xyron Creative Station Lite using a permanent adhesive.  I love using Xyron adhesives to my scrapbook layout because they are acid-free.

Here’s my finished layout:

Xyron1Canoe2

I hope you got inspired today and like my projects. I have listed and linked the supplies that I have used below.  Please visit the 1Canoe2 website to shop for amazing products.   Here’s the link to their shop: https://1canoe2.com

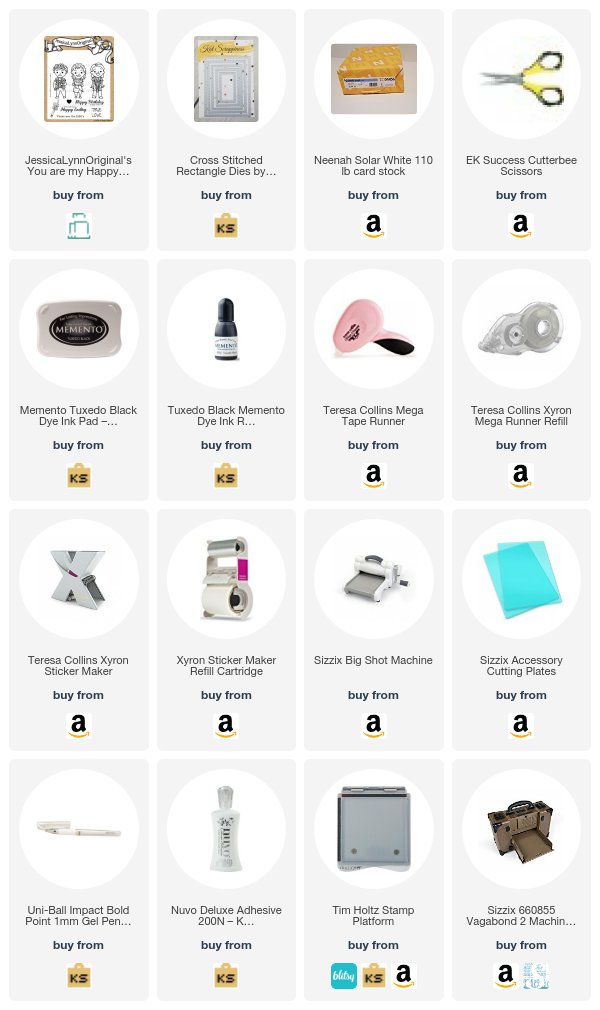
—————-SUPPLIES—————–

Lawn Fawn and Xyron – Meow You Doin’

Hello my crafty friends. I am so happy to share this blog post today. Xyron is collaborating with Lawn Fawn and the Xyron design team will be sharing projects showcasing Lawn Fawn products (from March 27 to 31, 2017).  We’re also having a giveaway to celebrate! Just leave a comment on any (or all) of the Lawn Fawn projects we share on our Facebook page (https://www.facebook.com/xyroninc/) all week long and someone is going to win a $50 prize pack – a $25 LF gift certificate and a Xyron Mega Runner!

If you have been following me for a while, you know I LOVE all things LAWN FAWN. I have been a huge fan for years!  Please check out the new Lawn Fawn products at www.lawnfawn.com or for details about this hop, visit the Lawn Fawn blog at: http://lawnfawn.blogspot.com/.

I have a birthday pop-up box for you today and a process video below for Meow You Doin’  card, showcasing the Meow You Doin’ stamp set and dies, 6×6 Perfectly Plaid Rainbow paper pad, and a lot of other Lawn Fawn products that I have from my stash.

I started out by stamping my images on Neenah solar white card stock and colored them in with my Copic markers. I die-cut the pop-up box using a light blue card stock. I also die-cut the square boxes using the dies with the rainbow paper pad, and used my grassy hills border dies to die-cut the grass for my scene.

Before I assembled the box, I stamped some clouds and the sun on a white square piece of card stock. I assembled the box and started decorating it with the rest of my die-cut pieces.

I stamped the script “happy” and die-cut the piece with its coordinating die. I used my Xyron sticker maker to adhere it to the front flap of my card.   I love using the sticker maker for this type of project because it really makes my life easier and the die-cut piece is perfectly adhered to the card.

XyronLFCollabe1

Here’s the second card with a process video below.

XyronLFCollab2

Here’s the process video:

Here’s the last card that I made, with the Meow You Doin stamps and dies, and an older stamp set called “Lucky Stars”.  I hope you like all of my projects, and got inspired today.  I have also listed and linked the supplies I have used.  Have an amazing day!

xyronlfcollab4

 ———SUPPLIES——–
(Some affiliate links may have been used AT NO ADDITIONAL COST TO YOU)