

Hello Newton’s Nook fans! I am so glad you joined me today and I am also up on the Newton’s Nook blog, sharing this cute Halloween card from the new August product release. I didn’t get to join in the fun because I was traveling but rest assured that you will be seeing a lot more throughout the month.
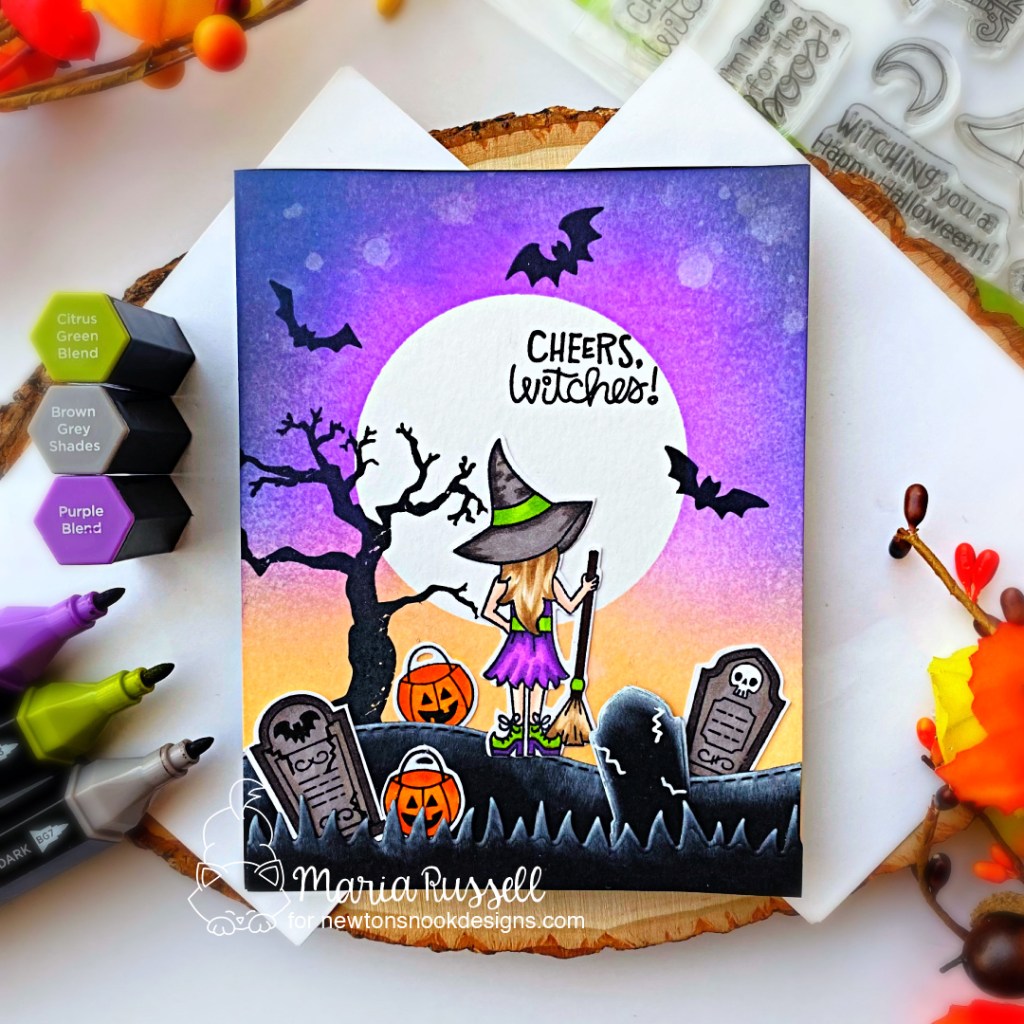
It is so much fun to mix and match a couple of stamp sets and for today’s project, I am showcasing the Brooms & Boos stamp set and dies, Count Newton stamp set and dies, along with the Spooky Street Stamp set.
Step-by Step Instructions:
- Stamp images on Neenah solar white card stock with alcohol-friendly ink and color the images in with alcohol markers.
- Die-cut colored images using coordinating dies.
- Die cut some extra elements on black card stock to create the spooky scene, using the land borders die set and extra tombstone from the Count Newton die set.
- Apply some Unicorn ink on the edges of the tombstone, land and grass borders for added texture.
- Use a circle die to die-cut some masking paper and adhere to an A2-size panel of Bristol smooth white card stock.
- Ink-blend this panel with distress oxide ink.
- Use distress sprayer to add water droplets to the ink-blended panel for added texture and interest.
- Pick up excess water with some paper towel and remove the mask.
- Stamp the spooky tree, bats and sentiment using black ink.
- Adhere the hill and grass border on the card using tape runner.
- Use white gel pen to add some detail to the black tombstone.
- Adhere the rest of the elements to finish the scene.
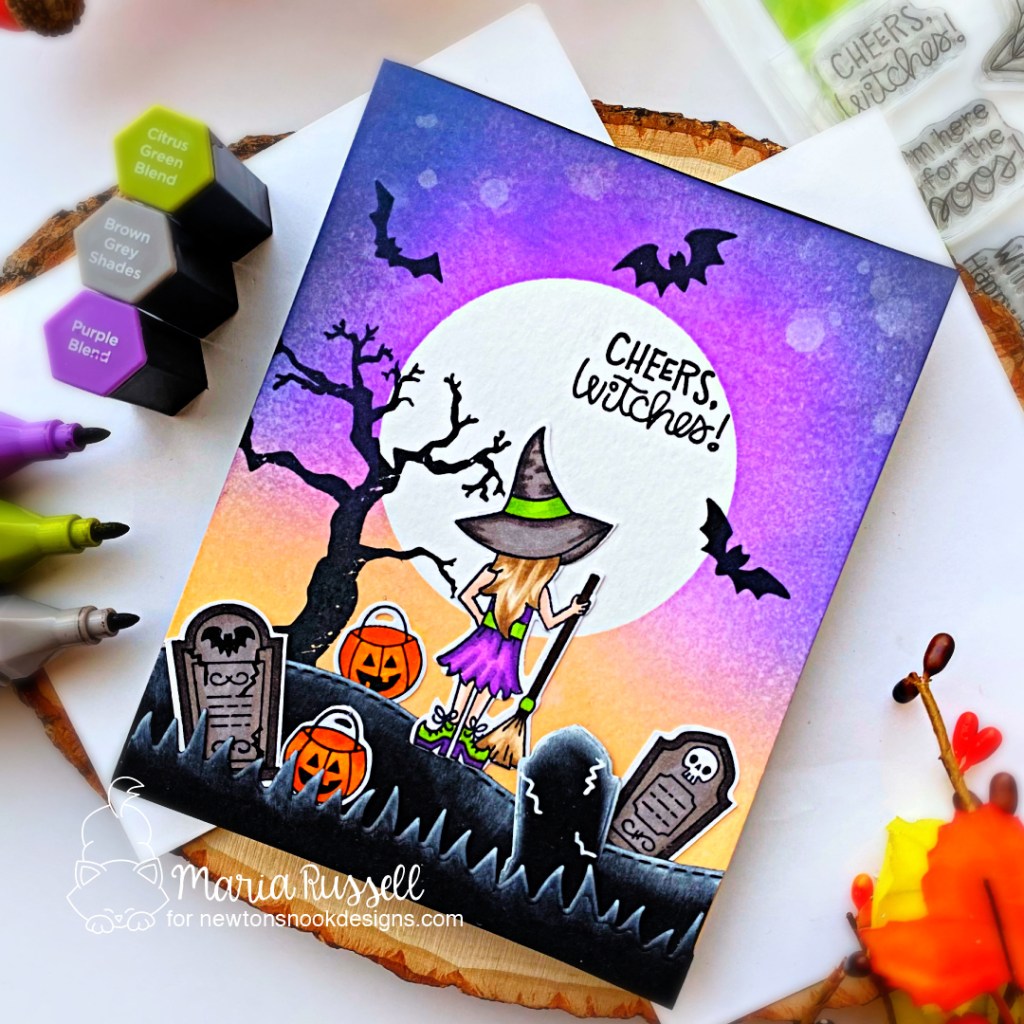
I really LOVE creating halloween cards and this will be the first of many halloween cards I’ll be posting on this blog. Here’s a closer look:

The white pigment ink on the tombstone, hill and grass border added more texture and interest to this spooky scene, don’t you think?
That is all for today! I hope this spooky card will entice you to start thinking about Halloween! The supplies are listed and linked below for your reference*. Thanks so much for stopping by today, and happy crafting!
Love,
——–supplies——
DISCLOSURE. *I belong to a few design teams with affiliate programs and link these supplies at the end of each blog post. If you click on my affiliate link, I will receive a small commission at no additional cost to you. I use these funds to pay for the cost of running this blog. If you like what I do, please consider supporting me by clicking on these links. Thank you so much!
