I am so happy that you are here today and I’m also on the Newton’s Nook Designs blog sharing this card today, showcasing some of my favorite retiring stamps and dies. They are selling really fast so grab them while you can.

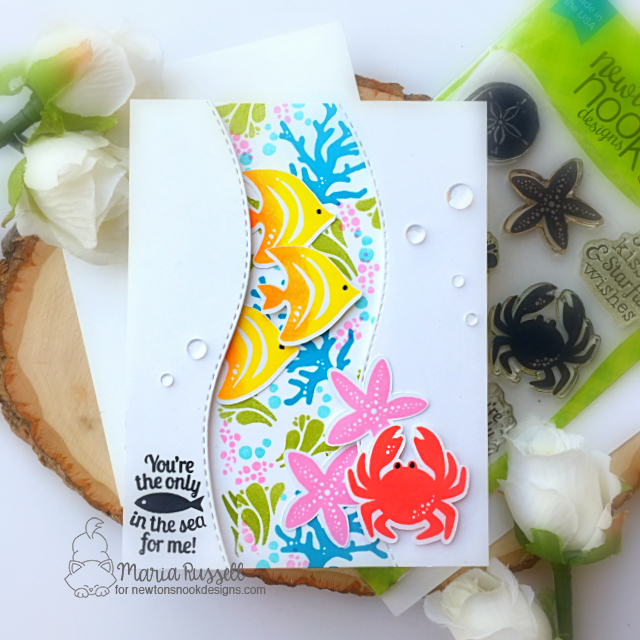
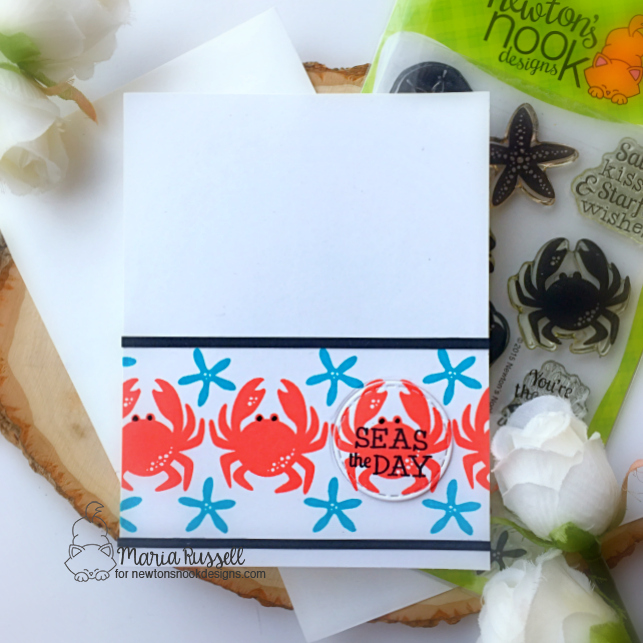
For my project today, I am showcasing the Manatee-rific Stamp Set along with the Tranquil Tides Stamp Set and Coordinating Dies.
Here’s how I made this card:
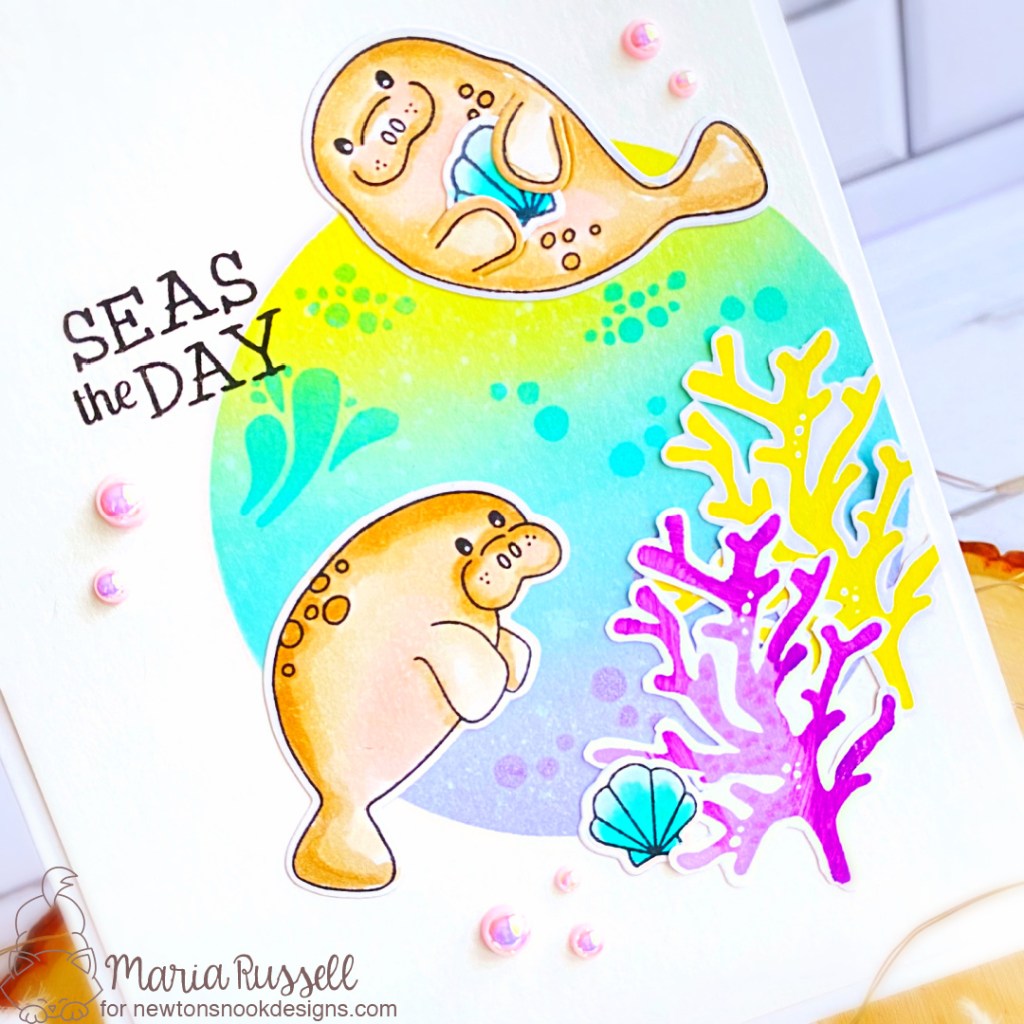
- stamp the images on some Neenah Classic Crest Solar white card stock. It is really helpful if you have the Misti Stamping Tool to get a really nice impression of your stamped images.
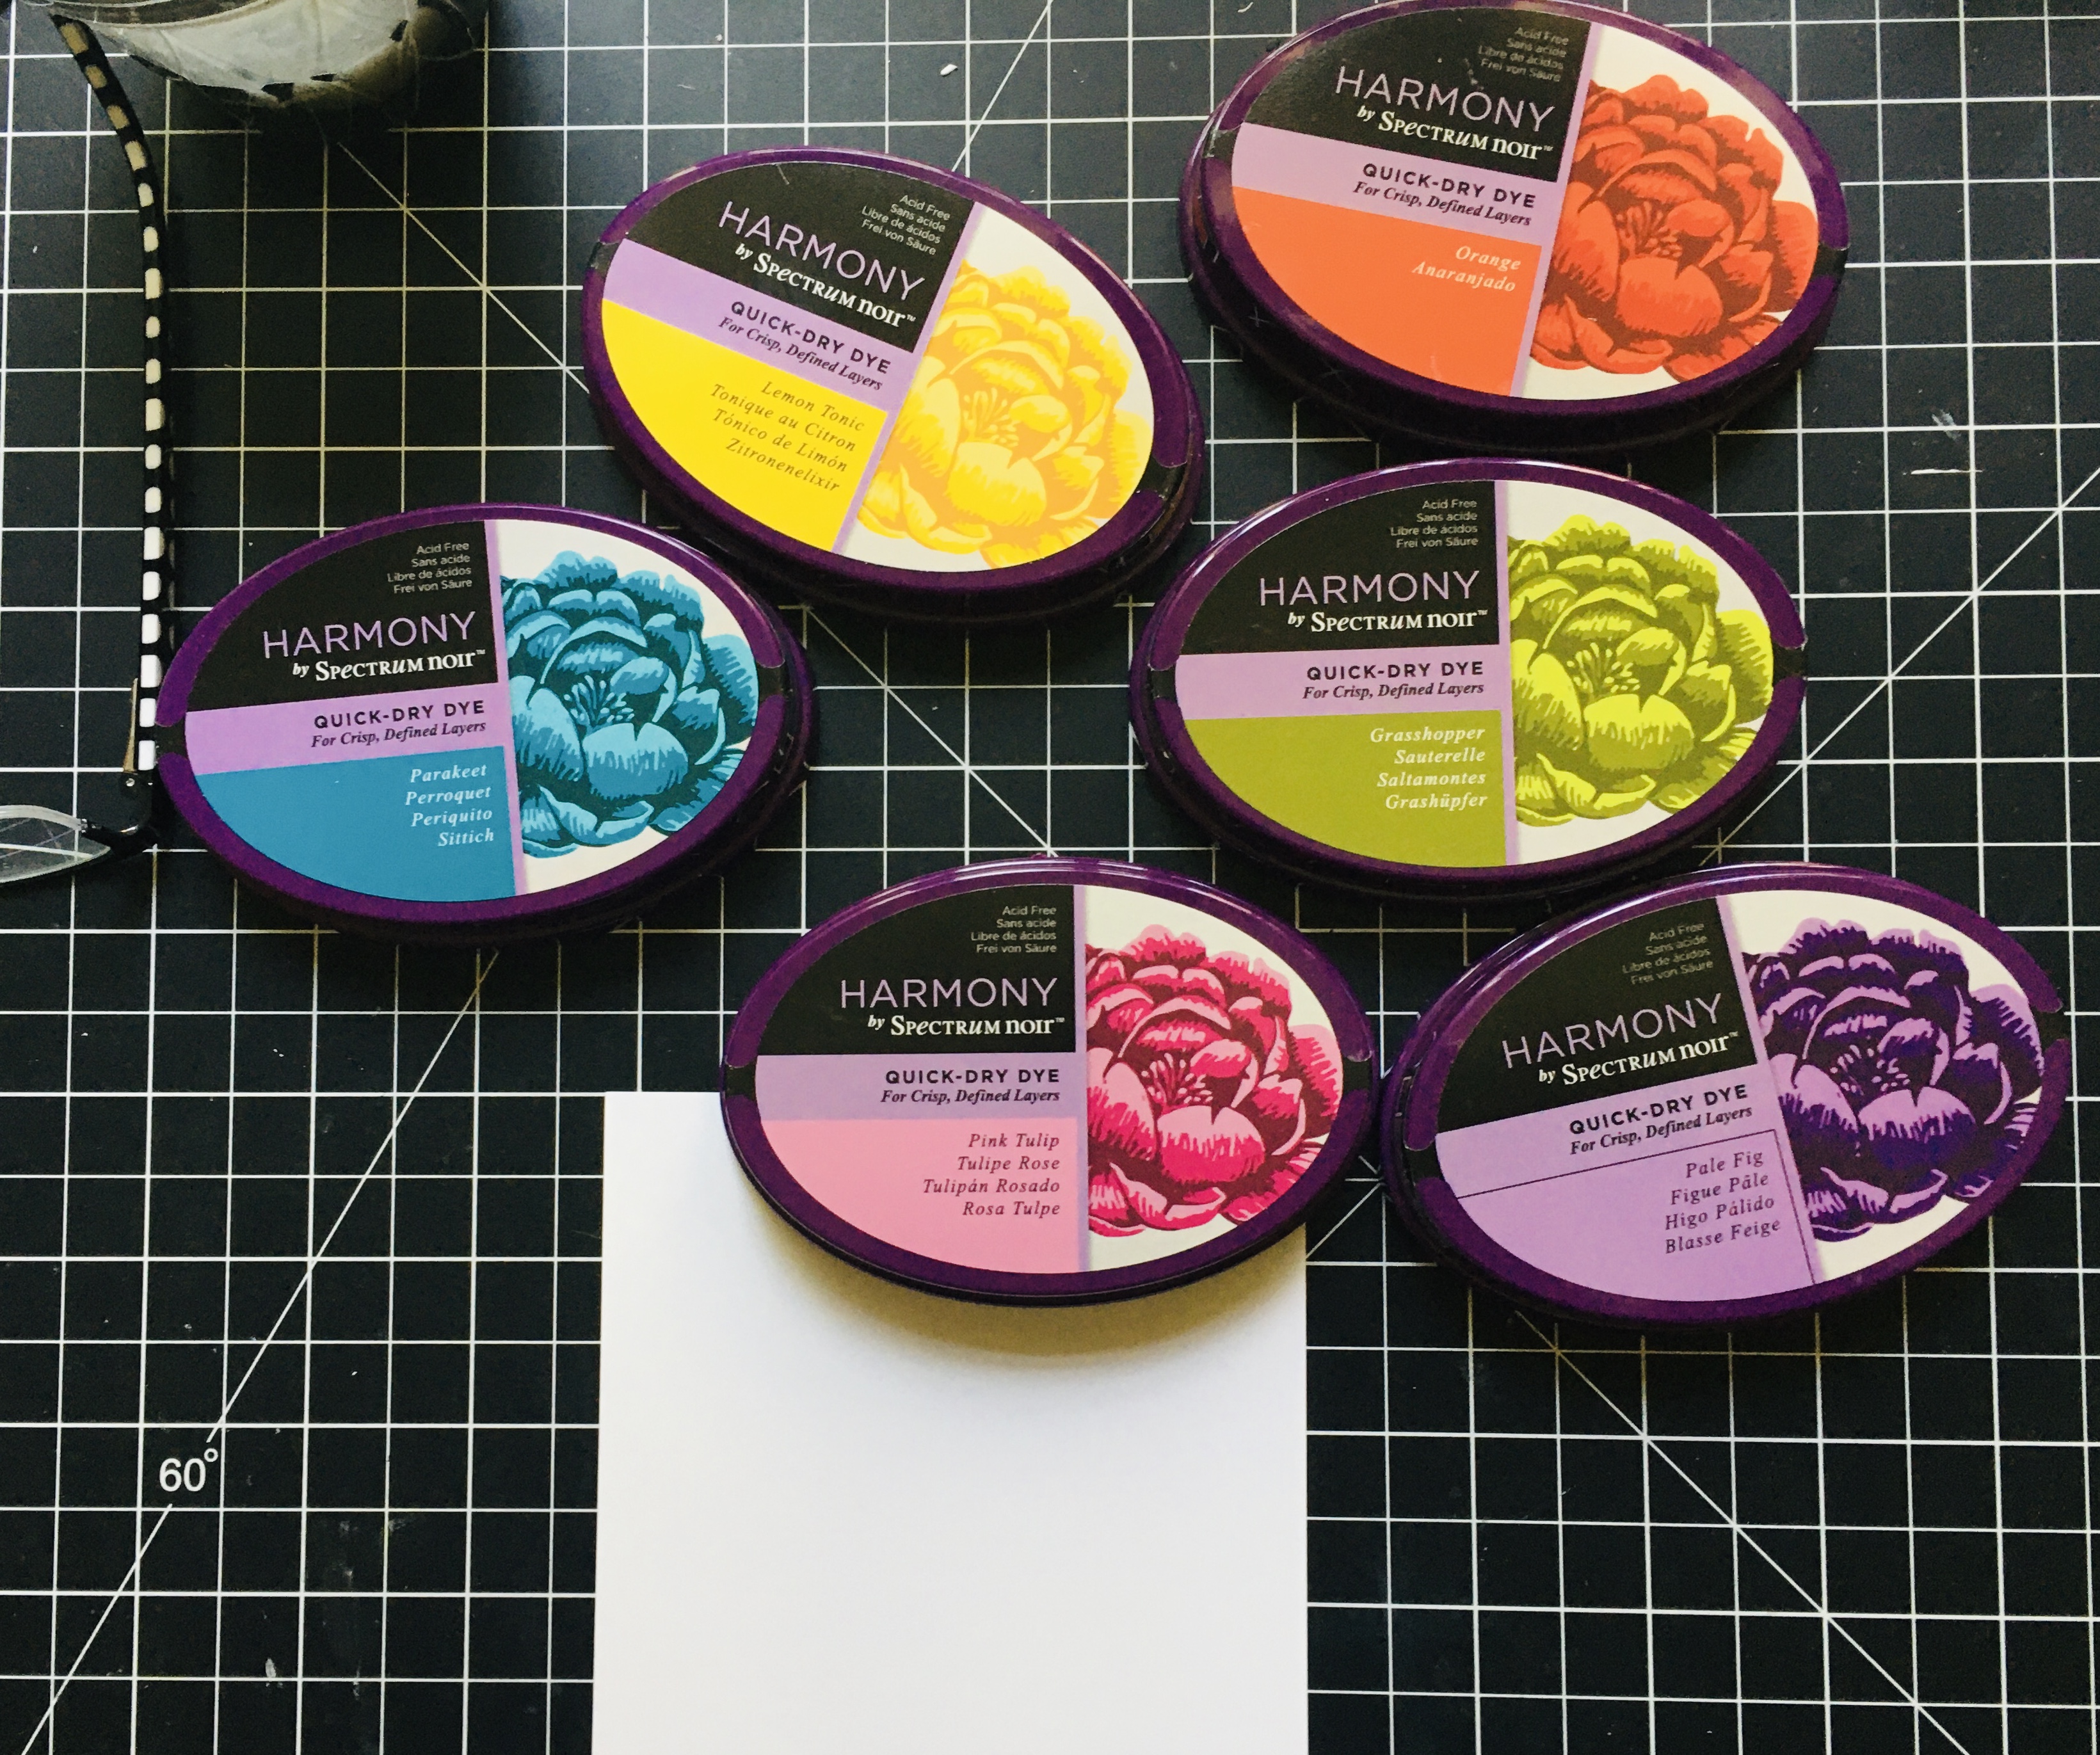
- color the images in with alcohol markers (or any medium of your choice). I colored mine with Spectrum Noir Alcohol Markers.
- die-cut the images using the coordinating dies with your die-cutting machine. Secure the dies by using Repositionable Tape so they don’t shift while die-cutting. In case you’re wondering, I use the Sizzix Big Shot Machine with Cutting Plates plus Magic Mat by Scrapbook.Com. [The Magic Mat is a self-healing mat and you can use it for a long time without having to buy new plates].
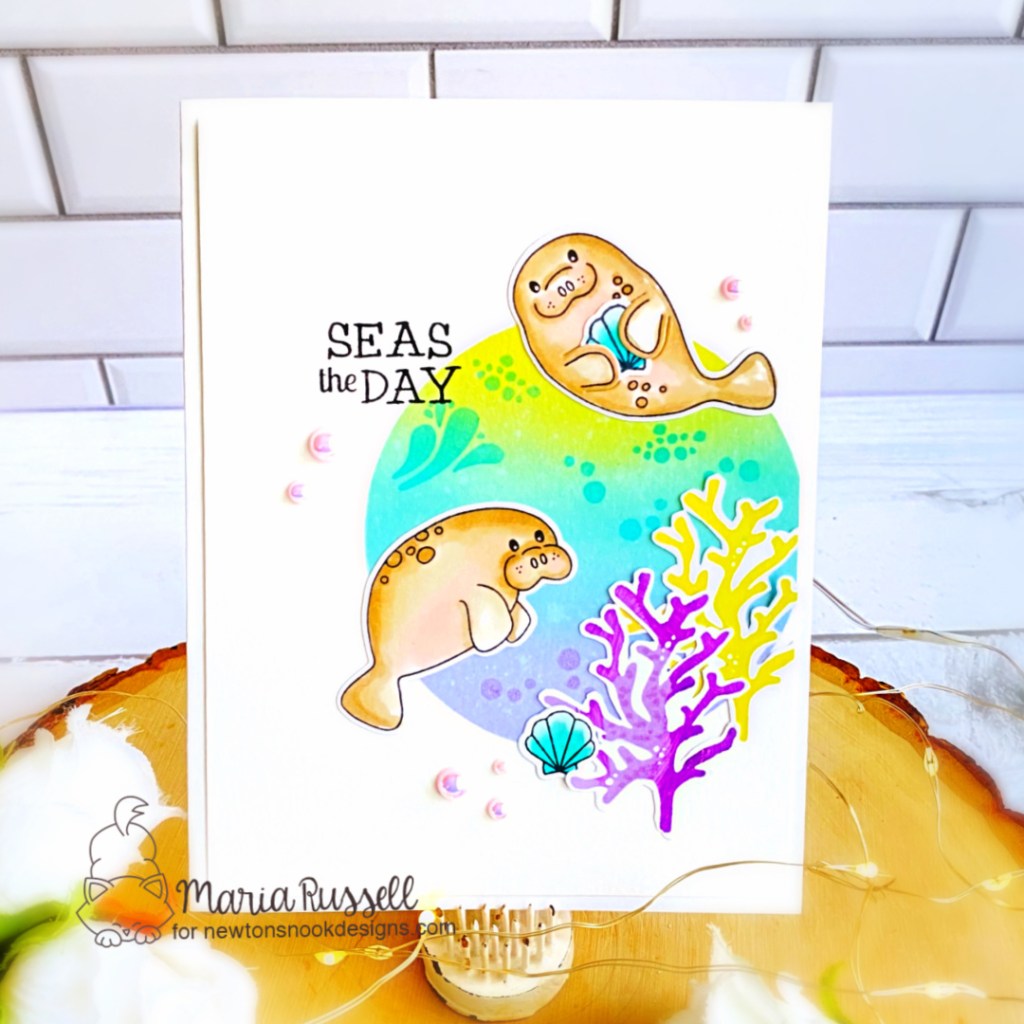
- prepare the background panel by die-cutting some masking paper with a circle die from your stash. Adhere this on some Bristol smooth white card stock measuring 4 x 5 1/4 inches.
- ink-blend this panel with Squeezed Lemonade, Salvaged Patina and Shaded Lilac Distress Oxide Inks until the colors blended really well.
- use the splashes and bubble stamps from the Tranquil Tides Stamp Set and stamp it randomly on the background using some dye inks that are similar in color with the background. [Designer tip: by using similar colors, this will create a seamless design.]
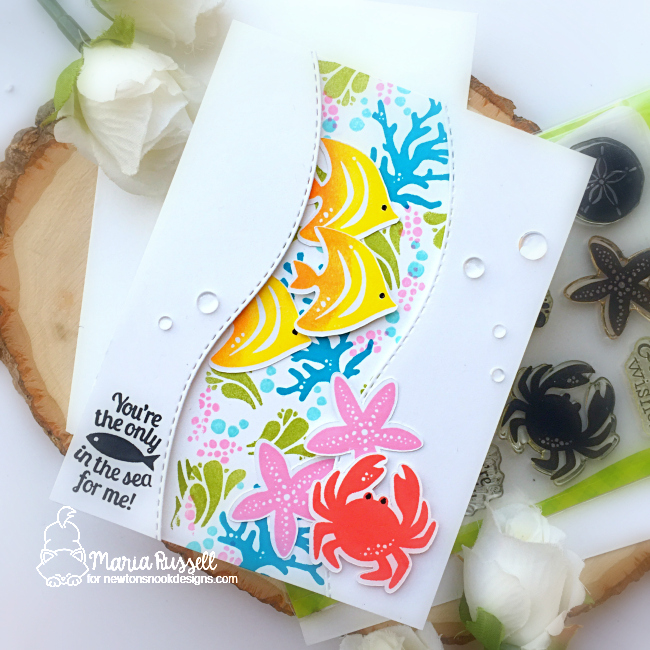
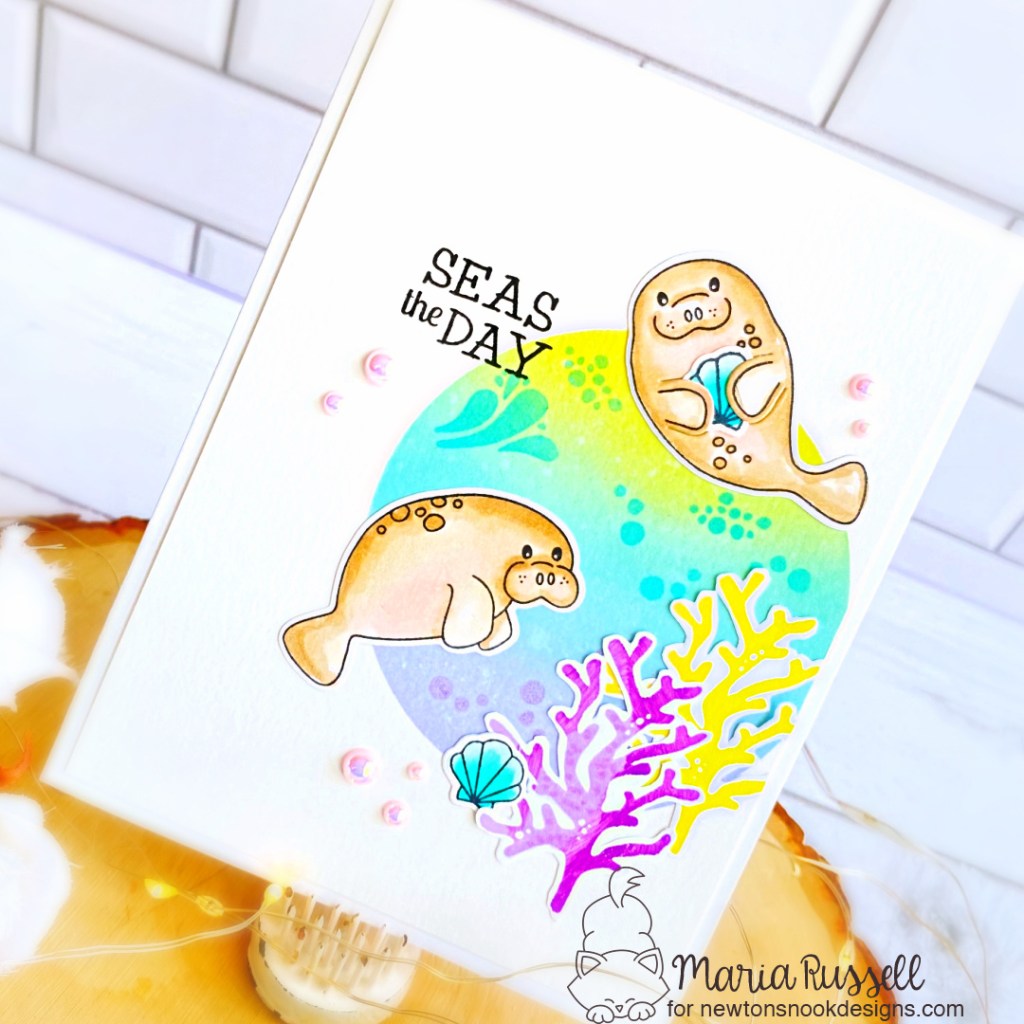
- adhere the focal images on the card with liquid glue.
- stamp the sentiment using black ink.
- finish the card design by adding some light pink pearls for added texture.
I hope you like this card today and got inspired. Don’t forget to check out all of the retiring stamps, dies and stencils by Newton’s Nook Designs. The supplies I used are highlighted and linked within the context of this blog post. Where available, I use compensated affiliate links at no extra cost to you. Your support helps me to keep bringing you new projects and inspiration. Thank you for stopping by, and have an amazing day!