
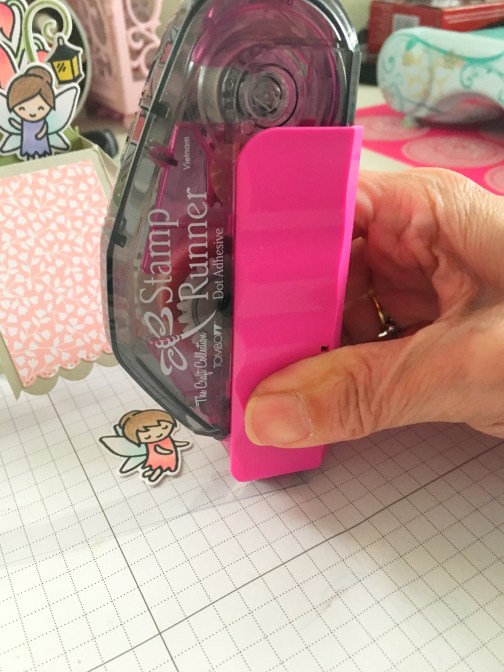
I recently ordered some very cute stamp sets from Lawn Fawn and I have been dying to play around with them before I travel in the next few days. I also received the new Tombow Dot Runner Adhesive. I have never used this adhesive before so I thought this Blog post will also serve as a review on how the adhesive worked.
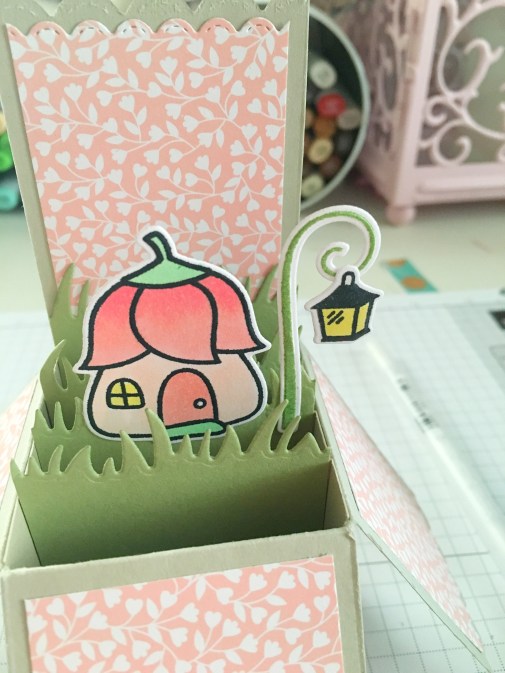
I first stamped my images and colored them using my markers. I then lined up my images with the coordinating dies and run it through my die-cutting machine. Since I have made hundreds of these box cards, that you see on the photo below, I was able to put the box together in less than a minute, because I even have the dimensions memorized. (Note to self, I need to get a life) I know that sounds really weird but it’s true! I wanted to create a cute scene for my fairies and so I also had to die-cut some grass to create my garden.
I used the Tombow Dot Stamp Runner for the first time to adhere all of my die-cut pieces and let me just tell you, I just fell in love with this adhesive. It was sliding through so smoothly on the card stock and I didn’t have any issues at all! Since it is also a dot-adhesive, I was able to reposition my die-cut pieces without tearing the paper but once you press it on, it adheres really well.


Now comes the part where I have to use an acetate sheet to make one of my fairies look like she’s floating in the air. I normally use a mini-glue dot for this task but I decided to use the “stamp runner”. Holding it down and stamping it to the acetate, I was able to put enough adhesive to adhere my fairy.
I think the photos are self-explanatory so I will leave you all to enjoy looking at the photos. Overall, I’M IN LOVE WITH THE TOMBOW DOT RUNNER ADHESIVE! I can say that this is now my all-time favorite tape runner and will purchase more in the future.
I hope you like this project and have an amazing day!


