Wildflower Layered Botanicals with LDRS Creative

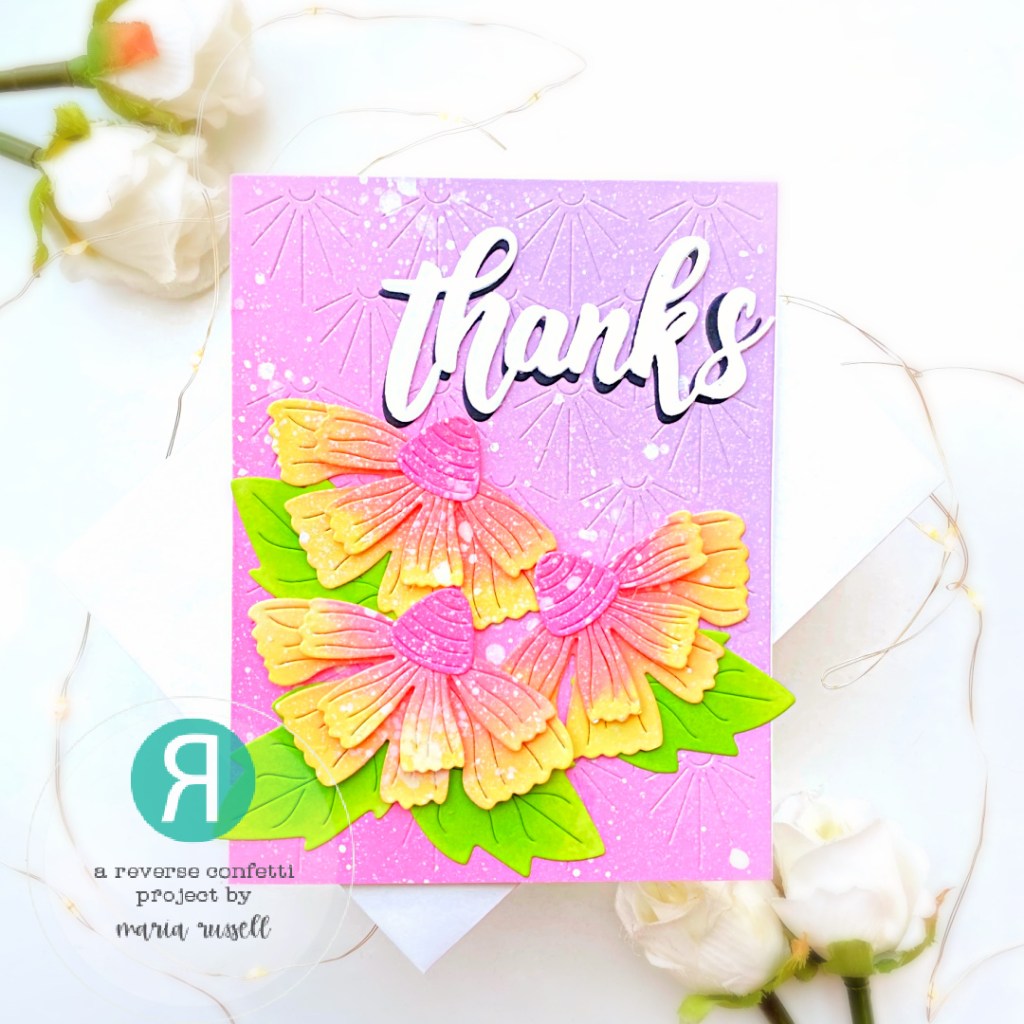
I hope everyone’s doing well! It’s been hot, humid and raining here in Florida and I have been dreaming about the cooler weather coming up soon.  I wanted to create something that’ll cheer me up and decided to create this floral card.

Here are the products I used to create the card:

Wildflower Layered Botanicals Stamp Set

Arches Die Set

Arches Thank You Impress-ion Press+Foil Plates

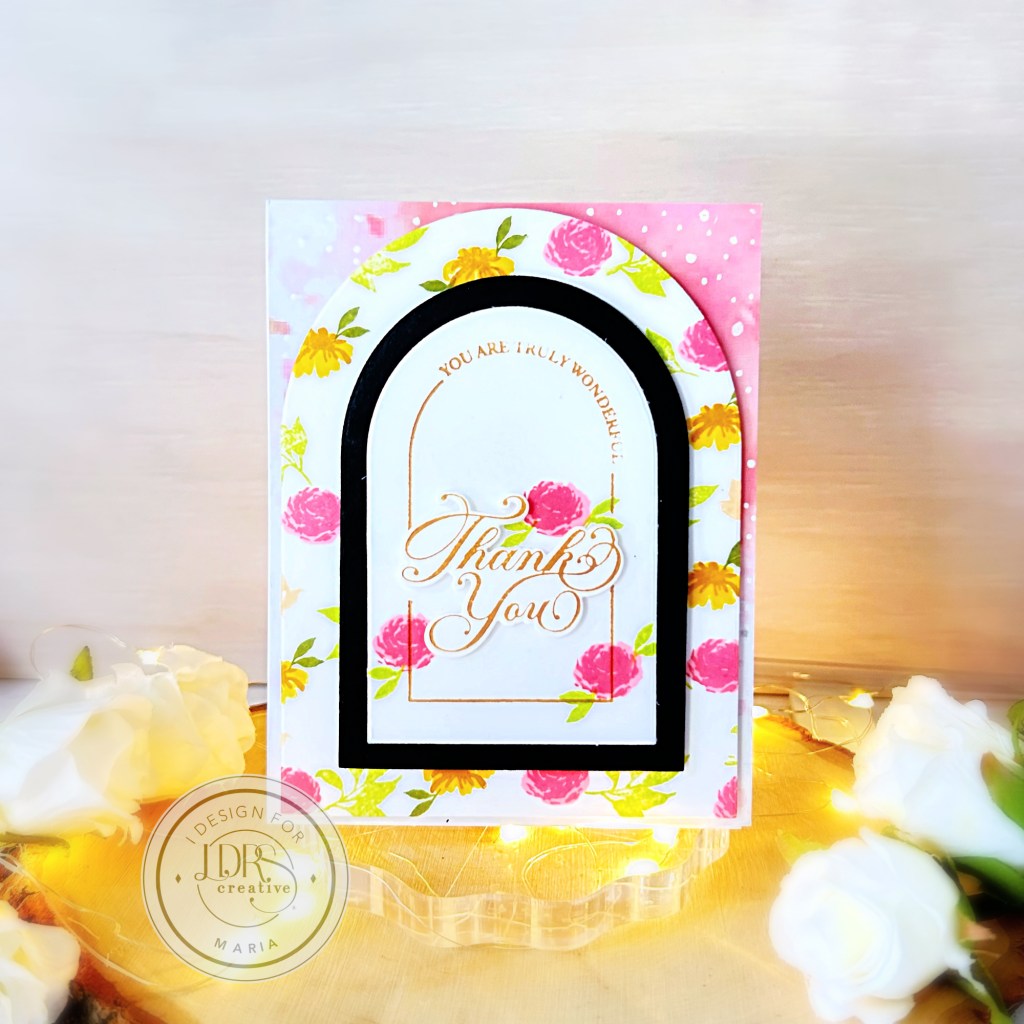
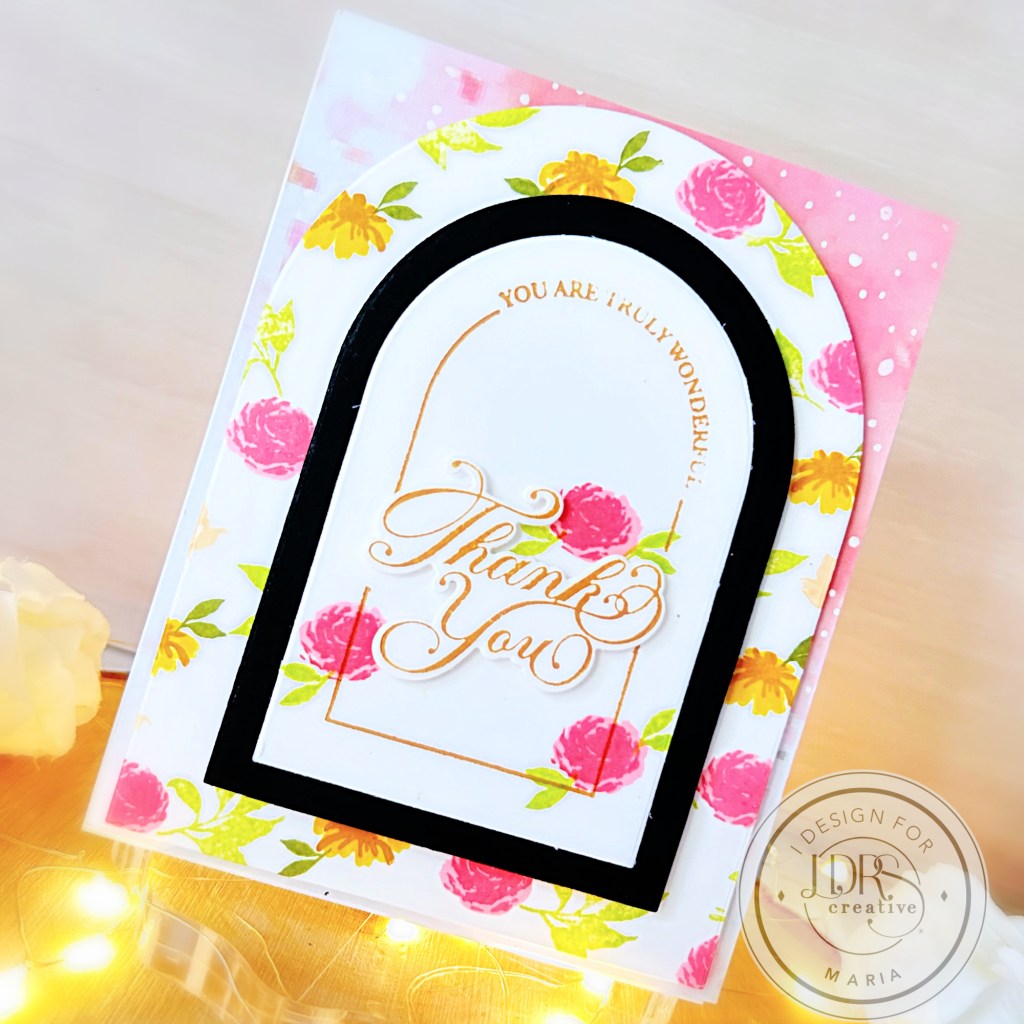
I started by stamping the beautiful floral images on some A2-size solar white card stock using the  Wildflower Layered Botanicals Stamp Set.  For reference, I used the following hybrid inks ->  Pink TutuLipstick JungleKey Lime PieDan-D-LionOlive Branch and Iced Tea.

Next, I die-cut the stamped image using the  Arches Die Set and foam-mounted this piece on some watercolored background. I used the same Arches Die Set to die-cut the black card stock and adhered the same with foam adhesive for more dimension.  I also used the  Arches Thank You Impress-ion Press+Foil Plates with  Iced Tea hybrid ink and ran it through my die-cutting machine to get the impression and adhered on the card front with glue. 

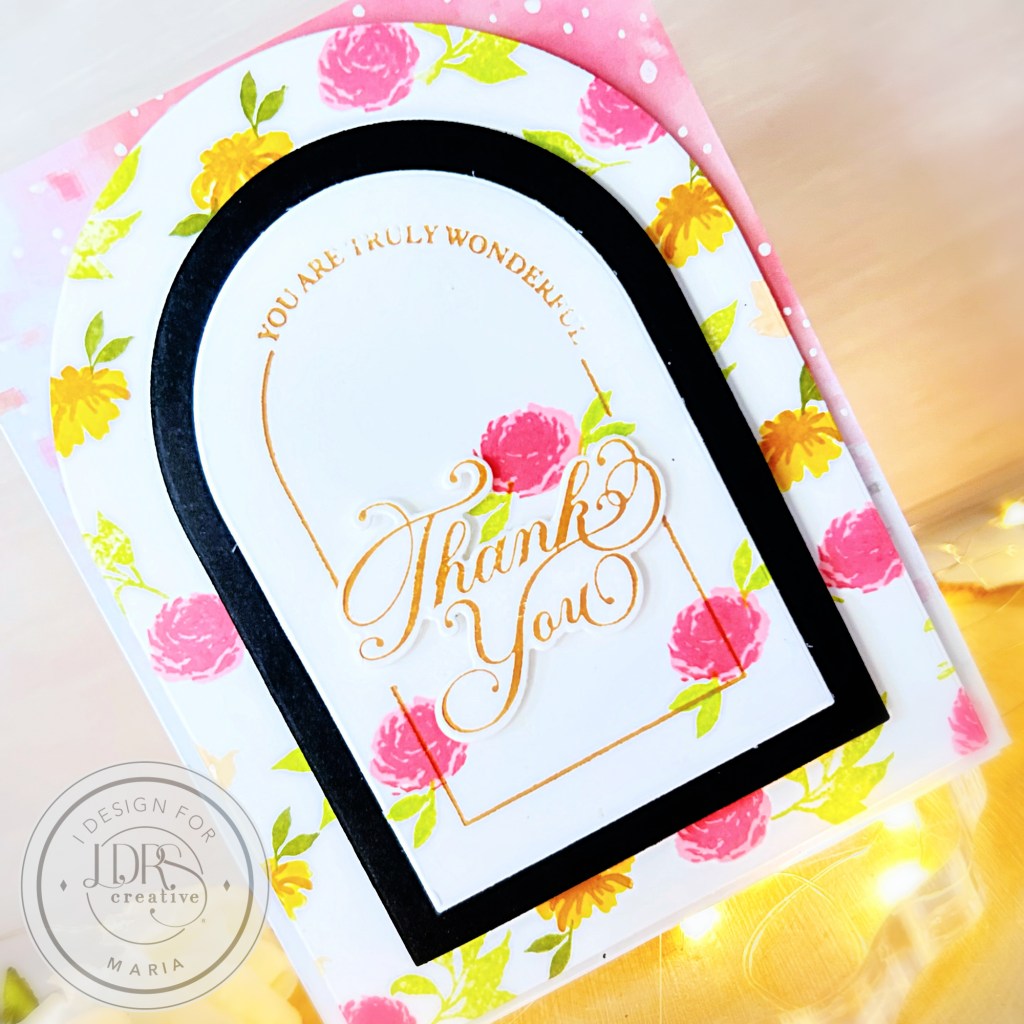
I finished my card design by stamping a trio of the small roses  with leaves on the focal panel.  I absolutely LOVE this stamp set!  It is so beautiful and easy to layer.  Here’s another look:

Thank you so much for stopping by today and happy crafting!

Flower Builder Confetti Cuts with Reverse Confetti

Hello my crafty friends! I was not able to join the Reverse Confetti Release last month so I am dedicating a few days to feature these amazing products and give you more project inspiration. If you haven’t seen it yet, head on over to the Reverse Confetti online store because they are AMAZING!

Today’s beautiful card features the beautiful Flower Builder Confetti Cuts along with the Deco Cover Panel Confetti Cuts and Thanks Word Die.

Here’s how I made this card:

  • die-cut the flower pieces and leaves on some Bristol Smooth White card stock.
  • use distress oxide inks and blending brushes to add some color to the die-cut pieces. [Designer tip: make sure you are blending the colors well to create a smooth transition between the colors]
  • assemble the flowers with foam and liquid adhesive for added dimension.
  • use the Deco Cover Panel Confetti Cuts and die-cut some pattern paper.
  • dilute some white gouache paint with water and use the brush to splatter some color to the pattern paper and flowers for added texture. Adhere this panel on some A2-size top-folding notecard.
  • adhere the flowers with foam and liquid glue.
  • die-cut the word “thanks” twice on some black and white card stock. Adhere them together with liquid glue by offsetting it a little bit to create dimension.
  • finish the card design by adhering the sentiment.

The new Reverse Confetti July release is absolutely FABULOUS! Visit the shop before they sell out! I have also listed and linked them all below in case you’re interested. Remember that you will get a free stamp set for orders over $60 before shipping.

I hope you like this simple card today. Below, you will find links to the supplies used to create this project(s). Where available, I use compensated affiliate links at no extra cost to you. Your support helps me to keep bringing you new projects and inspiration. Thank you for stopping by, and have an amazing day!

——–SUPPLIES——–