Newton’s Nook Designs & Therm-O-Web Collaboration Week


This week Newton’s Nook Designs and Therm O Web are partnering for fabulous Fall, Halloween and Christmas inspiration! All week long both design teams will be sharing ways to use Therm O Web products with Newton’s Nook Designs stamps!  We also have  GIVEAWAY so please make sure to read at the end of this post to find out how you can WIN.


I went NND and TMW crazy and created three projects for you today!  I am showcasing (one of my all-time favorite stamp set from Newton’s Nook)  the Sweater Weather stamp set and its coordinating dies with the Happy Howl-Oween stamp set and coordinating dies.  I am also showcasing a LOT of products provided to us by Therm O Web, which you will be able to see if you watch my YouTube video below.  I also would like to take this opportunity to thank Therm O Web for spoiling the NND Design Team with your amazing products.


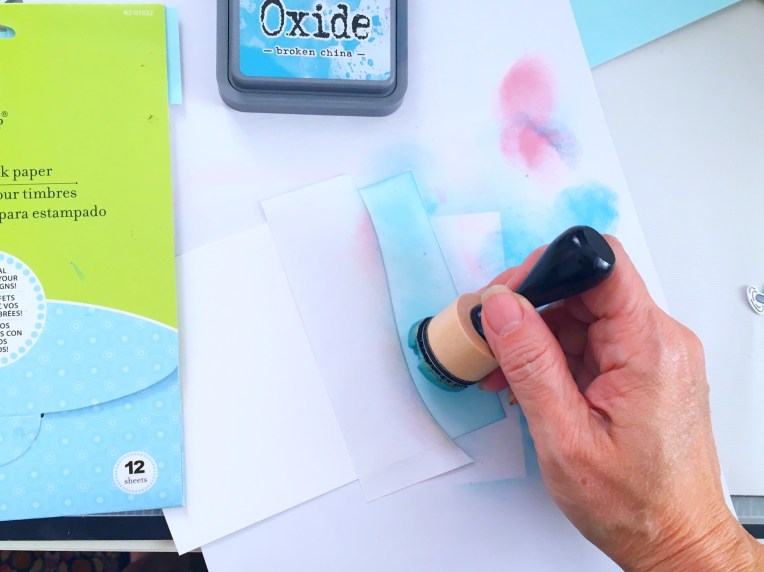
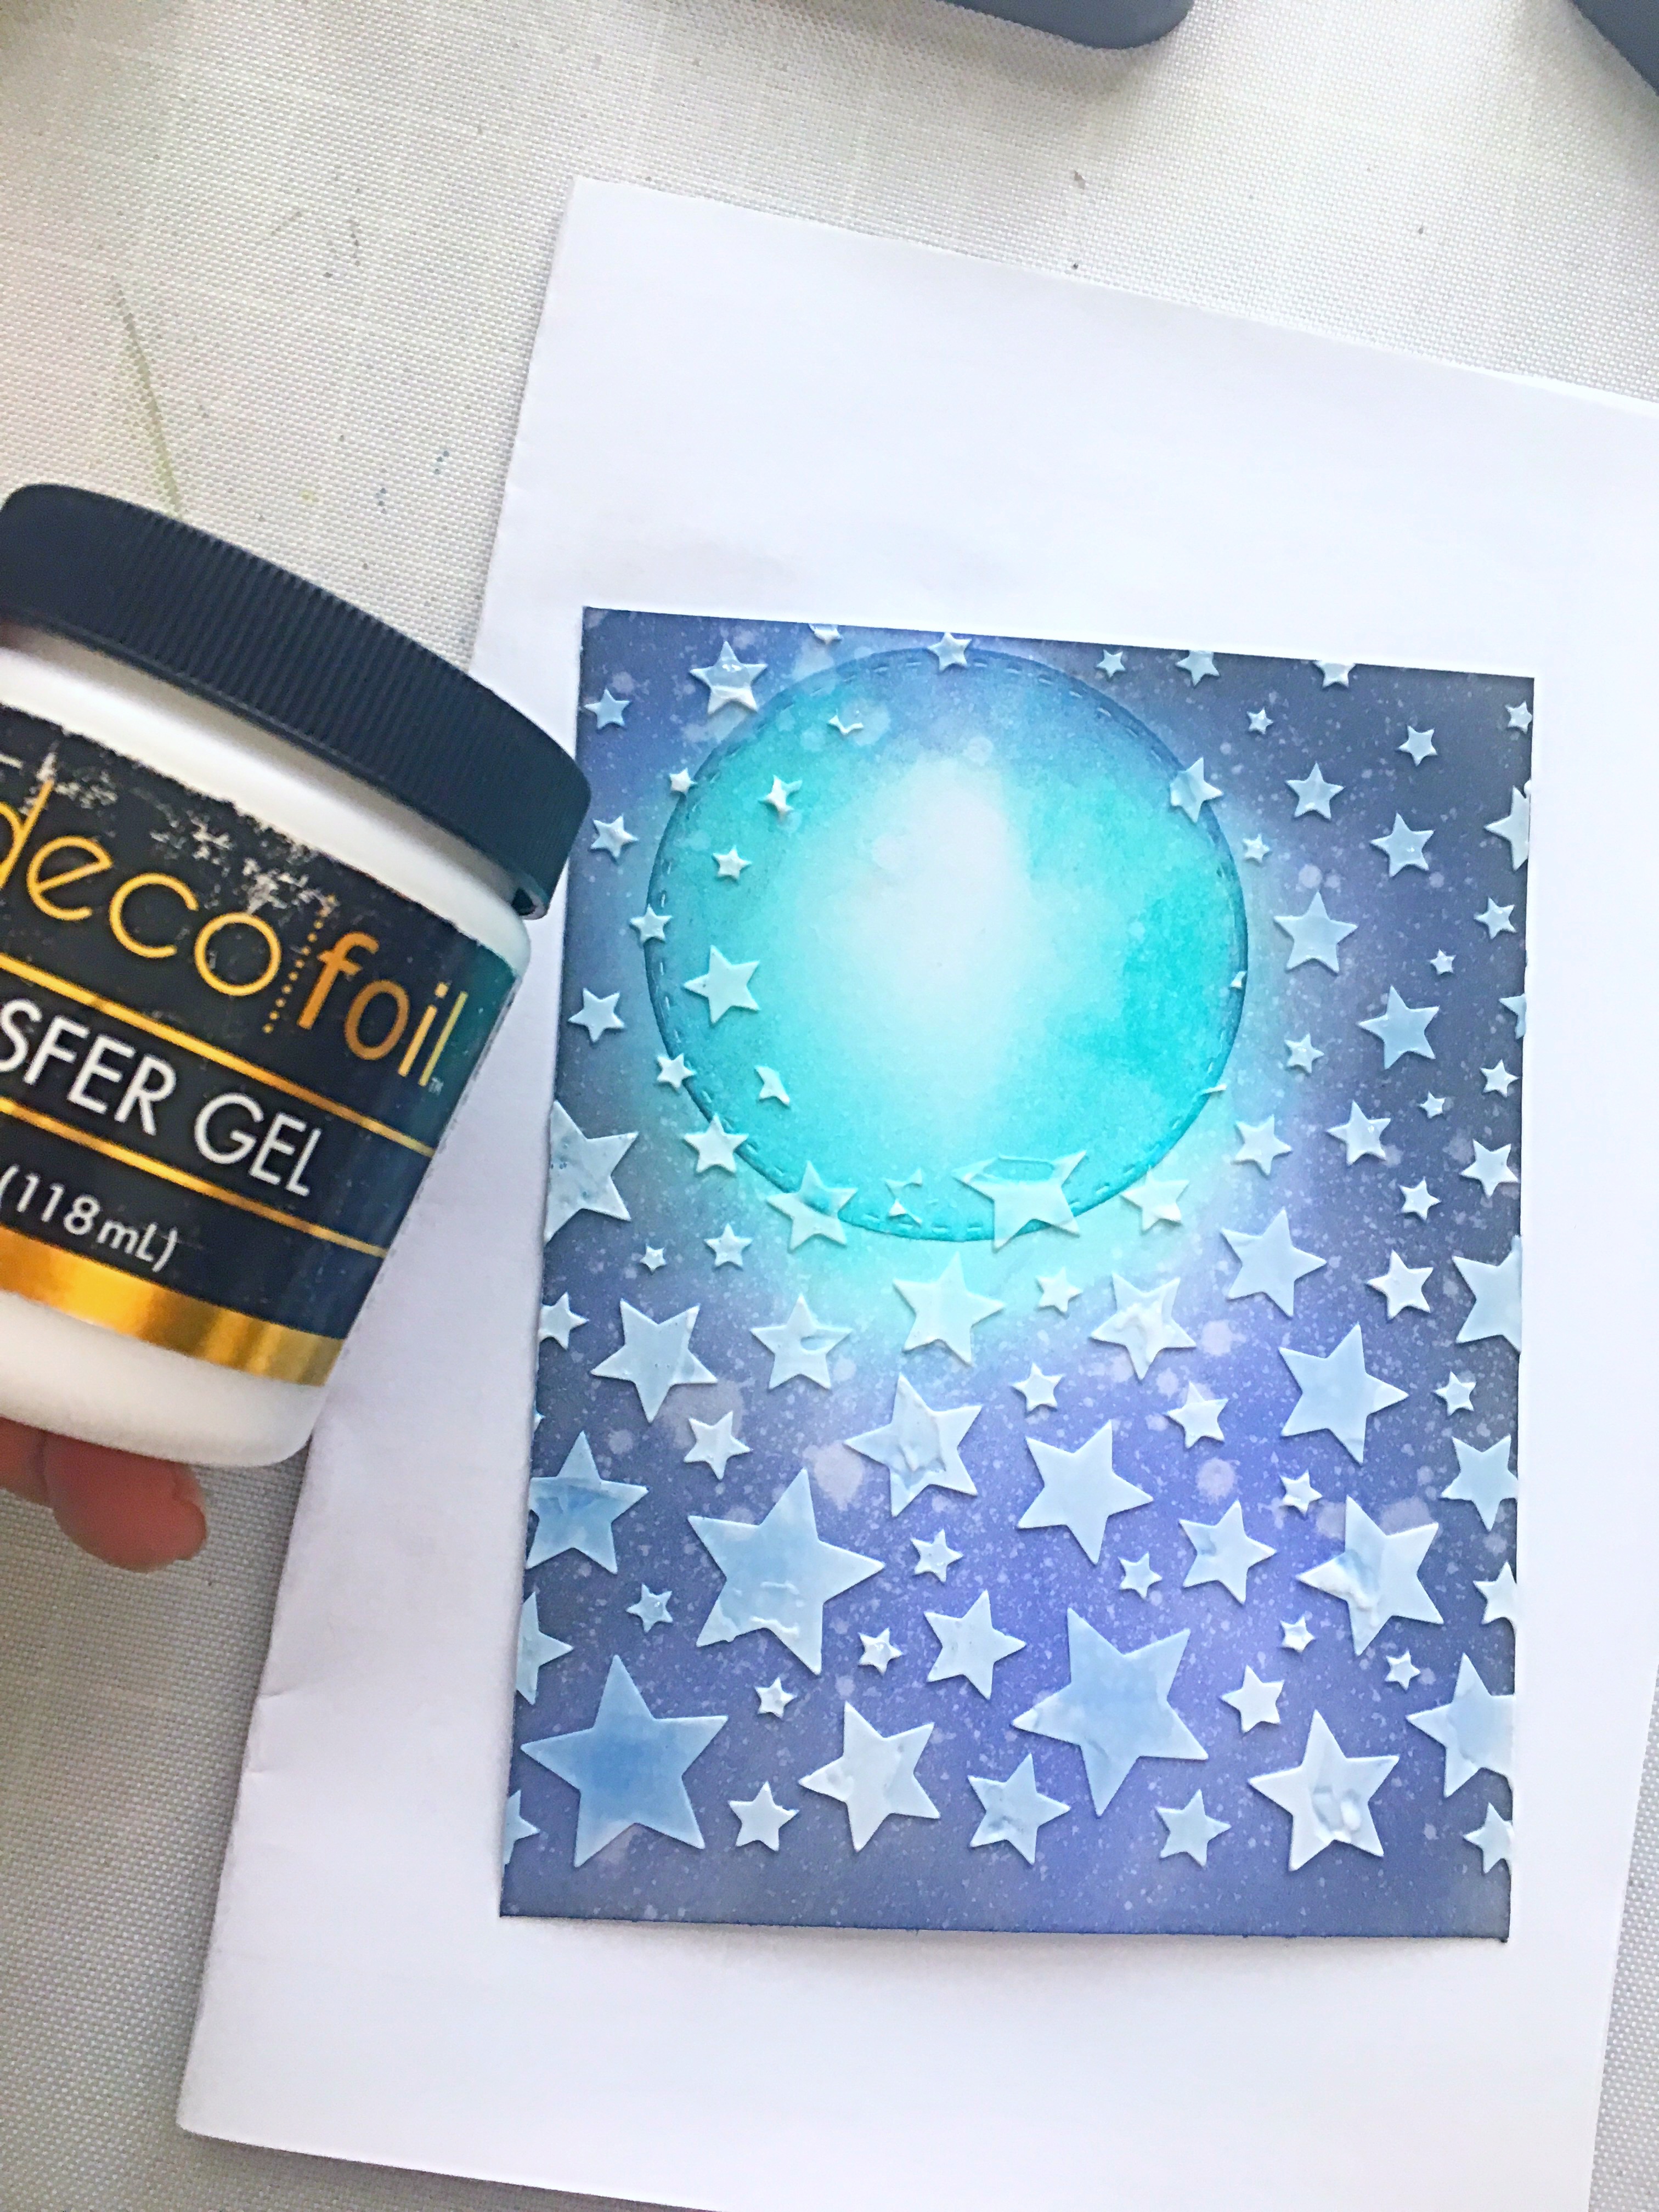
For my first project, I die-cut a masking paper with a circle die and masked my Bristol smooth white card stock.  I inked up my background with some distress oxide inks.  I sprayed my inked background with some water to get the oxidize effect and dabbed it with paper towel to dry.  I used the Deco Foil Transfer Gel and Newton’s Nook Cascading Stars Stencil to create the stars on my background.  I set this piece aside to dry for about 40 minutes and ran it through my laminator with some Deco Foil Ocean Blue Transfer Sheets.  I removed my mask and colored the moon a little bit with my B000 copic marker.


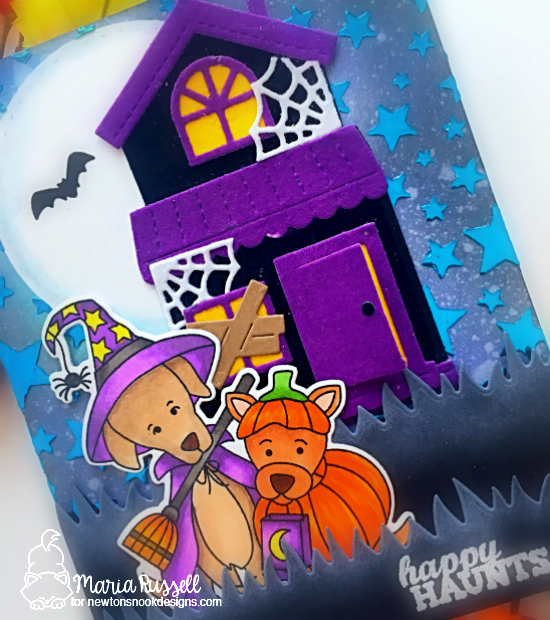
To create my scene for my trick-or-treaters, I used a house die from my stash and TMW Flock transfer sheets in Purple Punch, Sunshine Yellow, Black Velvet and White Latte to create my spooky house.  I also die-cut the grass using the Land Borders die set.


I stamped my image using the Happy Howl-Oween stamp set and colored the images in with my Spectrum Noir alcohol markers.  I die-cut the image using the coordinating die.  Now that I have all of my elements, I started building up my scene.


I used a white pigment ink and a blending brush to highlight the grass.  By doing so, this gave it a more realistic effect since I have a HUGE moon shining over everything!  I finished my design by stamping the bats.  I also stamped my sentiment in Versamark ink and sprinkled some white embossing powder.  I used my Wagner heating tool to heat set the sentiment.  Here’s a closer look at the card:


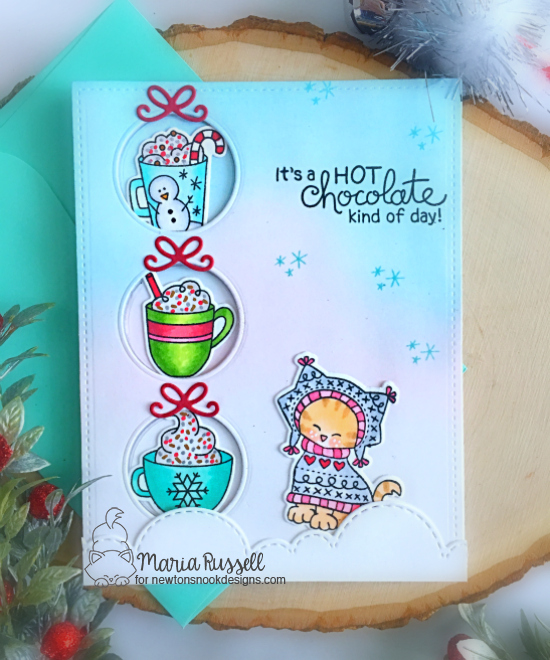
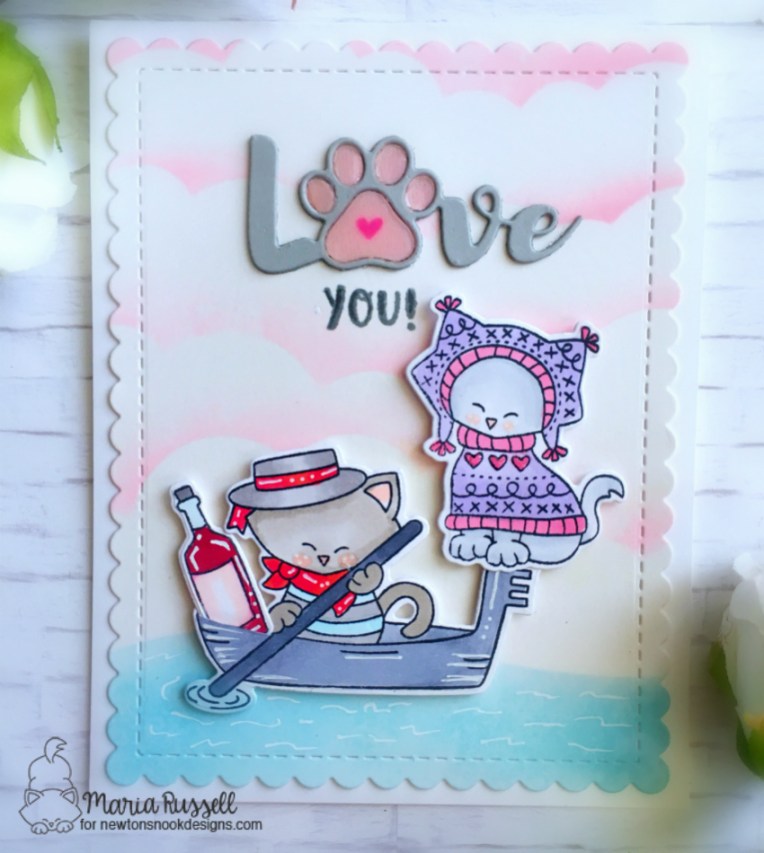
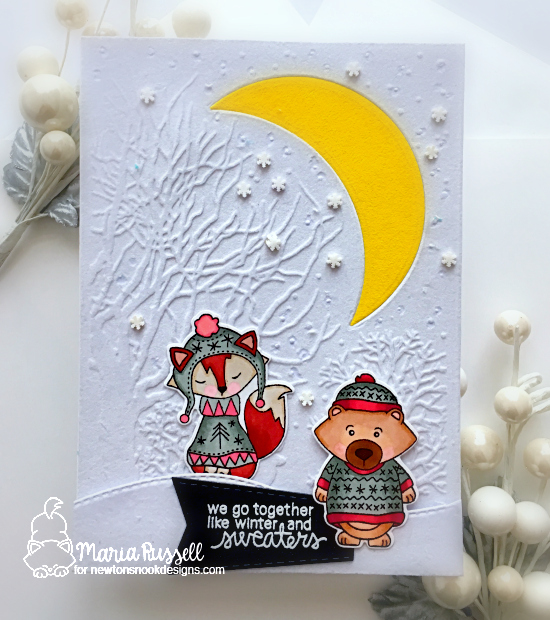
For my second project, I wanted to use the flock transfer sheets and my embossing folder  to create a winter scene for my critters from the Sweater Weather stamp set.  I have a process video for you for the two Christmas cards.  Here’s the first one:


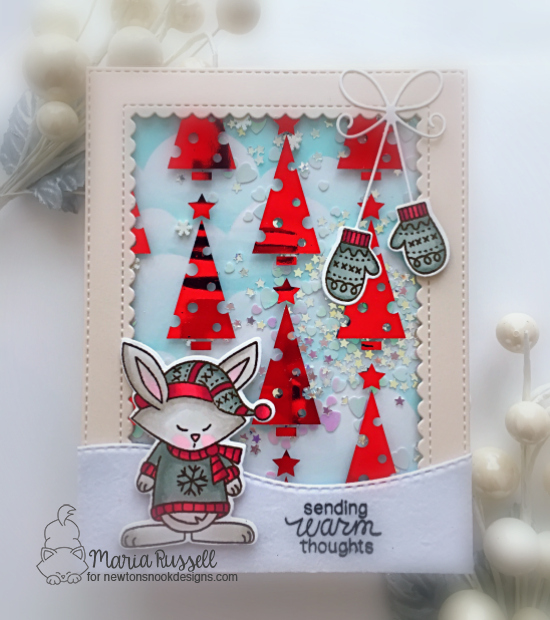
For the second Christmas card, I used the Oh Christmas Tree Designer Toner Sheets , the White Latte Flock Transfer Sheet and the Gina K Designs for TMW Red Velvet Deco Foil to create a fun shaker card:


Here’s my YouTube process video:


I hope you like my projects today.  I would be so grateful if you could visit my YouTube channel and subscribe if you haven’t already!  The supplies I used are listed and linked below (affiliate links may have been used for some of the items at no additional cost to you).

There are more amazing projects today over on the Therm O Web blog so pop over there for more inspiration!
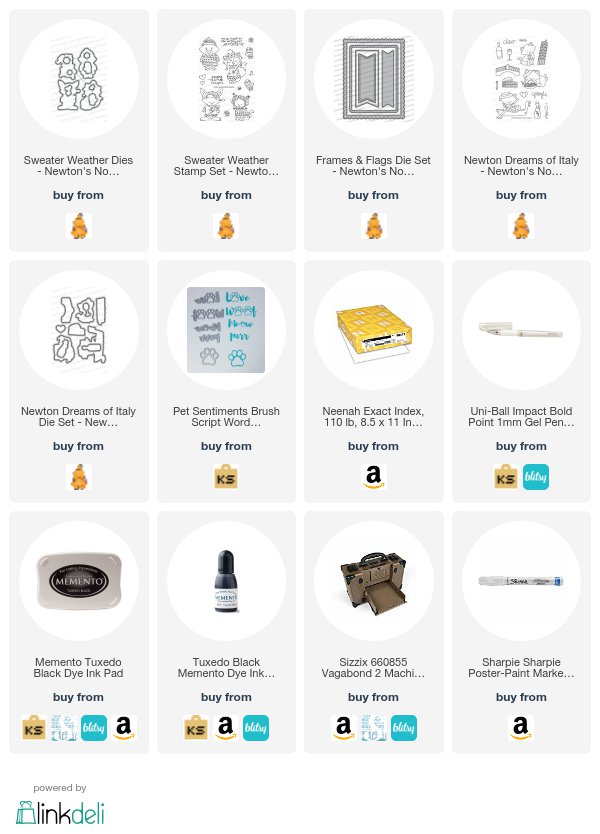
 

GIVEAWAY DETAILS:
Time for prizes! Would you like to win a $25 store credit at Therm O Web or to Newton’s Nook Designs?  Both companies will be giving away a prize this week!  Visit the Newton’s Nook Designs blog and the Therm O Web Blog  to enter for a chance to win!  Have an amazing day and happy stamping!

————SUPPLIES————


It’s A Hot Chocolate Kind of Day – Fall/Winter Coffee Lover’s Blog Hop

Hello my fellow coffee-lovers!  This is my second post for the Coffee Lover’s Blog Hop.  I wanted to enter another card today showcasing some of my favorite stamp sets by Newton’s Nook Designs.

For my card below, I am featuring the Cup of Cocoa stamp set and its coordinating dies, the Sweater Weather stamp set and coordinating dies and the Sky borders die set.

Just like my first blog post, I stamped the images on Copic friendly ink and colored them  in with my Copic markers. I die-cut the images with the coordinating dies.  I inked up a piece os Bristol smooth white card stock with my Distress Oxide inks and used a circle trio die from my stash to cut the windows.

I adhered the colored background onto my card base with some foam adhesive.  I also die-cut another piece of white card stock using the sky borders die set.   I adhered the images with foam adhesive and some Nuvo liquid glue.

NNDWinterCLBH20181A

To finish my design, I die-cut the little bows and also stamped the sentiment.  Here’s a little close-up of my card:

NNDWinerCLBH20181B

I don’t know about you but this kitty cat certainly makes me want to put on some skinny jeans, UGG boots and comfy sweater and drink hot chocolate all day long!  Okay, maybe not all day because I now have low-tolerance on caffeine but maybe two cups will be my limit!  Haha!  Here’s another look:

NNDWinerCLBH20181C

I hope you like my second card for today!  The supplies I used are listed and linked below.  Have an amazing day!

—————–SUPPLIES—————–


Love You Card with Newton’s Nook

Hello everyone! Since Valentine’s Day is fast approaching, I thought I’d make a simple card today, showcasing the Sweater Weather and Newton Dreams of Italy stamp sets with the Frames and Flags Dies and Land Border die to create a mask.

I started out by stamping my images on Neenah solar white card stock with my memento tuxedo black ink using my stamping tool.  I colored the images in with my Copic markers and cut them out with the coordinating dies using my Vagabond 2 die-cutting machine.

IMG_6605

I die-cut another piece of mask with the land border dies and distressed my background using Broken China distress oxide ink with my mini ink blending tool.  I removed the mask and used a clouds stencil from my stash to create my pink sky.  I know it doesn’t look realistic but Valentine’s Day is all about pinks, reds and blues, haha!

IMG_6604

I die-cut my colored background using the Scallop Square included in the Tags and Flags dies and adhered it on my card base using my favorite Xyron Mega Tape Runner.  I adhered my little critters with foam tape to give it some dimension.  I used my favorite Sharpie White Pen to add some details to the water, the critters and the wine bottle.

I finished my design by using the Kat Scrappiness Pet Sentiments dies and adhered it onto my card, and used glossy accents to the paw to add some shine.

Here’s the card:

NNDLoveYou1

I hope you got inspired today. Thank you so much for stopping by. The supplies I used are listed and linked below. Have a great day!

Maria Russell Signature Logo

———-SUPPLIES——–