You Are Bee-youtiful and Kind

Hello my crafty peeps! It’s Maria here and I am back with you today to share this cheerful see-through card that I have made, showcasing the Bee Hive Card Honey Cuts, Honey Bee Hive Stencil and Mask, the Bee-You-Tiful sentiments with the Build-A-Bee stamp set and Build-A-Bee Honey Cuts.

I wanted to challenge myself and create a unique card.  I started out by stamping my images on Bristol smooth card stock with my memento tuxedo black ink and colored the images in with my Copic markers. I also added some glitter to the wings using my Spectrum Noir clear brush marker.  I die-cut the images using the coordinating dies.

HBBeehive5

I die-cut a piece of acetate sheet using the Bee-Hive Card Honey cuts die as my card base. I also die-cut a piece of white card stock with a yellow patterned paper to use for the inside of my card.

HBBeehive6

I used the stencil to add some definition to my yellow patterned paper with the fossilized Amber distress oxide ink. I adhered the white card stock behind the acetate and adhered the patterned paper inside my see-through card base. I stamped the sentiment for my card, and adhered my little bees on the front panel to finish my design.

HBBeehive4

Wouldn’t this card make someone’s day?  Here’s what it looks like when the card is closed.

HBBeehive1

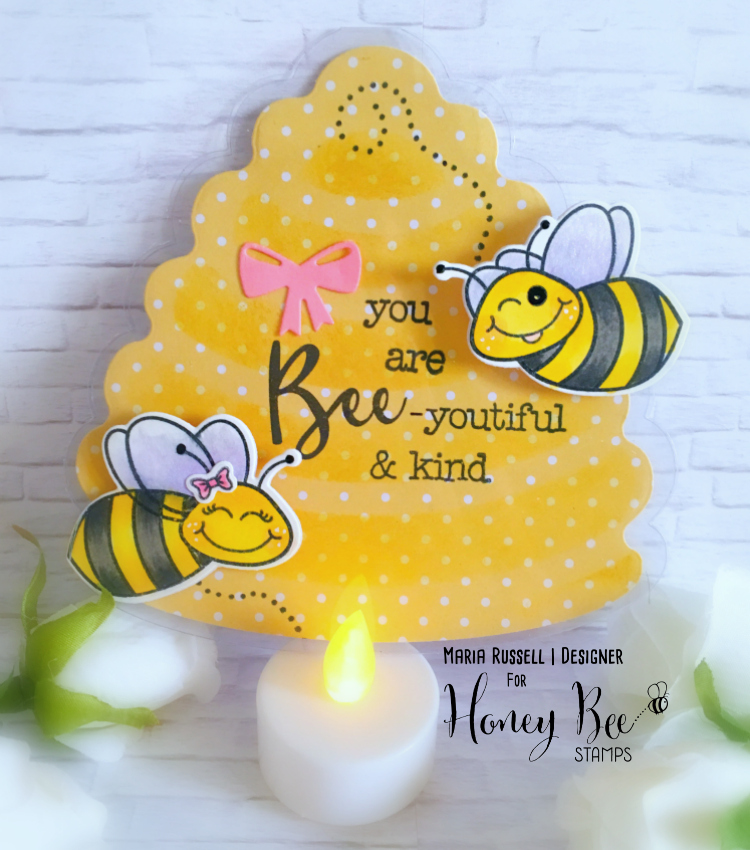
Here’s another look when the flap is open.  I inserted the battery-operated tea light.

HBBeehive2

HBBeehive3

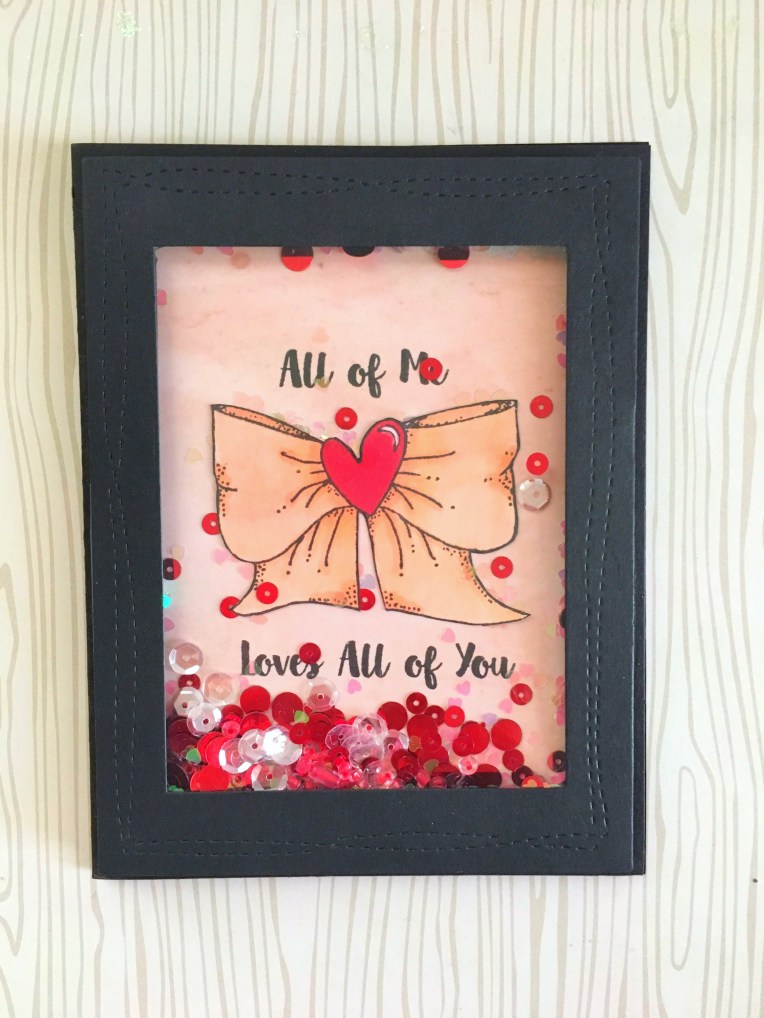
Here’s another simple card that I made. I used the Hexagon Layering Background Stencils and the A2 Double-Stitched Frames:

HBBeehive7

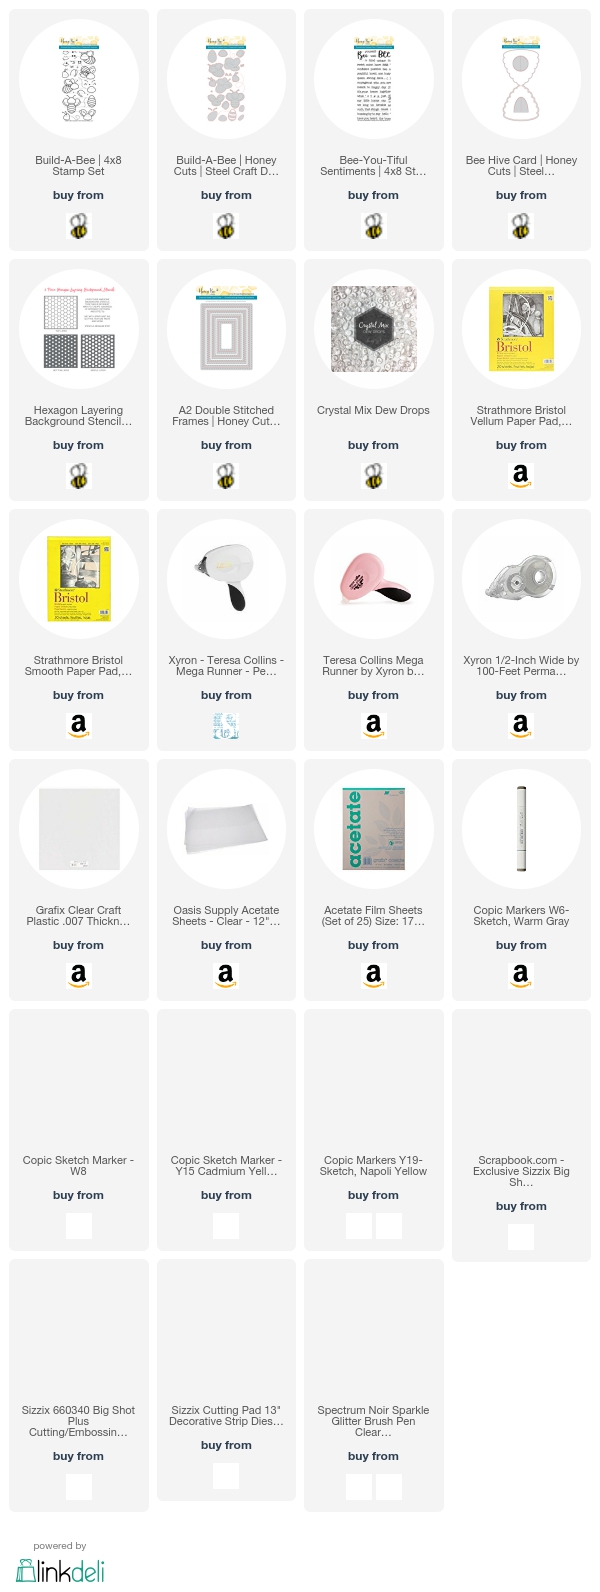
I hope I have inspired you today.  The supplies I used are listed and linked below. Have a Bee-You-Tiful day!

Maria HoneyBee Watermark


Custom Stamp by JessicaLynnOriginal

The time has finally come to end the Spring Design team season with a bang!  Jessica wanted to give us something special to cherish forever. We were each given a choice to design our very own custom stamp. Since I love bows and hearts, I decided to incorporate both images to use as my custom stamp for my happy mail envelopes. Since I am a card-maker, I wanted my handmade cards to go with decorated envelopes.

My family and friends know that I love hearts and bows. The idea behind the stamp is that when people see their happy mail, they would immediately know who it’s from without even looking at the return address. I take a lot of time decorating my cards, and the envelopes should be the same.

I honestly pictured my custom stamp to be a lot smaller, so when I received it, I was bit surprised. However, now that I have stamped about 50 envelopes so far, I really like the size. Needless to say, the custom stamp is made of high-quality rubber and it stamps like a charm!

Here are some photos of how I used my custom stamp. I also decided to create a shaker card. It turned out really cute!


IMG_0965

IMG_0964

IMG_0961 (1)


I also would like to take this opportunity to thank the Owner, Jessica Lynn Mould for being so generous and kind, as well as our DT Coordinator, Amanda Pollock, for having the patience with our schedules and blog hops; and to the rest of the design team, I had so much fun working with you all and admire your amazing creativity!  I am looking forward to another great season!

Sharon is next on the hop. Please click on this link to get to Sharon, then hop along to the rest of the team’s blogs (Sharon: http://sharonshowcase.blogspot.com)

If you guys would like to check out the store and have your very own custom-stamp, please visit www.jessicalynnoriginal.com now. (The link will take you directly to the online store) You will not be disappointed!

In case you got lost, here is the full link for the hop:

Jessica: http://jessicalynnoriginal.net

Maria: https://mariarusselldesigns.wordpress.com/
Sharon: http://sharonshowcase.blogspot.com/
Jeanette: http://creativeplayischeaperthantherapy.blogspot.com
Vickie: http://stuffbyvickie.blogspot.com
Jennifer:  http://glitterinmyhair.blogspot.com

Have an amazing weekend!

MFT Stamps Sketch Challenge 274

It has been a very busy week for me so far but one of the things that always relax me is to go to my craft room and create something beautiful. On today’s blog post, I decided to join MFT Stamps Sketch Challenge for the first time.   Here is the photo of Sketch Challenge No. 274.


mftws274


And here is my rendition for the challenge.


IMG_9705


I have used MFT Stamps Adorable Elephants (one of my favorites), with the LJD All Heart stamp set and my new favorite, the Tag Builder Blueprints #5. I just absolutely love the color combination that I used for this card. The pink and gold color combo is very popular these days but to tune it down a little, I used gray card stock for my banner and for my card base.


I hope you like this card. Happy crafting!


Pop-Up Card

I have created this card for Mother’s Day. Unfortunately, I was not able to post it here on my Blog because my hubby and I traveled back home to Orlando to see our family, and move our daughter out of her dorm. It has been a busy month of May so far for me. I apologize for neglecting this Blog but I promise to post more regularly from now on.

This card is perfect not only for Mother’s Day but for any occasion. I hope that you will give it a try. I would love to hear from you if you did.

Happy Crafting!

Blooms & Butterflies Color Challenge No. 15

BB Challenge No. 15BB15

I had so much fun making this card.  This is my very first participation for the Blooms and Butterflies Color Challenge – and this is Color Challenge No. 15.

I am a new Stampin Up Independent Demonstrator and still trying to increase my collection of Stampin Up products – from card stock, to DSPs, punches and stamp sets.  Since I didn’t have any Wild Wasabi card stock, I had to replace it with Gumball Green.  I apologize if this is quite a disappointment to some of you.  Please know that I live overseas 10 months out of the year, and it is not very easy for me to get the supplies delivered to me overseas.  I either have to get it shipped here (which cost a fortune), or hoard my supplies every time I have the chance to go back home in Orlando.  Anyway, I hope you like the card.

The materials I used are as follows:

Card Base:

Wisteria Wonder – 4 1/4 X 5 1/2

Elegant Eggplant – 4 1/8 x 5 1/4

Replaced the Wild Wasabi with Gumball Green – 4 x 5 1/8

Stamps Used:

Mixed Bunch – Stamped on Elegant Eggplant and Wisteria Wonder

Happy Day – Heat Embossed using Stampin’ Up!’s Silver Embossing Powder

Punches Used:

Punch Blossom

1 inch Circle Punch

Extra Large and Large Oval Punches to create the Bow (I cut the ovals in half and adhered it to the base)

Other Supplies Used:

Basic Pearl to accent the Bow

Stampin Dimensionals

Tombo Glue

Black Staz On

Versamark Ink