Funny Coffee Card with Spectrum Noir

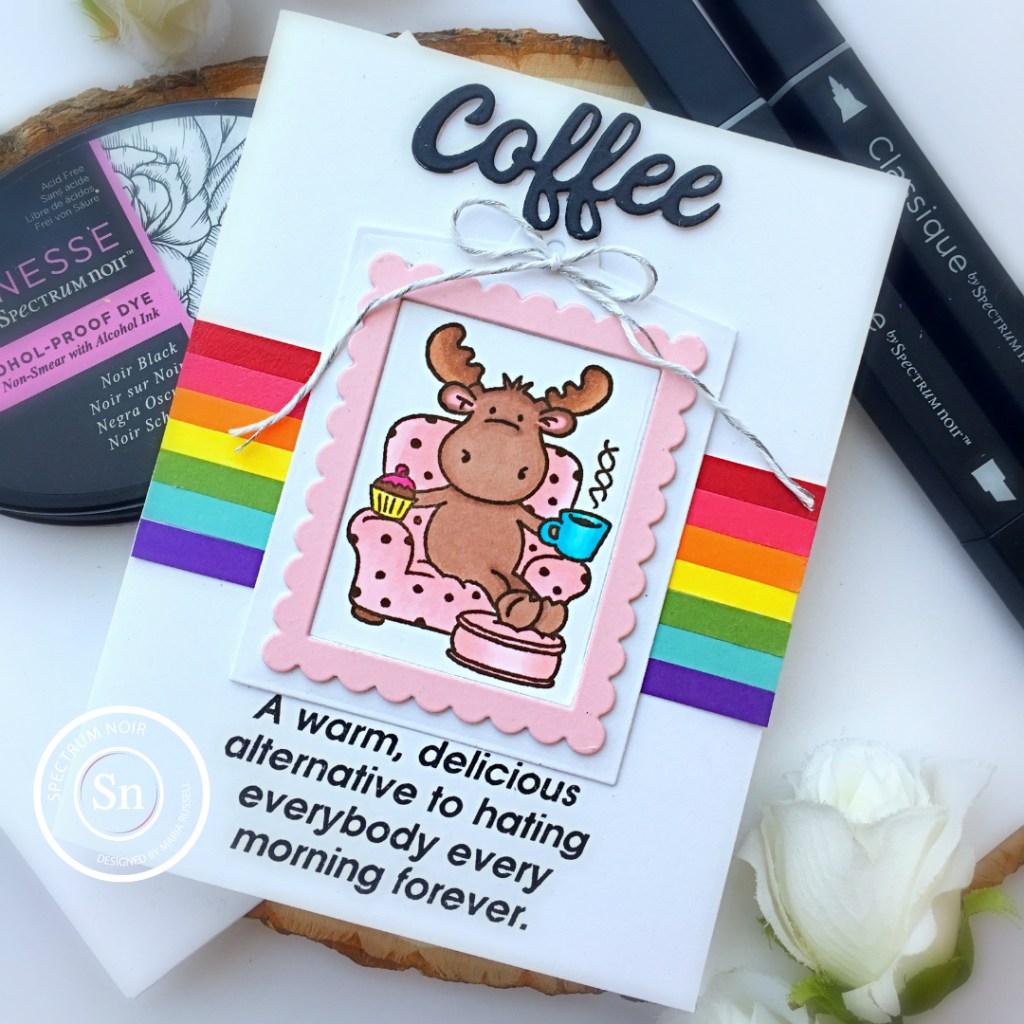
I have a really funny card to share with you today, featuring the Coffee Riley cling stamp set along with Hating Everybody cling stamp set and Alcohol Markers by Spectrum Noir.

To begin making the card, I stamped the image on some Neenah solar white card stock and colored the images in with my Spectrum Noir Classique alcohol markers and TriBlend markers.

Next, I used the Trendy Tag Die-namics to die-cut the tag and the frame. I also used this die to die-cut my image.

Since I basically wanted a simple background with cheerful colors, I cut a bunch of strips from my scrap card stock in rainbow order. I adhered the pieces on some A2-size card base.

I adhered the tag with my tape runner. I also added the bow with some liquid glue for added texture.

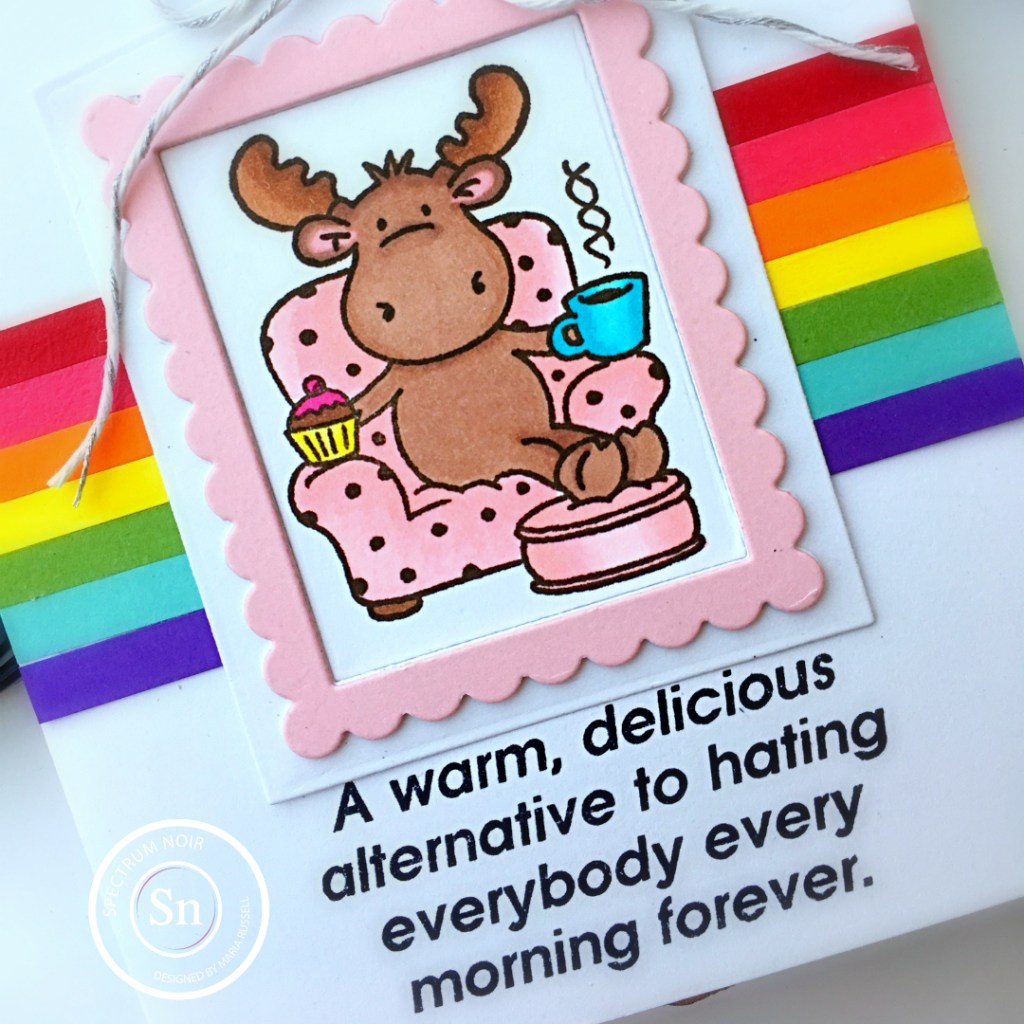
I stamped the sentiment using the Spectrum Noir Finesse Alcohol Proof ink in black. The word “coffee” was die-cut using the Coffee sentiment from the Coffee Cup Fri-die set and adhered on the card with liquid glue. Here’s another look:

I hope you like my project today. The supplies I use are listed and linked below in case you’re interested. Thanks for stopping by and happy coloring!


———-SUPPLIES——–

Spectrum Noir Deep Blend TriBlend Markers – Baby Yoda Card

Hello Spectrum Noir fans!  I am so excited to share today’s card with you, showcasing the latest Spectrum Noir Deep Blends TriBlend Markers.

I have always loved the Spectrum Noir essential blends so when the deep blends came out, I knew I just had to have it.  TriBlend markers are my favorite markers and the new deep blends did not disappoint!  I love them so much that I wish they would come out with more sets!  They are AMAZING!

Here’s how to make the card:

Stamp the images with Spectrum Noir Alcohol Proof Dye Ink in Black on some Neenah solar white card stock.


Color the images in with some Spectrum Noir Deep Blend TriBlend markers. I used earth brown, ice grey, brown grey, burnt orange shades.  I also used the essential blends in vintage blue, golden yellow and citrus green.  For the pink shades, I used the pale pink blends.

Fussy cut the images using precision snips.

Ink blend the background panel using some dye inks and clouds stencil.

Use dies to die-cut the rest of the elements needed to create the scene.

Assemble the card.

Here’s what the card looks like:

I absolutely LOVE the new TriBlend markers!  I cannot stress enough how they changed my ability to color images.  They really do blend like butter!  Here’s a closer look of the card:

I hope you enjoy this tutorial today.  The supplies I used are listed and linked below.  Thanks for stopping by and happy coloring!

———-SUPPLIES————